Hello, I’m Sky the sheep. Over the winter I got into a pickle. You can read about this in the blog post before this one.
It’s now June, four months have passed since my accident. Here’s what happened:
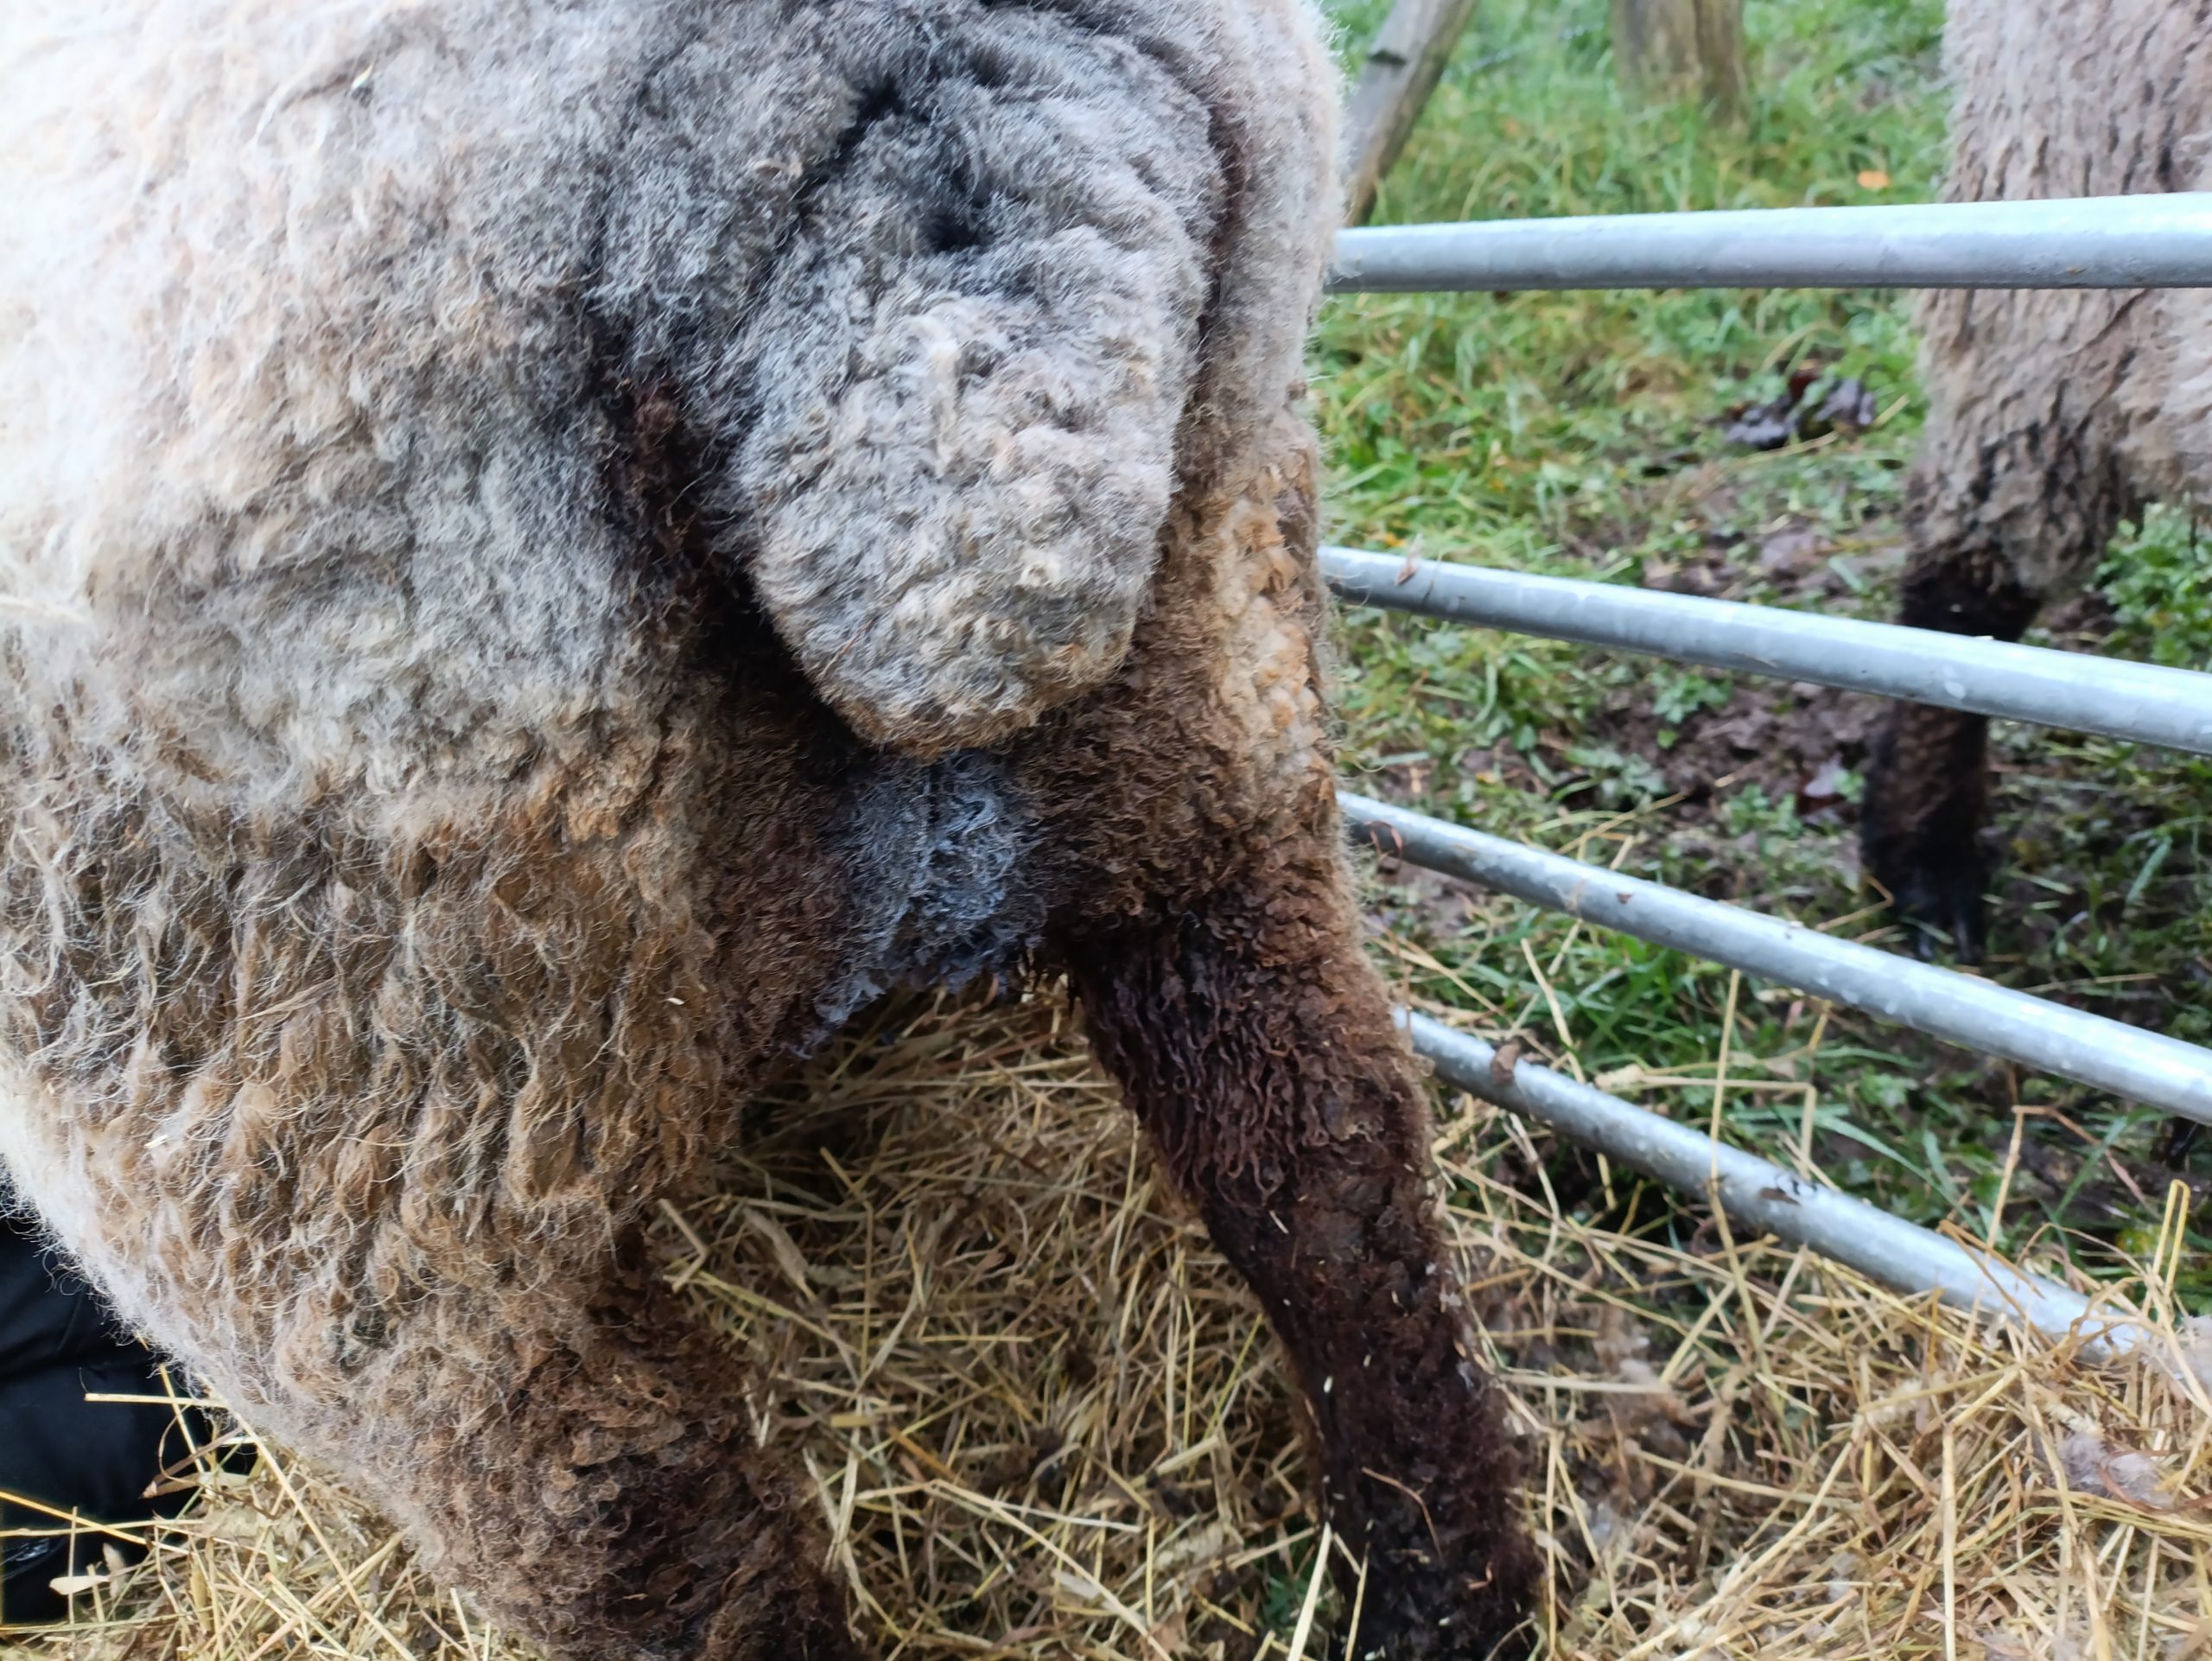
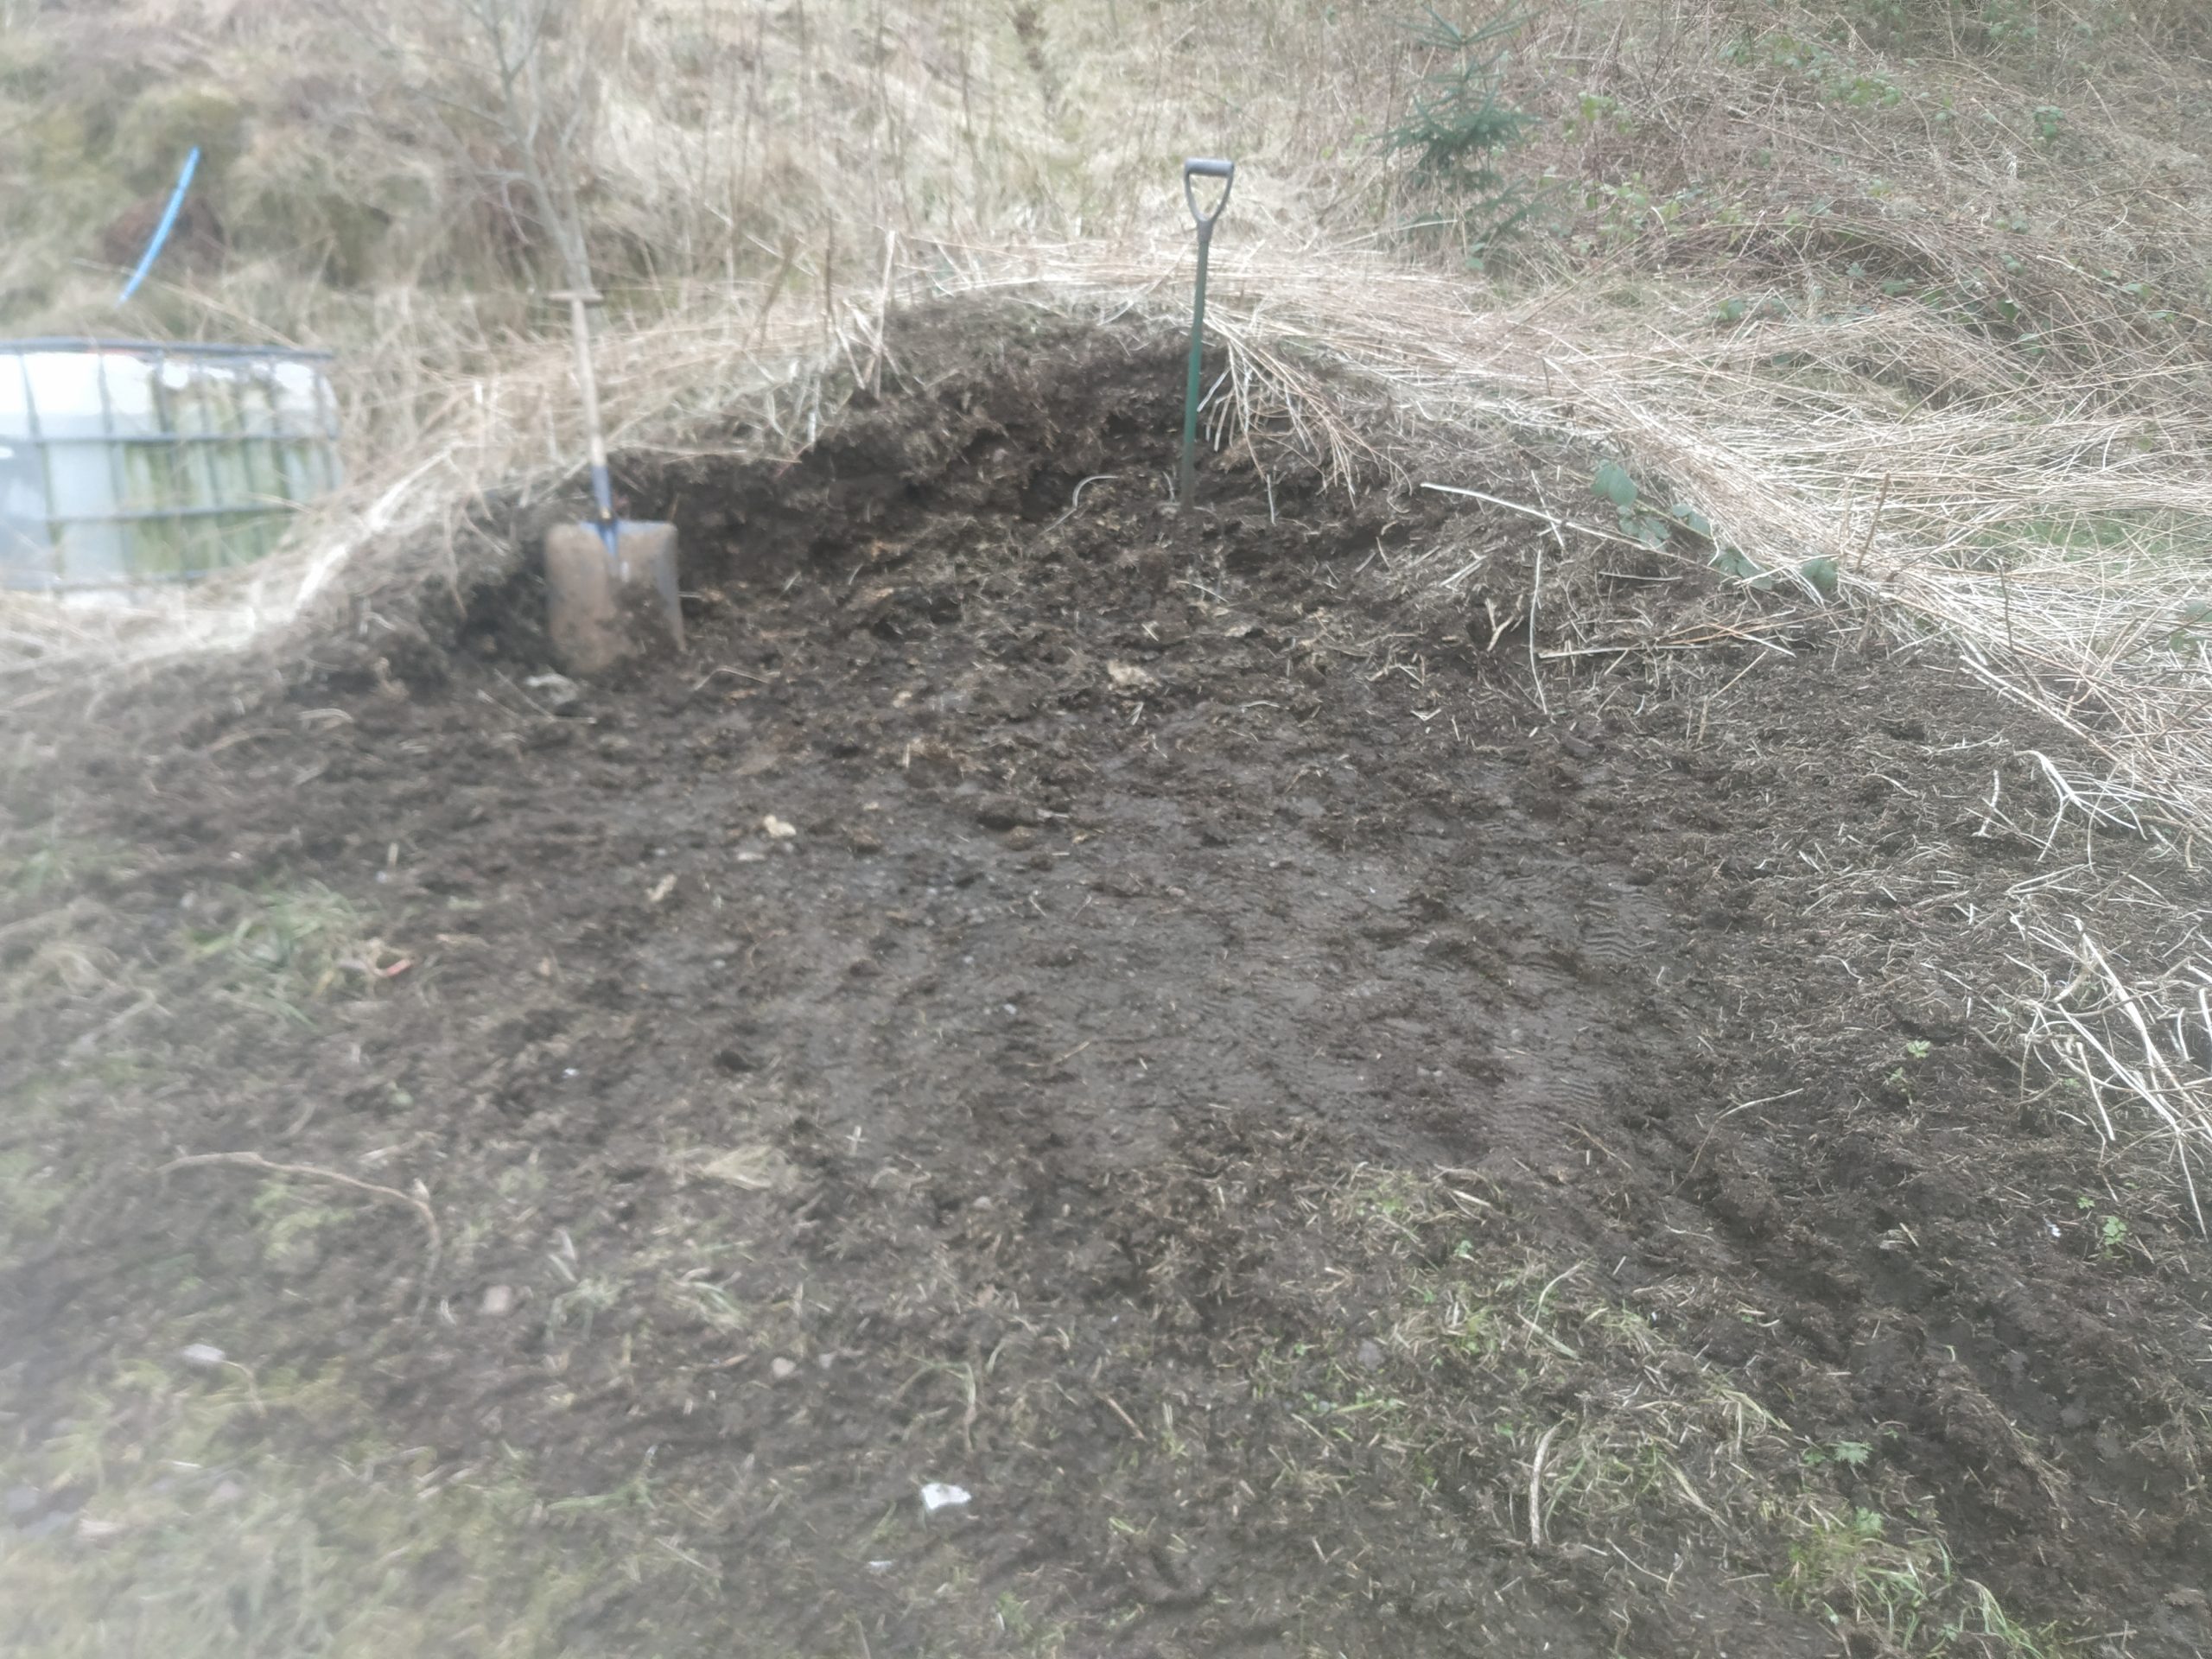
One cold day back in February I was sitting in the shed with the other sheep sheltering from the snow. The next I was stuck on my back and couldn’t get up again. This happens to us sheep sometimes, the humans call it “being cast”. It’s something to do with us having lots of wool which can get wet and heavy, a roly poly physique and short legs.
I remember waiting on my back with my legs peddling in the air for a long time. It was dark and cold and after a while I stopped peddling and started to drift into a hazy world. The hazy world drew me in and I started to feel sleepy. My body sank into the ground and after a while I stopped feeling the cold. I closed my eyes.
Suddenly, I was pulled out of the hazy place and back into the cold. I wasn’t that happy about this let me tell you, the dreamy world had felt good. I sensed my girl human next to me, she was making sounds, her arms were underneath me. She rolled me over and I found myself on my side.
I have to admit, being on my side felt quite comfortable and I started to feel better about things. Then things got even better, I felt a warm breeze next to my skin and there was a funny whirring sound. I heard the humans talking about “a fan heater”, “extension lead” and “being careful”. Lots of new words for me to learn. The “fan heater” gave me a tingly feeling and reminded me of summer. I was enjoying this feeling so I decided to open my eyes and see what was going on. There were blankets all round my pen like a little tent and I was lying on a dog bed, hmm, quite comfy actually. I stayed like this for a while enjoying the feeling of warmth and softness. After a while my legs wanted to stand up and I felt a shake coming on. So up I got. Hmm I thought, life’s not so bad after all, perhaps I’ll stay around for a bit longer.
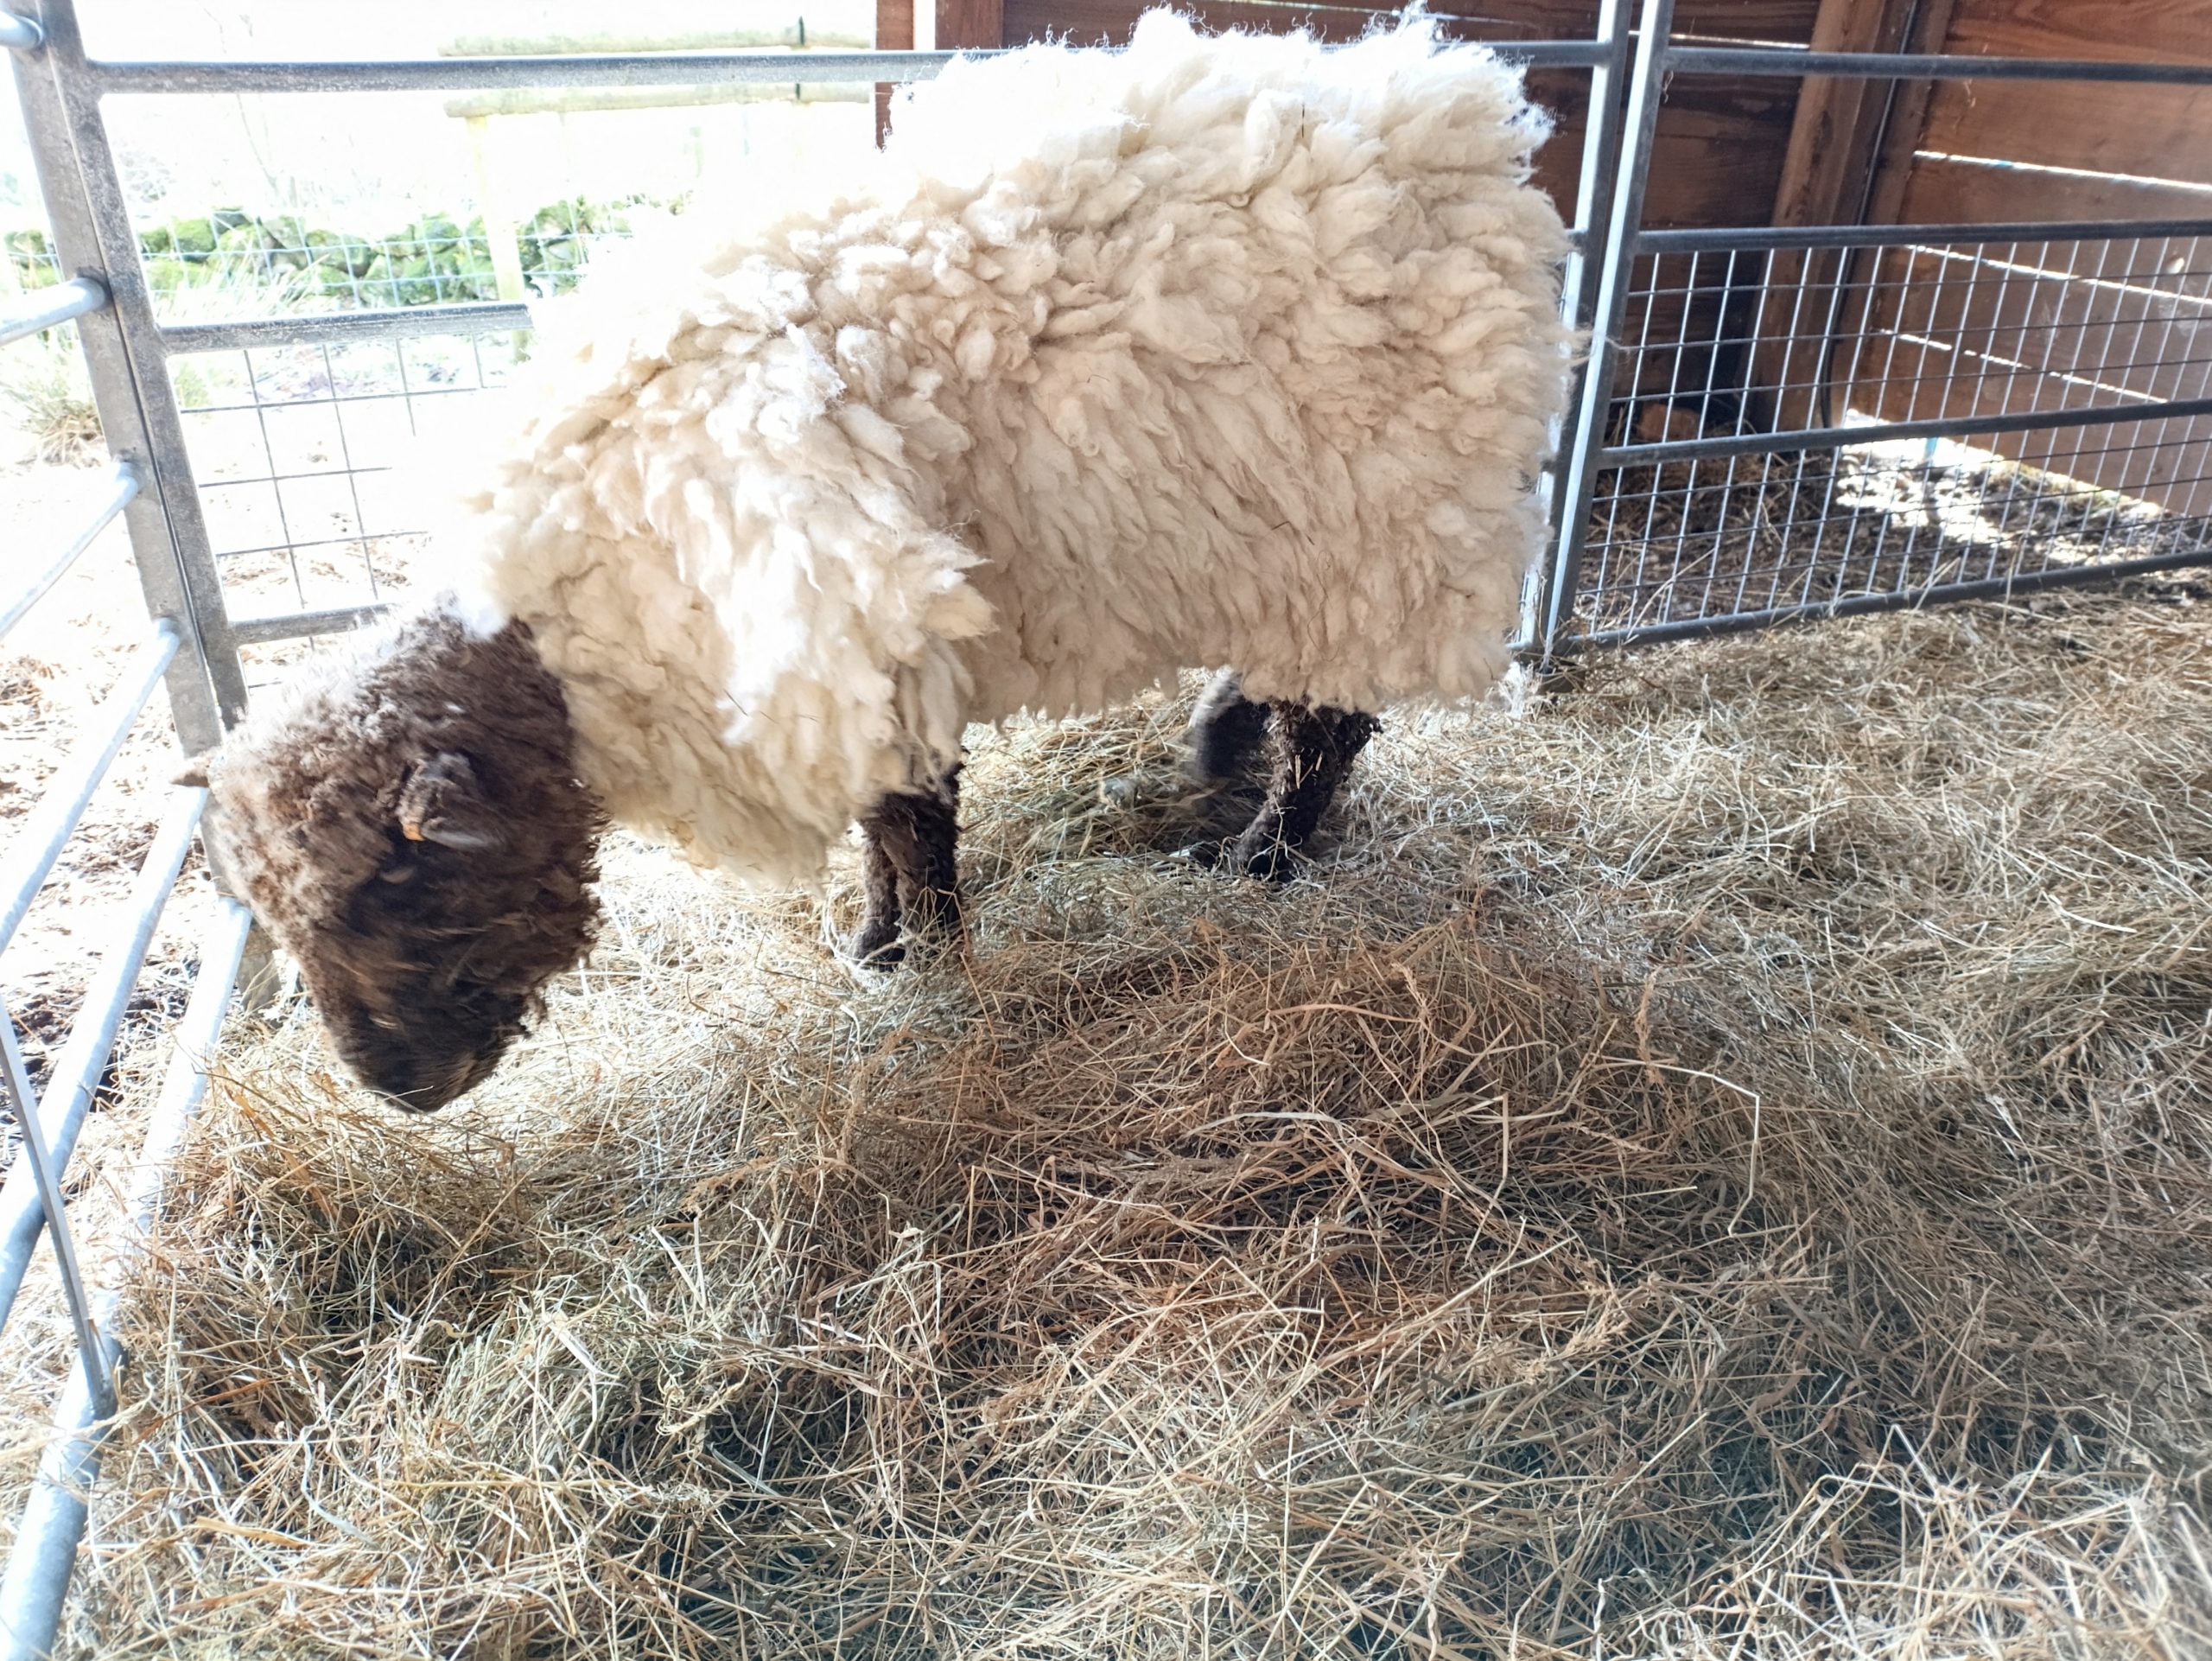
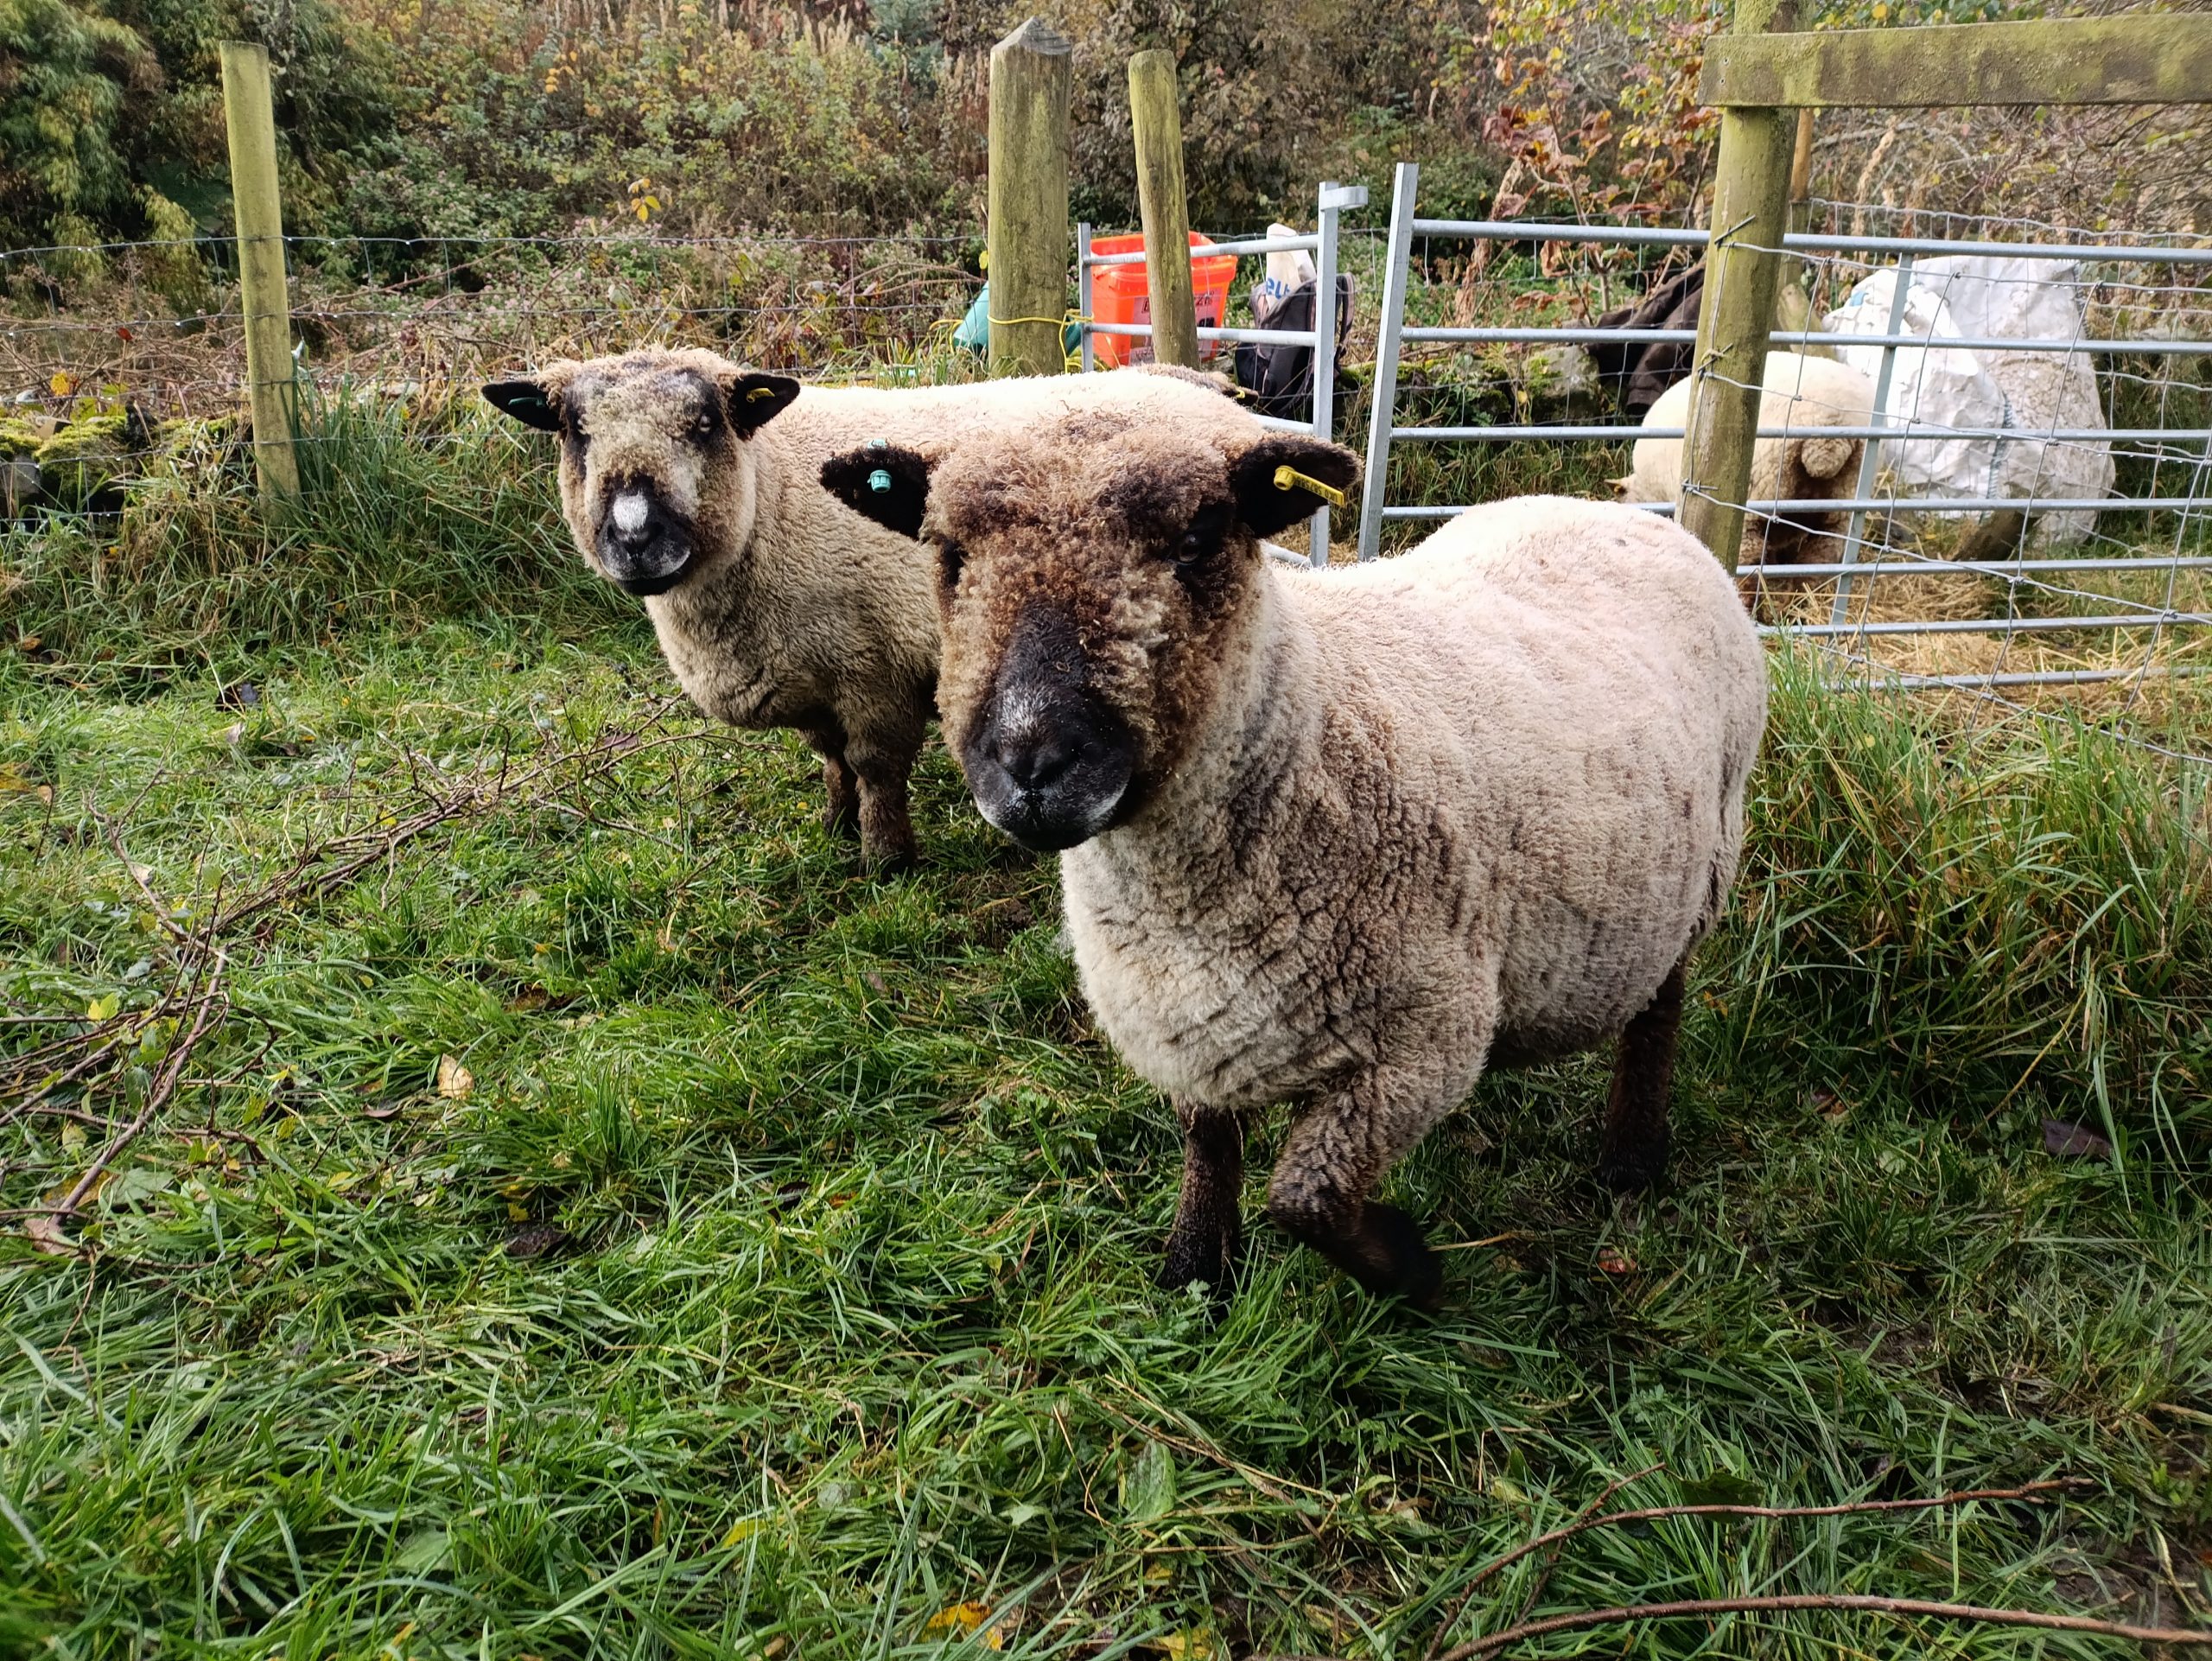
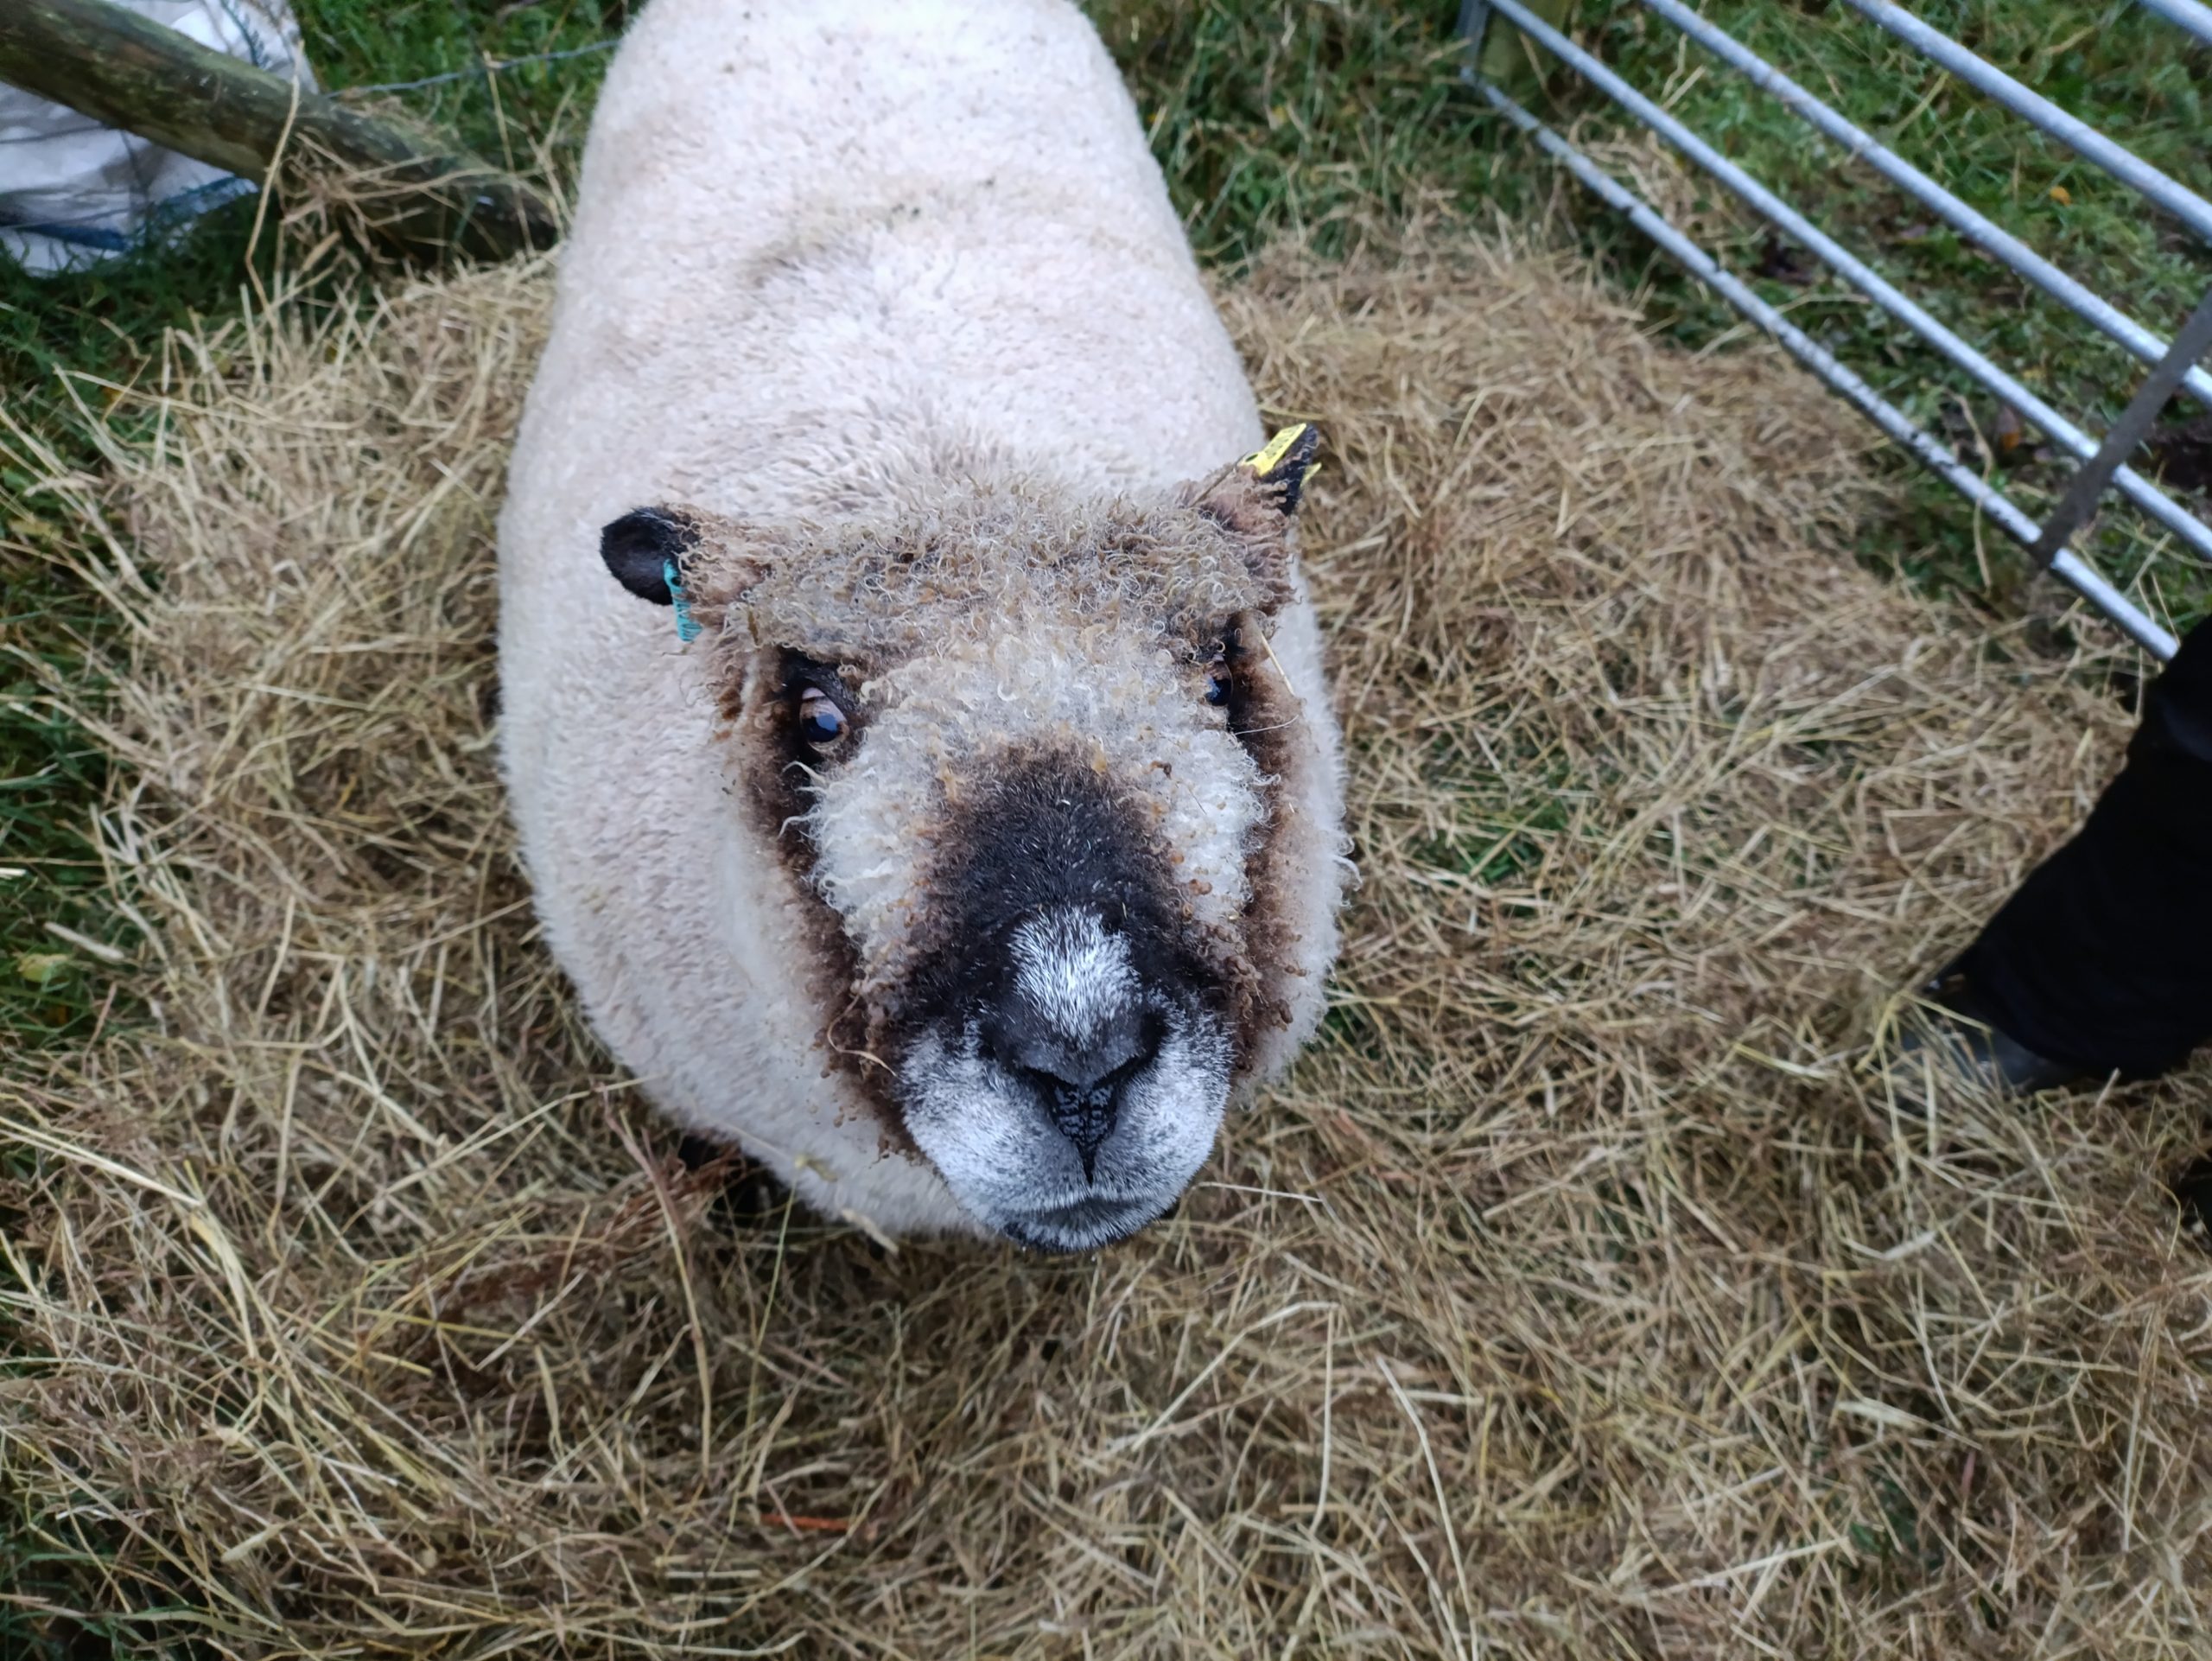
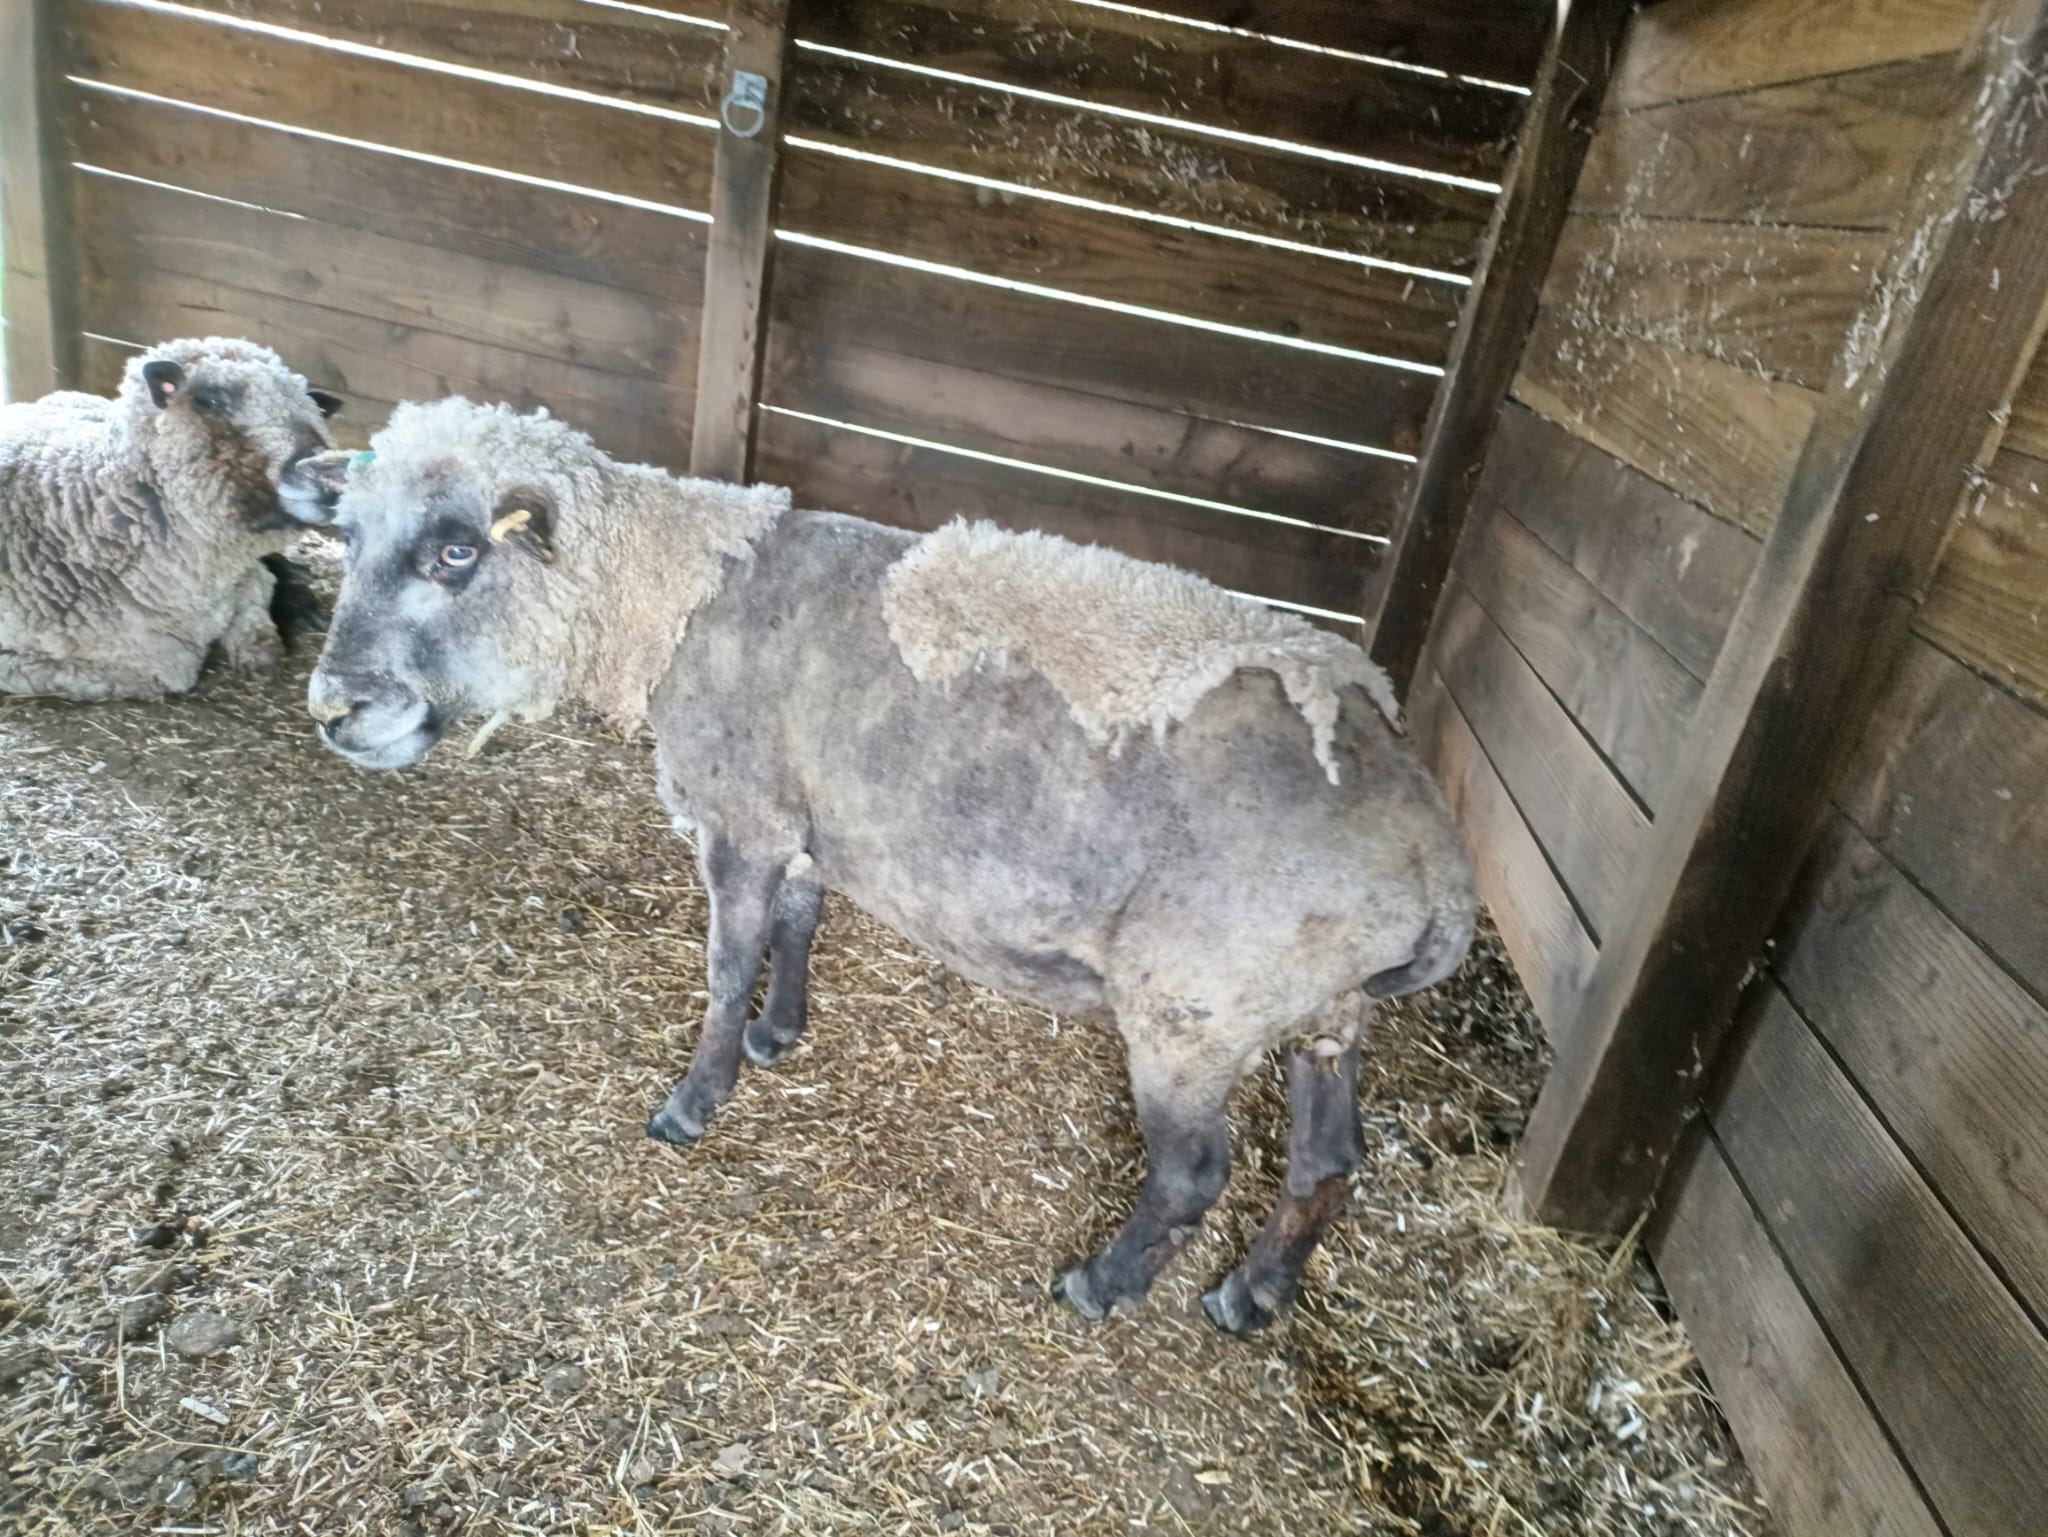
For several weeks I lived in a large comfy pen in the shed all to myself. The humans called it my “convalescence pen”. Some more words for me to learn. My humans decided I needed to put on weight, I couldn’t have agreed more. I used to be the perfect Ryeland sheep shape – like a barrel, enviably stocky. These days what with old age catching up with me I’ve lost quite a lot of condition. I’ve been trying to tell my humans this for a while. Sometimes it takes something drastic to happen before people sit up and take notice.
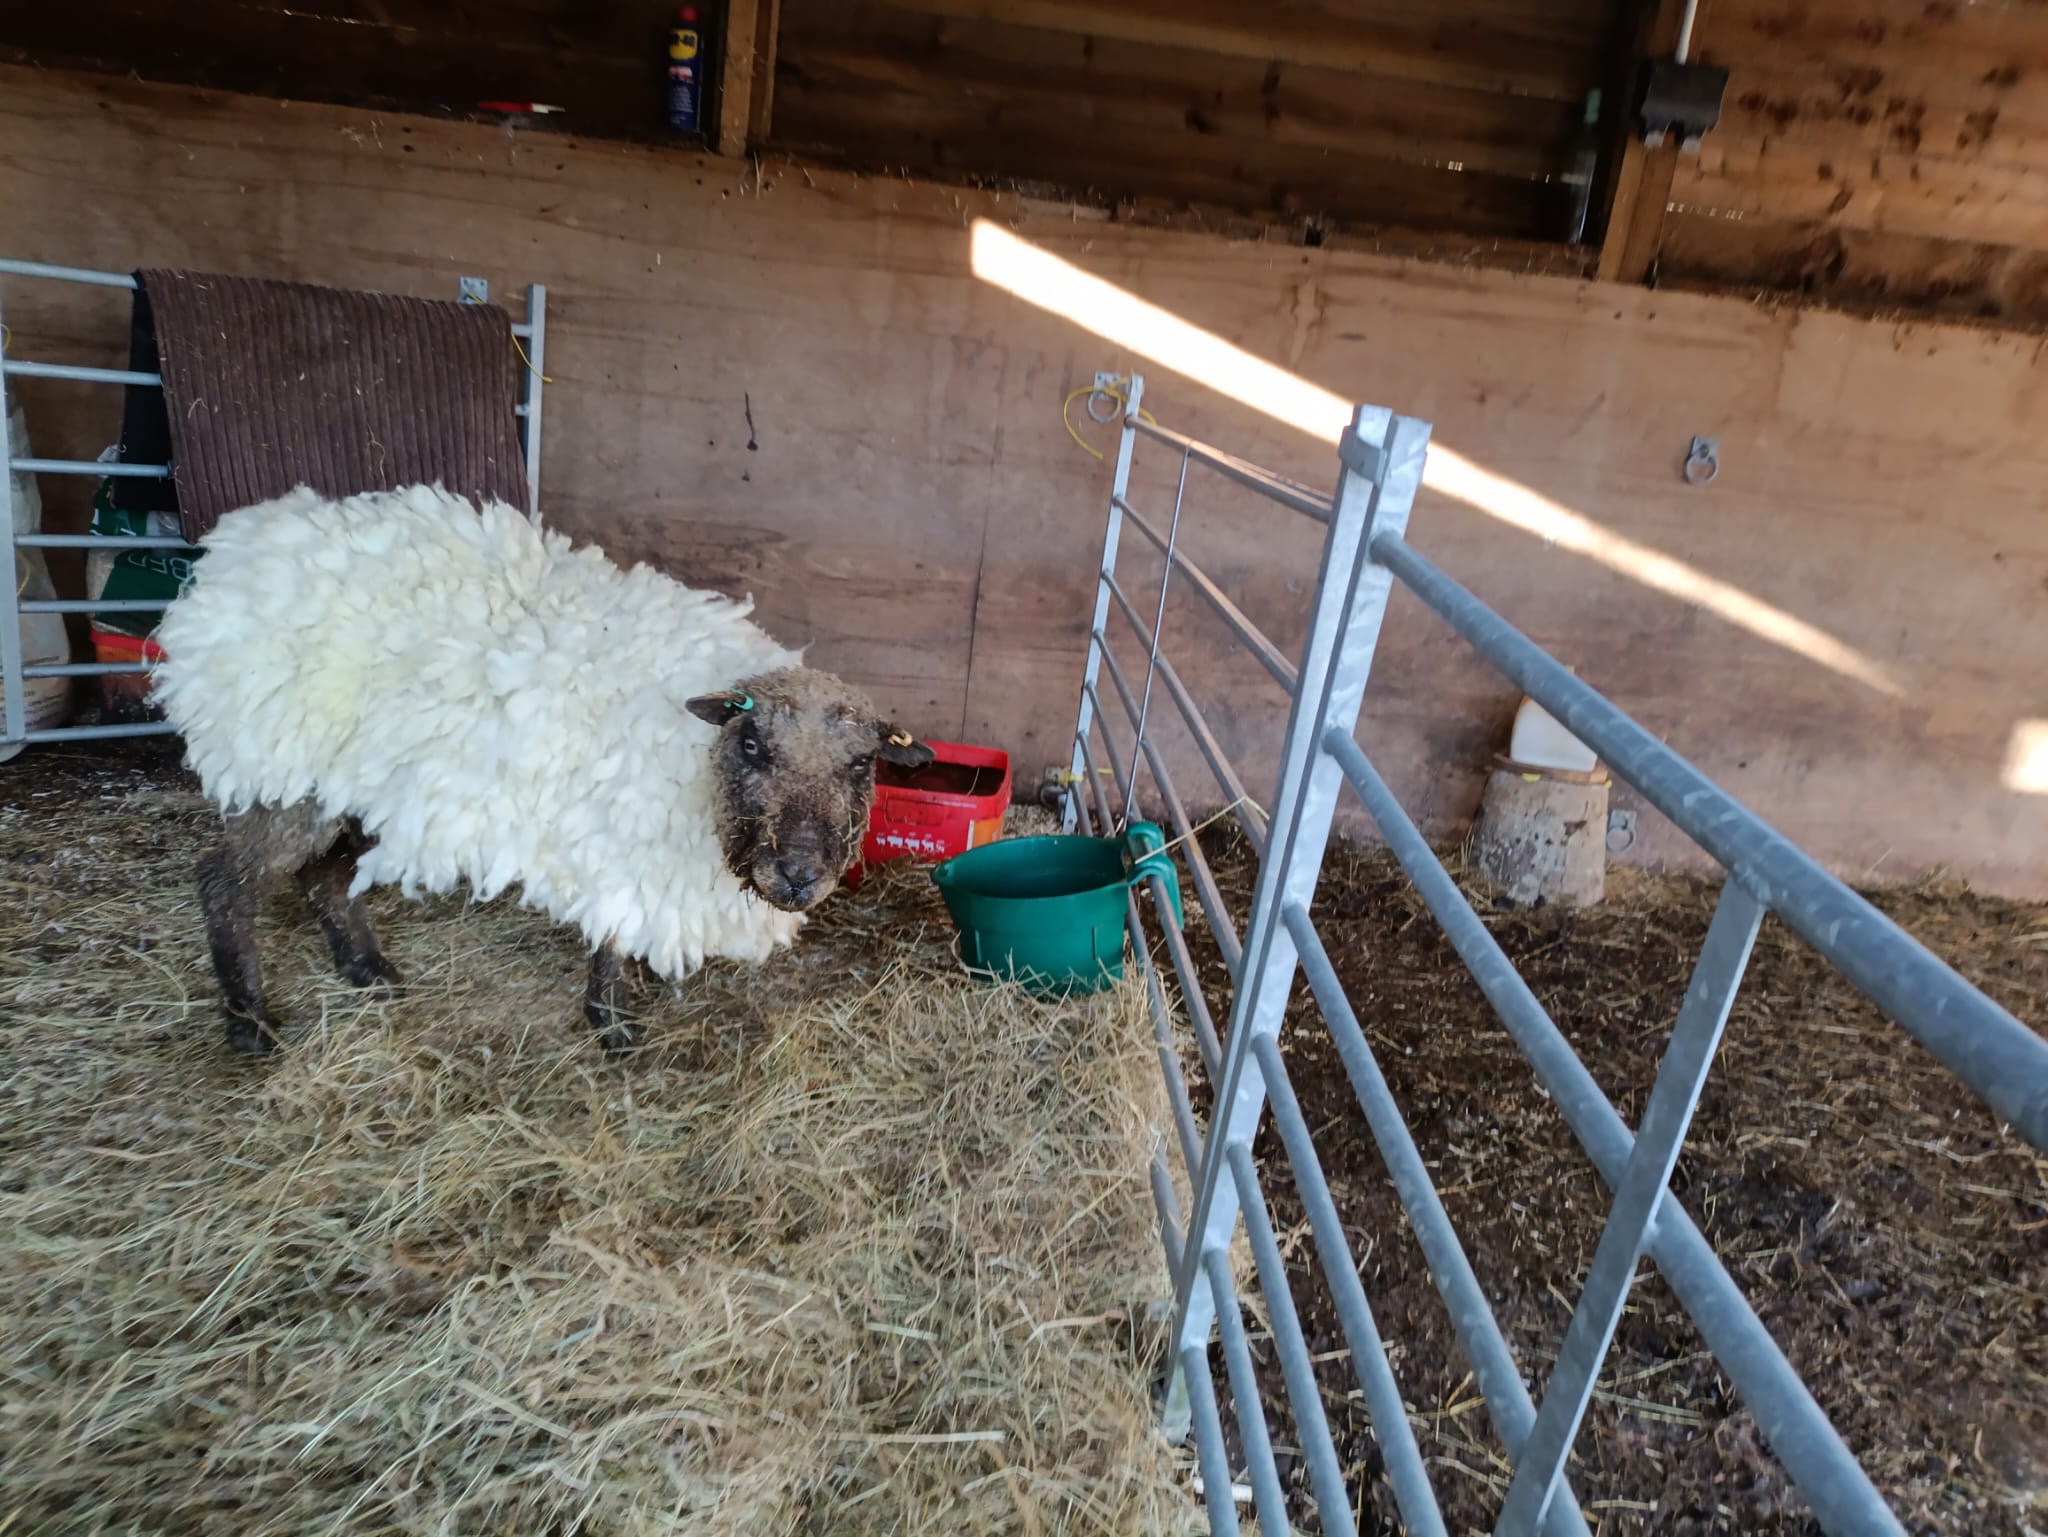
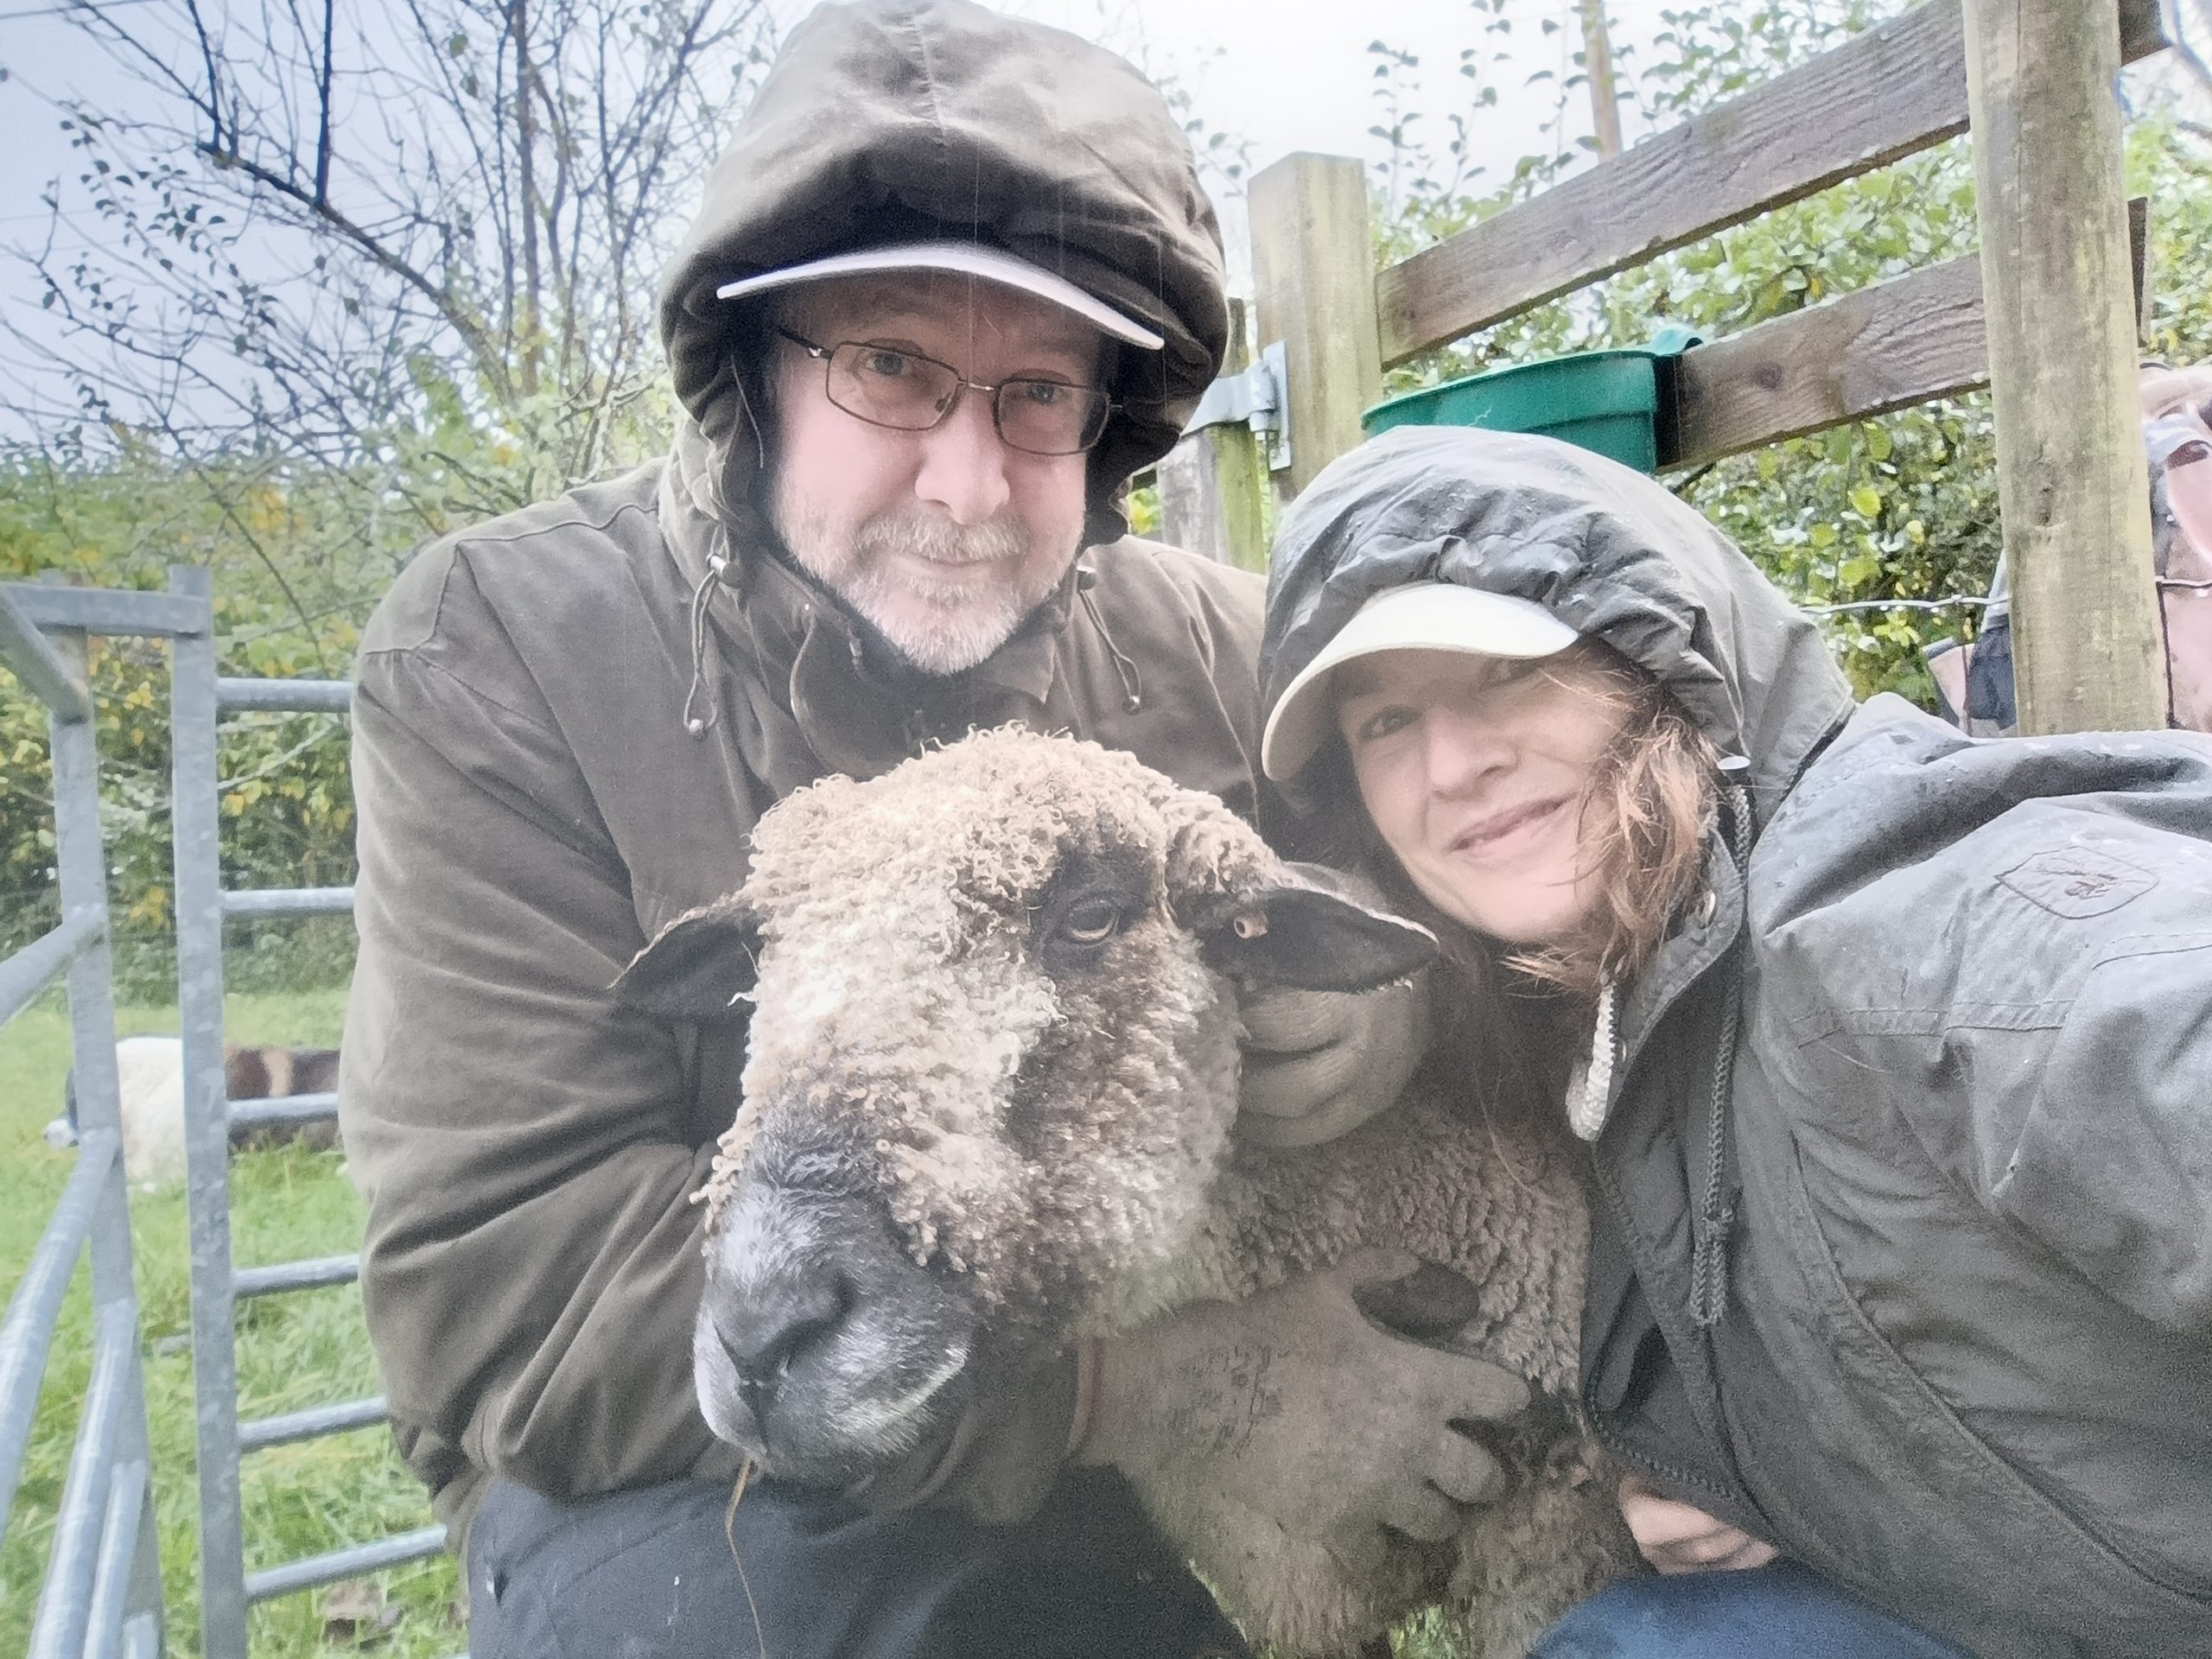
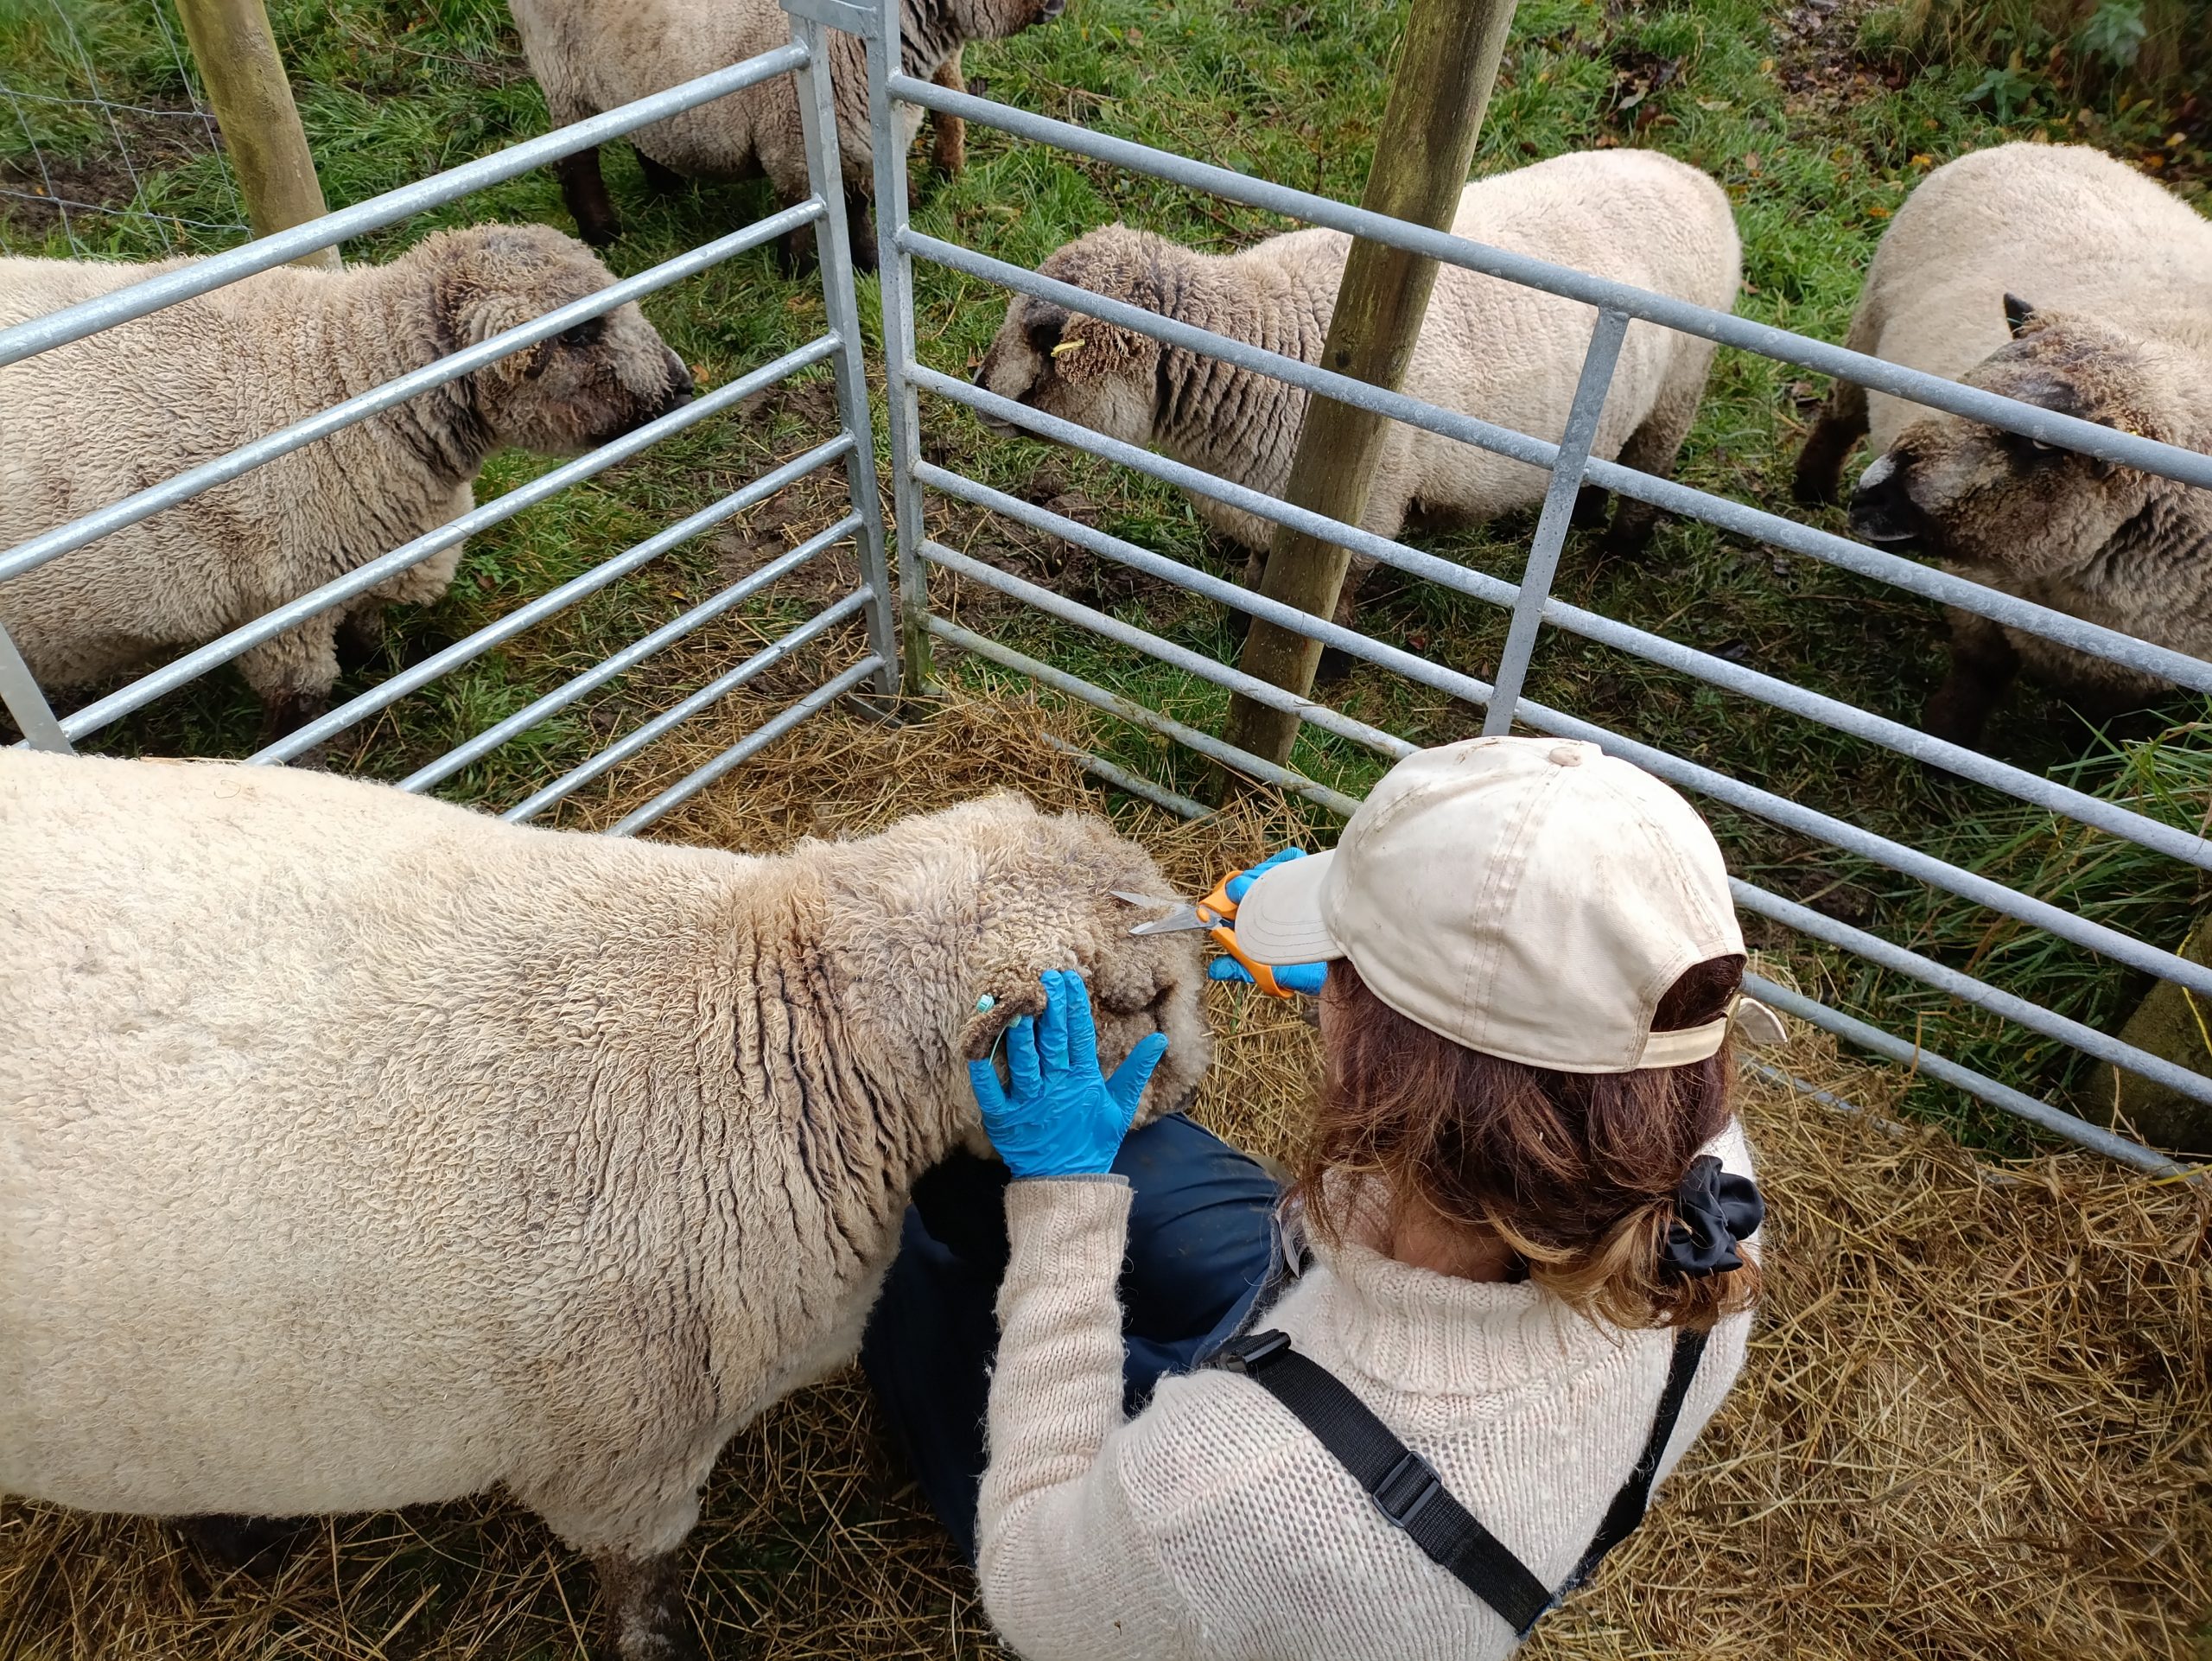
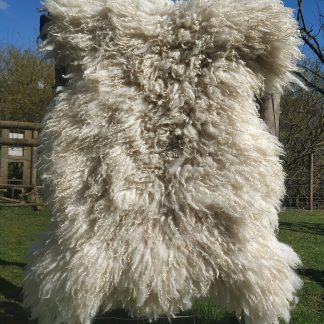
My girl human gave me a jumper to go over the top of the jumper I already wear. At first I was suspicious of this. The new jumper smelled like it had been worn by a different sheep. I soon got used to it though and in the end I started to like it. It felt good to be warm, particularly as my own jumper isn’t as thick and woolly as it used to be.
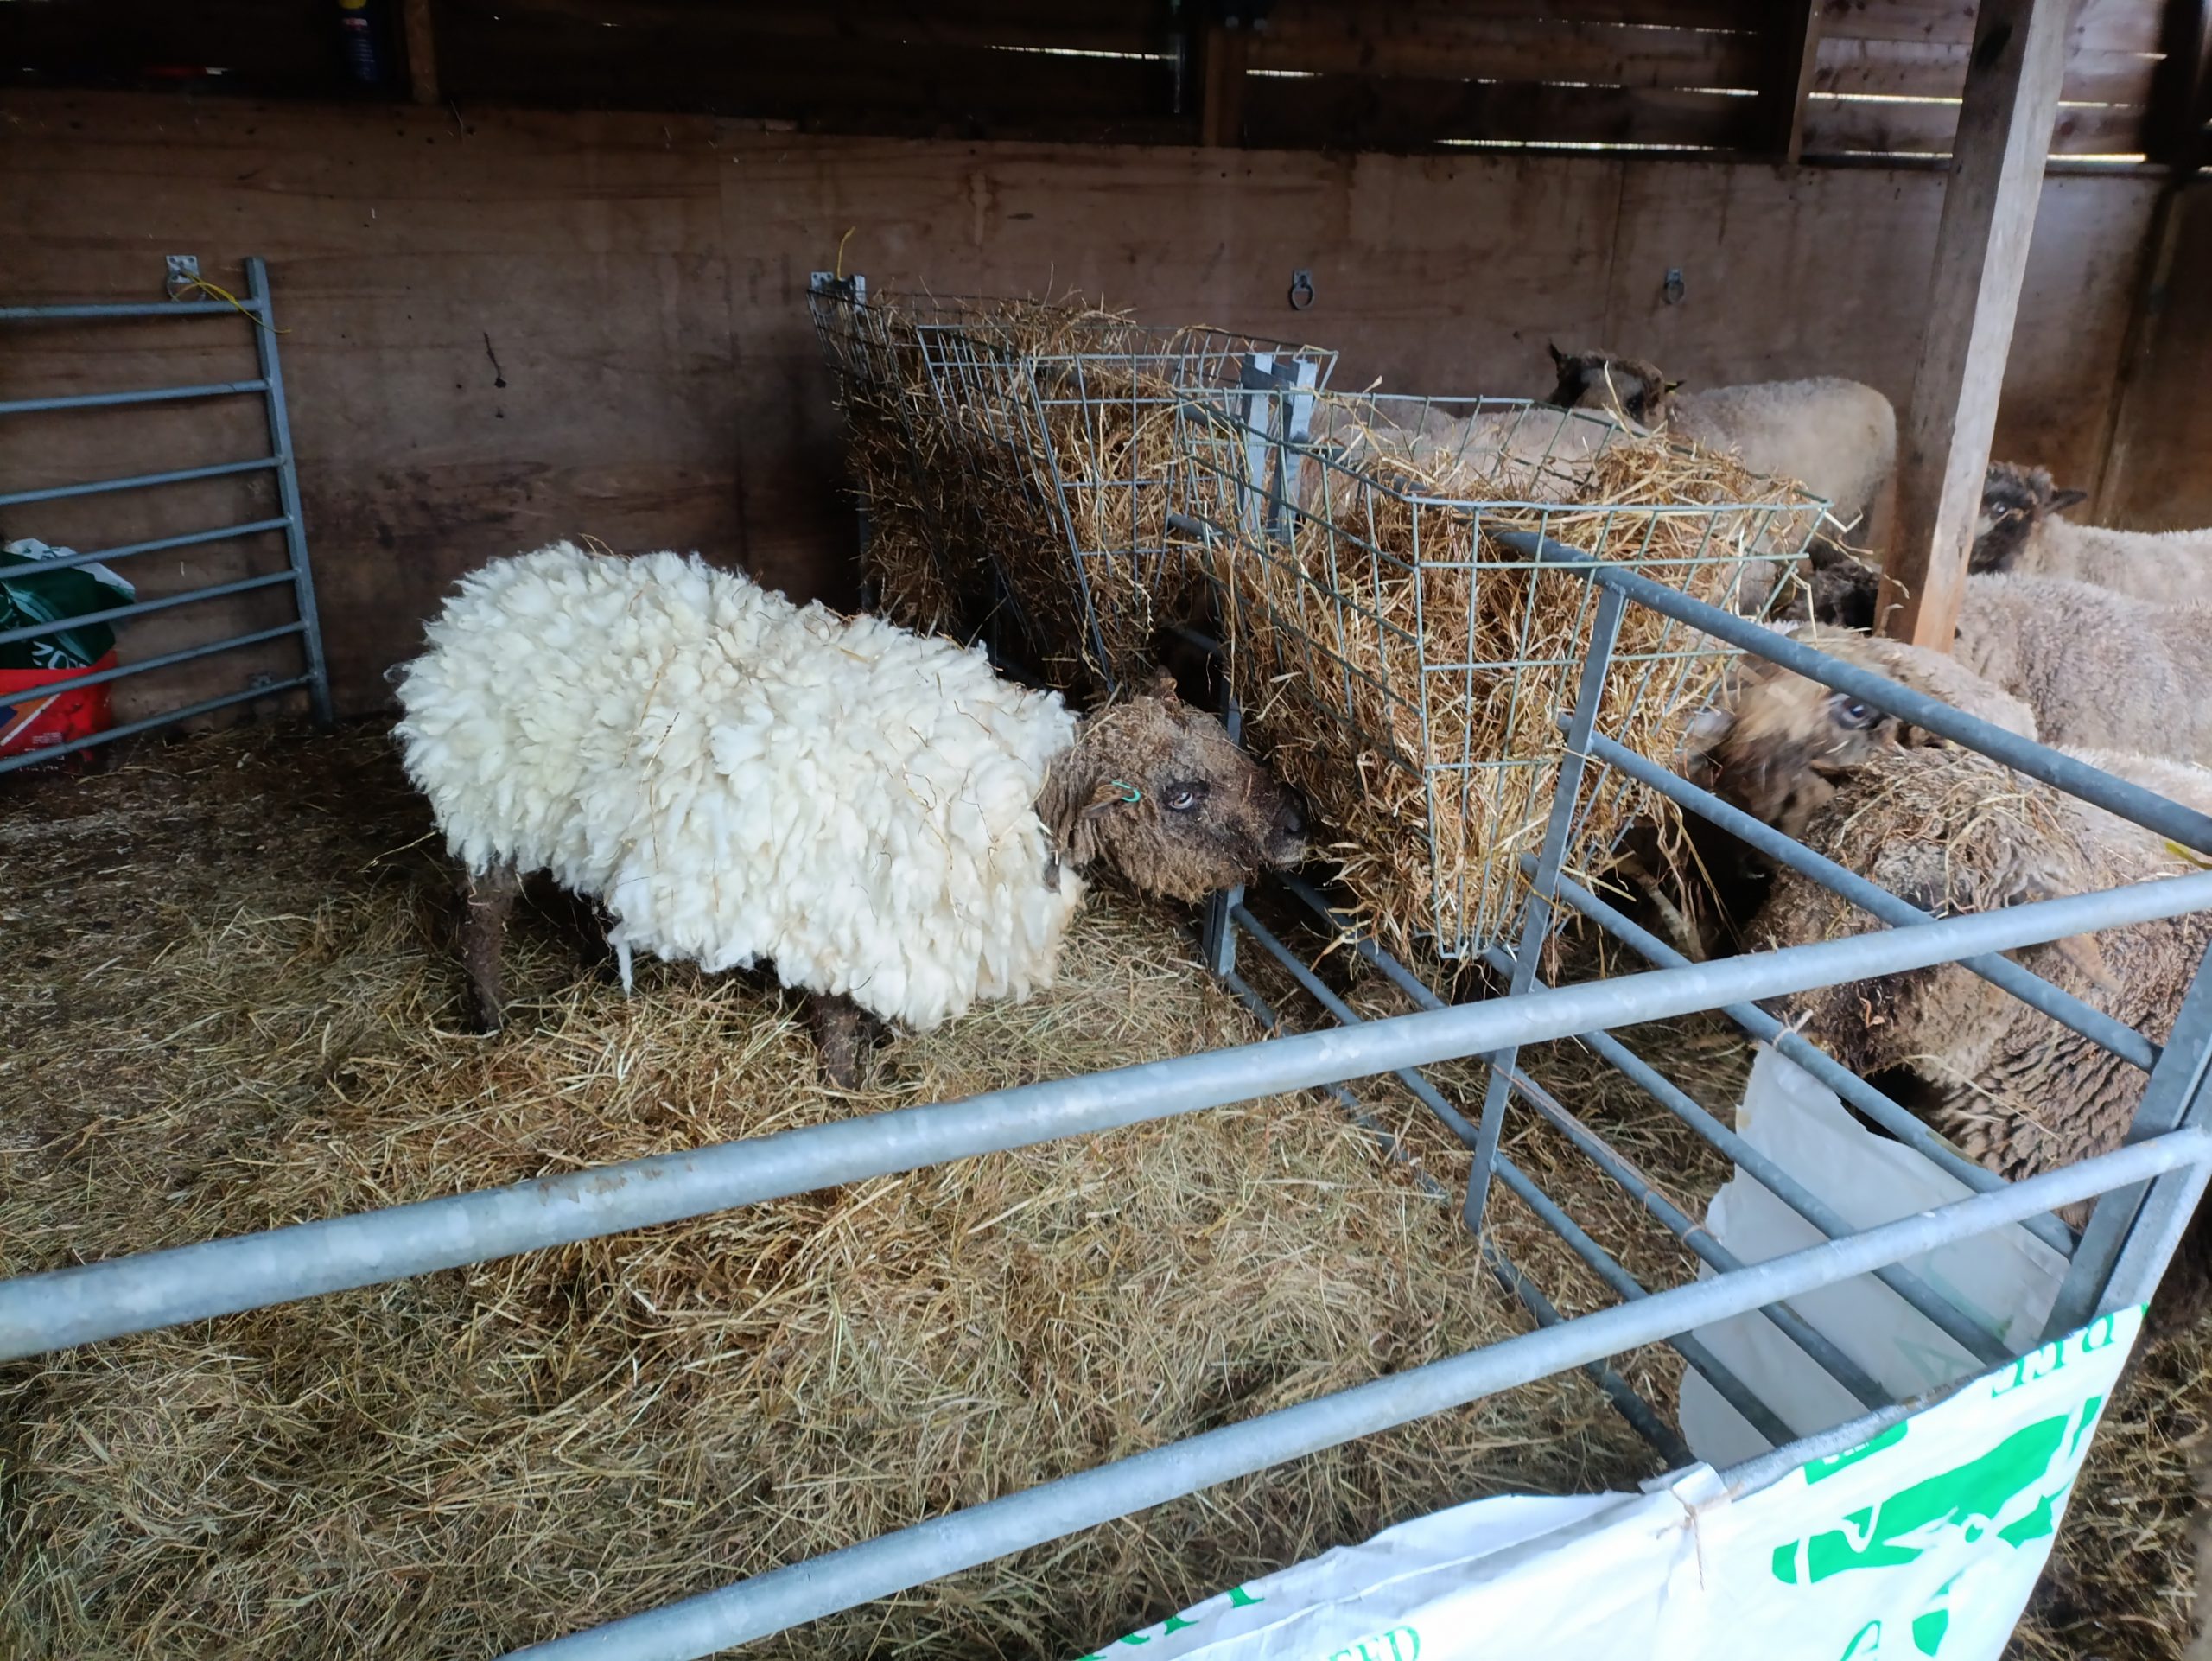
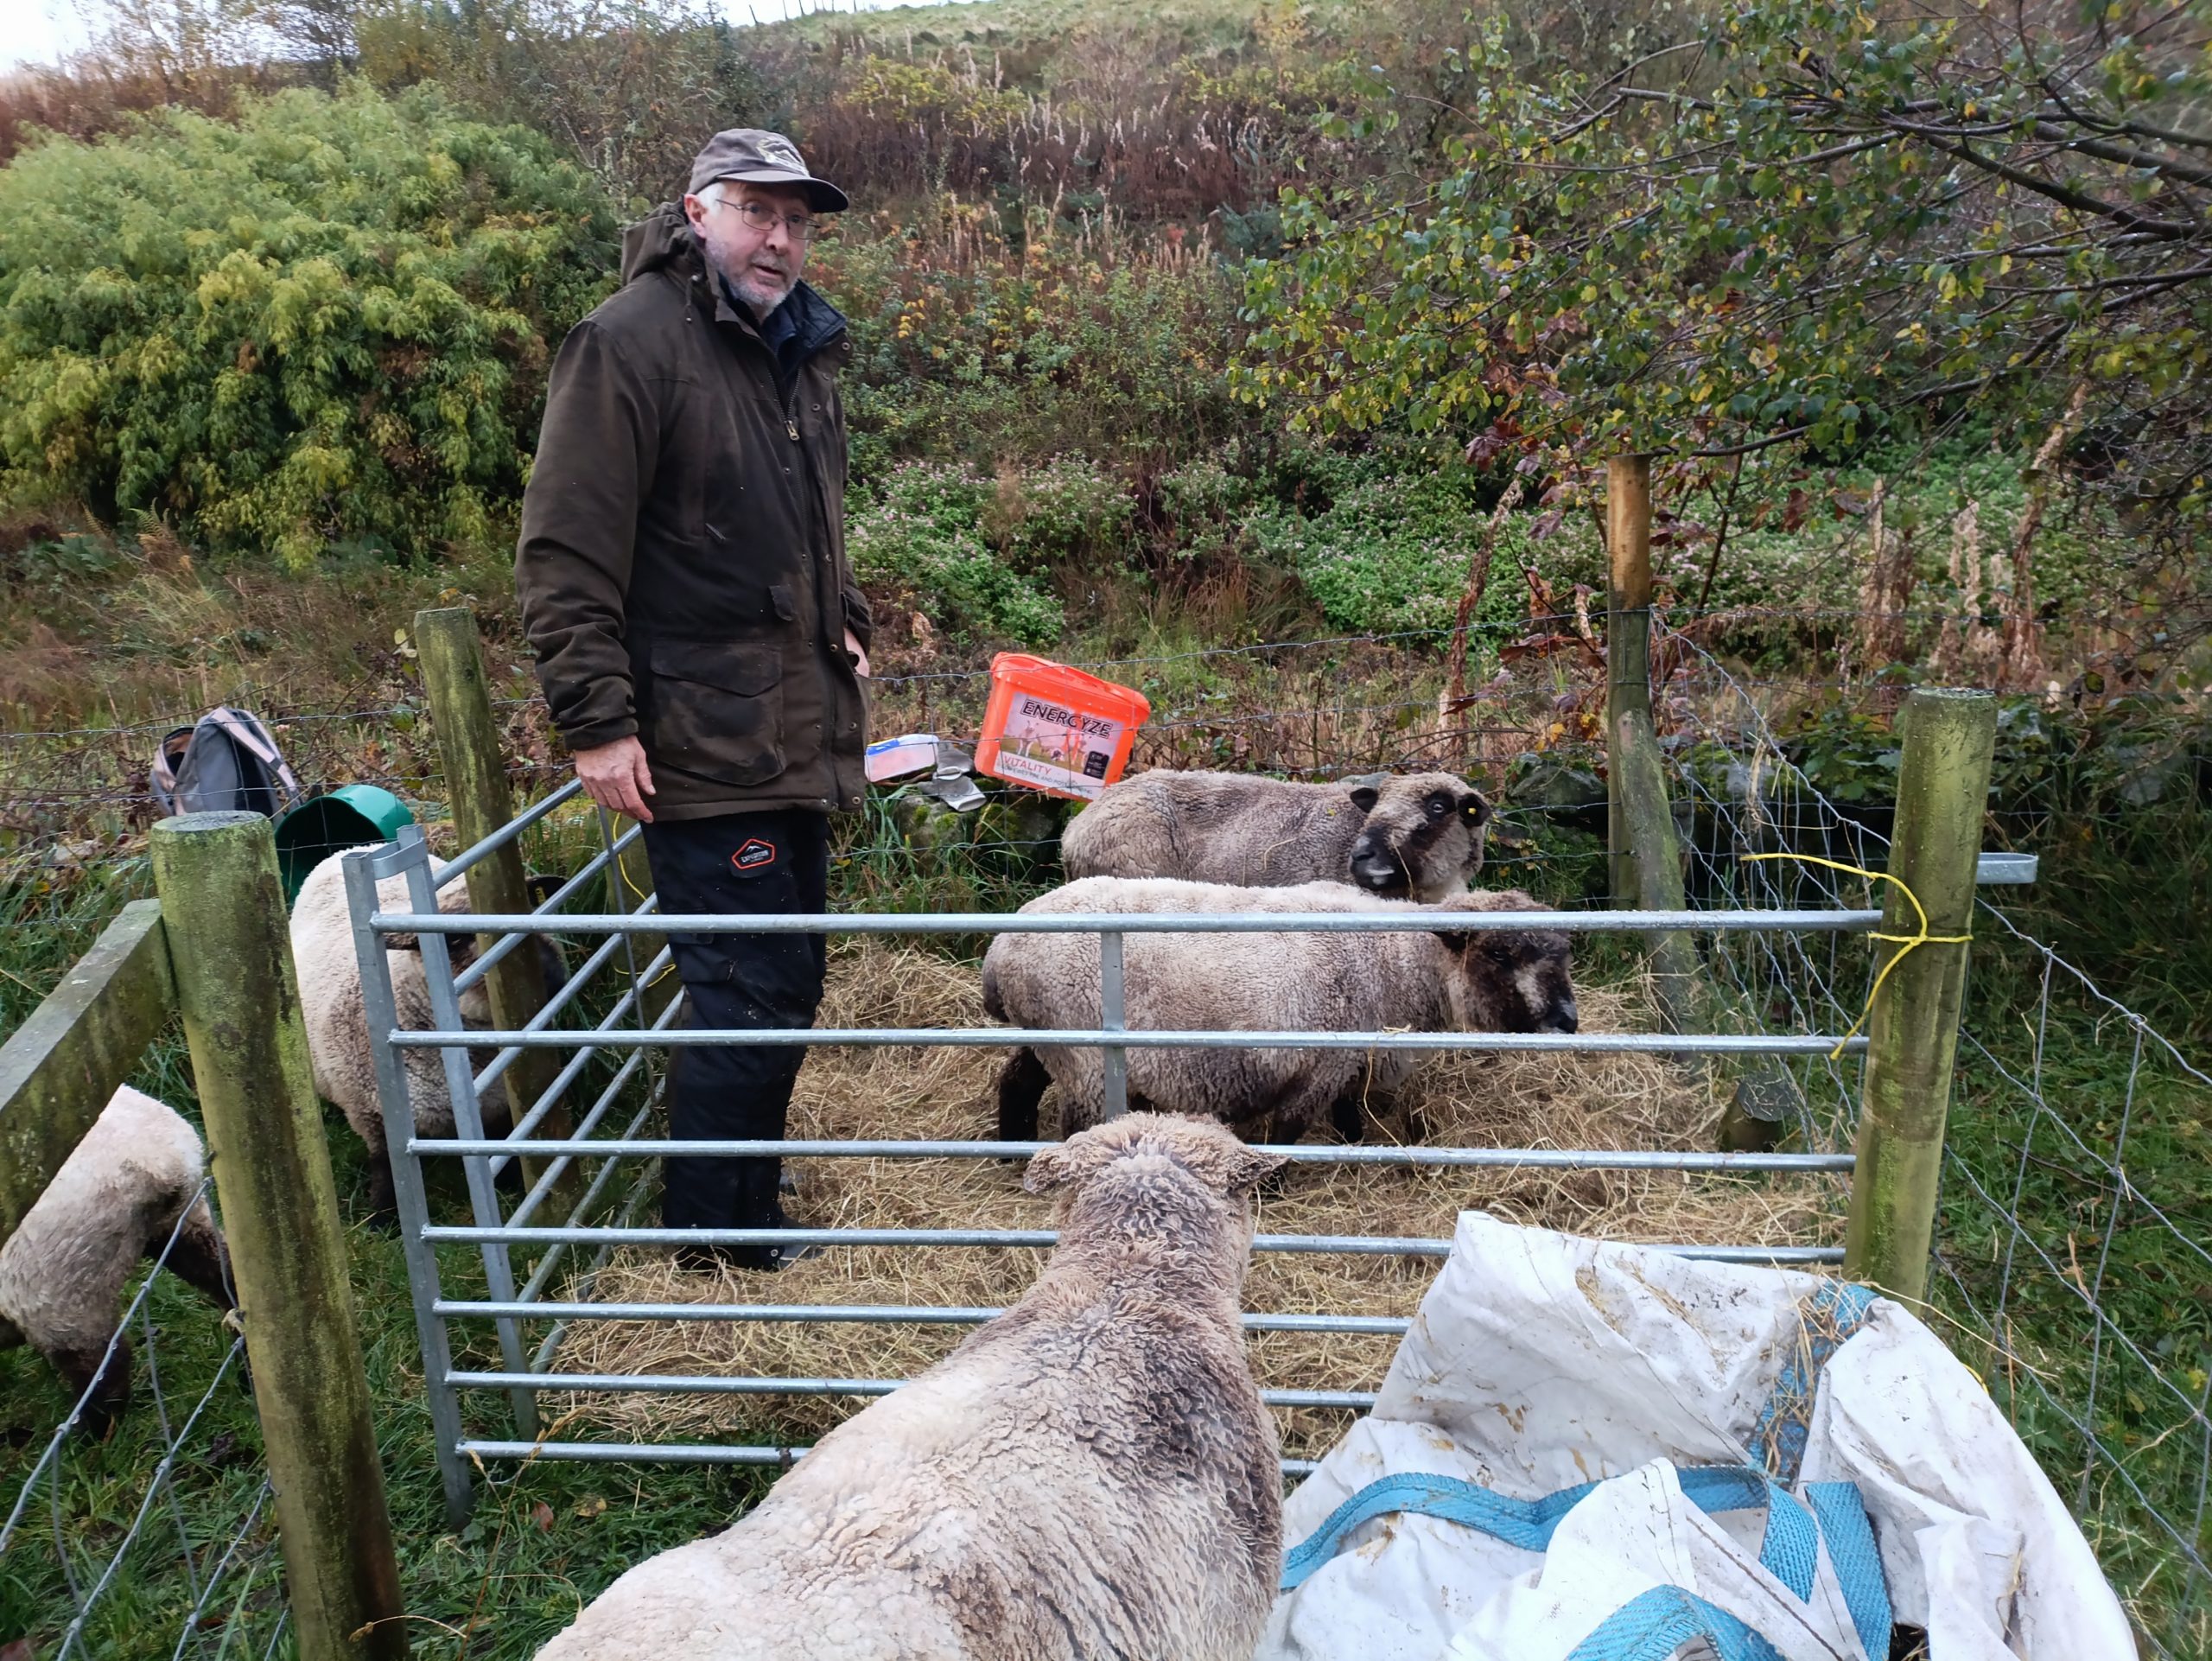
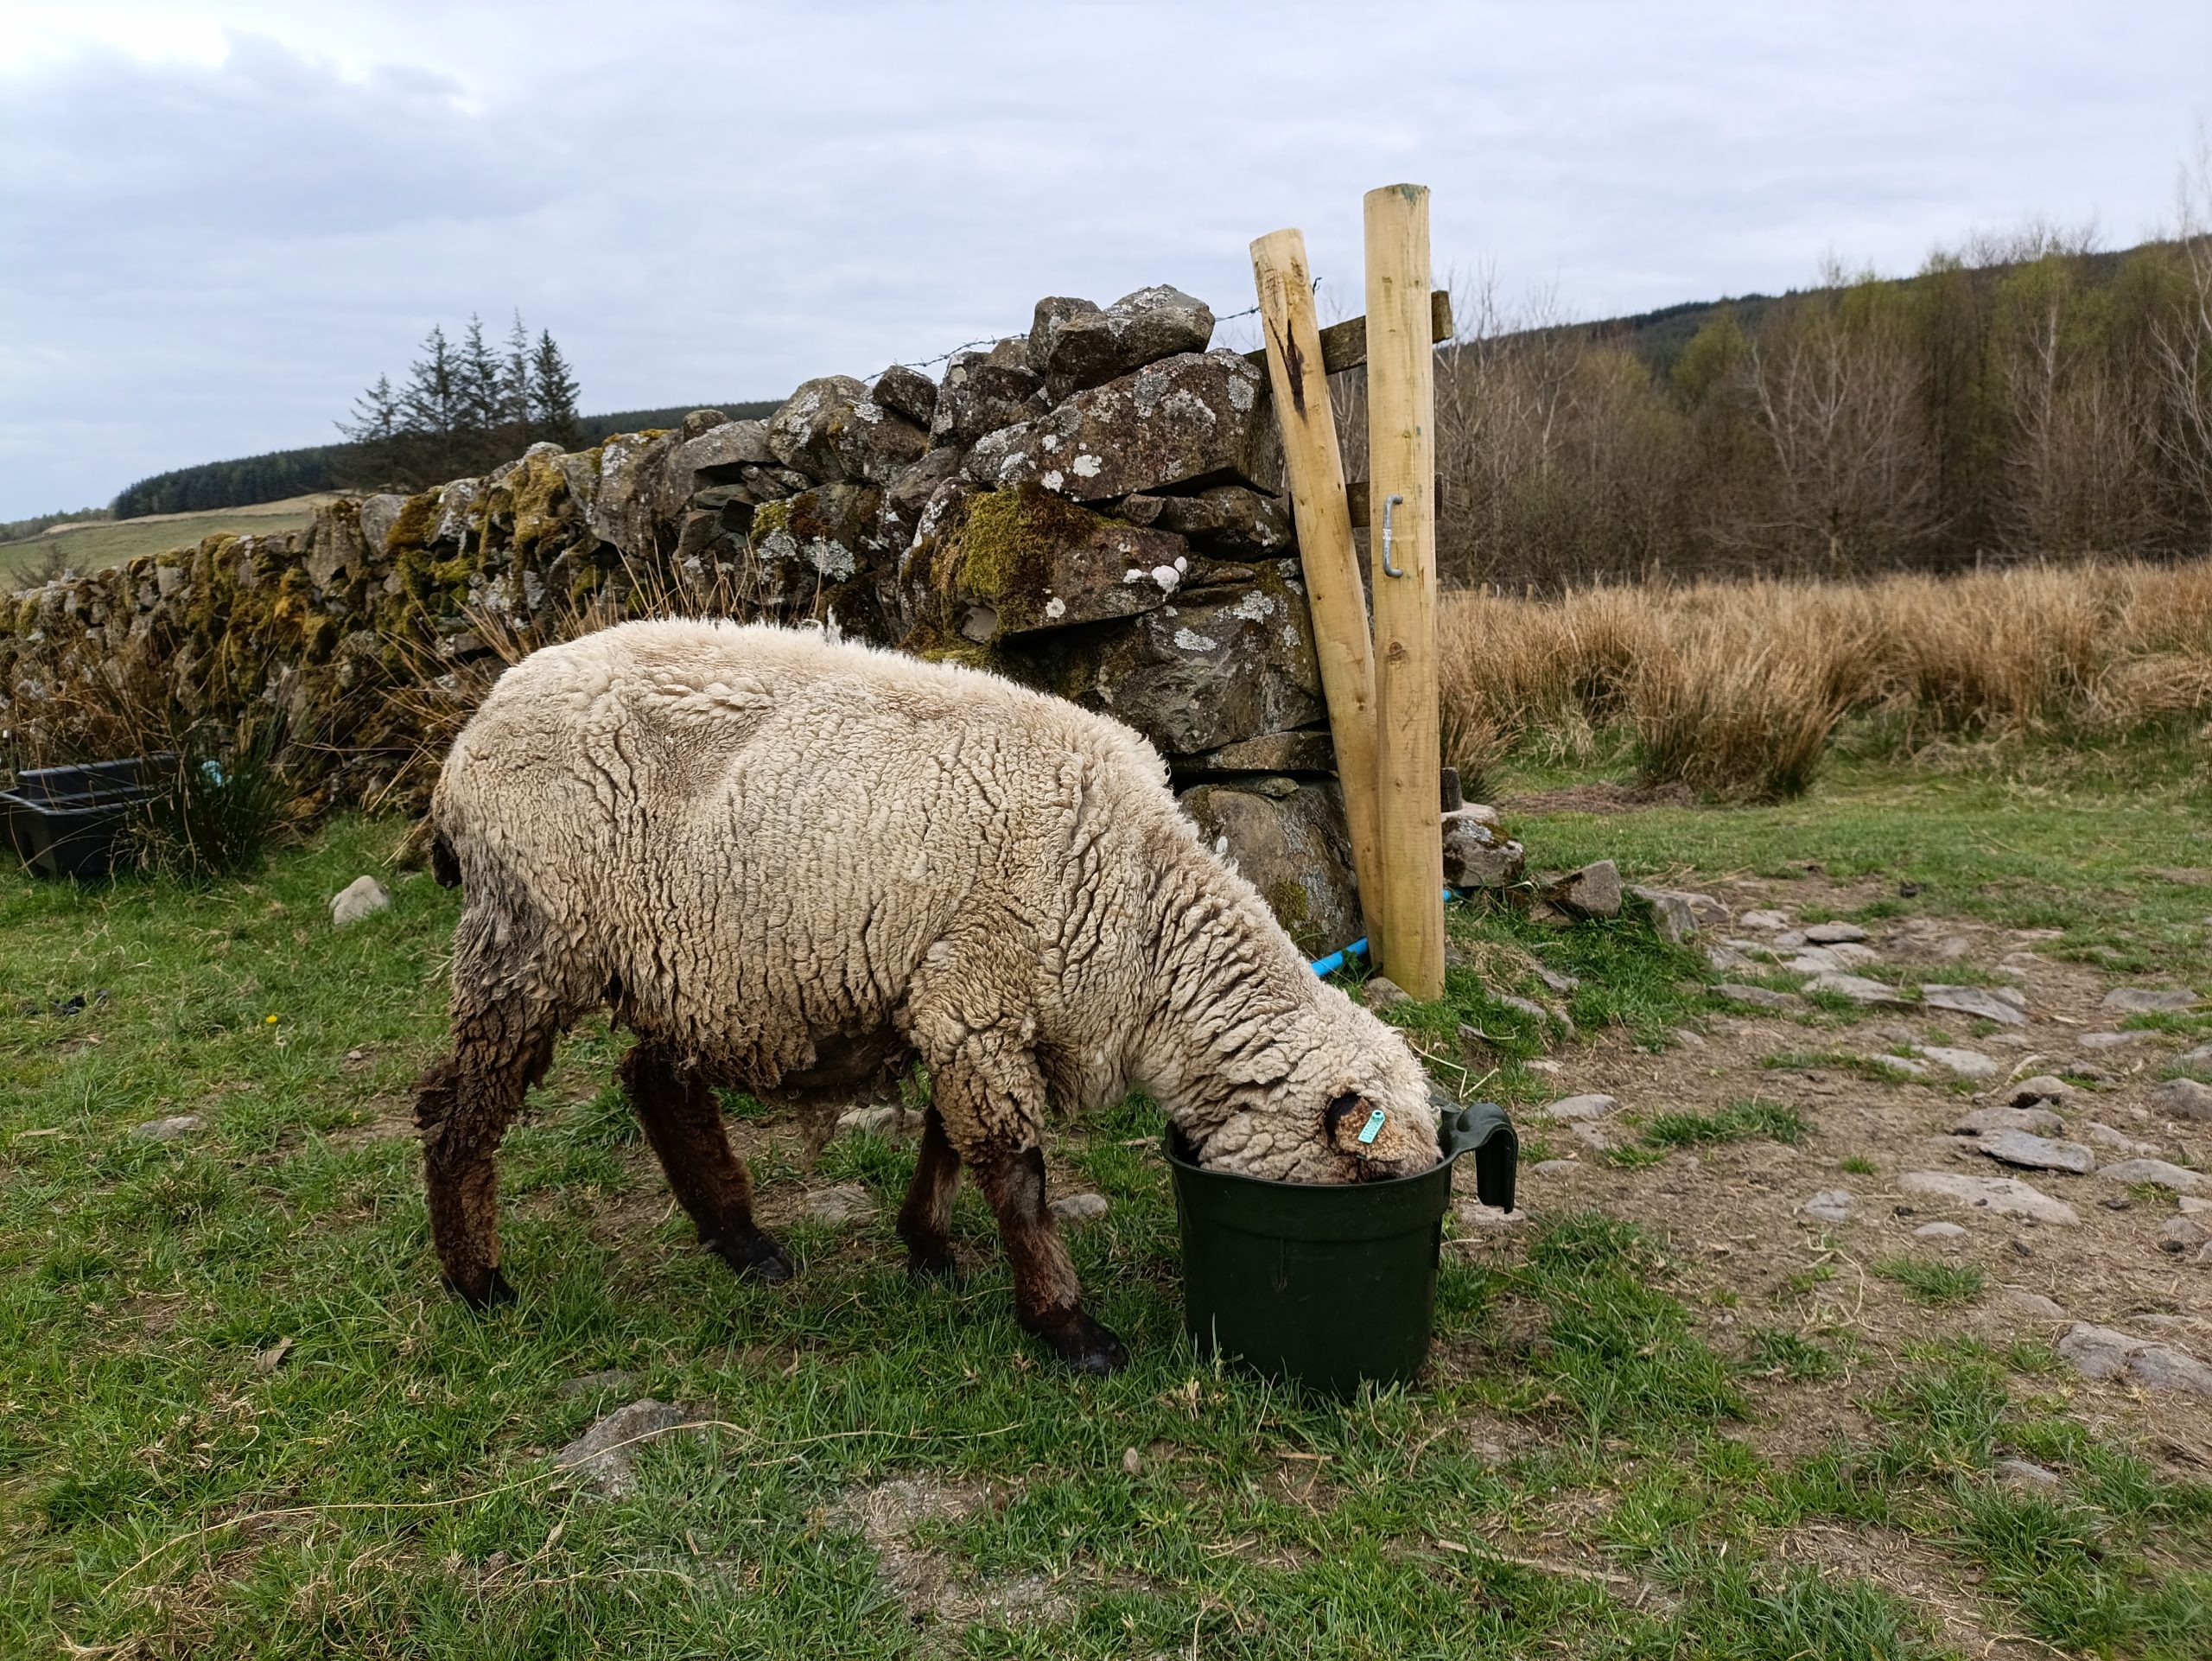
The best part about being in the “convalescence pen” was that I got waited on hand and foot. I got six buckets of warm, soaked pellets every day. The portions were big, much bigger than I used to get as a member of the “green bucket club”. In addition to the buckets I had a trough in the corner of my pen which contained chopped hay. I could eat as much of this as I wanted apparently, so I did. I also had my very own private water trough and tons of soft bedding to lie on. I hadn’t felt so warm and cosy in a long while I can tell you.
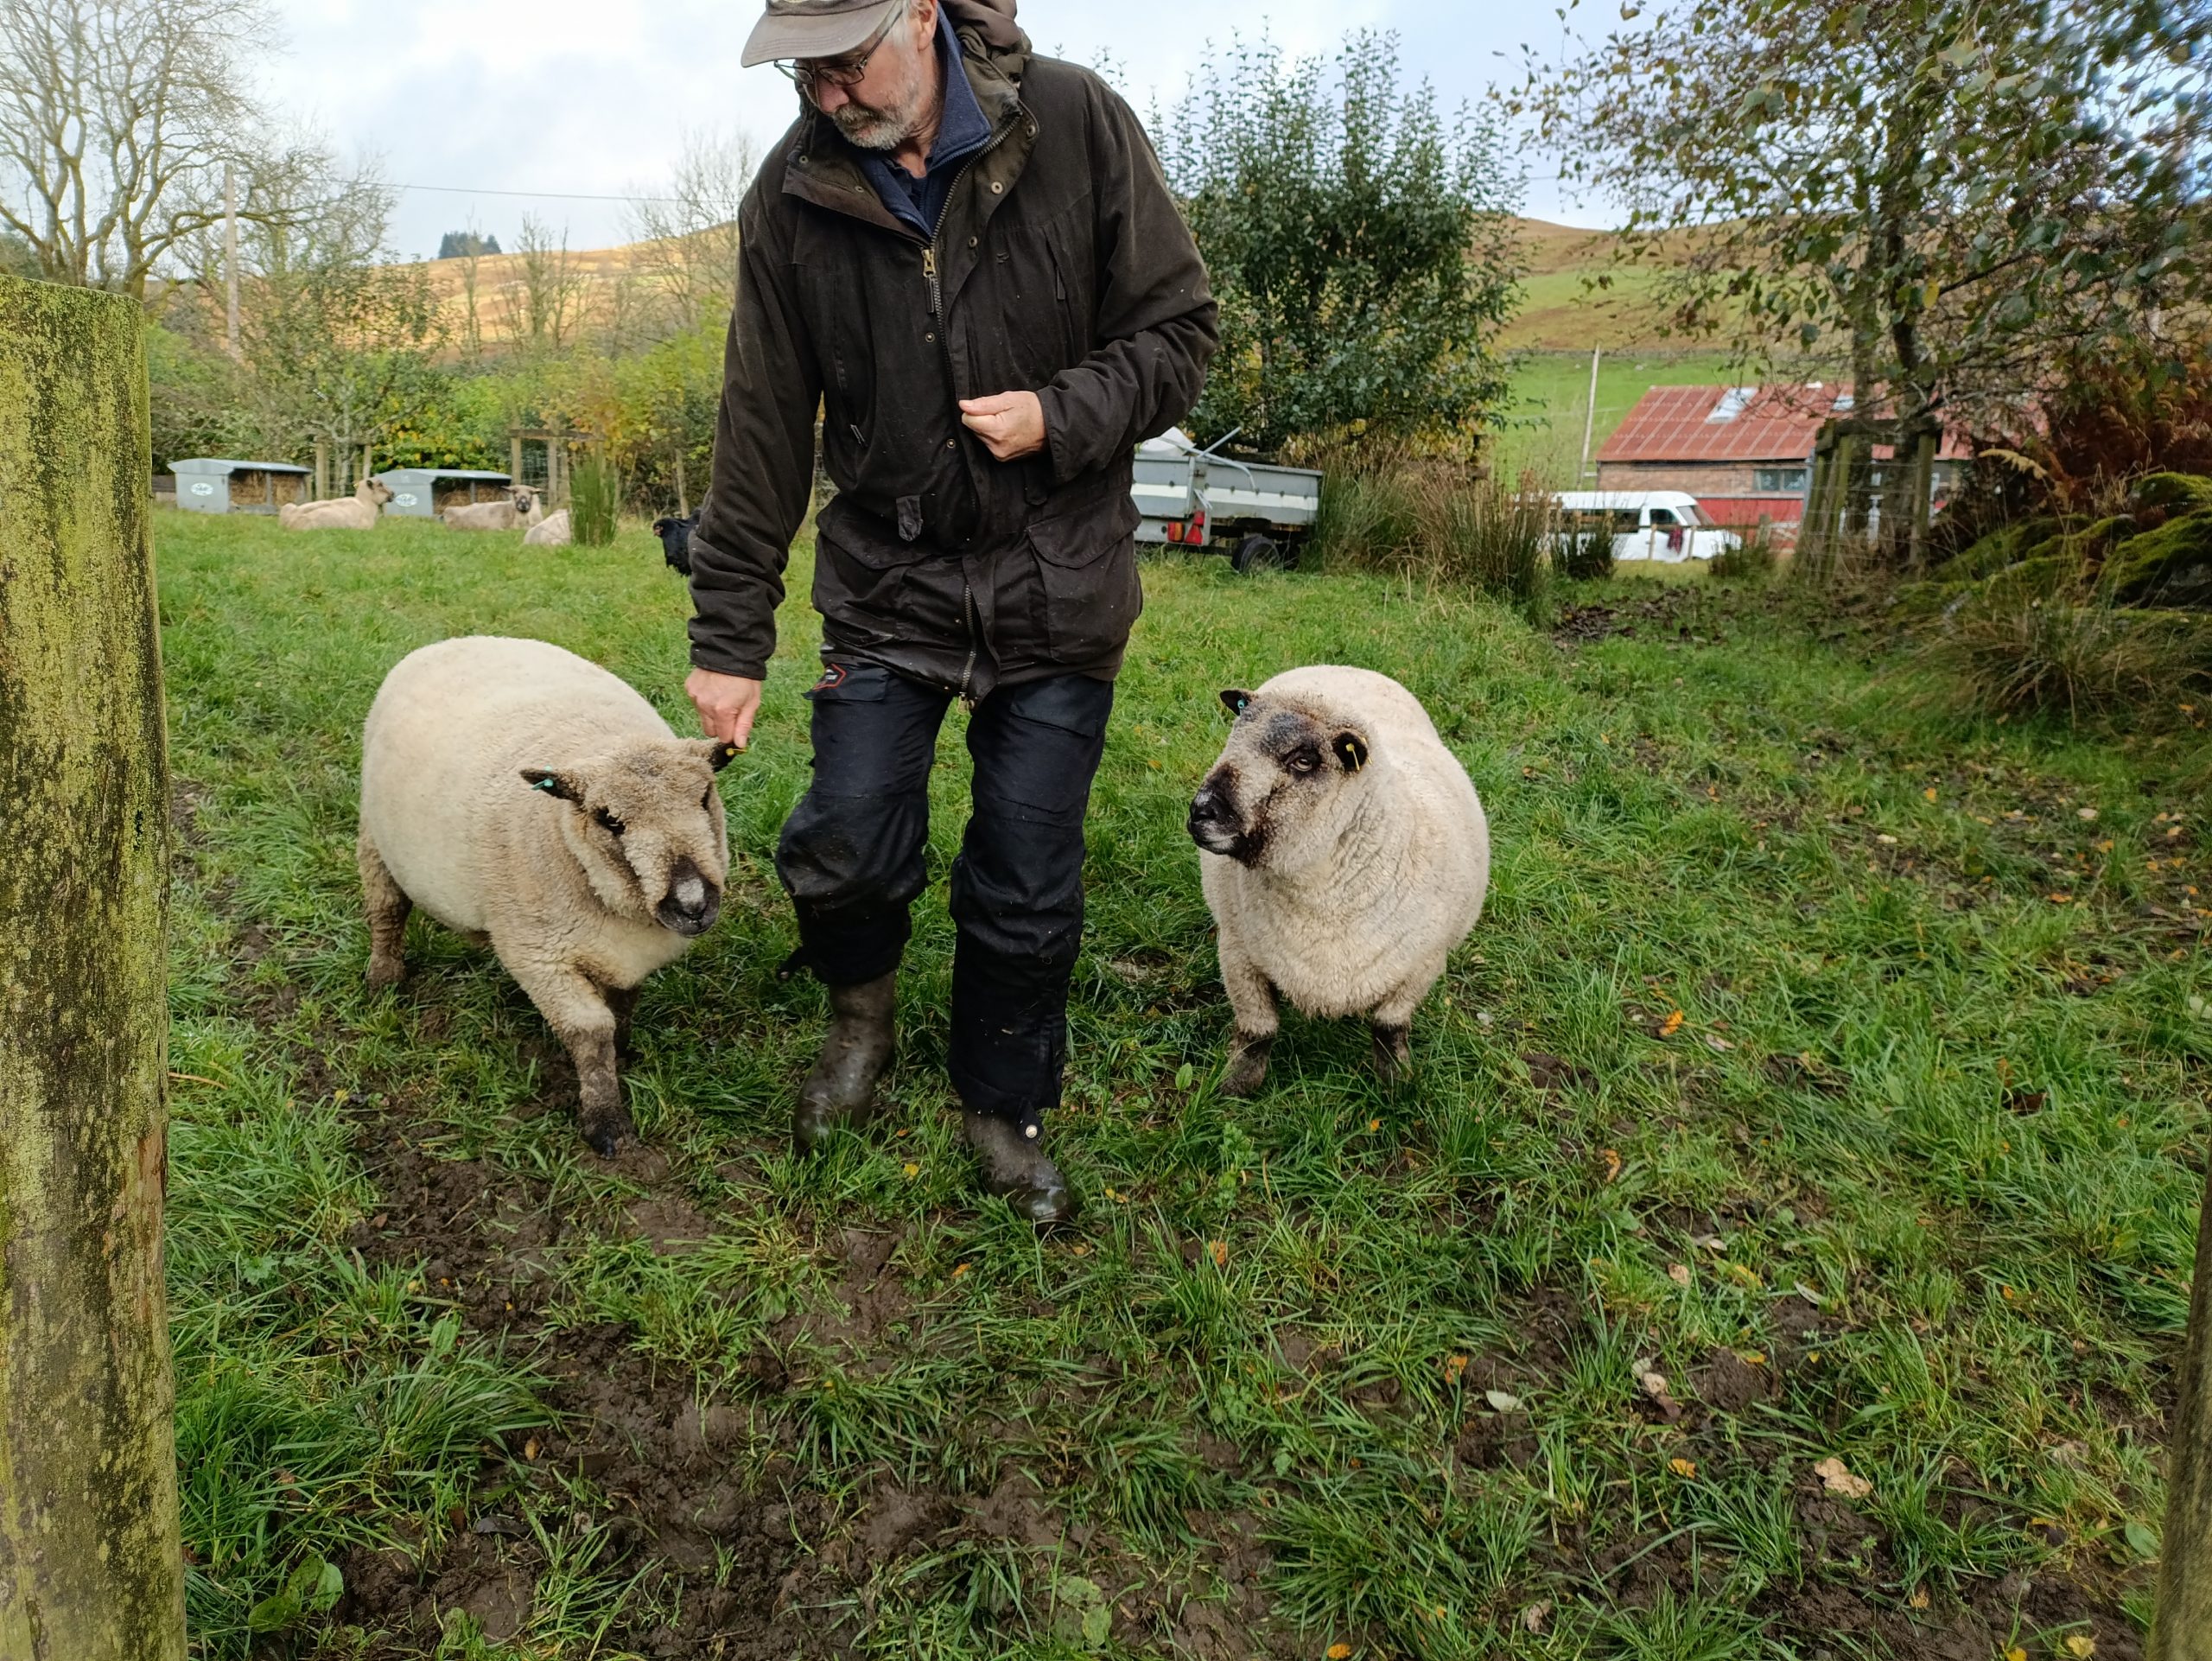
My girl human spent a lot of time with me. Sometimes she sat next to me and we pondered the world together. Other times she gave me tickles and back rubs. I pushed my head into her to show I liked that. Every day she scooted around the shed with a bucket and shovel.
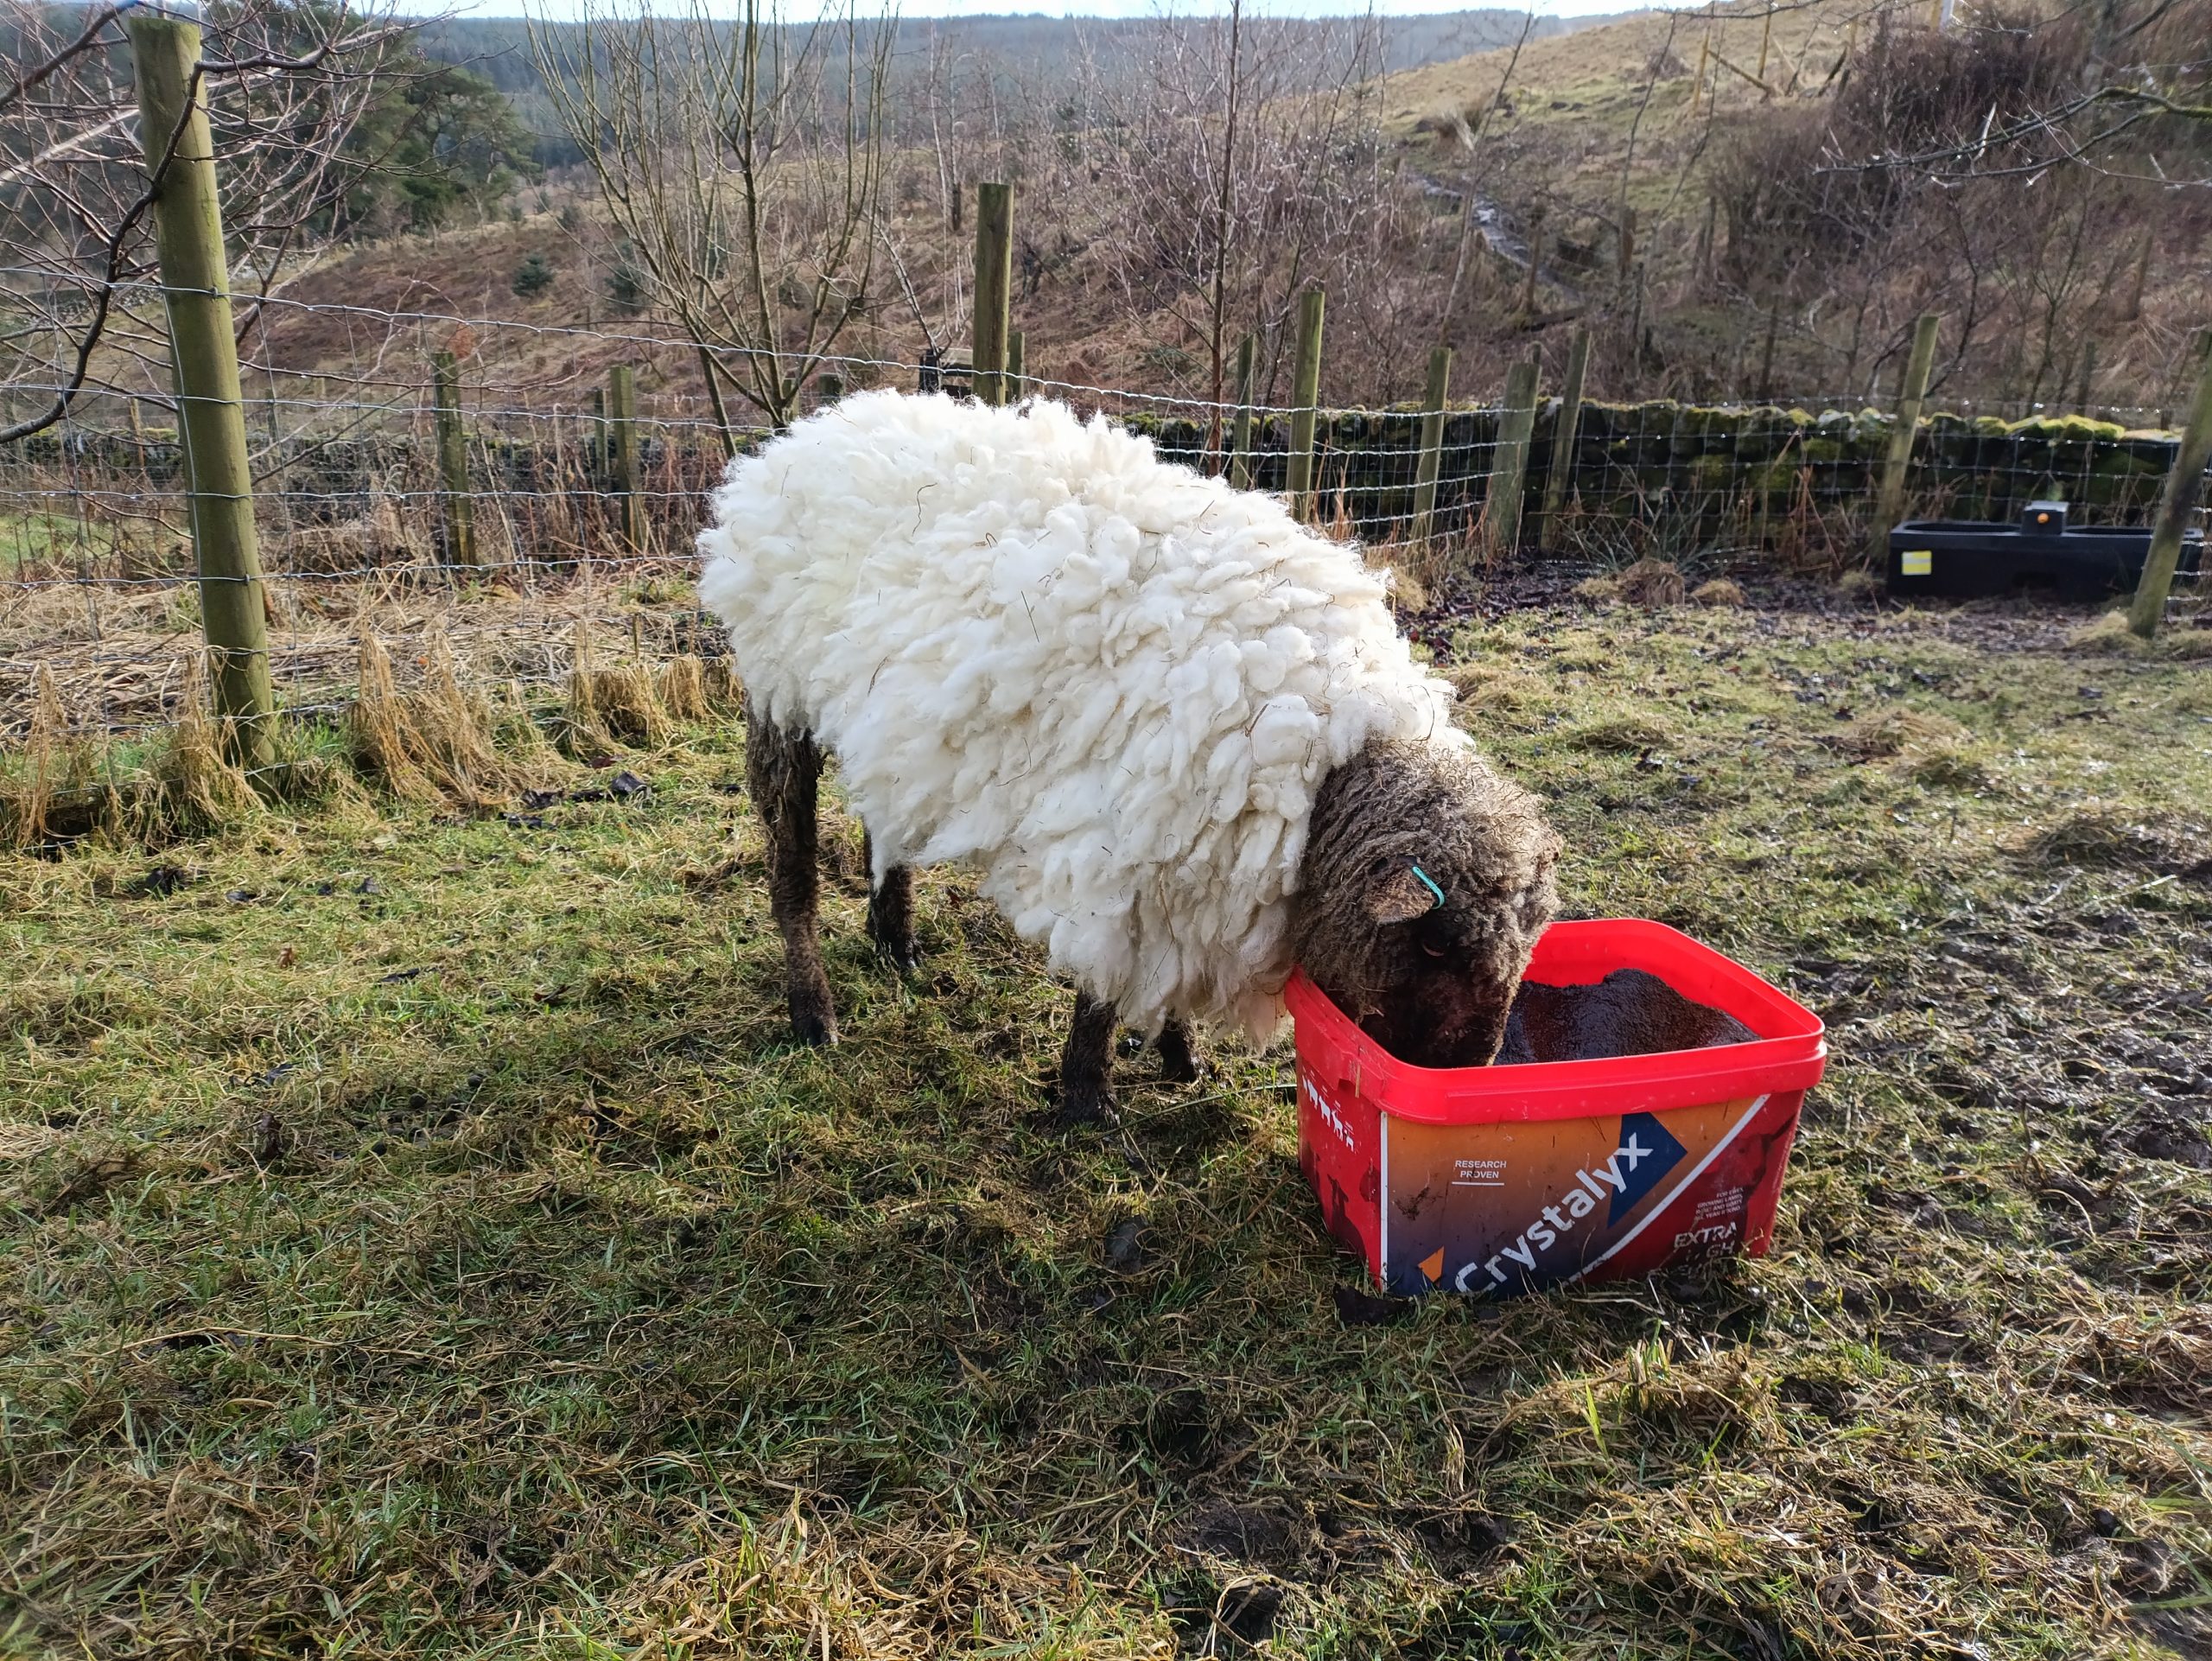
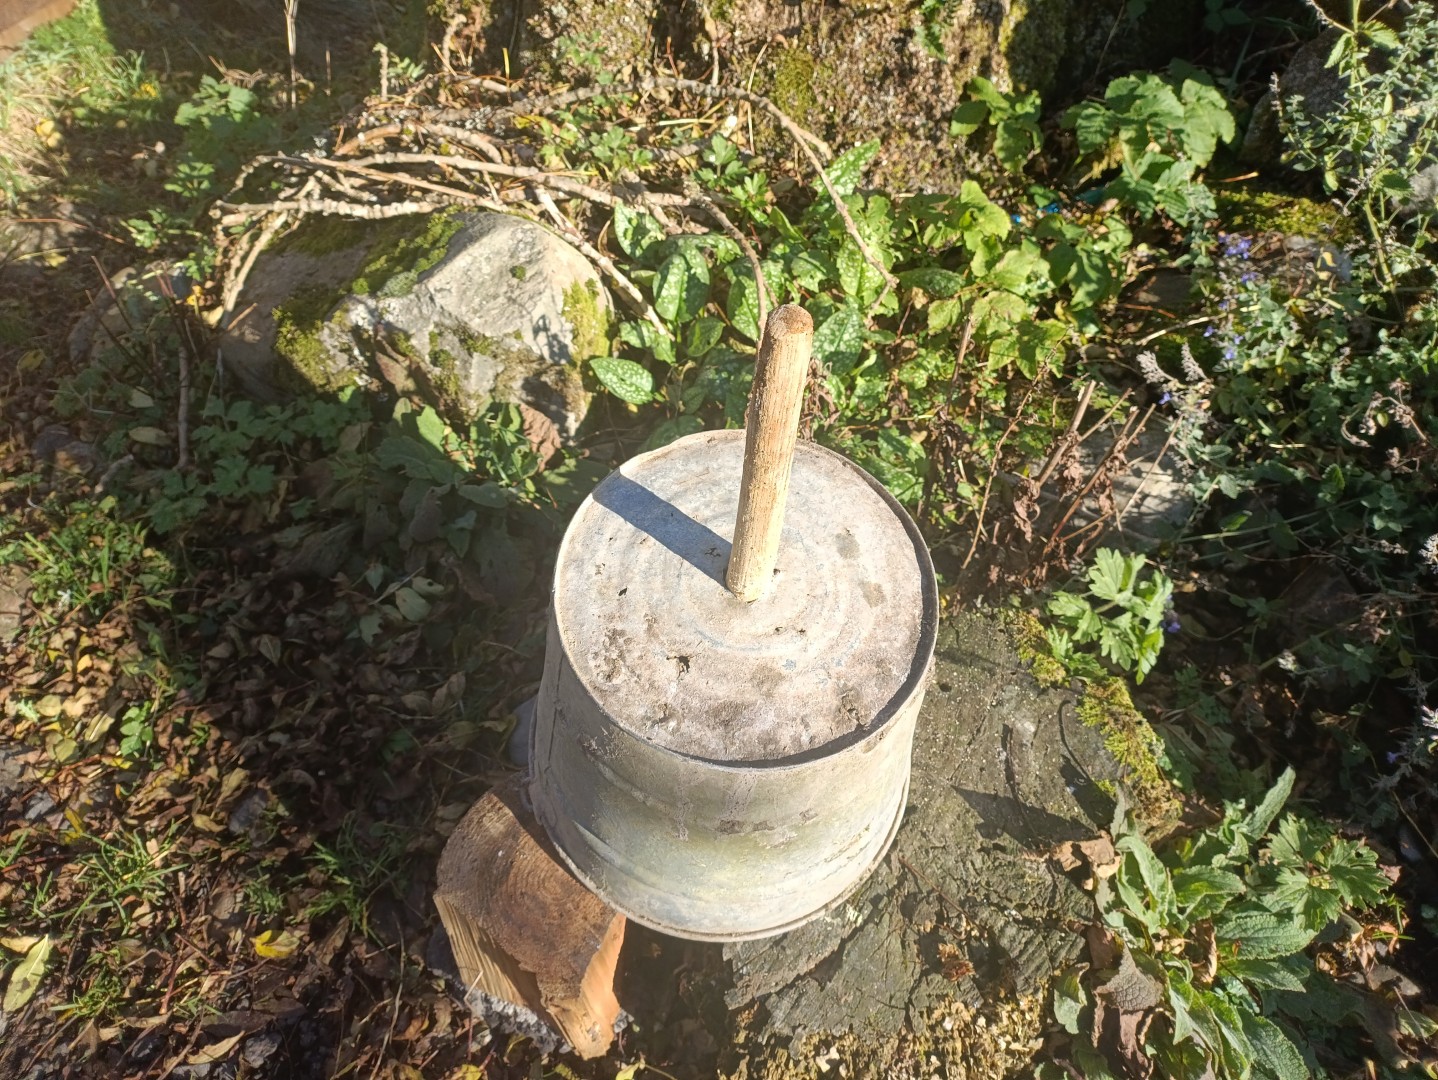
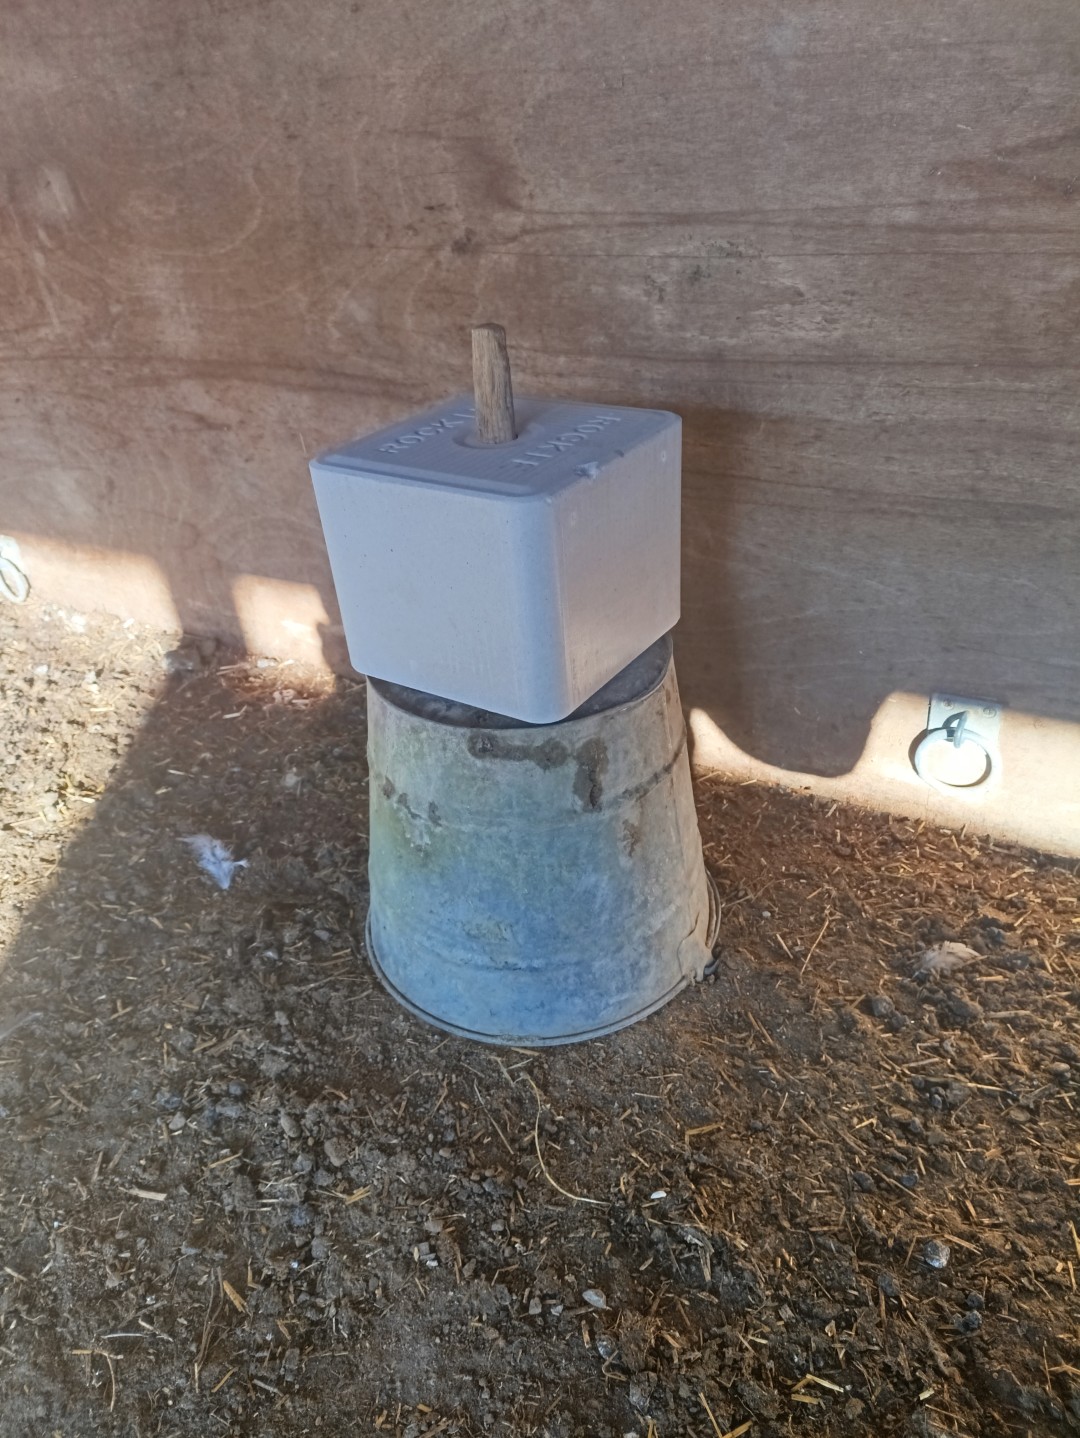
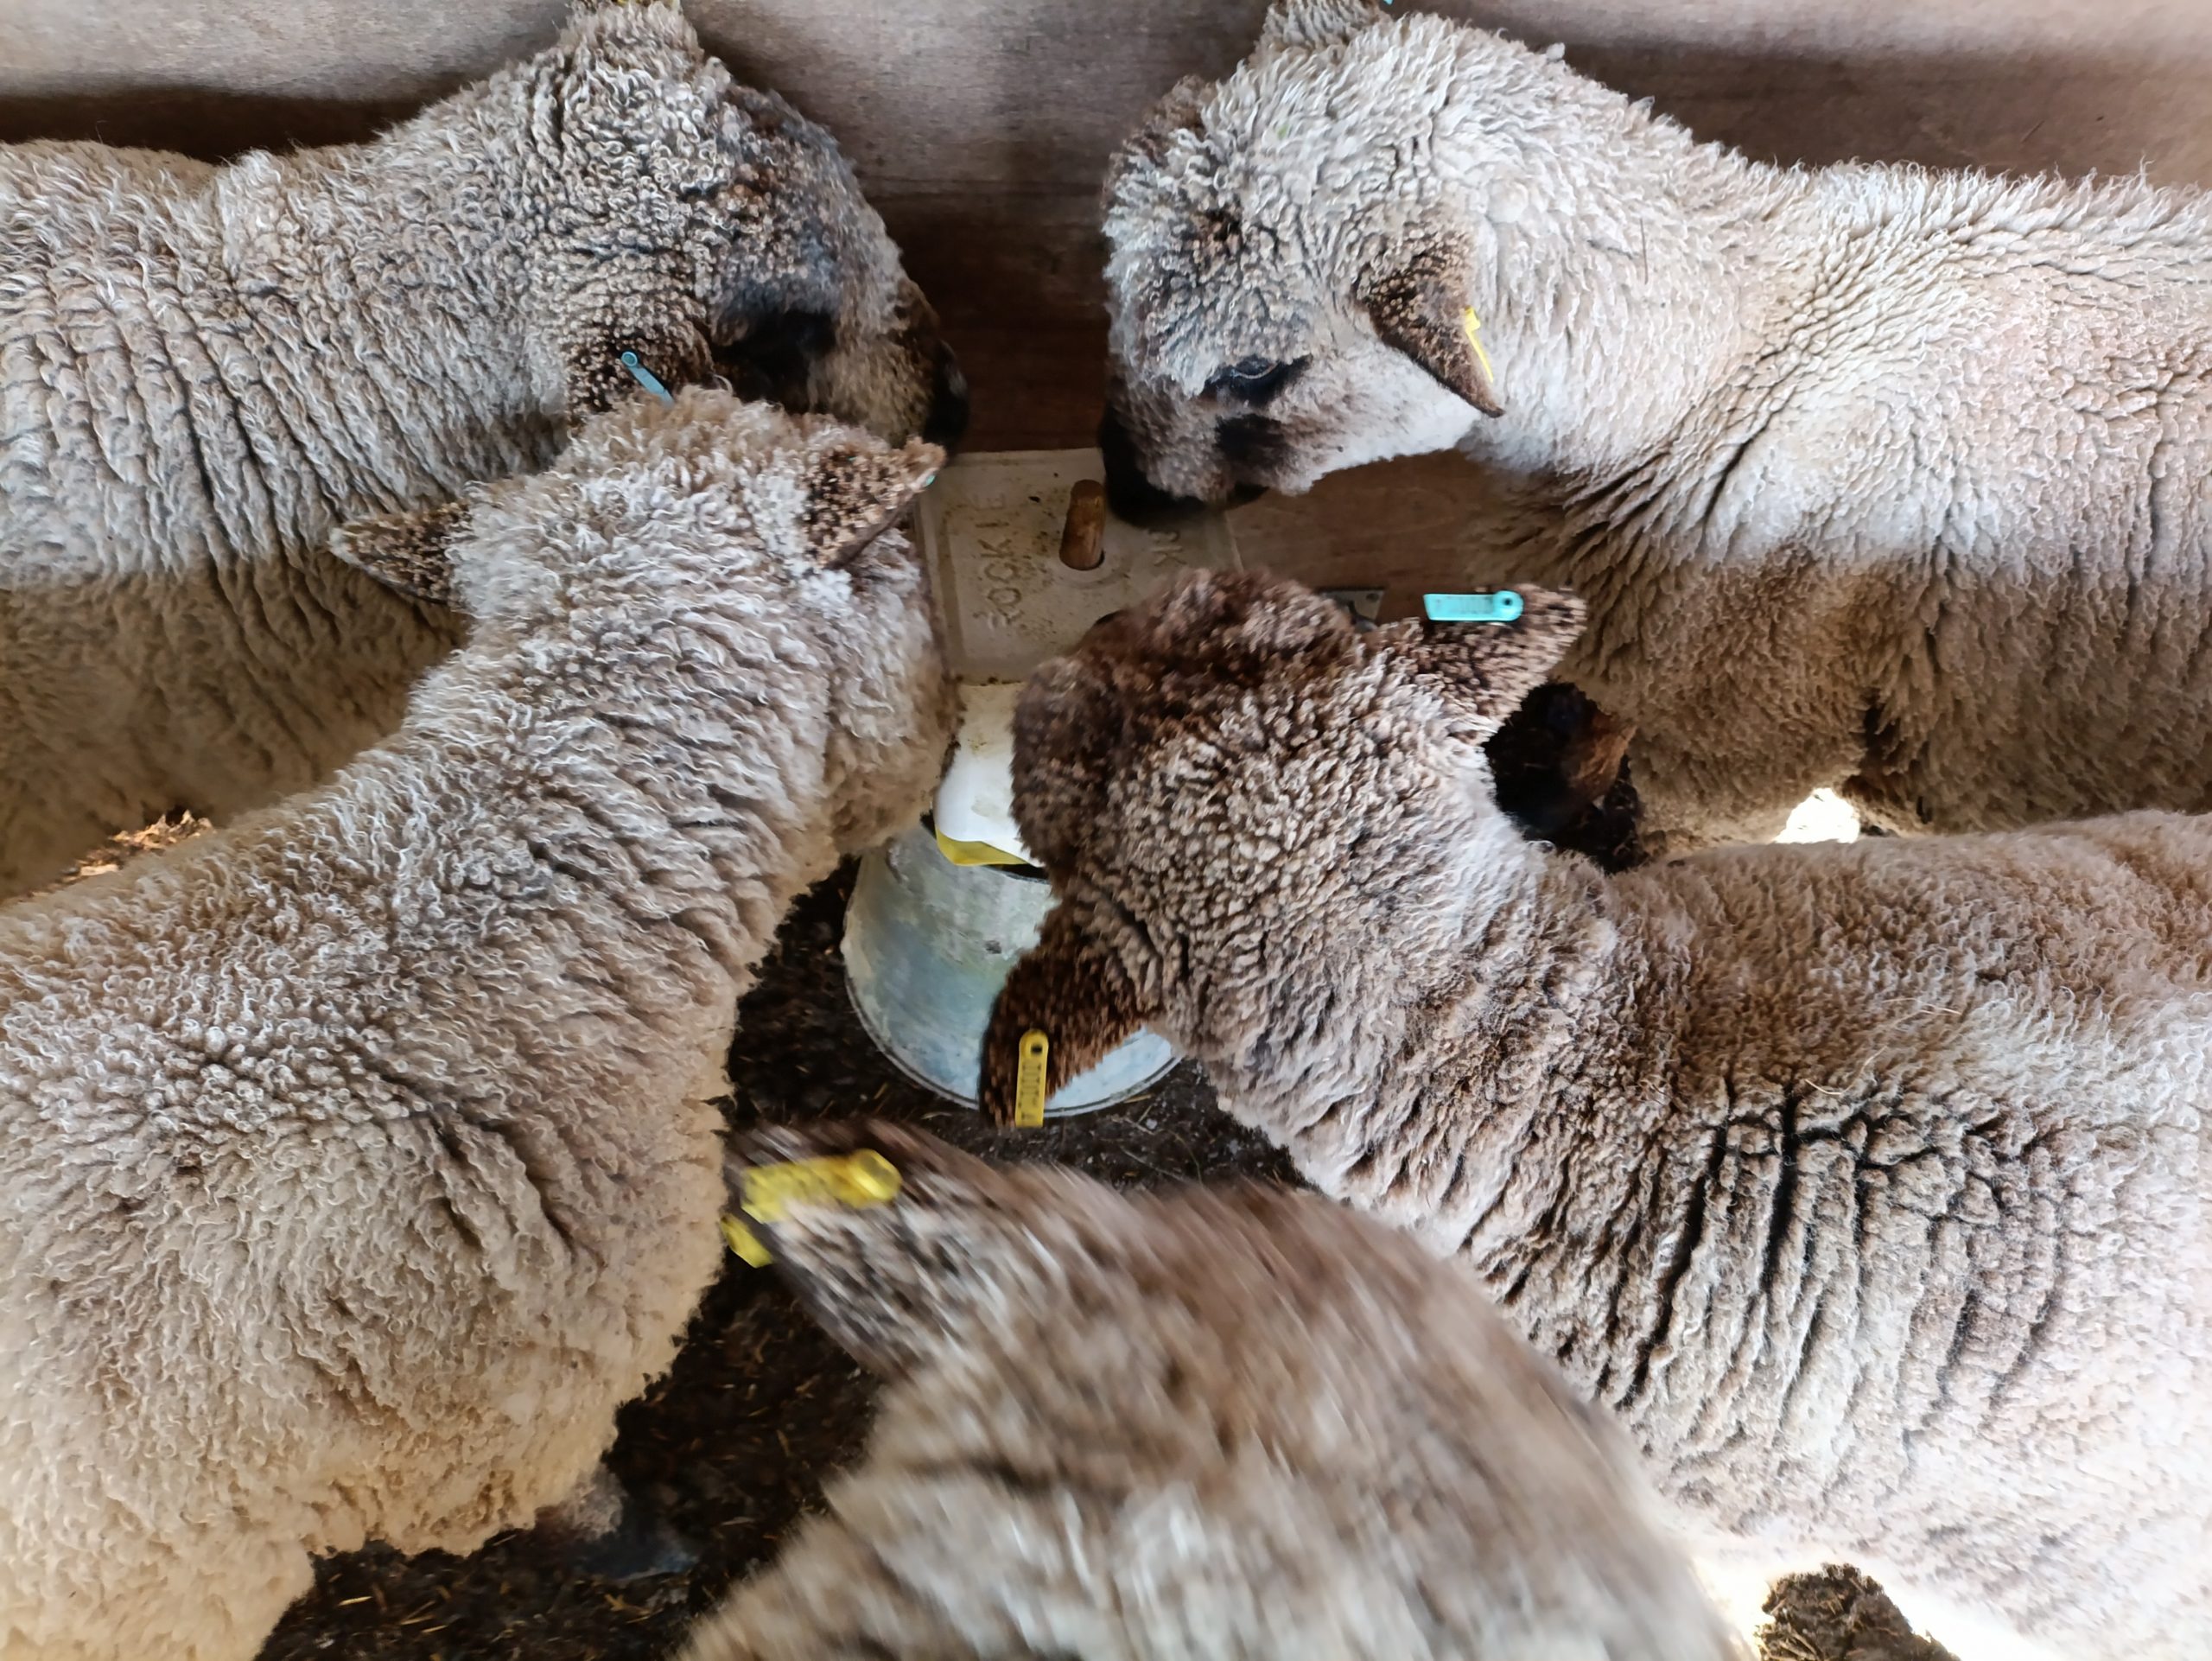
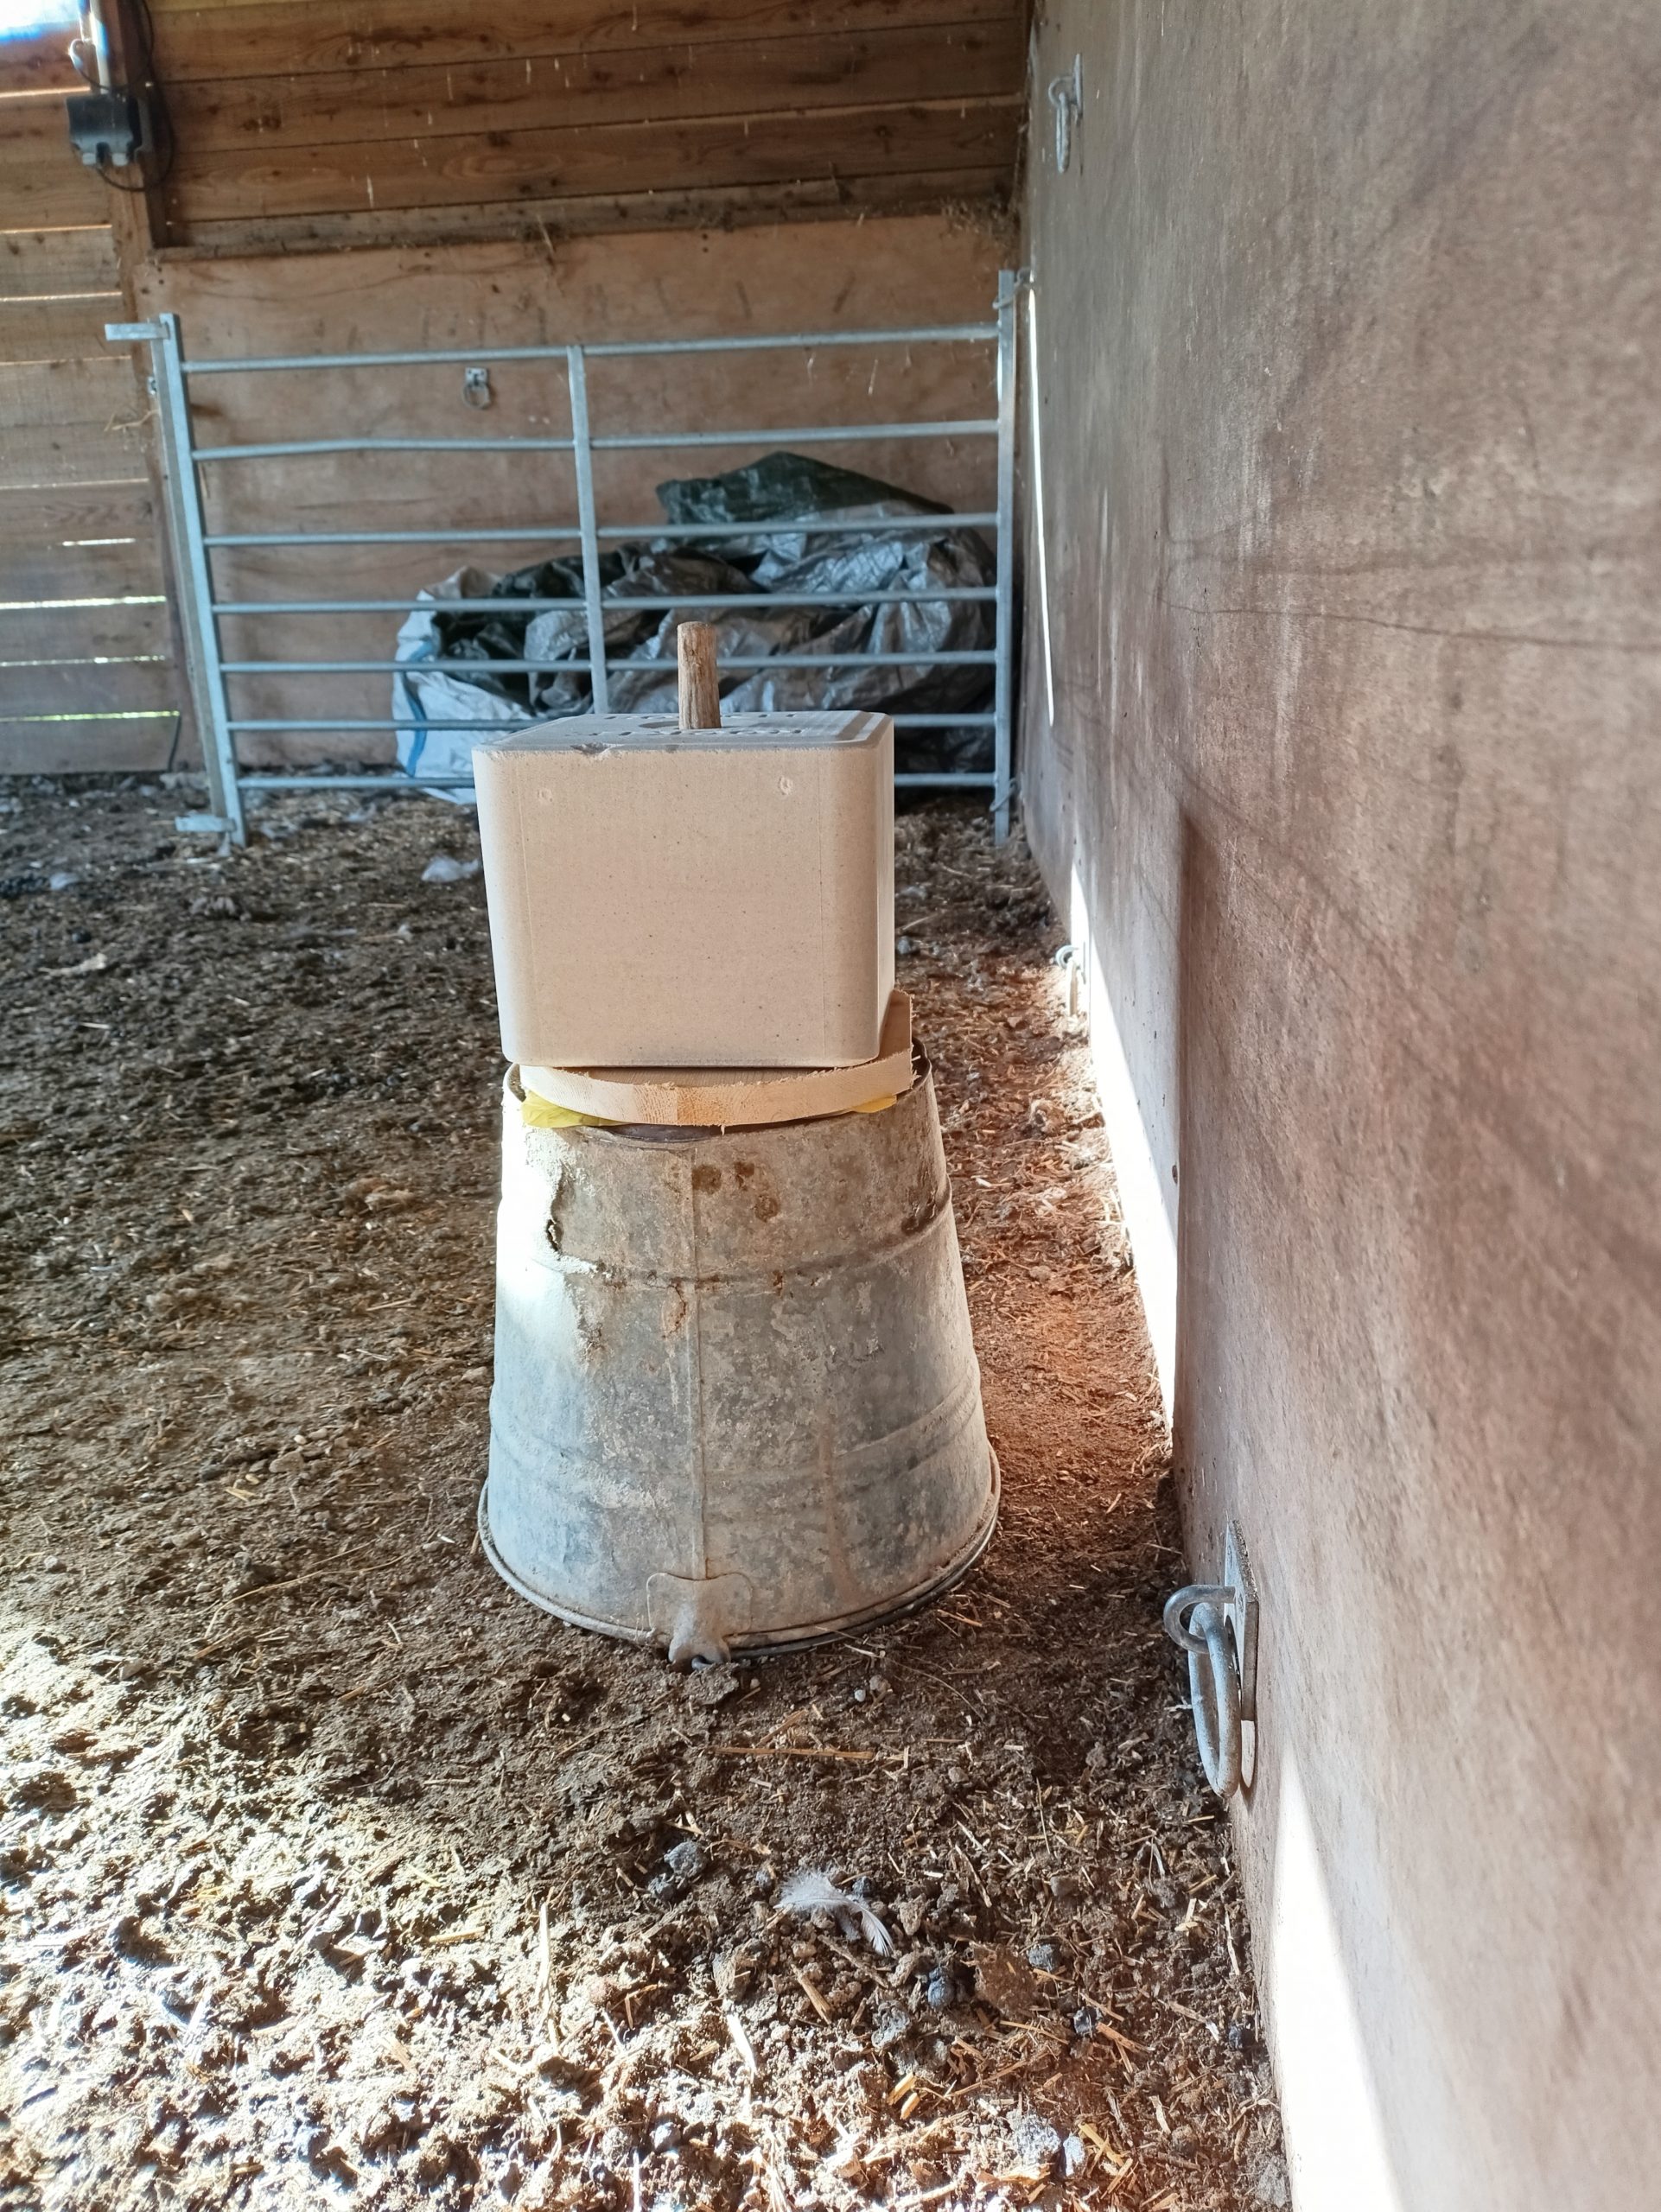
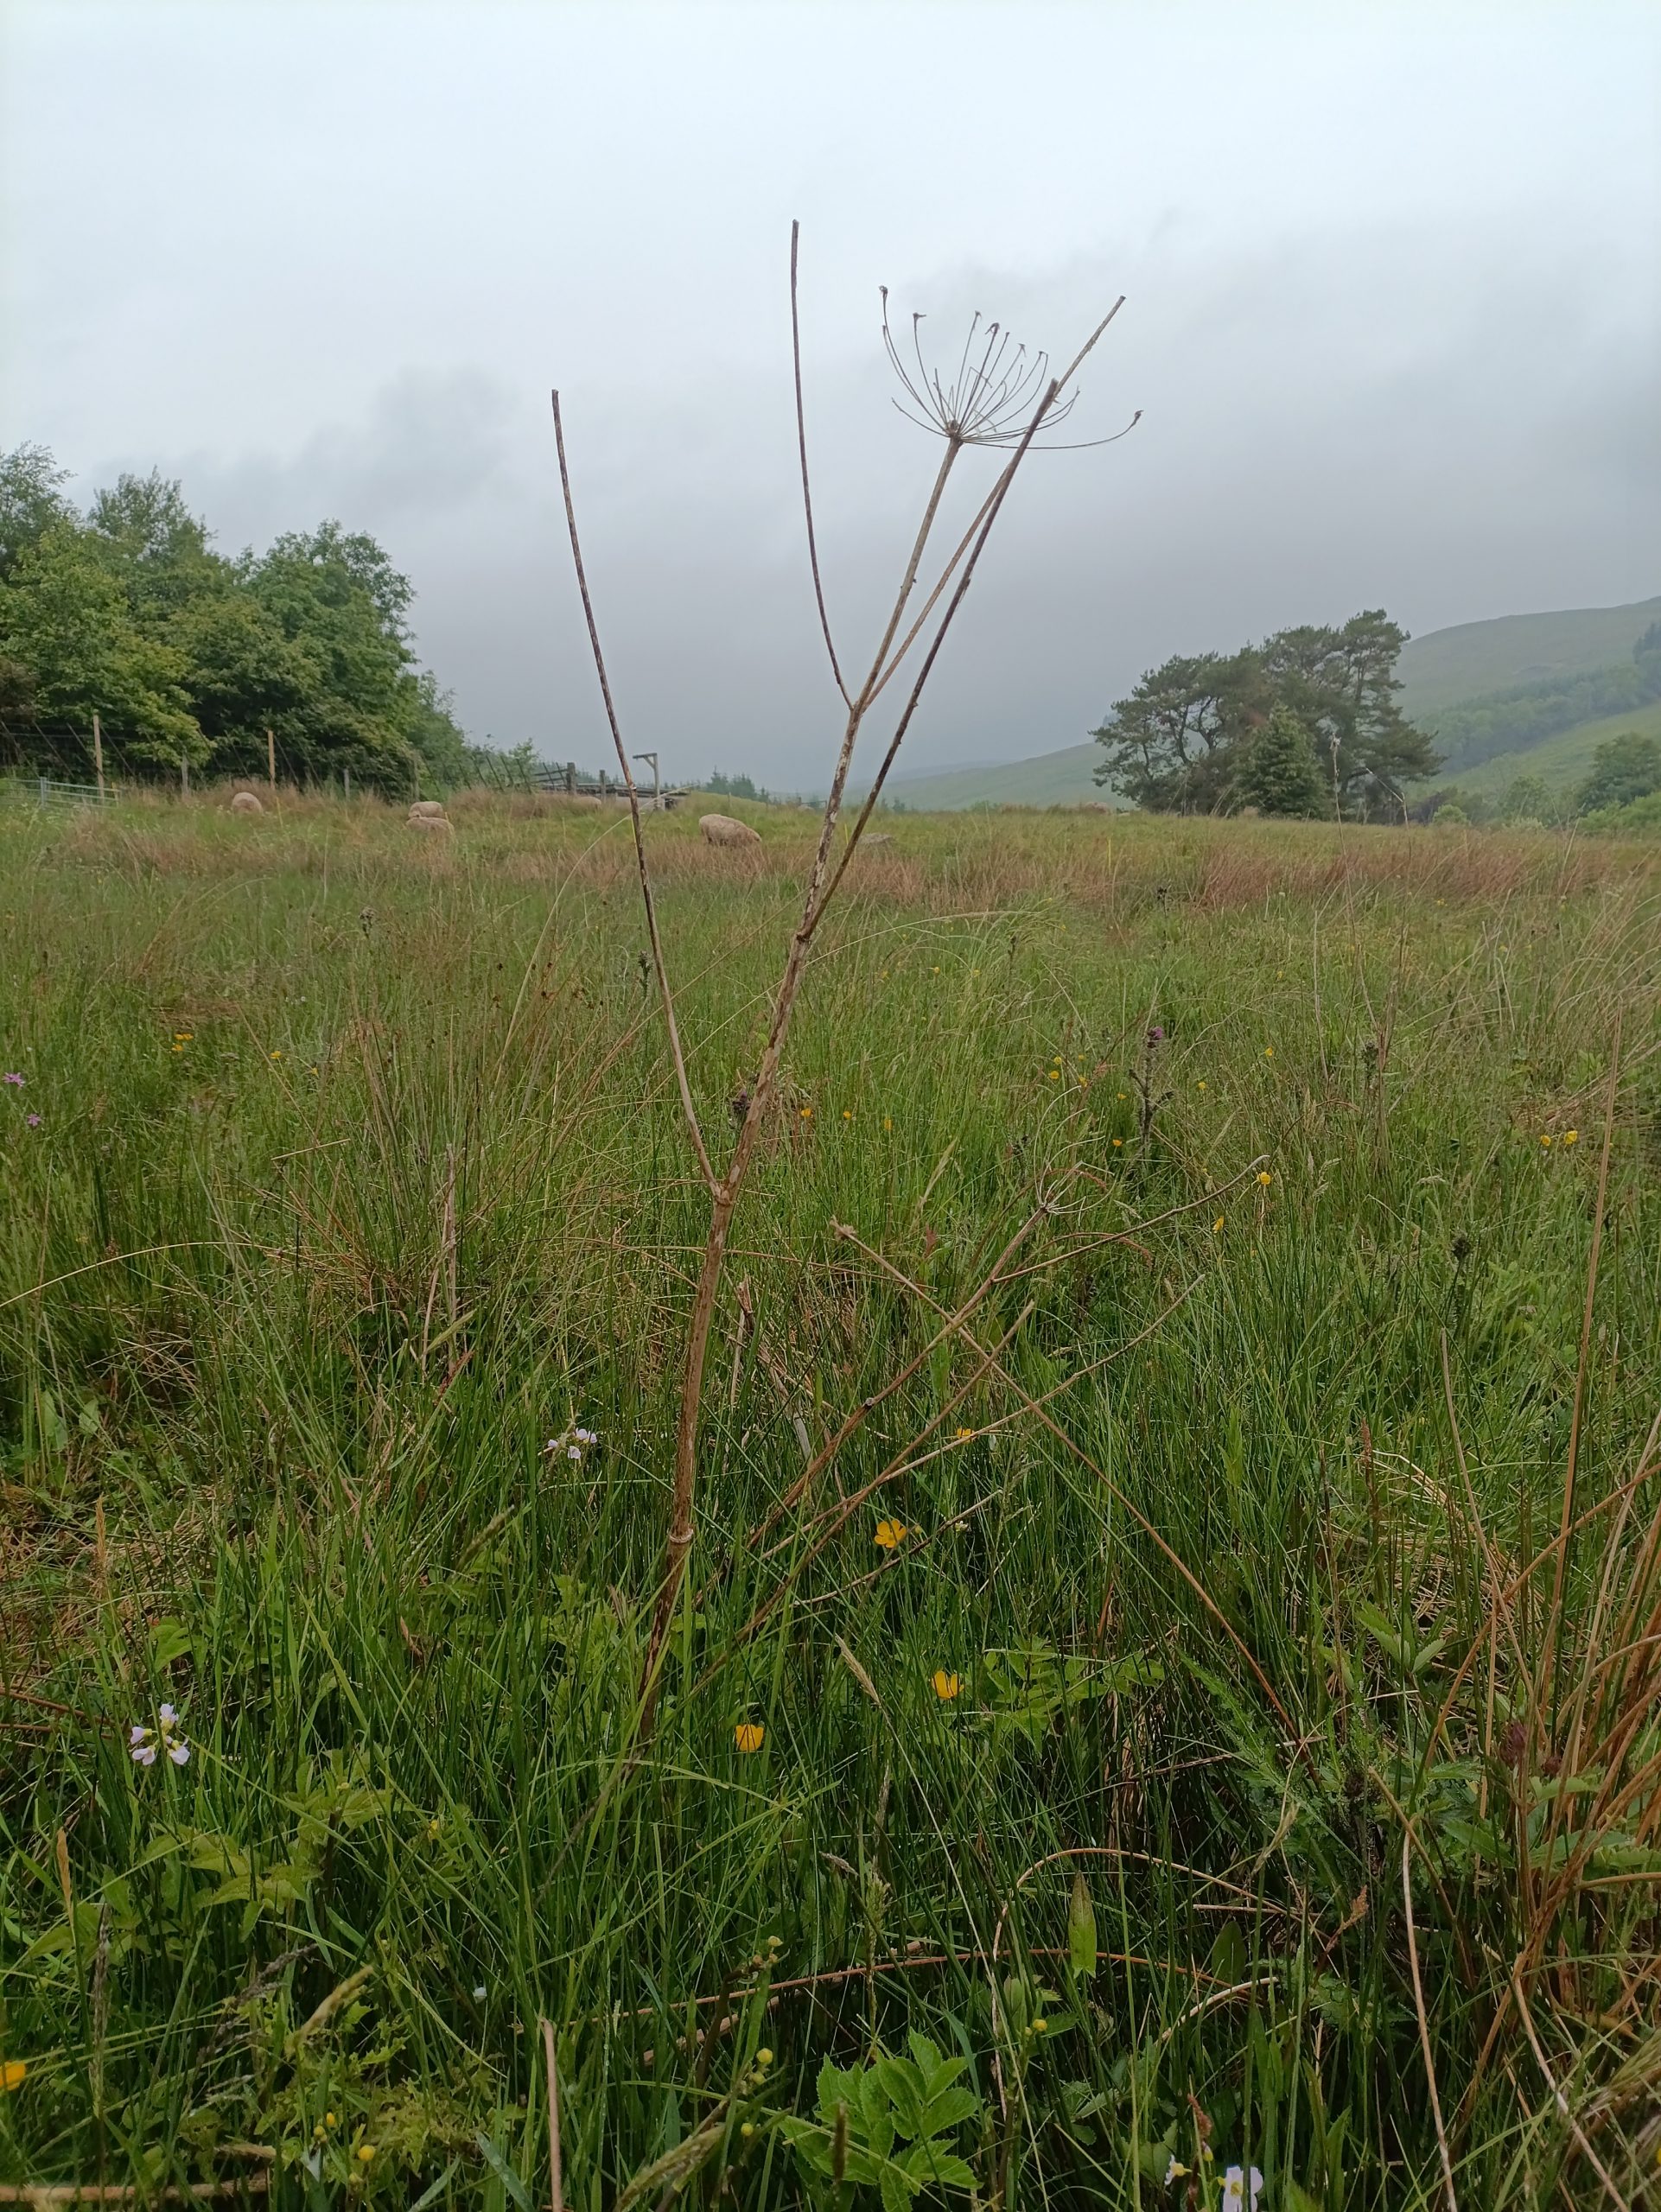
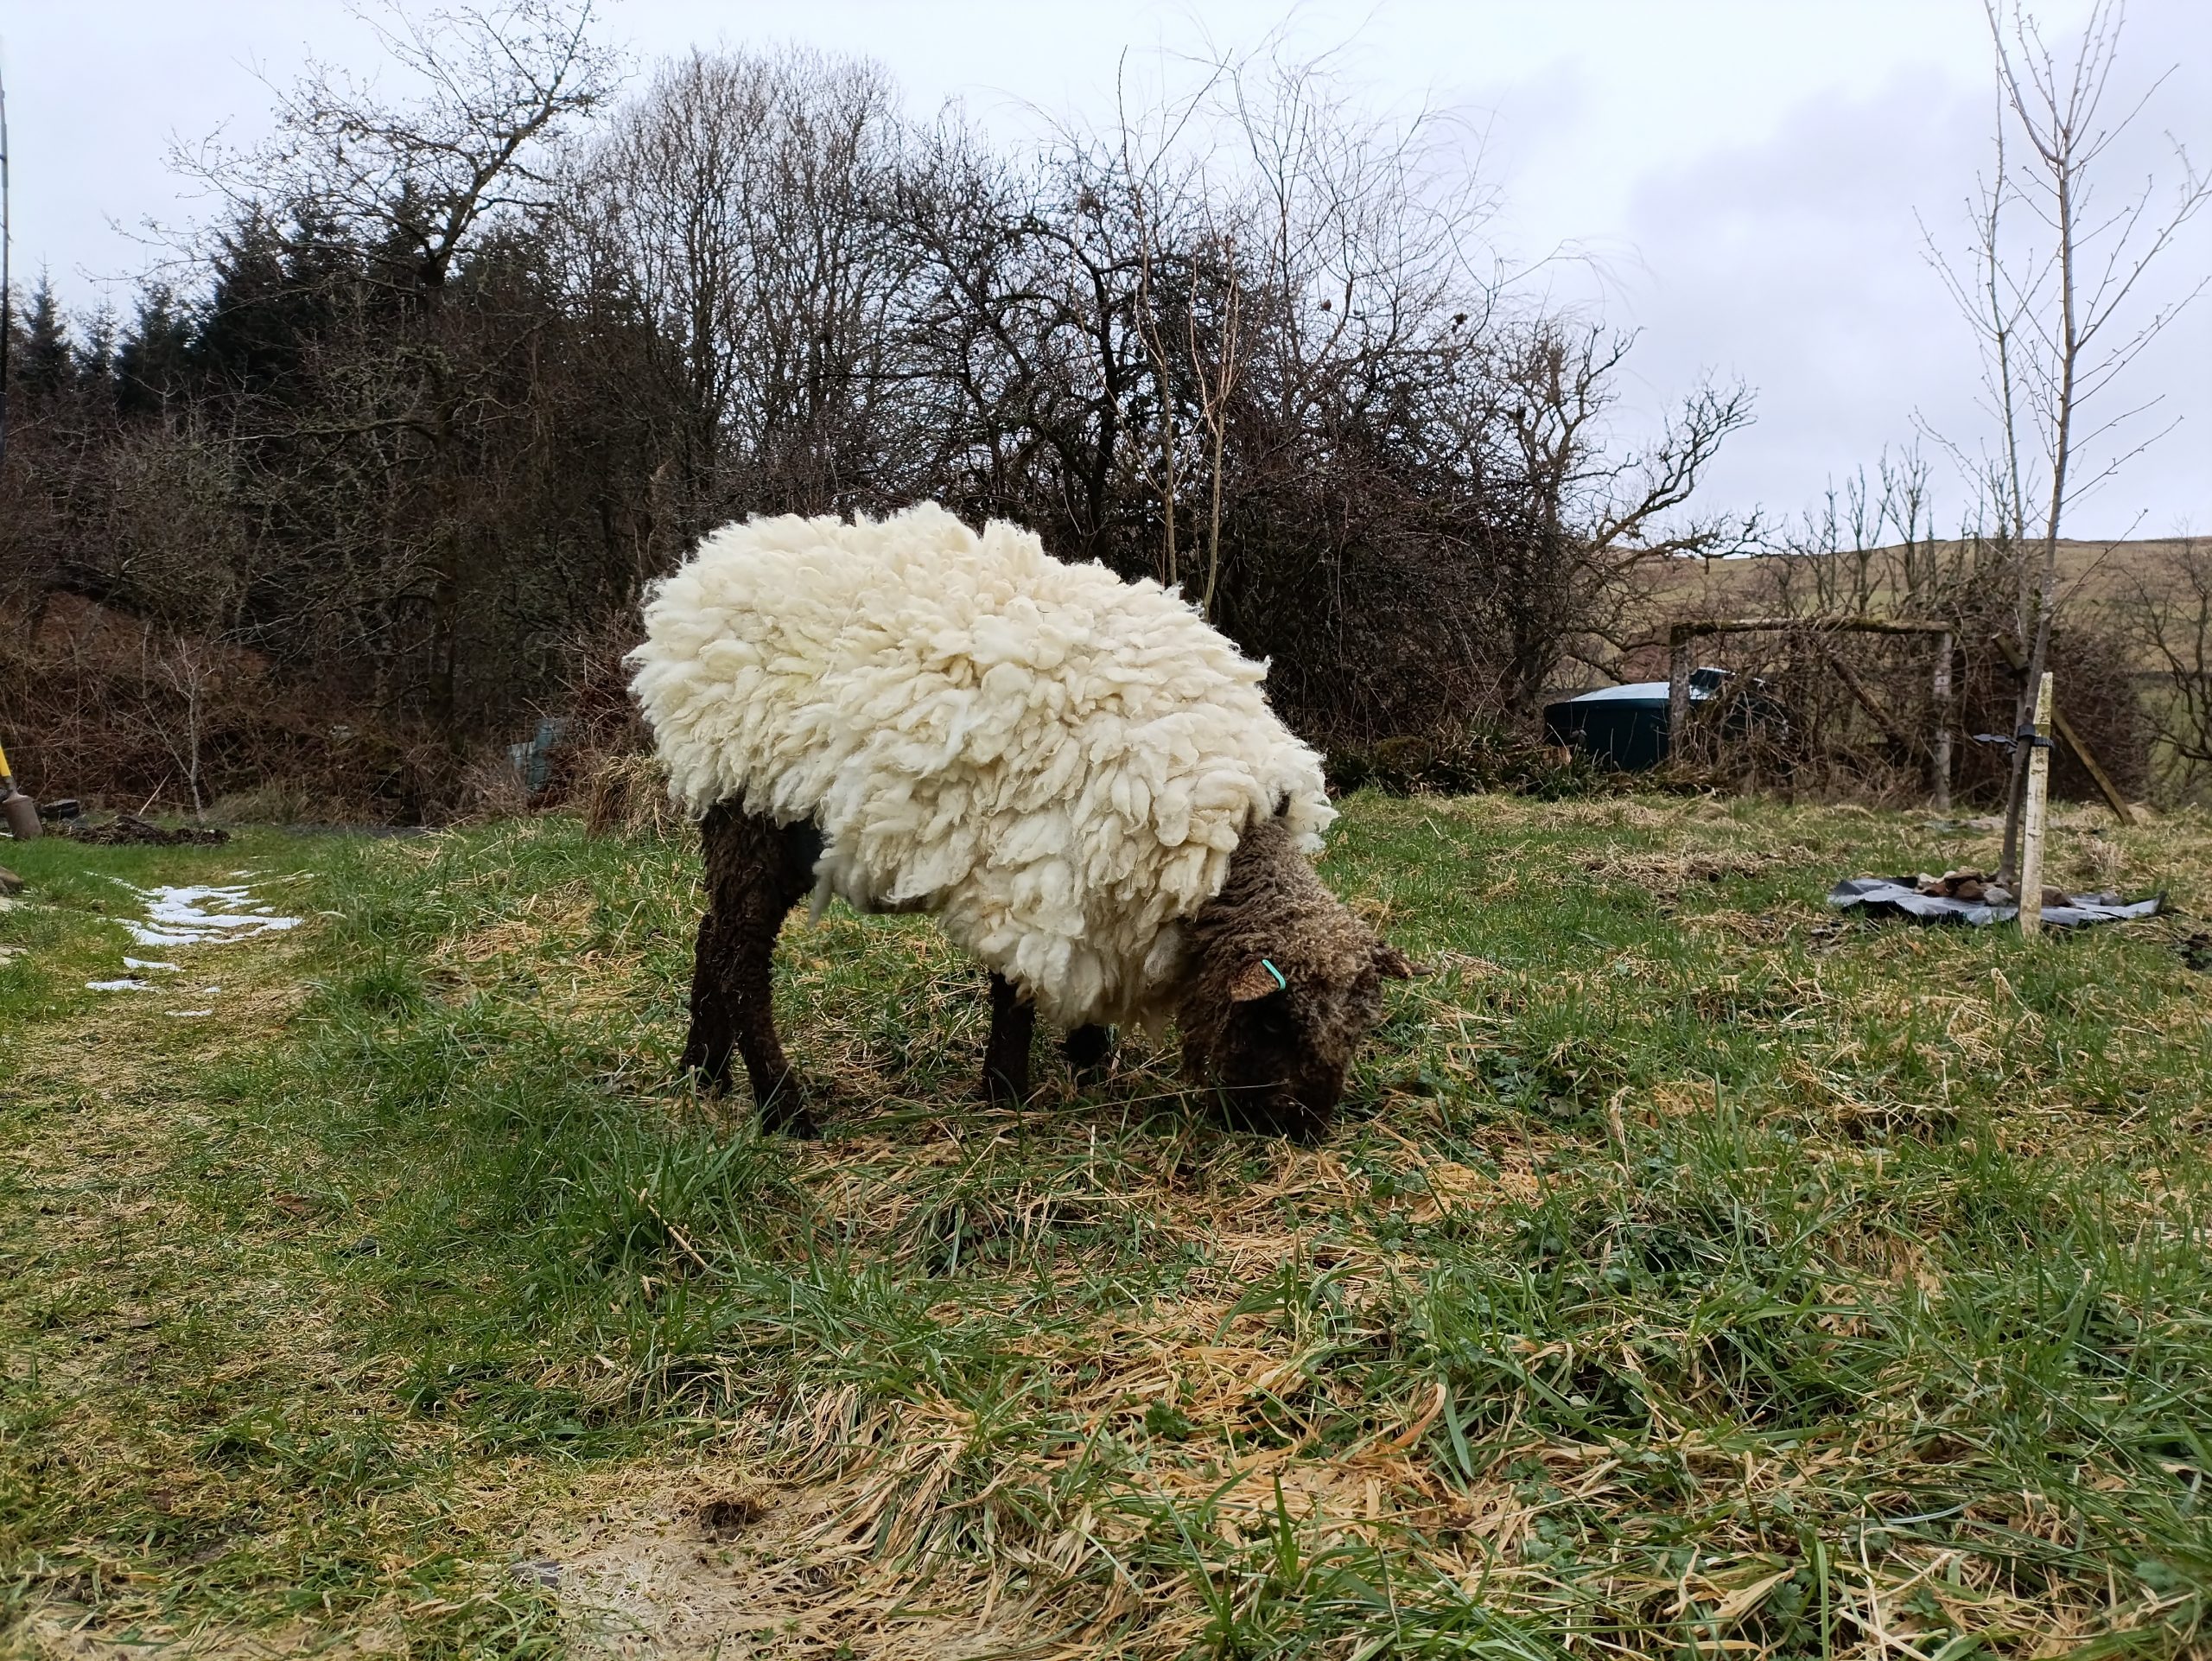
She also took me for daily walks. First, we went to see my friends in the fields. But I wasn’t interested in socialising or eating the grass in the fields. To be honest, the grass was rubbish, no flavour or sweetness to it. I couldn’t be bothered to pull hay from the feeders like the other sheep. But I did enjoy the licky bucket. I started to make what the humans call “a beeline” to this every day. One day the licky bucket disappeared, I spent ages sniffing around looking for it. I made a point of not eating the grass in the fields because I knew there was better grazing to be had elsewhere – in a place called “the garden”. My girl human always took me to “the garden” after our walk around the fields. The grass in “the garden” was delicious even if it wasn’t that sweet what with it still being winter. I loved being the garden. My favourite place was a patch of grass under some trees. My girl human sat on a log and watched me eating. I always made sure I had her in my sight.
After a few days, my humans opened up my pen so I could graze a small area in the paddock. I was amused by this, why would I want to graze the paddock when I had six buckets of alfa beet, meadow pellets and my own personal supply of hay (chopped none less)?
I rarely went into the paddock but appreciated the sentiment. I started to get good at learning the times my girl human came out with my buckets. Sometimes she tried to sneak up on me, but I always knew and ran out of the shed with a loud “baa” before she could surprise me. I don’t think humans appreciate just how intelligent us sheep are.
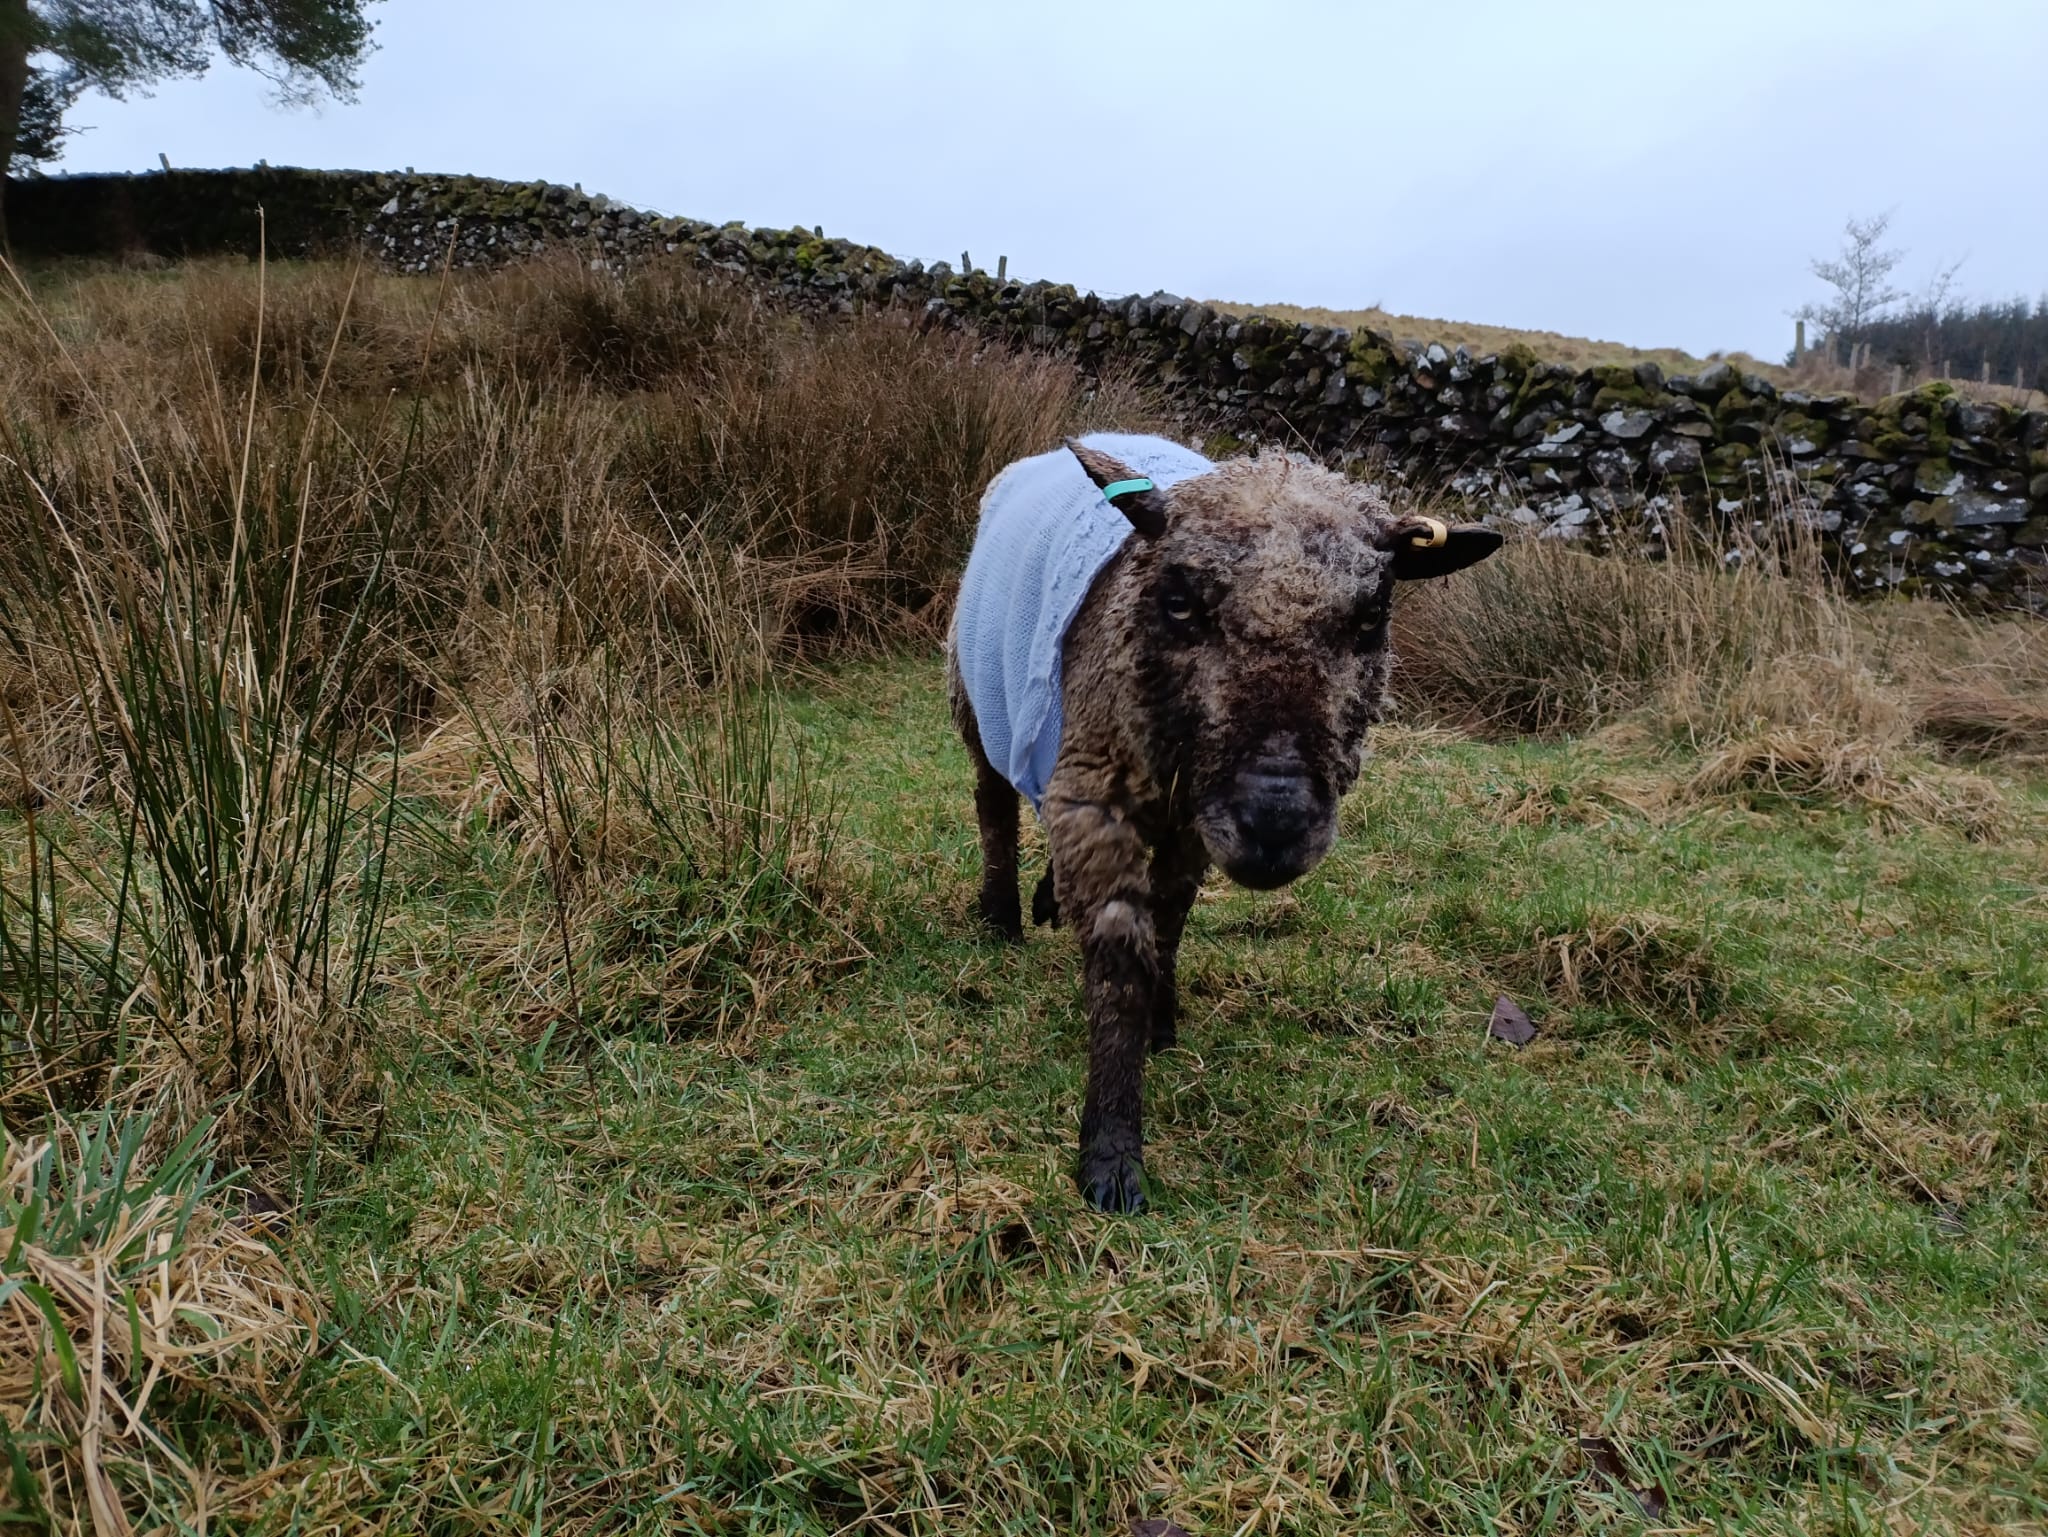
My new life and my mini flock (me and my girl human) continued like this for many weeks. I was given more jumpers to wear – a blue one, a cream one and a stripey one. This jumper wearing business had become important as I was losing my wool. Apparently, this can happen after a stressful event. I noticed my girl human was always watching the weather. She never let my jumpers get wet and she never let me wear one in the field unless she was with me. Us sheep have a habit of getting into pickles. She told me that wearing a jumper in the field unsupervised would be a big invitation for a pickle to happen.
I was happy with my new existence, but I had a feeling something was missing in my life.
One day in late April as I was finishing my morning bucket, my nose started to twitch and I found myself sniffing the air. The world smelled different today, hmm, what could it be? So different yet familiar. Then suddenly I knew, spring had arrived.
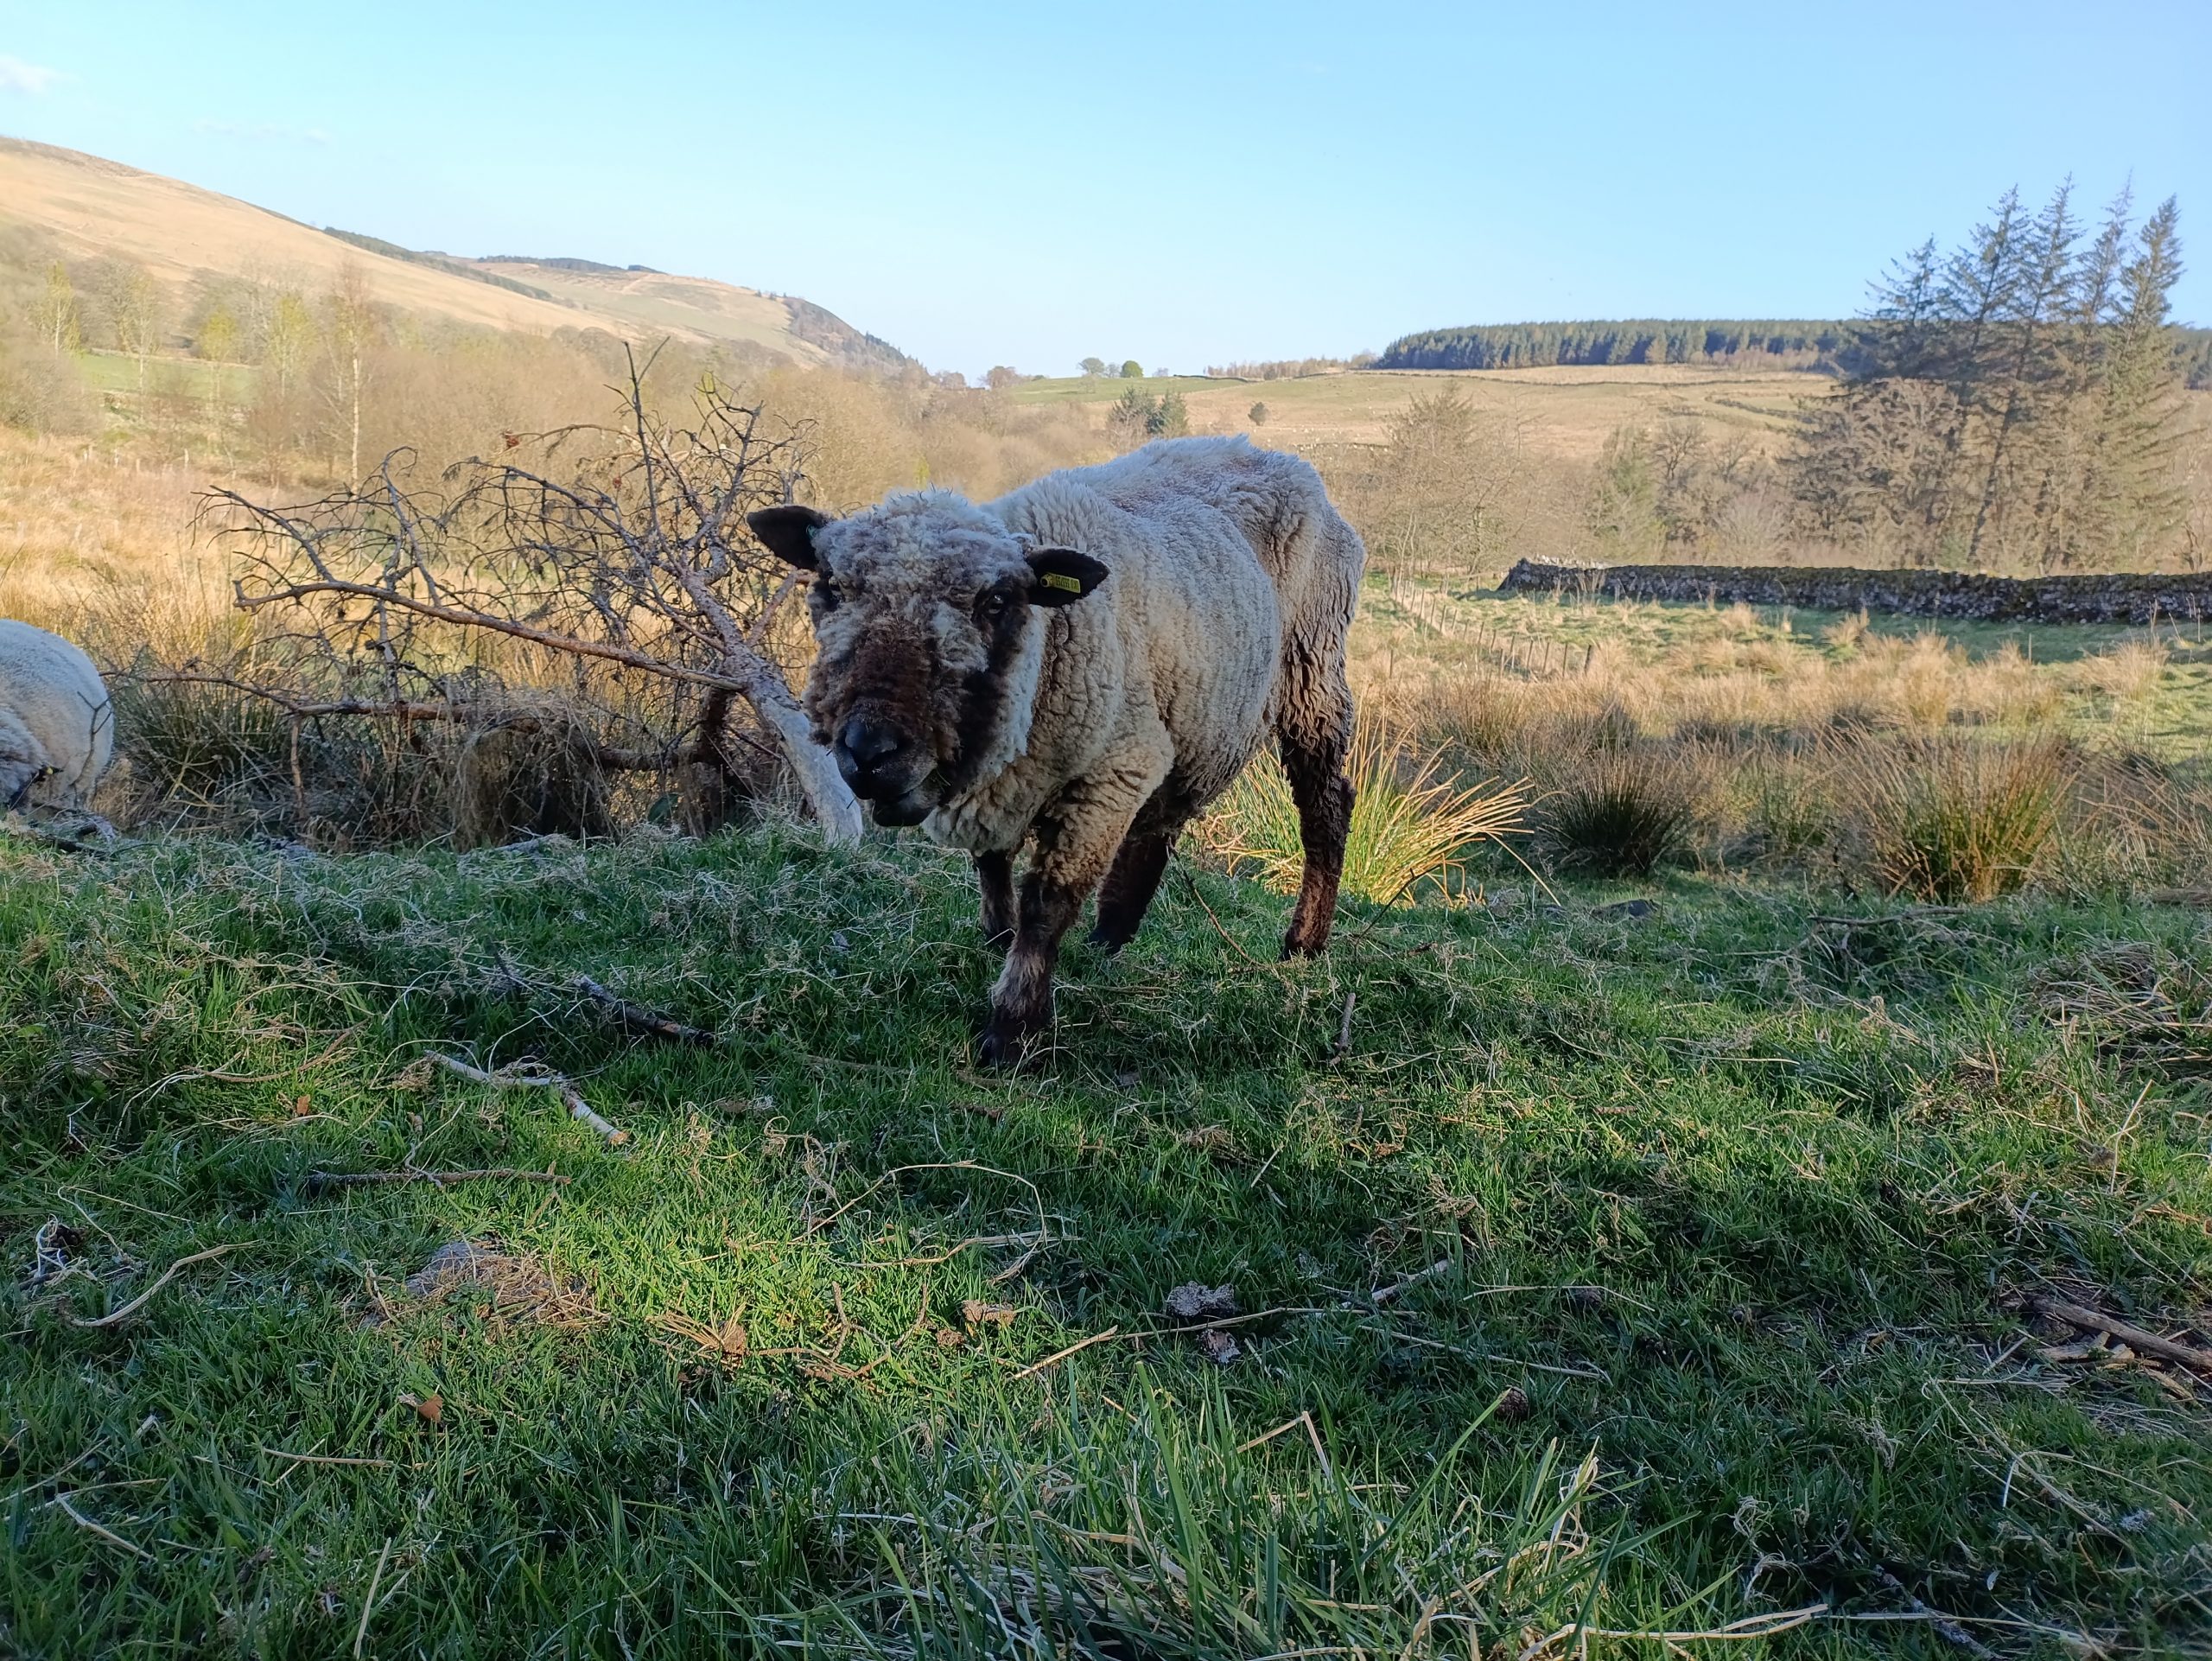
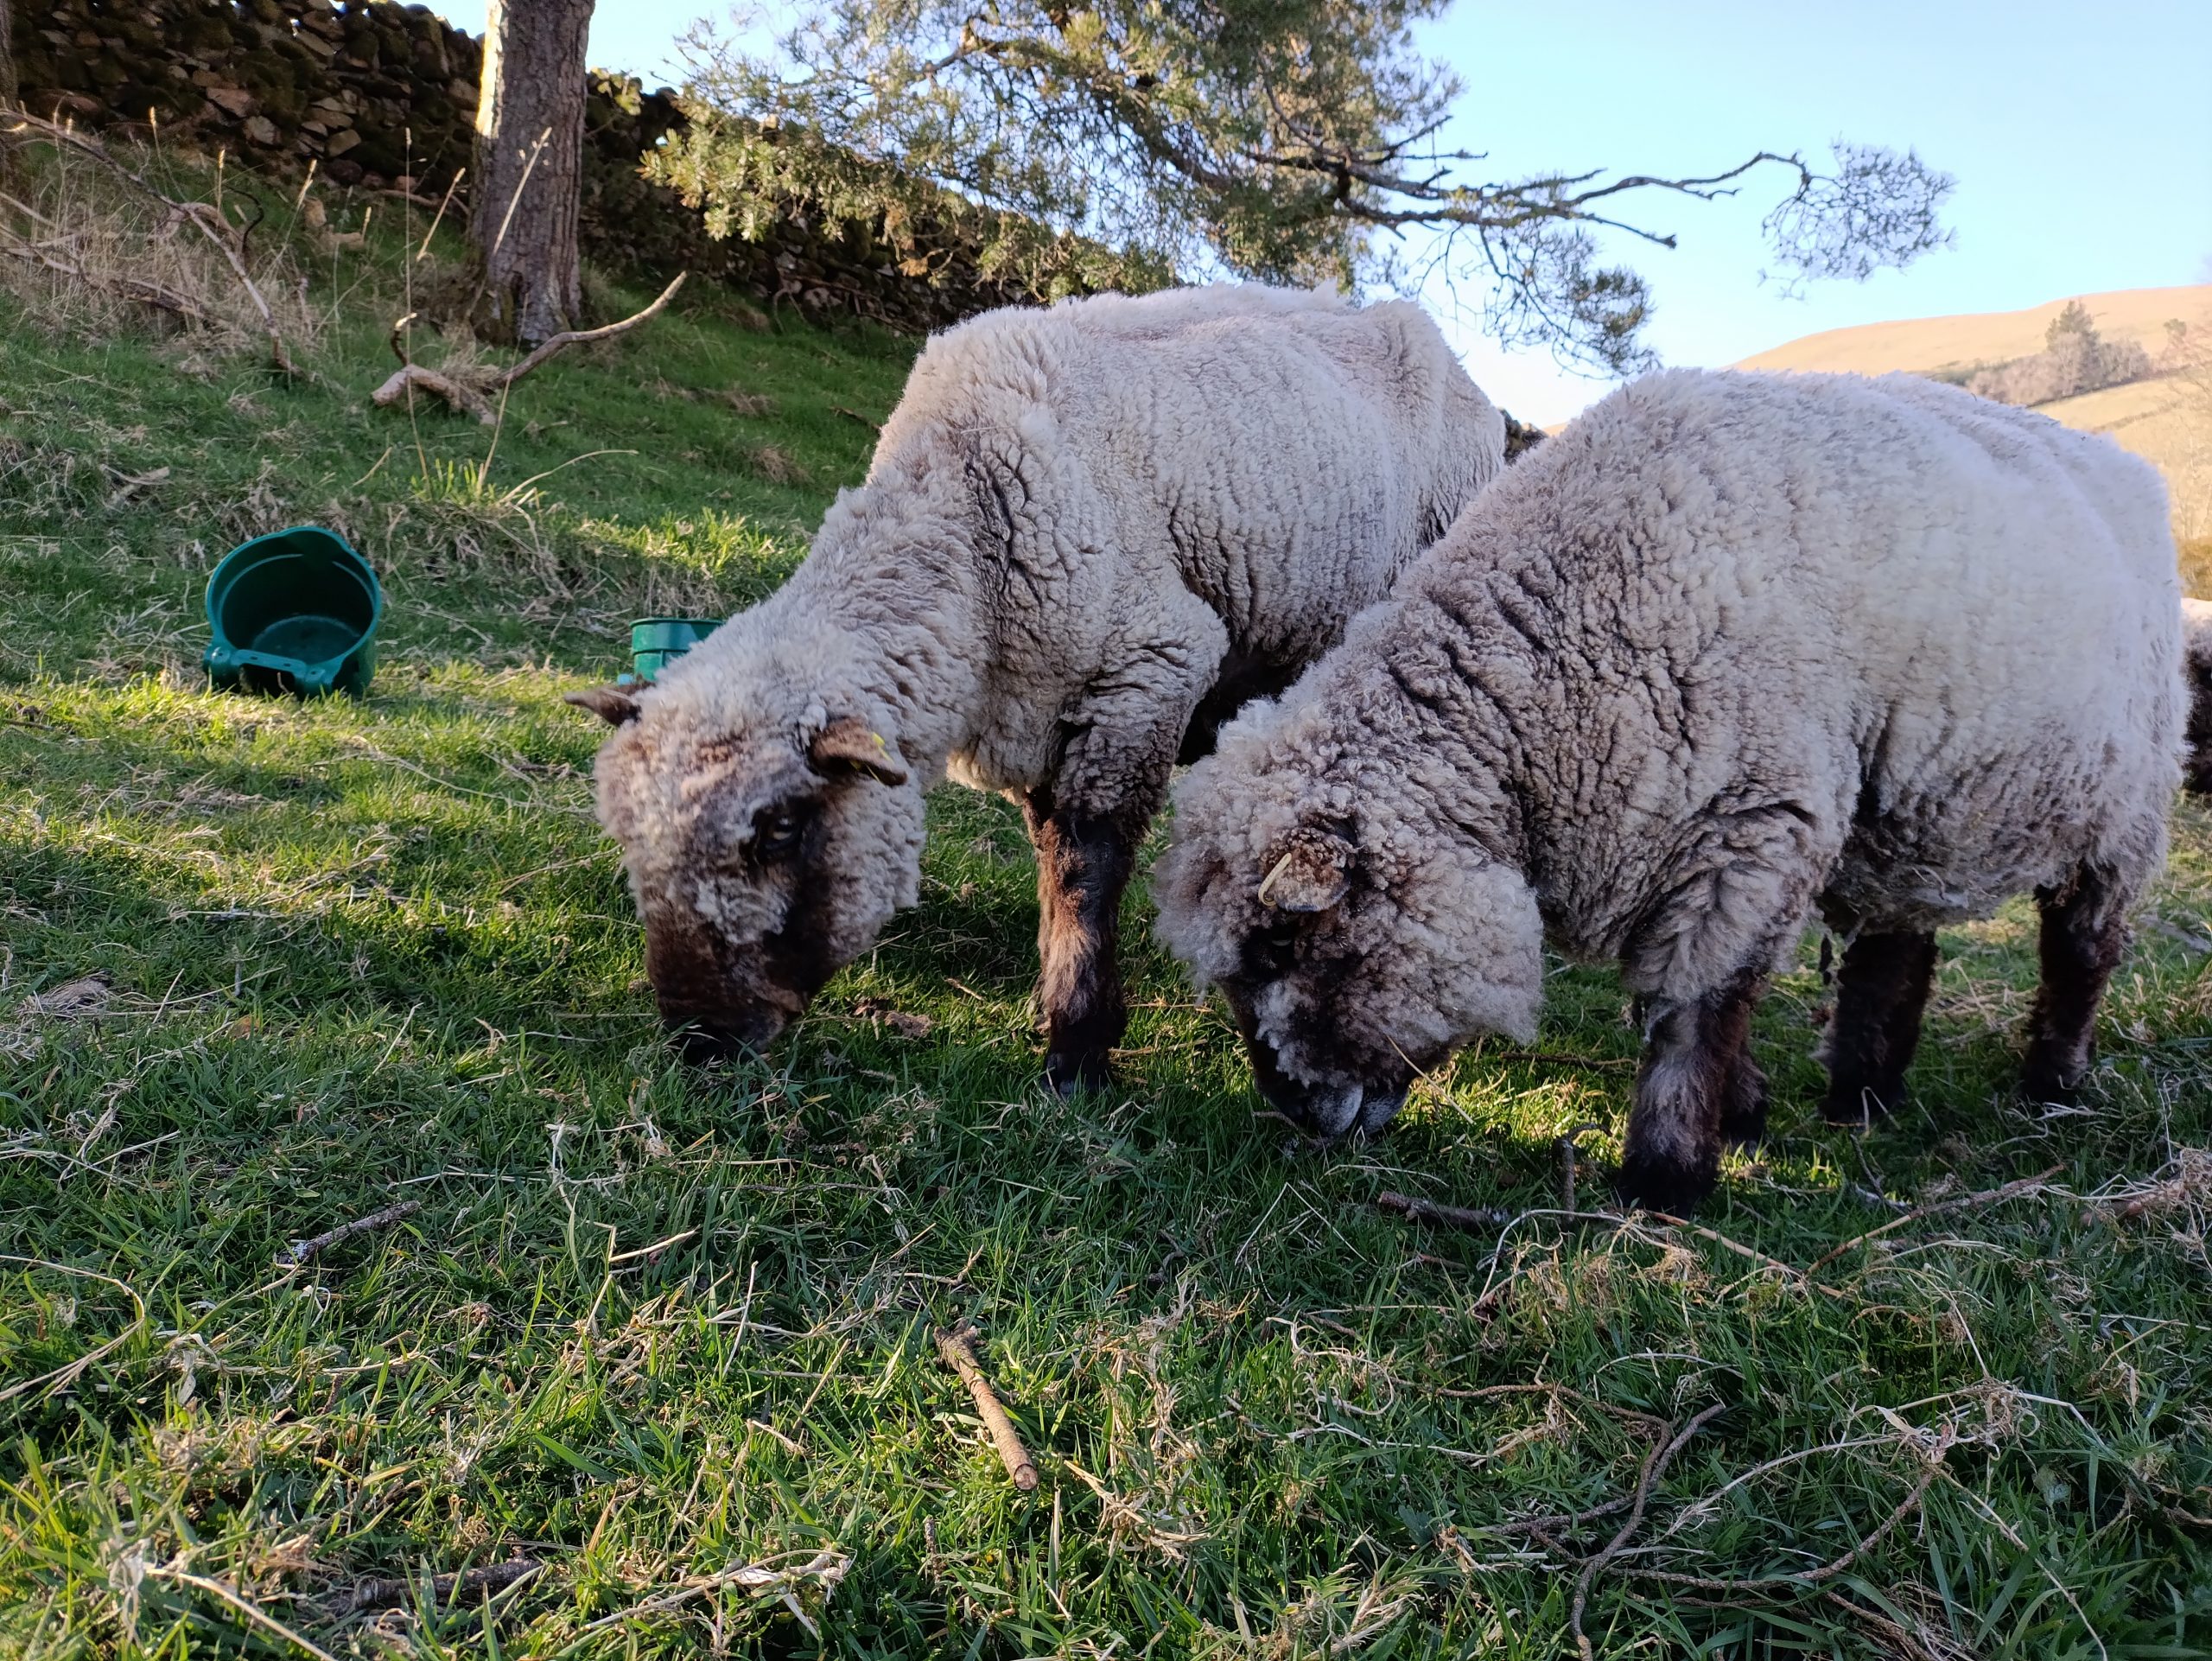
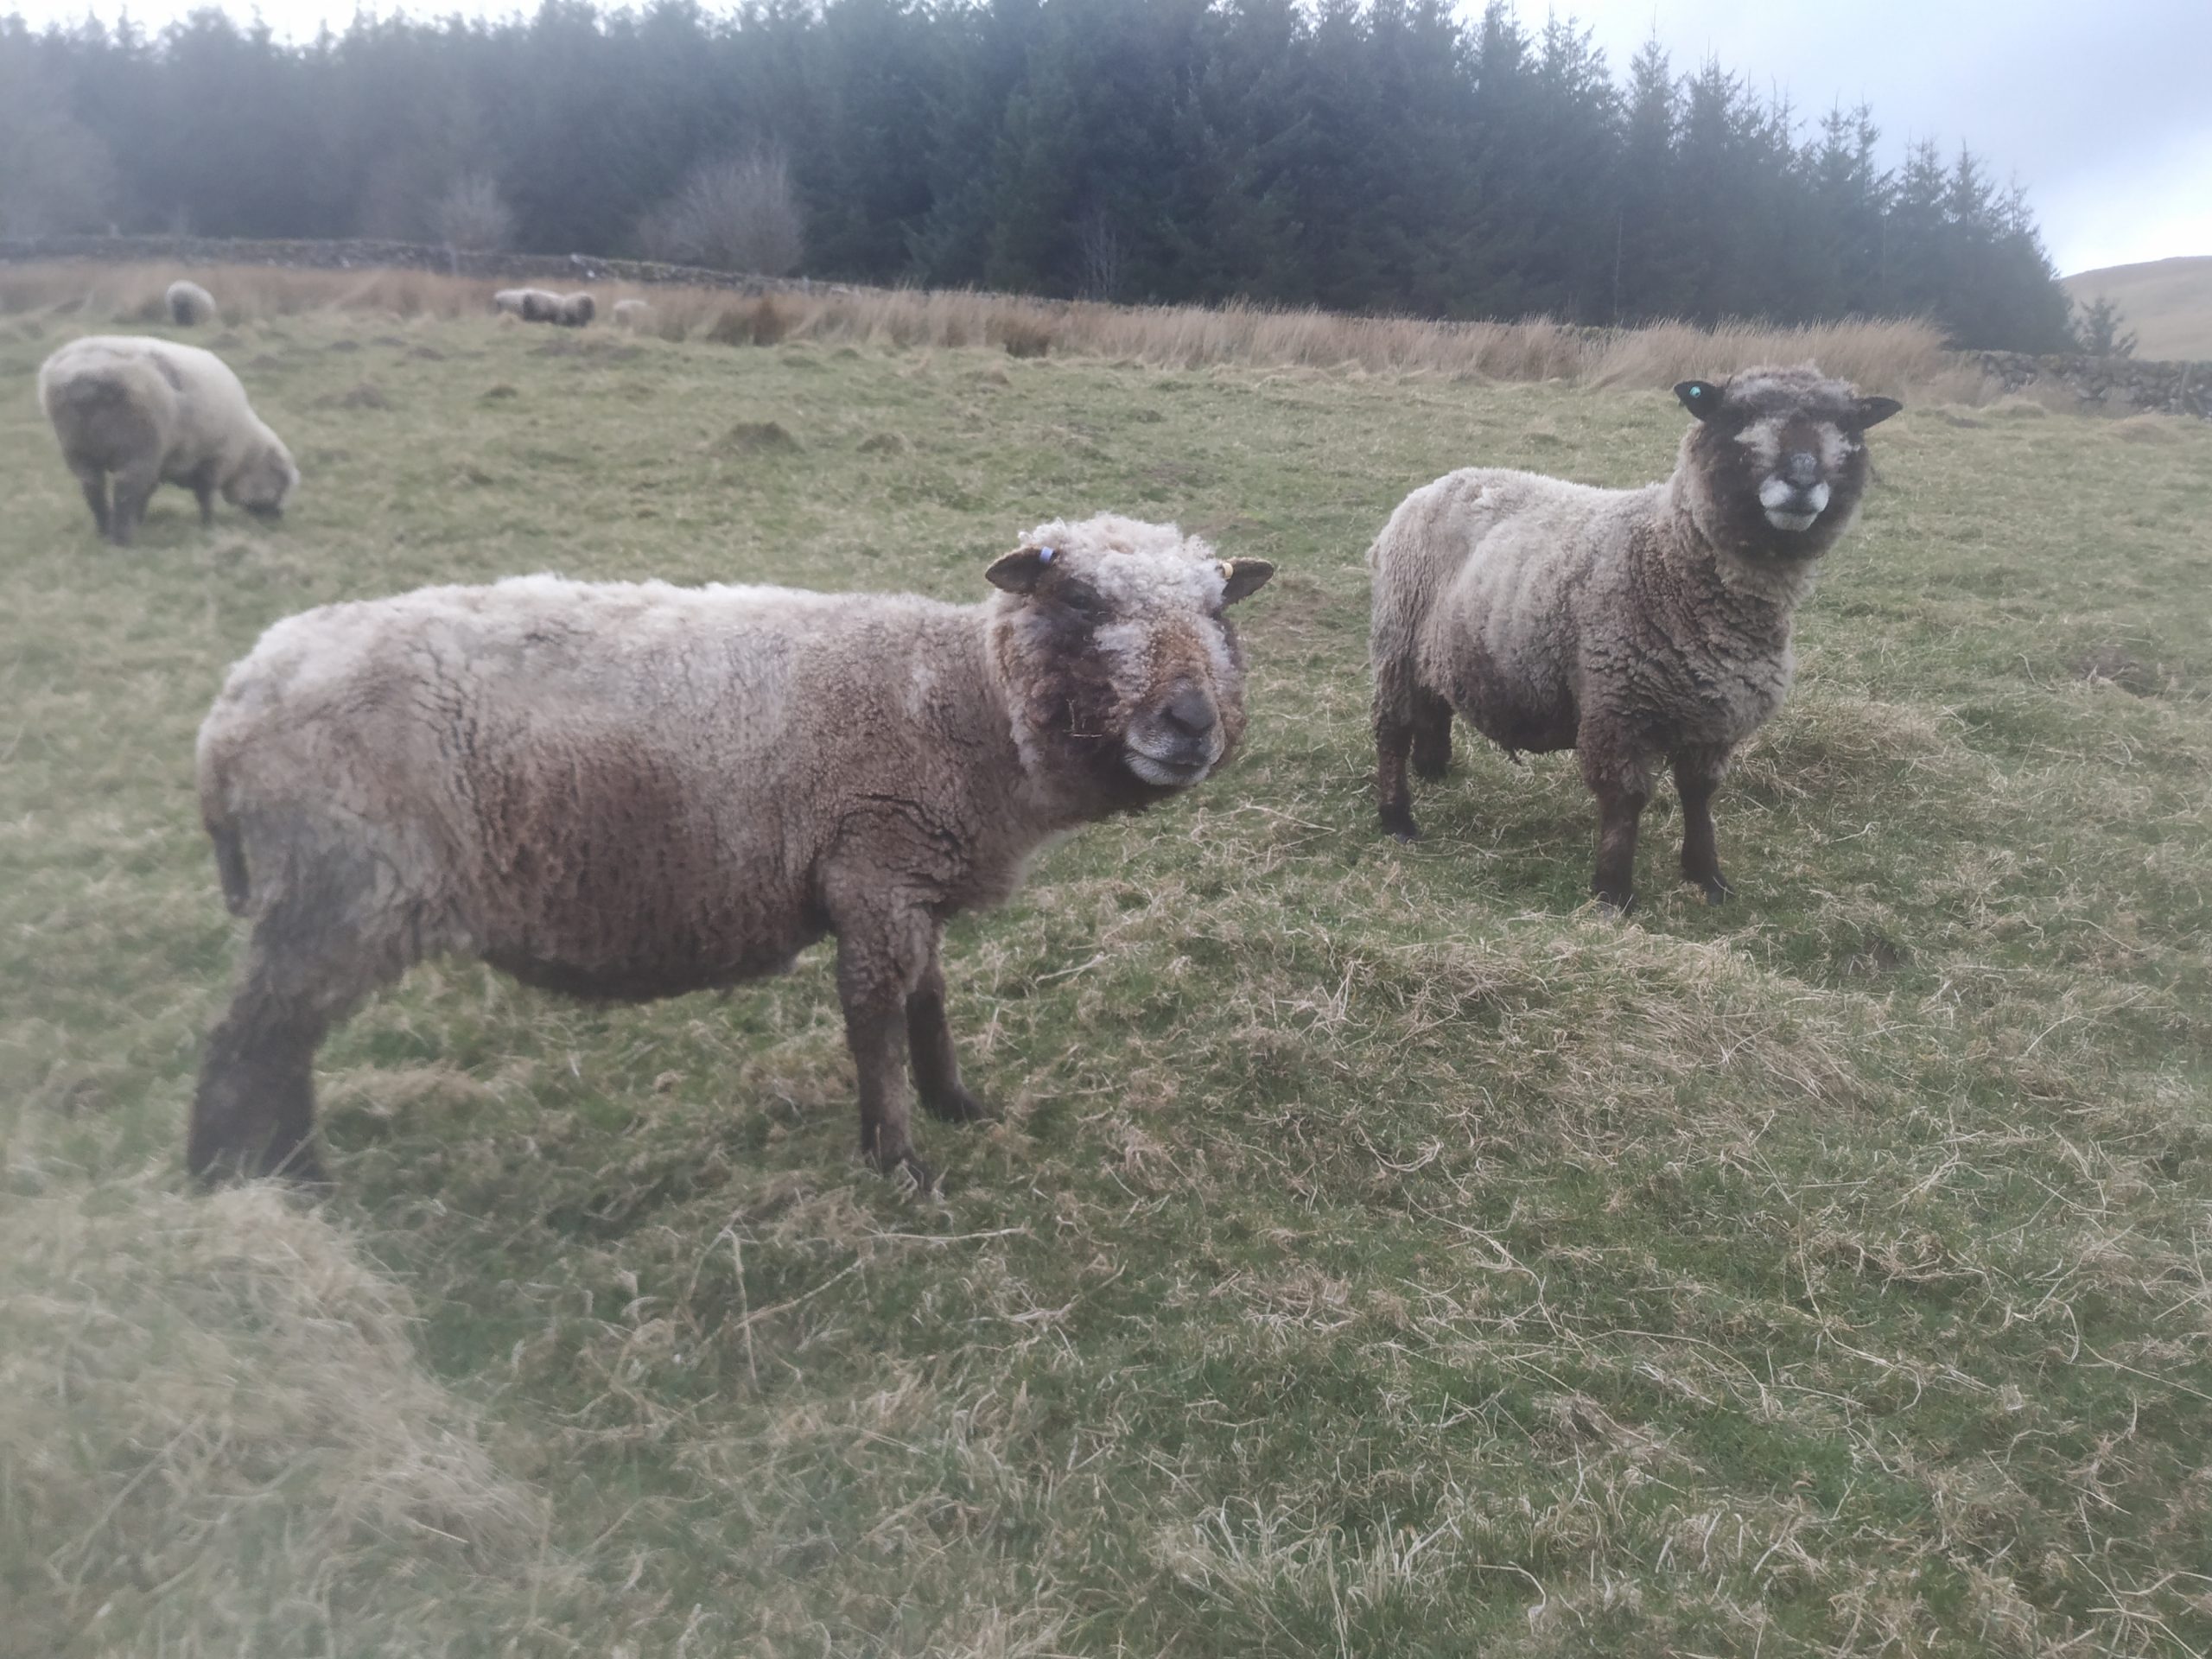
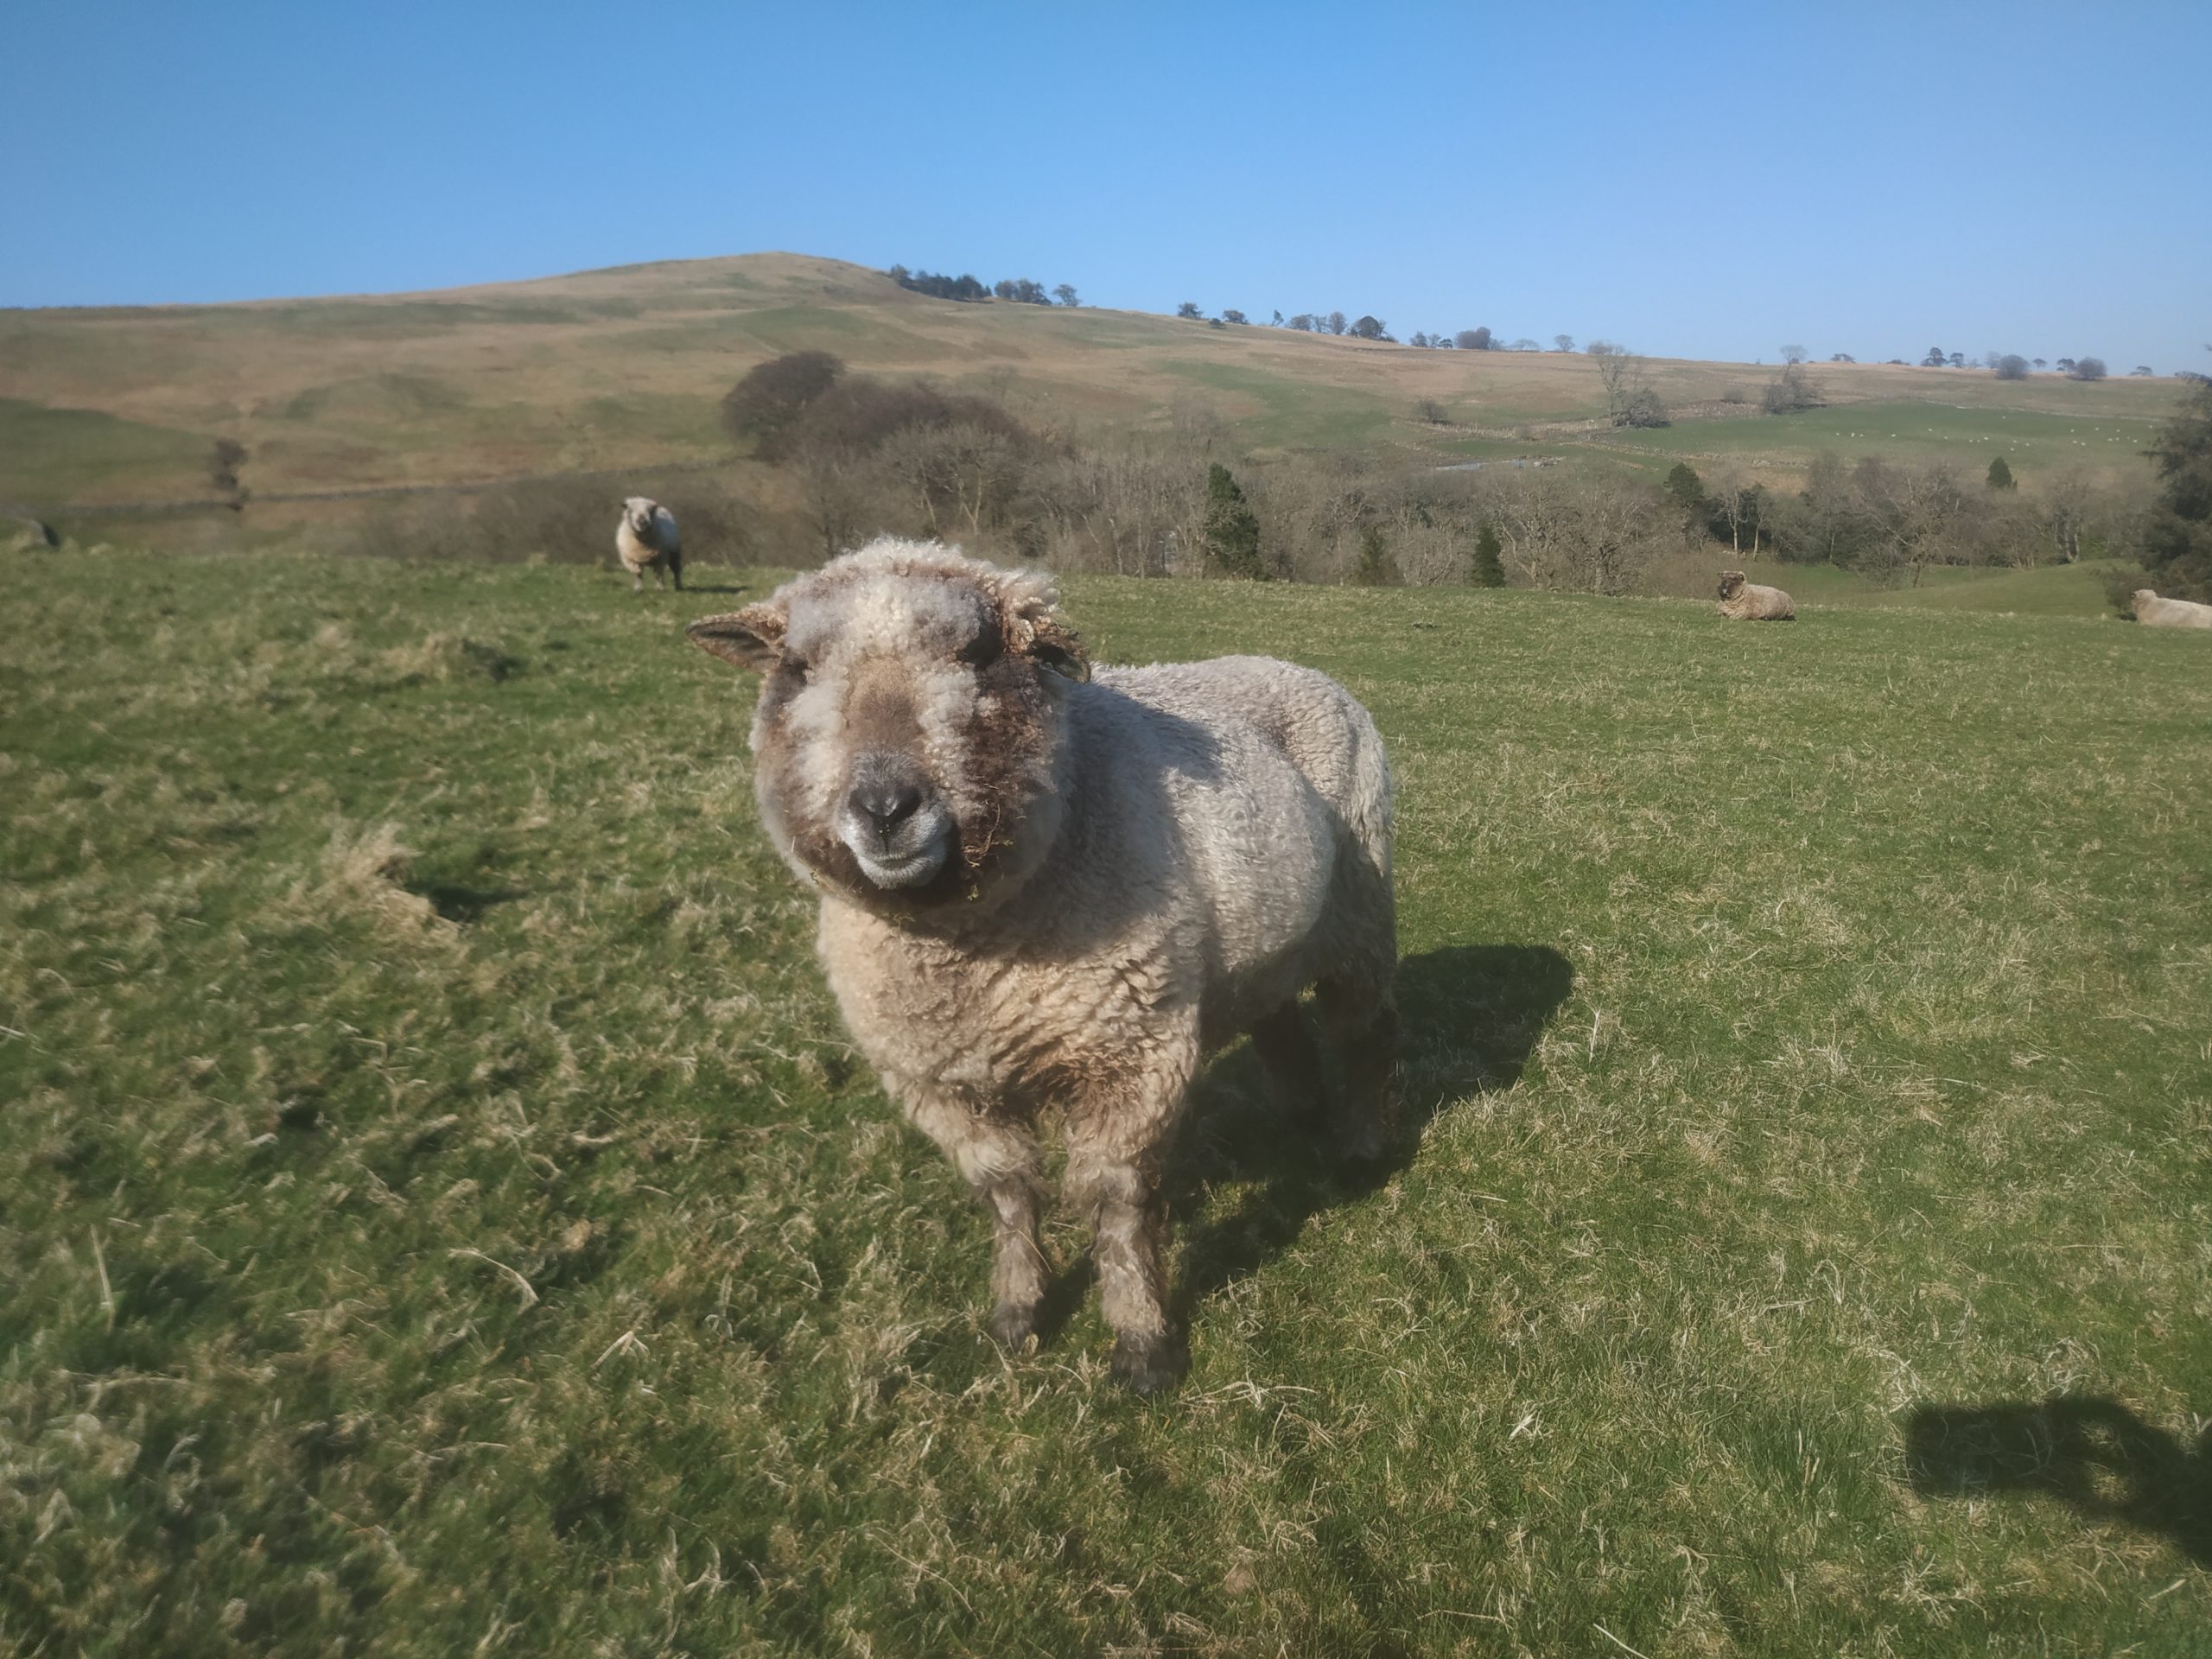
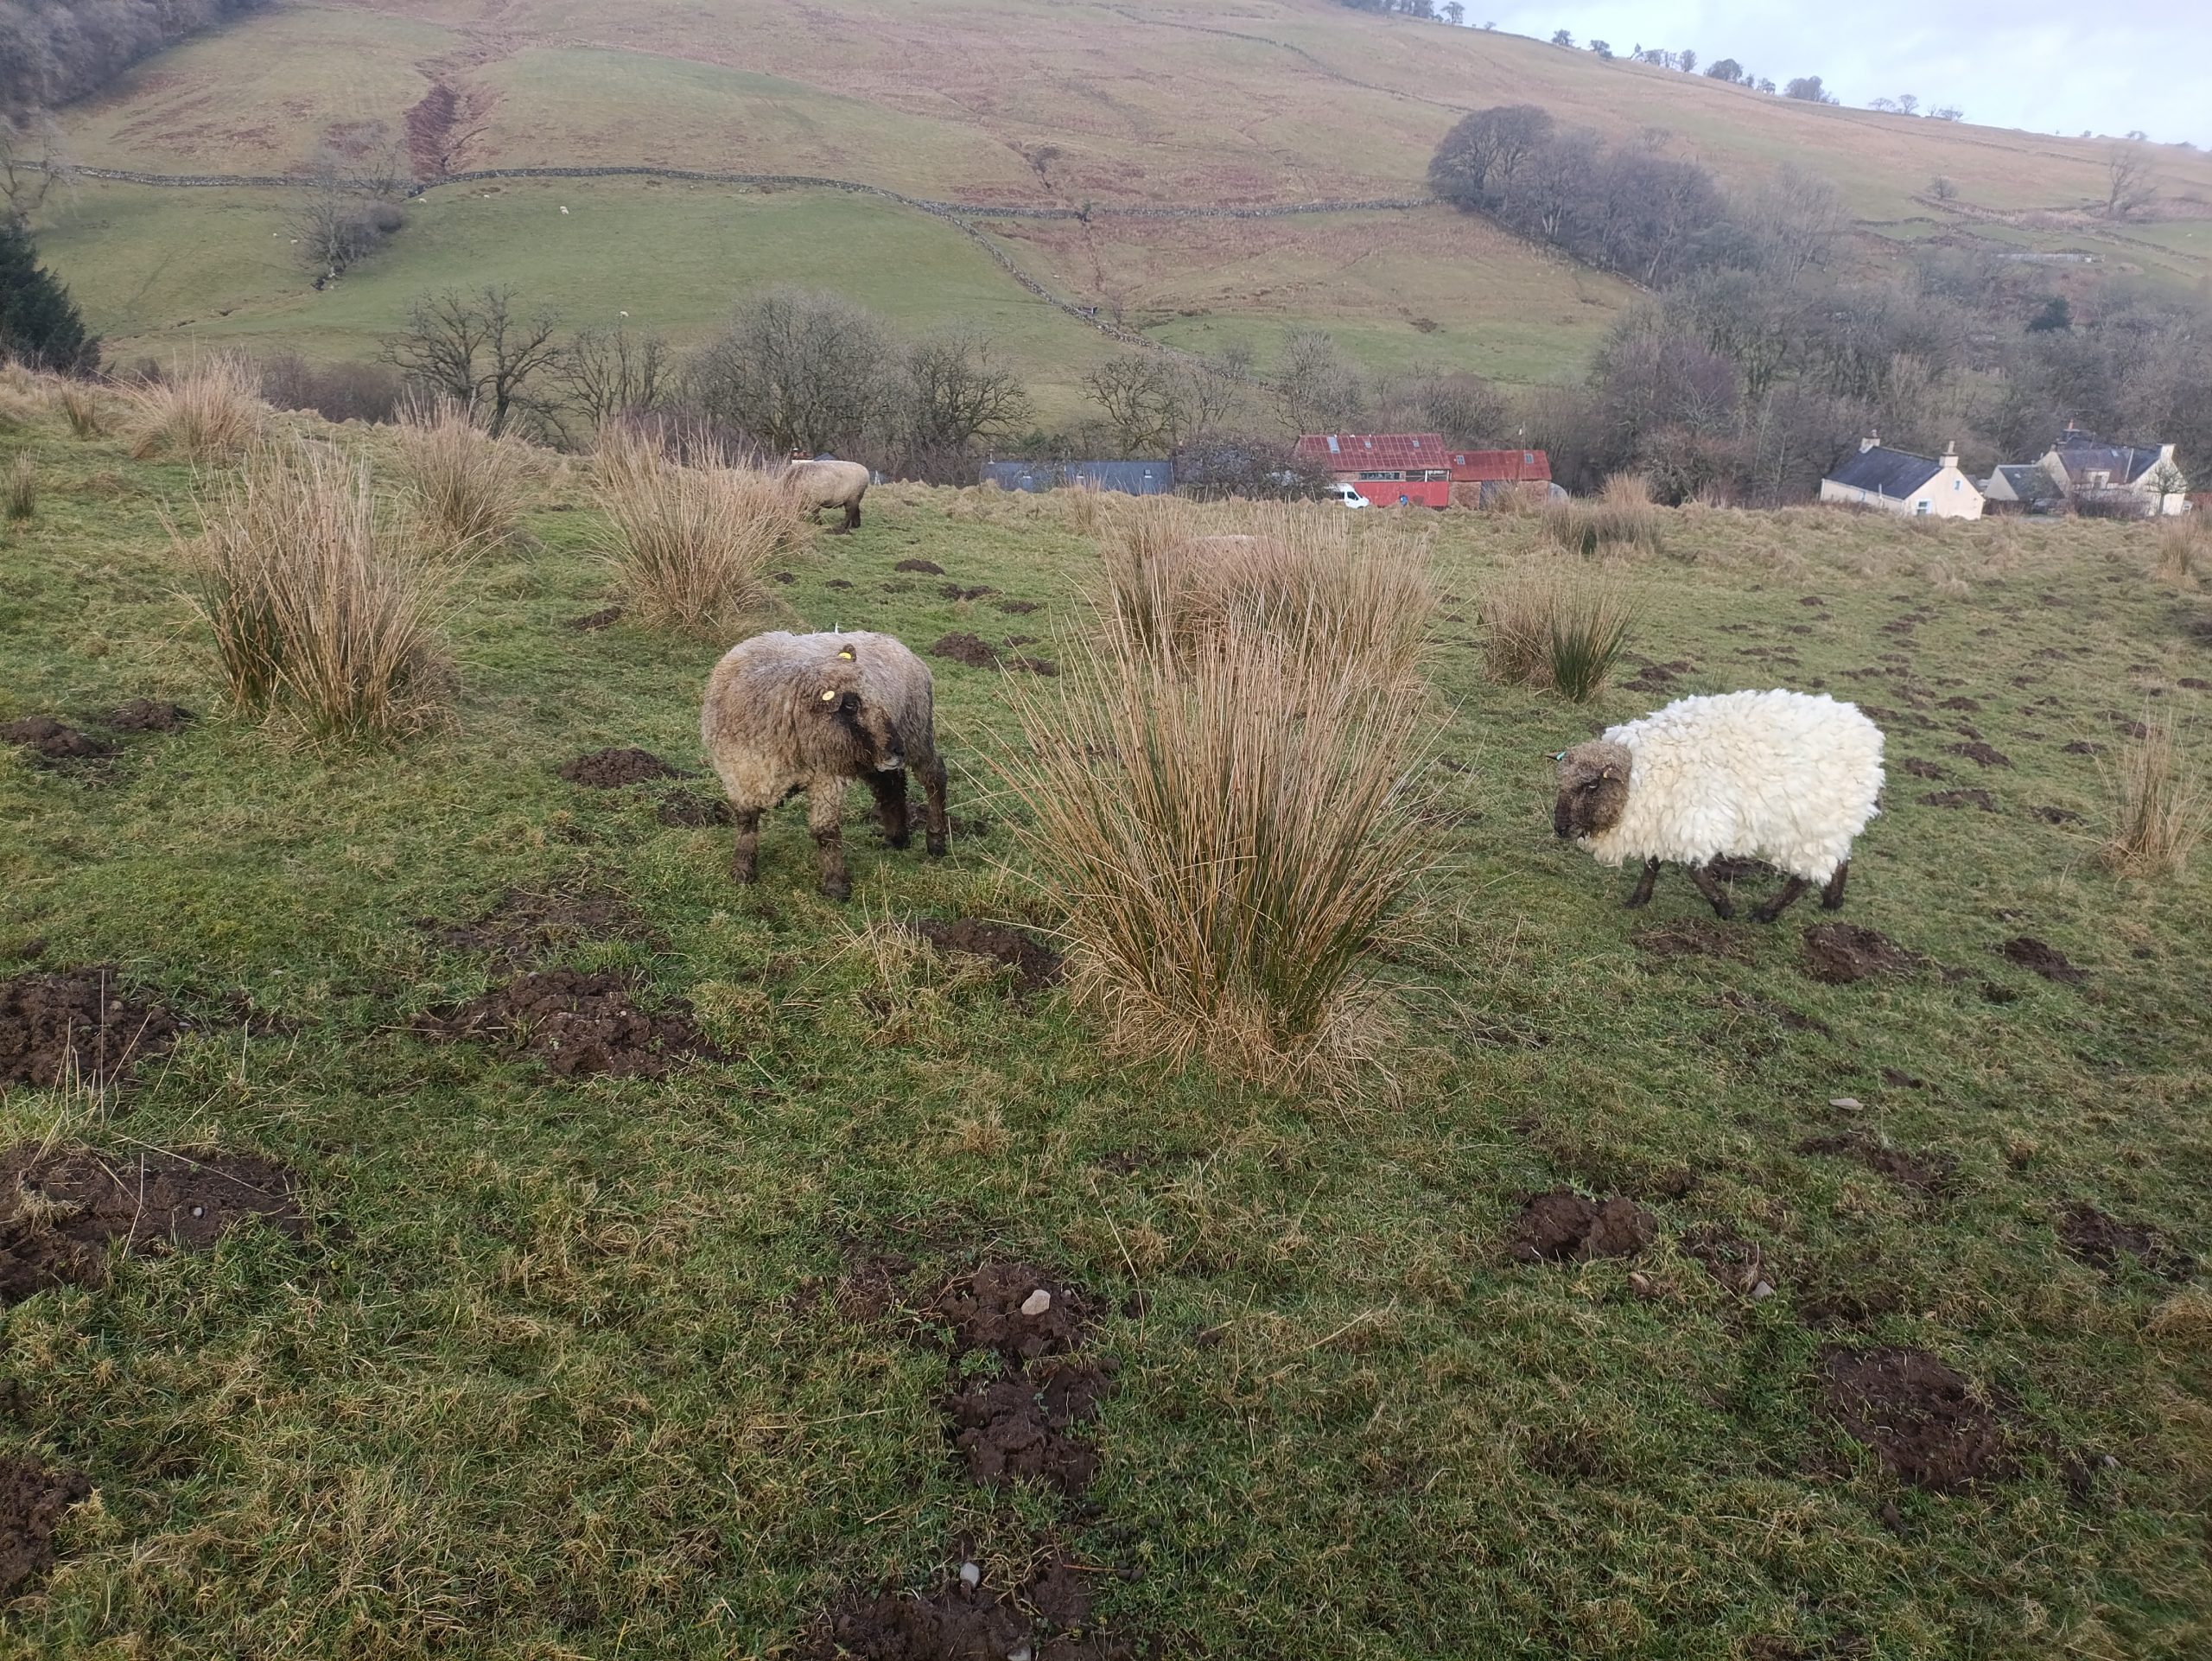
As if reading my mind my girl human opened the gate into the field and called me to follow. Up the path we went. We found my friends and this time I tried the grass in the field and it tasted good, fresh and lush. I couldn’t get enough of it. After a while my girl human tippy-toed off. I knew she would be back soon to check up on me so I was happy to graze with my fellow sheep and reacquaint myself with the gang.
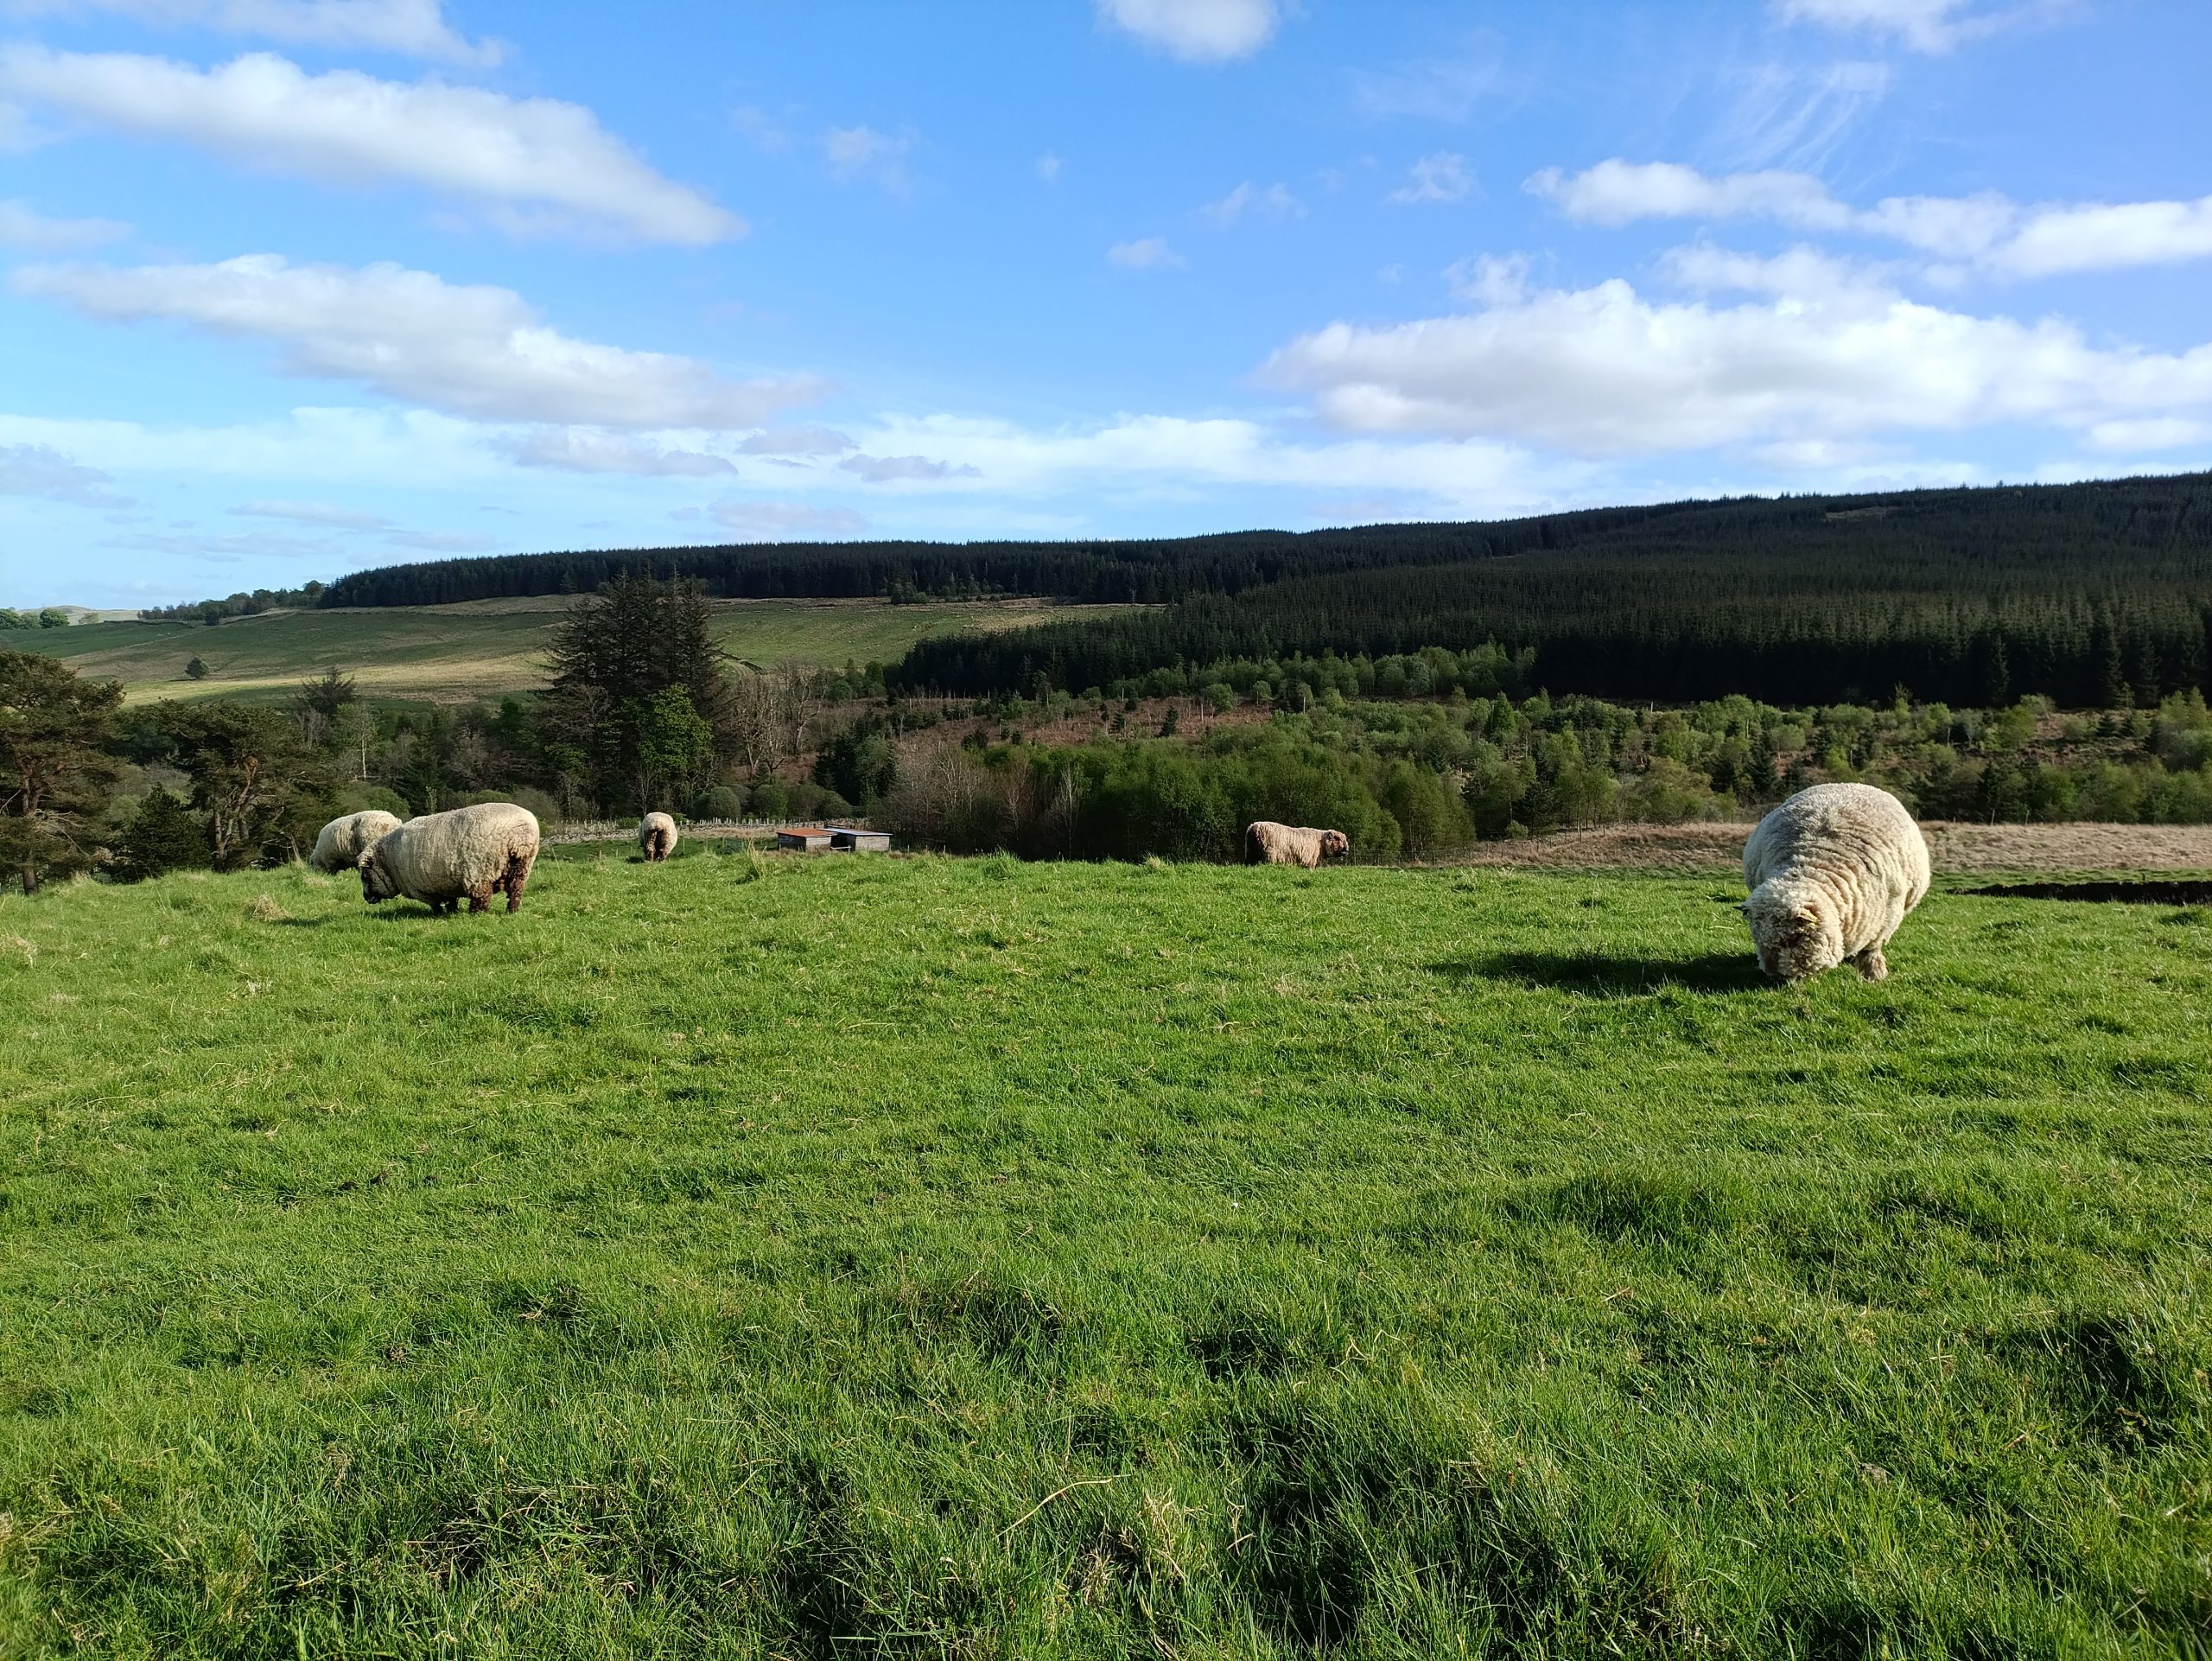
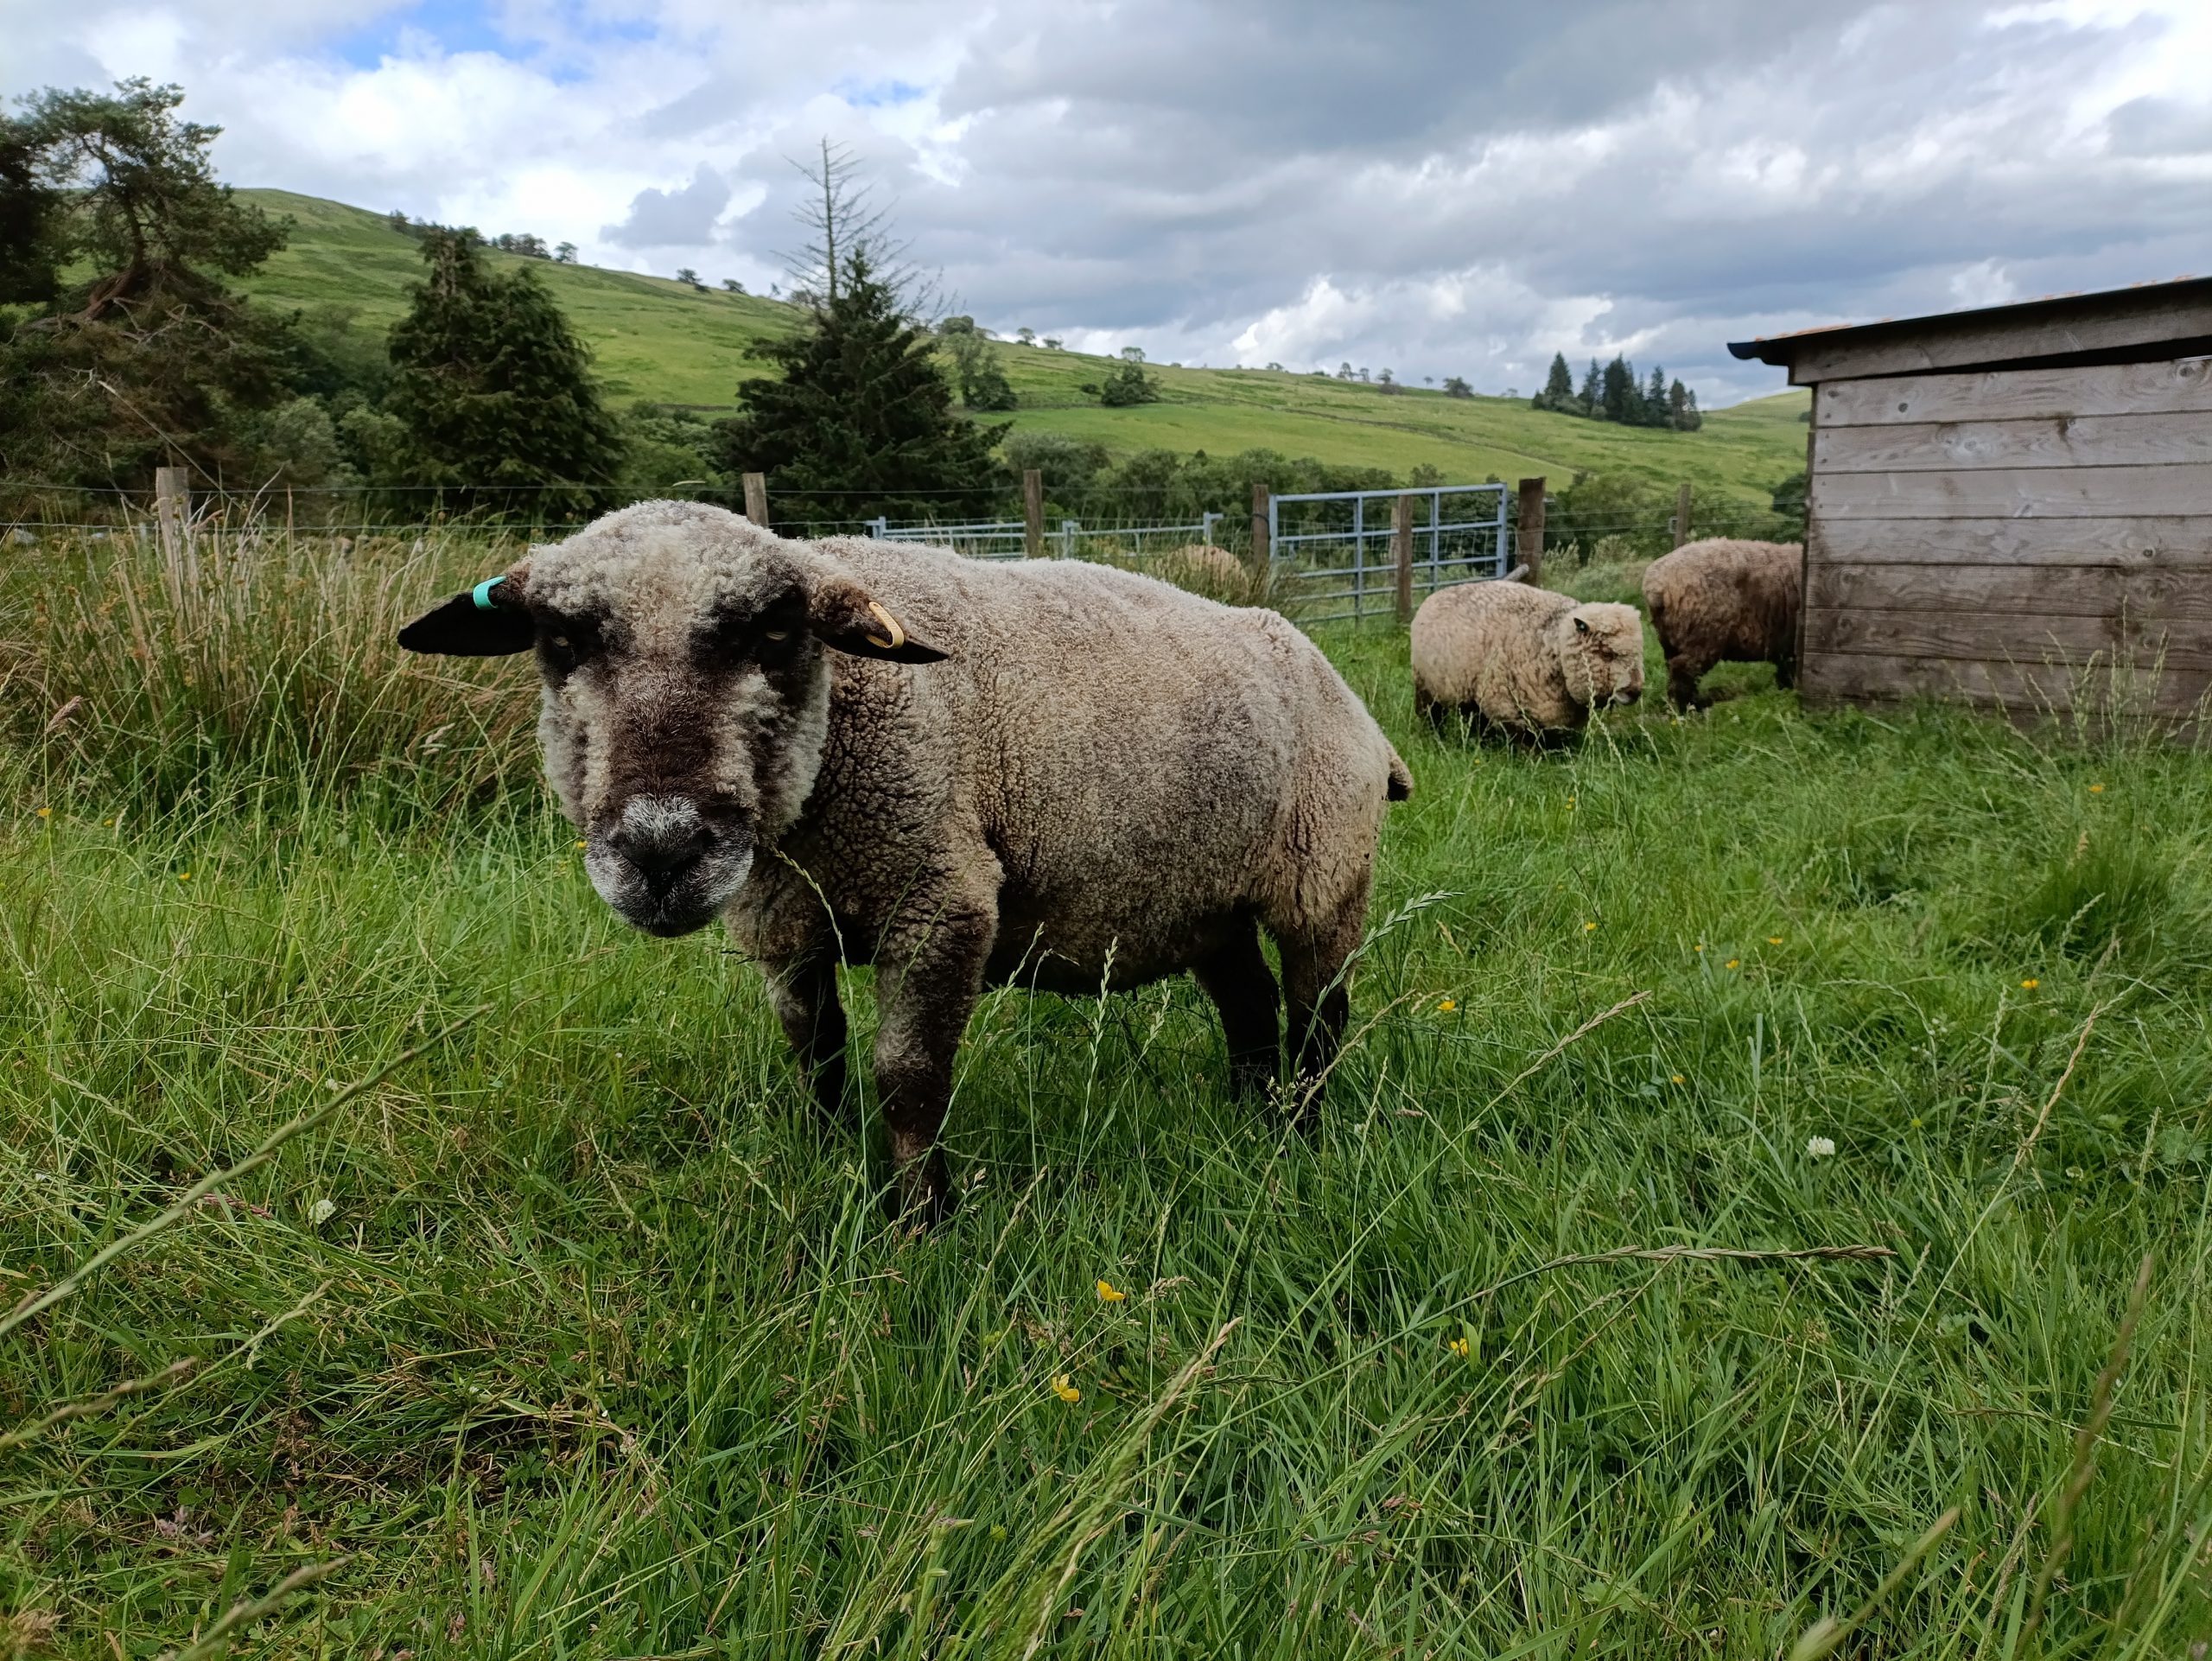
Now it’s June and I’ve been back in the fields with my family and friends for a couple of months. Life’s good, I still get my buckets but I’m down to two a day. I’m happy with that, the grass is sweet and tasty and I’m enjoying life.