One of our winter jobs on the smallholding is to deal with the ever encroaching brambles in and around our land and garden. Brambles grow very happily here, seemingly more than any other plant, possibly with the exception of creeping buttercup and willowherb. Our brambles are particularly vigorous and fast growing and they love nothing better than to come into the garden, throwing out tendrils and generally being very over friendly. Not content with that, they’re also keen to get into our grazing areas and having a party there too.
Much as we enjoy a blackberry crumble, if we don’t keep the brambles in check every so often they would probably be growing in the house by now.
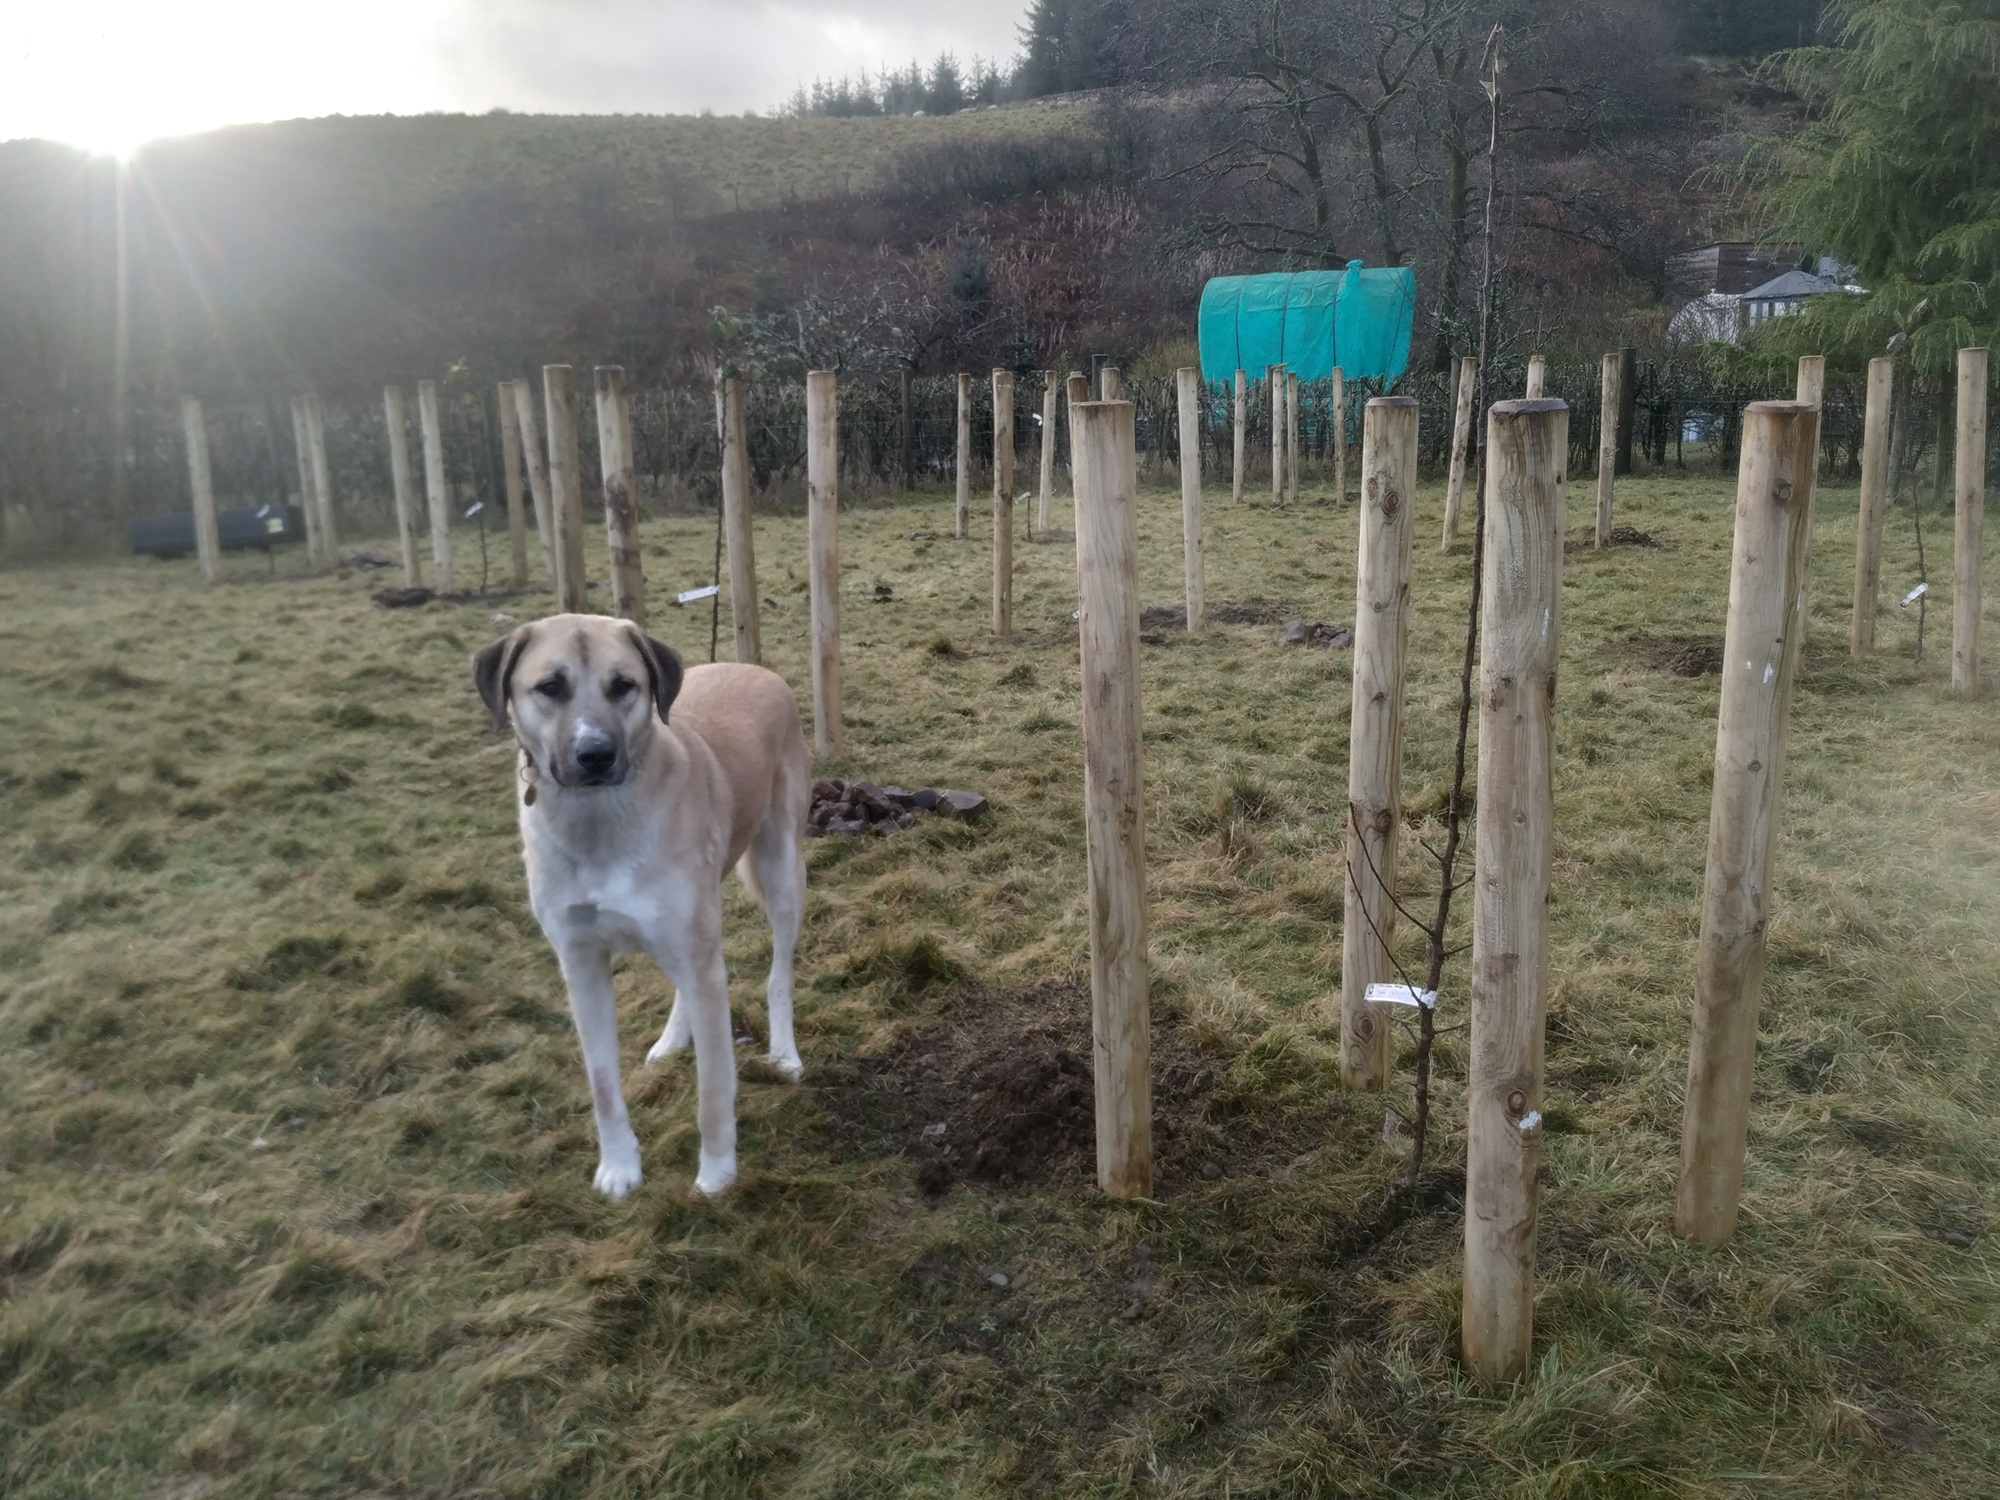
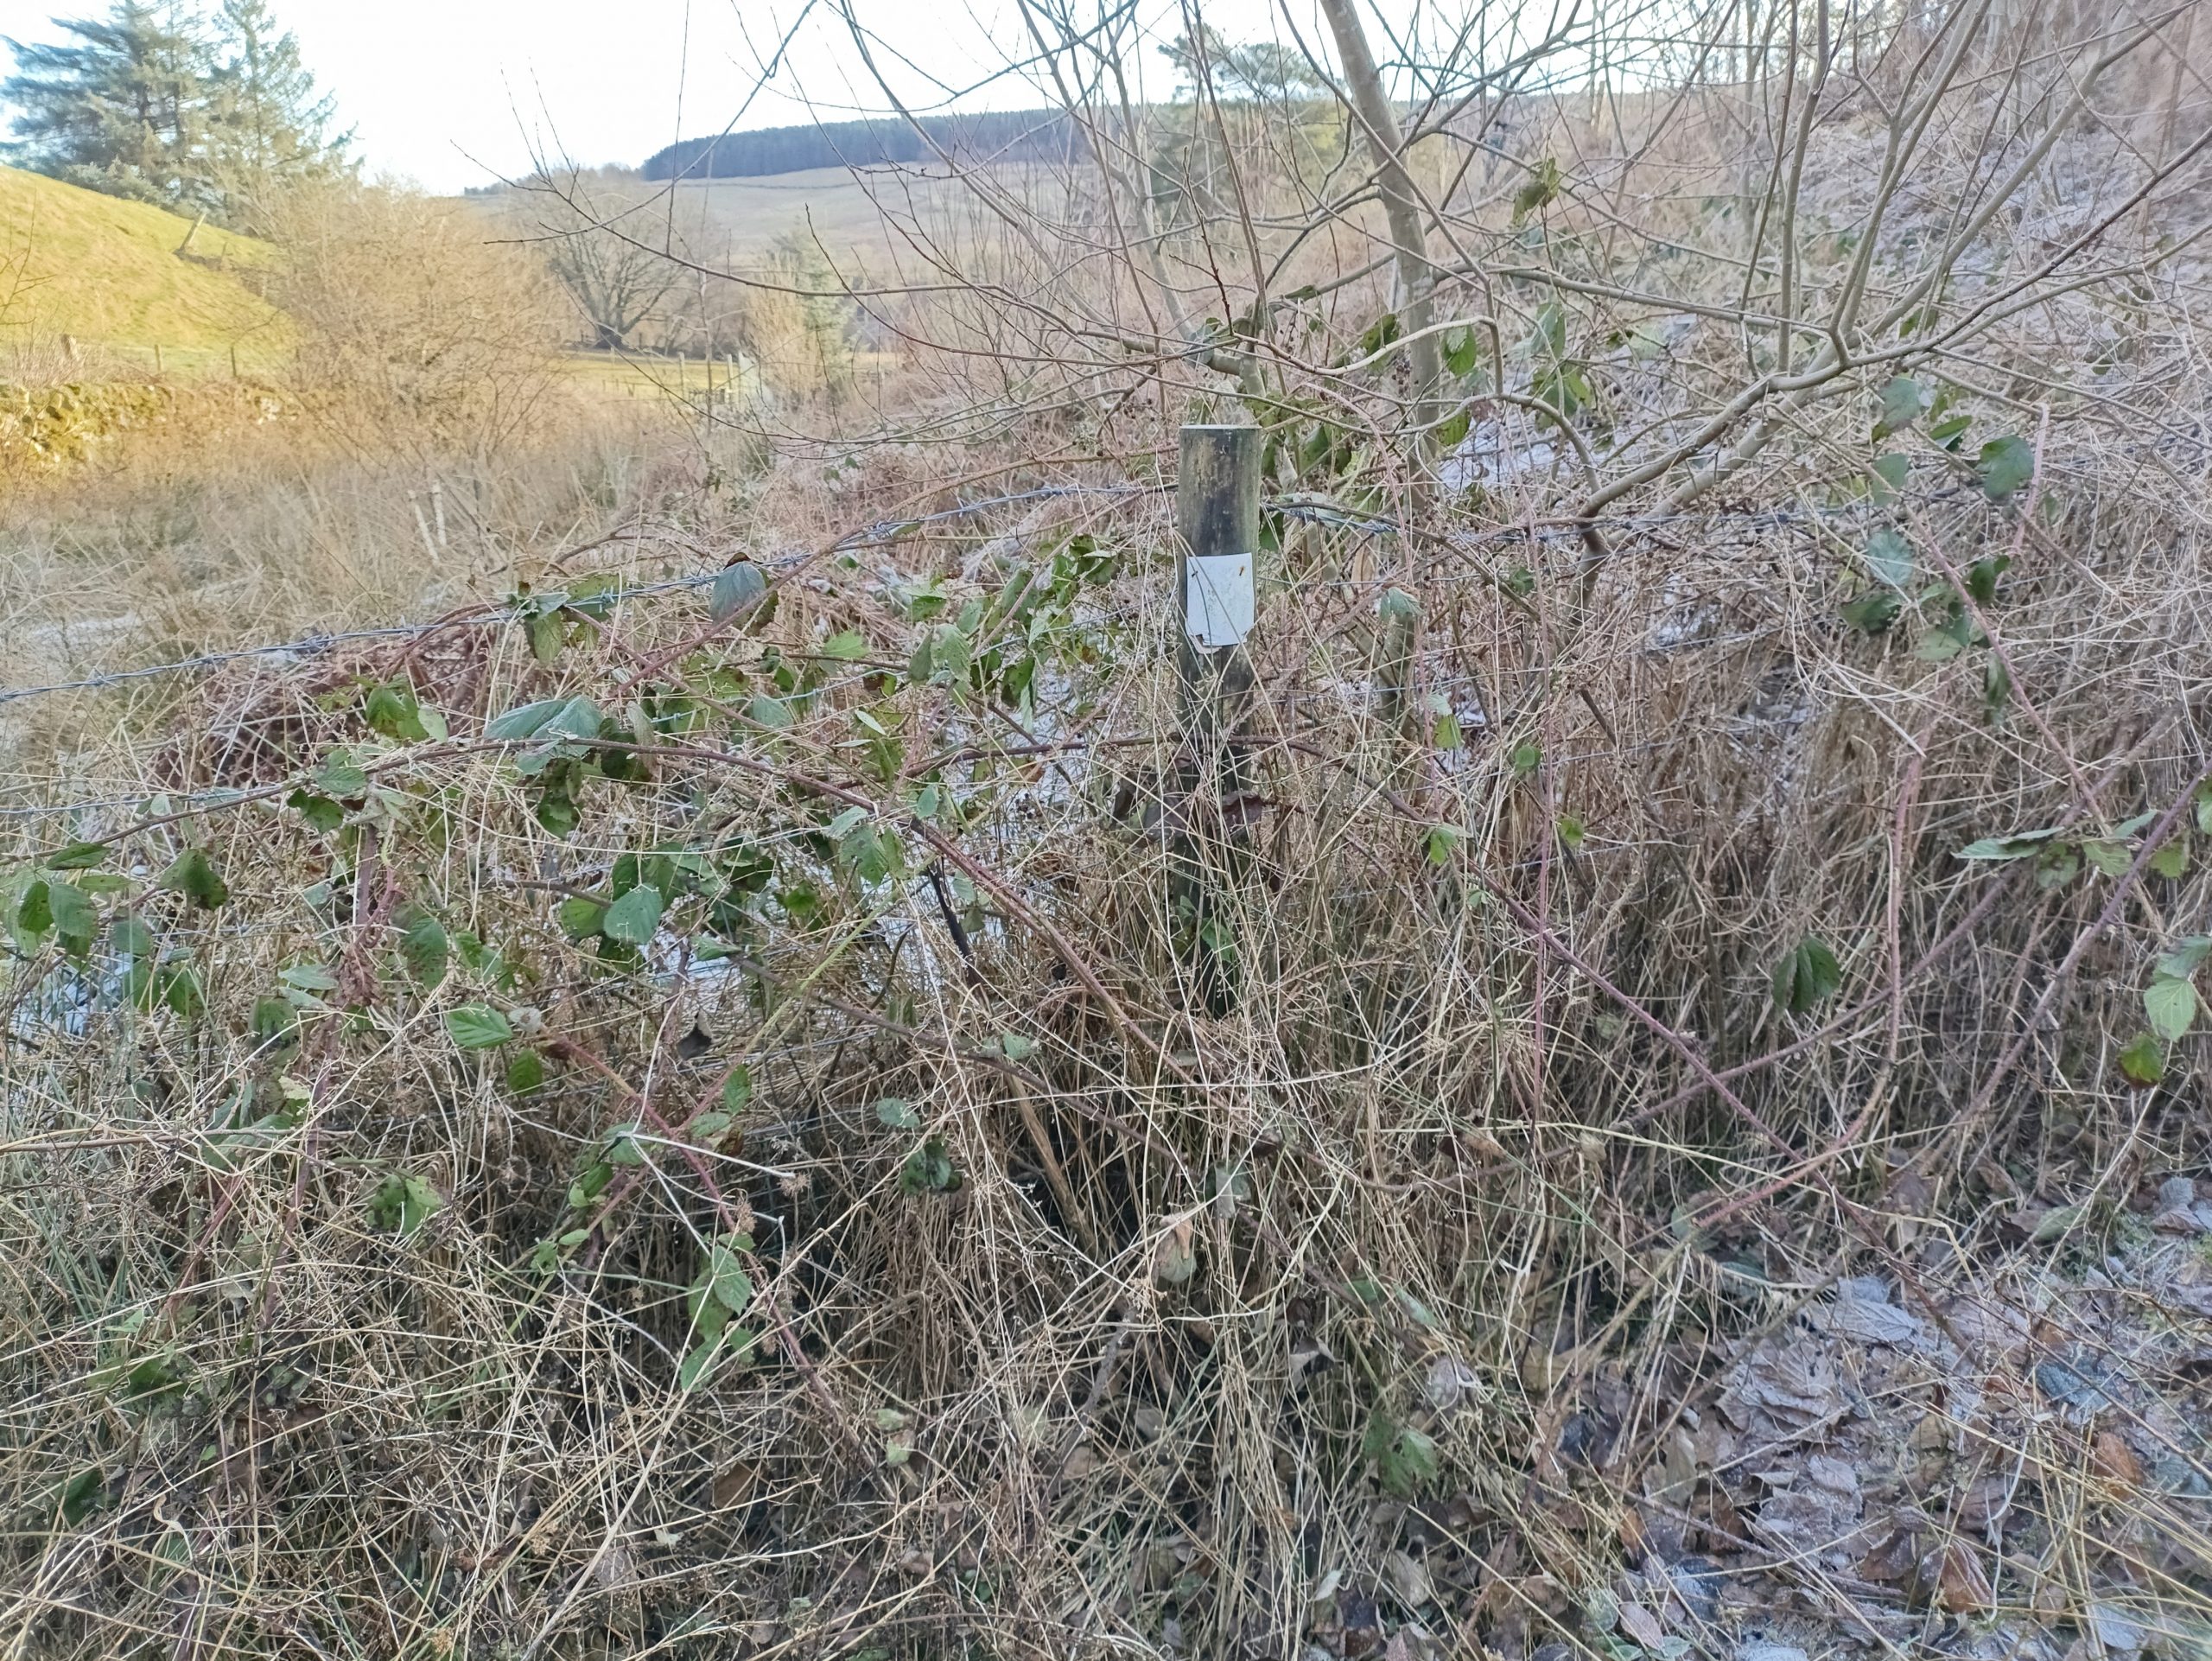
Because there are so many brambly areas in and around our patch it’s impossible to keep on top of all of them at once. So, we have a bramble-rota going. One year we de-bramble one area, another year we work on another area. This said, we are only human and even with our rota it would be impossible to deal with all the brambles about the place. So some of them we leave be, and others we just snip back rather than dig out completely. This year we’ve been focussing our attention on a young woodland we planted up a few years ago, and a slope at the back of our veggie patch. Both areas haven’t been touched for about three years and the brambles are having a lovely time.
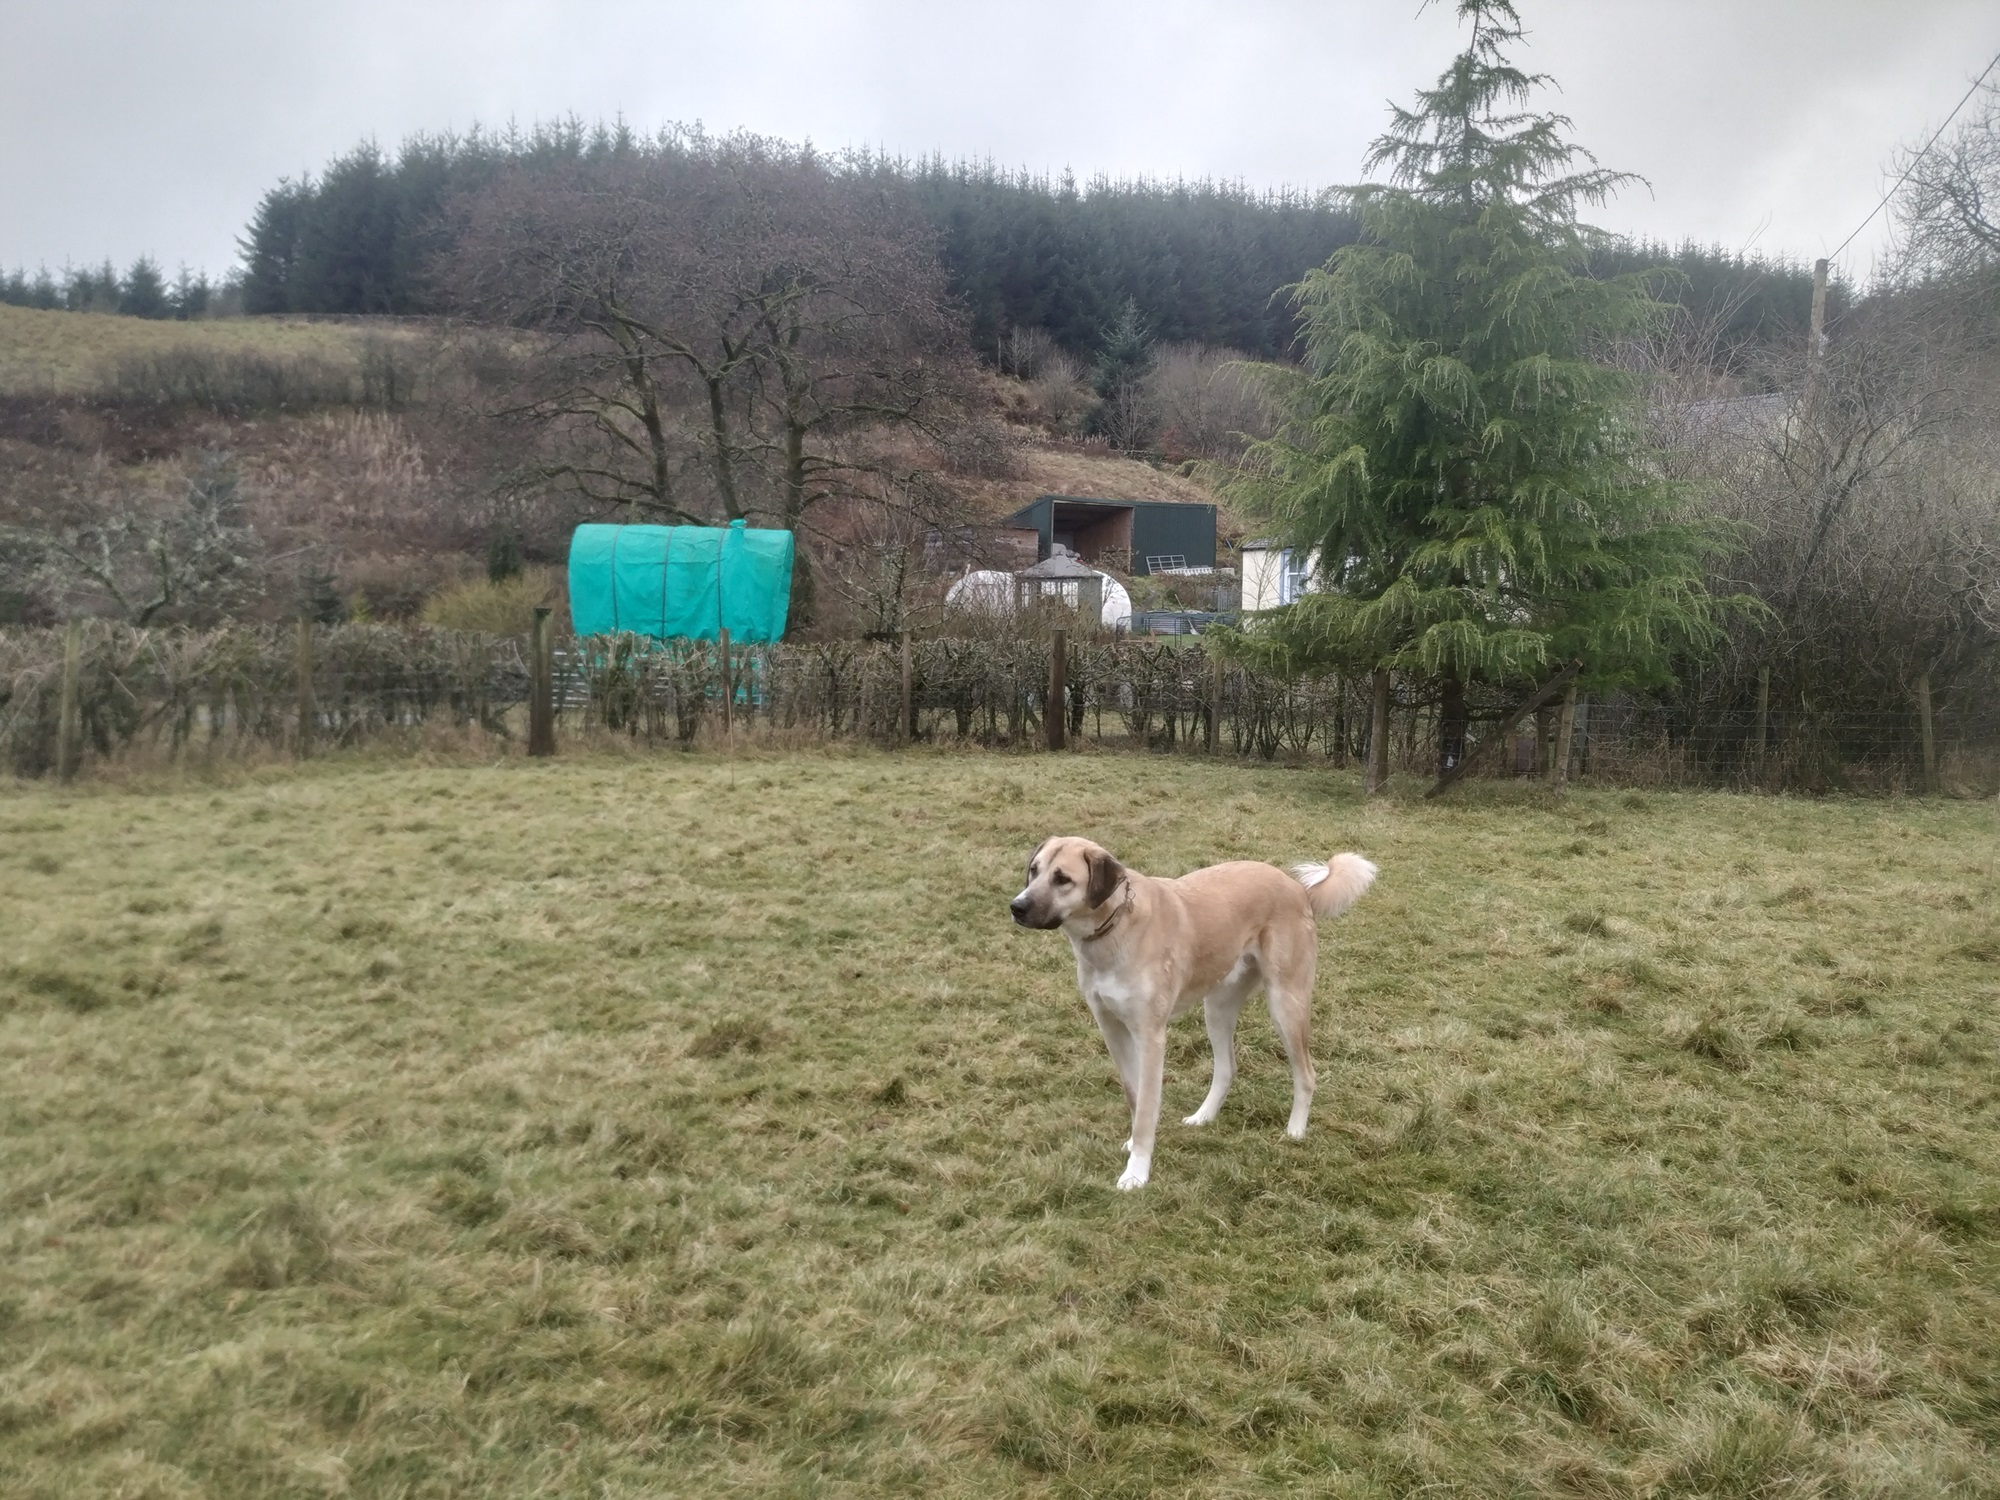
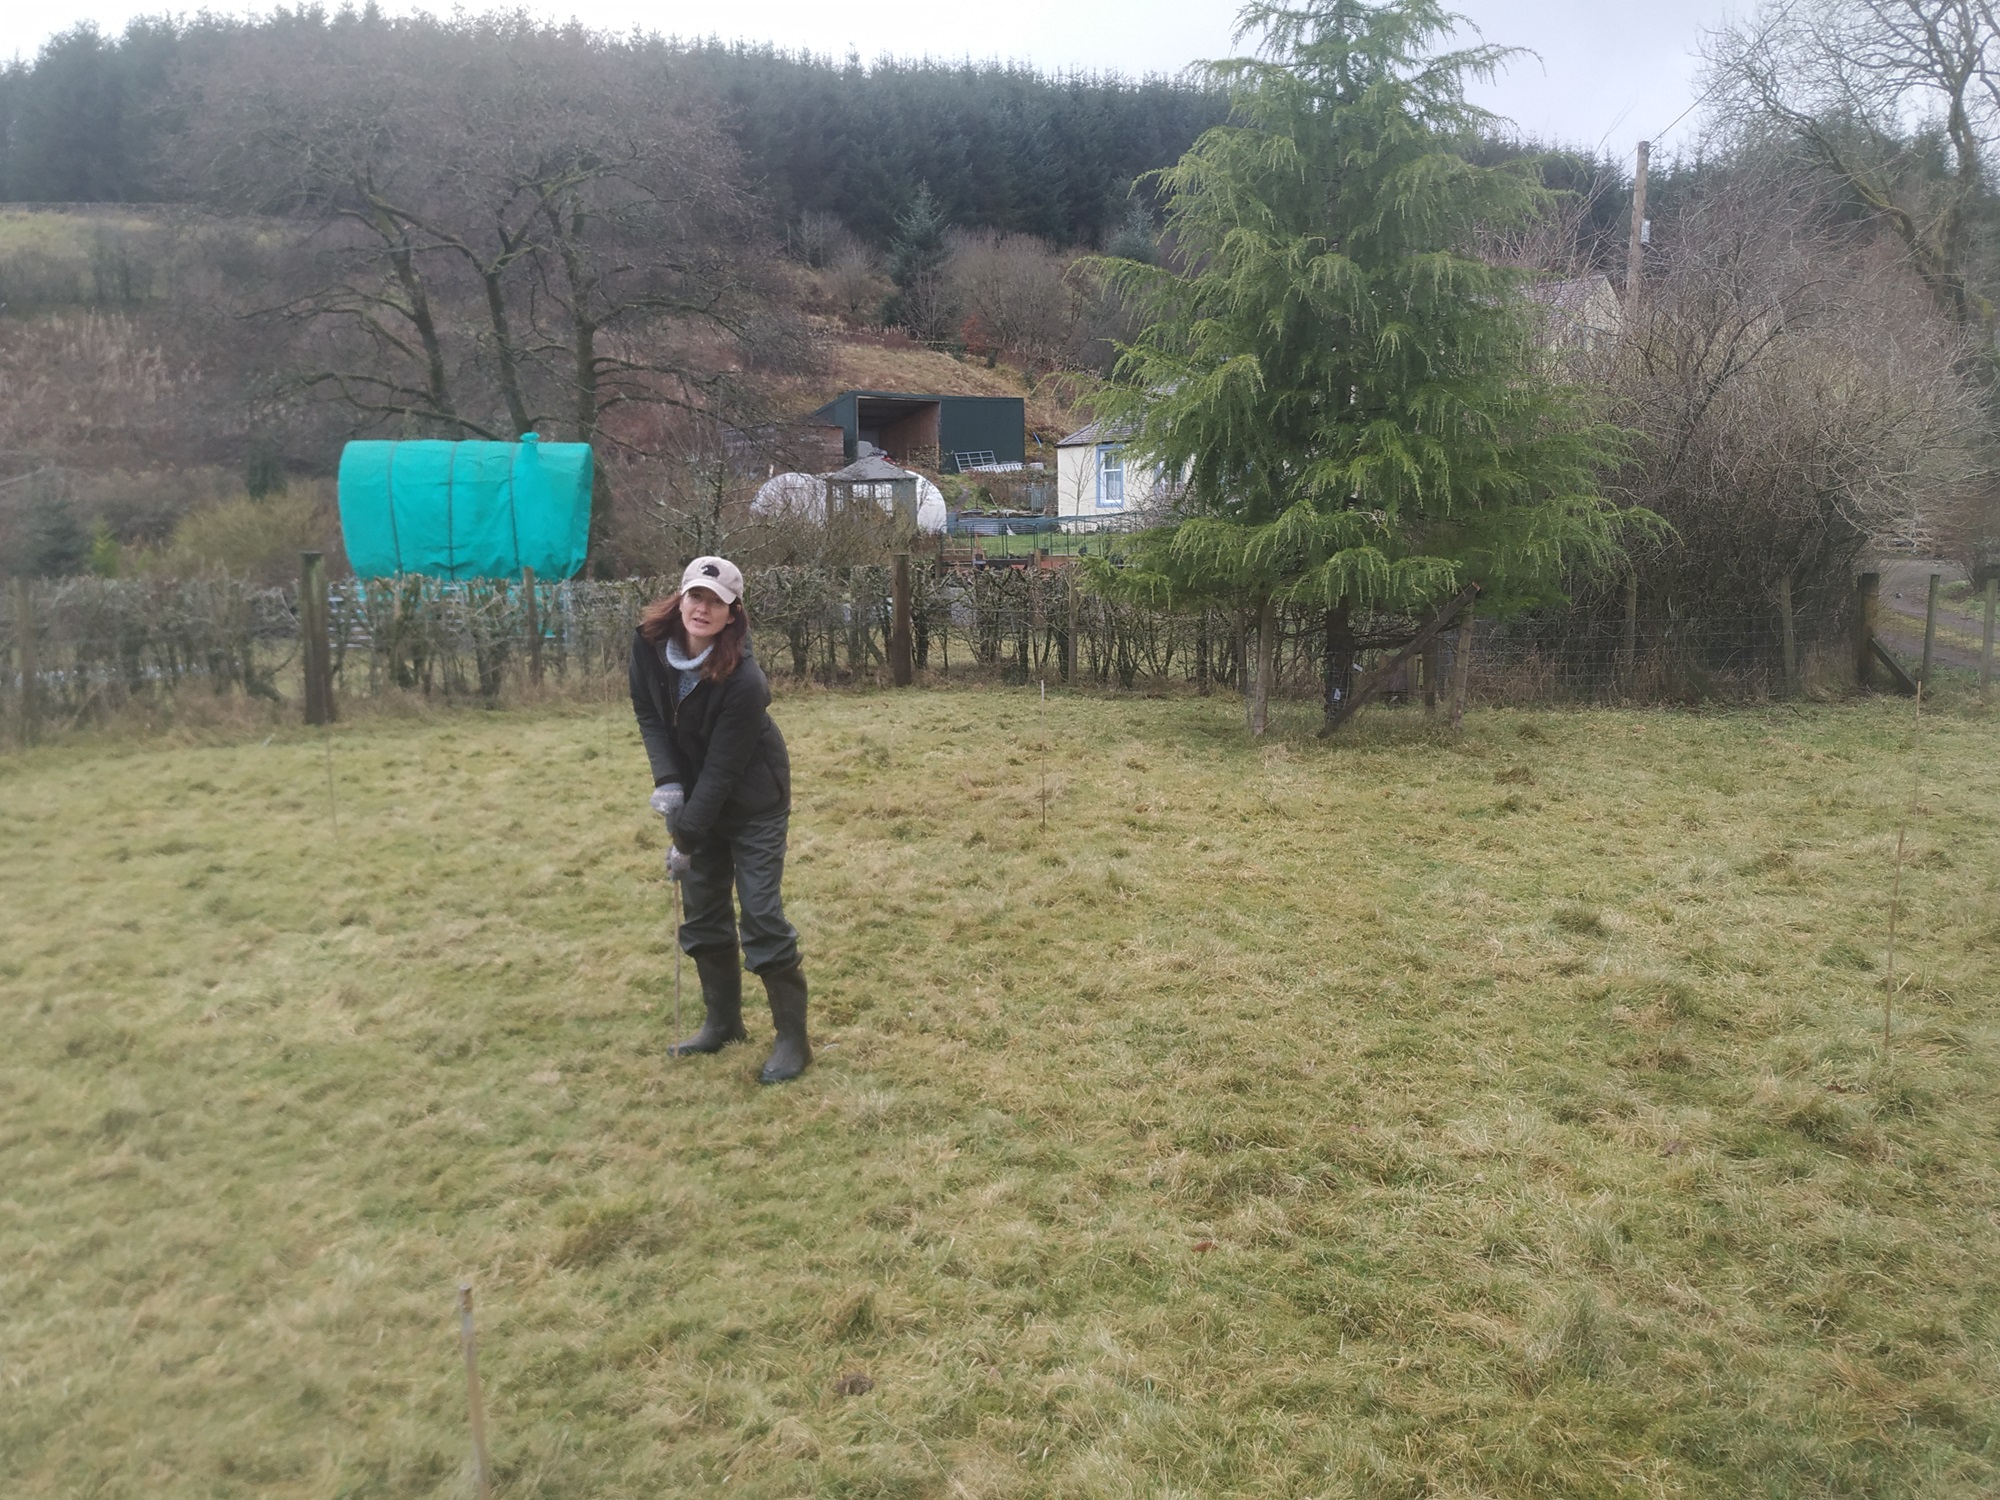
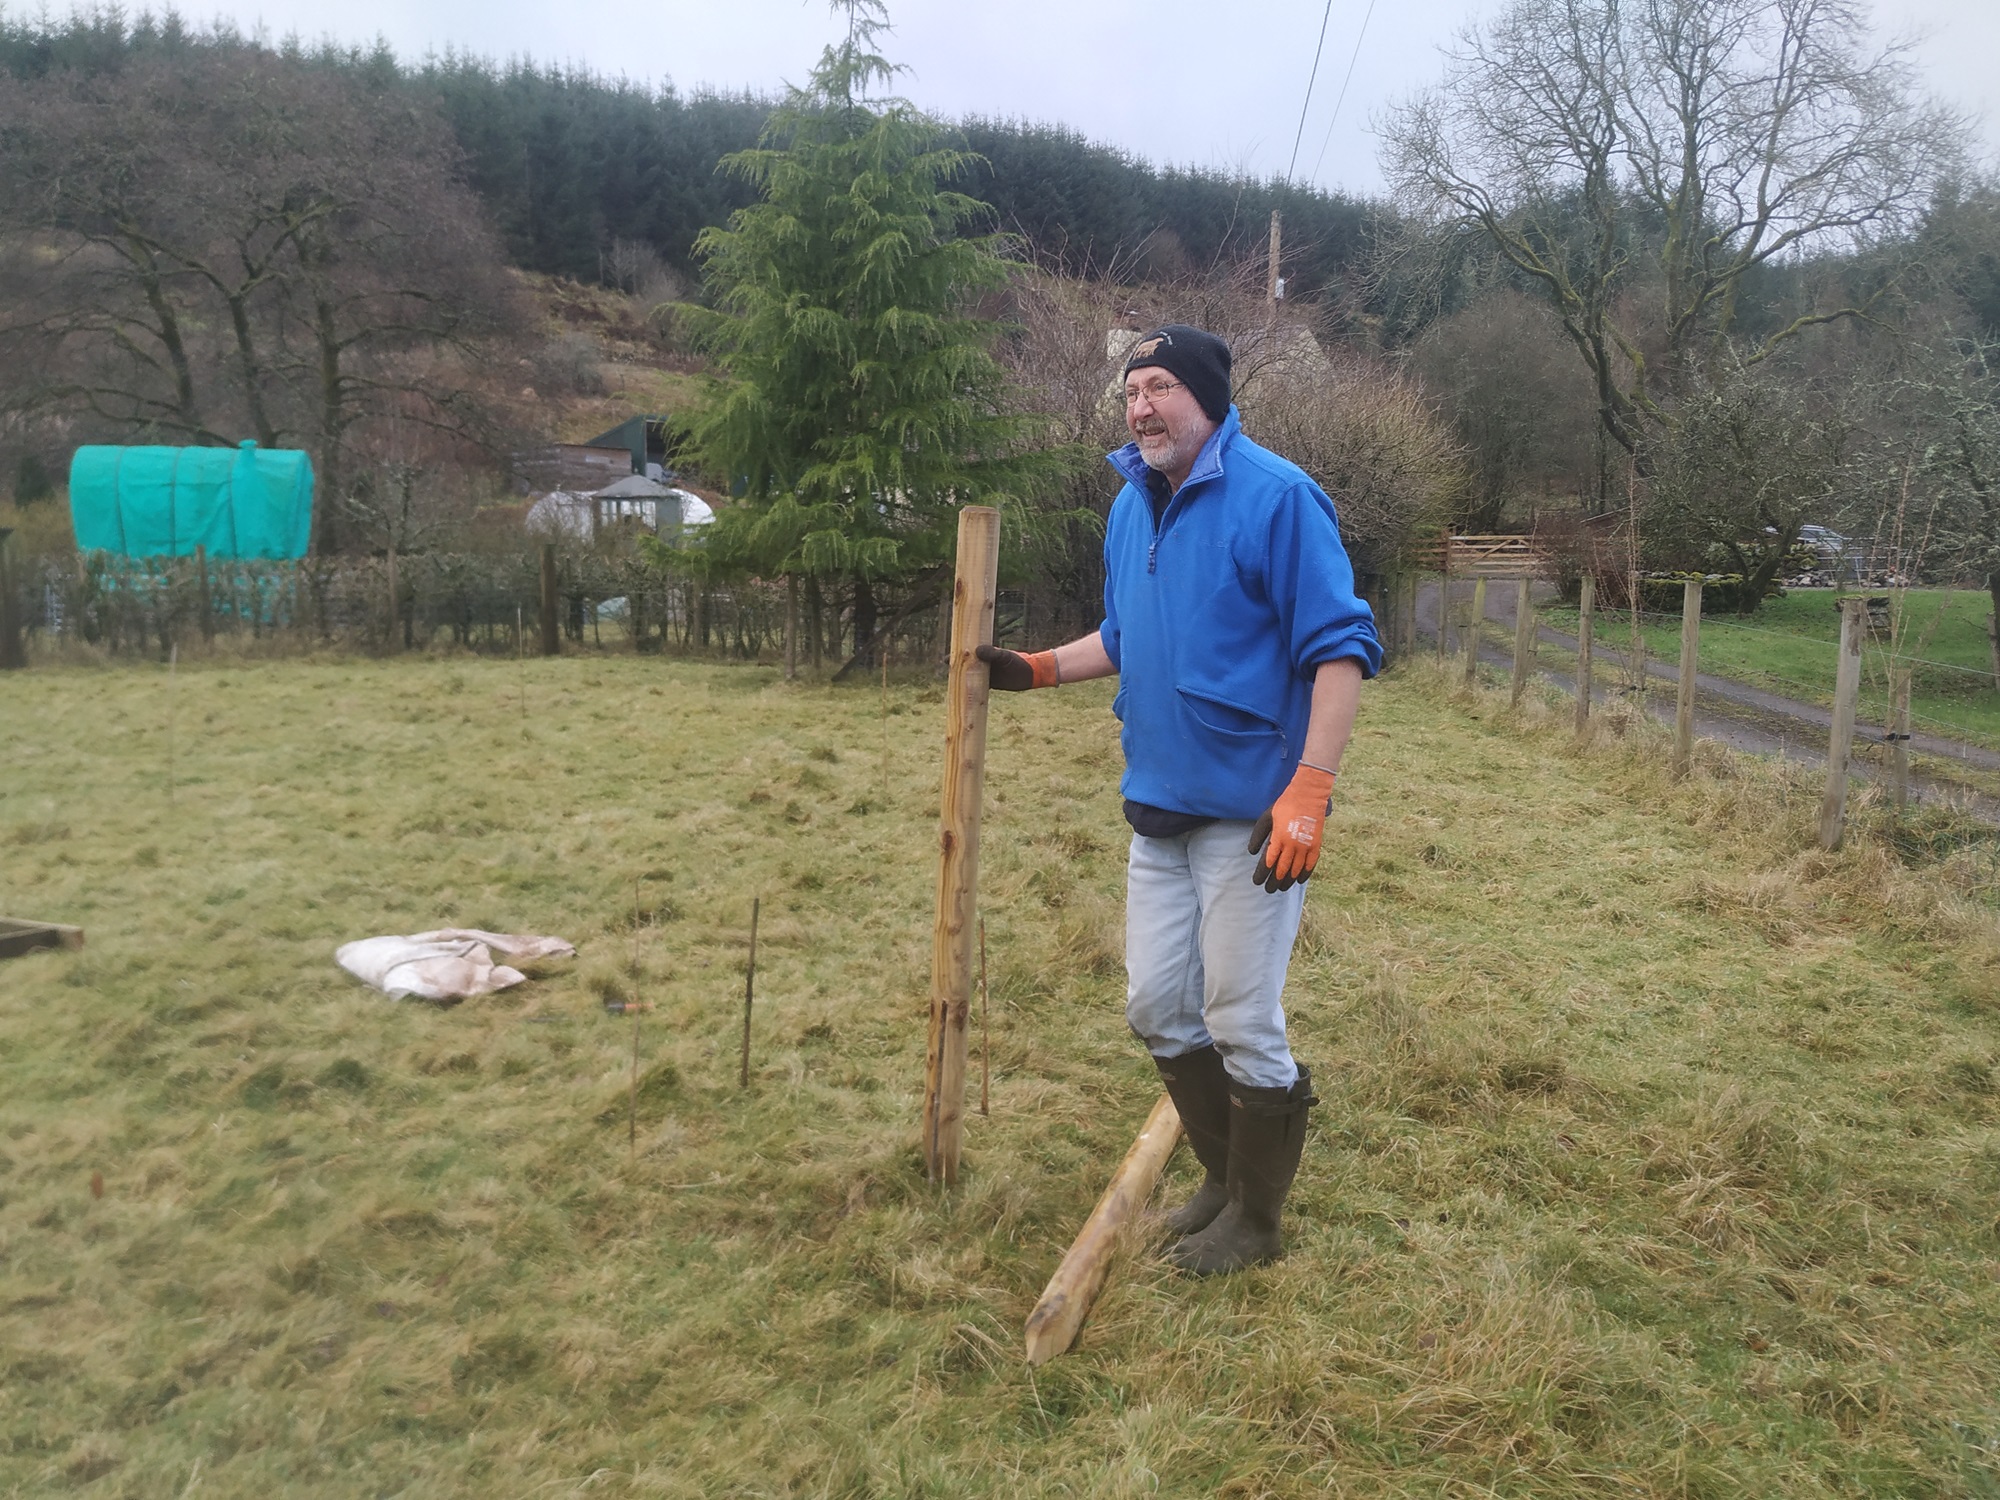
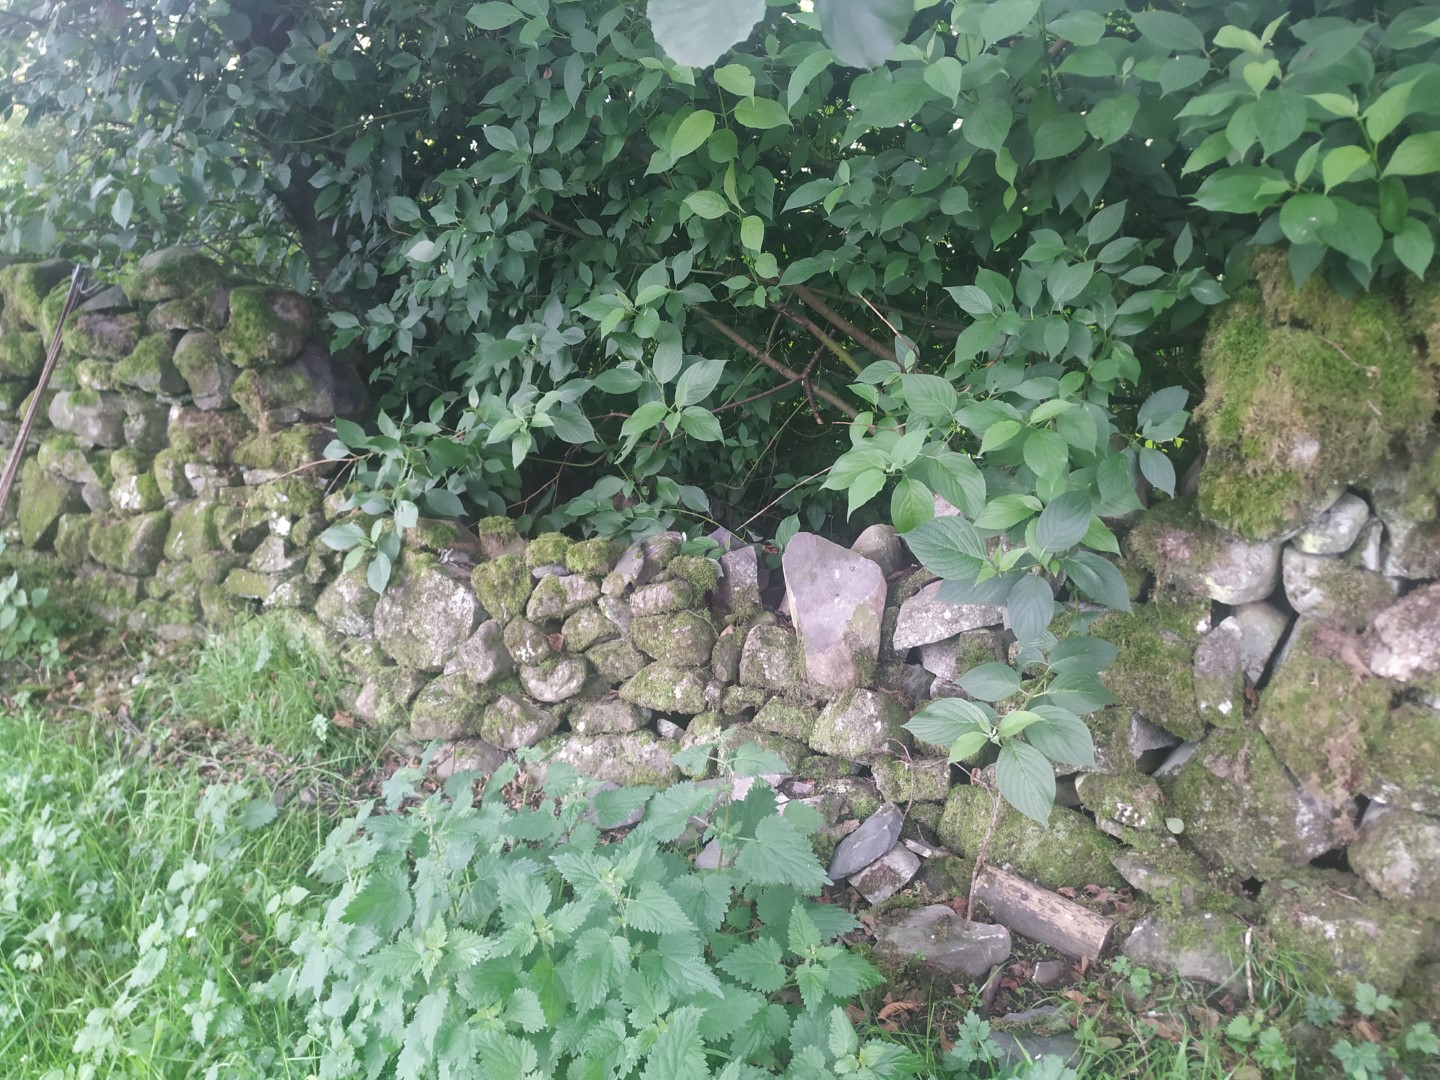
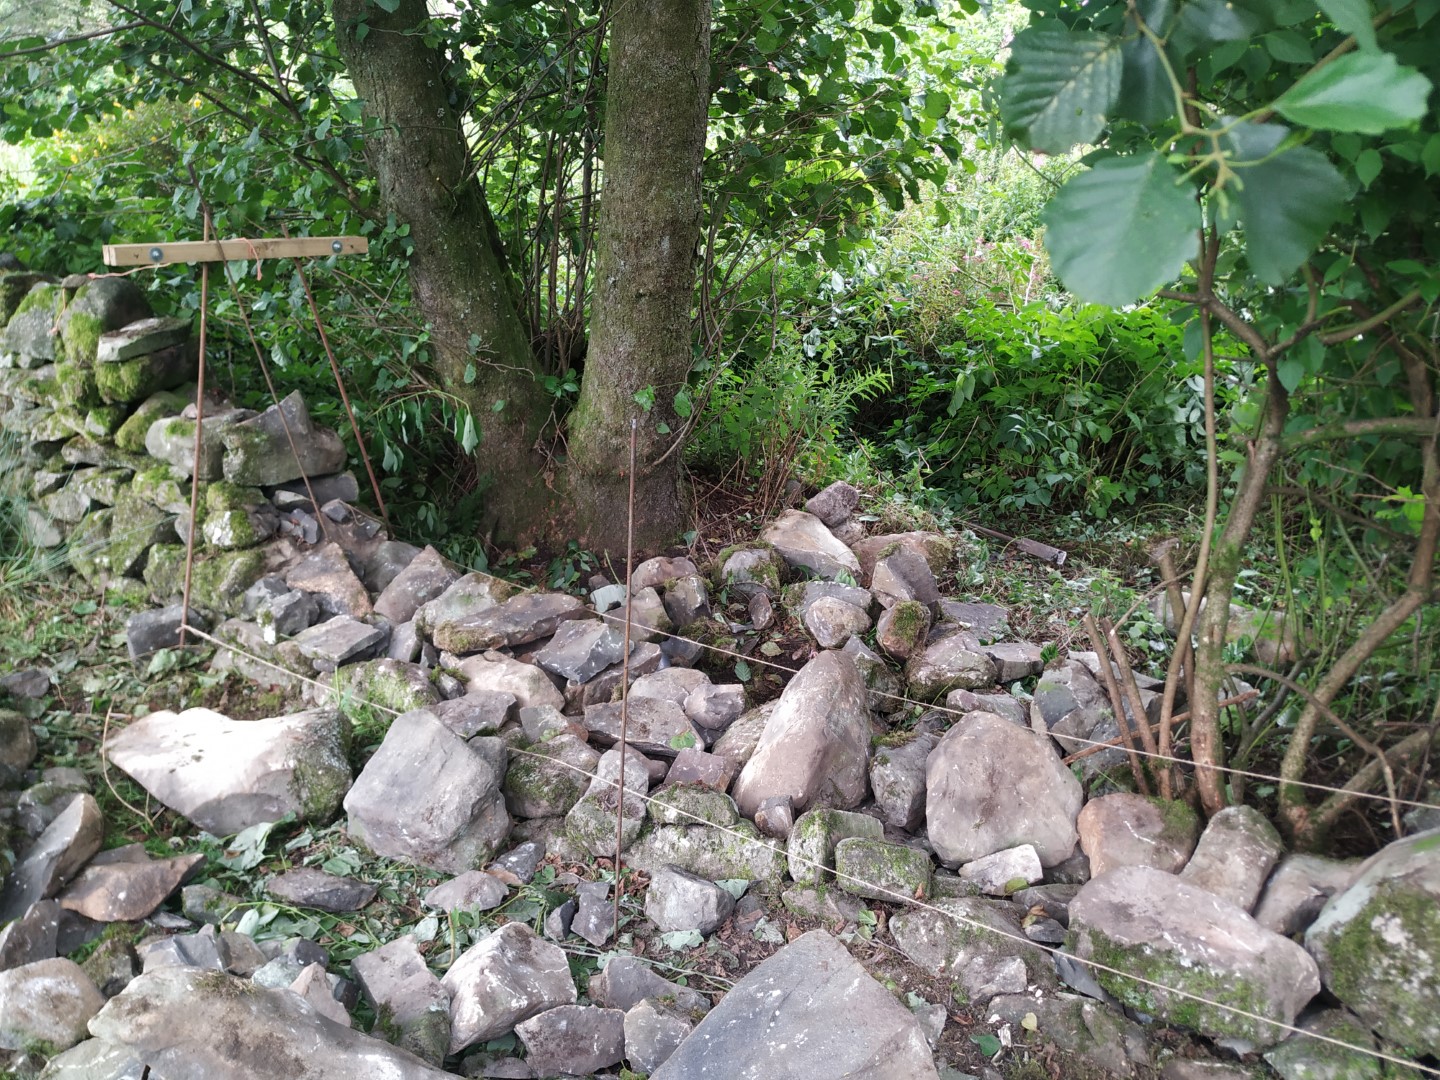
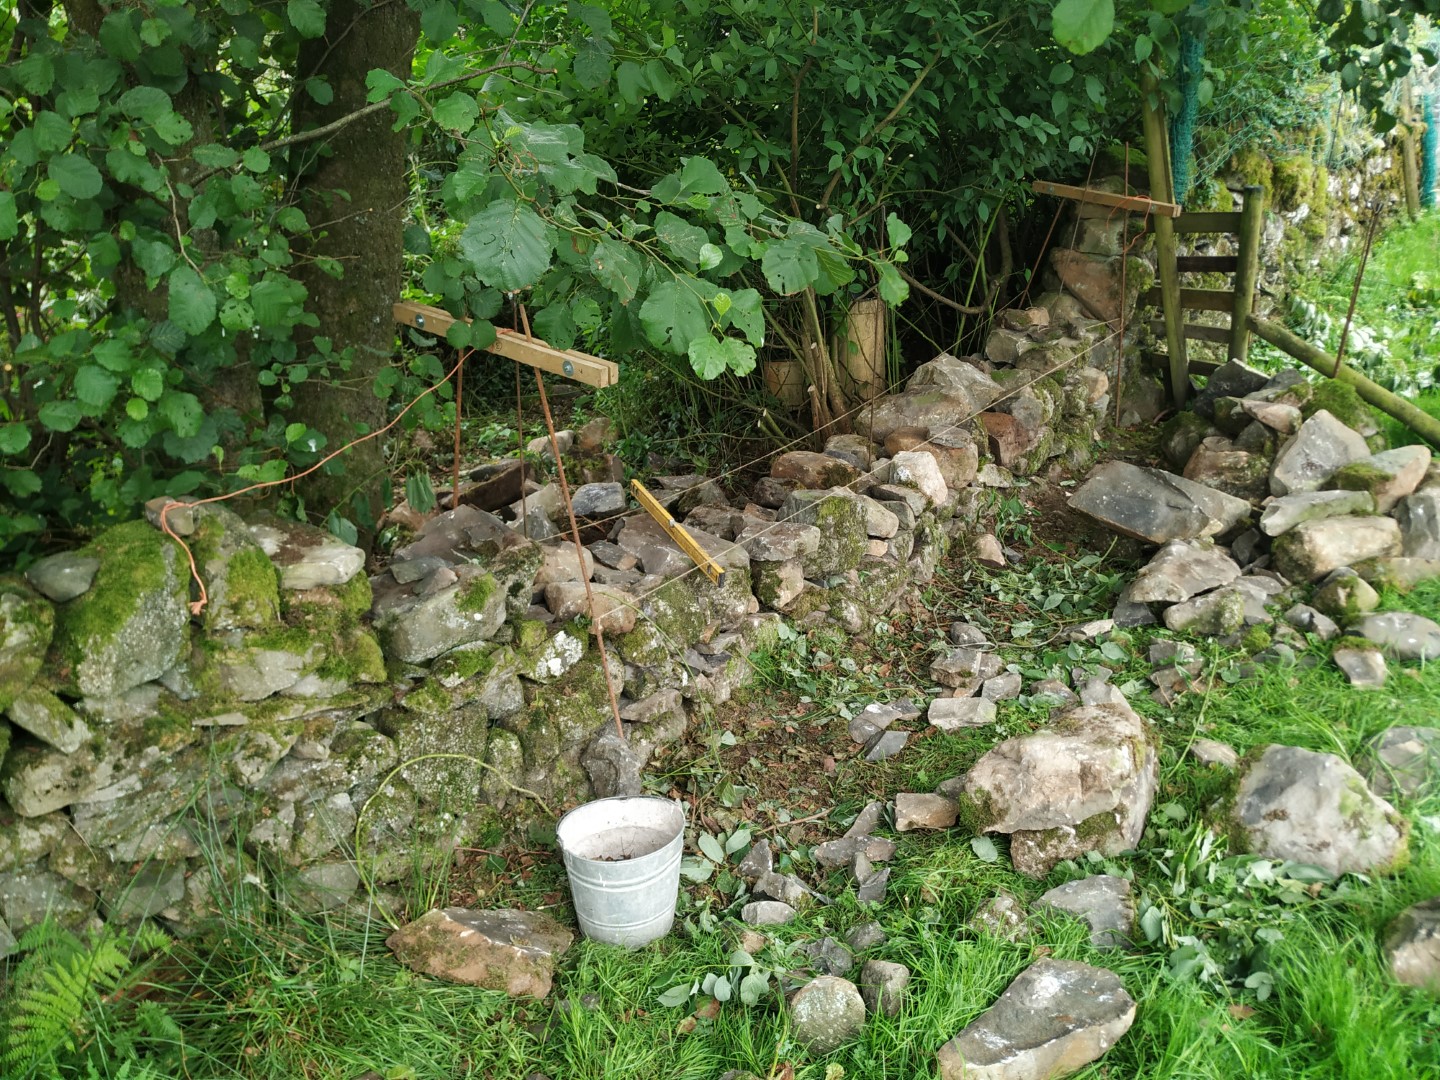
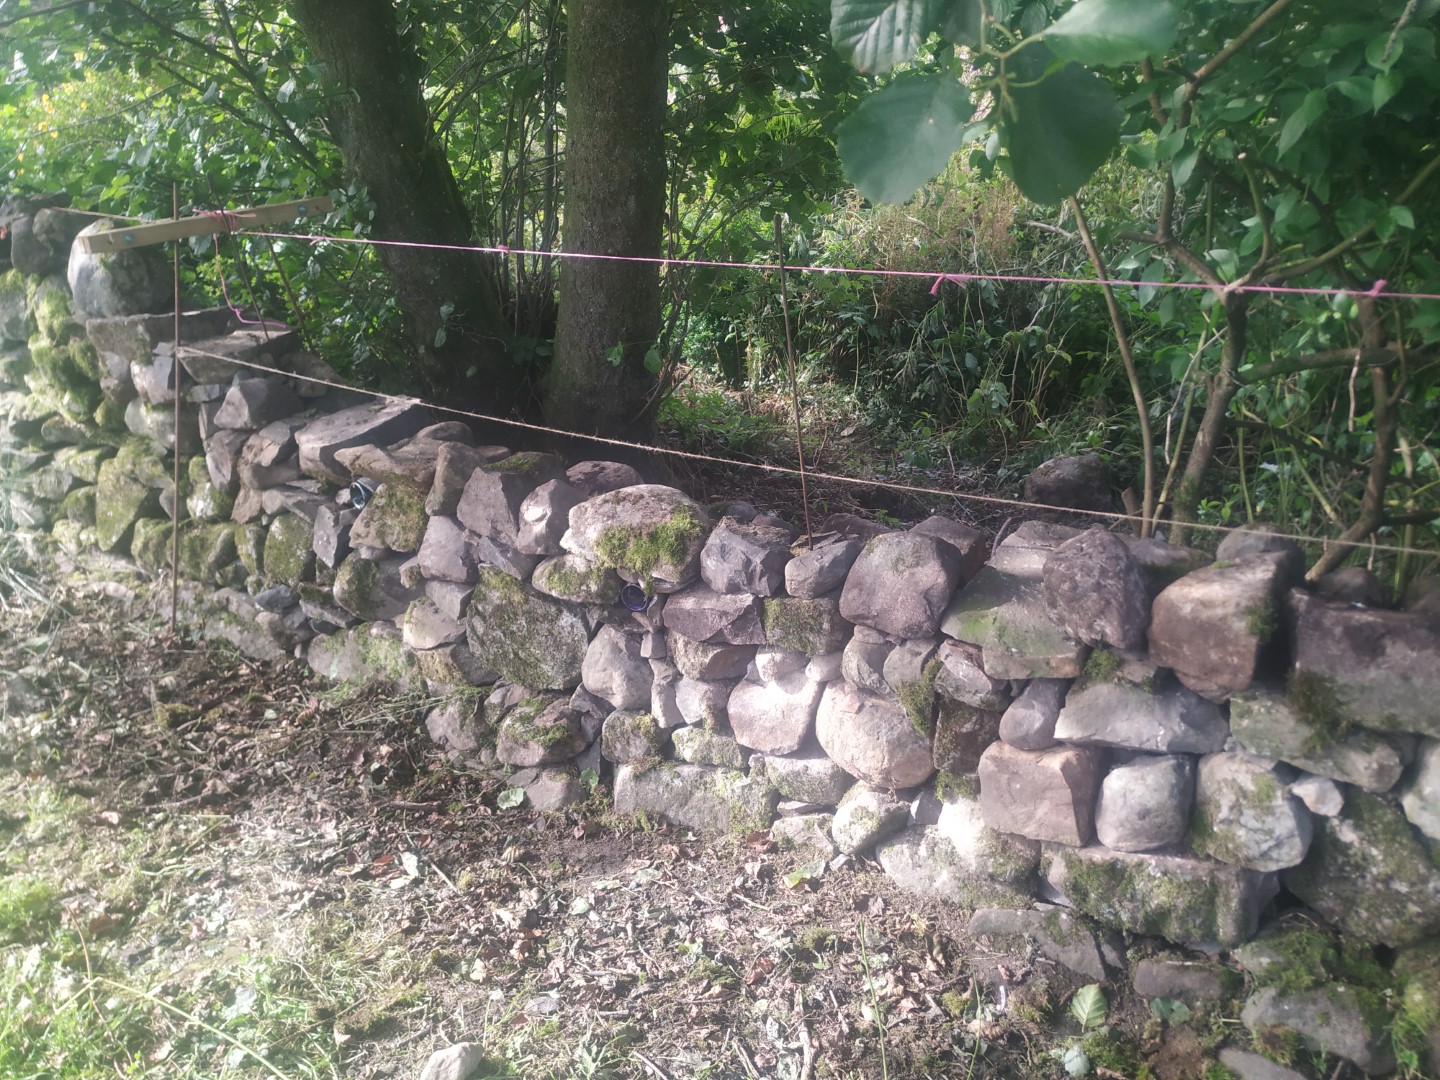
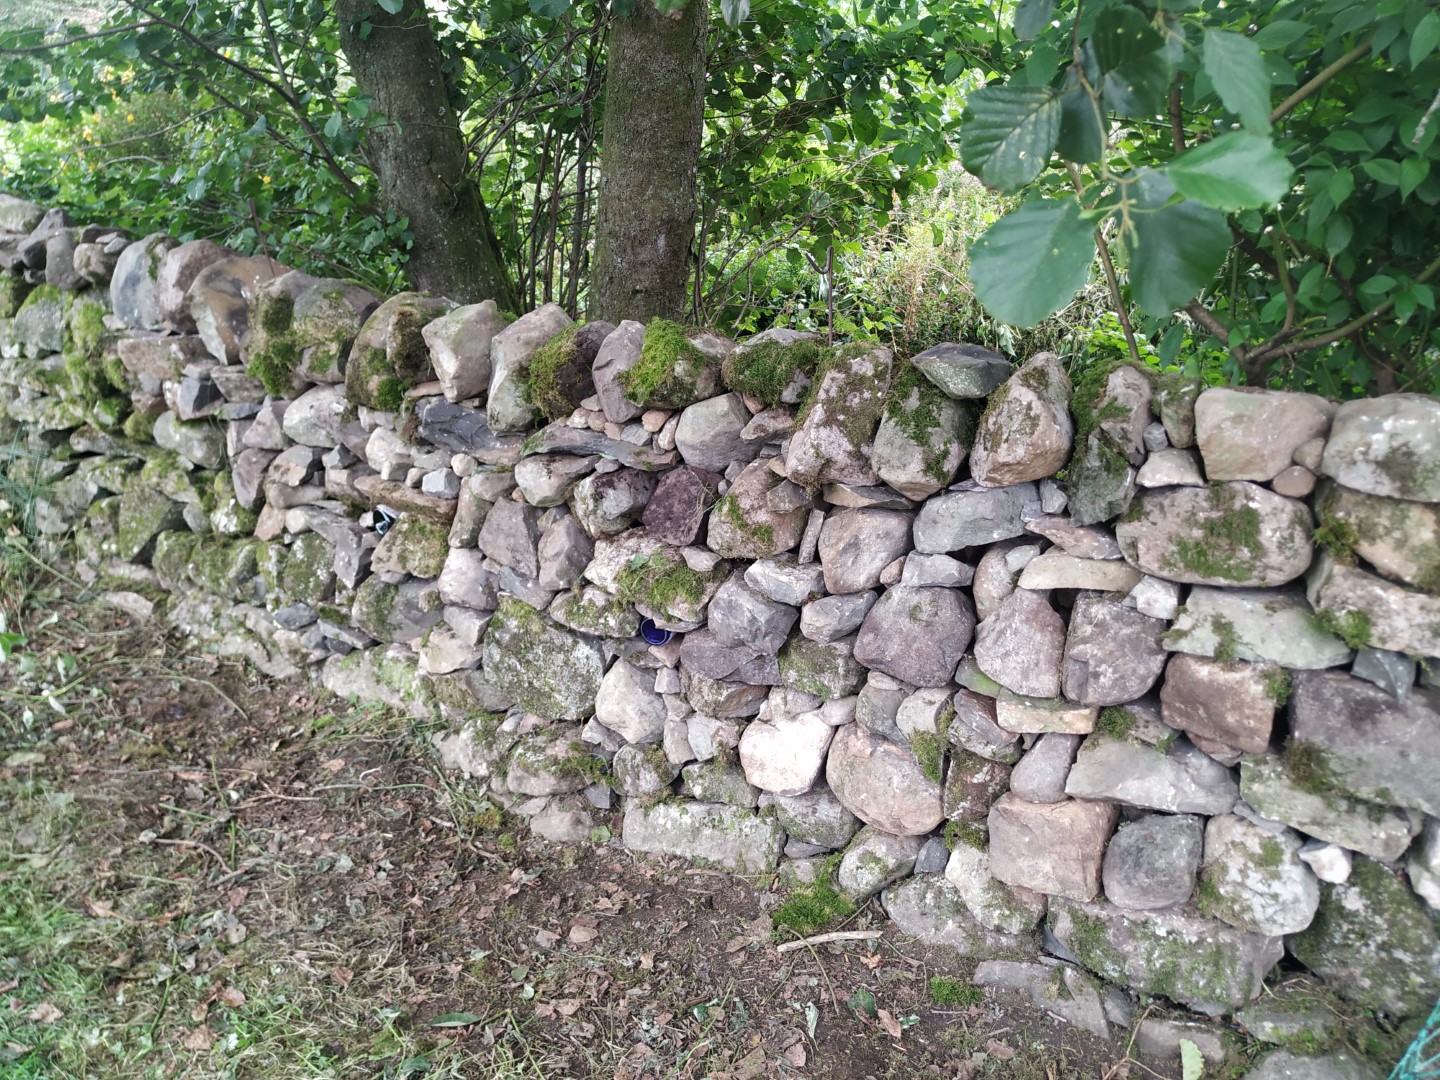
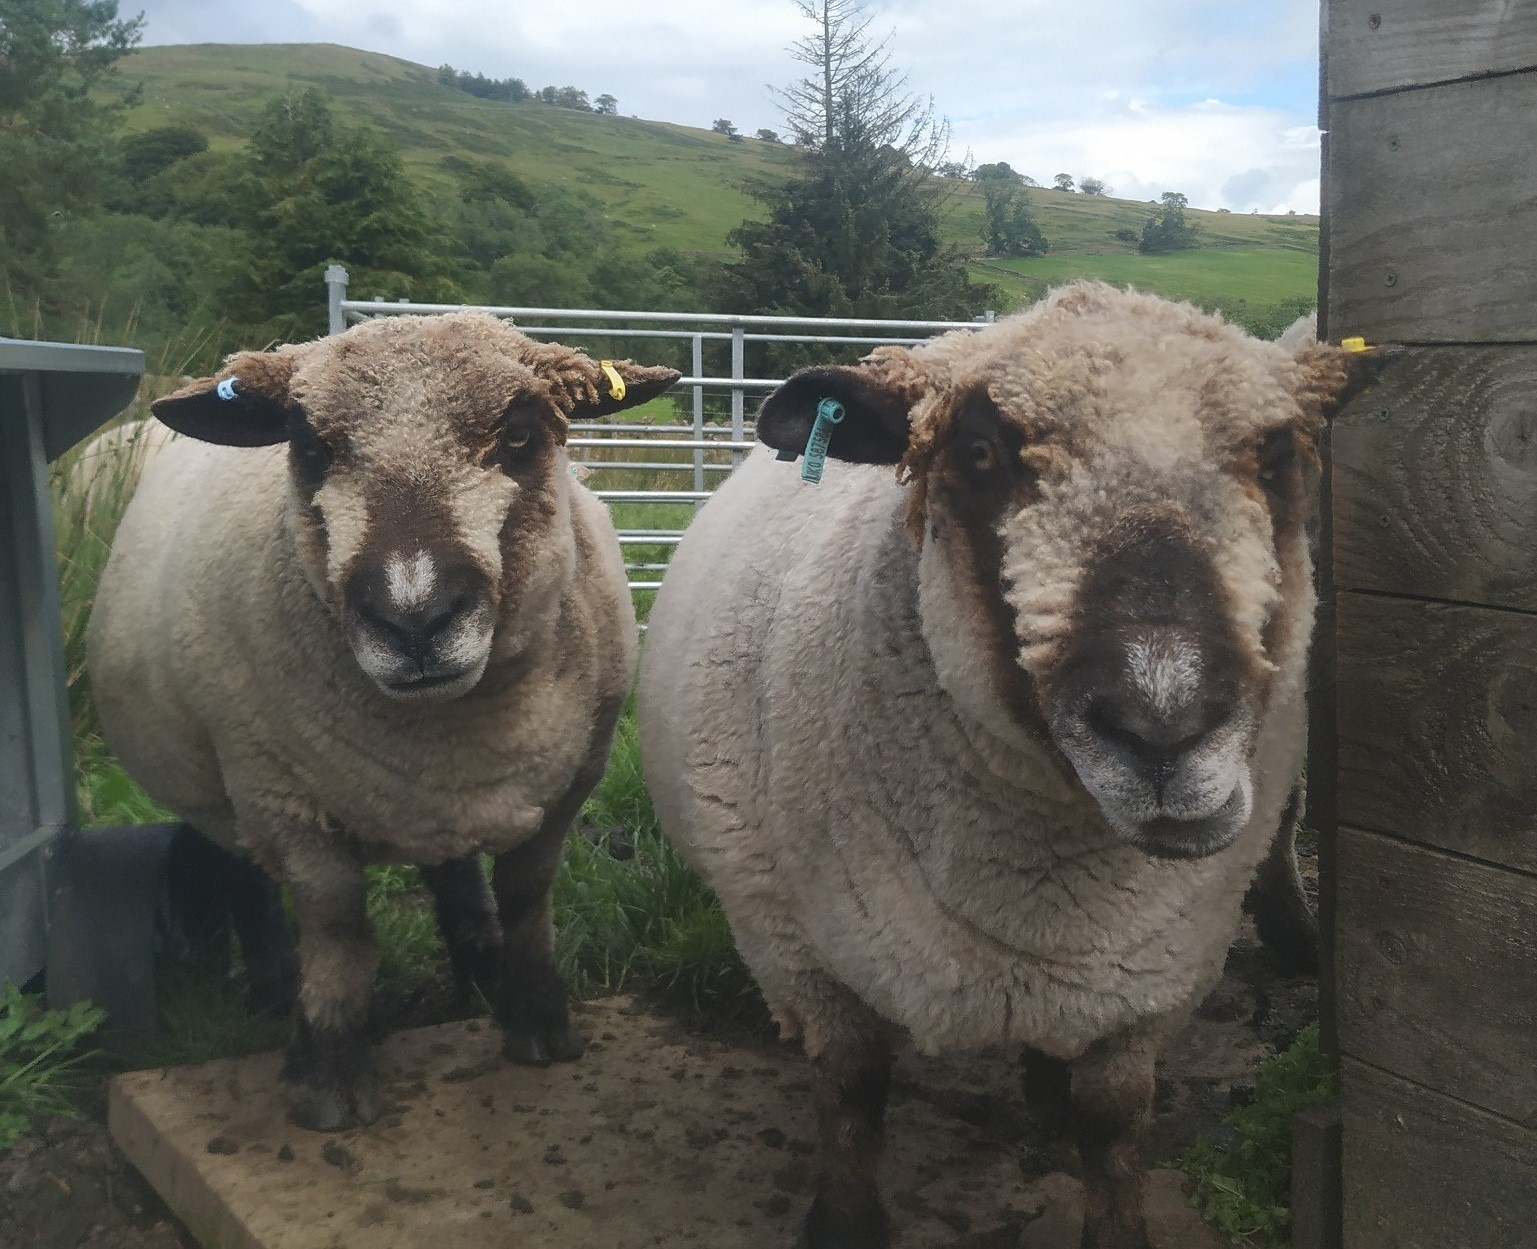
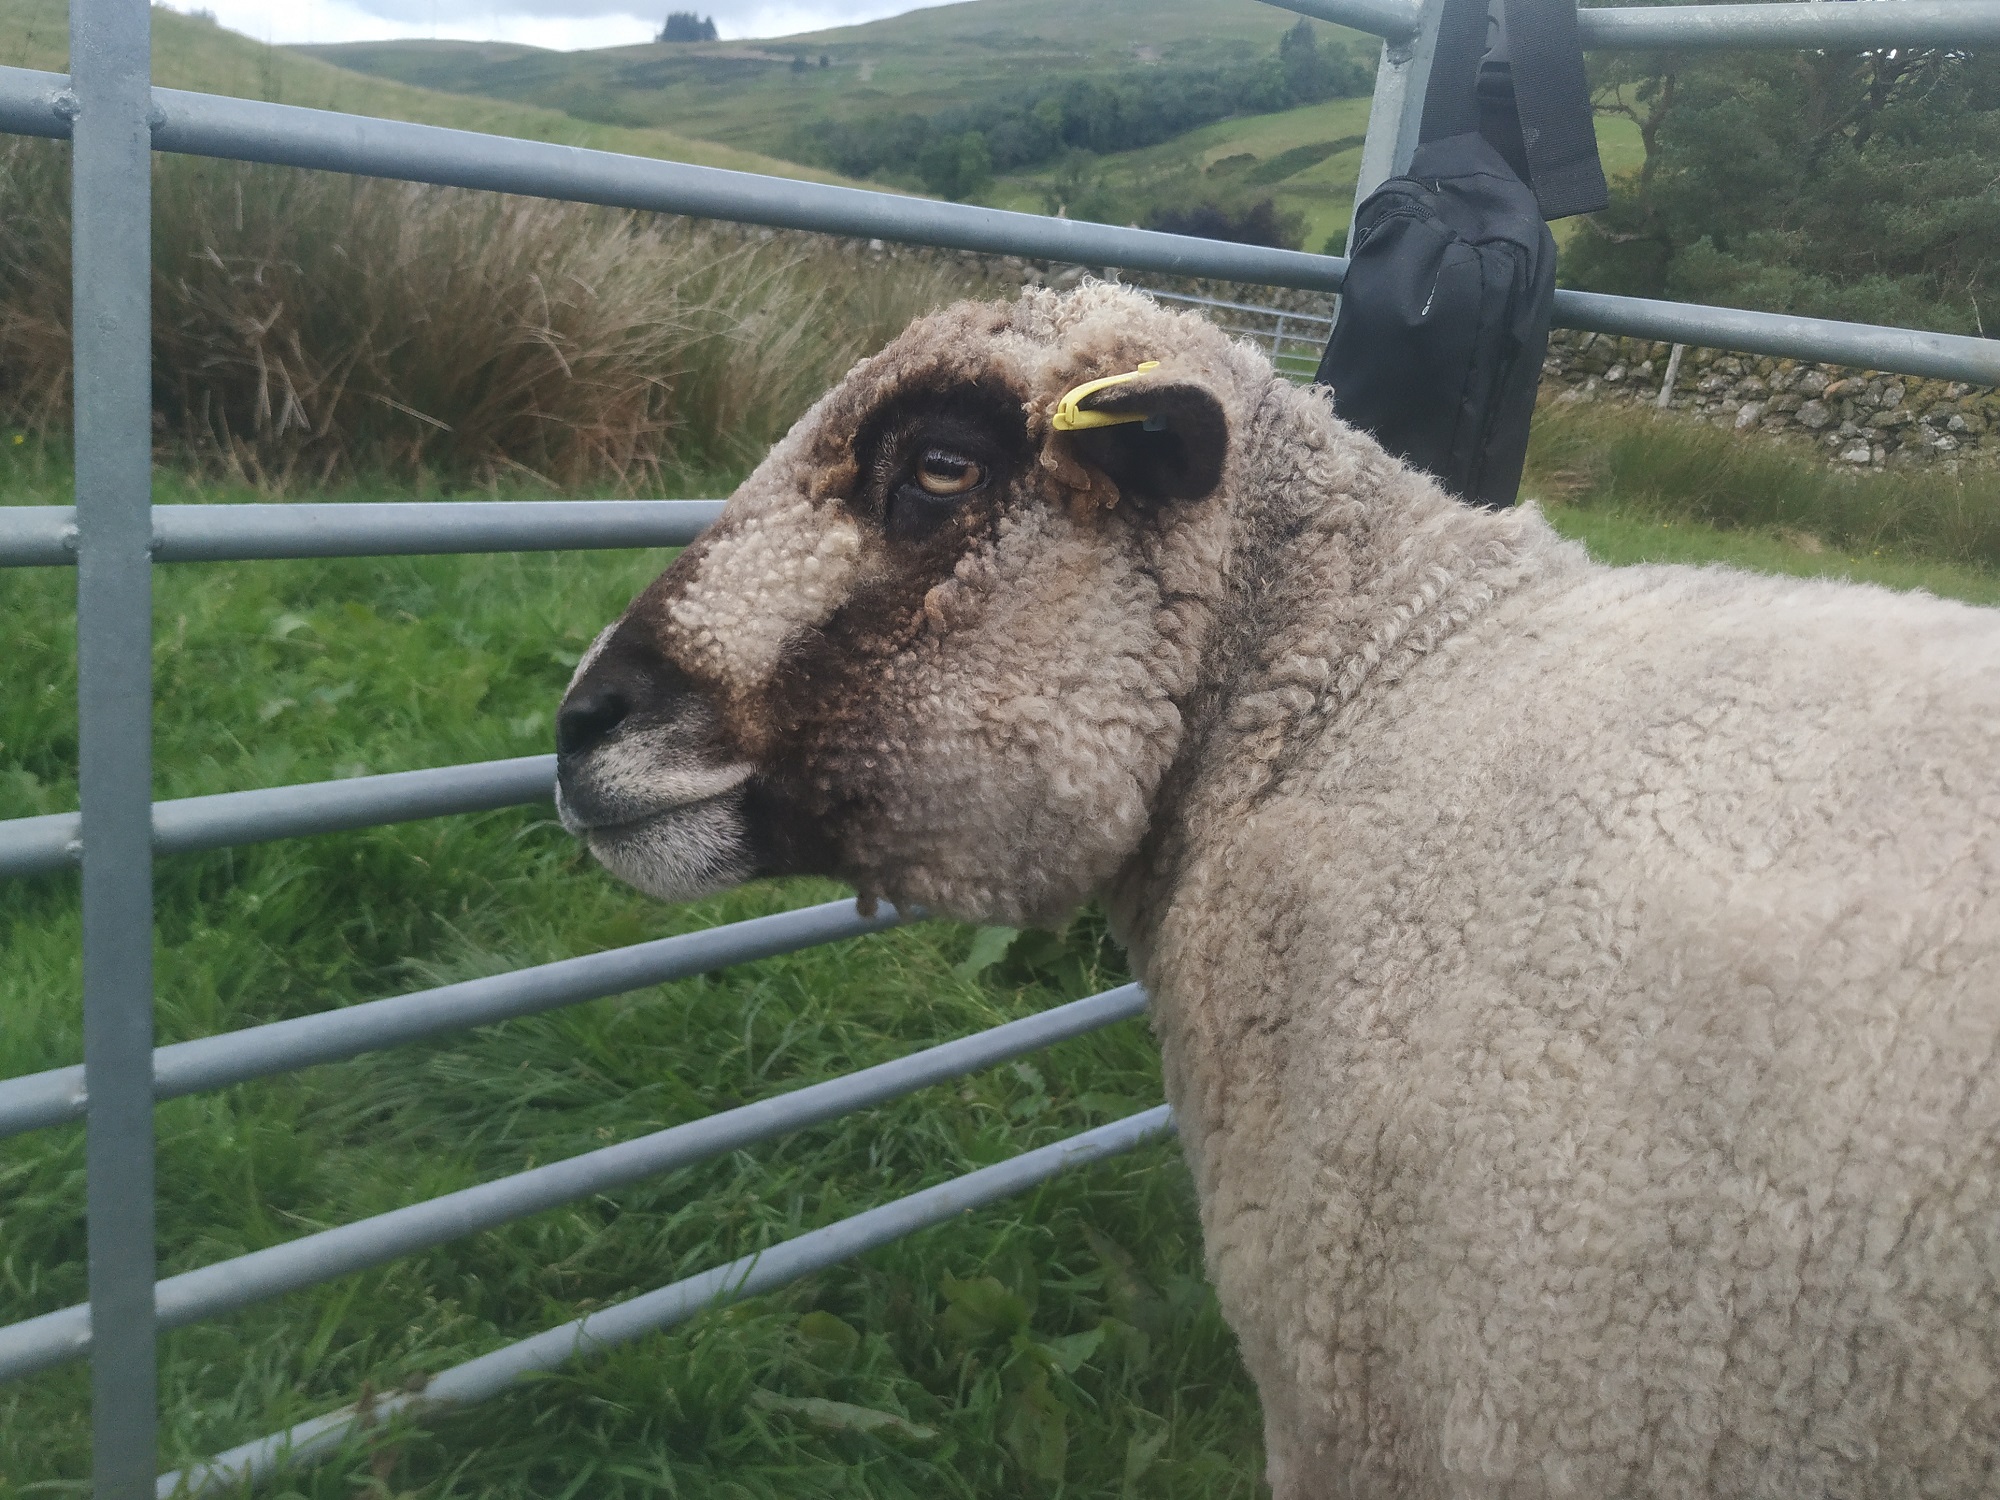
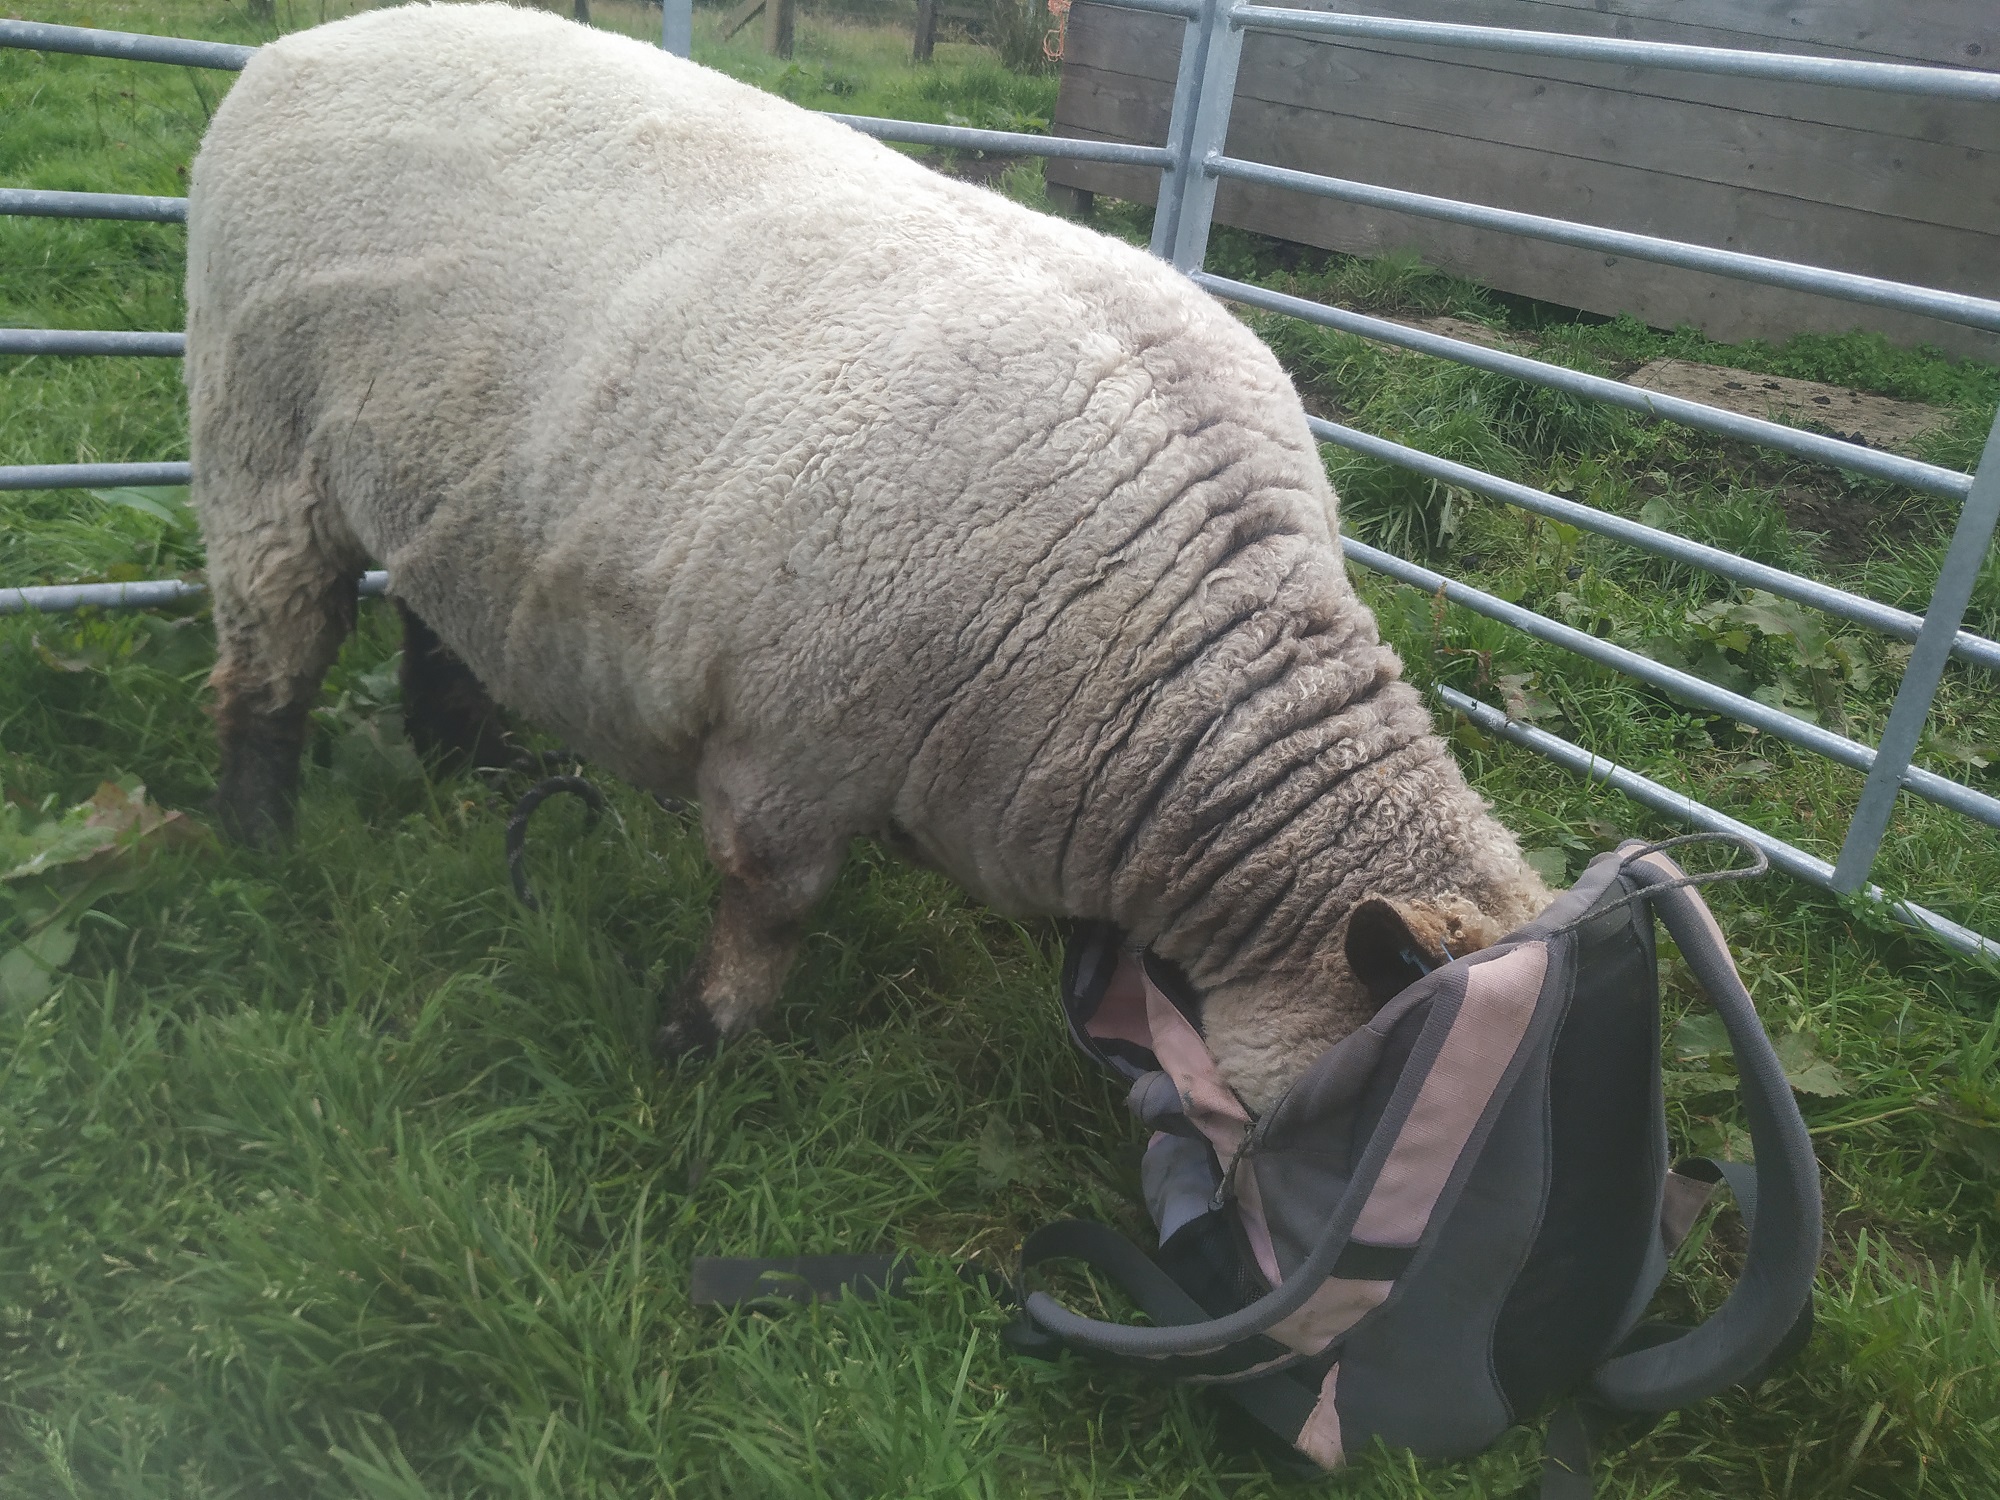
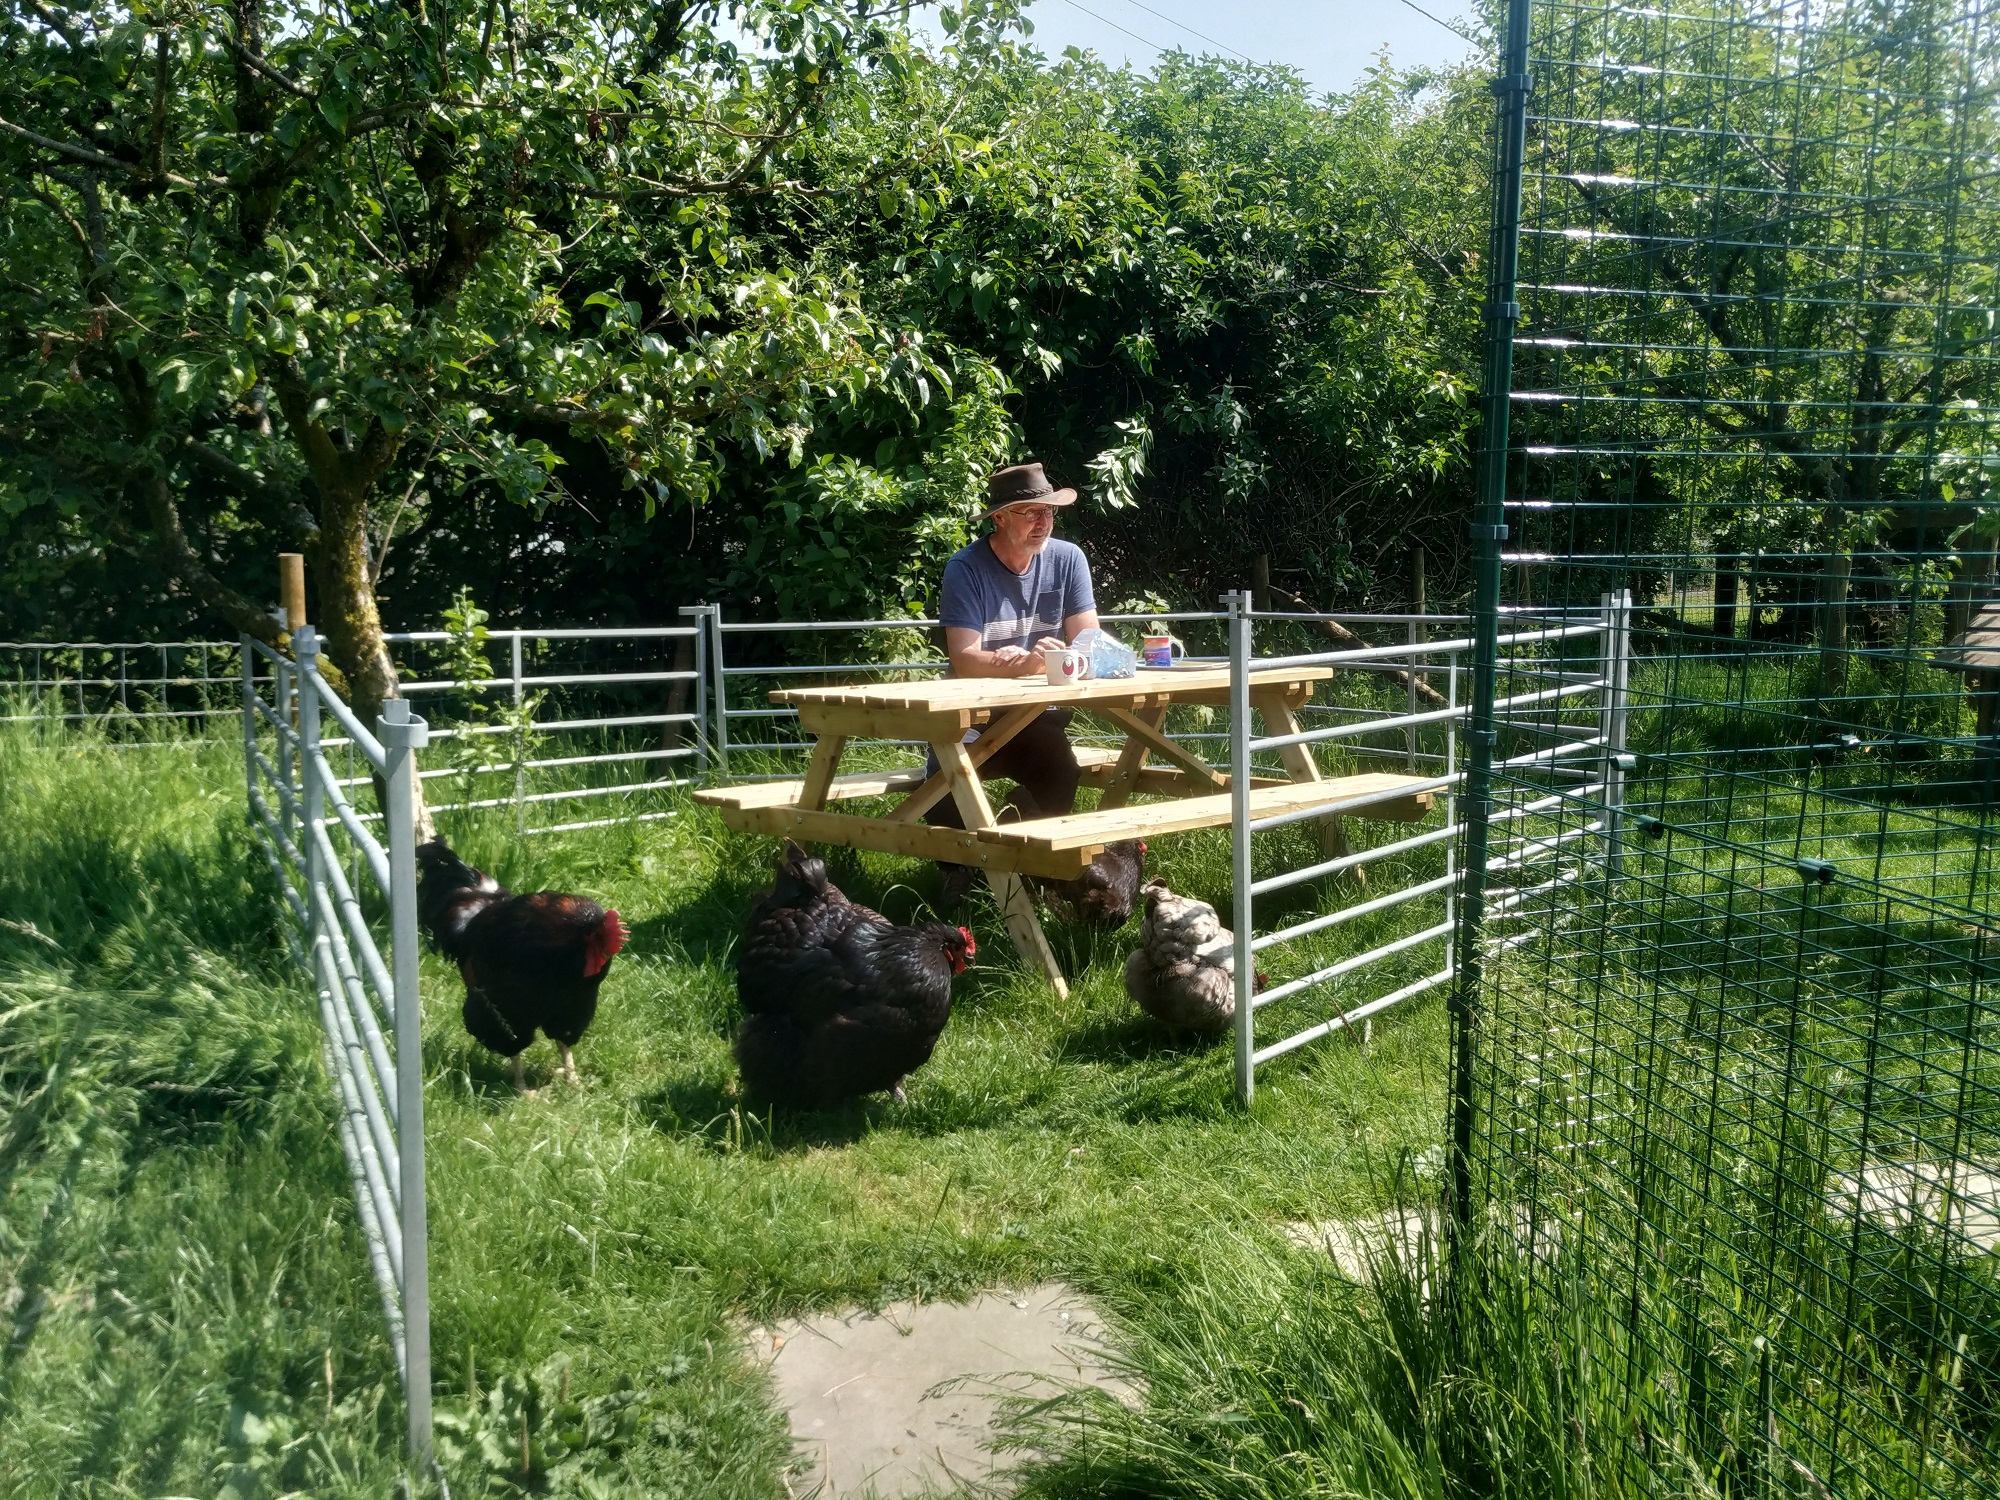
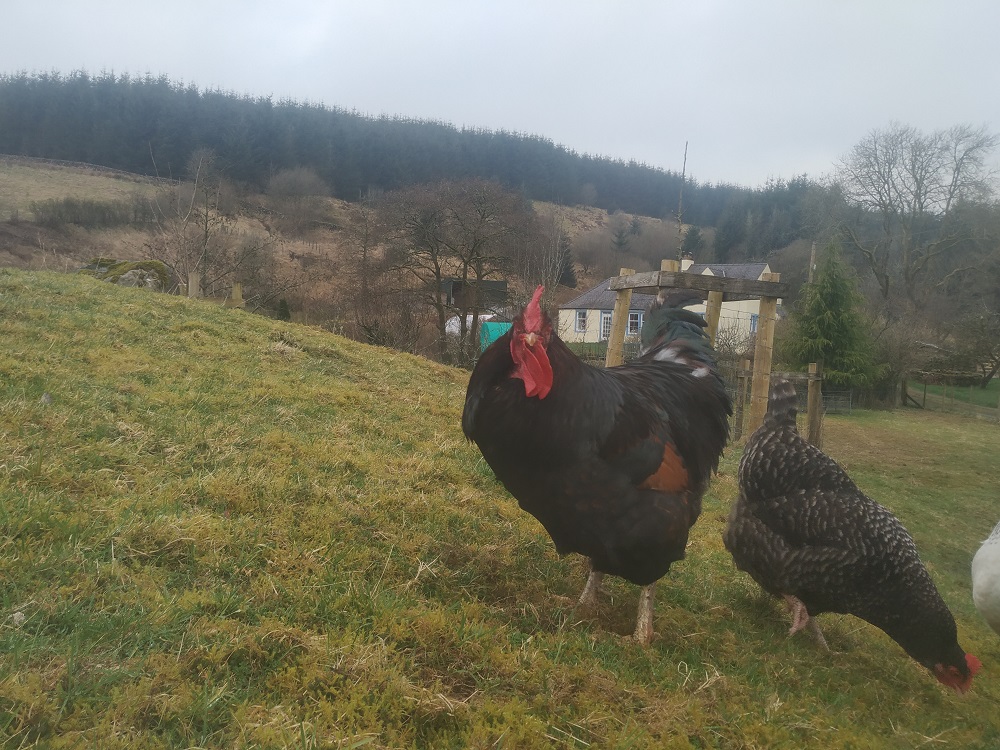
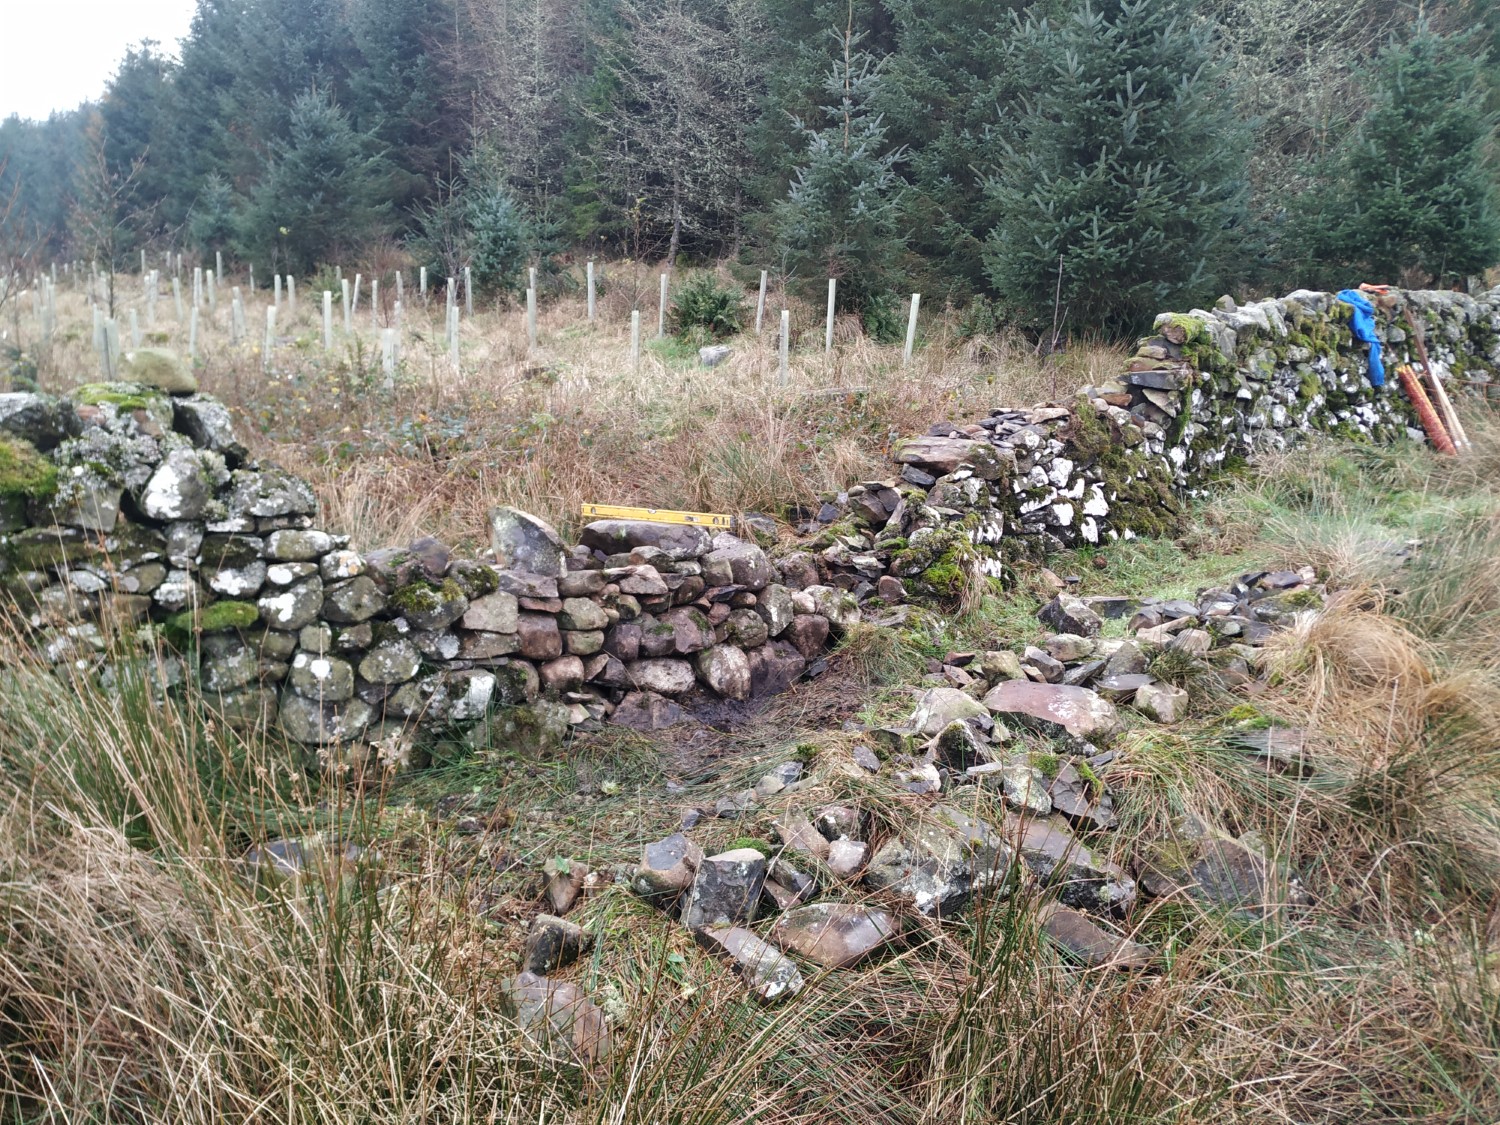
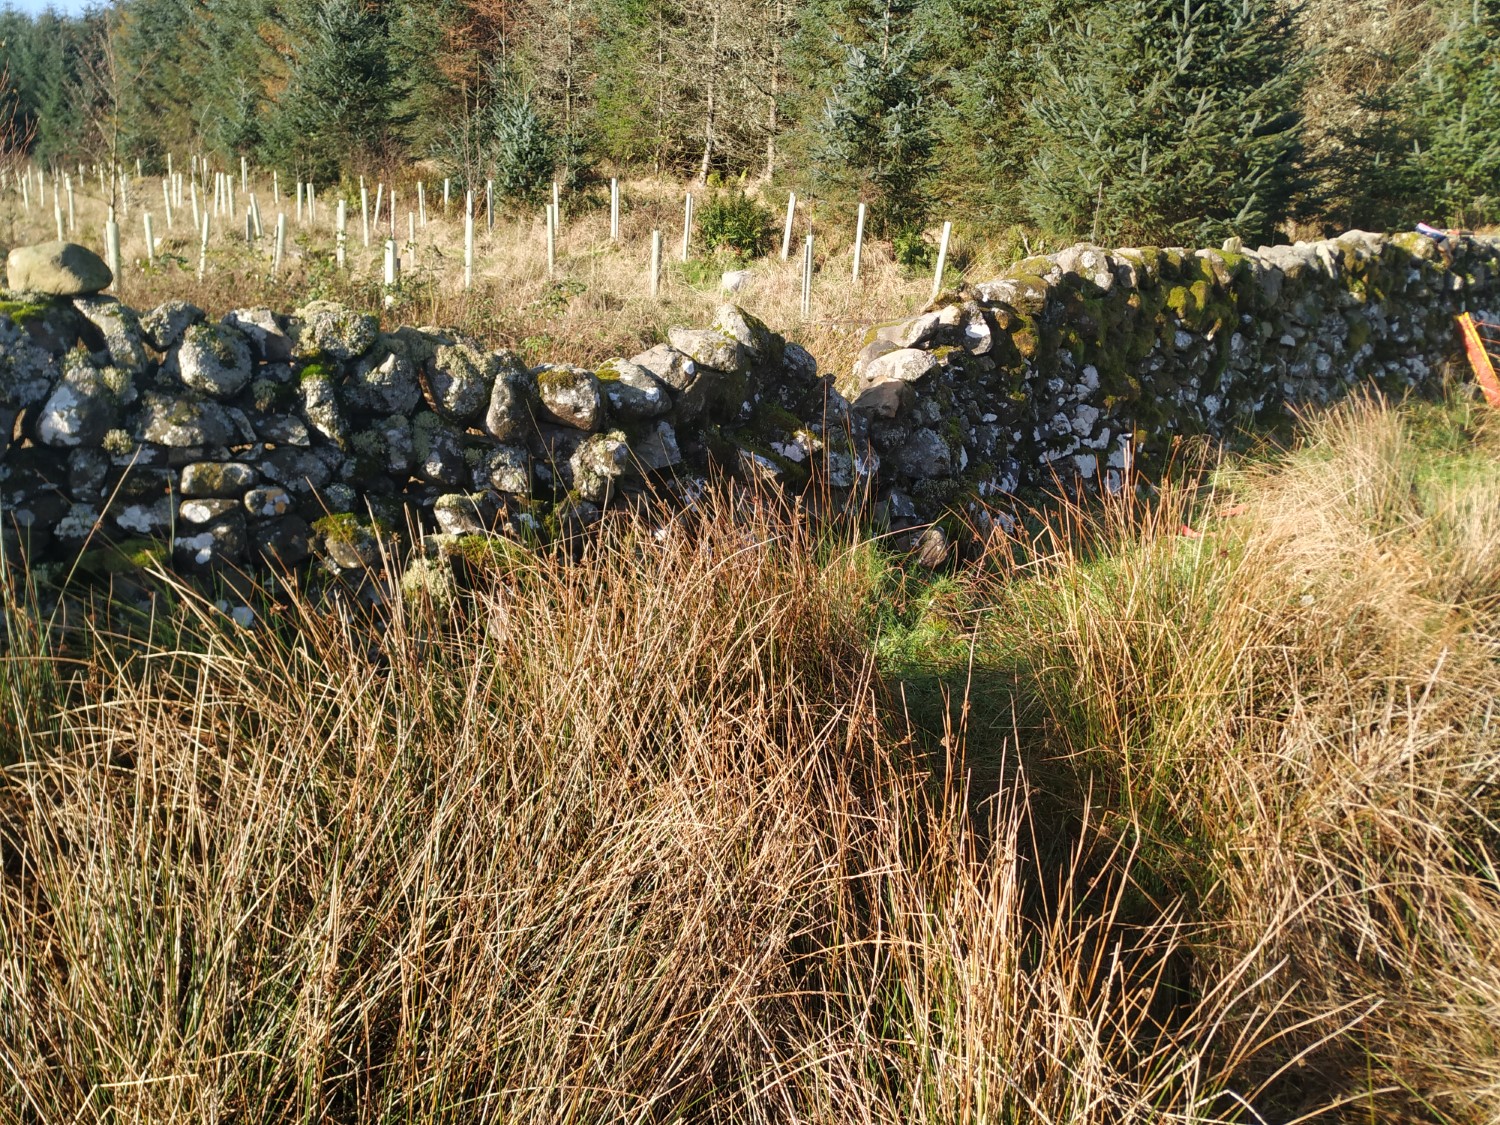
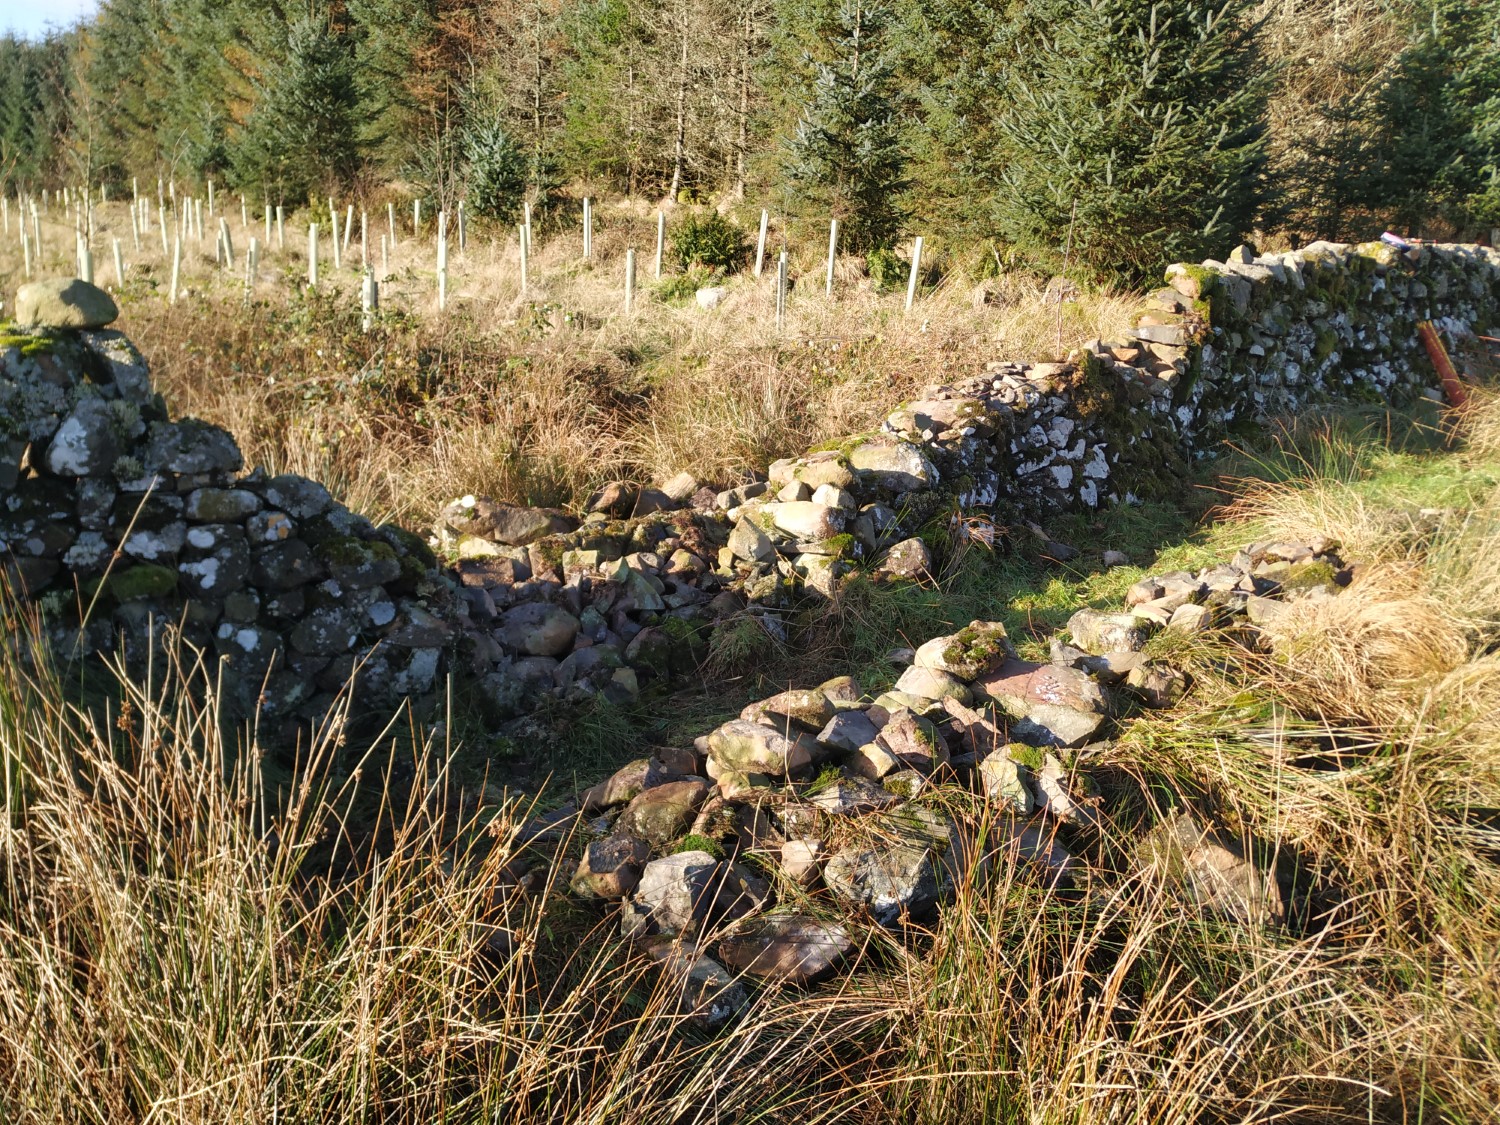
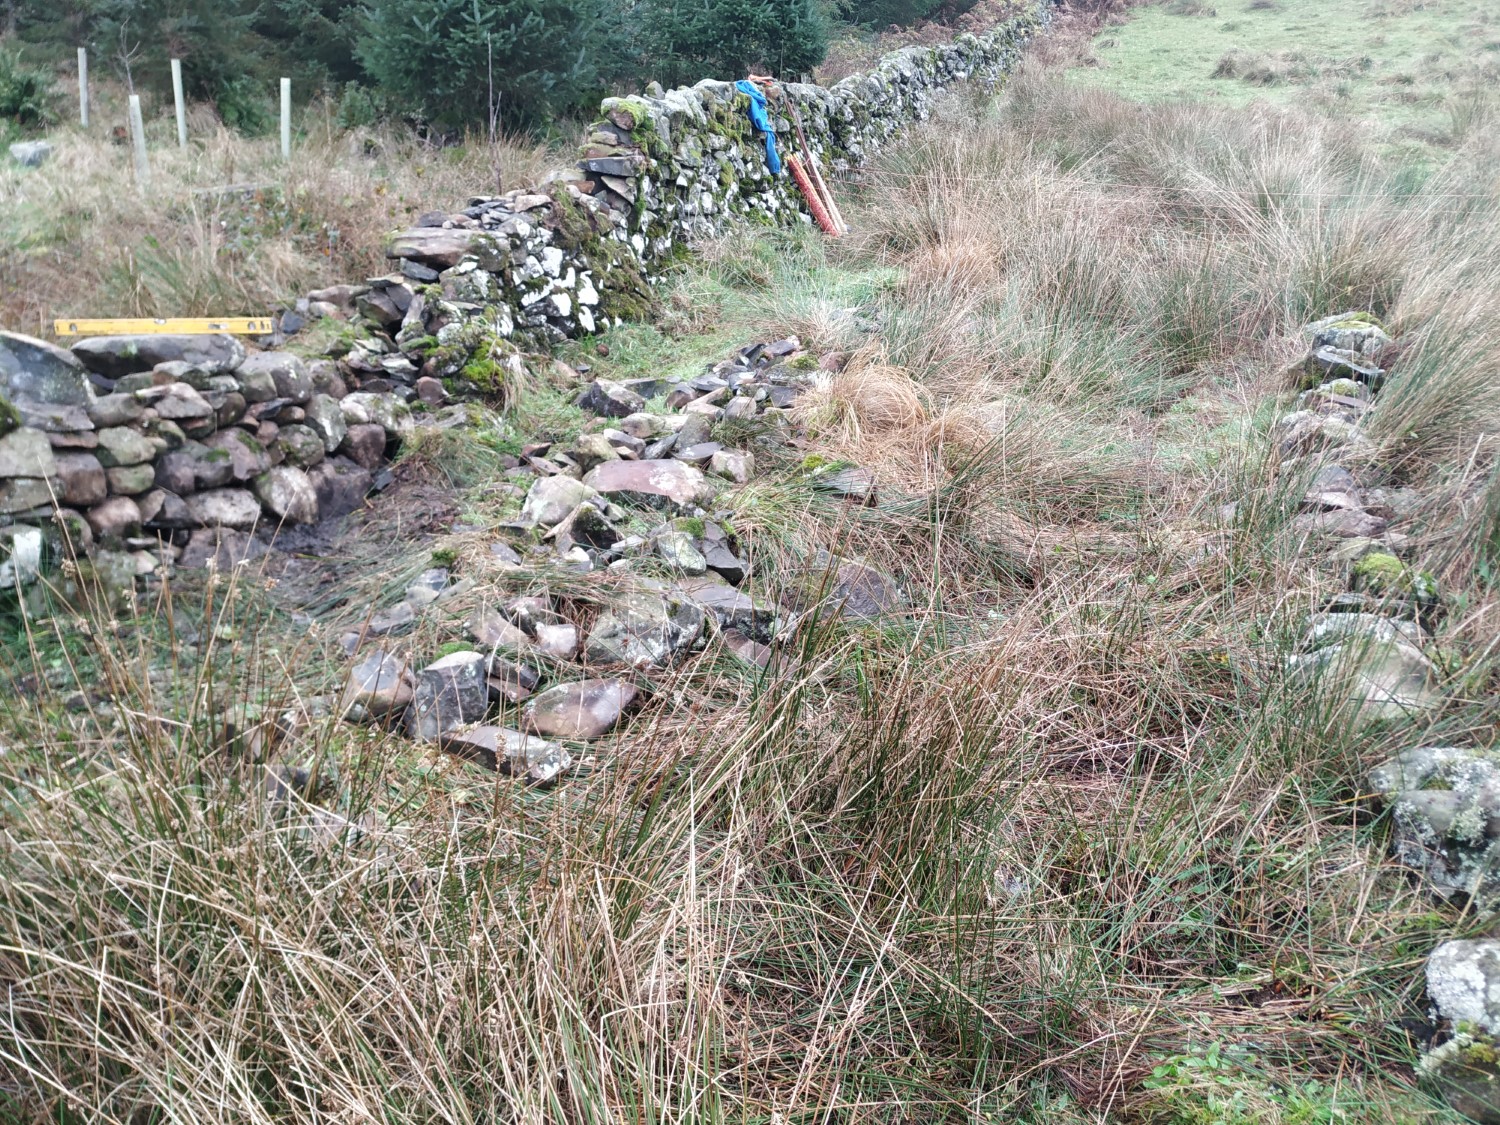
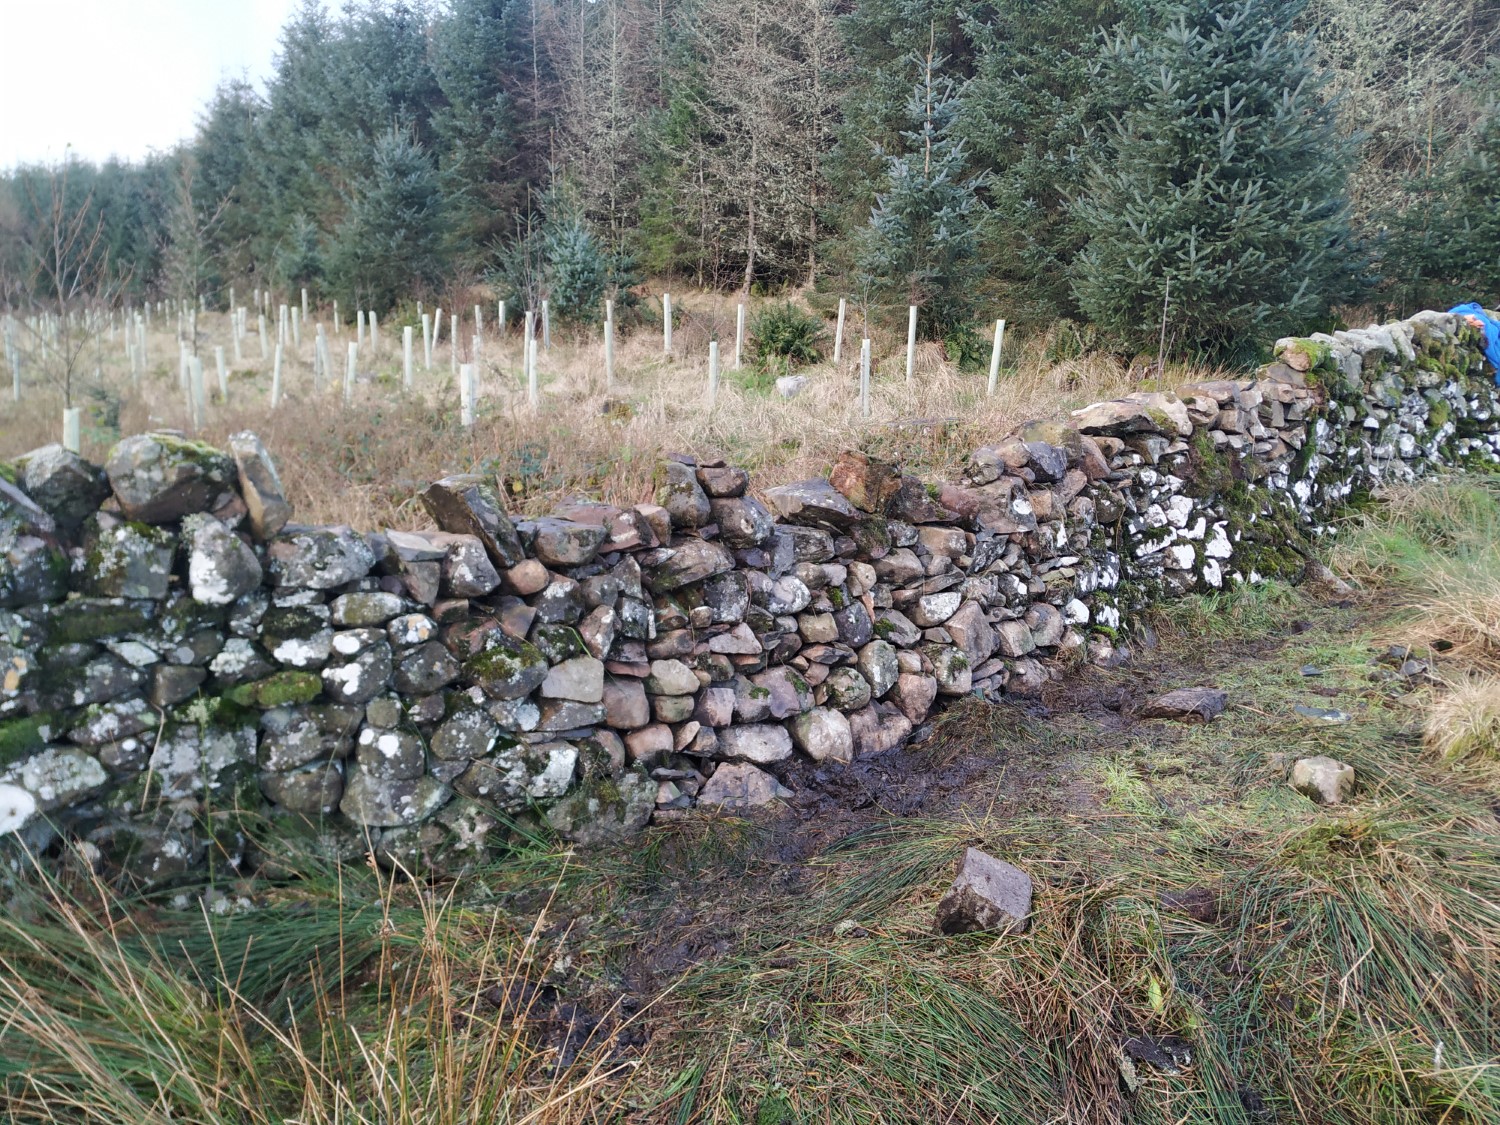
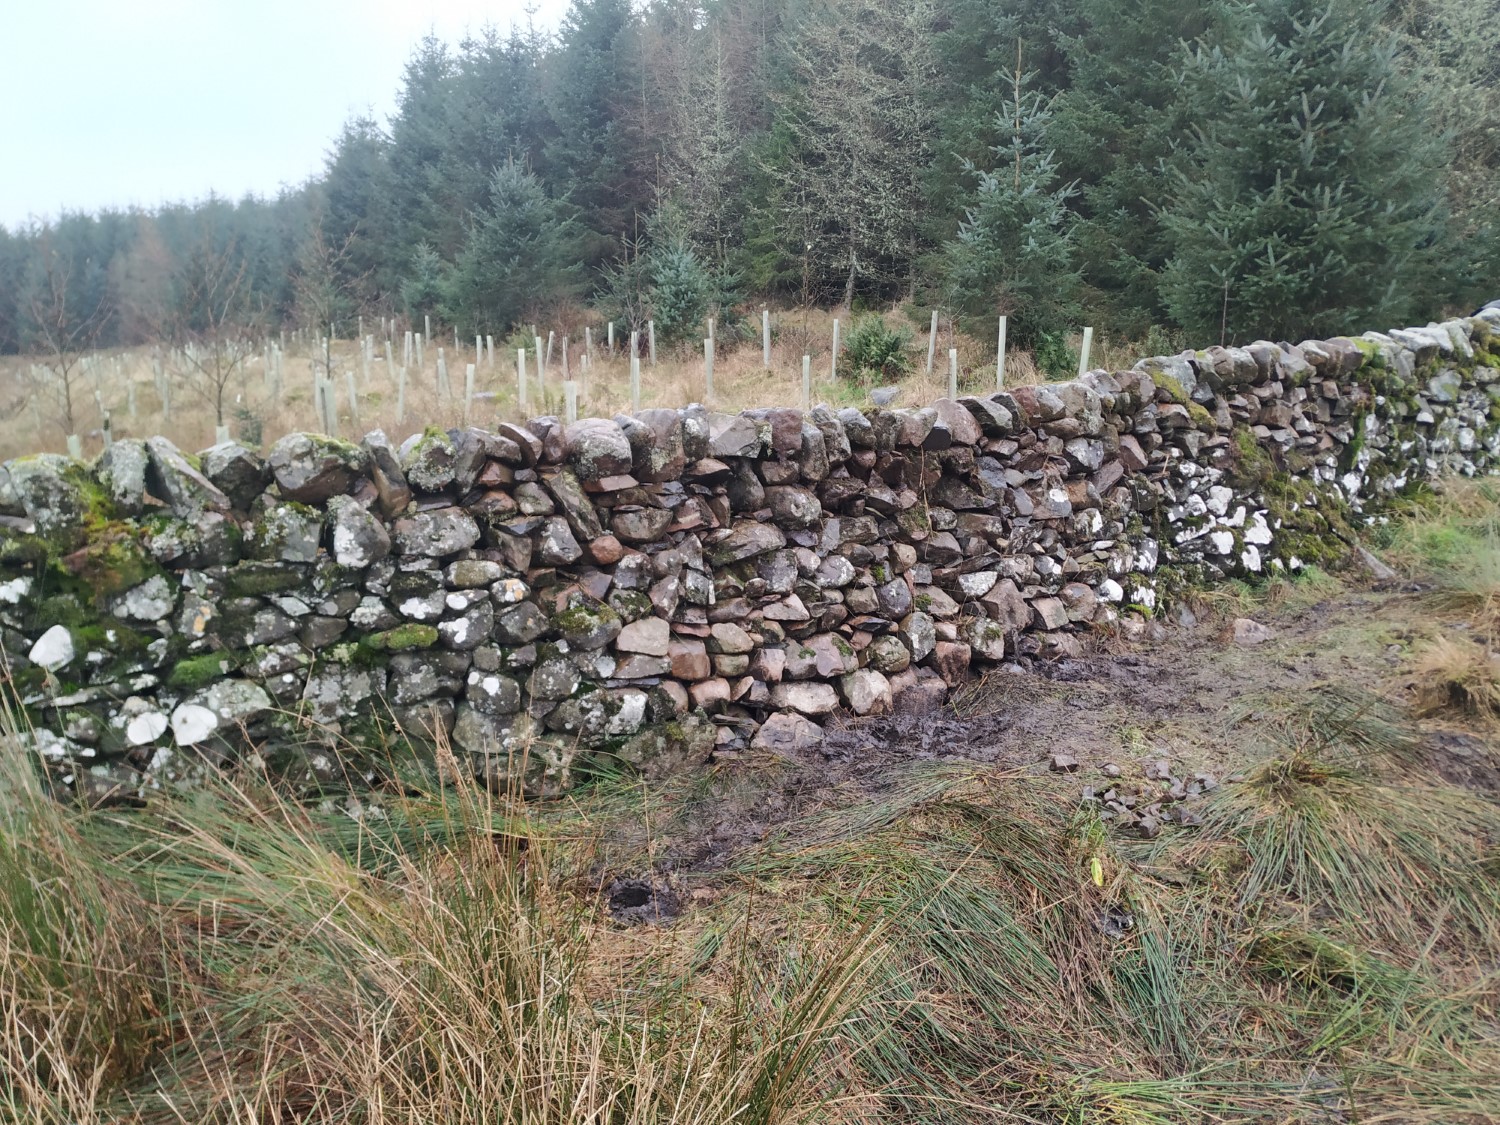
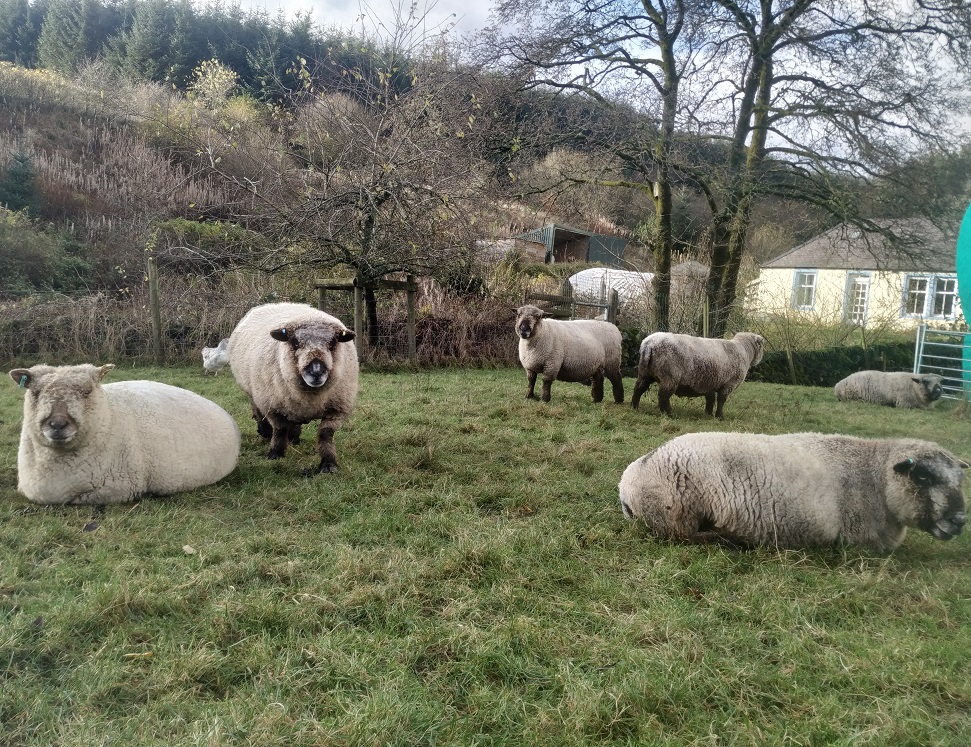
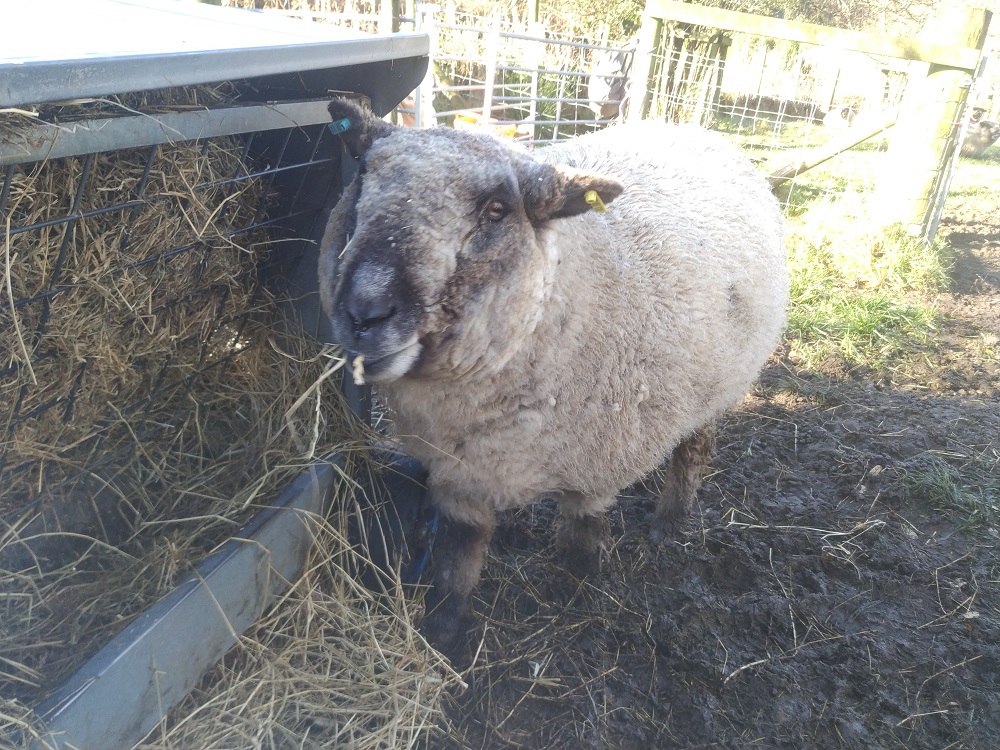
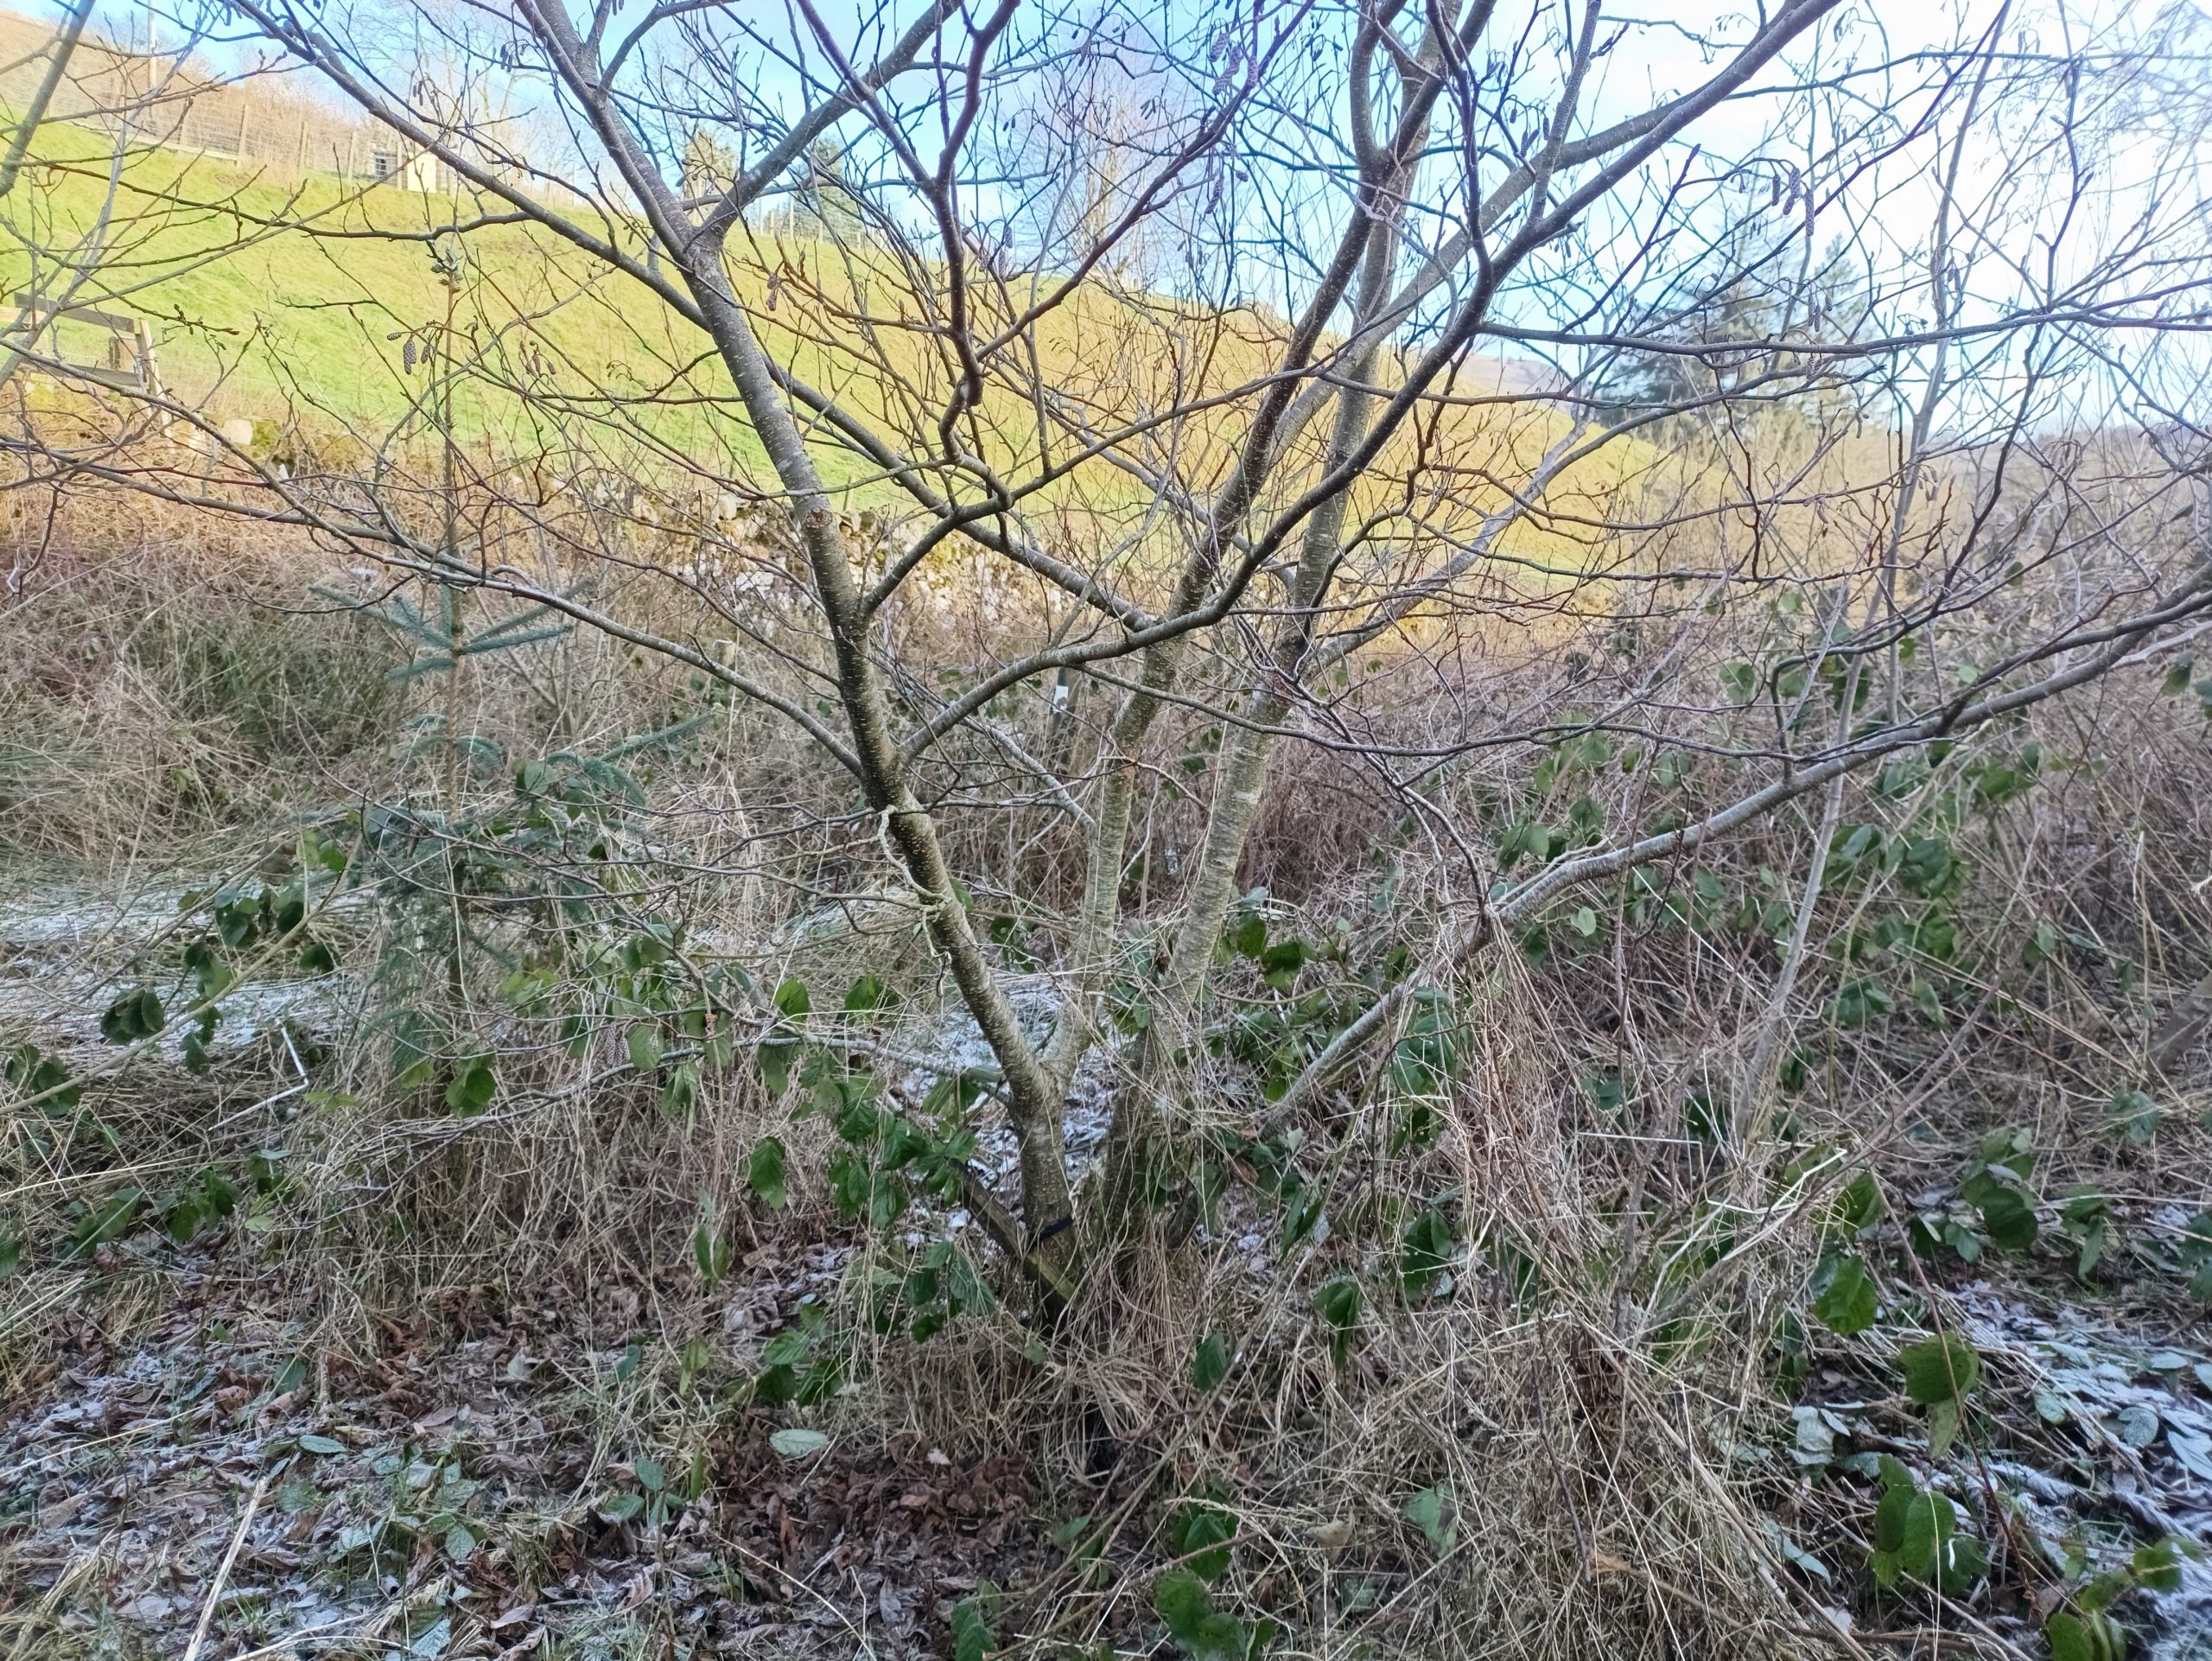
Over the Christmas period the weather was surprisingly good, sunny and dry with the odd sprinkling of frost – perfect for getting rosy cheeks working in the garden. We decided I would tackle the woodland and Adrian would brave the bank behind the veggie patch. Normally we wouldn’t worry about brambles growing in a woodland. In fact brambles are great for keeping deer from nibbling young trees, sort of natural tree guards. But this particular woodland borders two grazing areas and the brambles were busy sending out long rooting tendrils into the neighbouring fields. Sheep and brambles are not a good mix, sheep can get tangled up and trapped. Back when we were beginner smallholders we didn’t realise this was a thing until we found one of our tups all caught up in a hedge looking very miserable. It took us a while to free him and ever since we’ve been extra careful to keep our fields bramble-free.
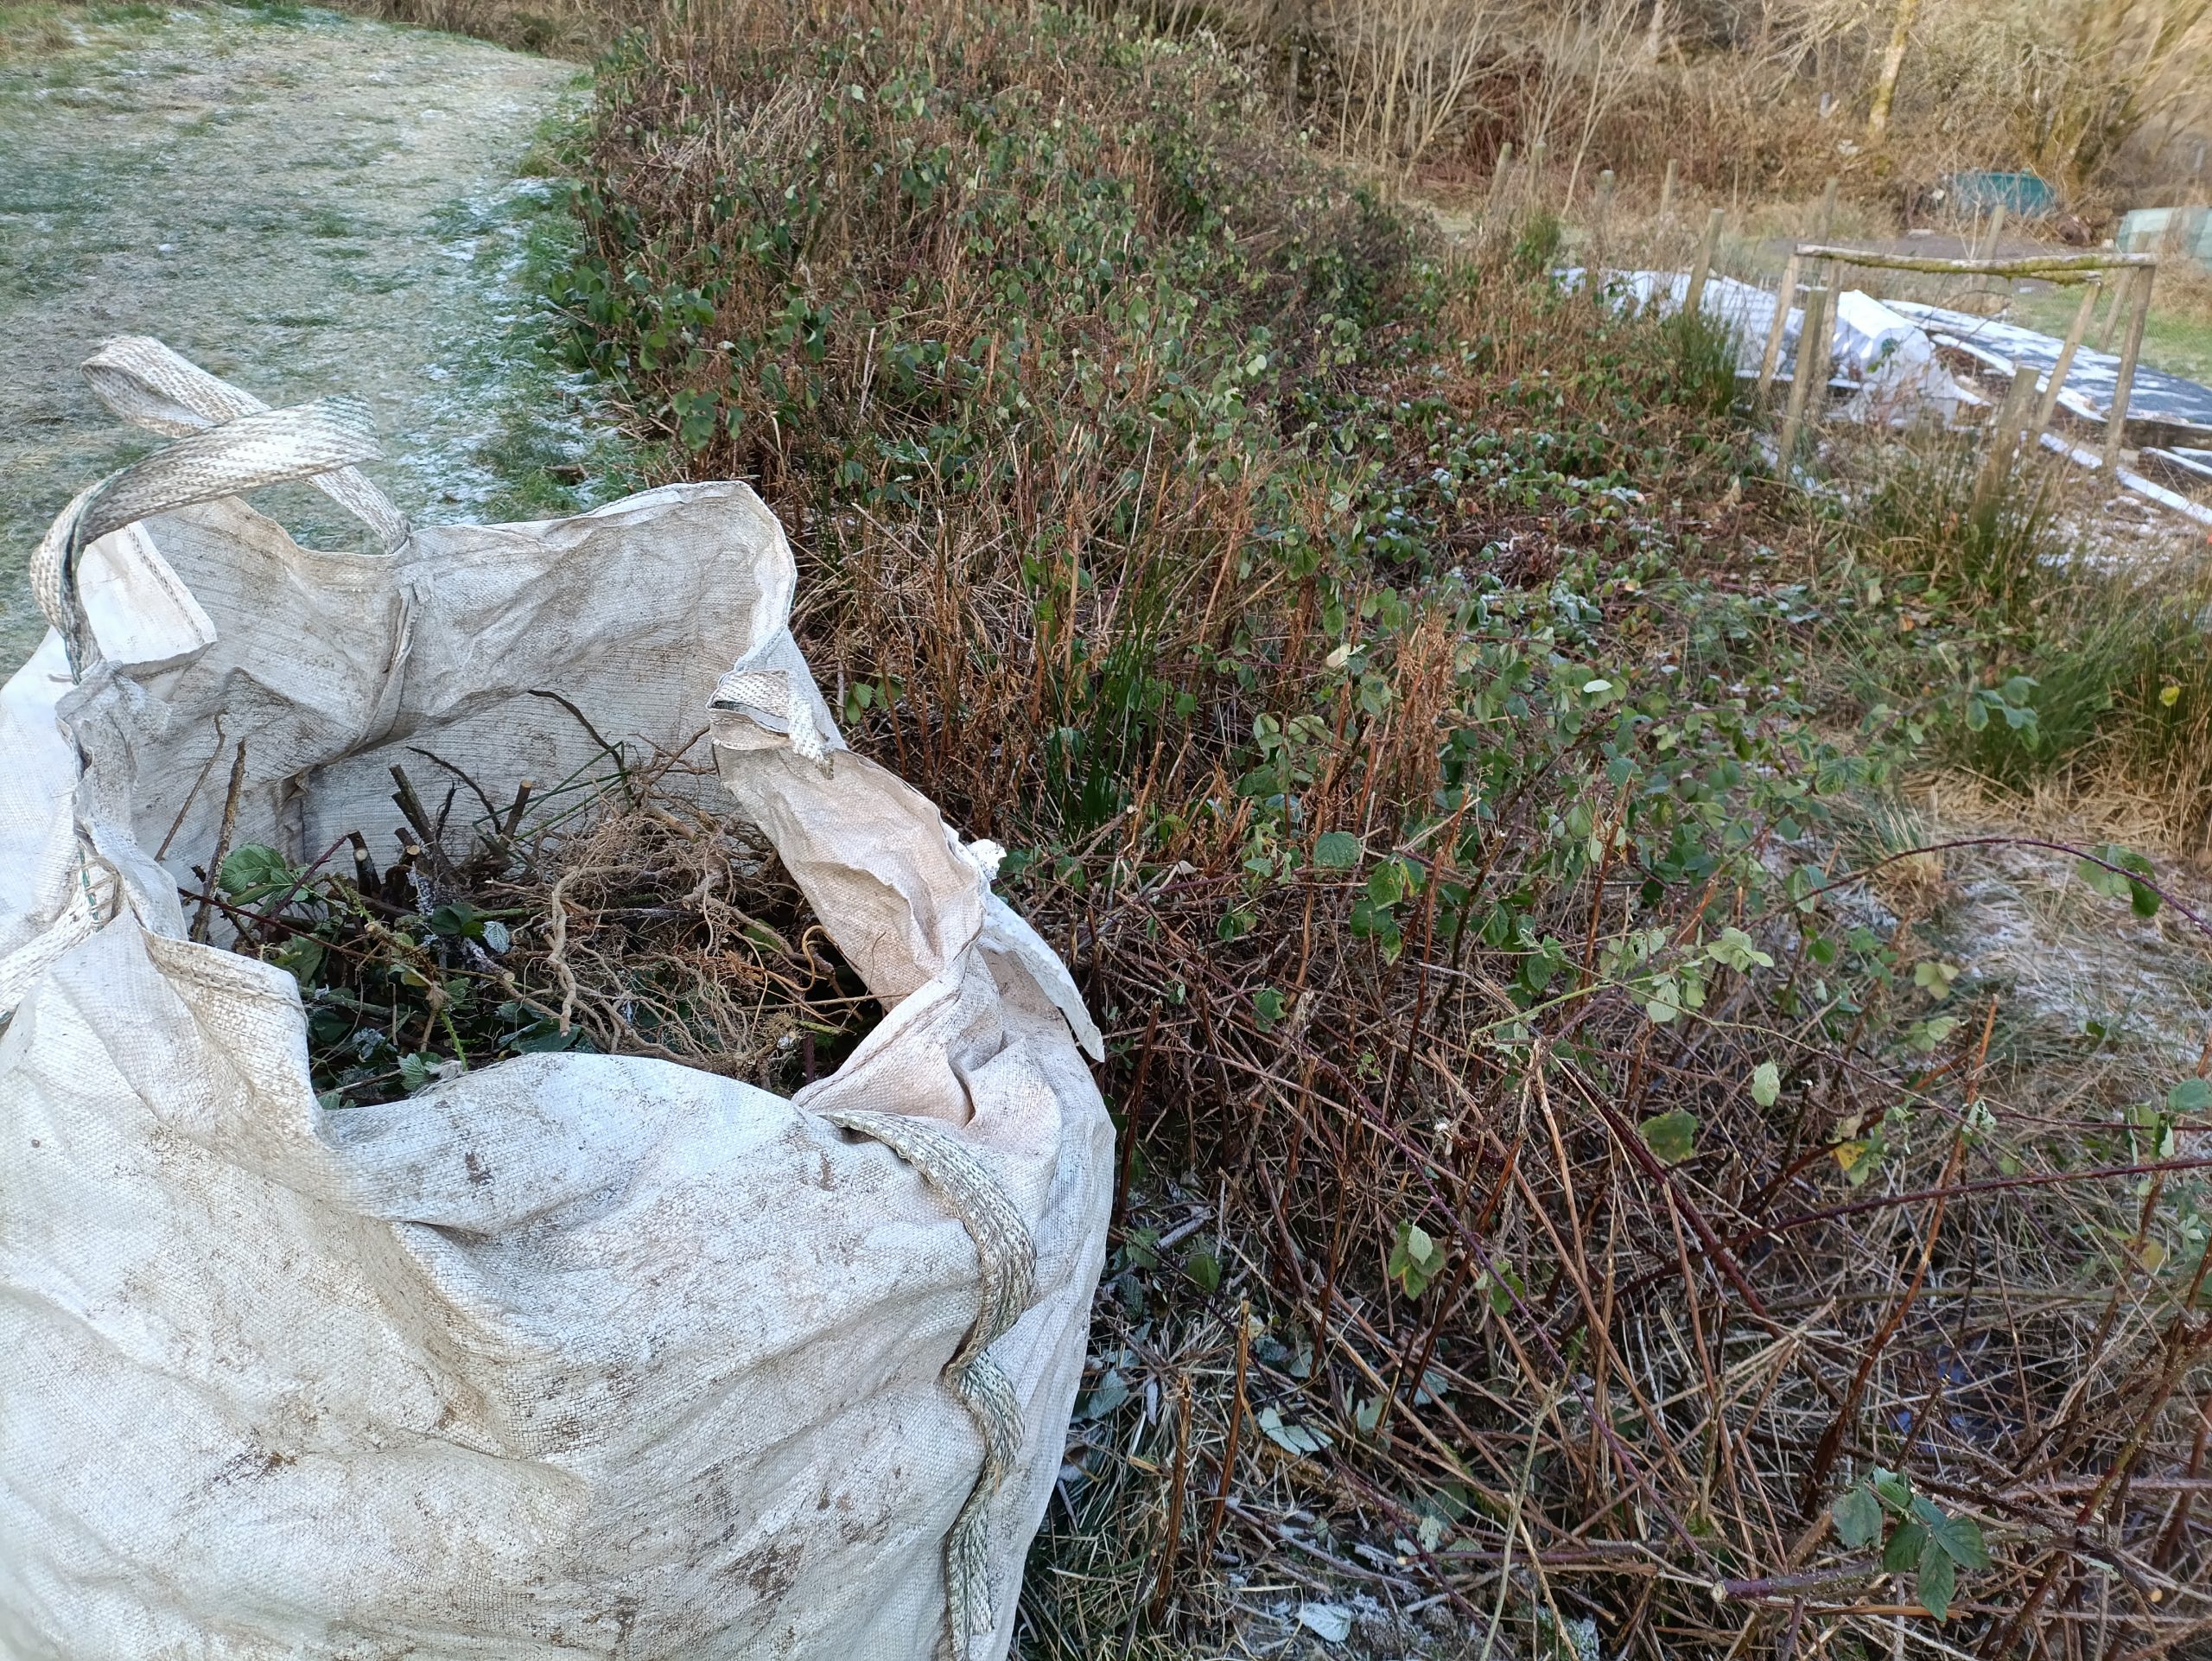
Over the last couple of weeks we’ve been making progress although it’s one of those jobs that’s going to be lingering on the to-do list for a while. This said, de-brambling is sort of enjoyable and digging out the main nodes can be particularly satisfying. The main plant grows like a huge spider with multiple ‘legs’, each leg growing its own set of roots and reaching out to conquer new territory. If caught in time these leggy tendrils are only shallowly rooted and come out quite easily, if you can get past the thorns that is. Unfortunately after making steady progress these last few days we’ve had to stop temporarily. The weather has turned very cold and the ground is too hard to dig. It is also snowing so we’re not sure when we can get back to it. In the meantime we have decided to treat ourselves to some new thorn-proof gloves as we are full of splinters.