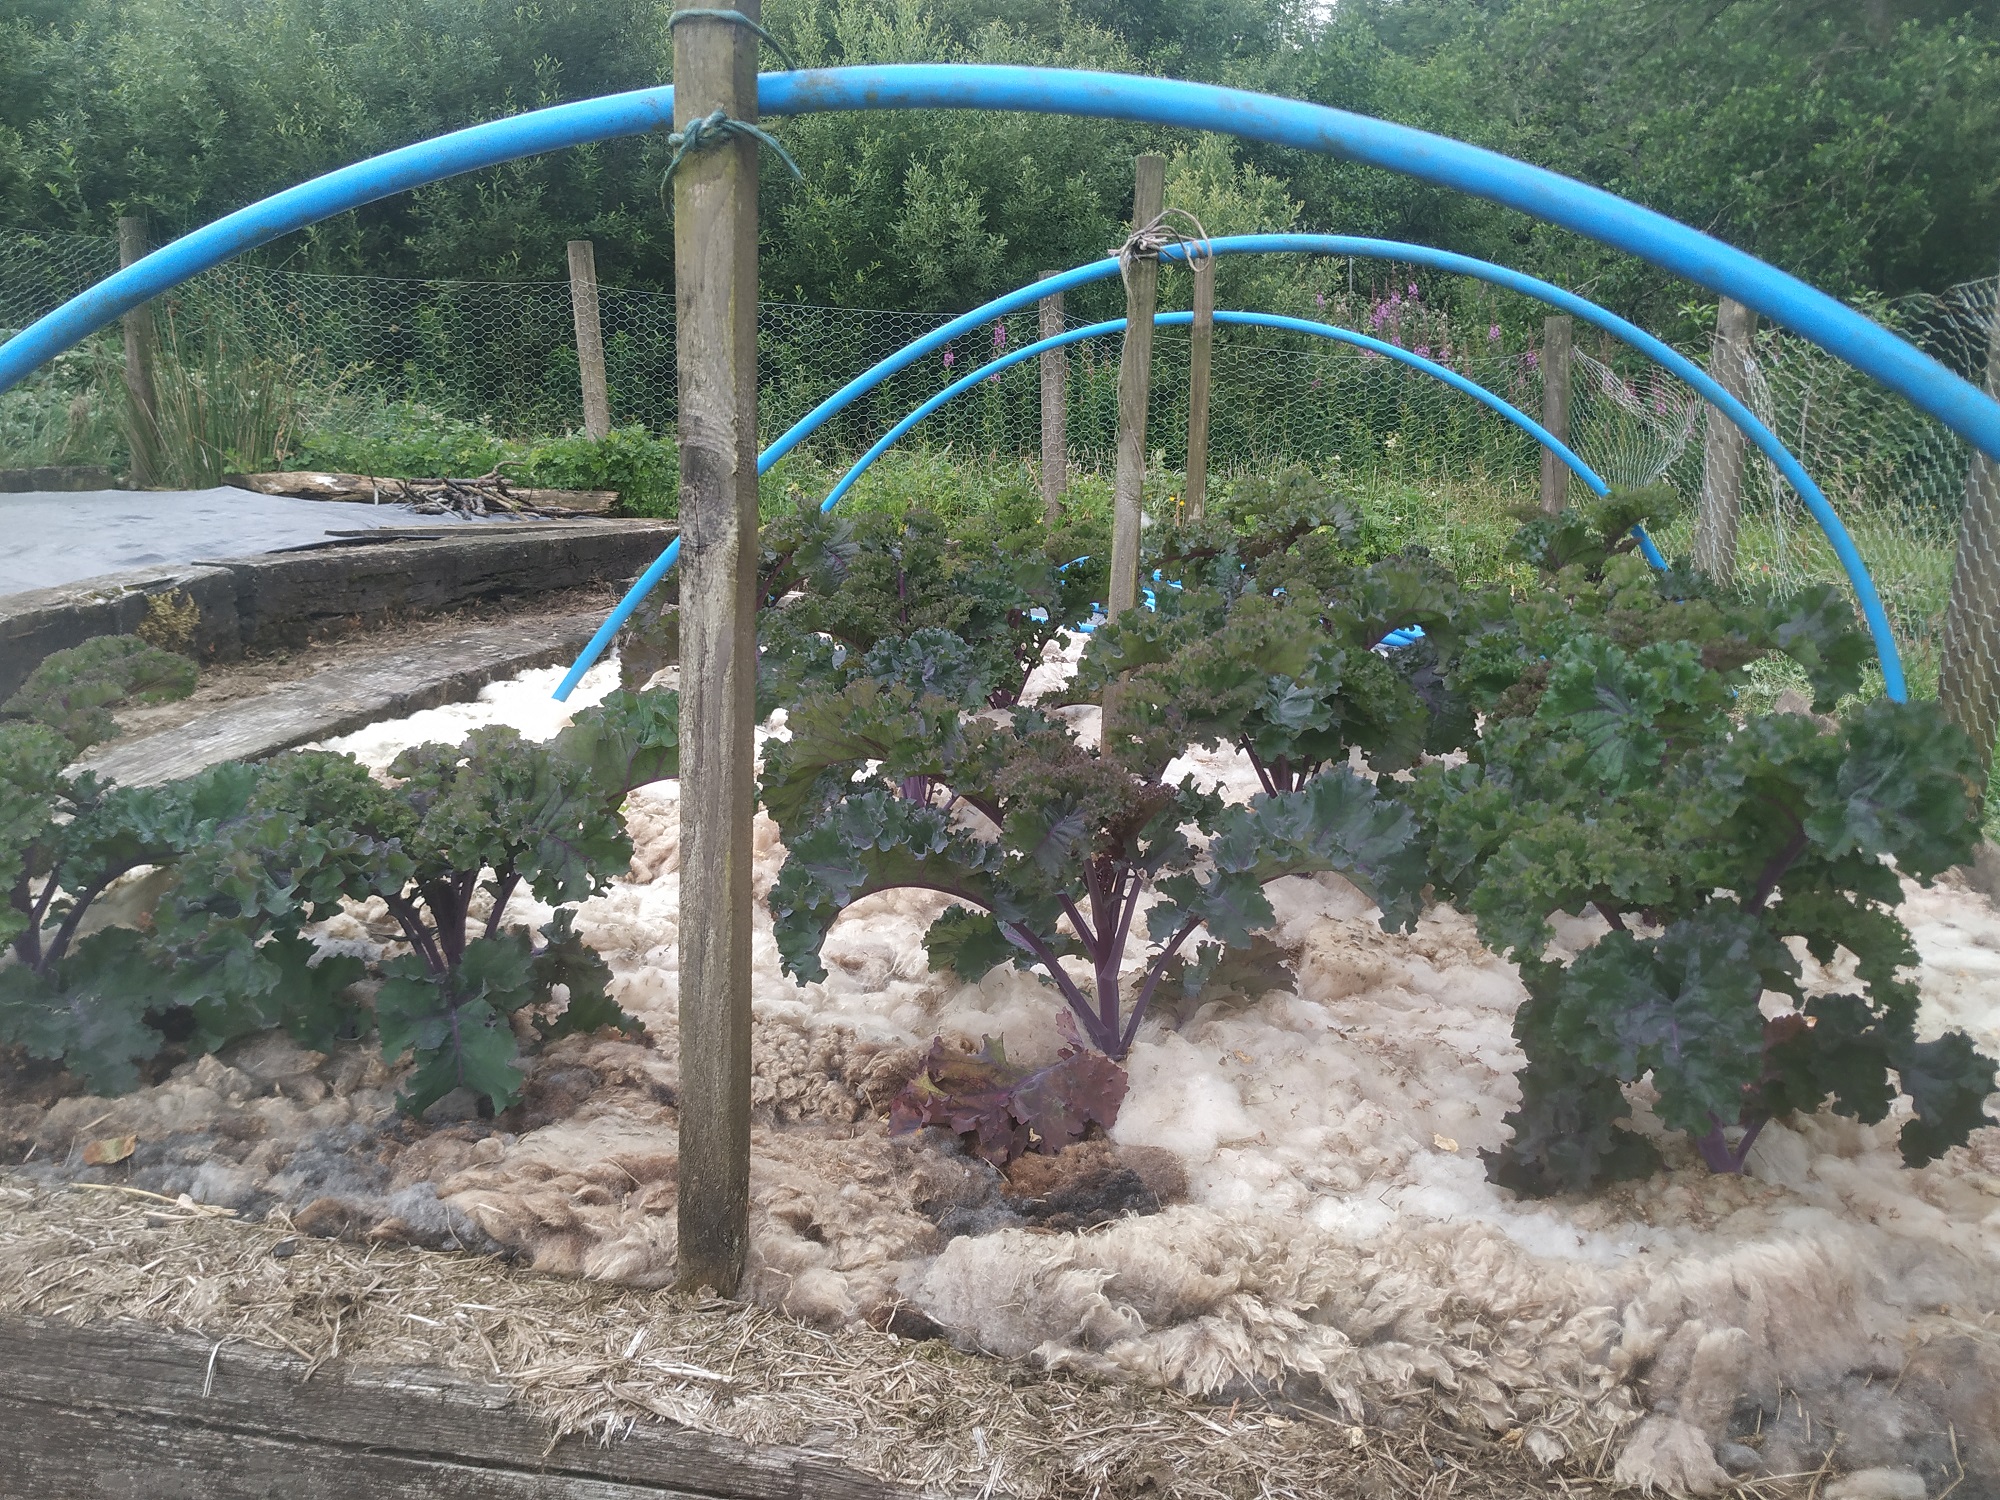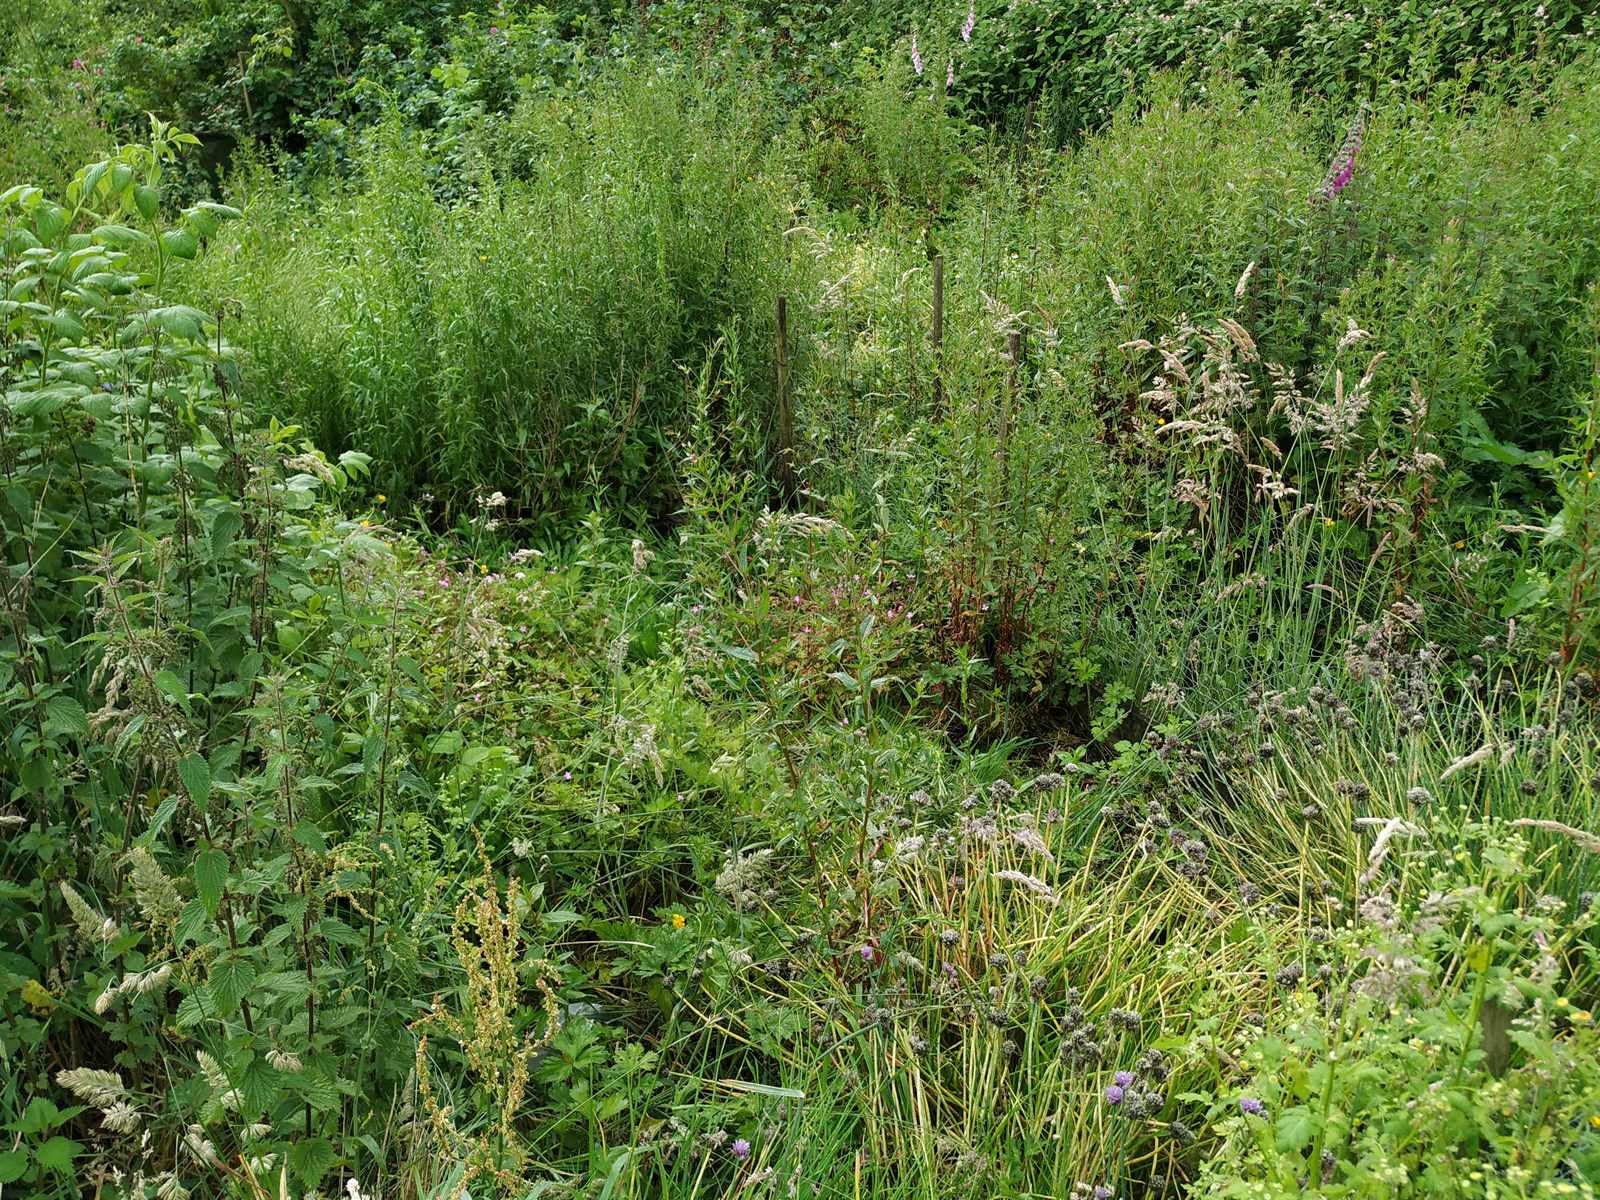
This week I thought I’d better do something about our veggie patch. Although still productive, it’s been looking a bit rough lately with weeds finally having won the battle despite my best efforts at keeping them at bay.
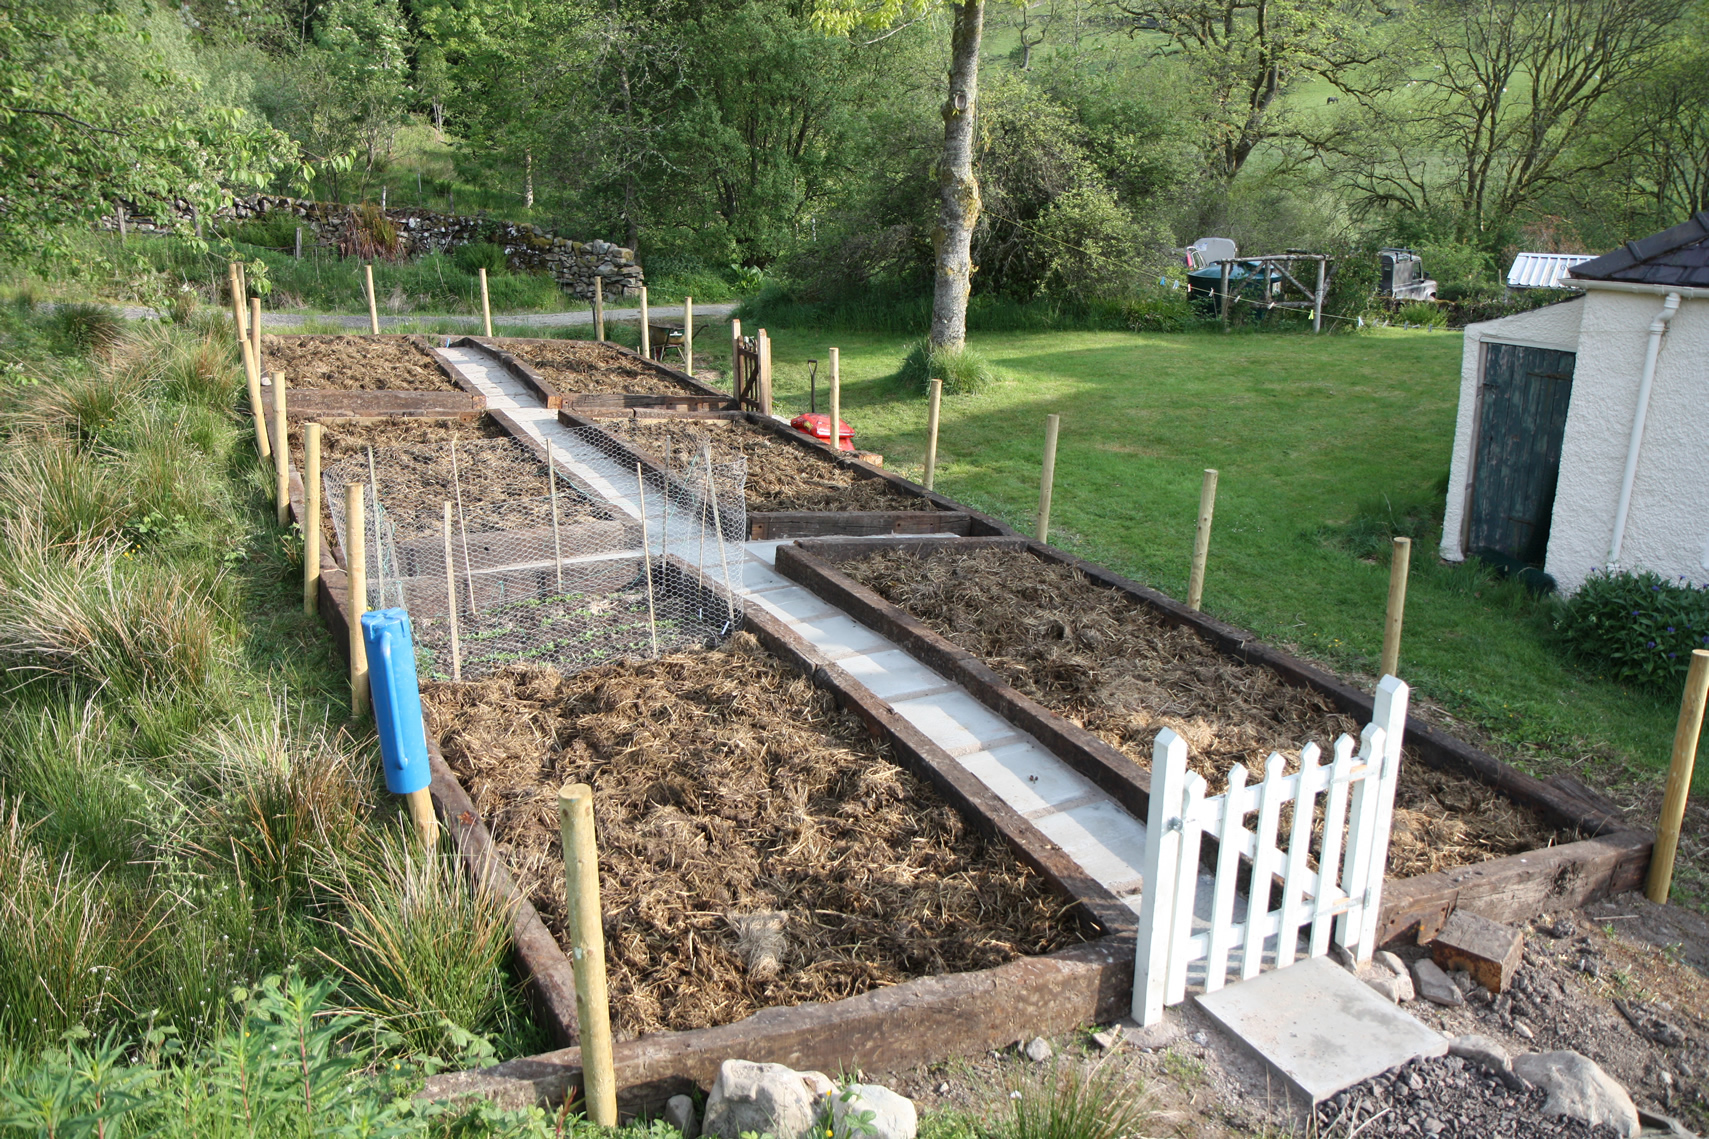
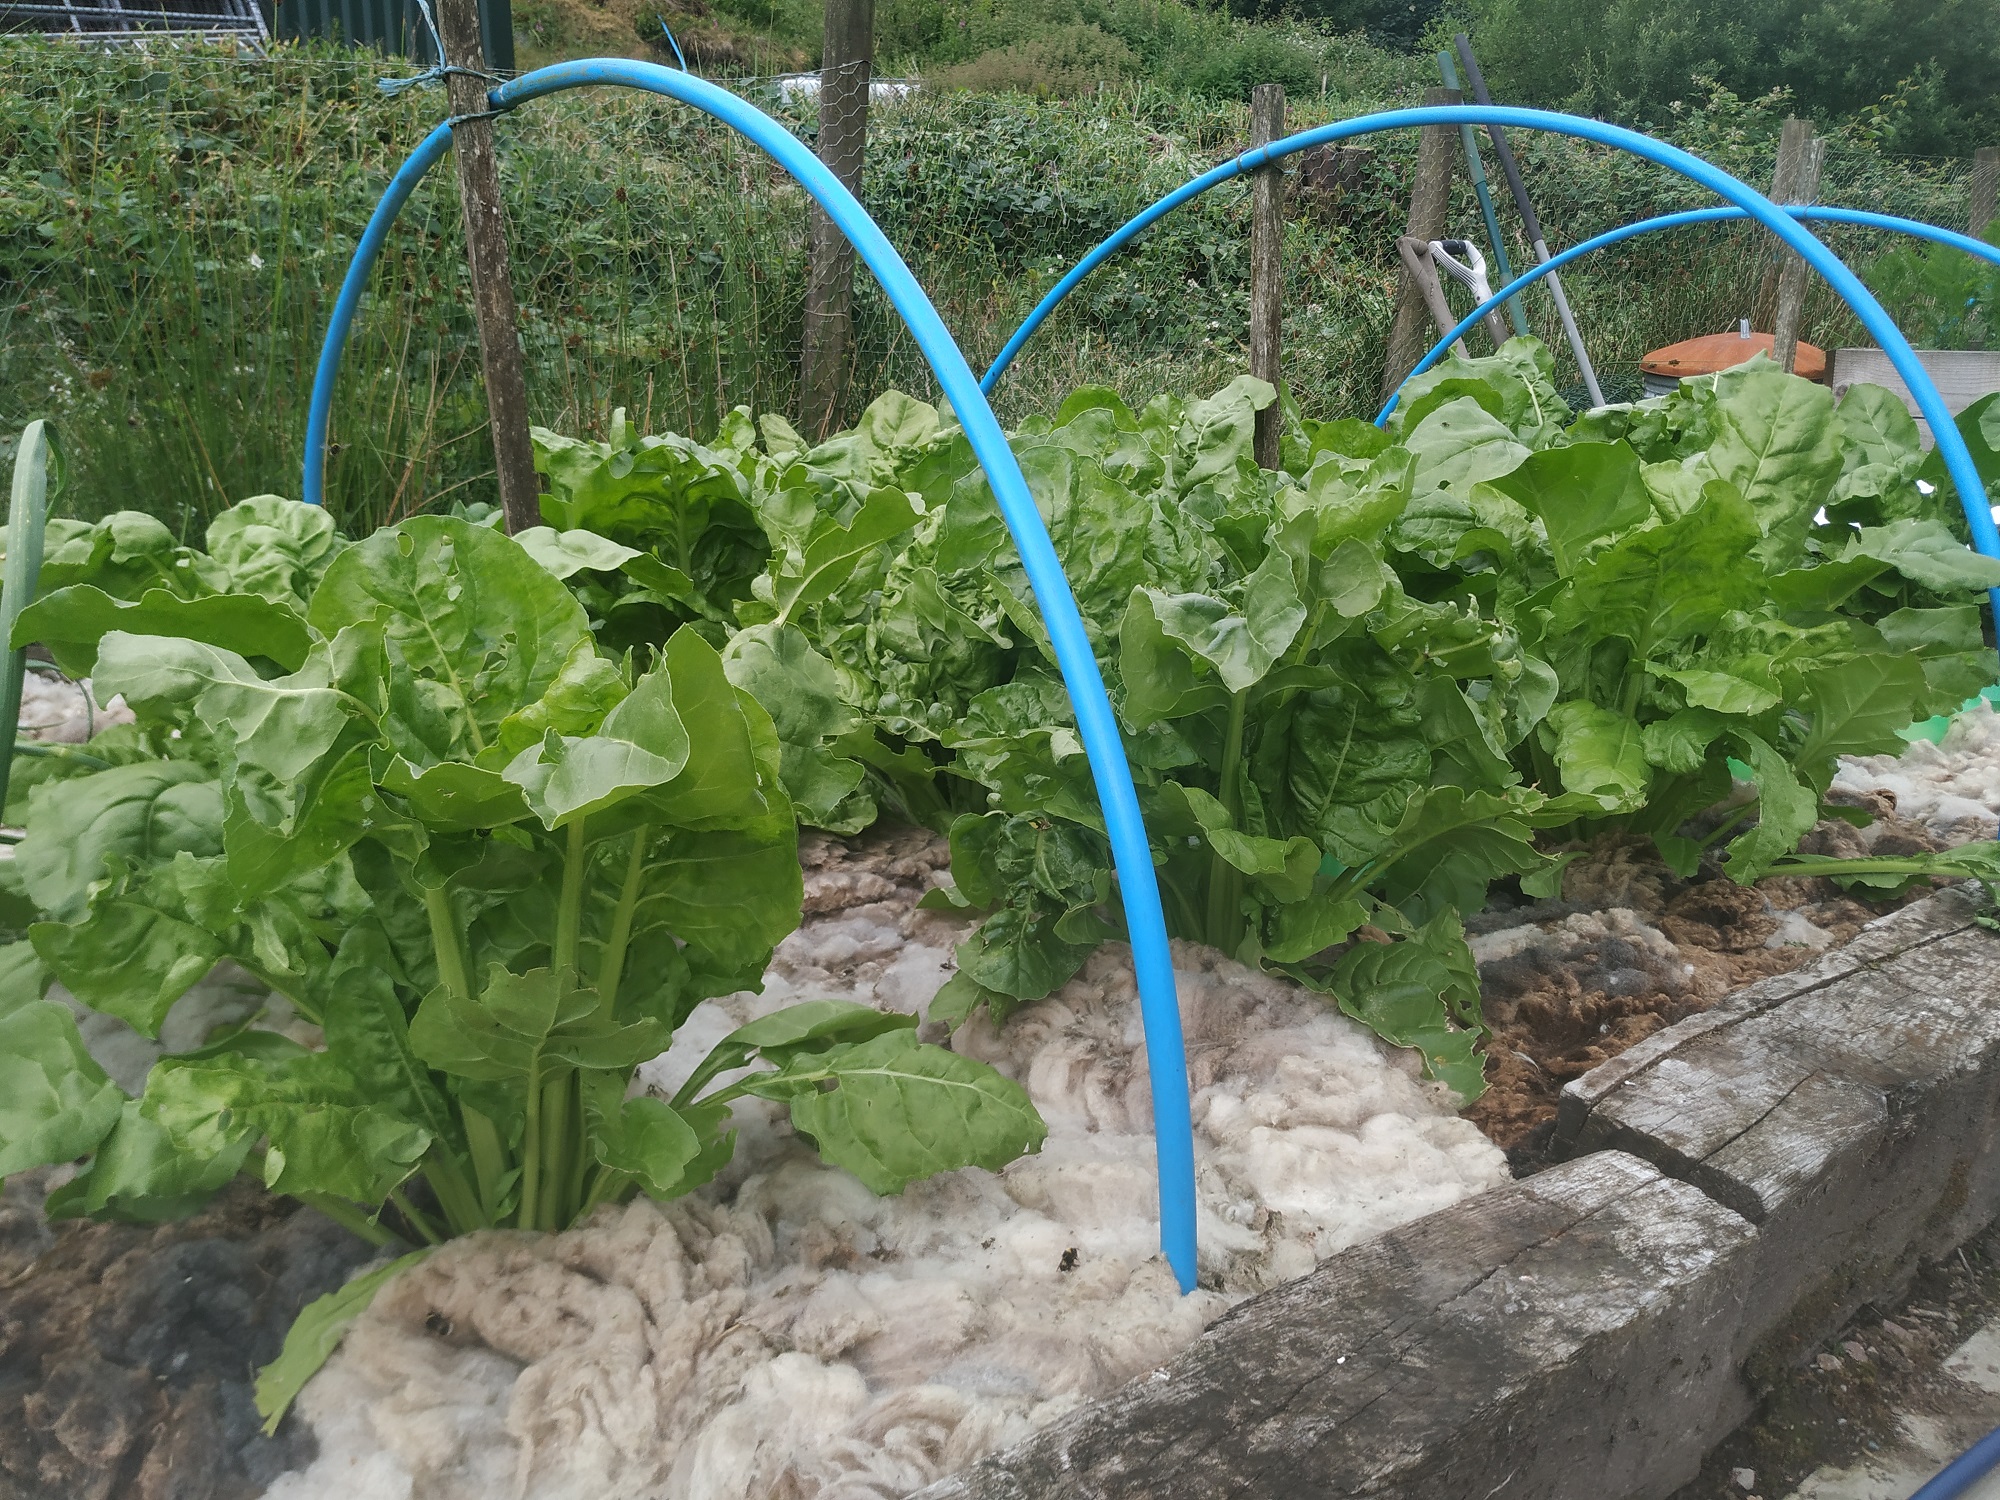
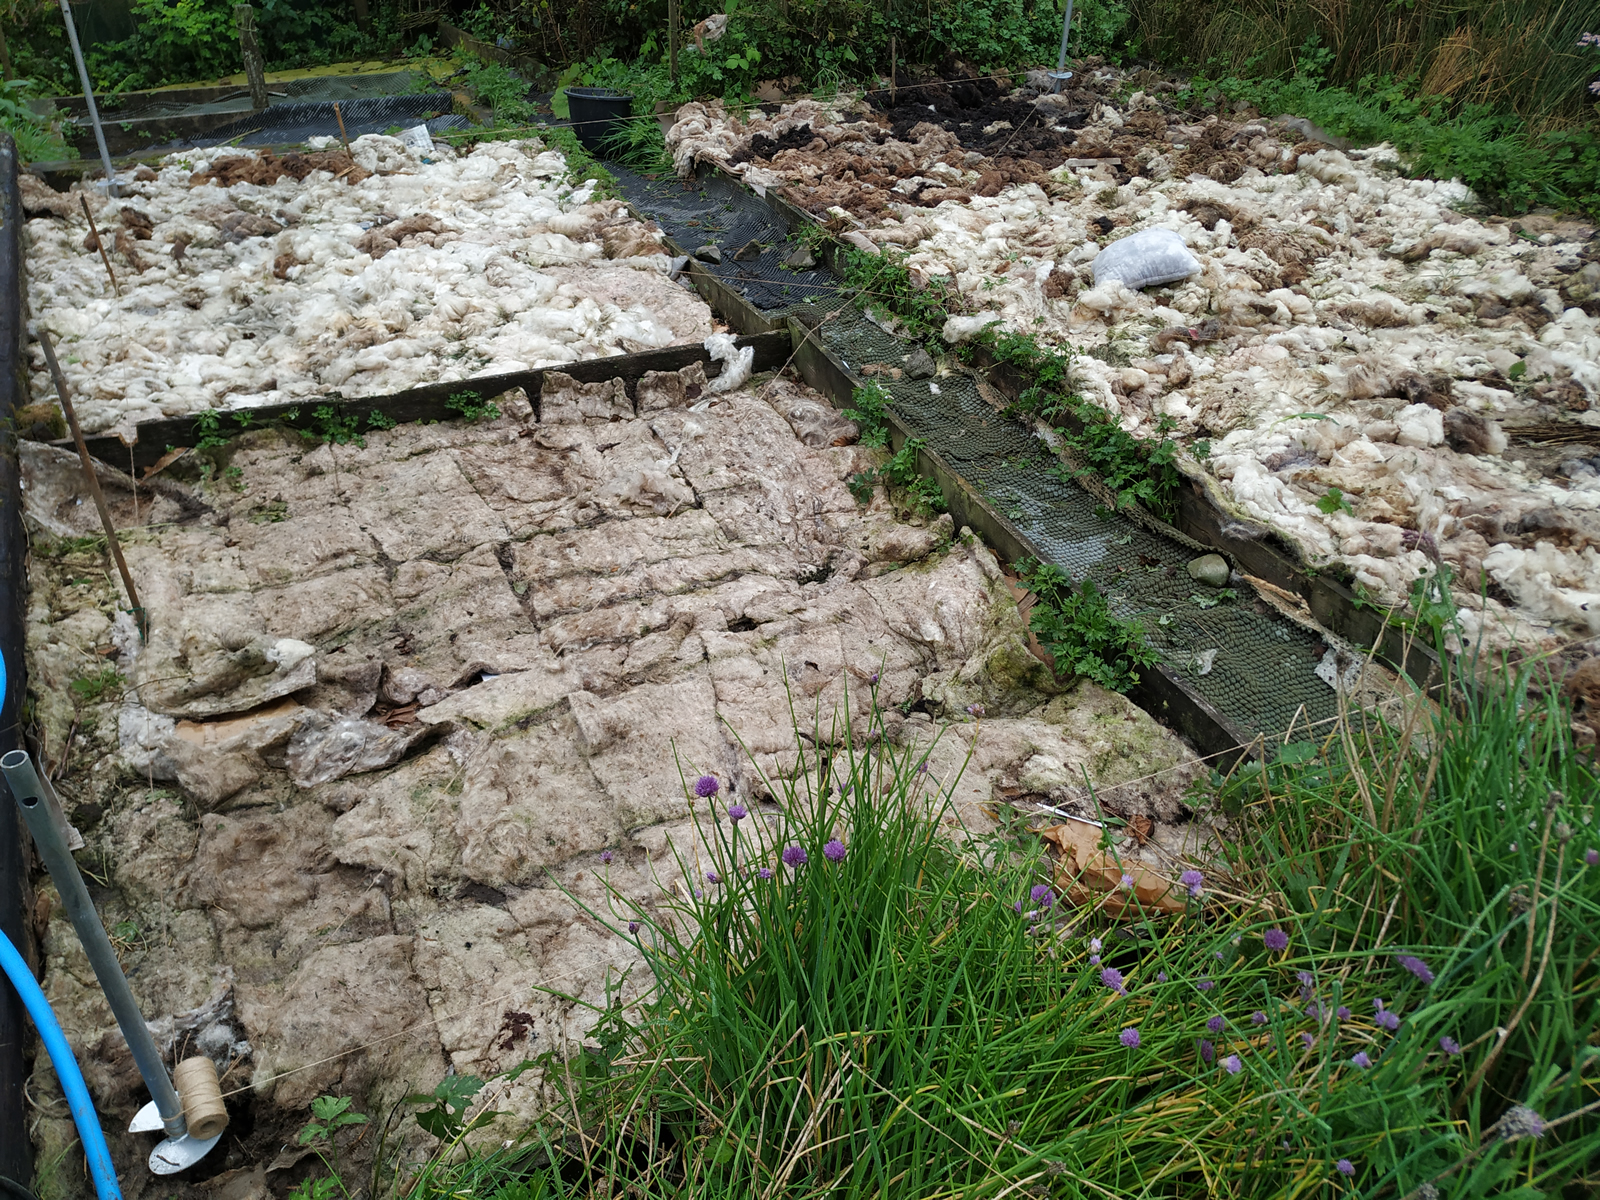
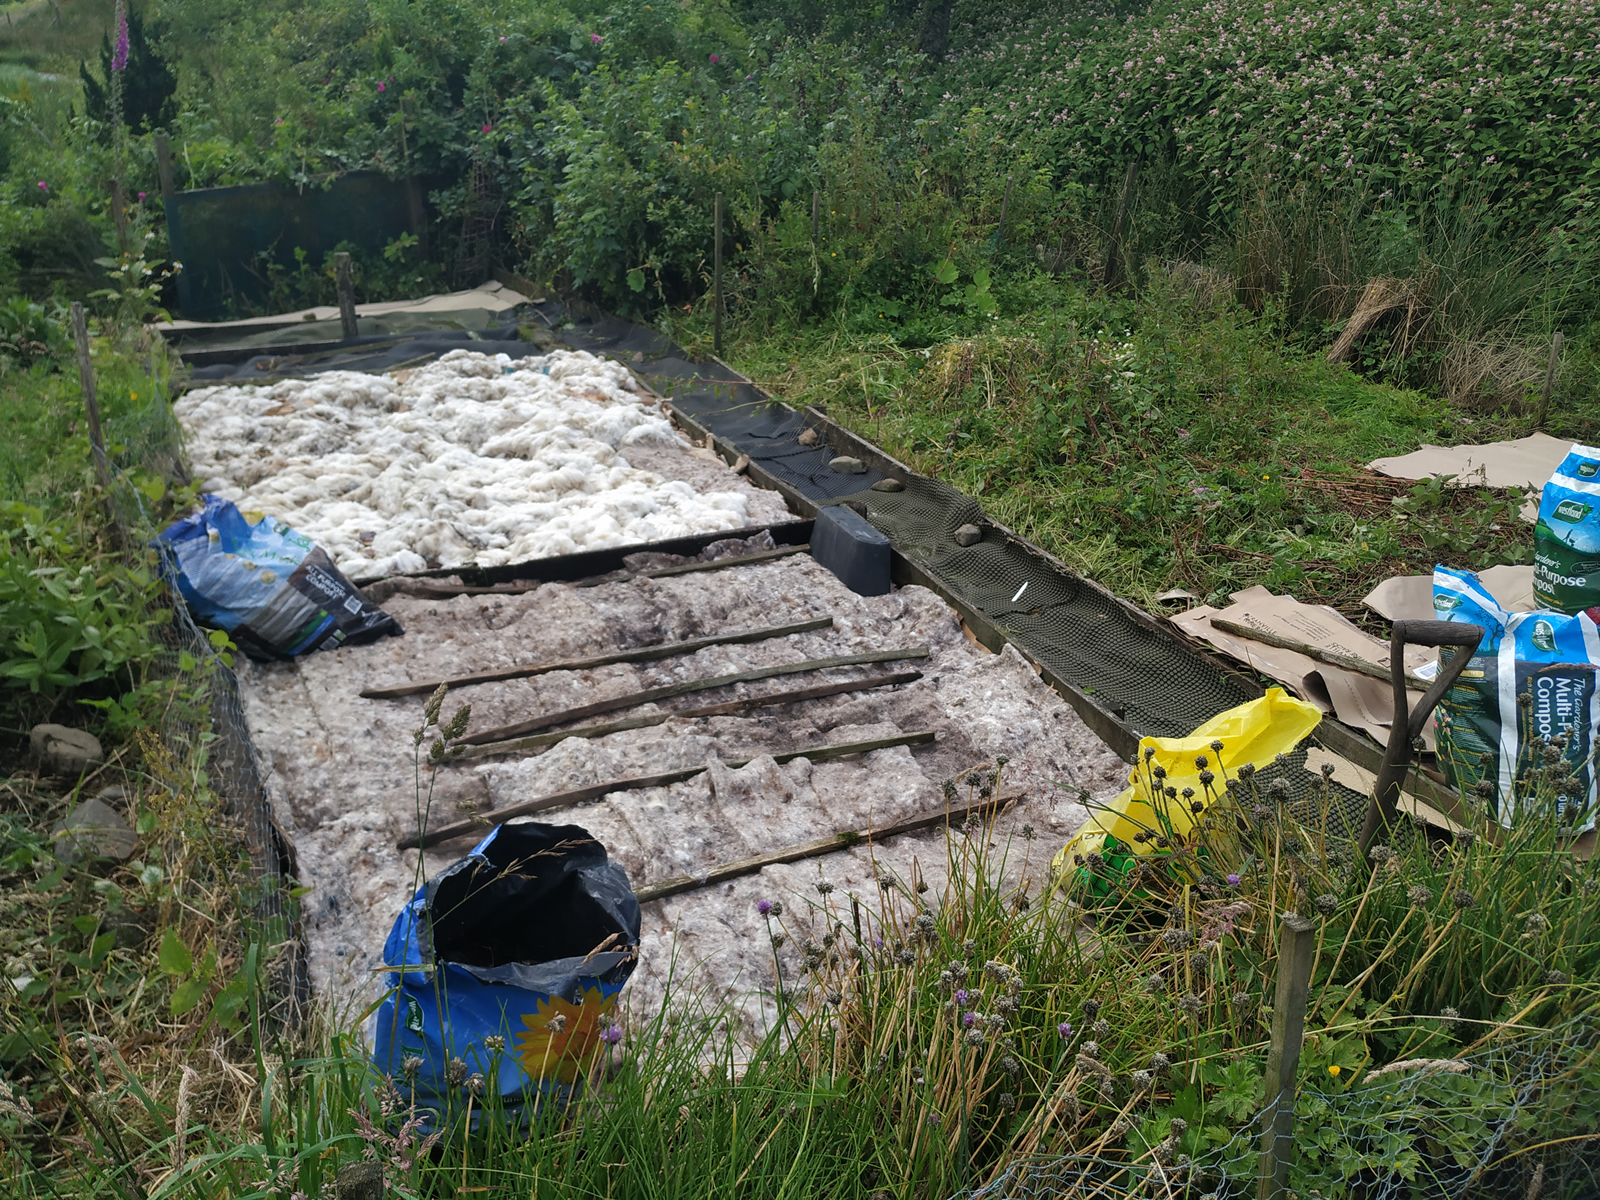
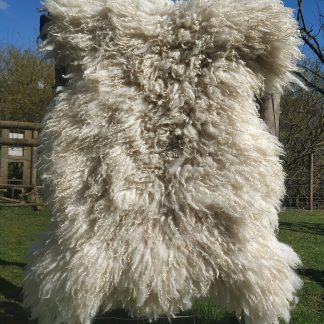
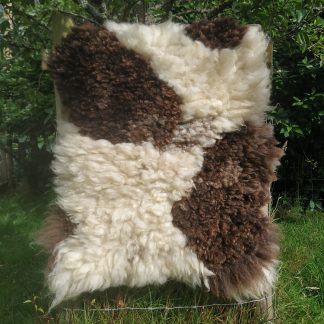
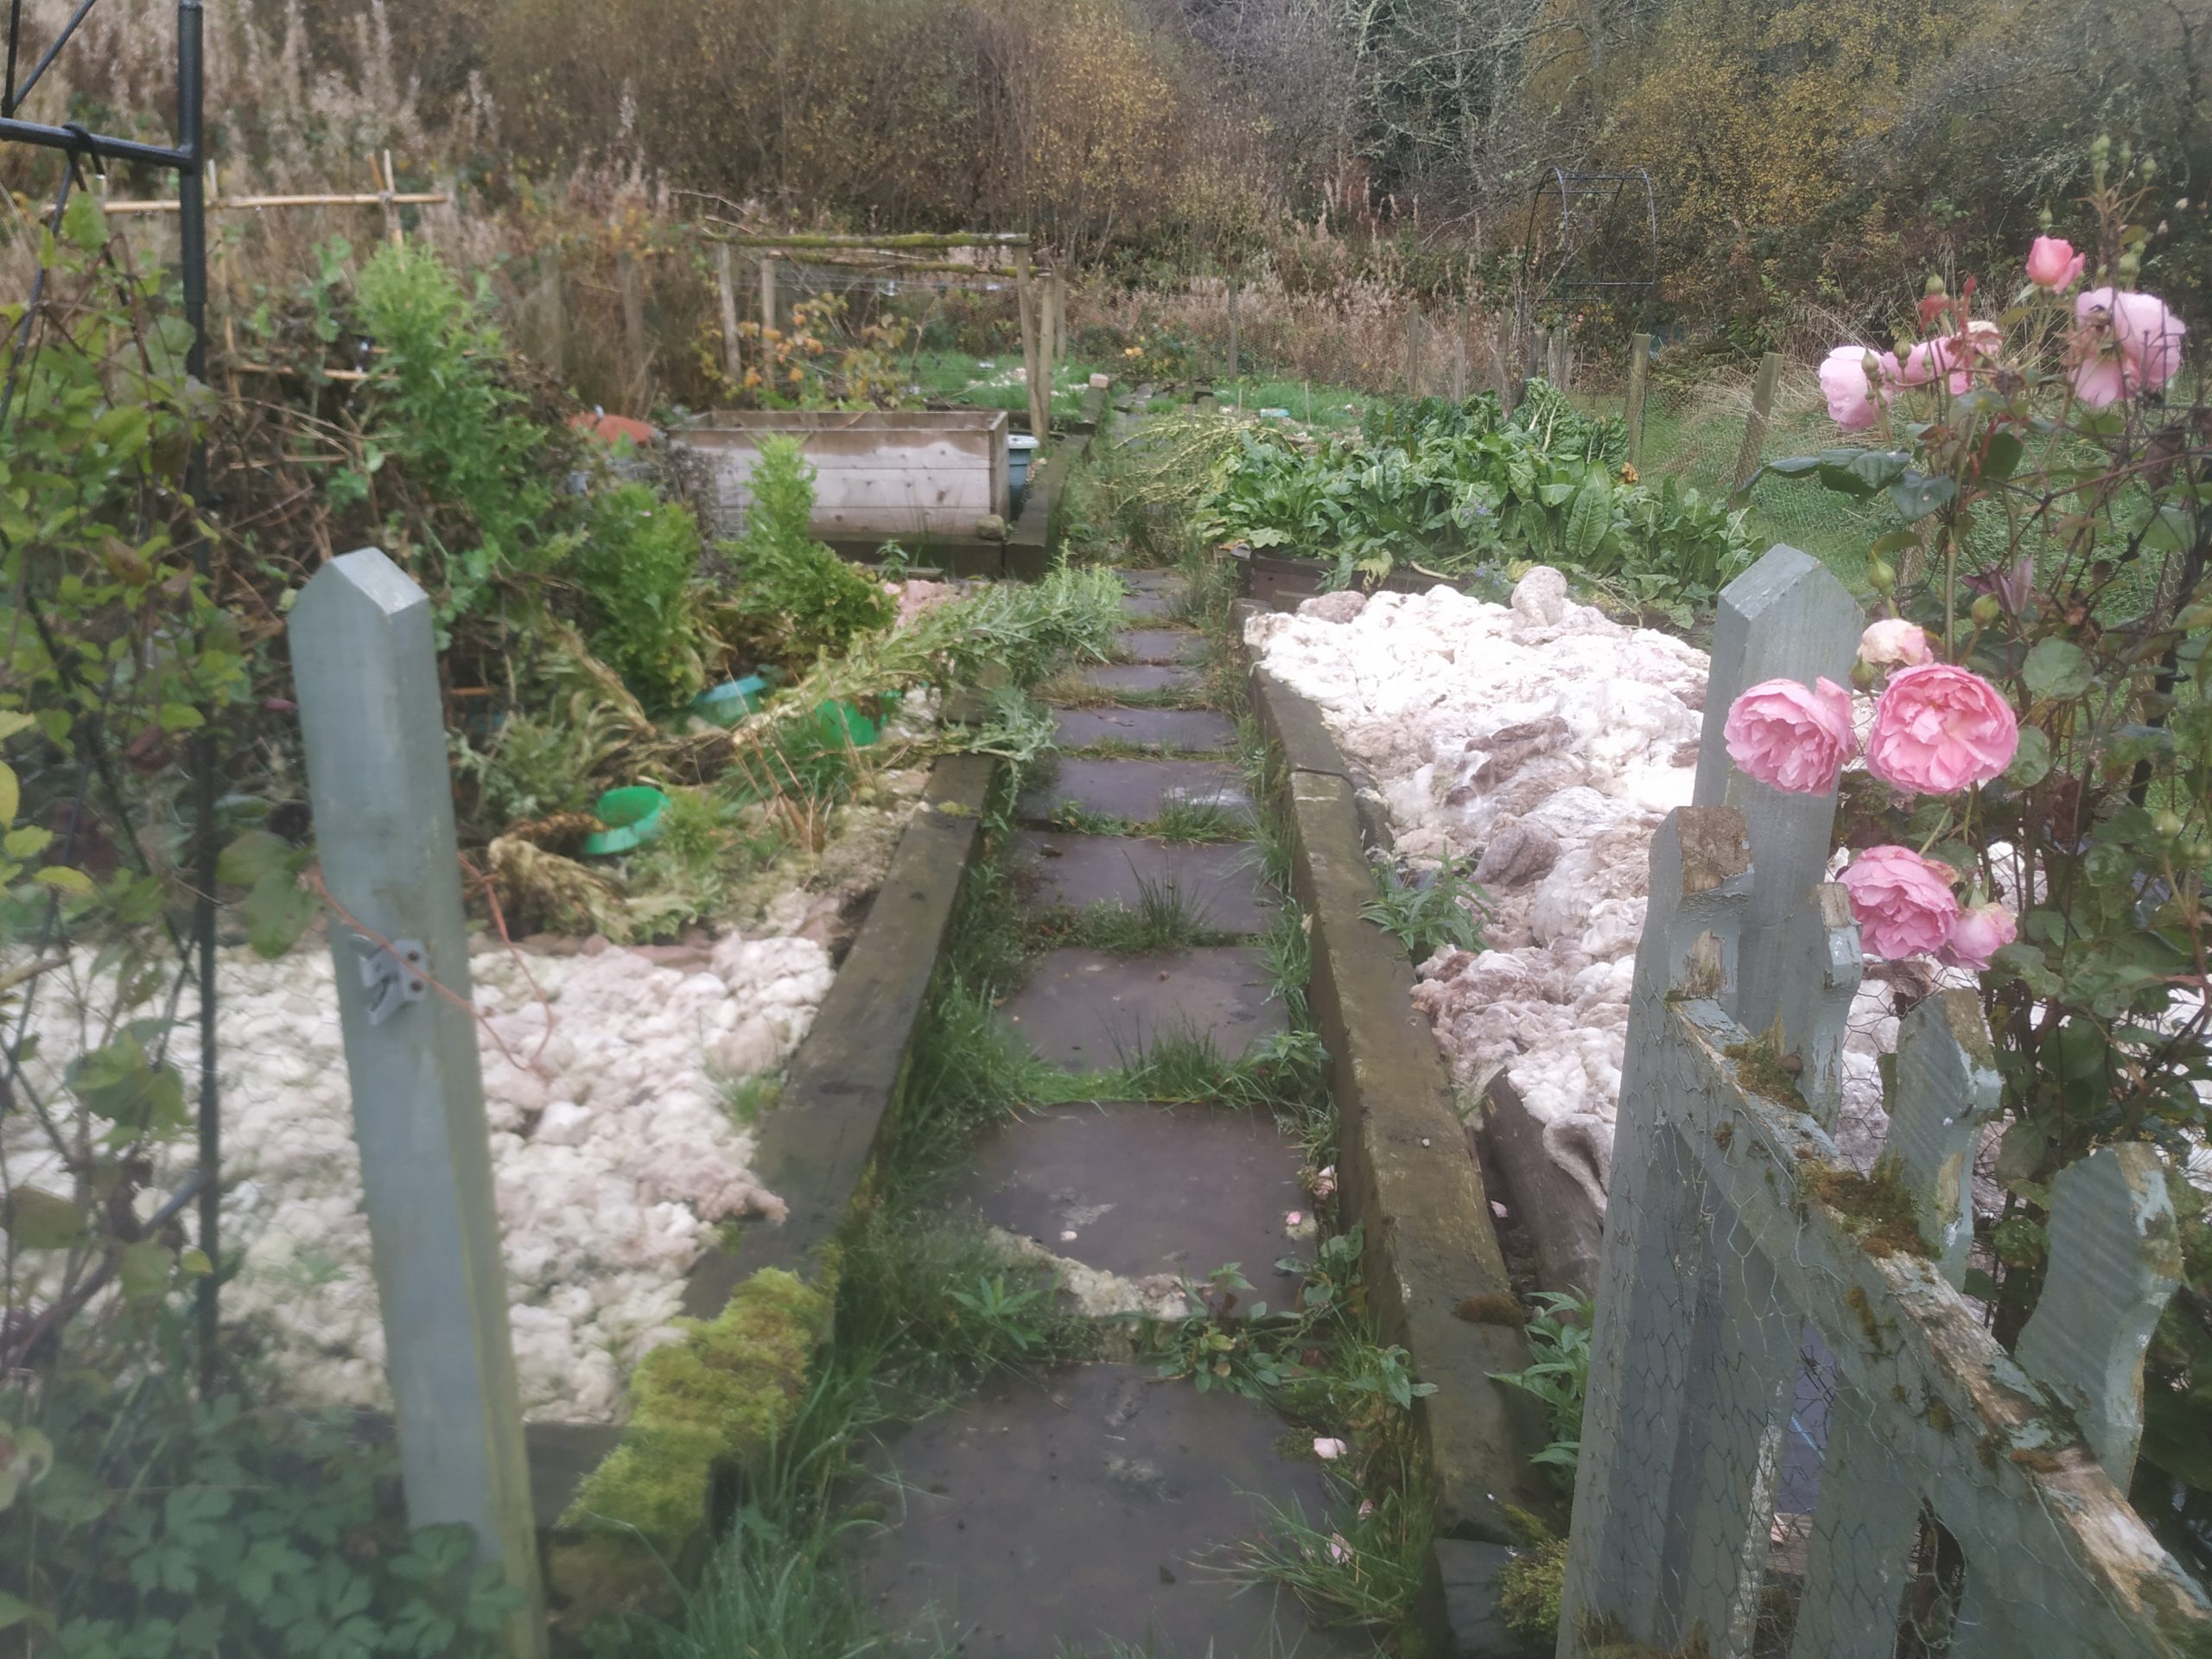
Truth be told I actually did very minimal weeding over the summer. The wool I’d laid down as a mulch in the spring did a brilliant job at keeping the beds looking good. But then all of a sudden, halfway through August there seemed to be weeds popping up everywhere.
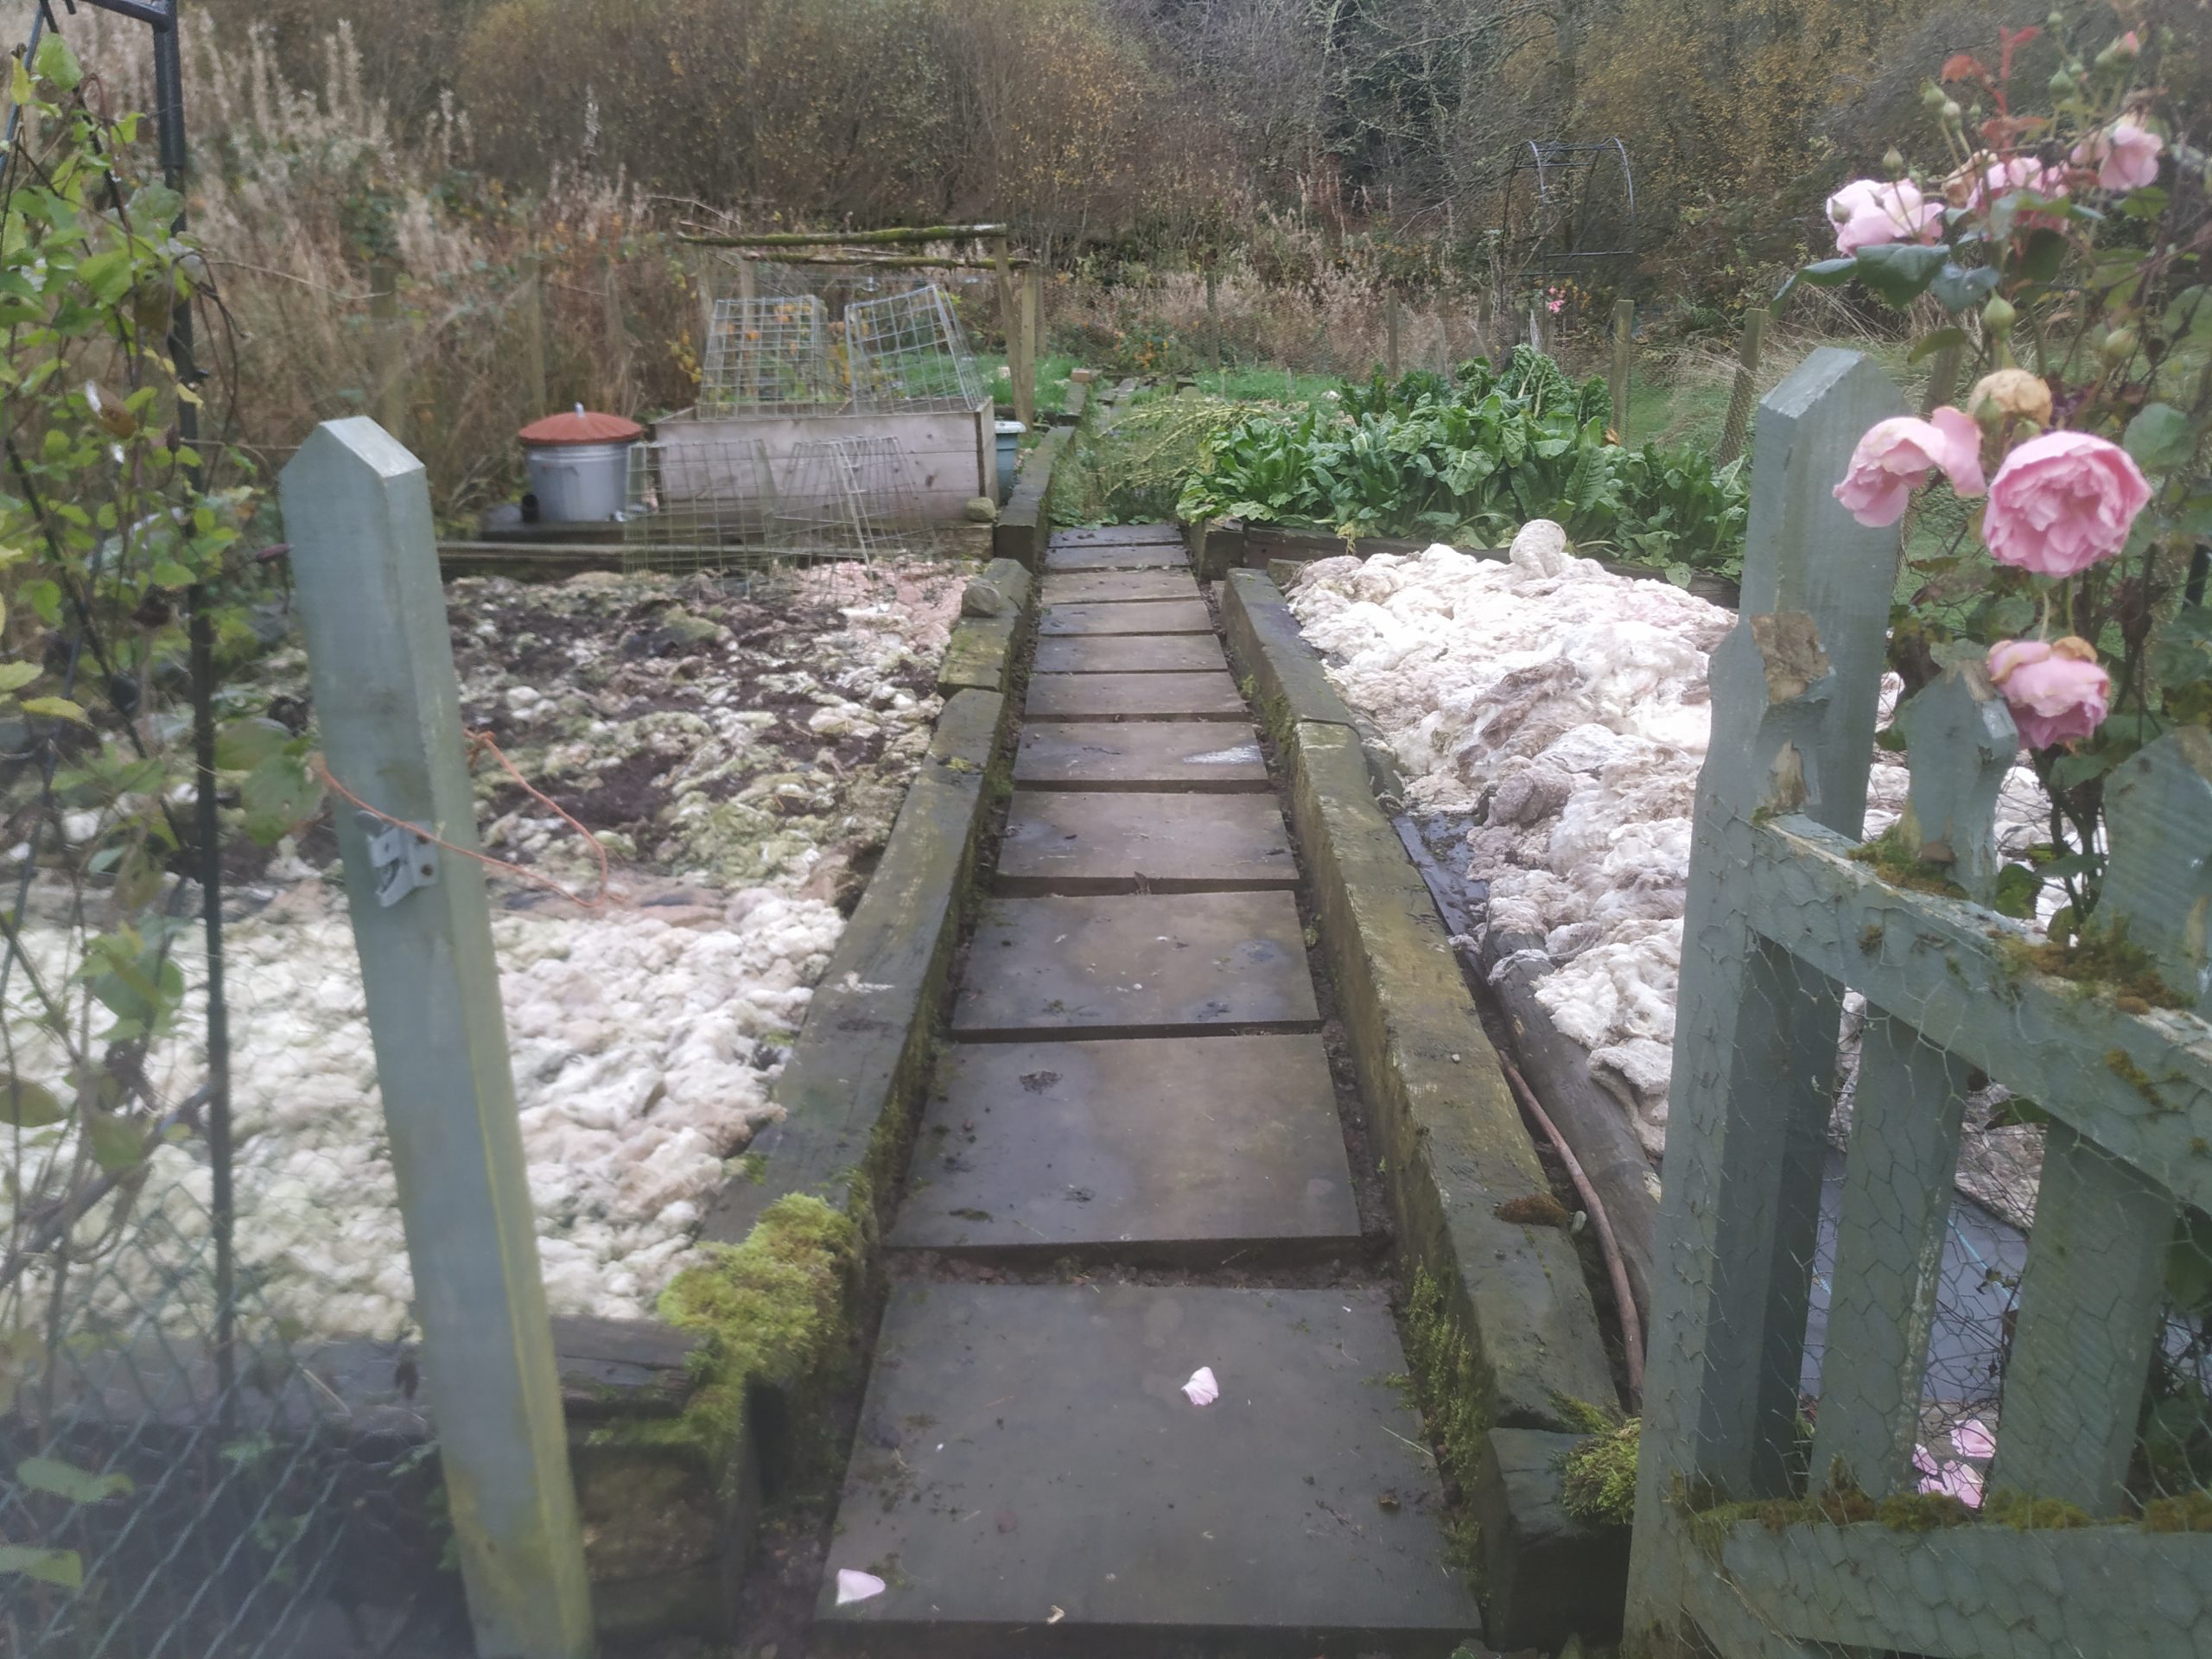
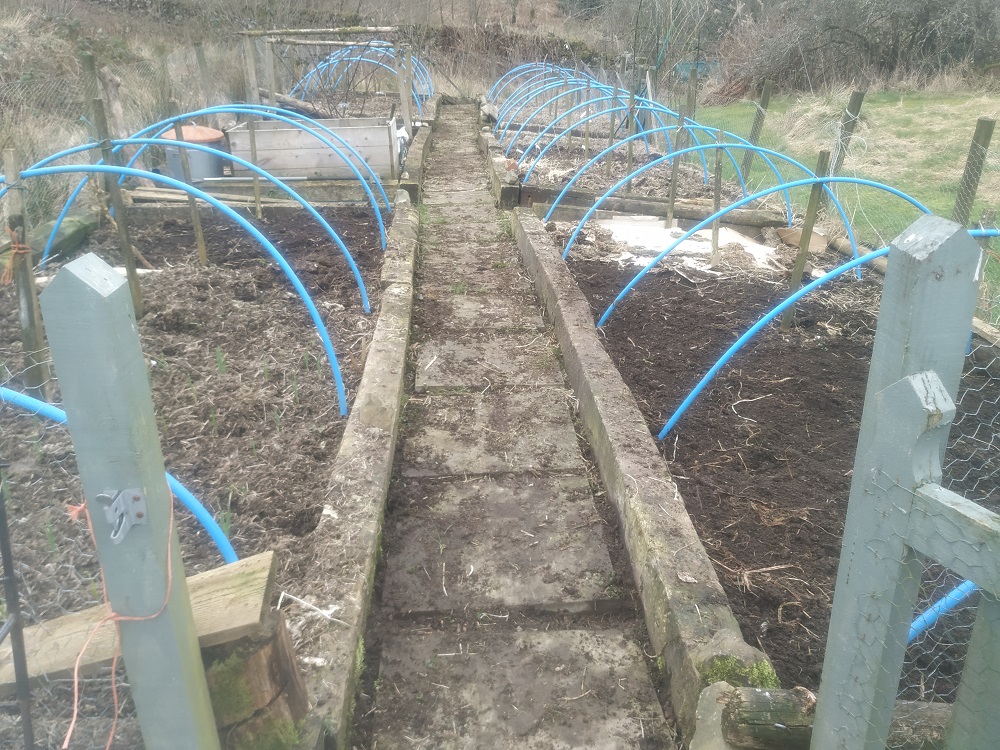
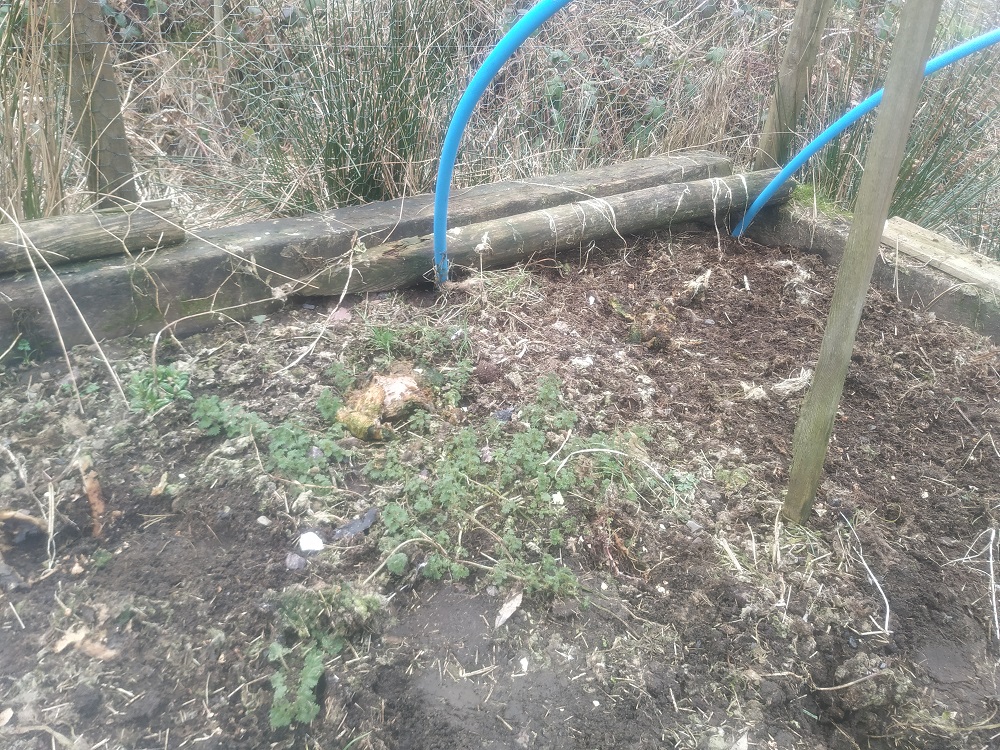
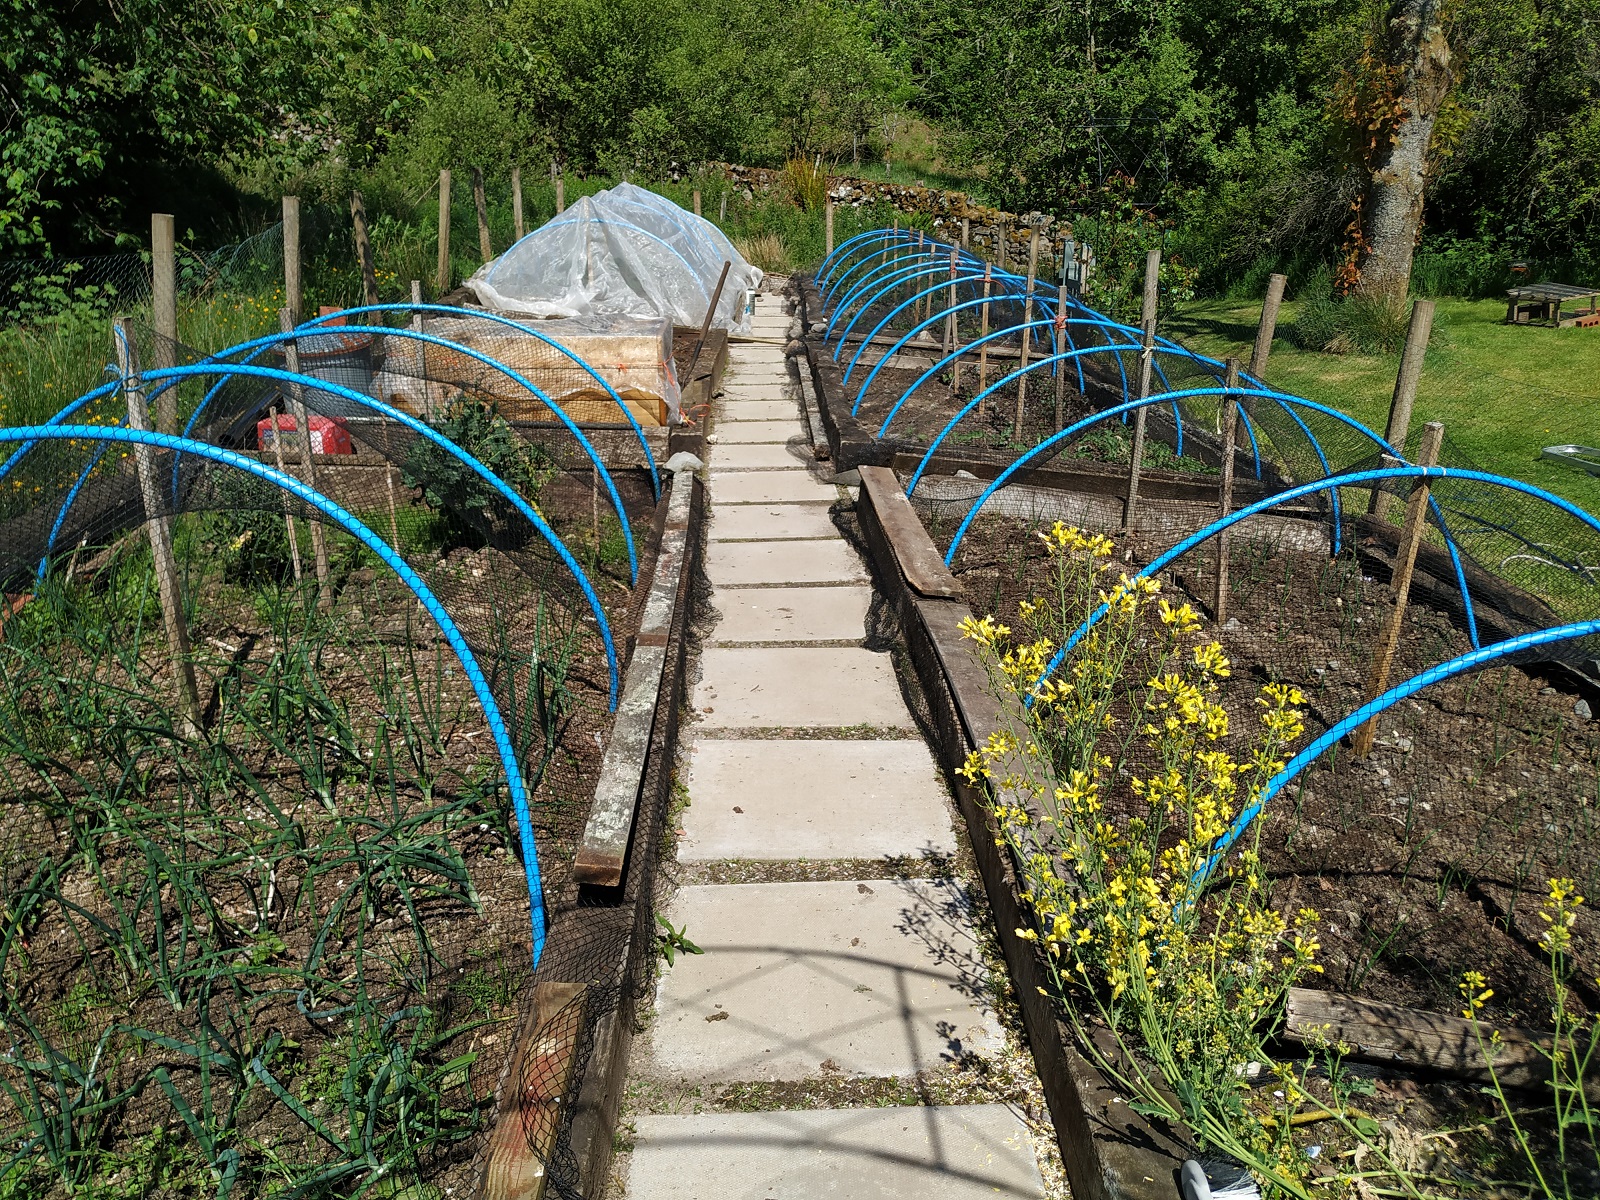
Sedge grass, willow herb, nettles and creeping buttercup had merrily taken up residence in the gaps between the paving slabs going between the beds. The paths had looked great once upon a time as well as being an impenetrable weed barrier. But over the years the cement grouting between the slabs has crumbled and the weeds have been having a party ever since.
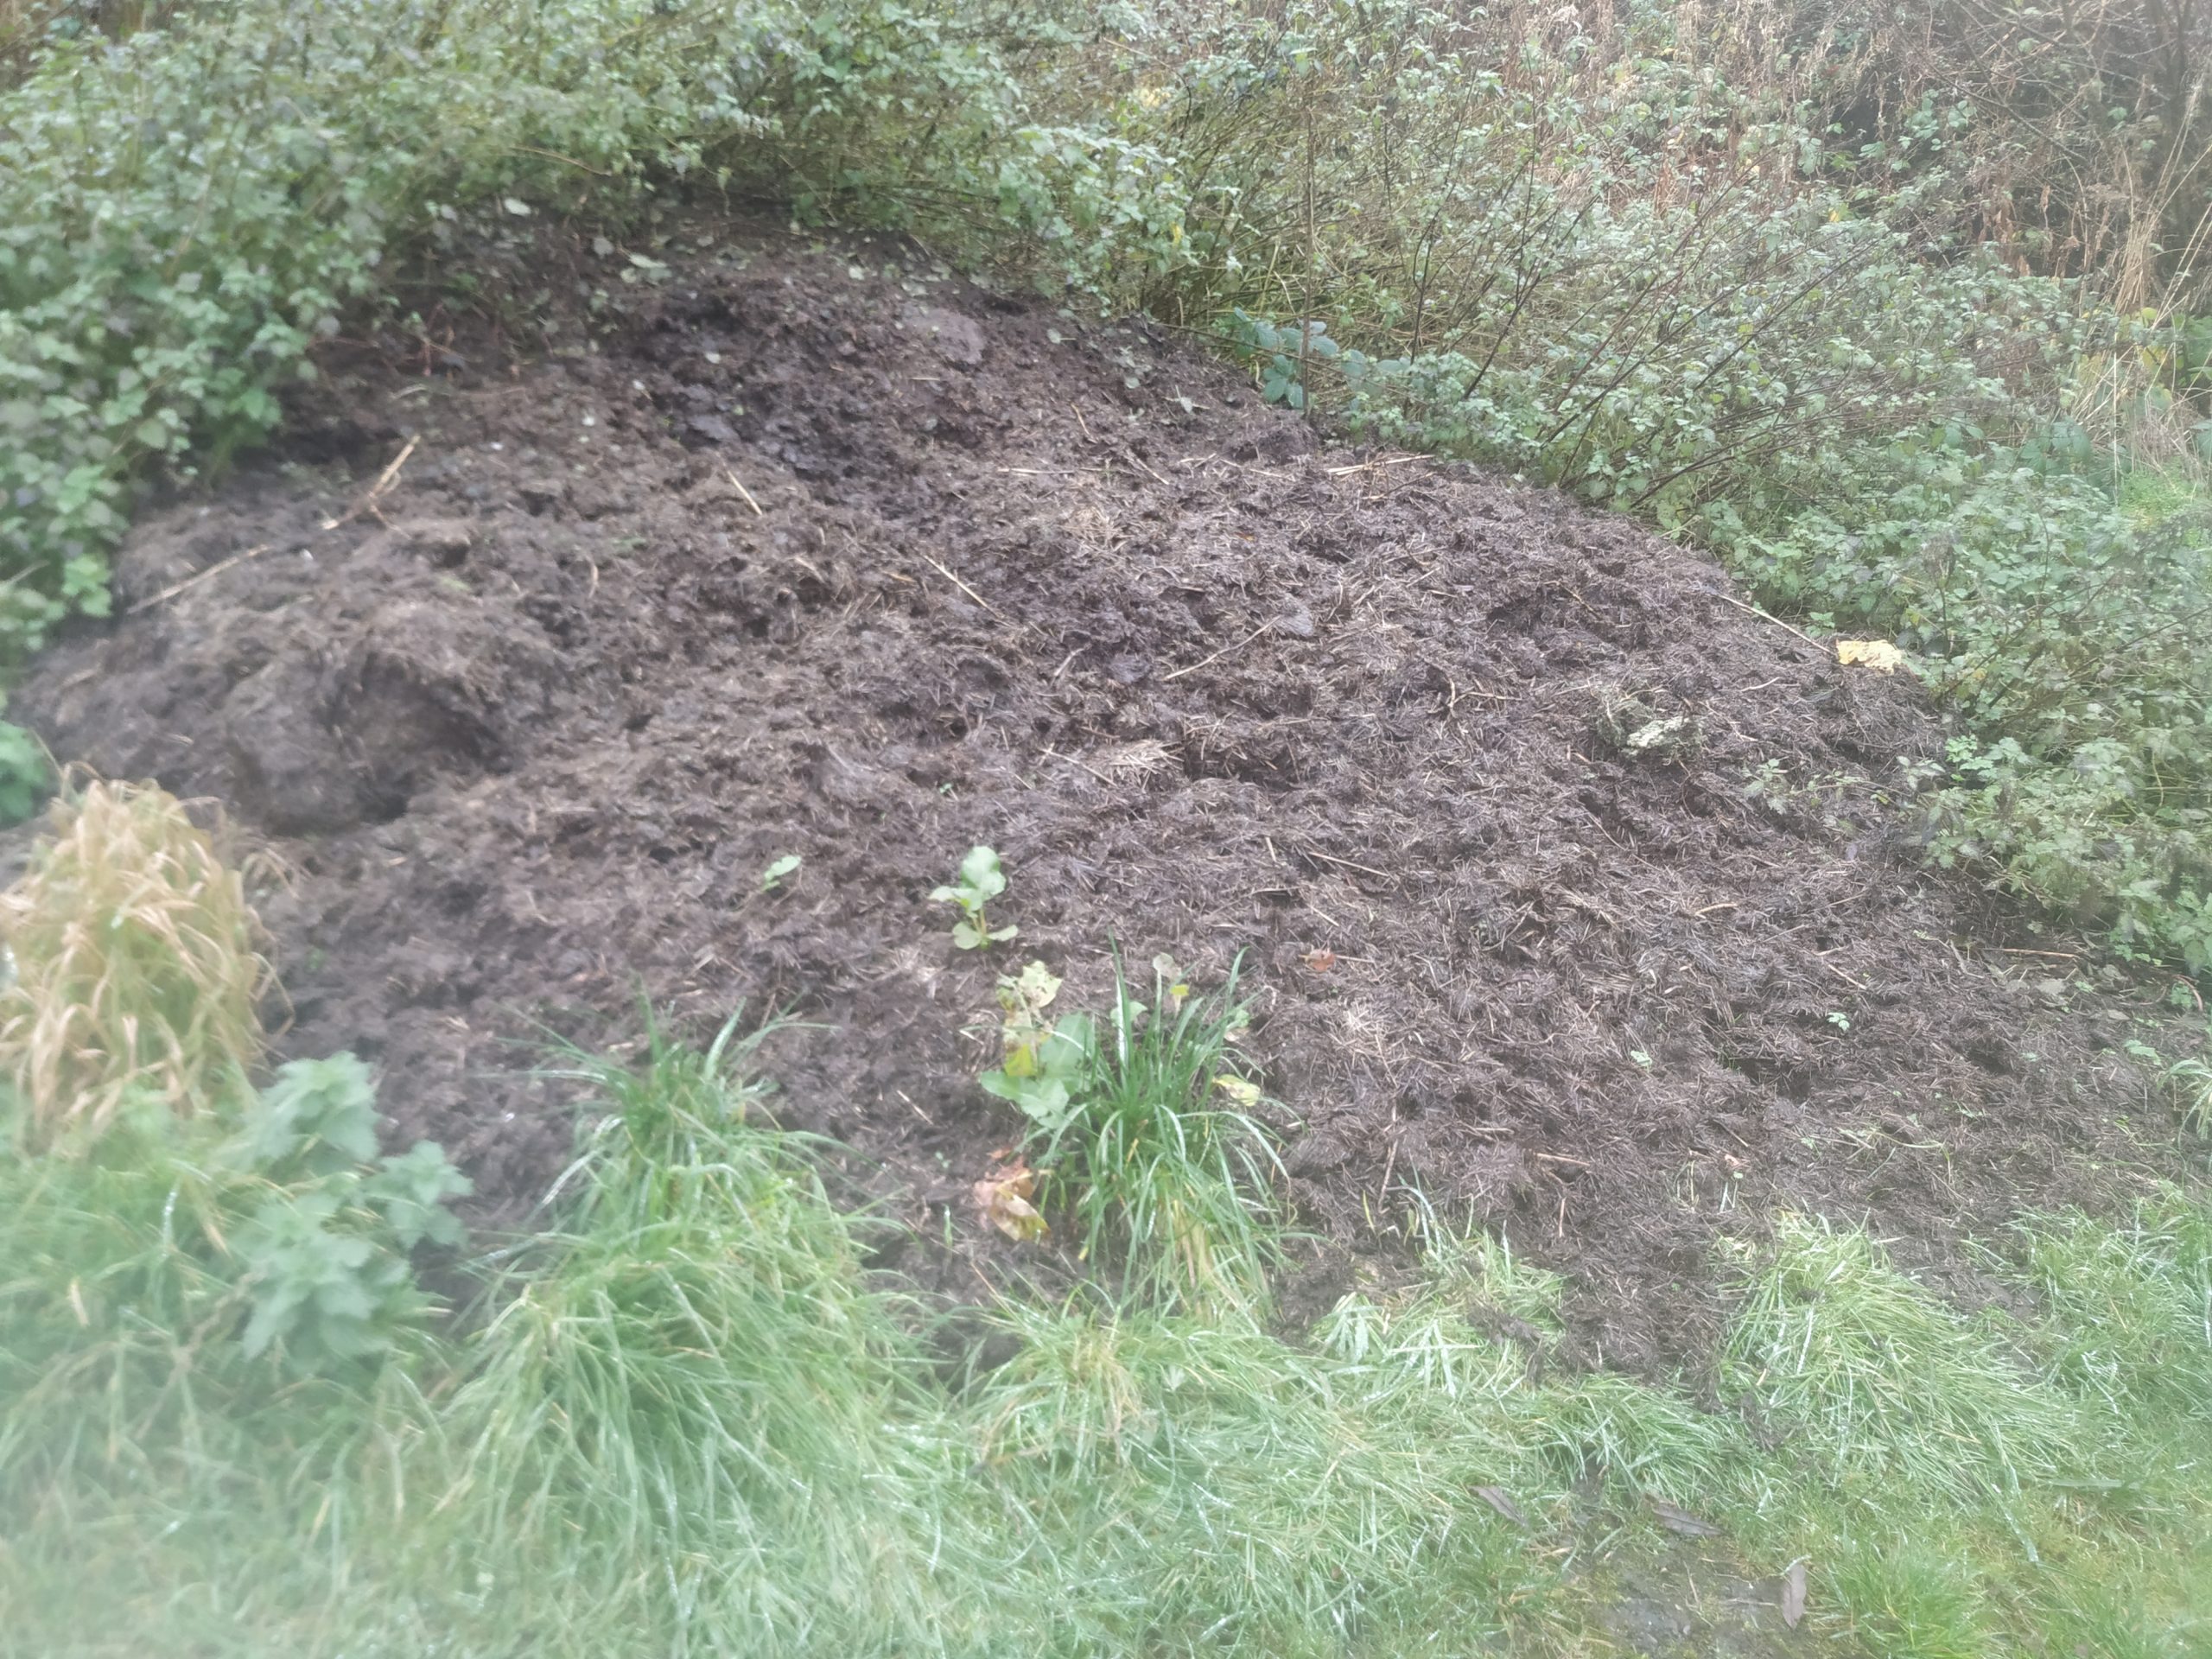
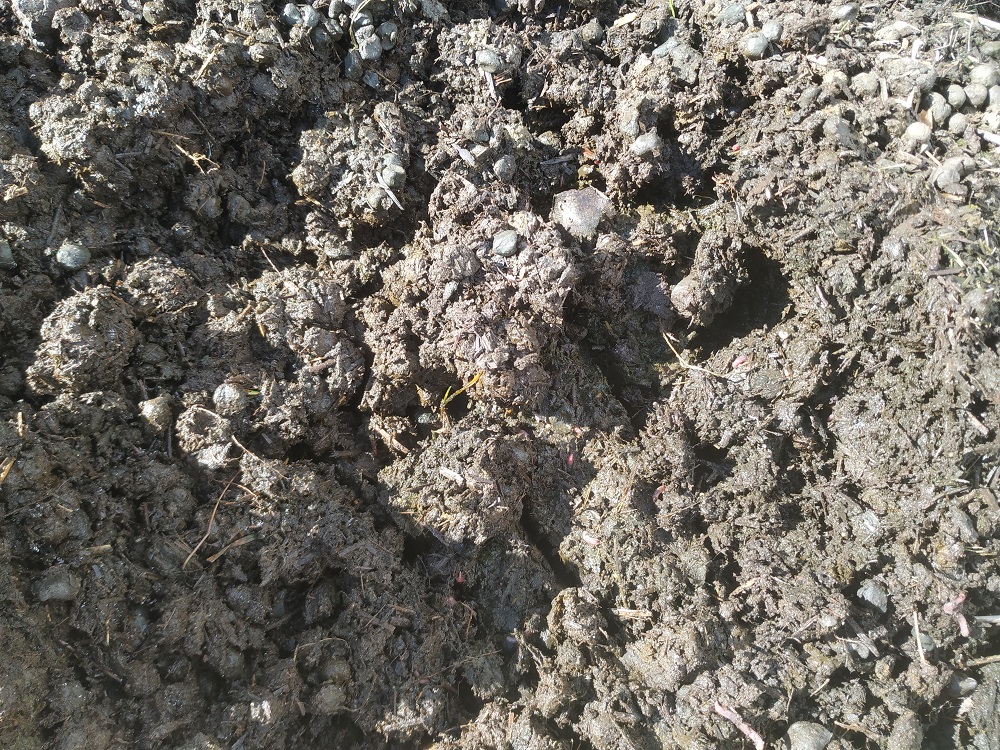
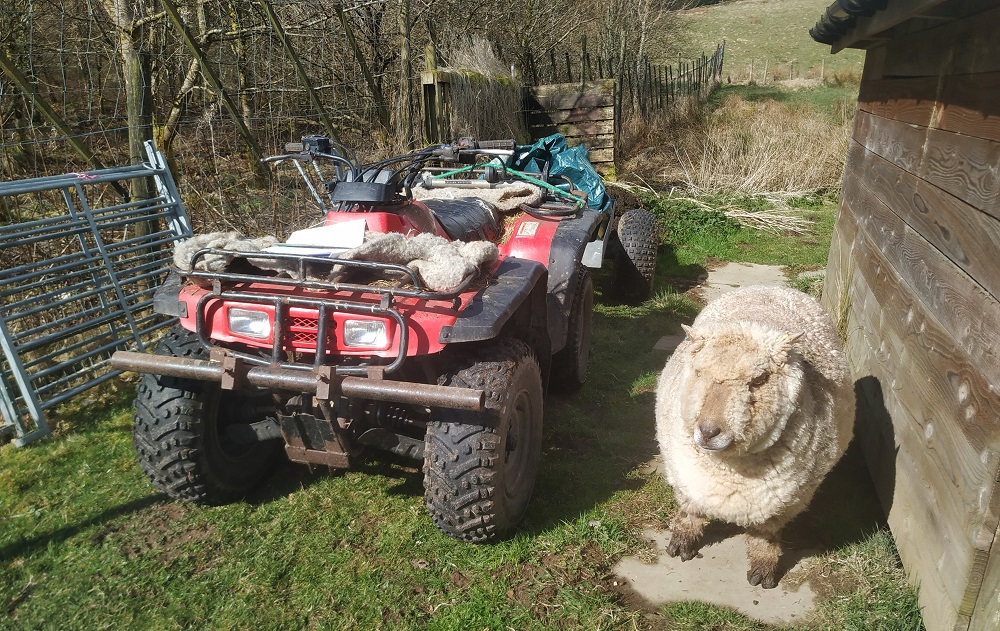
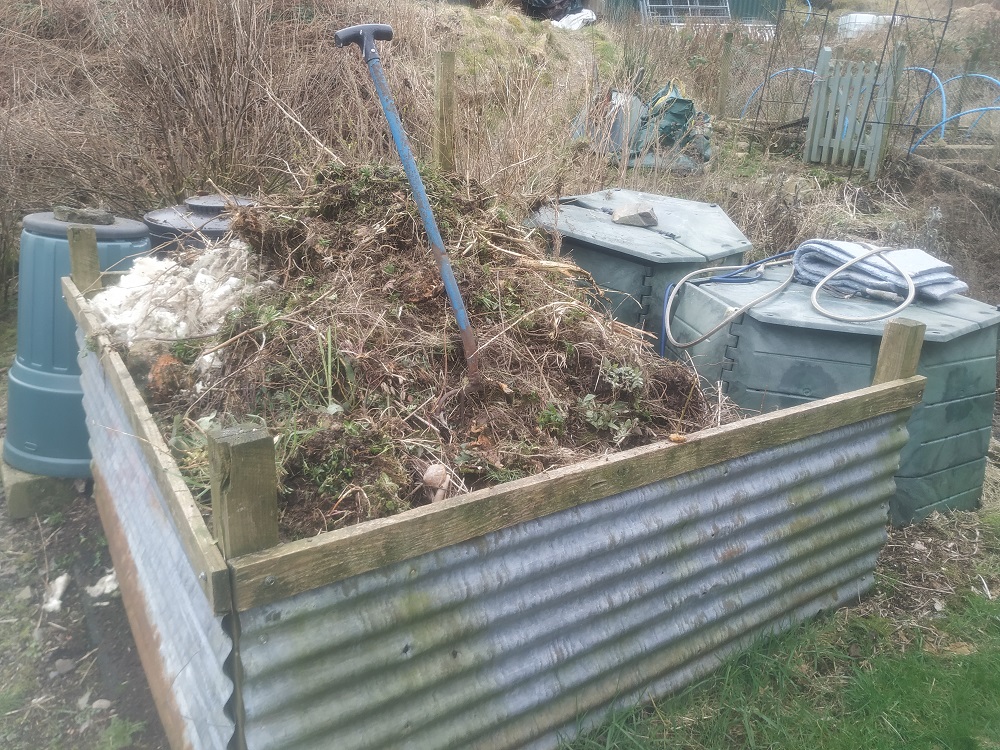
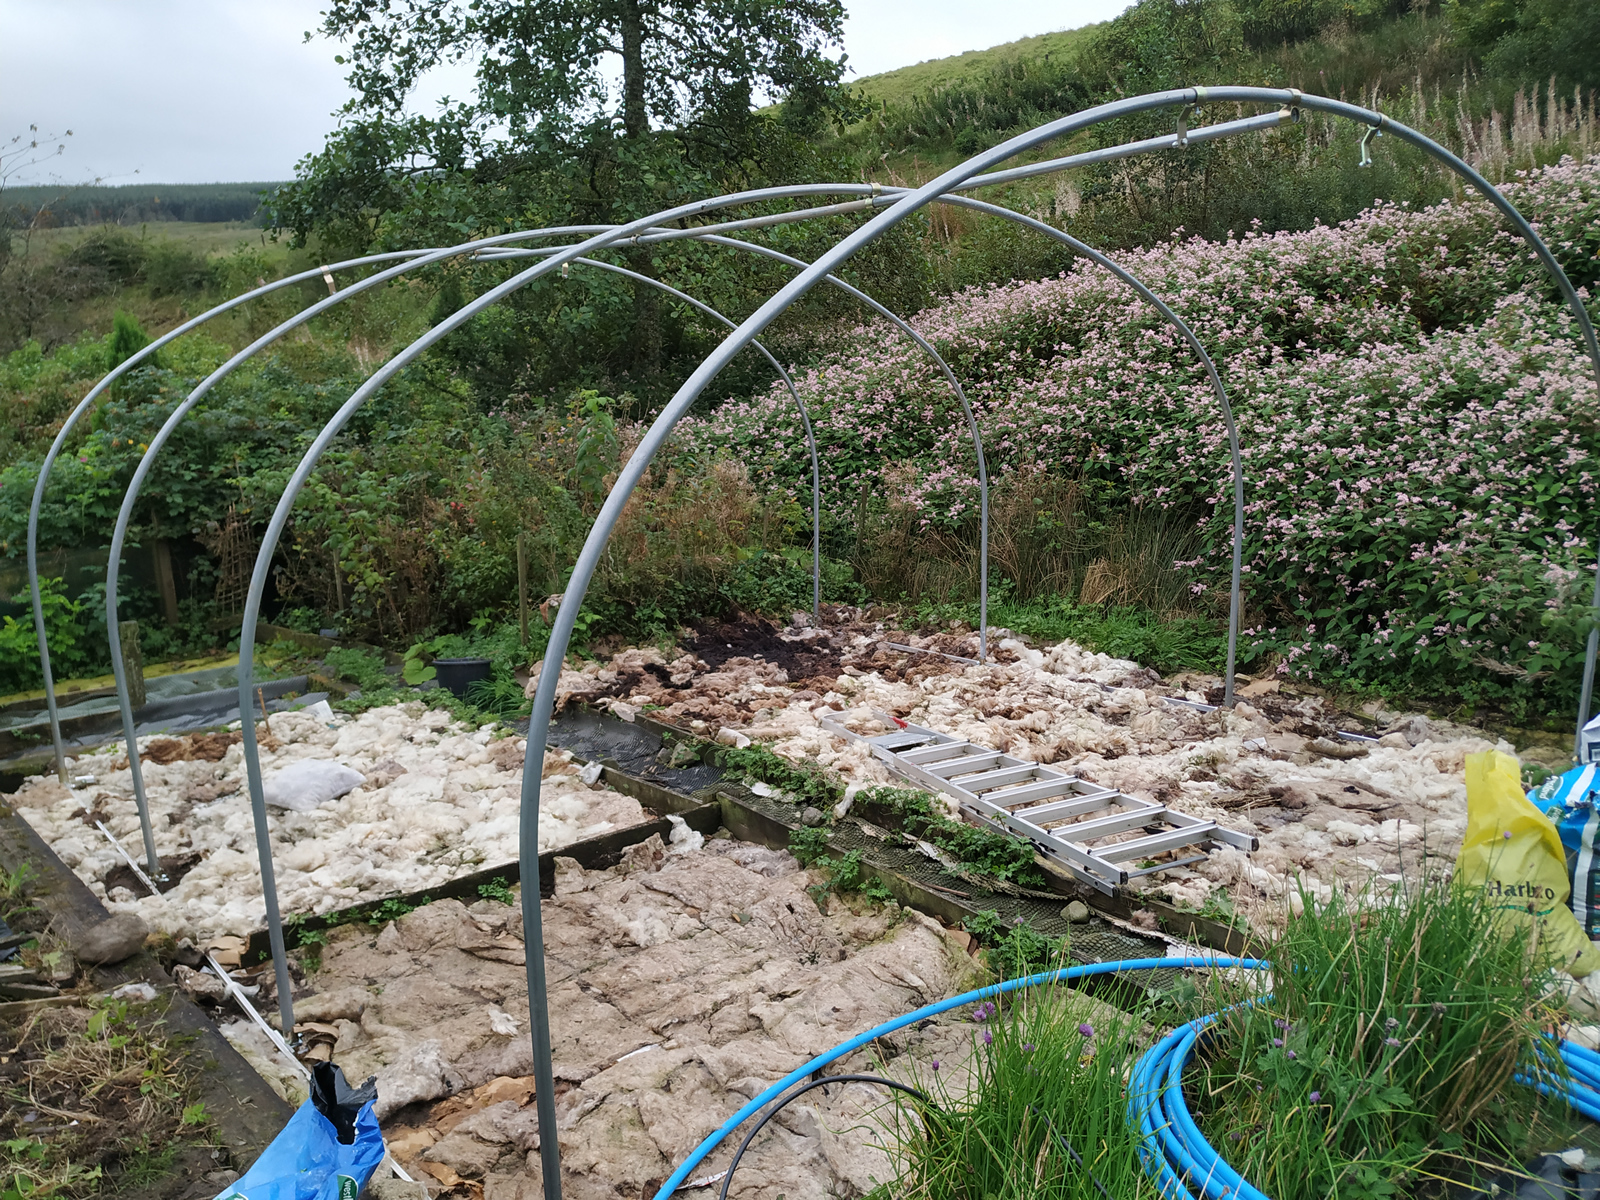
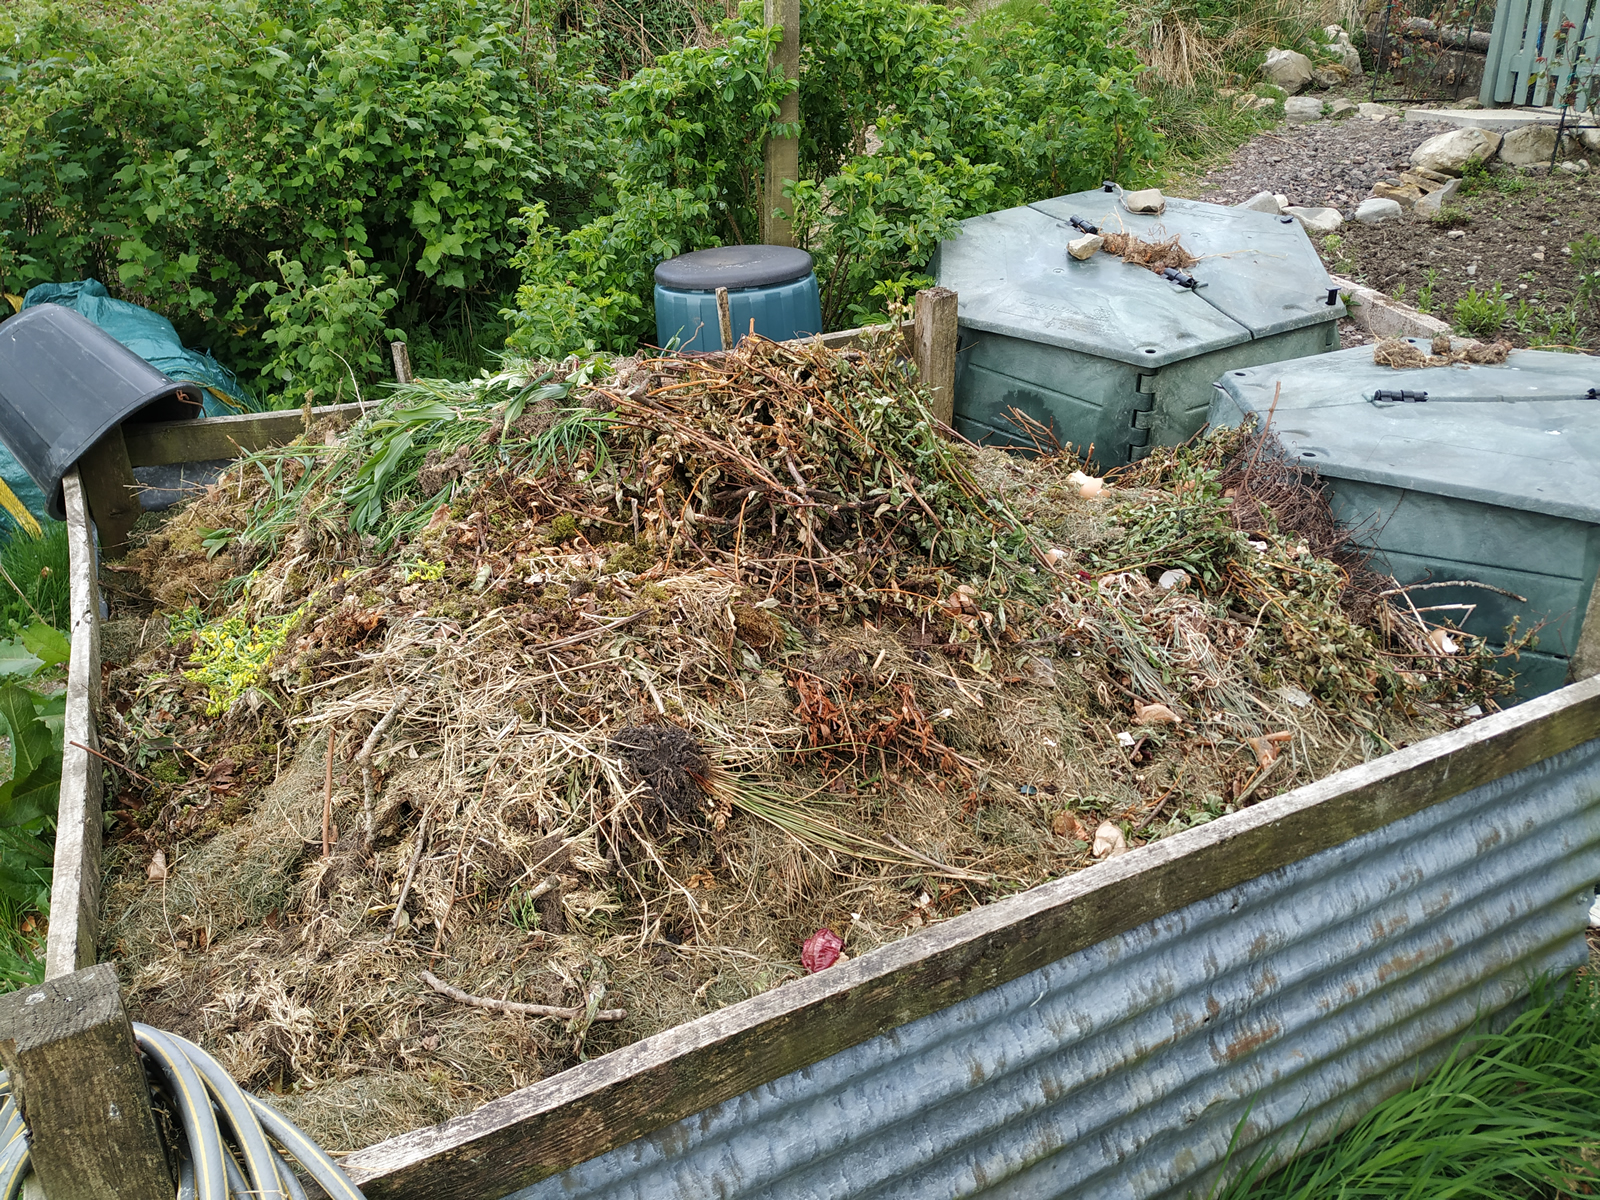
Last week I decided enough was enough and rolled up my sleeves and got to work. It was a drizzly day, perfect for weeding hahaha 🙂 My plan was to weed half the area first so that Adrian could start piling manure on at the weekend. Then I’d attack the second half next week. We have mountains of sheep-dung waiting to go on the beds as winter mulch. Unfortunately this year the badgers have discovered the muck heap and been helping themselves to worms every night. They’ve been making a right mess throwing manure in all directions. Our once neatly formed heap has turned into a gigantic cowpat. We plan to use up all the dung this autumn and site the heap somewhere else, hopefully the badgers won’t notice but we’re not holding our breath …
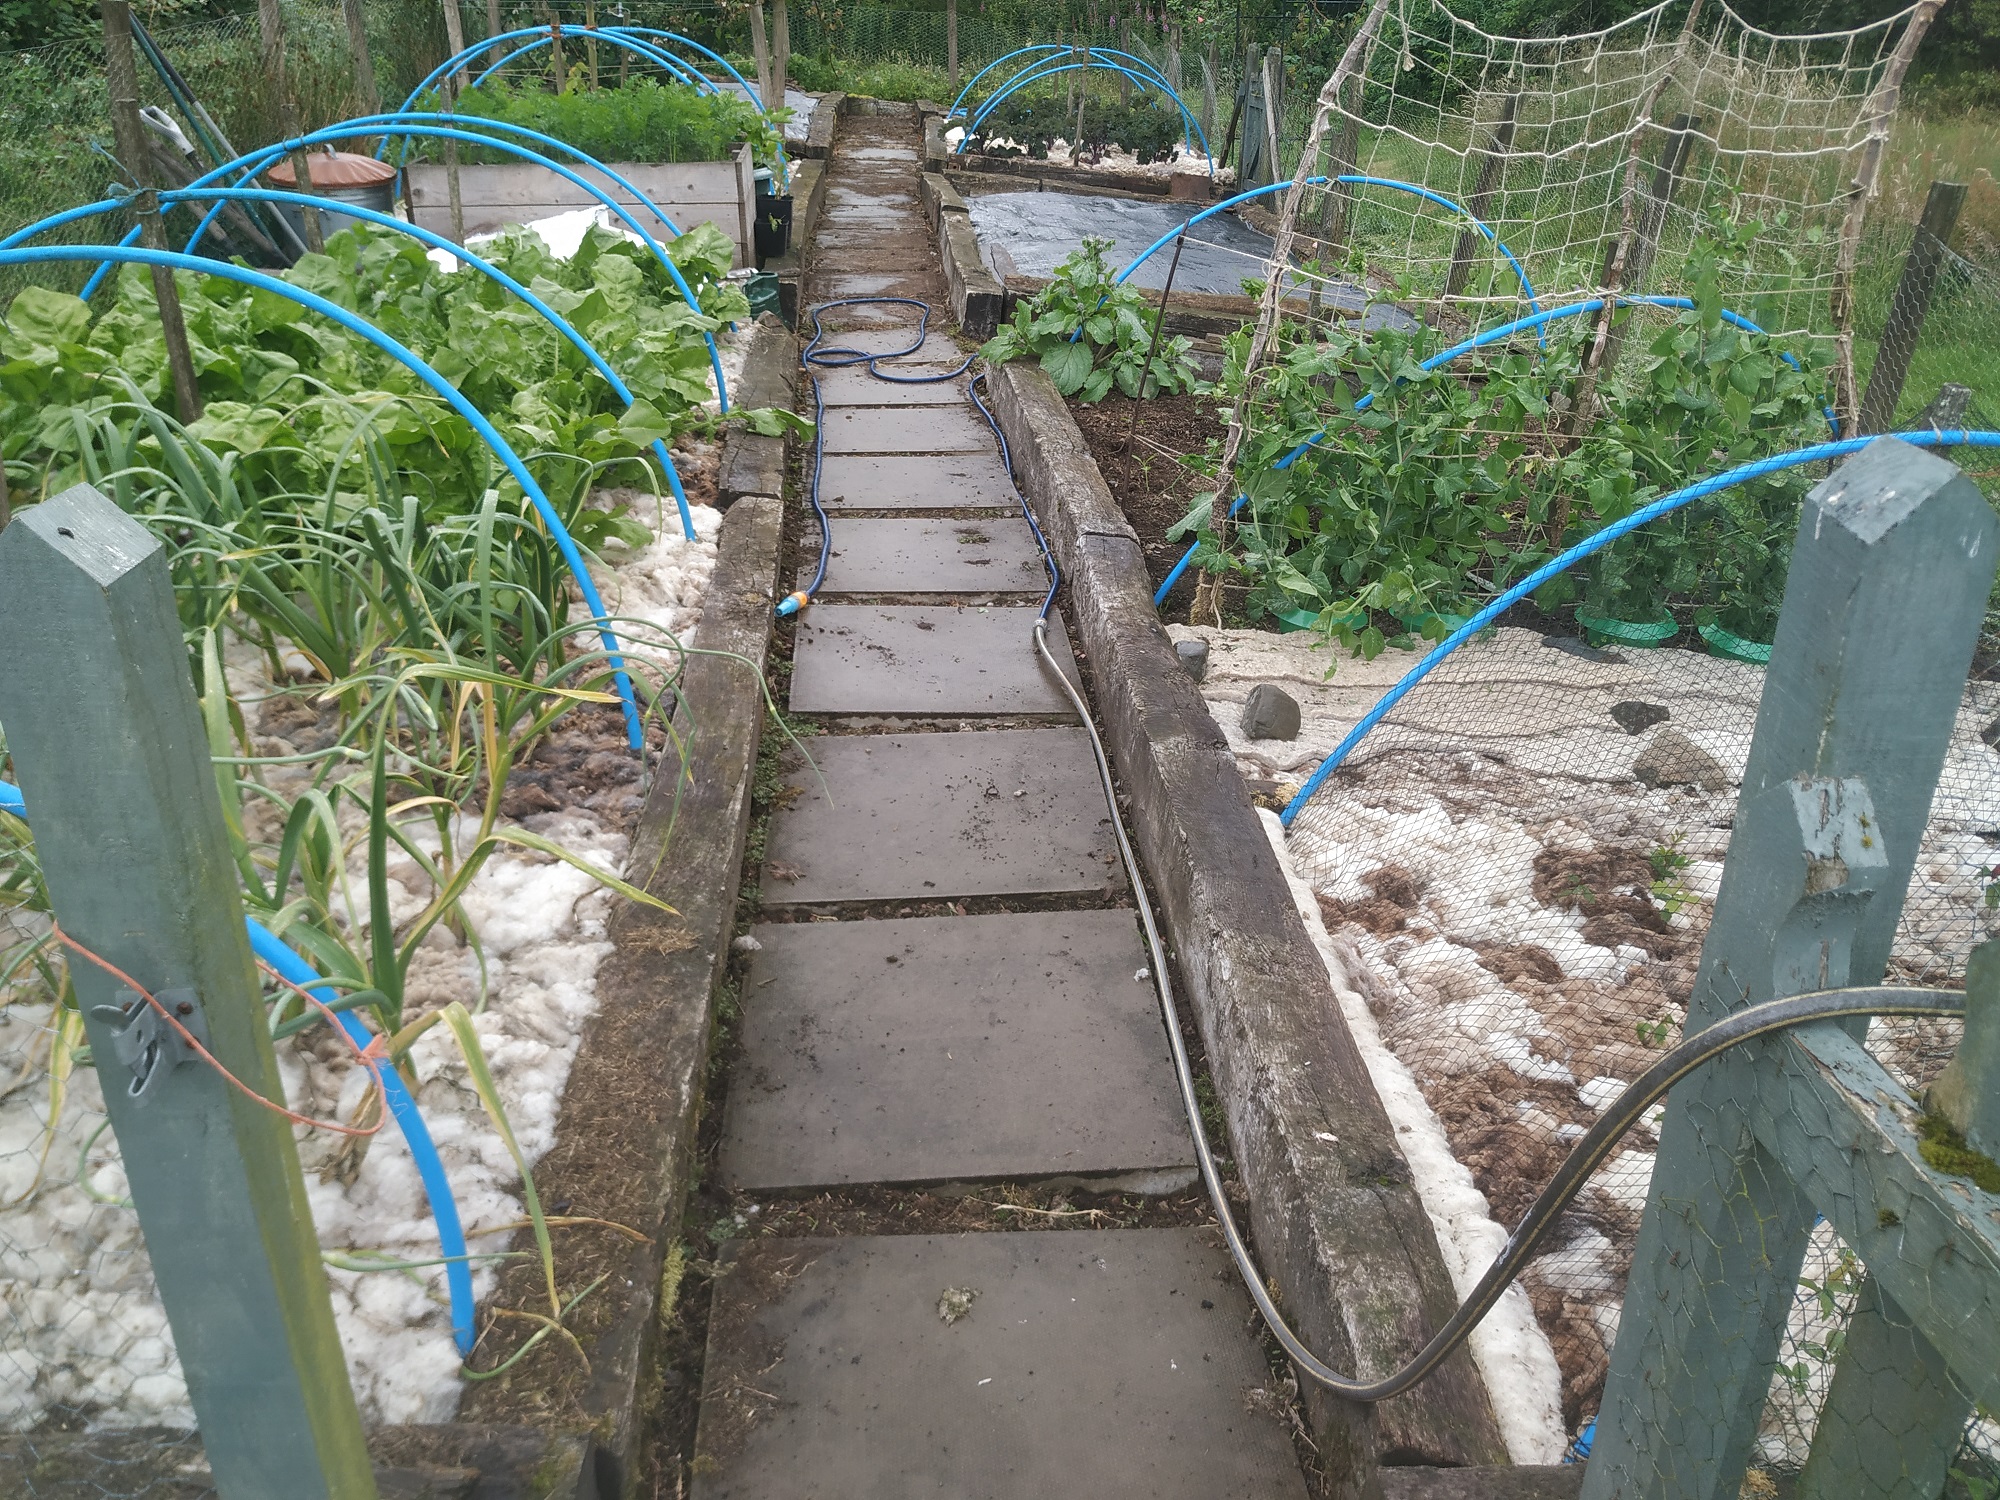
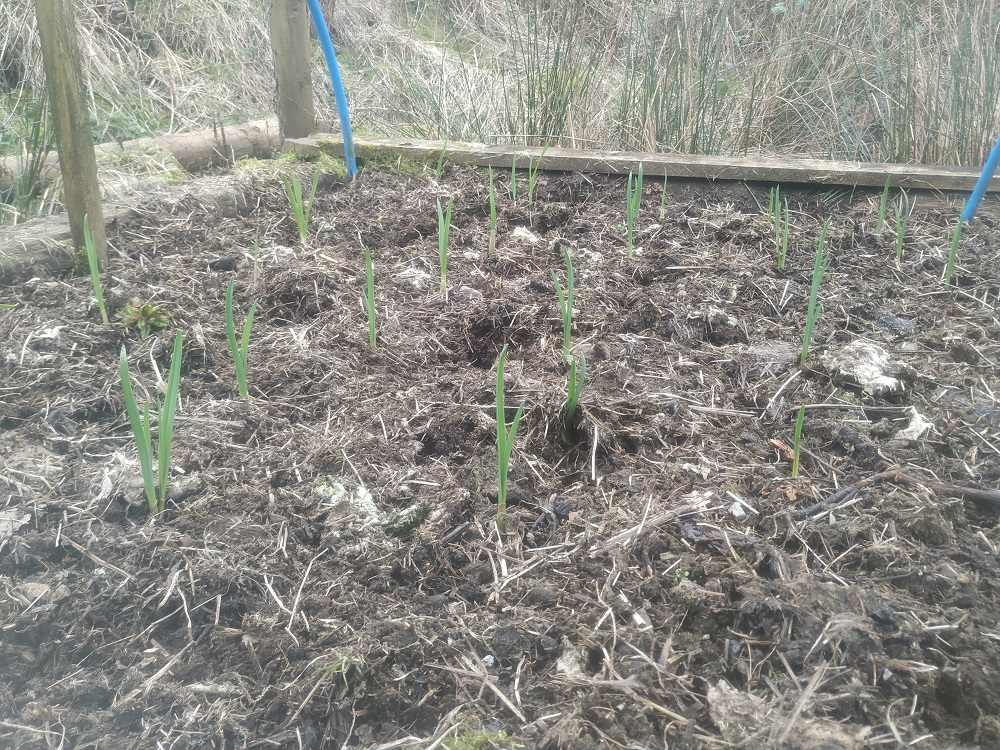
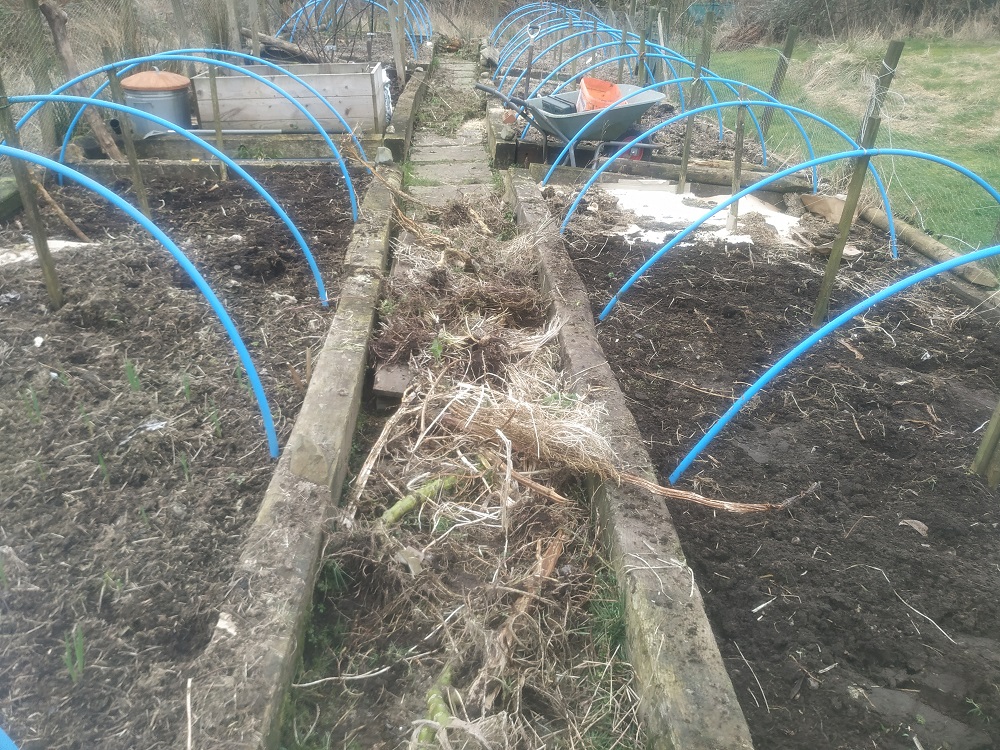
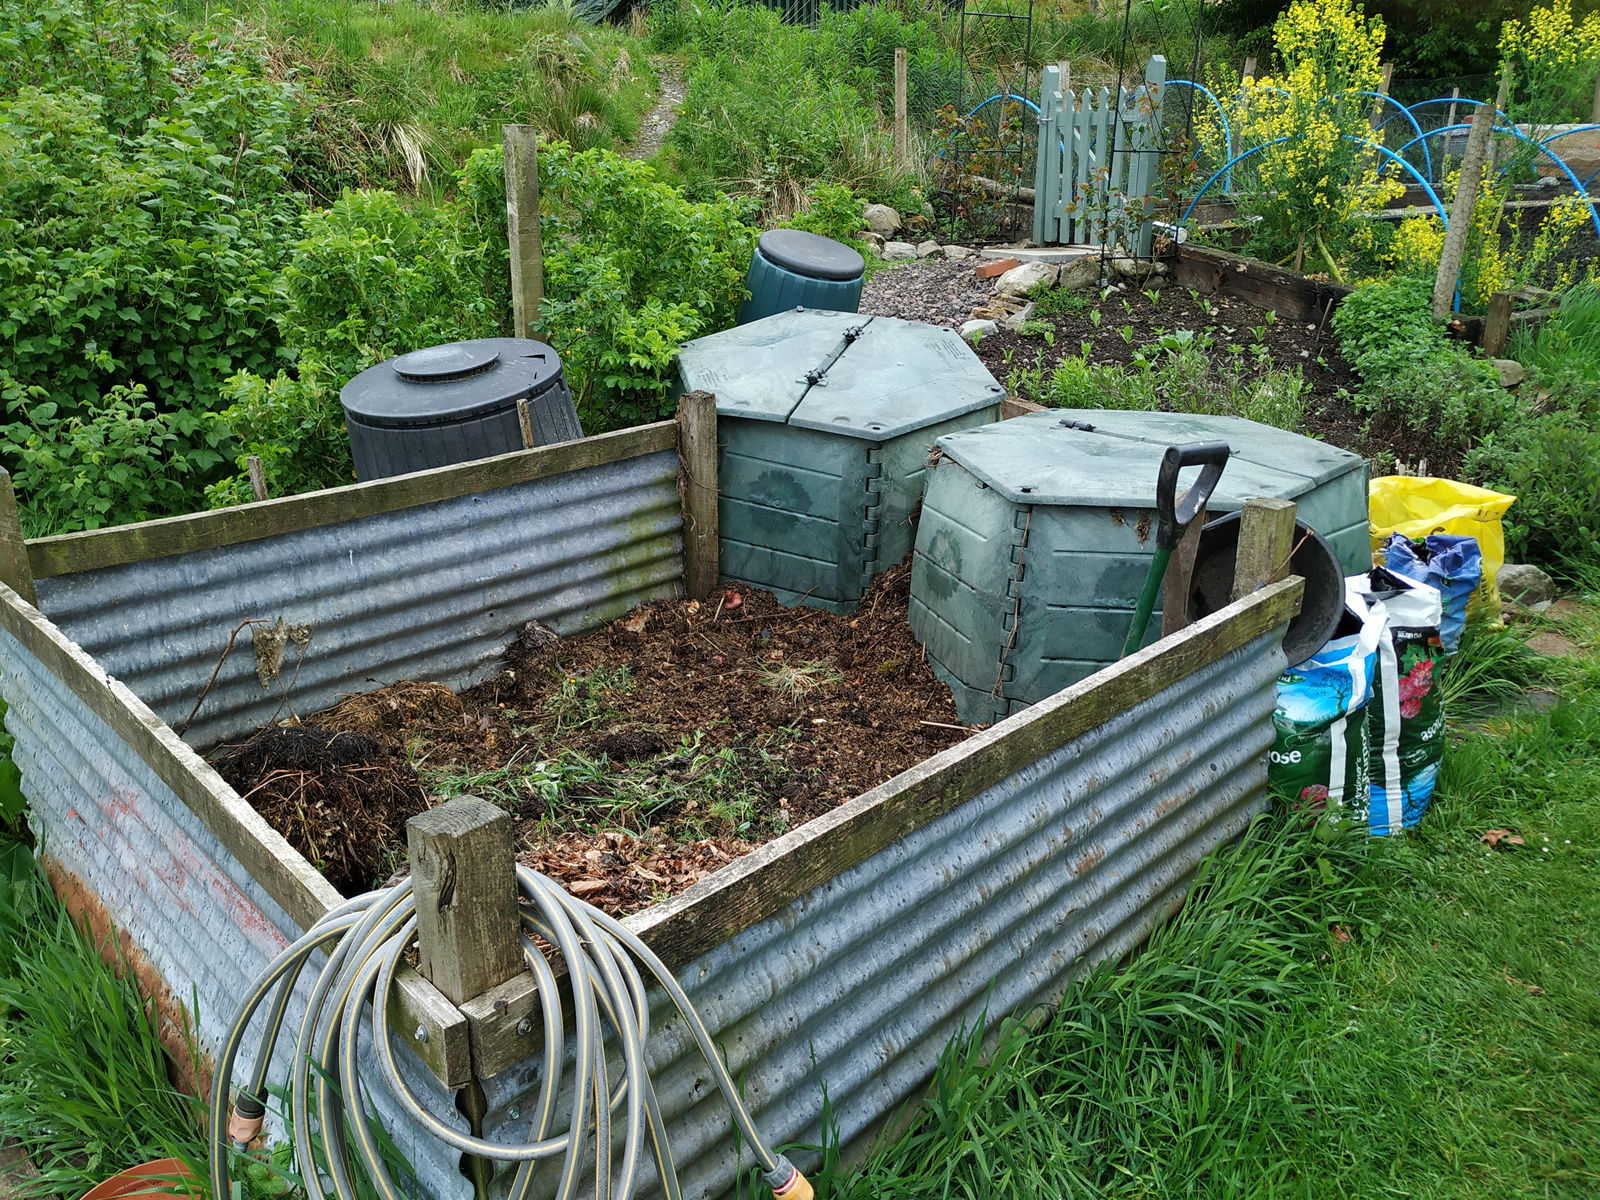
But back to the veggie patch, I spent a good morning filling my barrow with weeds and piling them onto the compost heap. I dismantled the mangetout frame and floppy tangle of stems. I pulled out nettles and docks that had taken up residence in amongst the Leafbeat and Chard. Then I gathered up the sprawl of pumpkin stalks from the pumpkin patch, and finally I pulled out the bolting lettuces and Borage from the salad bed.
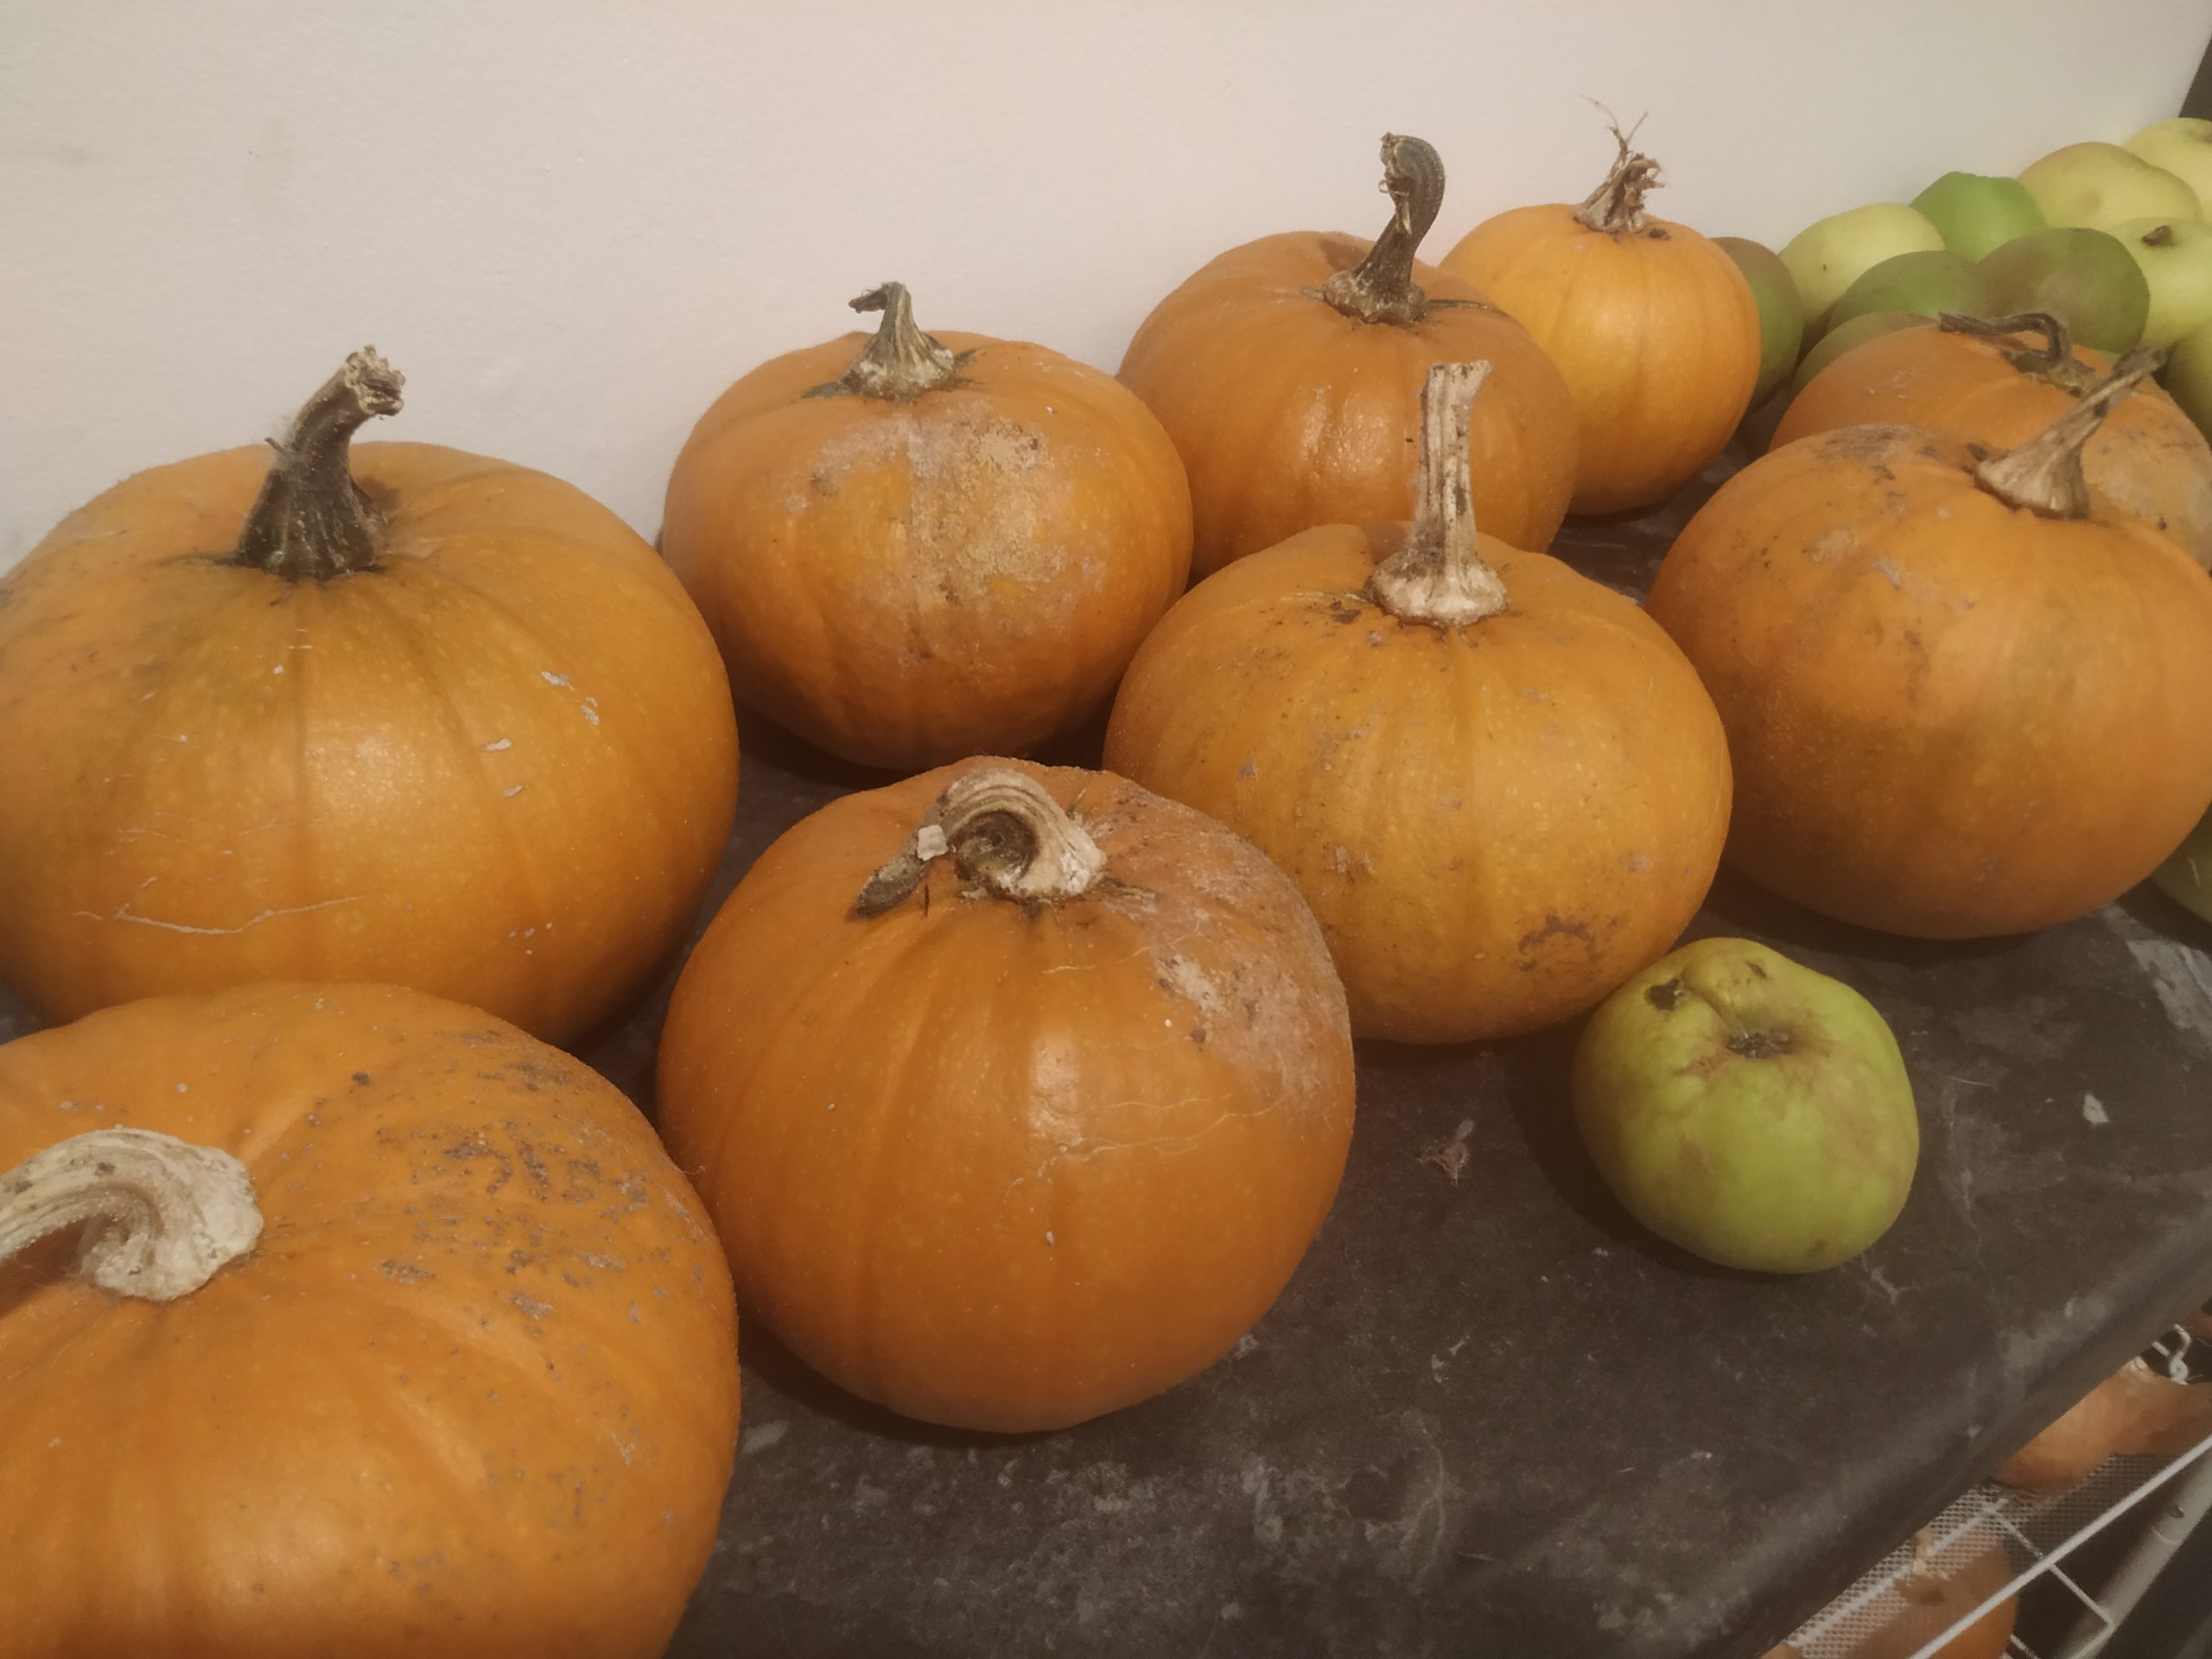
This year was our first year growing pumpkins here in Scotland. Being so far north the growing season is short so we decided to grow a small variety to give the fruit half a chance of growing and ripening before the autumn. We planted ‘Baby Bear’ and they did really well, we had 25 pumpkins in total, plenty to make into soup to keep us going over the winter.
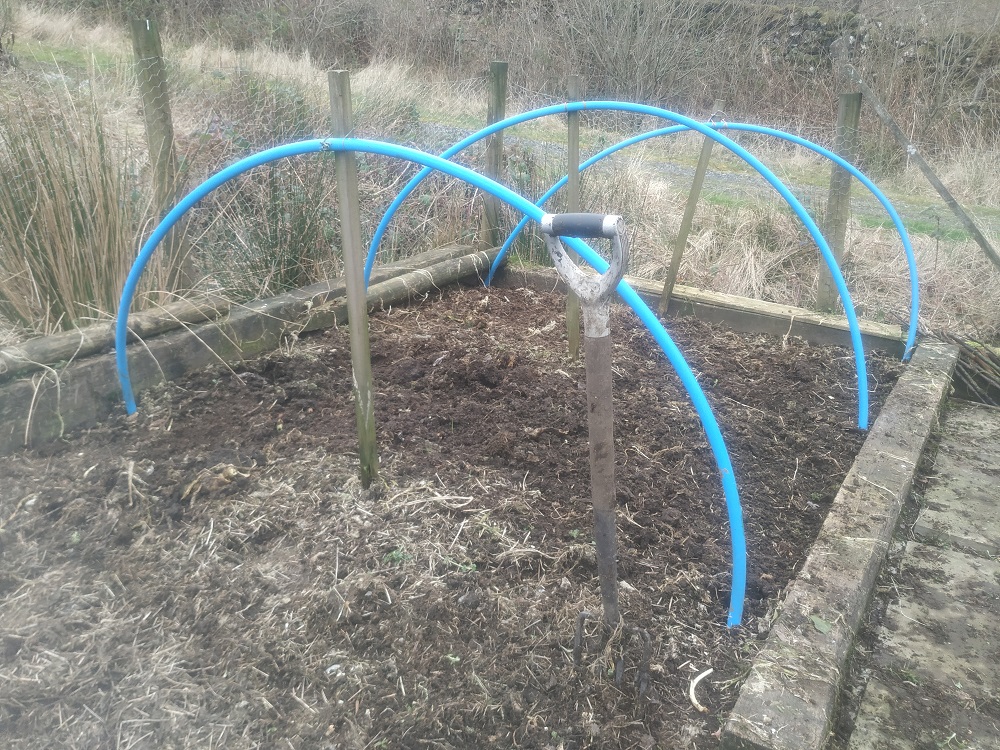
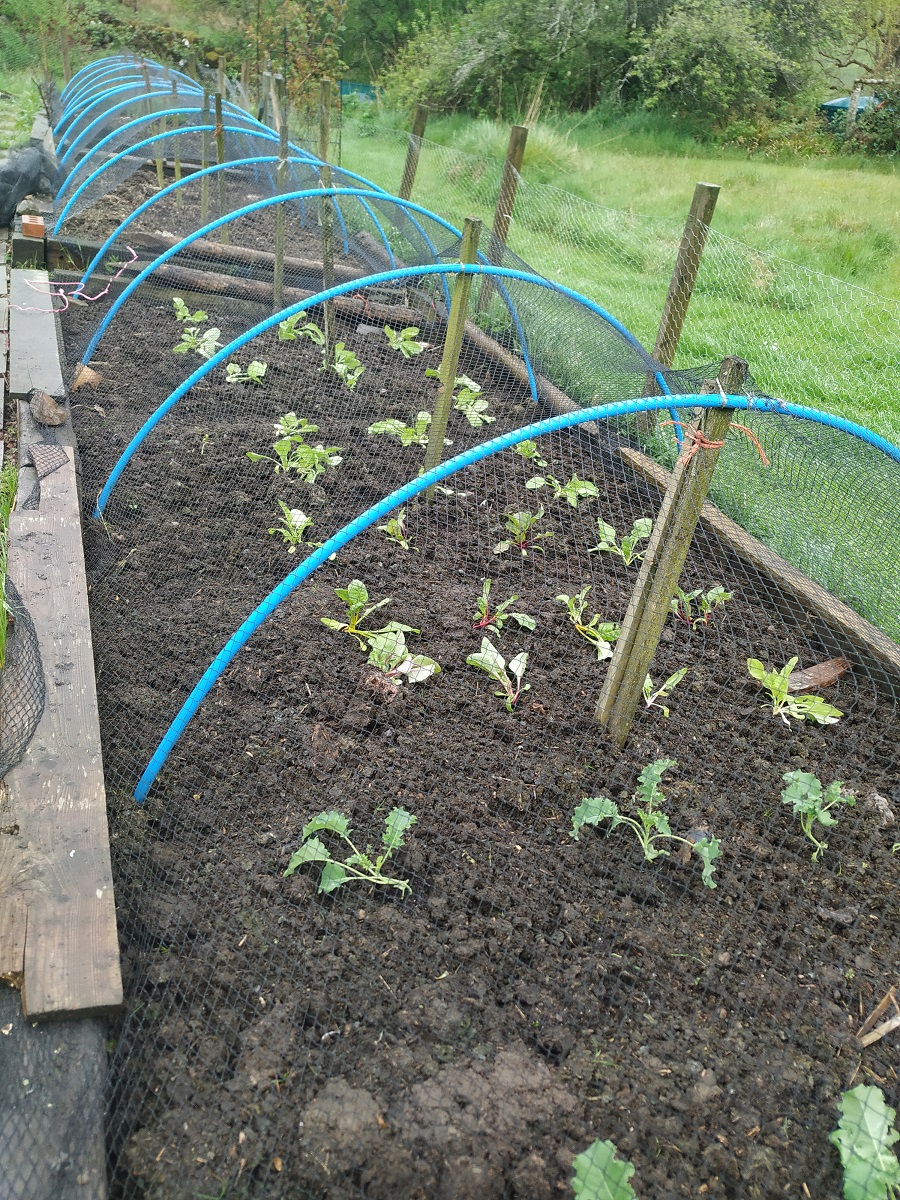
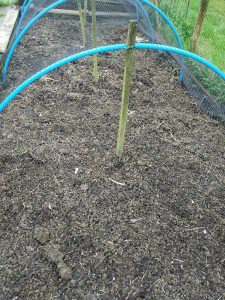
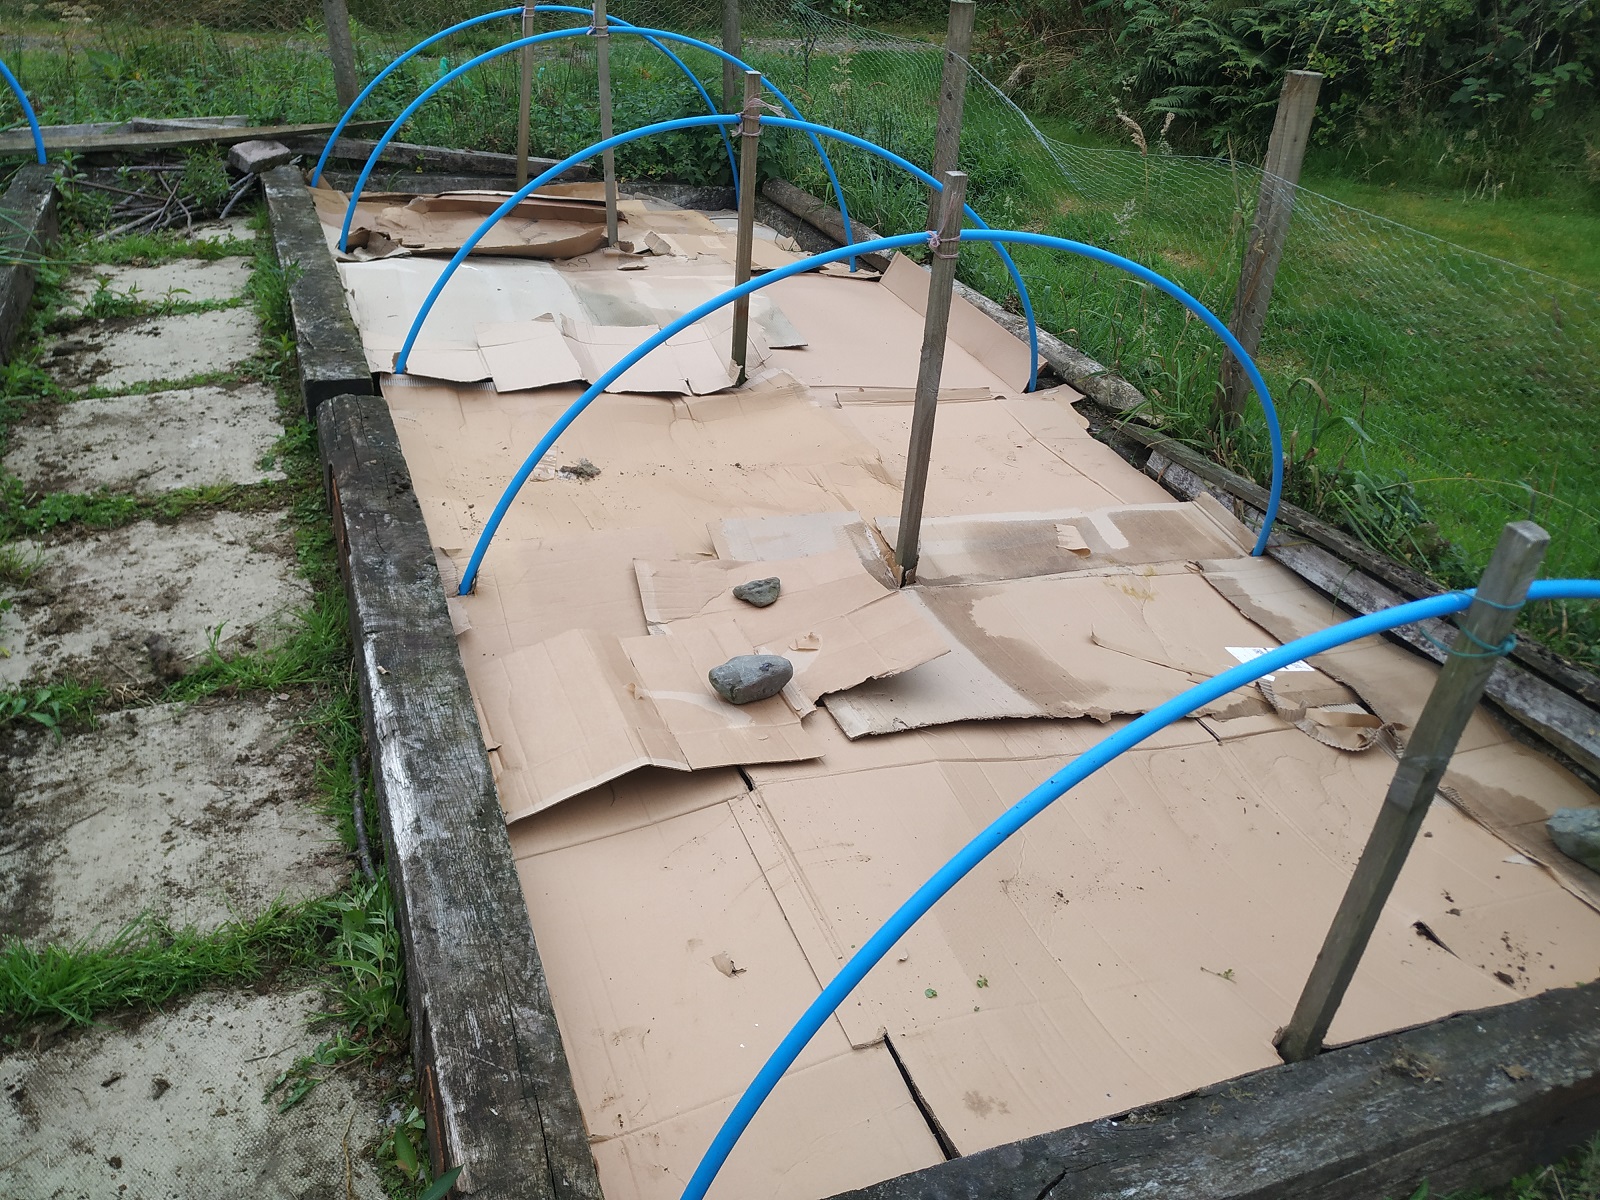
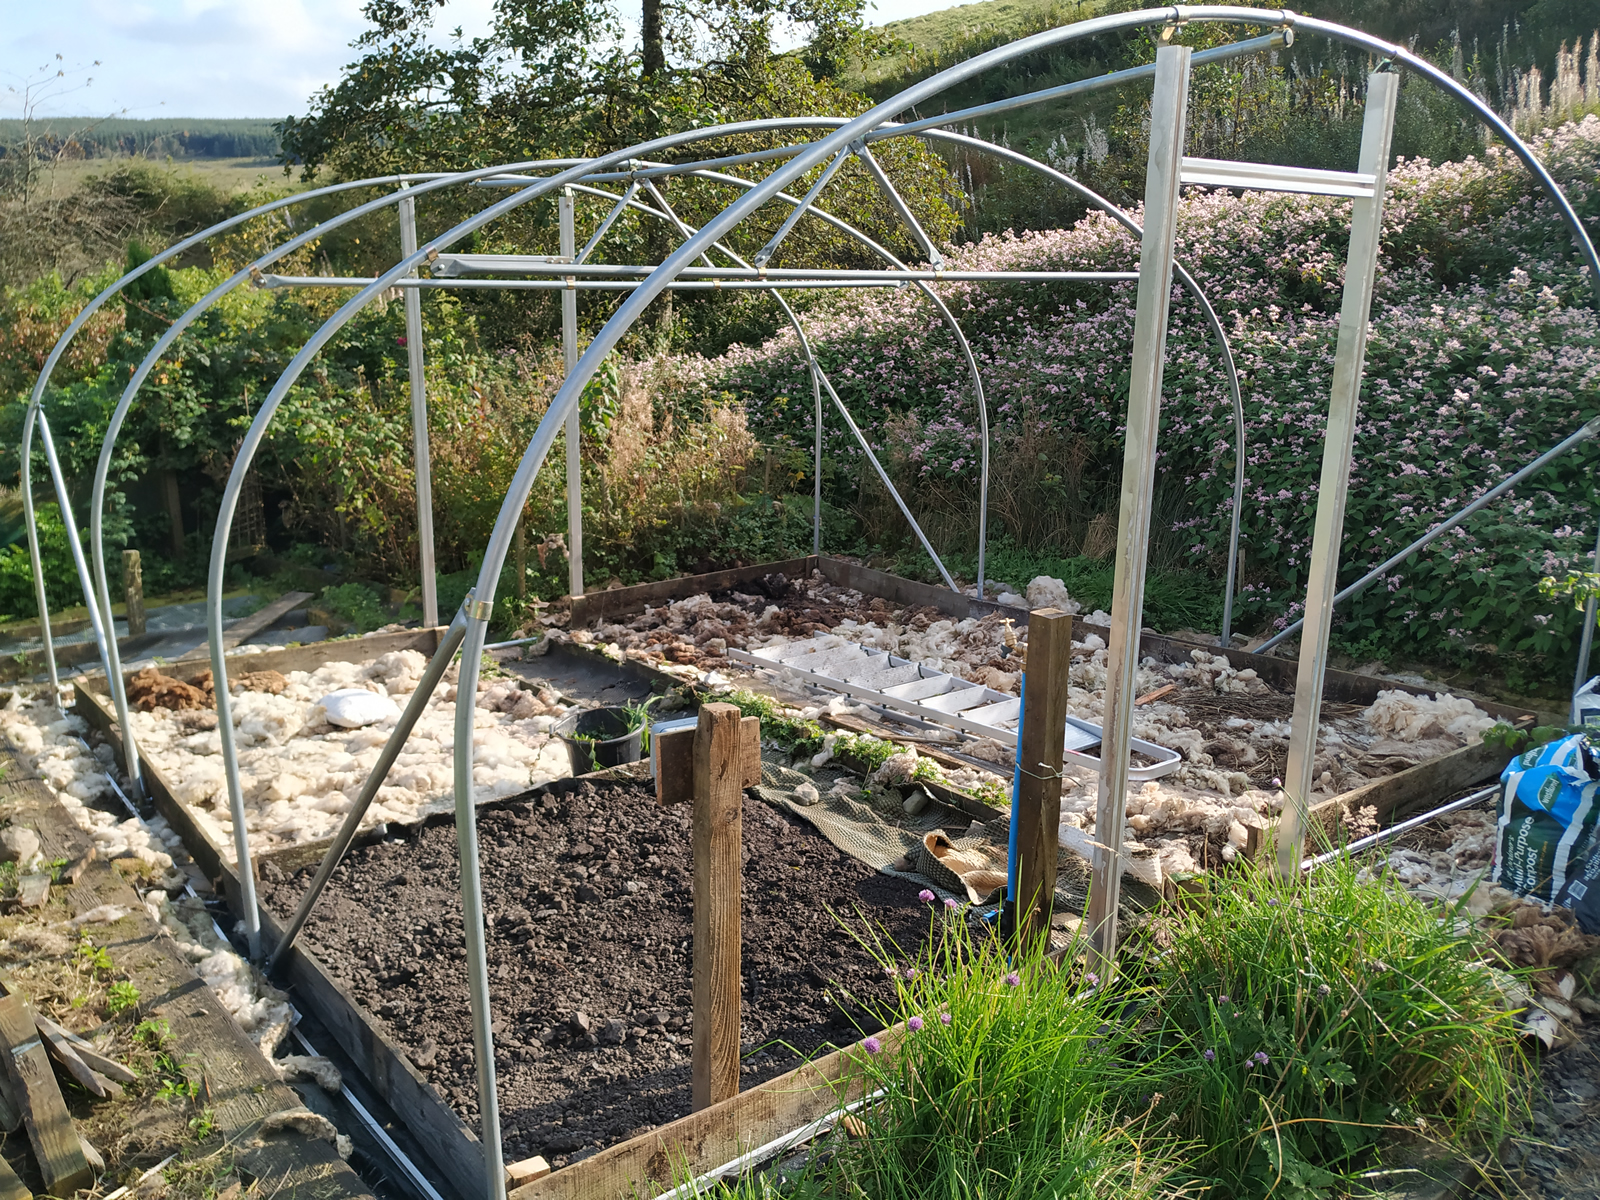
After a hard morning’s work I went indoors for a cup of tea but not before taking a quick photo of the almost weed-free veggie patch.