As anyone who has read my book might now realise, it’s hard keeping up with everything on a smallholding. This is particularly true as we both have to work to pay the bills. A while back, I mentioned this loss of control of some of the veggie patches in a blog entry – Taking back control – one area of the vegetable garden had gone completely wild.
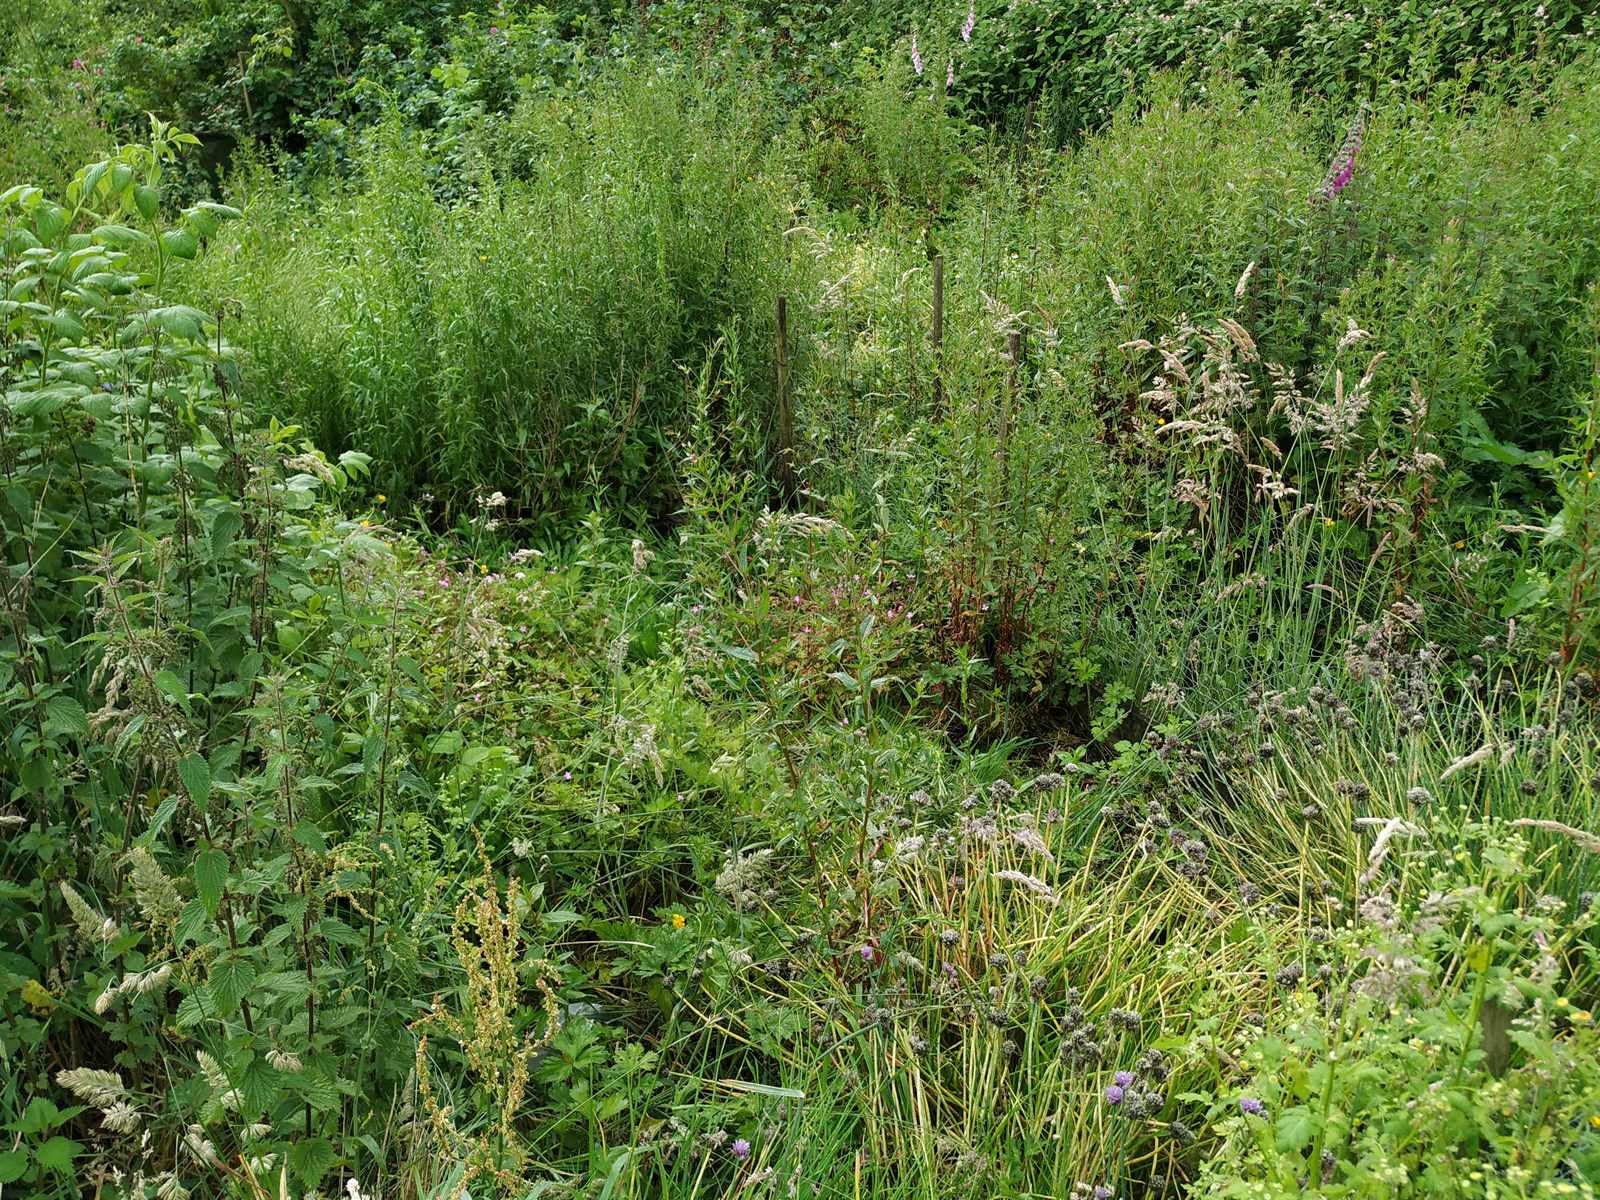
This area was where we should have been growing our salad crops. However, last year the slugs and snails had got the lot and so we were experimenting with pots. We took our eyes of the veggie patch and the weeds took advantage. The pots were not a great success, really lettuces and so on need their roots in the ground to flourish. We had a think about it and thought a polytunnel might prove the answer. Under cover, the salads should do better (it can be a bit wet and windy here). The tomatoes, too, would flourish.
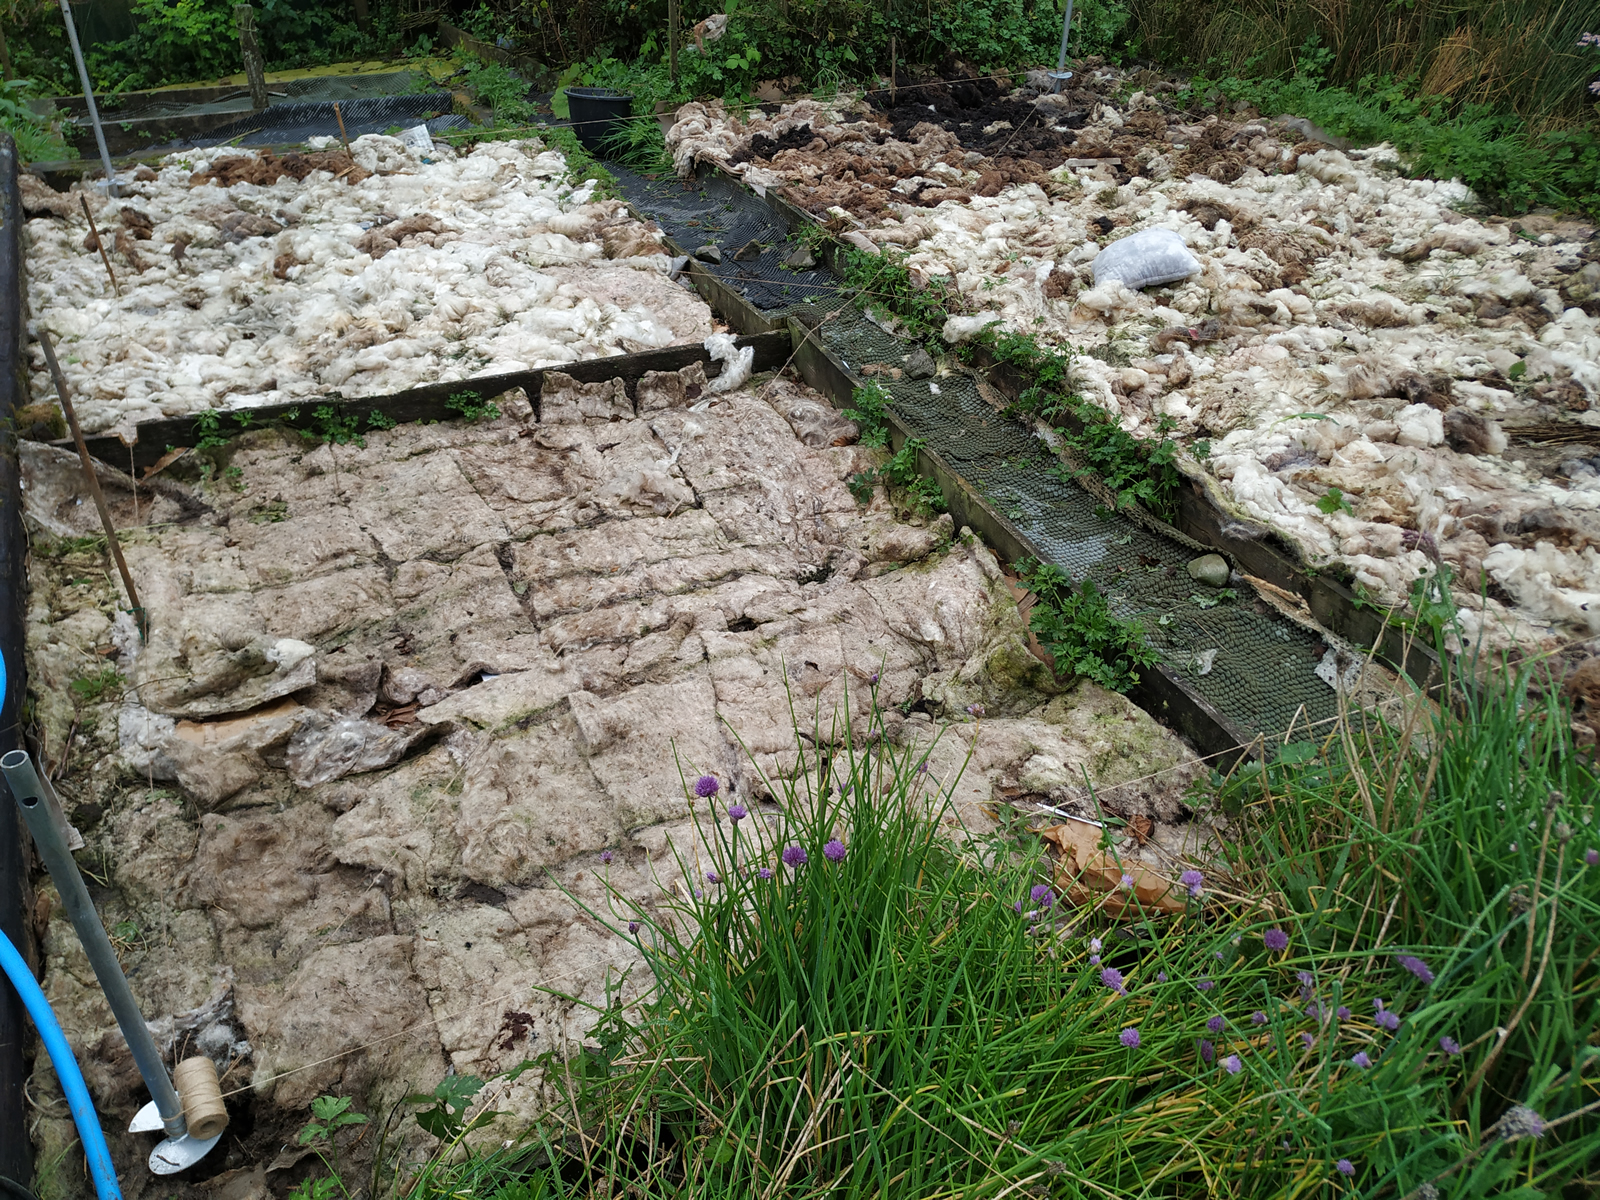
We measured the area and bought ourselves a polytunnel which, of course, arrived in kit form. I stored it in a shed while we started preparing the ground. The paths were covered in old carpet and the beds in cardboard and wool. This suppressed most of the weeds, the buttercups proving the hardest to conquer.
Then it was time to get the build underway. The original plan was to have a contractor put it up. We are so busy it was hard to see where we’d find time to build it ourselves. However, some unexpected roof repairs and a contractor that was also very busy meant I decided to put it up myself. How hard could it be?
Not too hard, as it happened. Not an easy start when I found the instruction leaflet soaking wet and illegible. Thank goodness for the internet and PDF downloads. Having watched the instruction video, I made one of my better decision – rather than going all out and building it in one go, I broke it down into stages.
The first was getting the water pipe and electric cable ready. We had installed a large rainwater tank earlier in the year and the pipe was ready and waiting. It just needed to be put underground and into the polytunnel. The electric cable was laid at the same time.
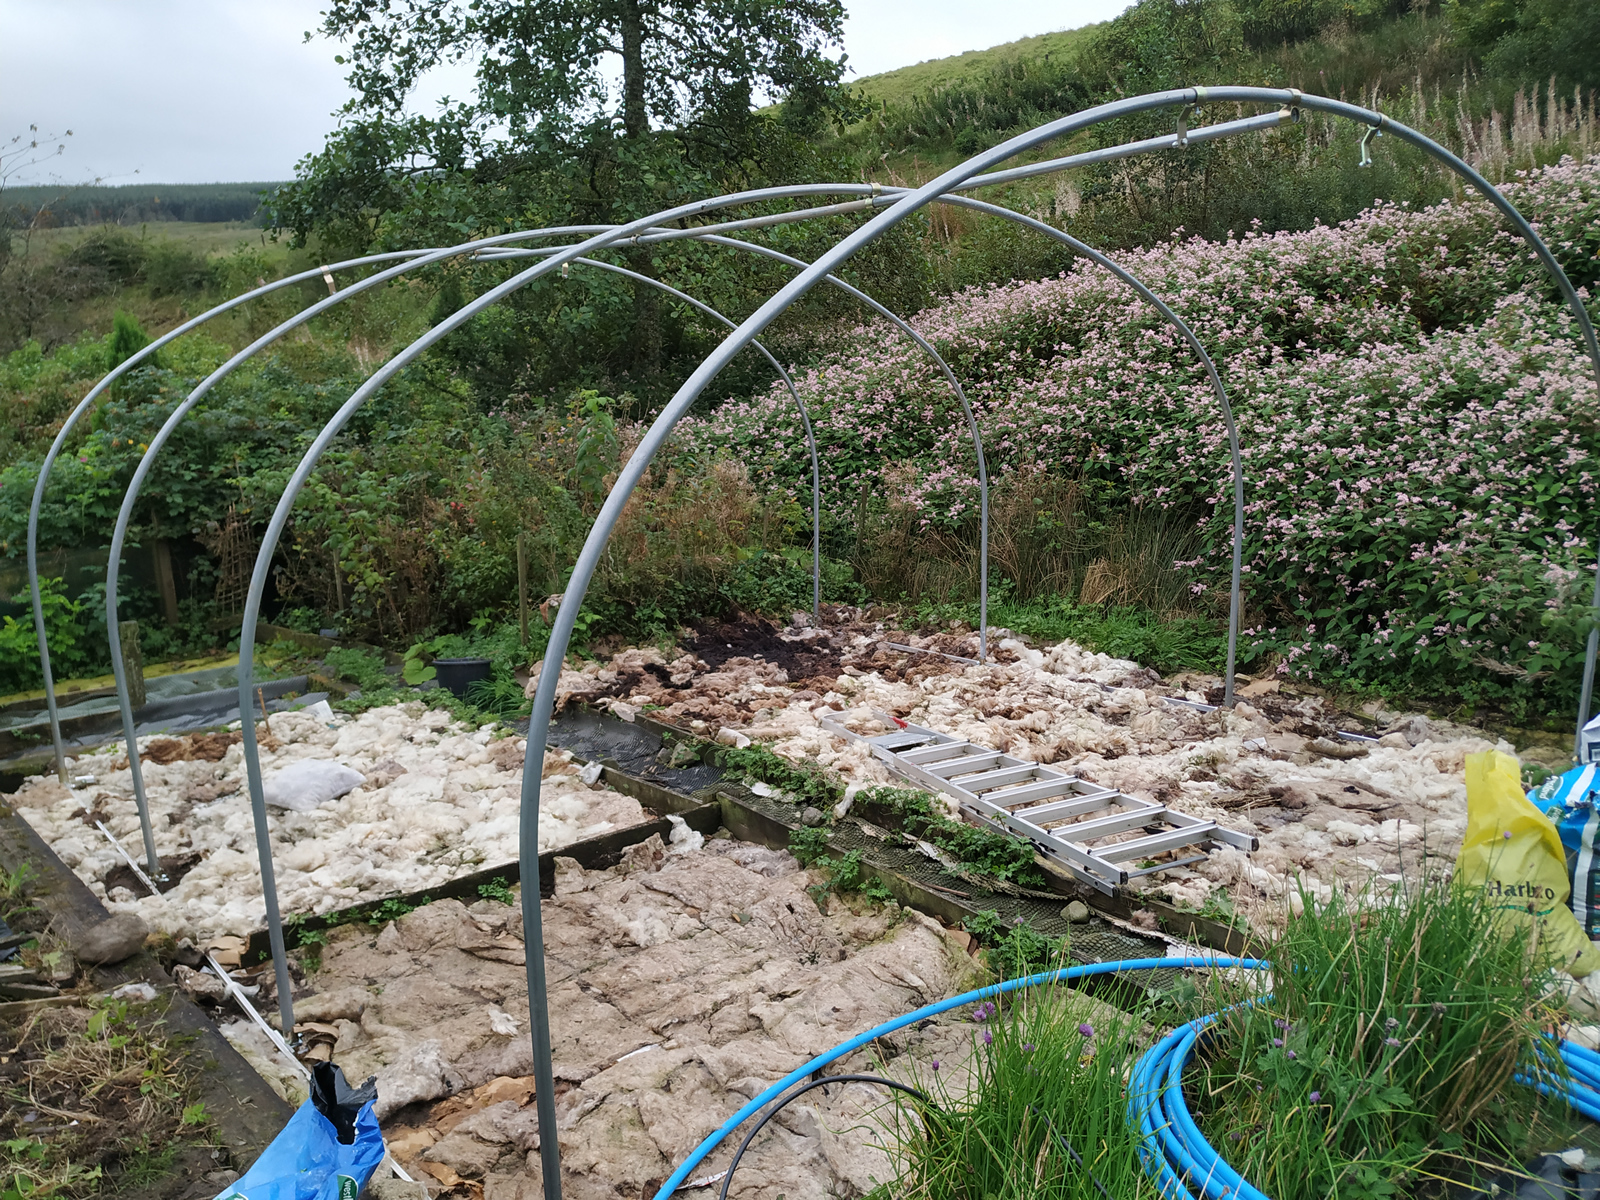
Next was getting the foundations and hoops in place. That went pretty well though, that said, the instructions on squaring the foundations were correct but hard to implement. My maths background was suddenly useful as I designed a simple way to get this right. Quite easy really, I just tied the four corners together with string at the correct length and put them in the ground at roughly the right place. Then I connected the diagonals with string (at the correct length) and marked the middle of the string. Then all I had to do was line up the centres of the diagonals while keeping all the string taut. Took about 20 minutes. That done, the foundations could be drilled into place. After that, the hoops could go up and I had welcome assistance from Nicole in getting them installed. It was starting to take shape.
The following day, I put up the rest of the frame. This included A frame bars to add extra strength – it can get pretty stormy here. The door frames proved challenging insofar as it was at this point I found that the existing path and veggie beds were not square and some realignment was needed. I took the opportunity to add frames around all the veggie beds to keep the soil in place.
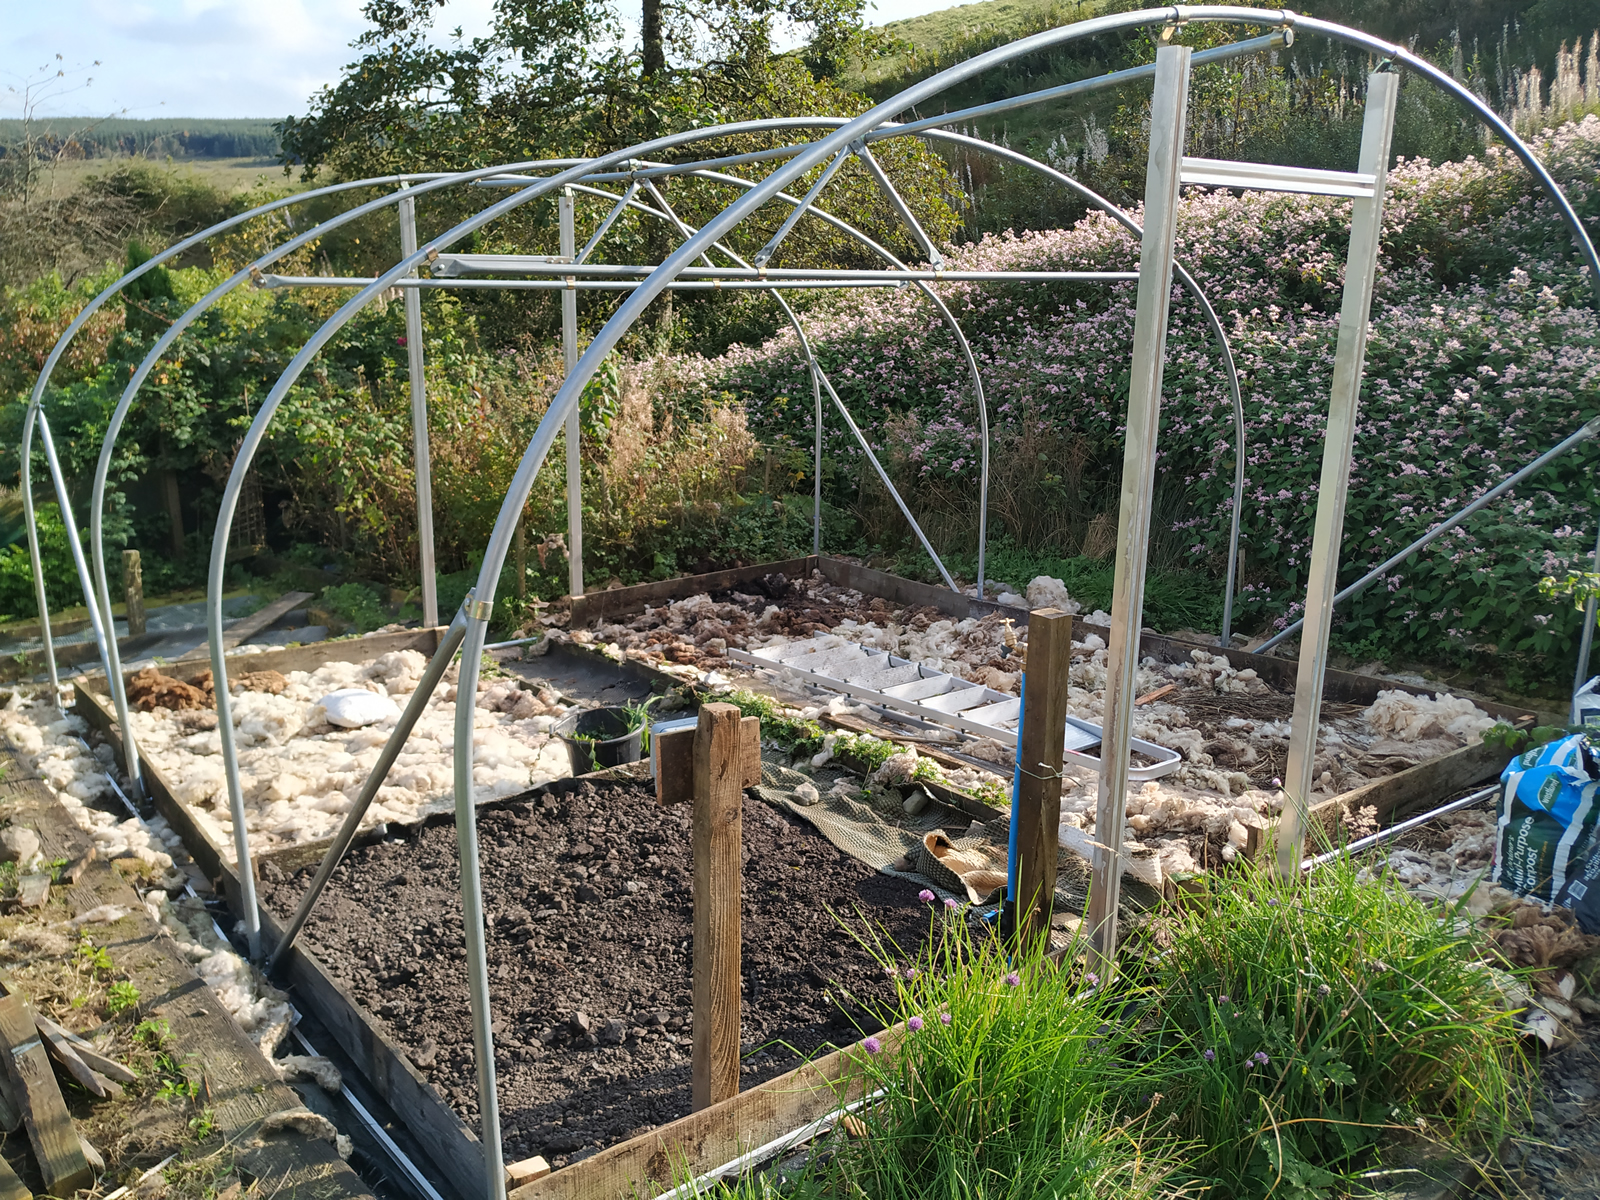
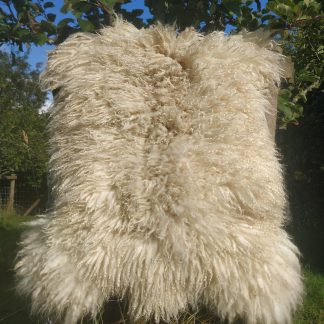
It seemed a good idea to sort out the interior as much as possible before the plastic went on. I had a day or two to do this as I had planned the plastic installation for that rare sunny, wind free day that we sometimes get here. I knocked in a couple of posts and installed the tap and electrical sockets. I also created an area for Nicole to use in her rug making. Making felted fleece rugs uses a lot of water and here, the water could flow freely into the ground (as opposed to all over a wooden shed floor).
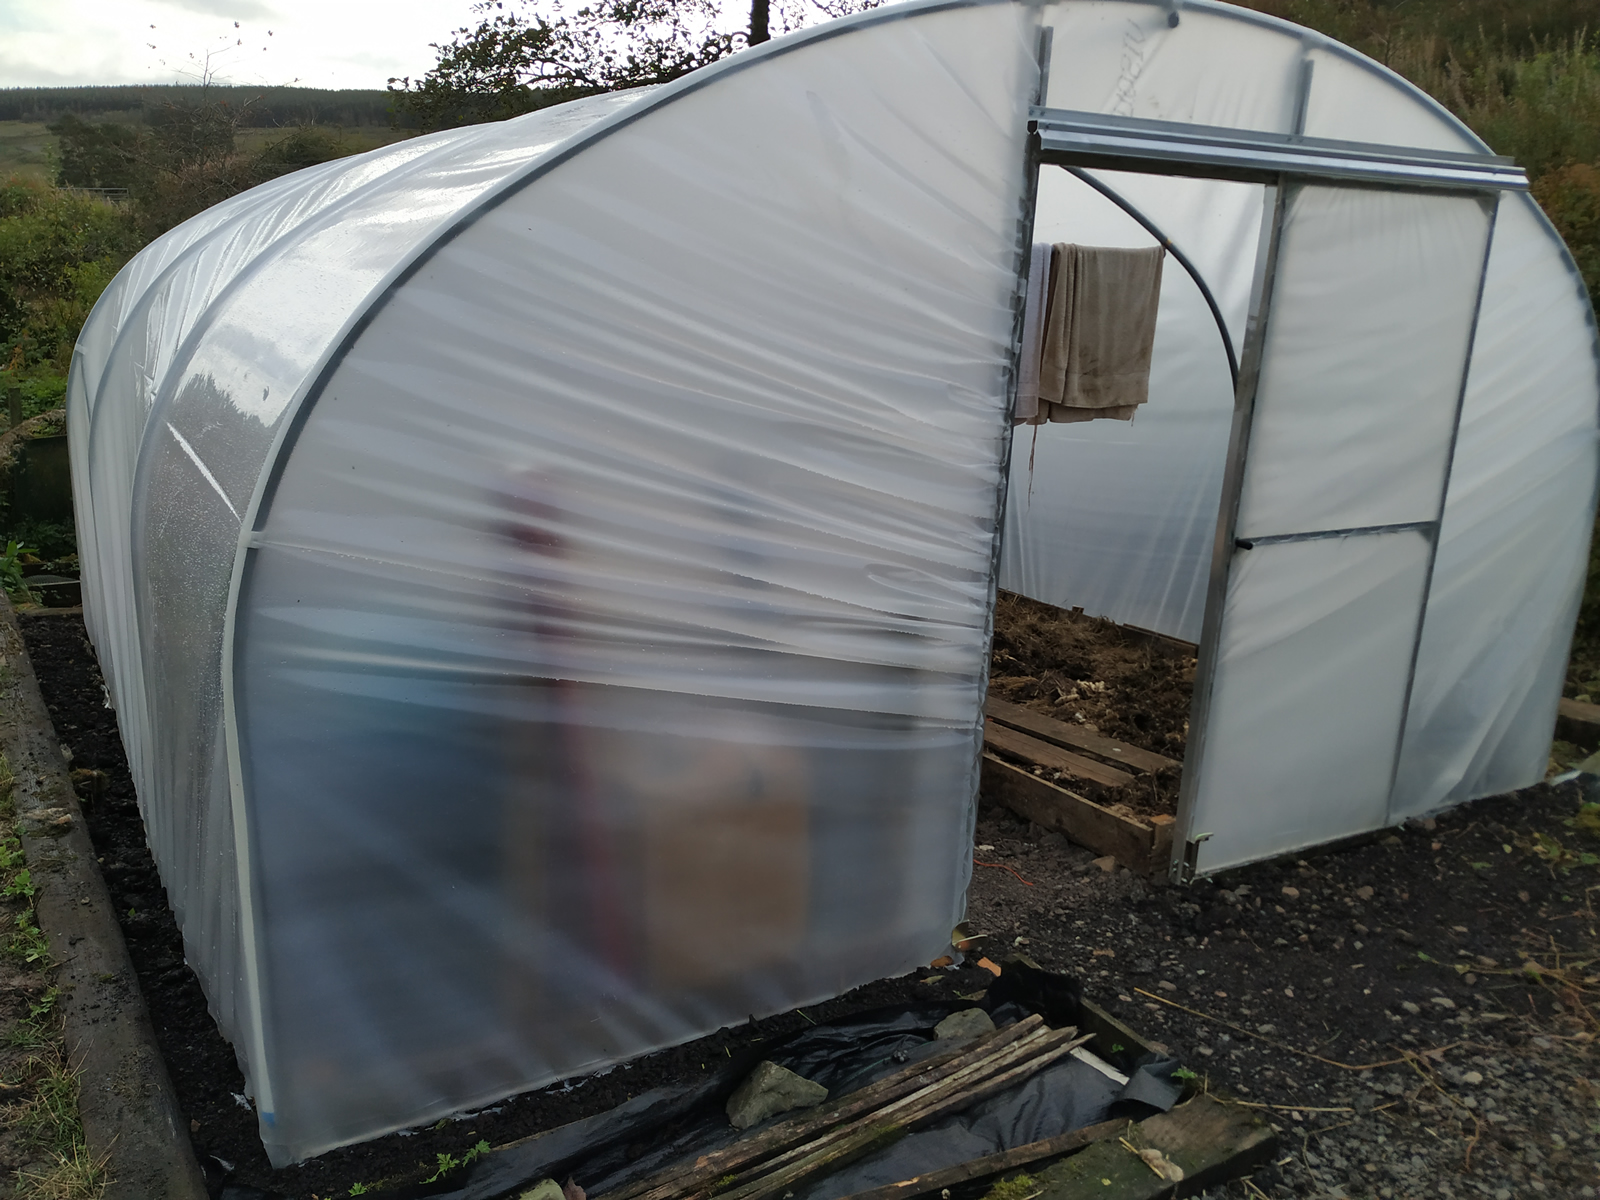
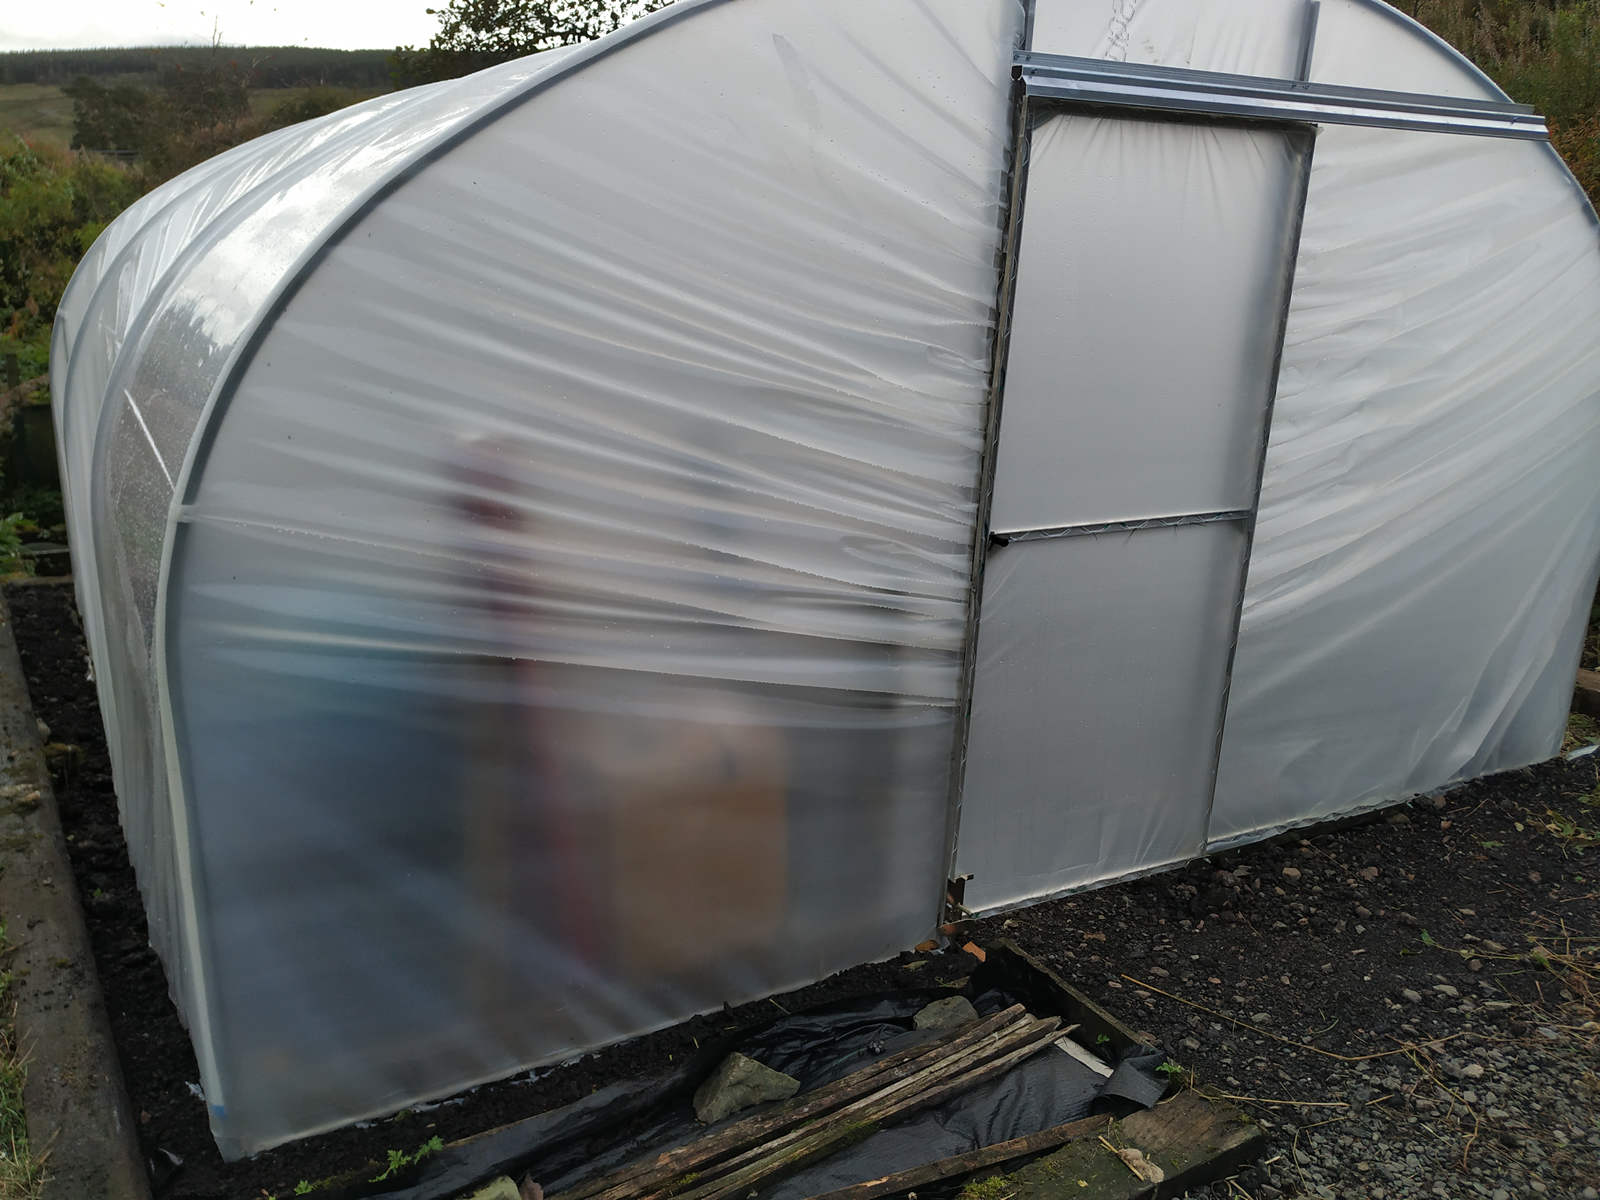
That all done, it was time to get the plastic on. This turned out to be harder than it looked. I was working on my own and while I got most of the main area taut, one panel ended up a bit loose. Nicole helped around the door frames with the platting and pulling the plastic tight. The plastic was held in place by metal spring clips which, while fairly simple to install, took its tool on my fingers – blisters galore.
Nevertheless, it’s up, it works and all the veggie beds have been mulched. I have tidied it up around the outer edges sinking the plastic into the ground and laying membrane and gravel to keep the weeds down. We are looking forward to a bumper salad crop next year.