A Labour of Love
I love making felted fleece rugs. It’s just great to know that our sheep can contribute towards their keep and that their wool can be used to make lovely things for the home. I’m a big fan of fluffy rugs and cushions, I love scatter cushions and throws, the more the merrier, so you can imagine my delight when I discovered how to use our very own sheep’s fleeces to make these sorts of things, and more!!
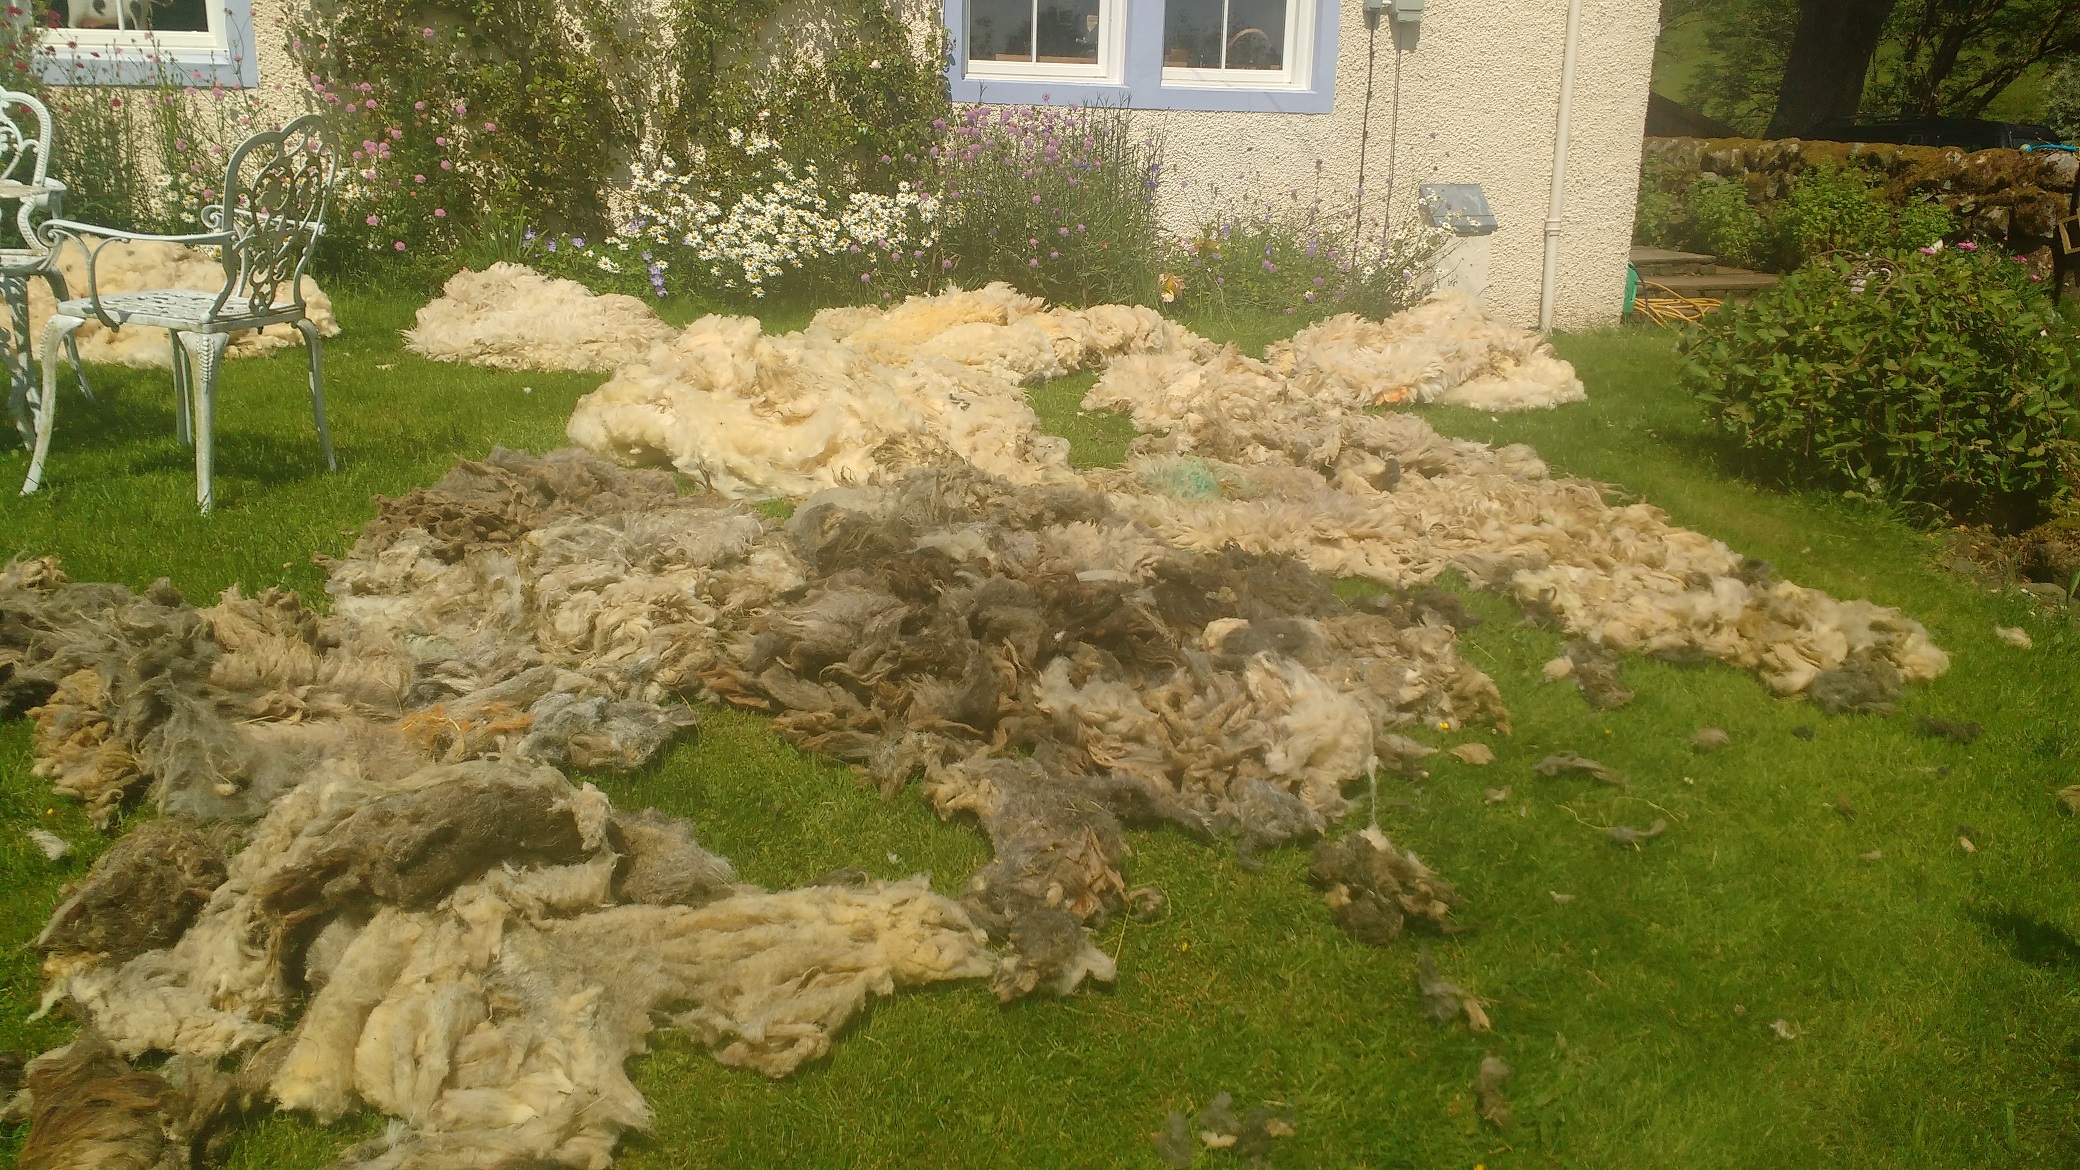
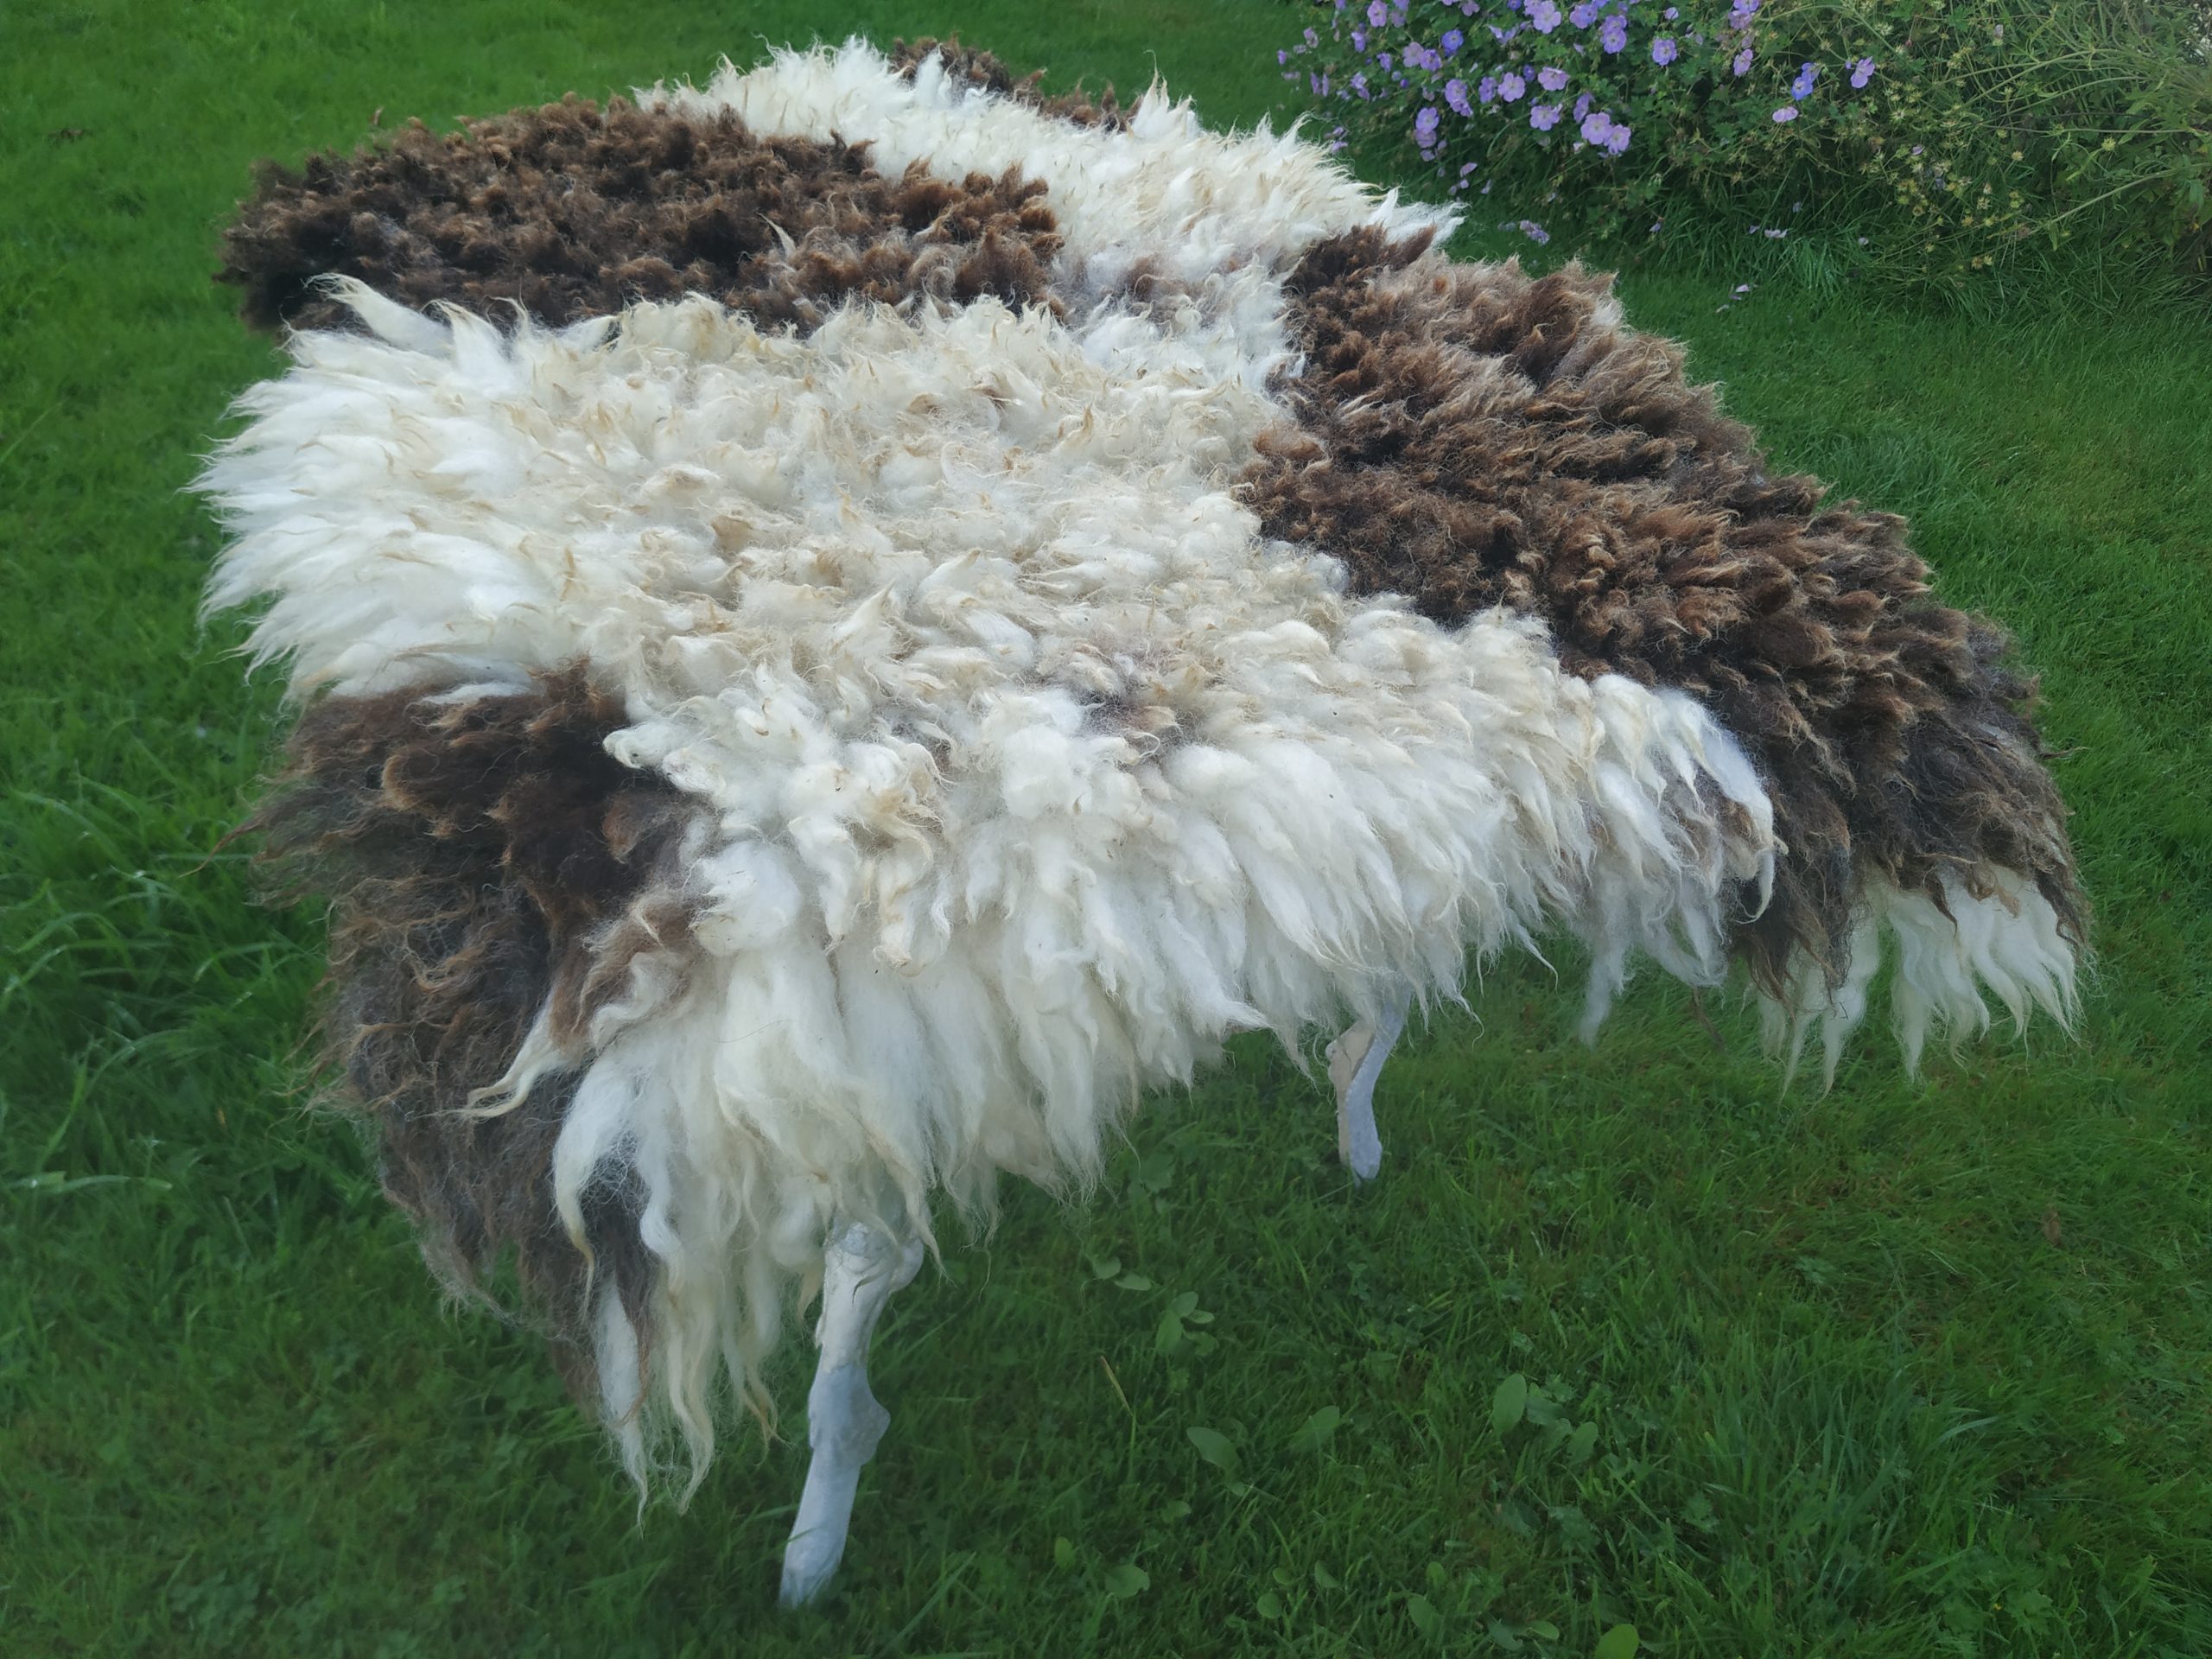
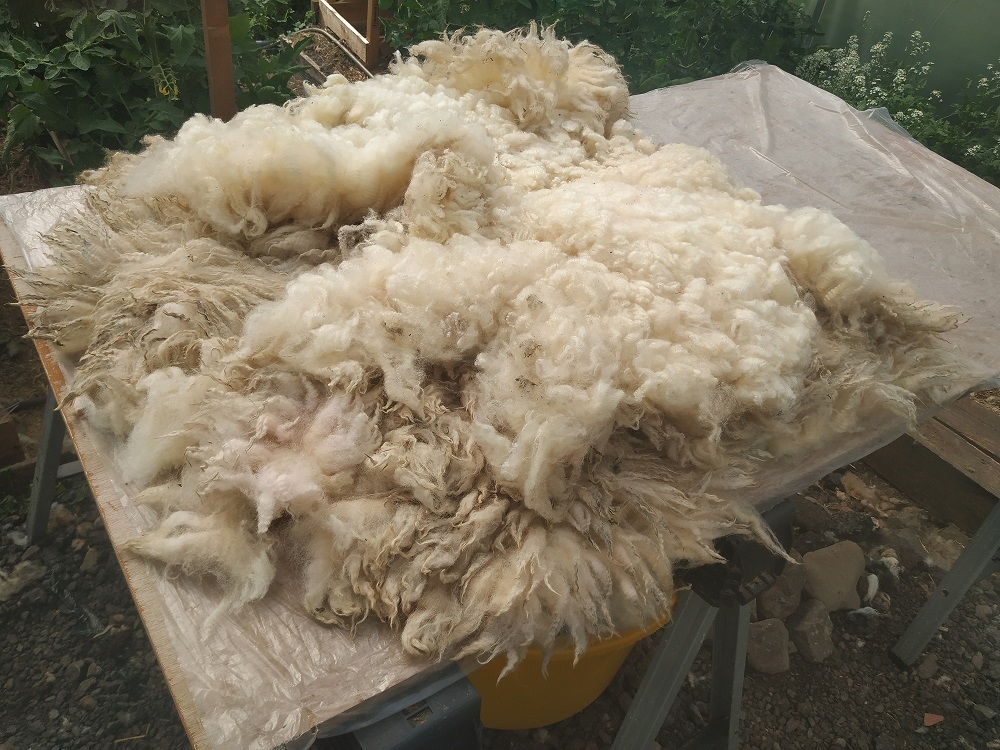
Fleeces from our own happy sheep
Making felted fleece rugs is a long process and it all starts at shearing time.
Sheep are sheared in the spring of every year, (some sheep are sheared twice a year) but ours are sheared just the once. Shearing is an exciting time as it marks the onset of summer. It also means I will have a whole new set of fleeces to make rugs from which is very exciting. The shearing gang who come to us are highly skilled, professional shearers. They spend their time going round big sheep farms shearing hundreds of sheep at a time. They are lovely people who clearly enjoy what they do and we’re lucky to have them.
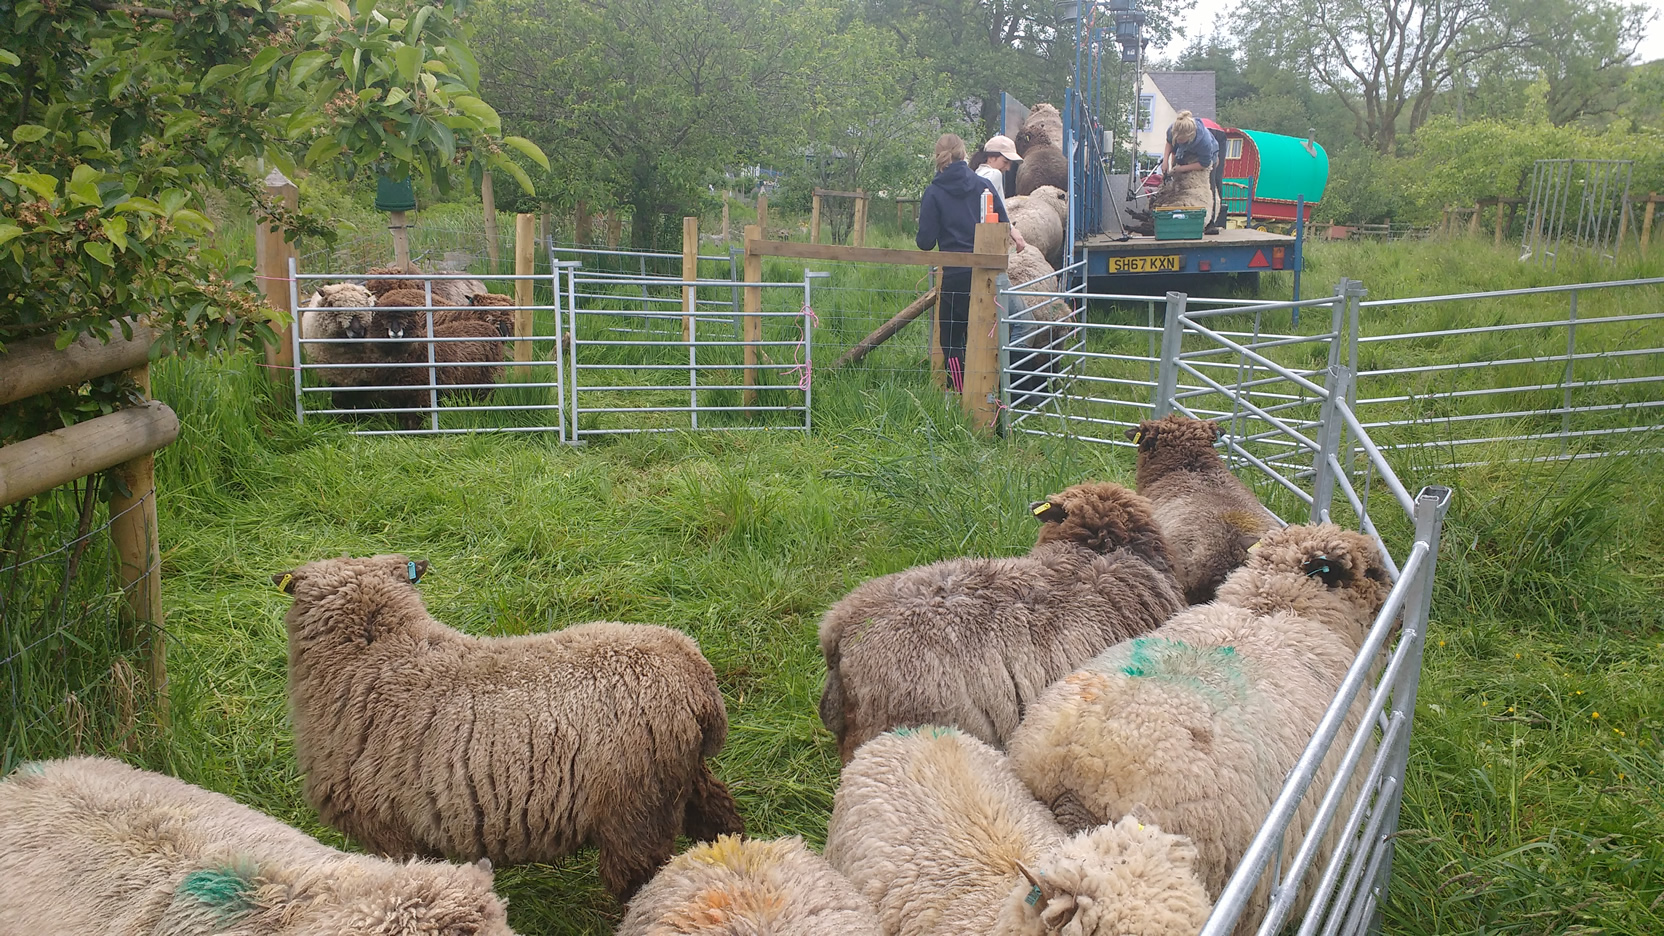 Once the fleeces start coming off the sheep, I hop onto the shearing platform, get them out the way of the shearers and label them up. This is easier said than done because I’ll also be helping Adrian feed the sheep through and lead them out at the other end. Shearing time can be crazy so you have to be really organised. We make sure everything’s running like clockwork so the sheep aren’t kept waiting for too long. As shearing’s done when the weather’s warm (you can’t shear sheep in bad weather), they can get a bit hot and bothered in the holding pen so we like to keep them on the move and the atmosphere as calm as we can.
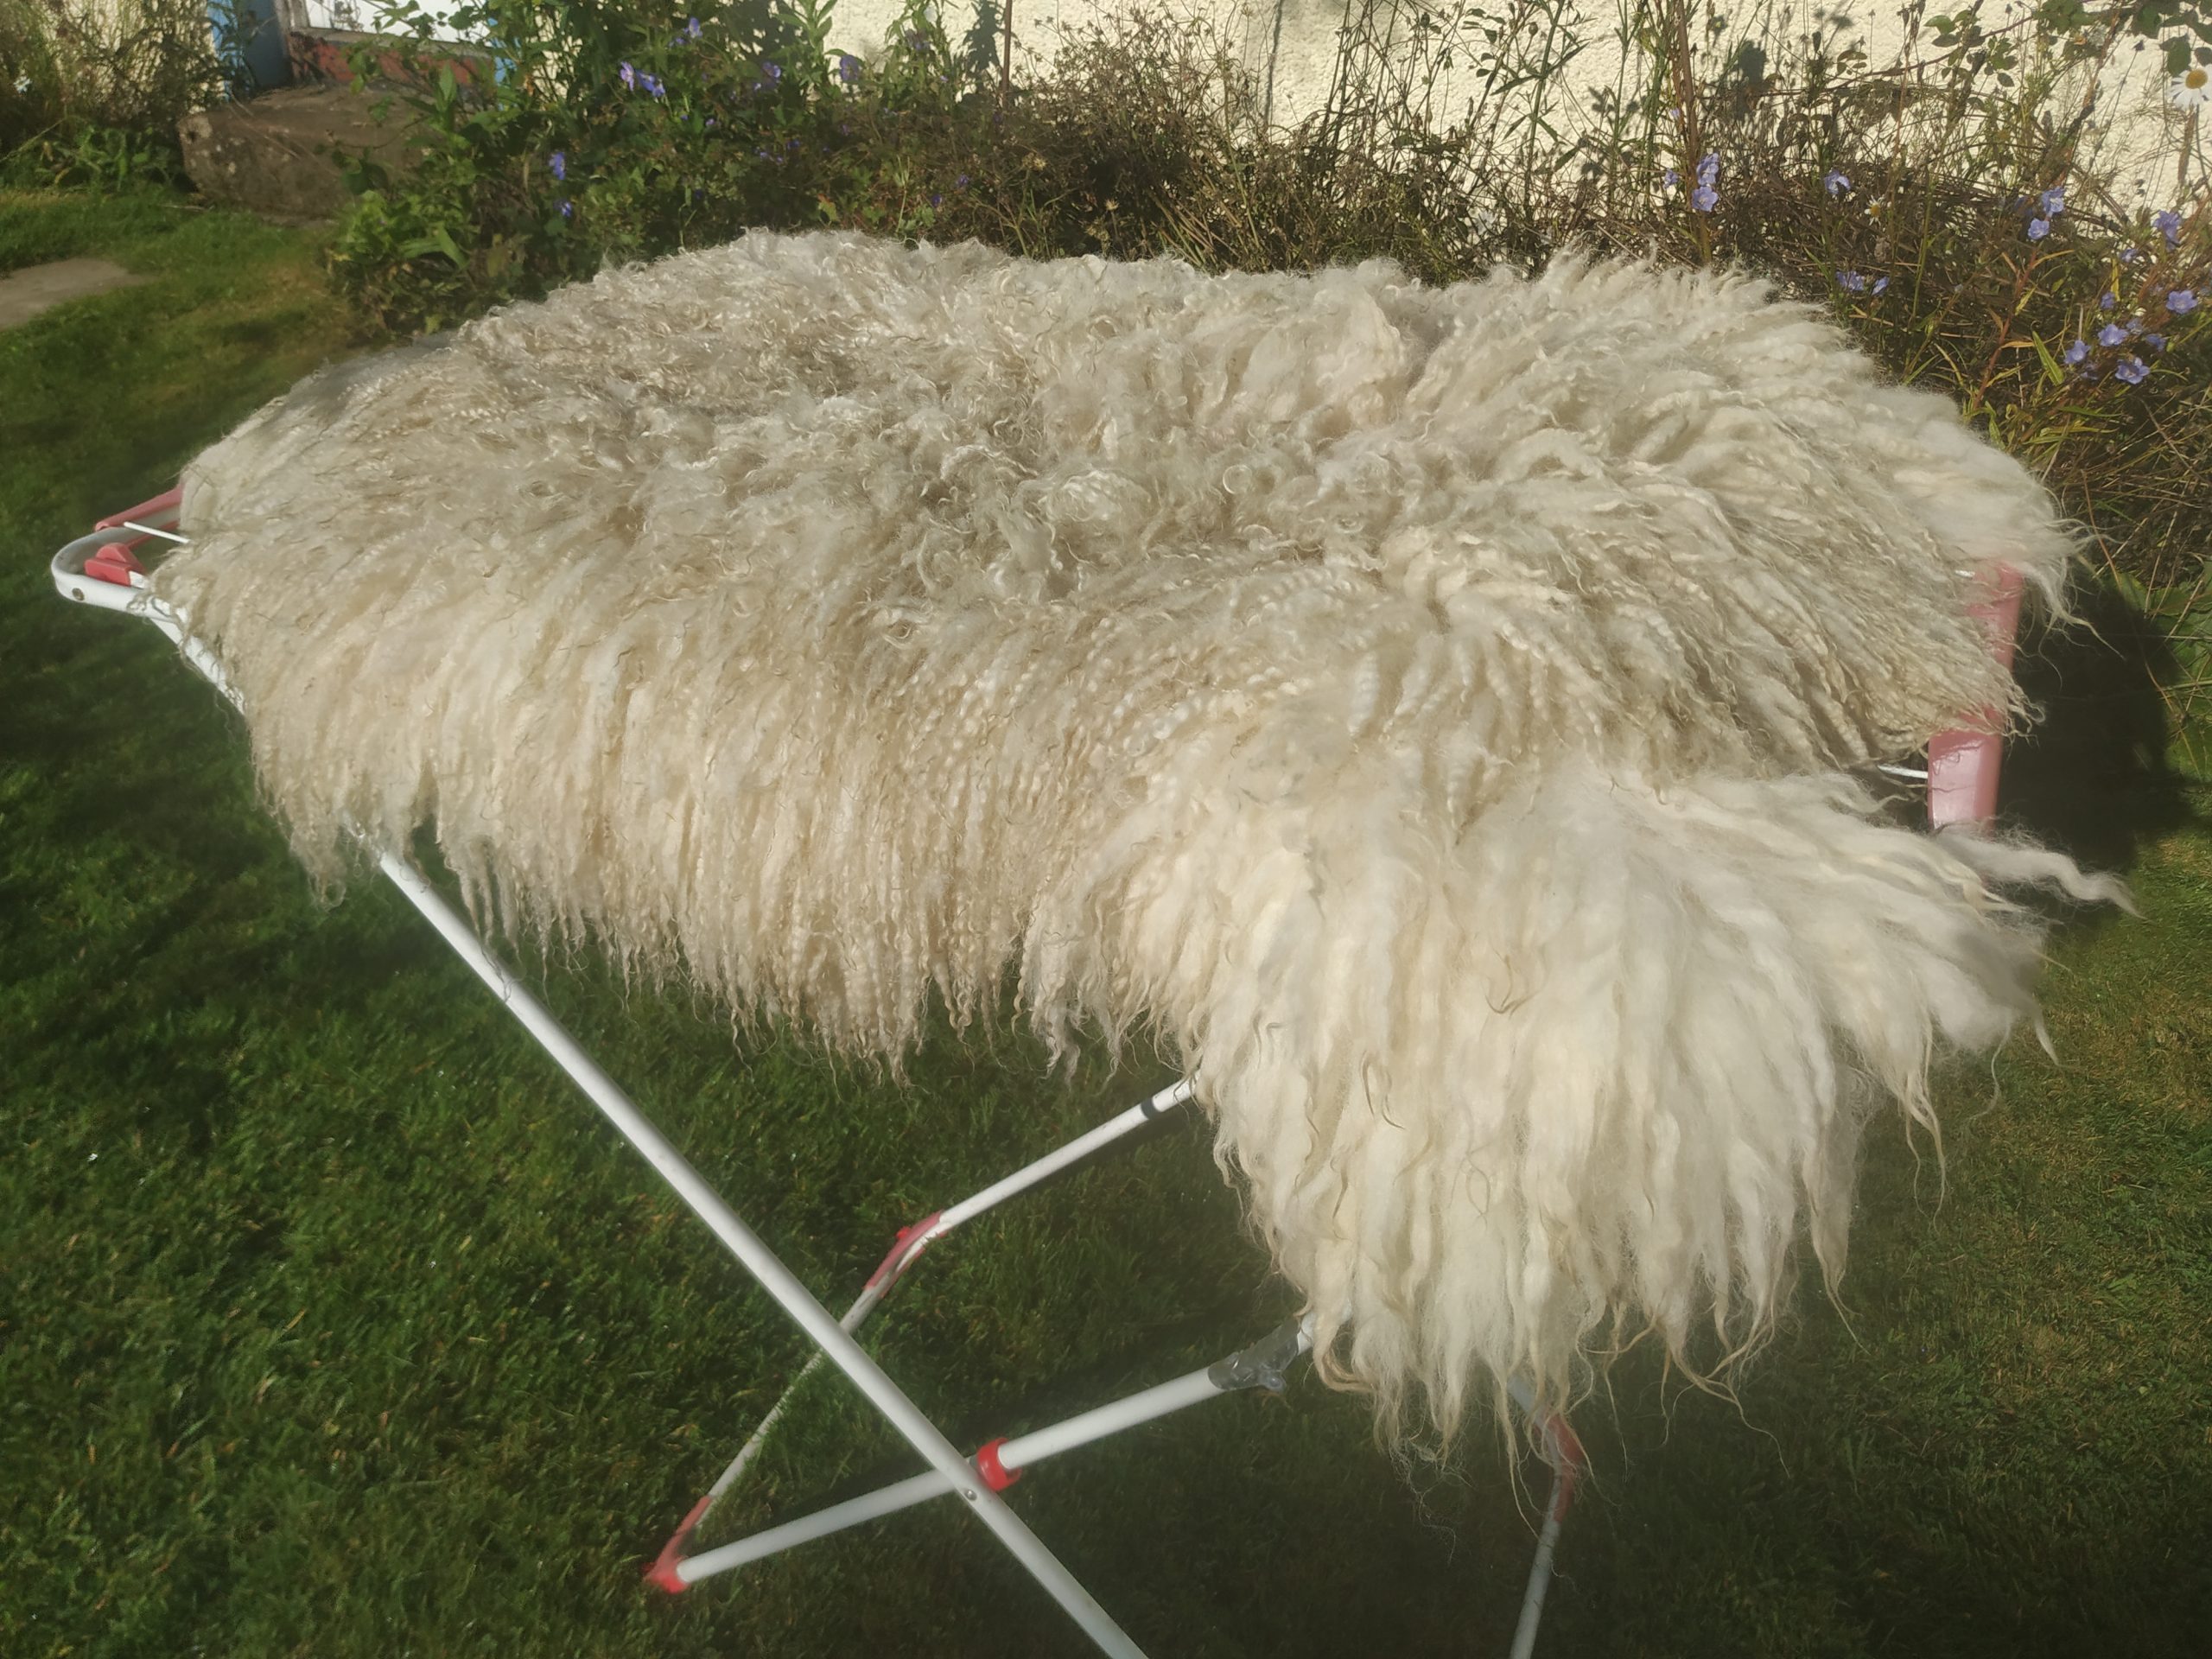
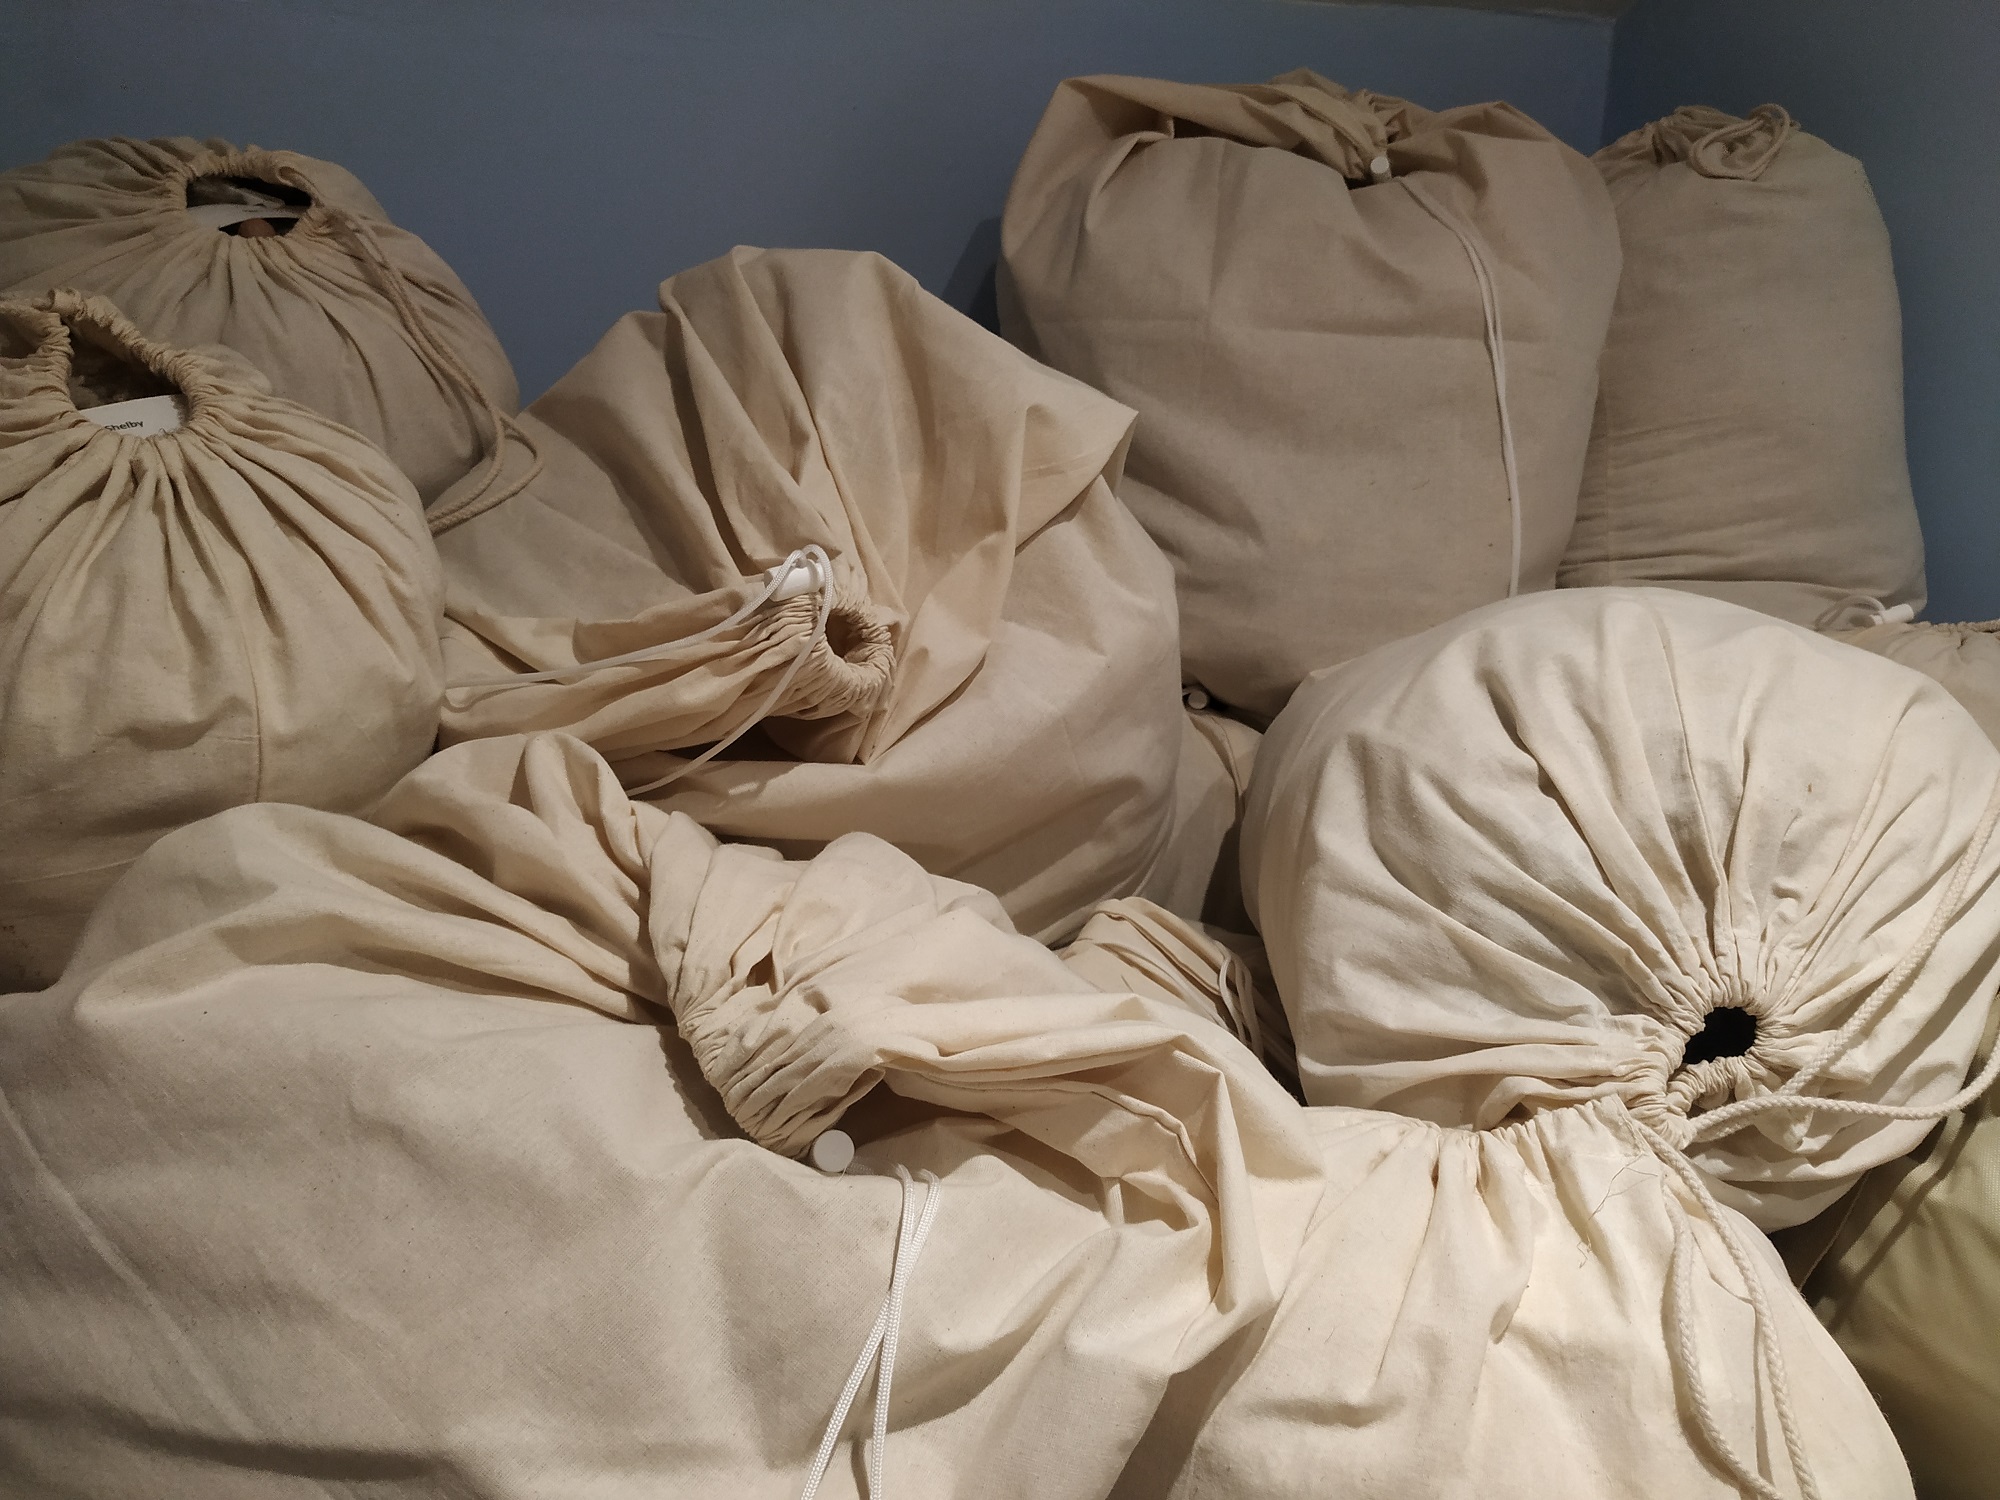
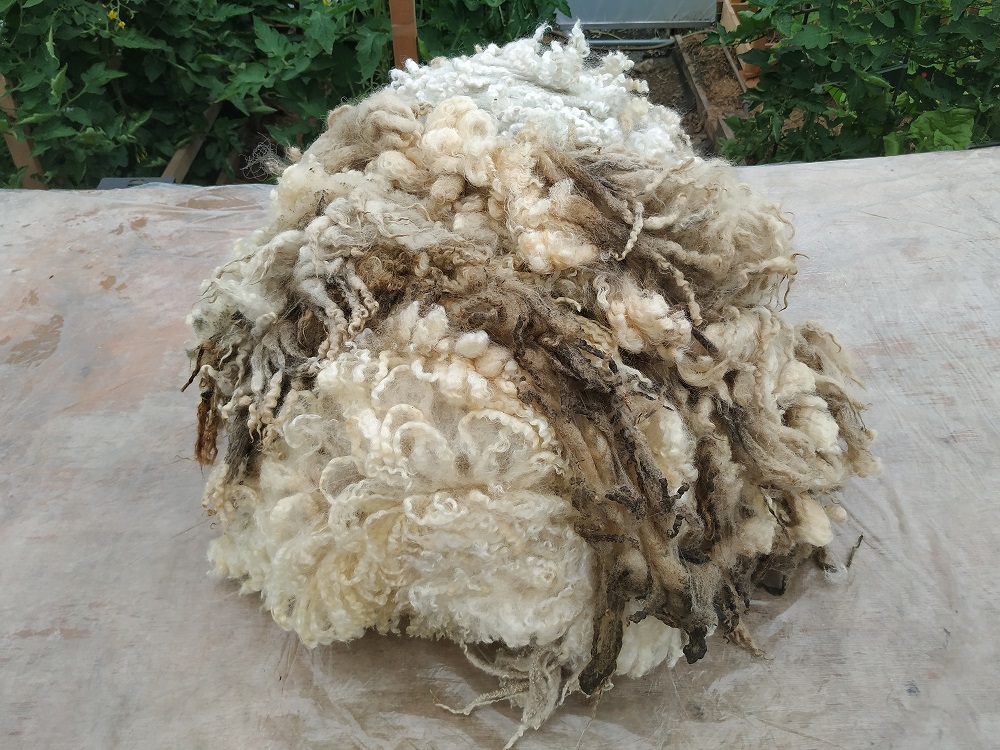
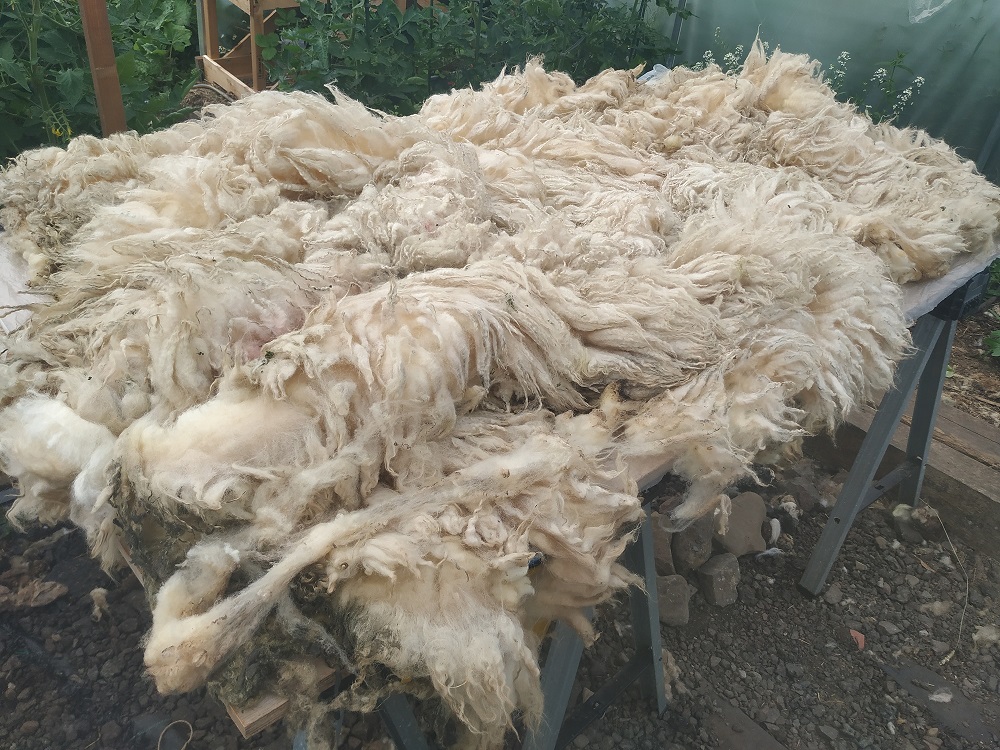
Once the flock is sheared and the gang have driven off to their next job, we check the sheep for any scratches and make sure they’re all OK. Then we lead them back to their pasture and get to work with the fleeces. We need to dry them out before bagging them up (they come off the sheep slightly ‘dewy’). To do that, we lay them out on the grass and keep fluffing them up and turning them until they’re dry and can be brought indoors. Sometimes the weather can turn so we finish off the drying indoors. Finally, we put the fleeces into individual bags, all nicely labelled and sit down for a cup of tea.
 | 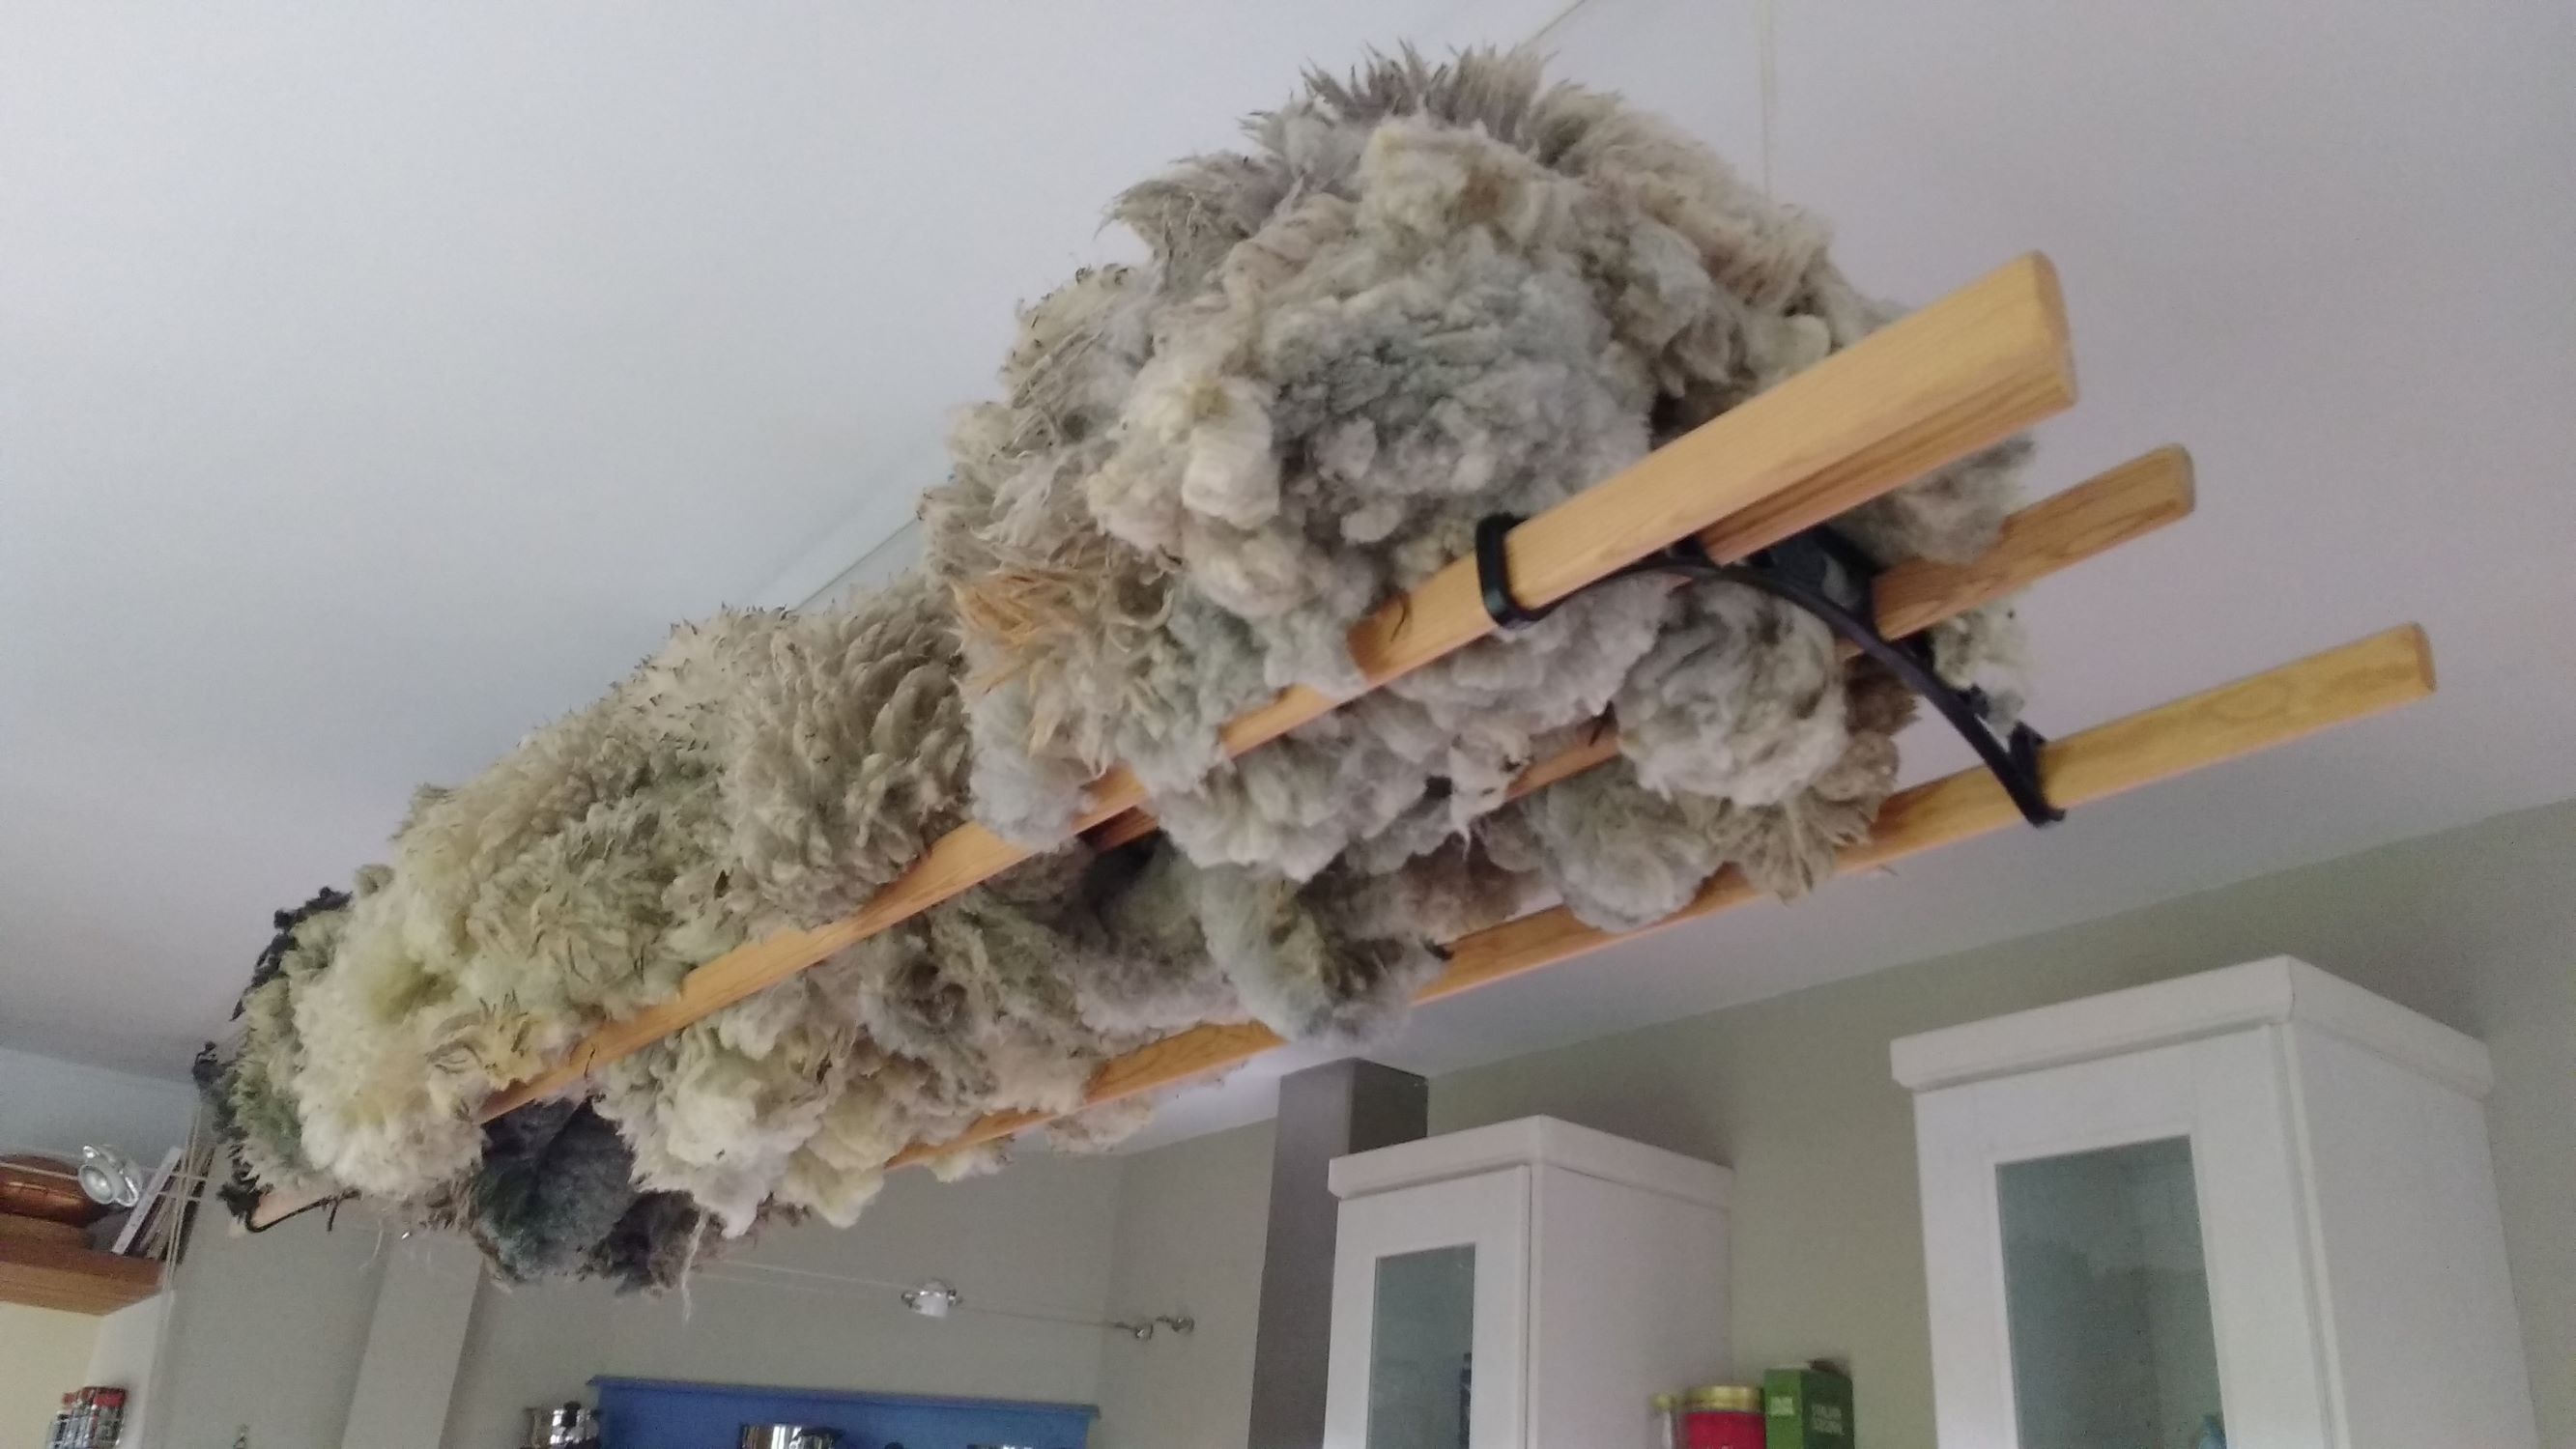 |
Making felted fleece rugs – the process
I take a fleece from the large pile in the fleece shed. Then, depending on how intact the fleece is I’ll use one of two methods to turn it into a rug, if the fleece is stretched or broken up, I’ll use “method 1”, if it’s intact, I’ll use “method 2”.
Method 1): “Working from the top” or the “face up method”.
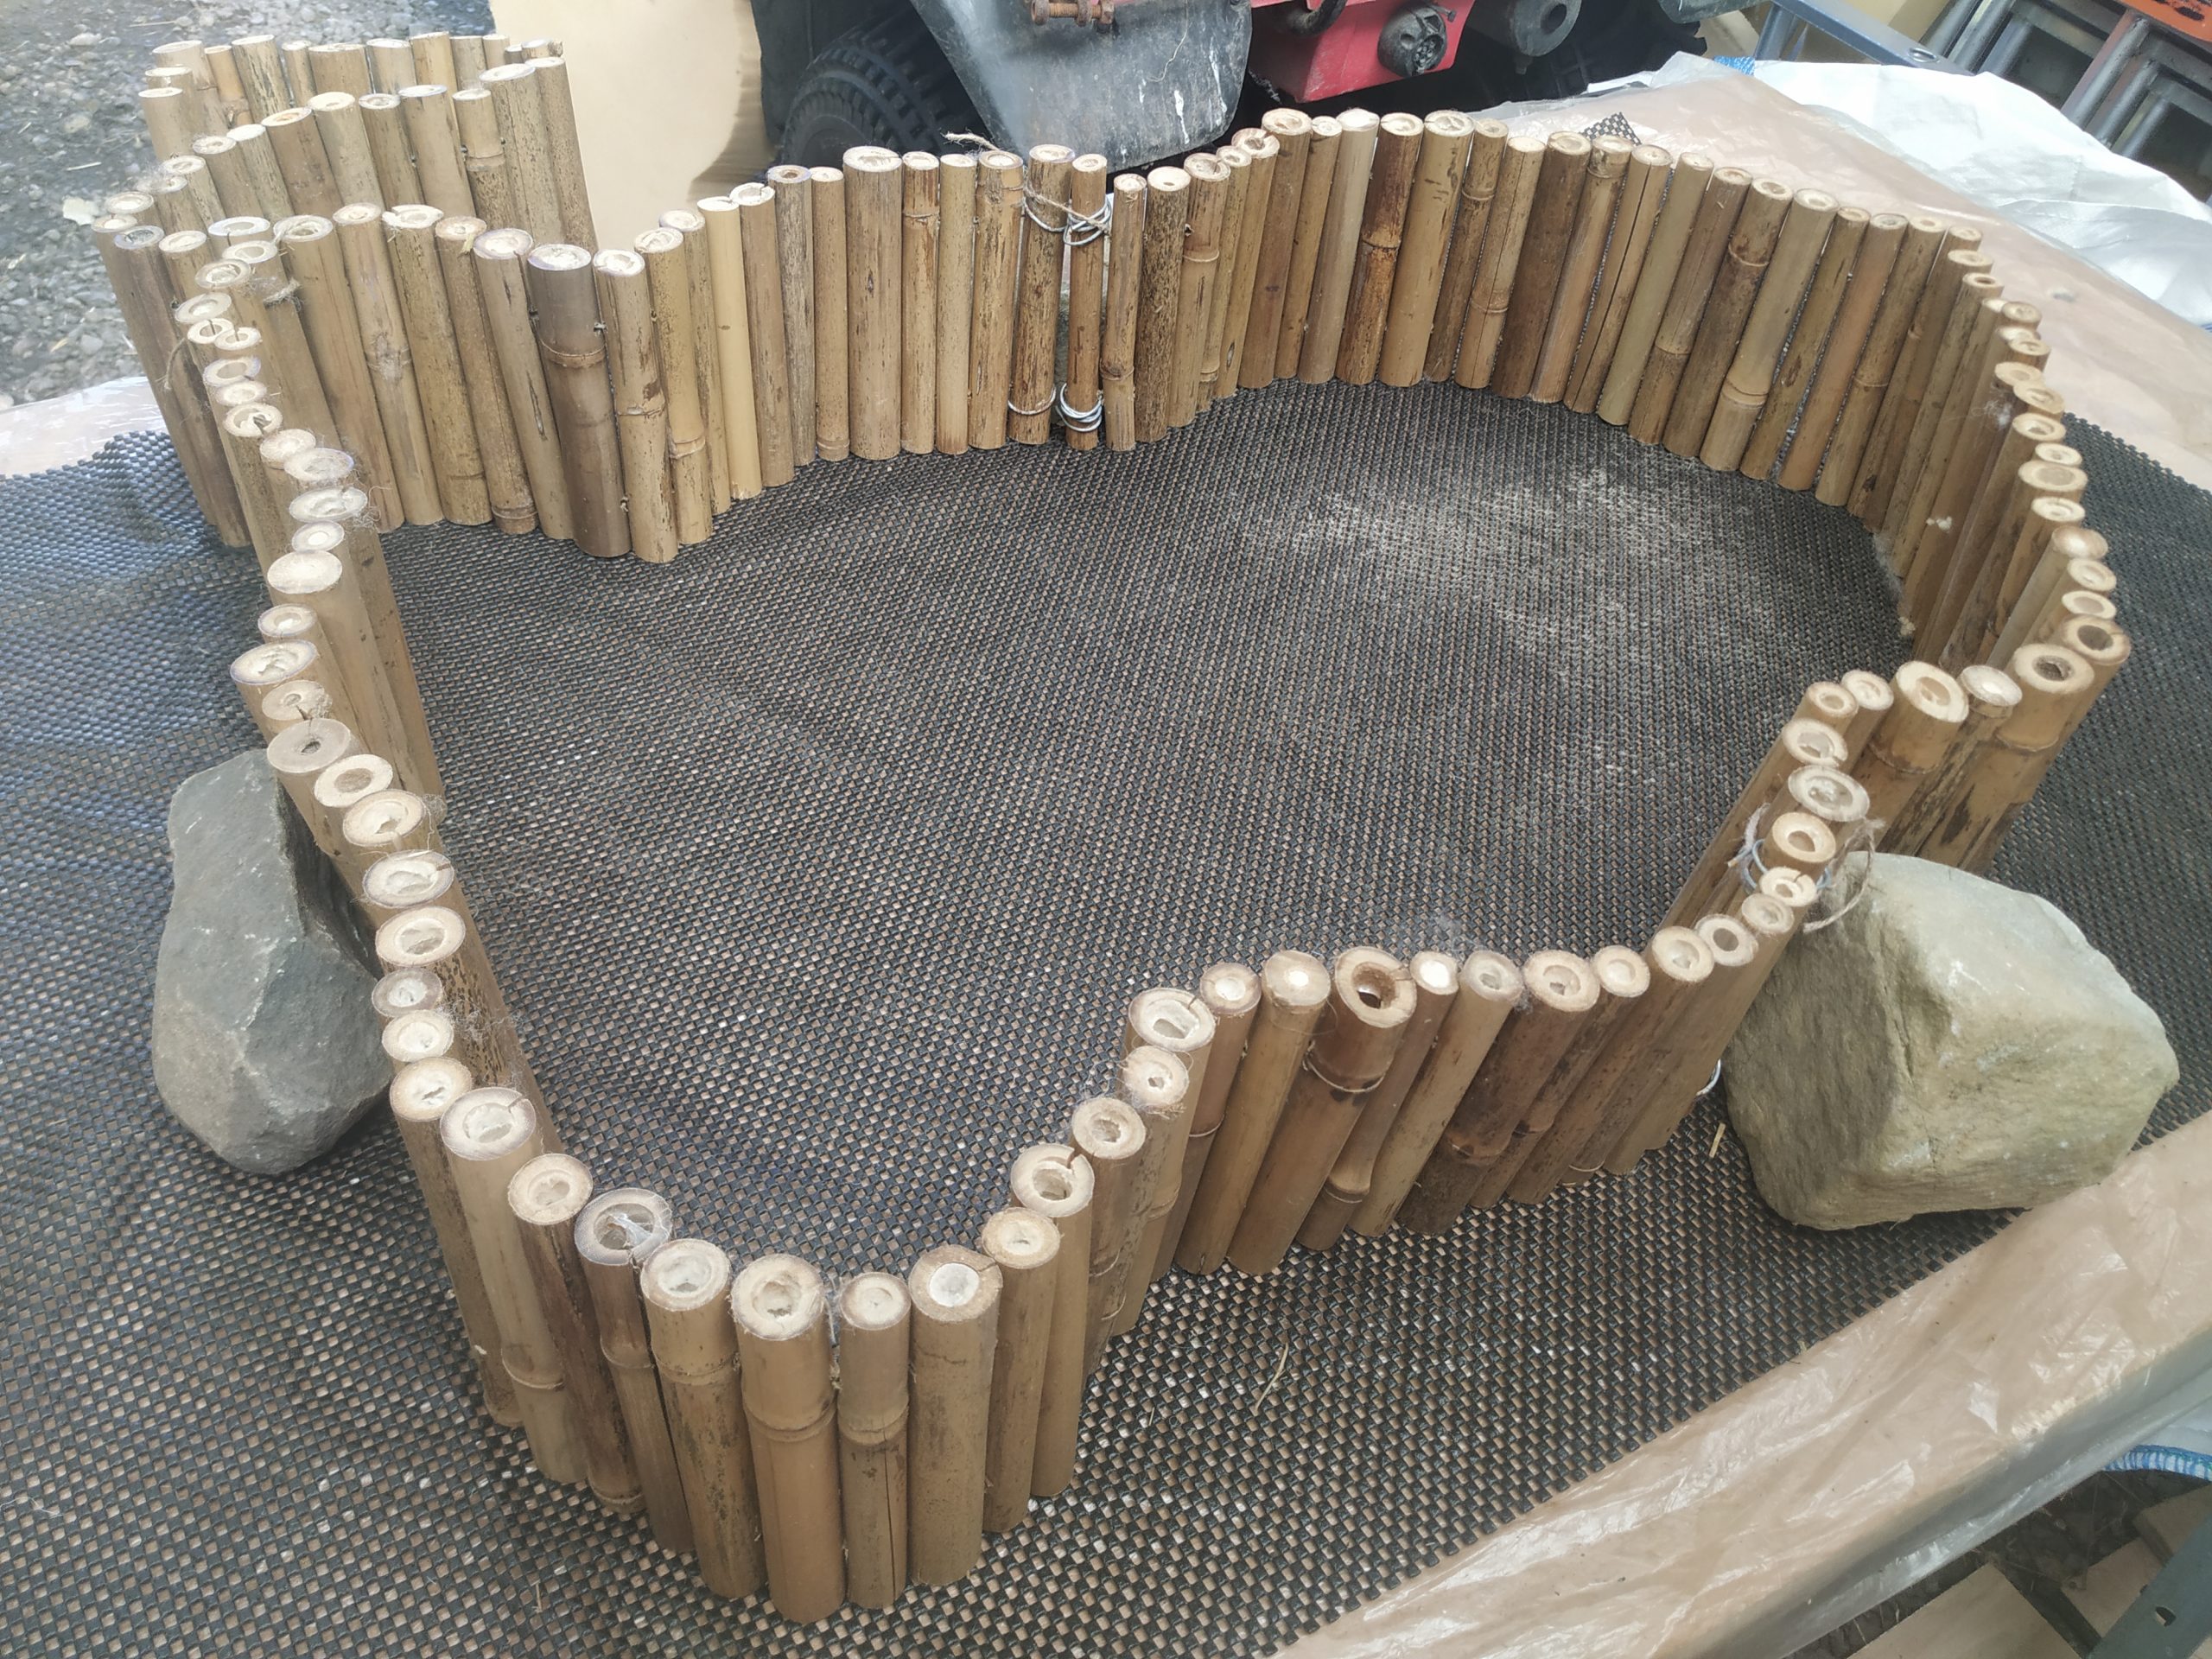
I lay out a sheet of polythene onto my large work table, followed by a sheet of non-slip matting and then a frame. The frame can be made of anything, I use lawn edging.
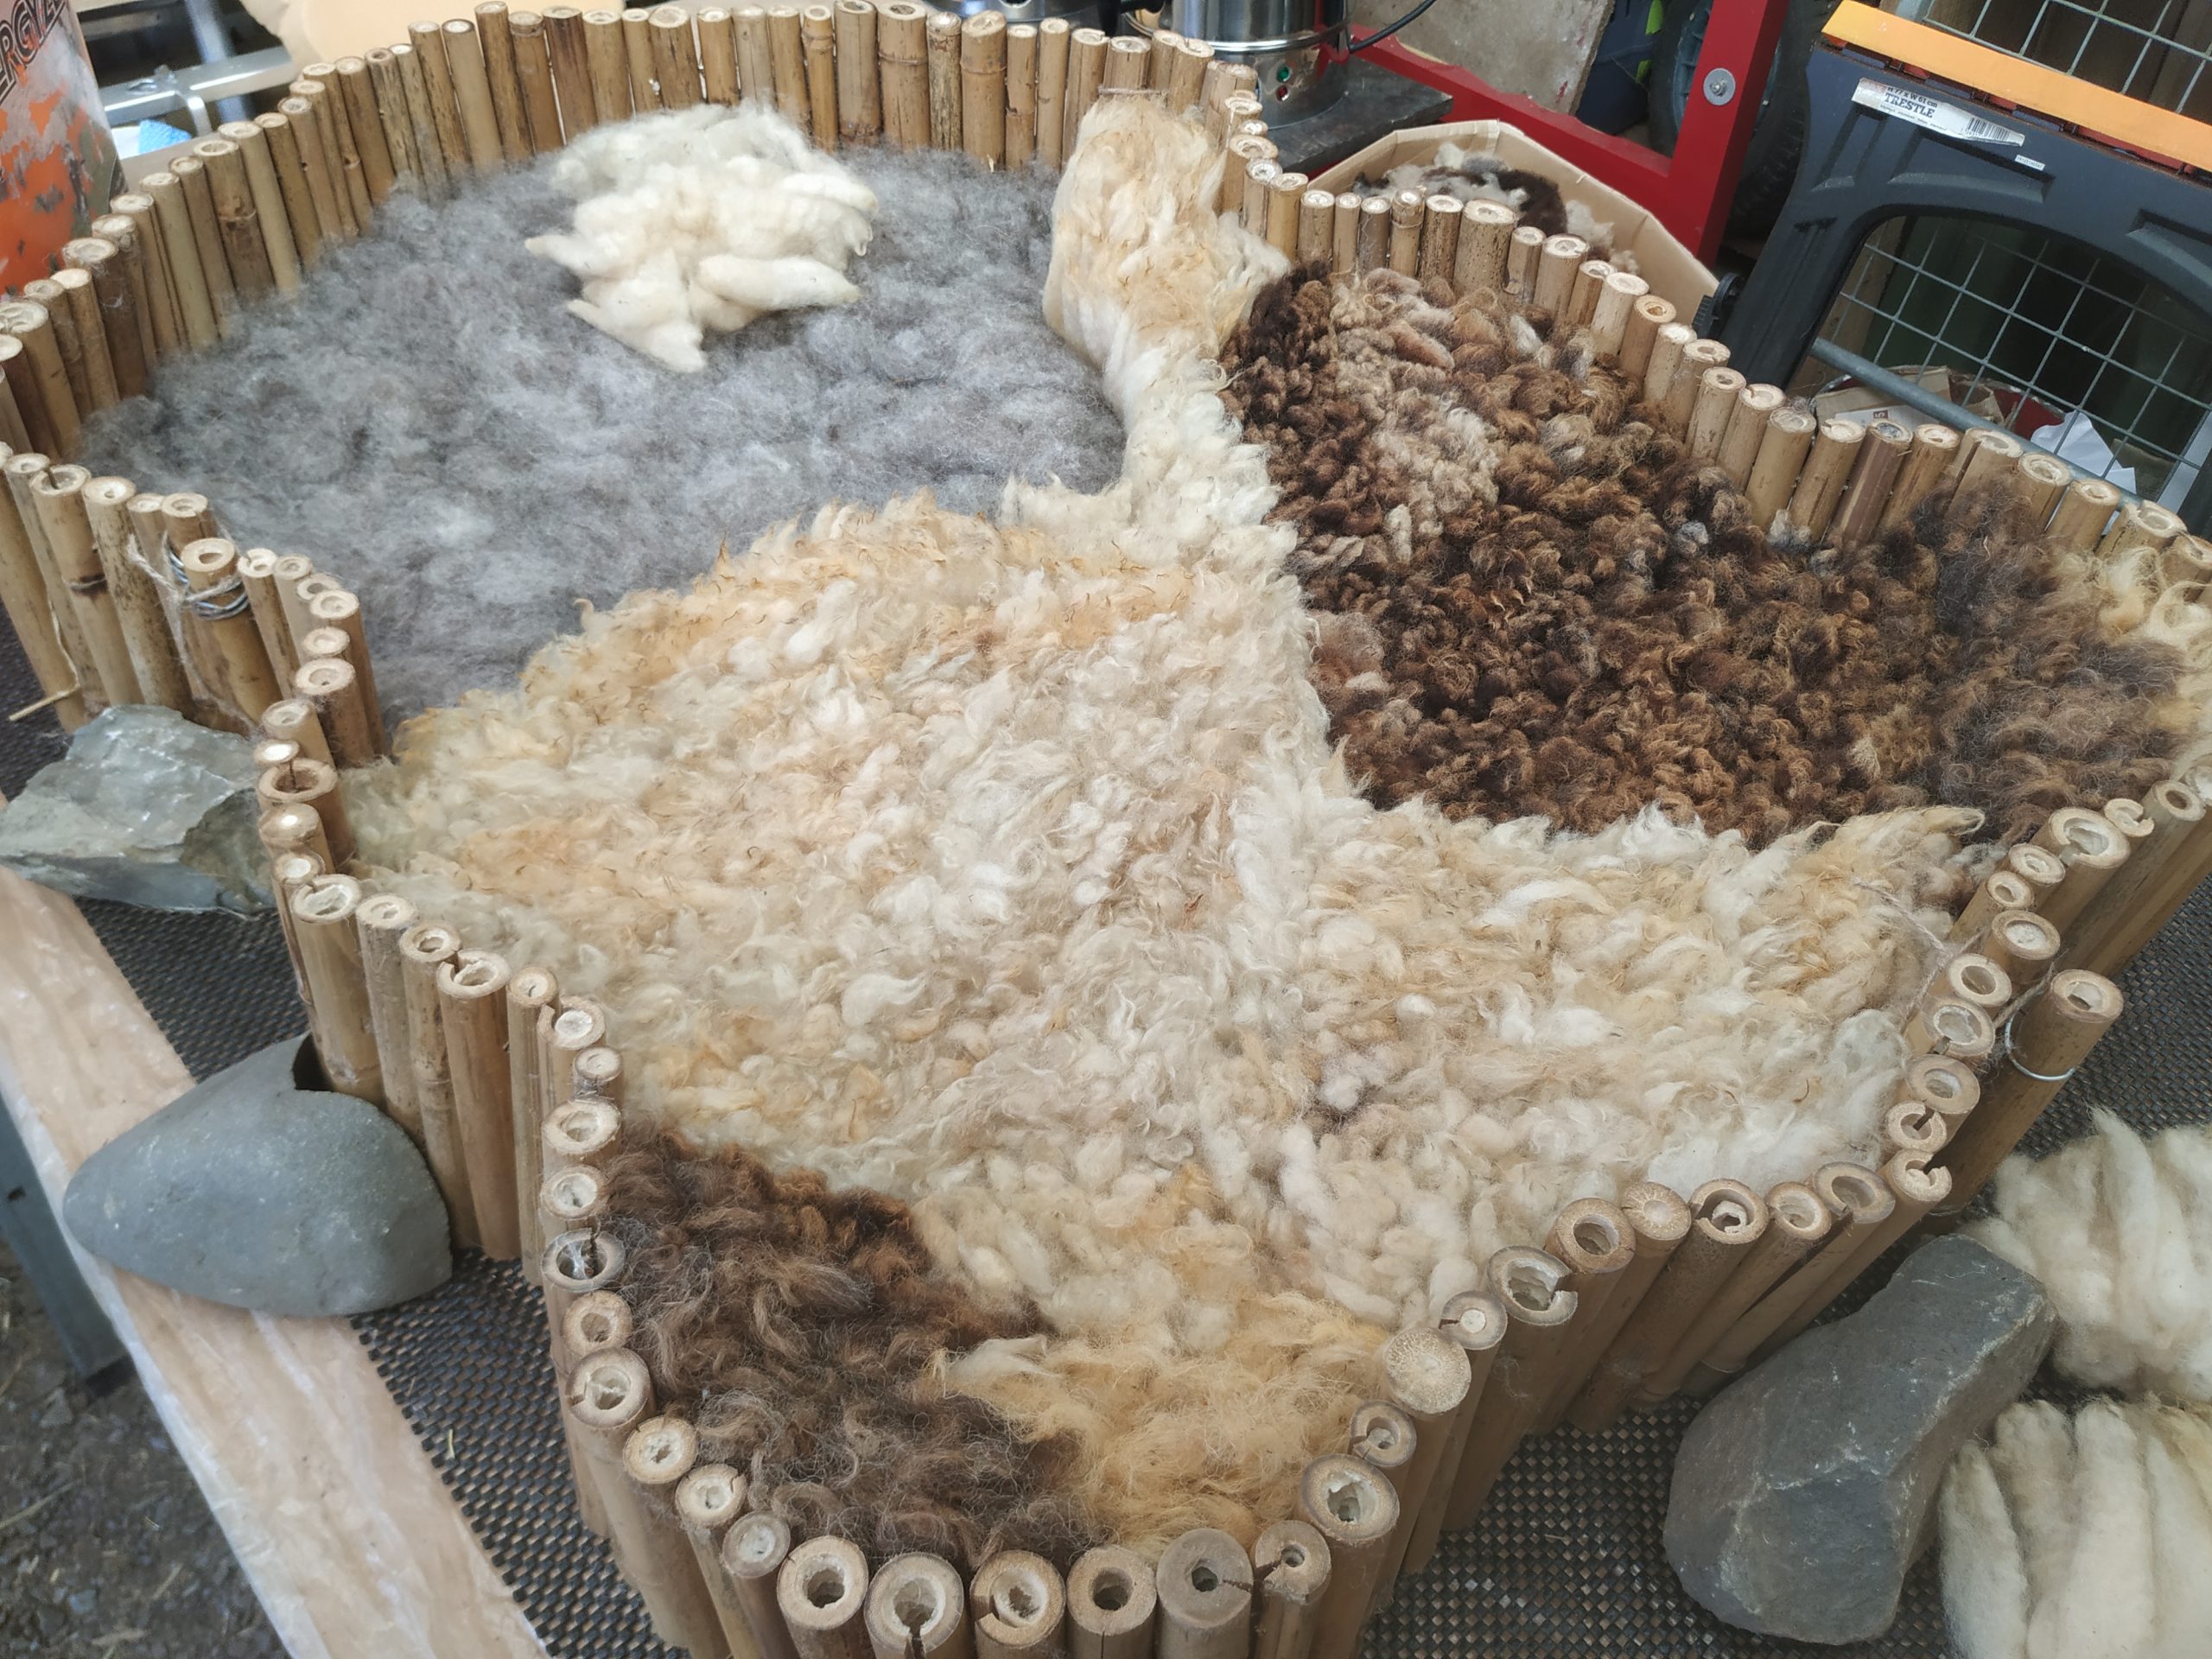
Next I’ll lay out the rug’s base of carded wool “batts”. On top of the batts I’ll carefully place the locks which will form the top of the rug. I lay a few locks at a time which is rather like planting thousands of little plants, all bunched up very closely together. Several hours/days later, I’ll have a “carpet” of locks looking up at me.
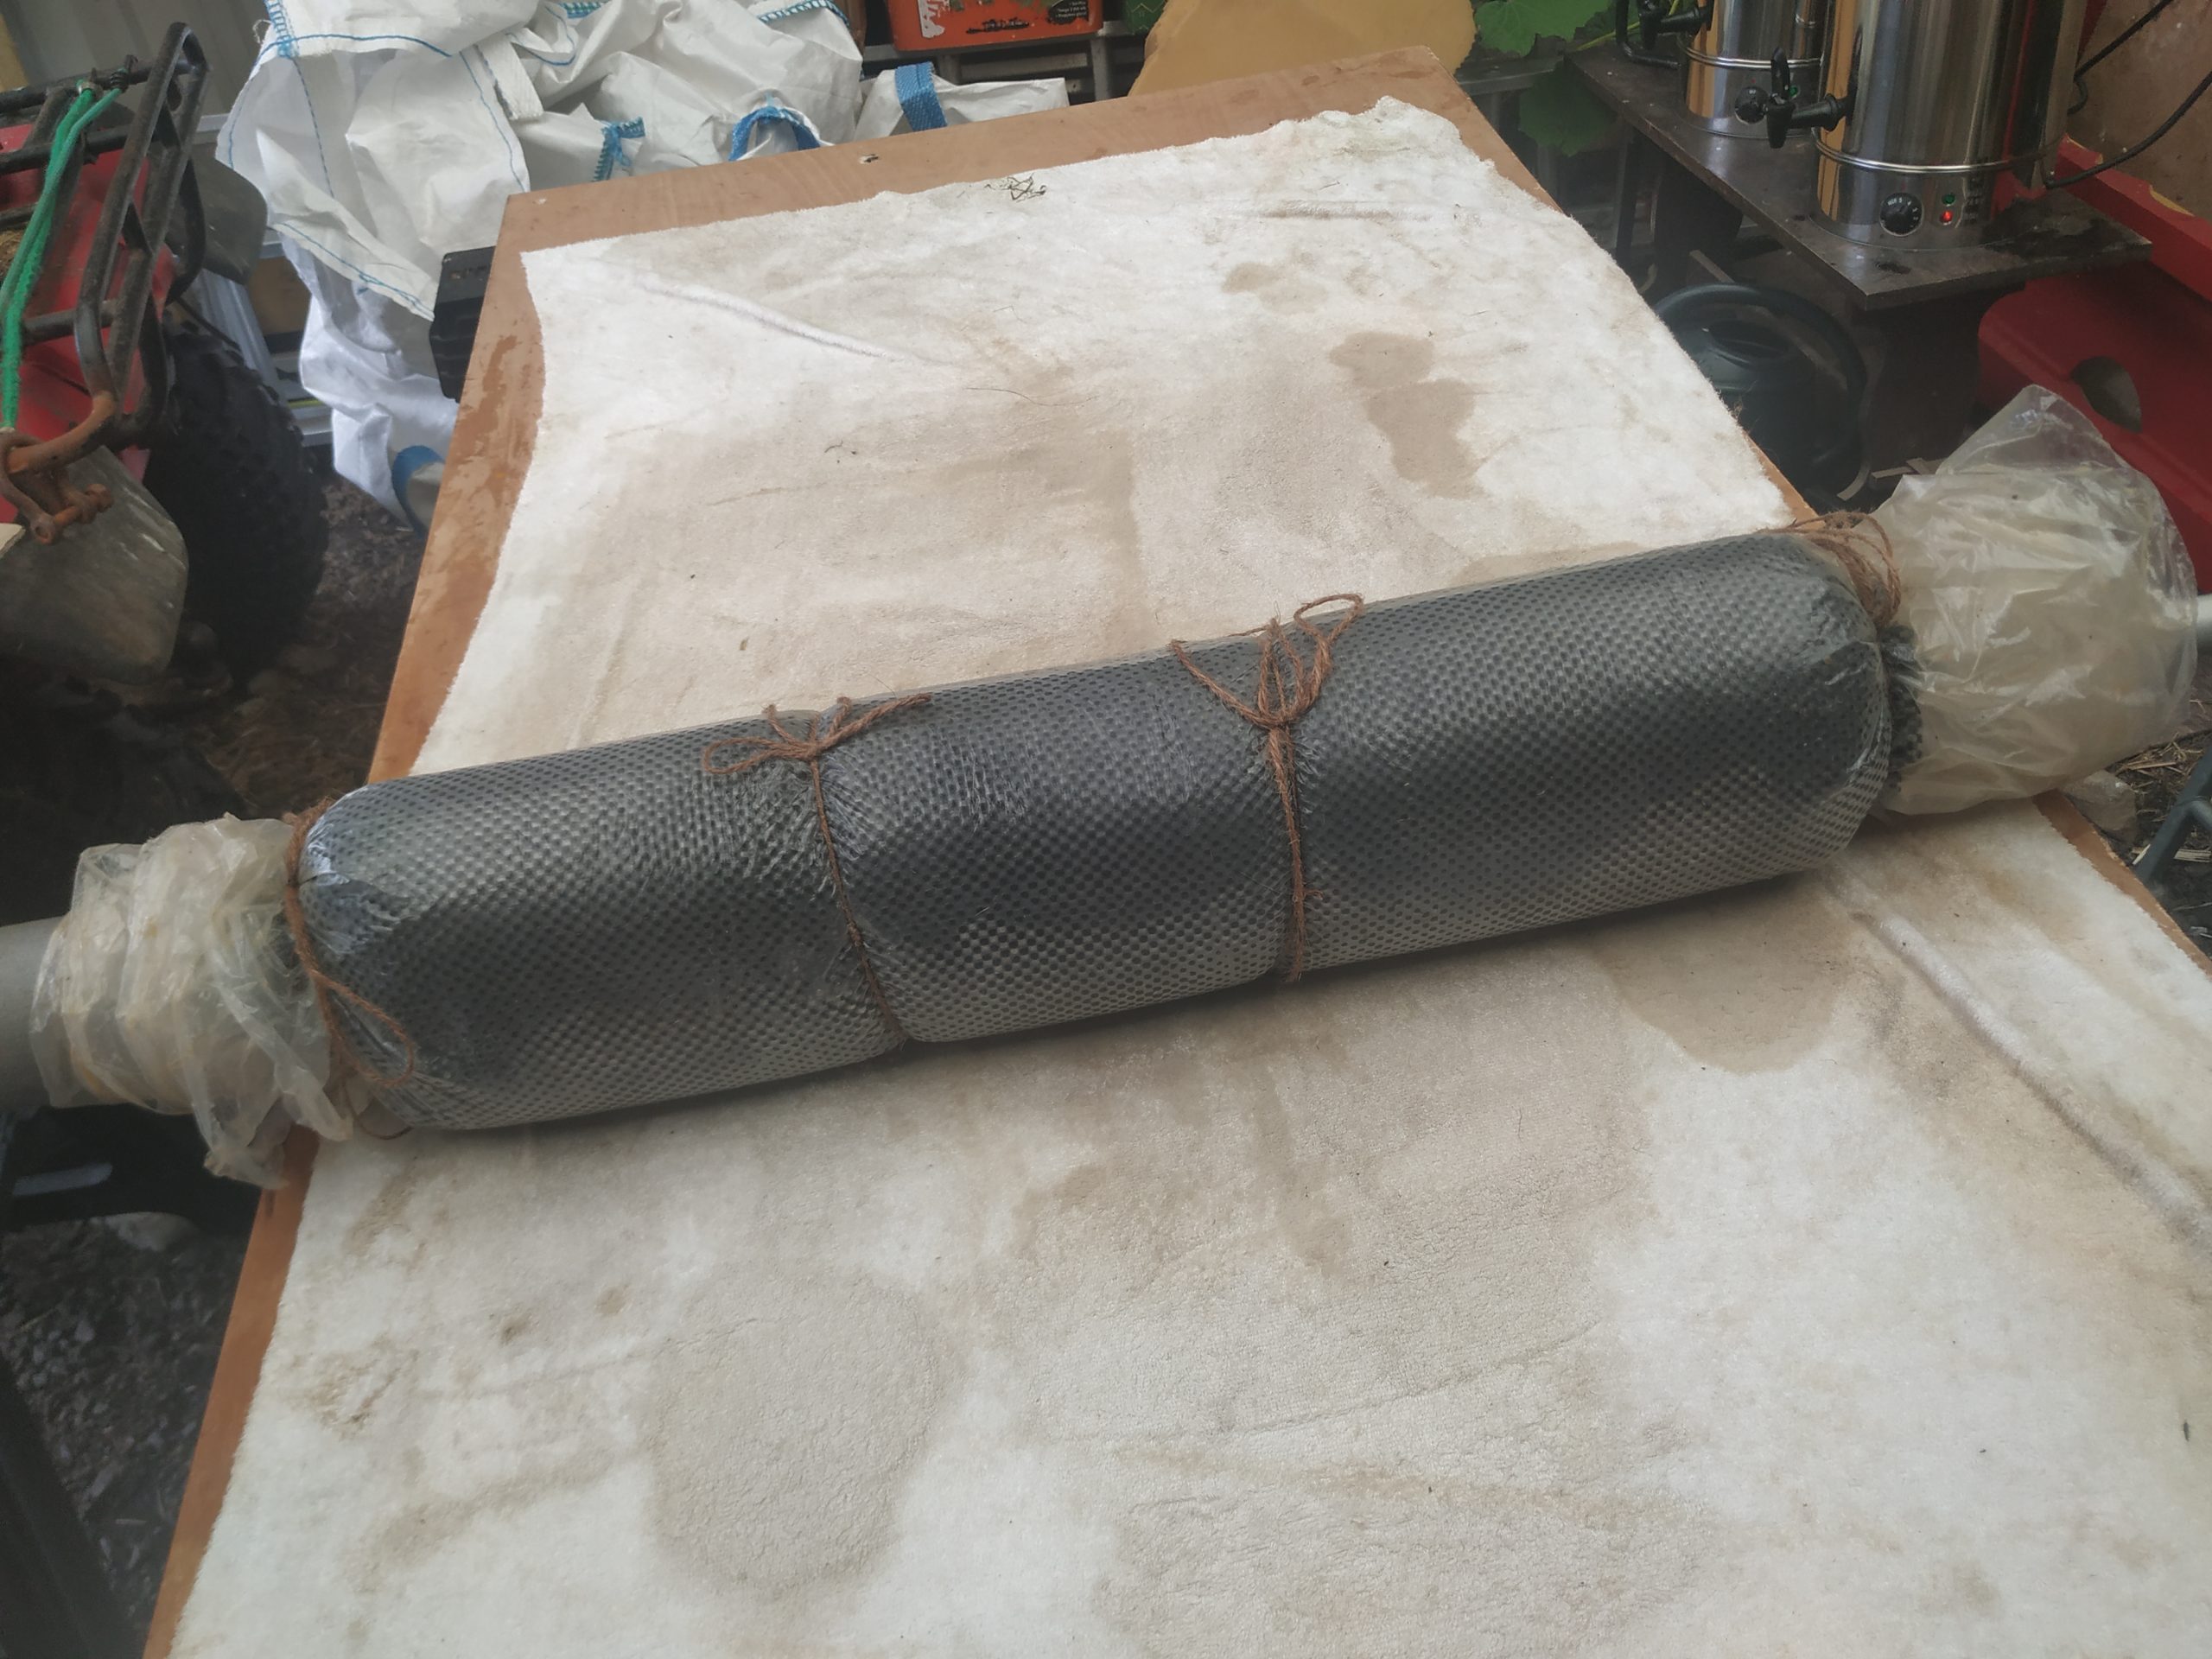
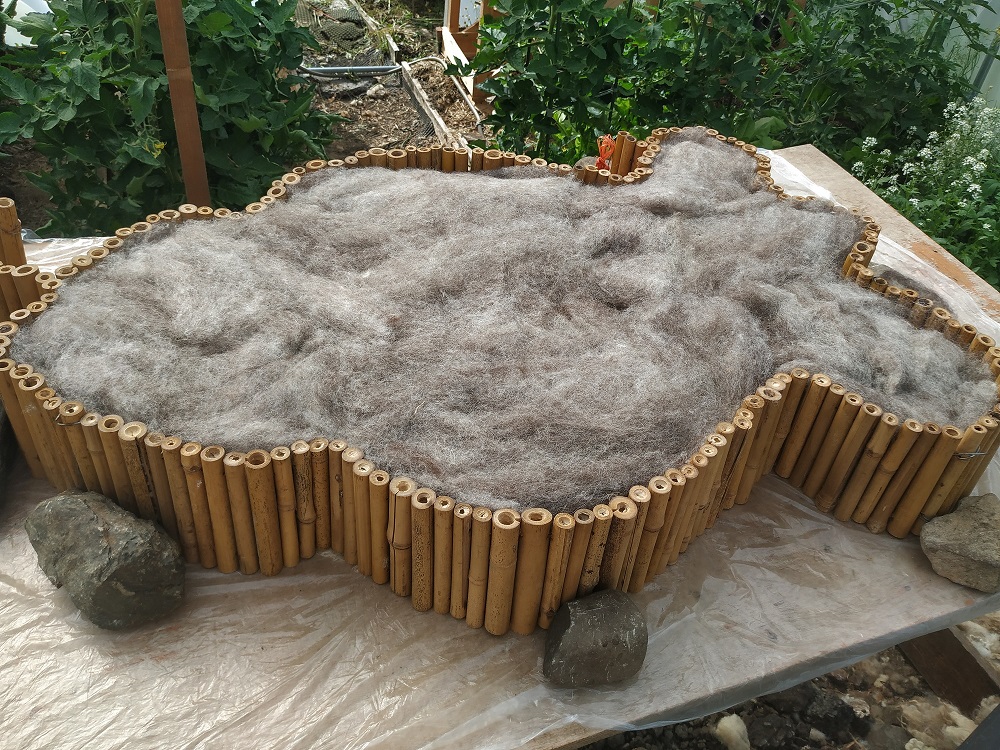
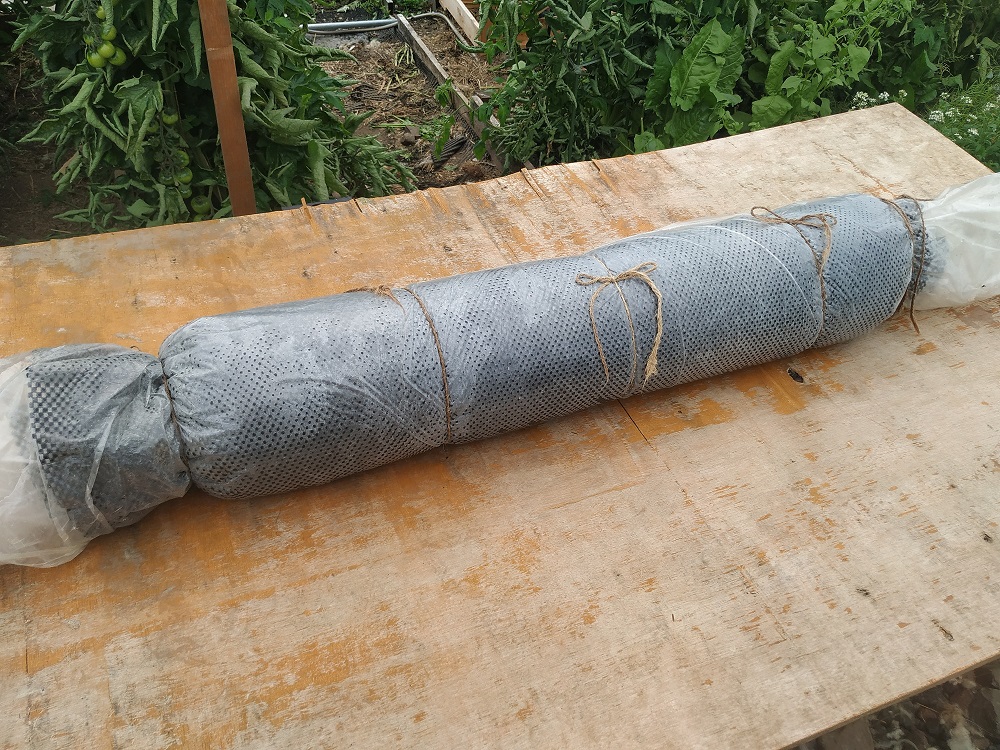
Once the locks are laid out I’ll lay a net curtain over the top and drizzle hot water and a small amount of soap over the whole area. Once the wool is wet through (but not completely soaking), I’ll remove the net curtain, replace it with a large sheet of polythene and roll everything up around a broom handle.
Rolling to felt the rug
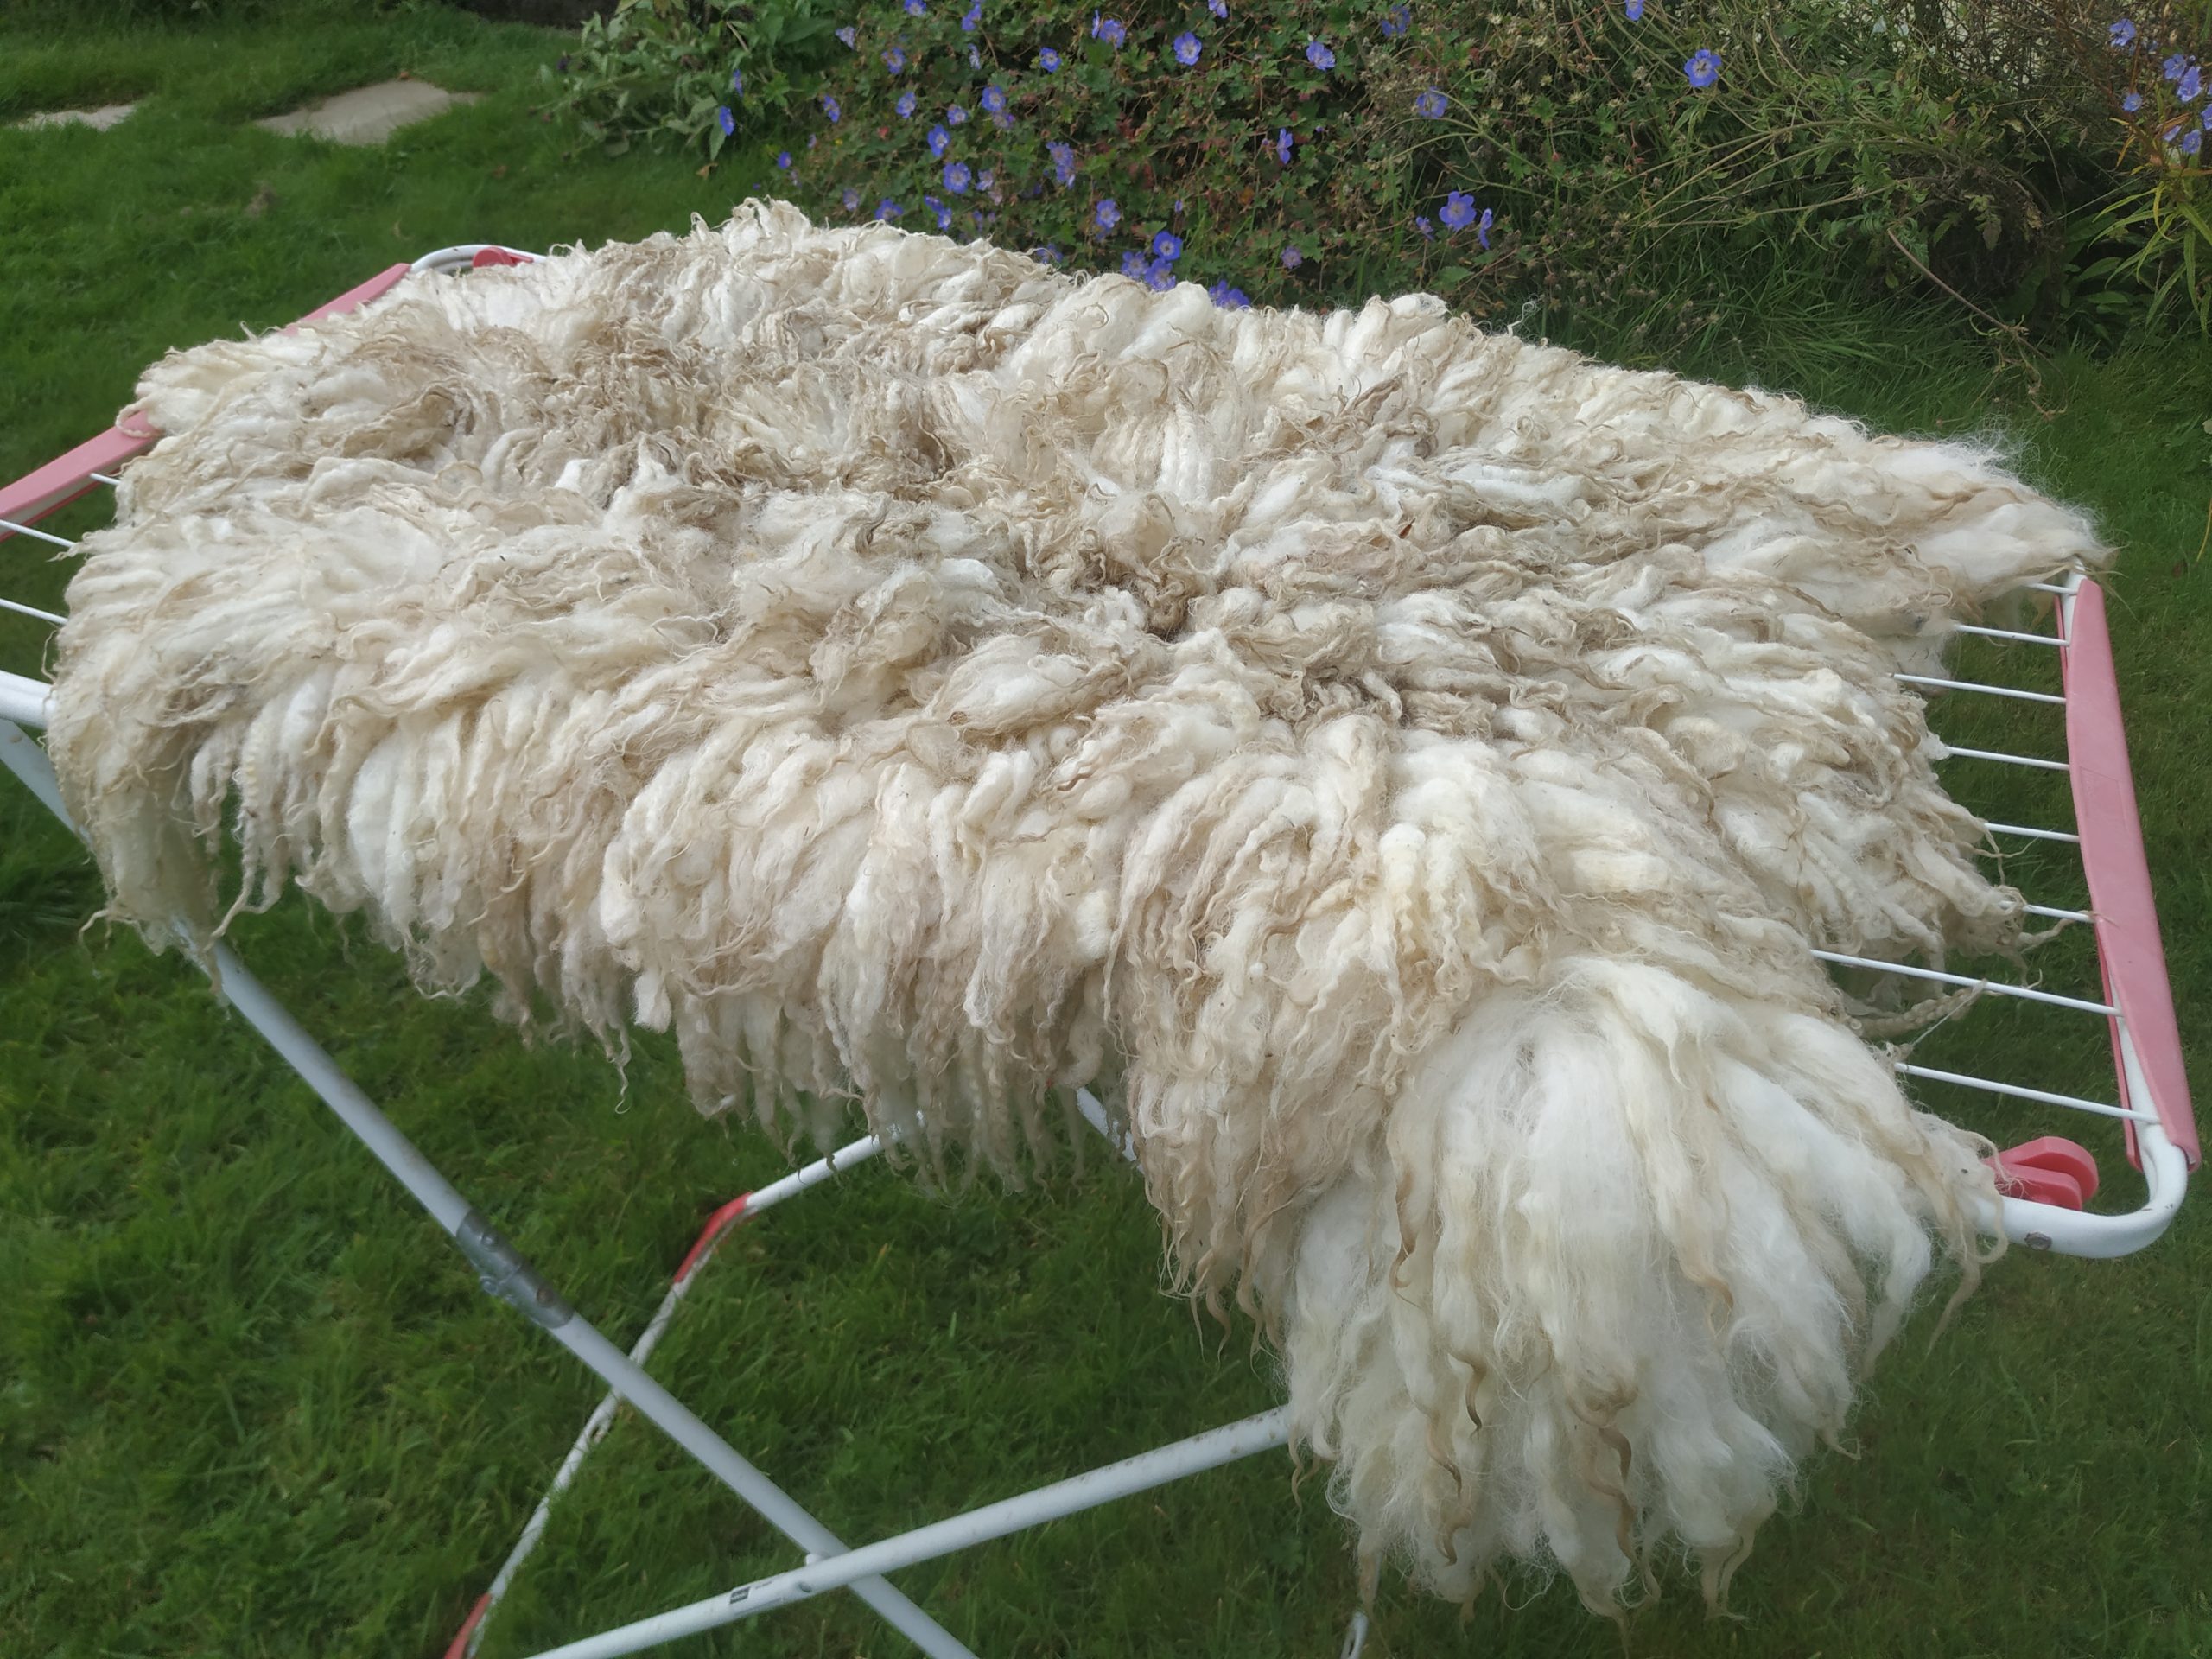
I roll the fleece hundreds of times in different directions until it is felted. In between rolls I check it regularly and pick out any “ingrowing” locks. The total amount of rolls depends on the fleece and size of rug, but it’s usually at least 600 times.
Once I’m satisfied the rug has felted, has shrunk a bit, and the locks are firmly in place, I soak it for 15 minutes in very hot water (60’c) with a gentle “fibre scour” to release the lanolin.
I then wash the rug in warm water (30’c), using a wool-friendly detergent, and finally I’ll rinse it in cool water with a slosh of apple cider vinegar and a few drops of cedarwood or lavender essential oil to keep the moths away. Sometimes, depending on the wool, I’ll also soak the rug in hair conditioner (SLS and paraben free), this helps to tame flyaways and settle overly fluffy wool.
Then, I lay the rug out flat to dry, if the weather’s nice, outside, otherwise (mostly!) in the kitchen.
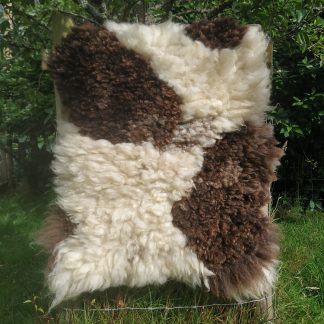
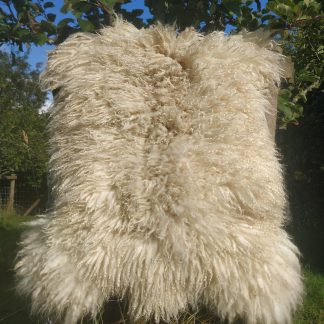
Once the rug’s dry I do the “beautifying” which takes several hours/days. When the rug comes out of the wash it’s clean but it can look a bit bedraggled. Locks can be stuck together or squashed flat and sometimes the tips can be “crispy” and / or grubby. The beautifying is important if you want a really super rug which is not only clean, but looks fabulous too.
Method 2): “Working from the bottom”, or the “face down” method.
The “face down” method is a little quicker than the “face up” method described above as I’m using the fleece as a whole and don’t have to lay out individual locks. However it still takes time and patience, especially as I tend to make bigger rugs using the “face down” method. This means that afterwards there’s more work to do when it comes to “beautifying”.
Once I’ve unravelled my fleece, the first thing I’ll do is, straighten it out and remove the “daggy” and matted wool from around the edges.
Then, I’ll remove any twigs, hay, straw etc.
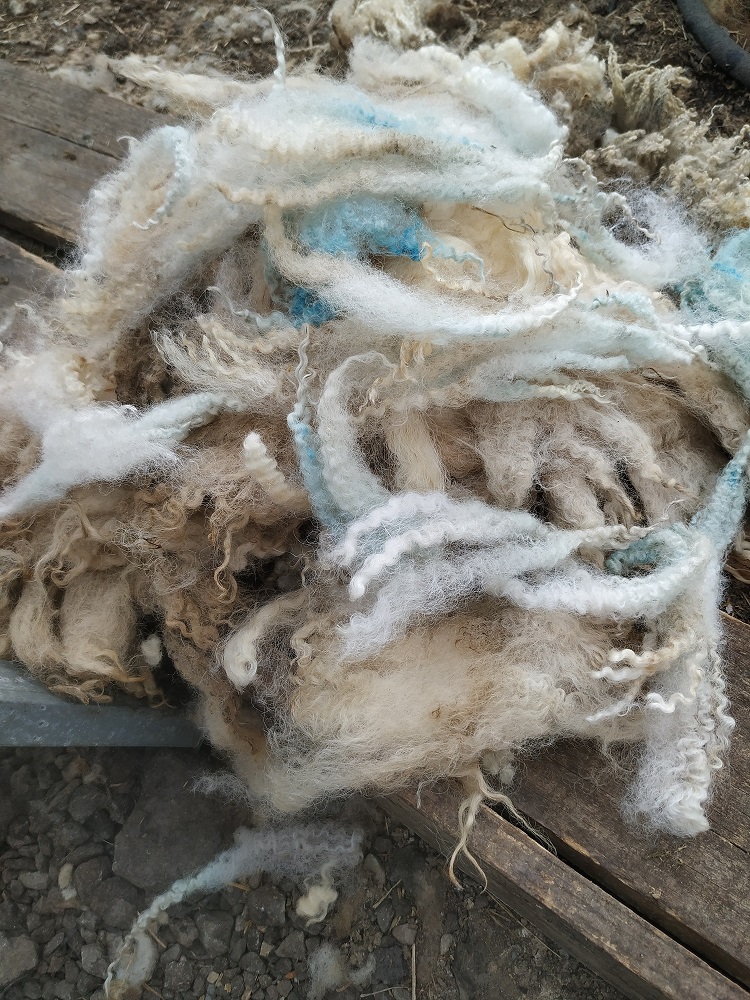
Next, I’ll remove any dyed wool, and also any wool that seems to be “homeless” – disconnected from the base. I’ll also take out any thin wool, (usually there’s a thinnish patch between the shoulder blades).
Each time I remove a chunk of wool I squidge the fleece together to hide the hole.
Once I’ve removed the bits I don’t want, I’ll flip the fleece over so that I’m looking at the underside.
Now, I’ll check that the holes I created (by pulling out the bits of dyed wool etc) are closed over and neat and tidy.
Then, I’ll squidge the fleece together so that it is nicely compact and the locks are tightly packed together as they would have been on the sheep. (A fleece can “stretch” a bit when you lay it out).
Then, I’ll gently shape it so that it looks “fleece shaped” again. With all the removing of wool and squidging etc, the fleece can end up looking a bit lopsided.
Then, I’ll check for “second cuts”, (locks which have been cut twice). These come about when the shearer goes over a bit twice so you end up with little bits of wool lying on the surface of the underside. These bits of wool need to be discarded, and so do the locks they came from as they won’t felt.
Once I’m satisfied I’ve removed all the second cuts, I’ll run my hands all over the underside and check all the “lock bottoms” are facing upwards. Sometimes, with the flipping over and fiddling around some can end up the wrong way round.
Then, I’ll place lawn edging around the fleece. This works brilliantly for keep everything in place and the edges neat while I’m laying out the carded batts. This is my homegrown method for avoiding raggedy edges.
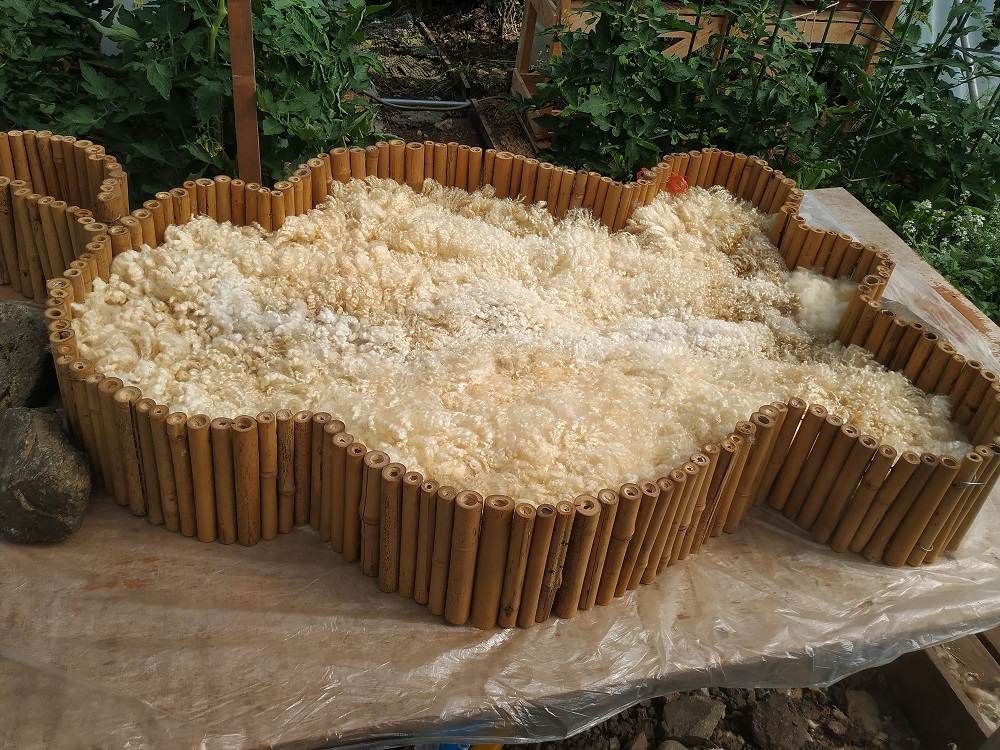
Then I’ll add the carded batts (which will form the base of the rug). Once that’s done I can prepare for the felting part; adding the net curtain, soap, water and so on.
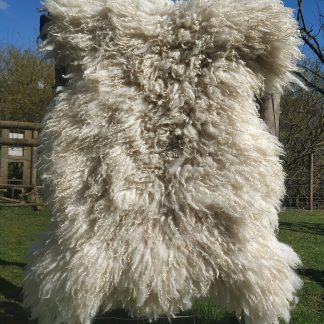
Several rolls (and cups of tea) later, scouring, washing, drying and beautifying I’ll have a felted fleece rug, made using a fleece in its entirety😊
I love having an alternative way to make rugs but ultimately, whichever method I use is driven partly by what sort of a mood I’m in but mostly by the fleece itself. Some fleeces are very “disconnected” so I wouldn’t be able to felt them as a whole. These I’ll make into smaller items such as cushions, baby rugs or seat pads and use the “slow method”. As they say, there are many ways to crack an egg, or as I would say, there are many ways to make snuggly things out of a woolly fleece!
I love using our sheep’s wool to make felted fleece rugs. It feels good to know that I’m using the wool productively and in a way which is sustainable. The same sheep can go on producing rugs year after year. It’s even better that we don’t have to send the fleeces away anywhere to be processed as they’re so simple to make and require very little other than time, water and elbow grease. I also use fleeces from neighbouring farms which is great because this means I can make rugs using fleeces from a variety of breeds; Scottish Blackface, Herdwick, Mules, Jacob etc.
It’s great to know we can produce these rugs right here on our smallholding. For more info on what goes into the rugs click here. But apart from all of this, the rugs are hugely satisfying to make, there is nothing like seeing a raw fleece transform into a big, soft, fluffy rug.
If you want to dive deeper into the process and have a go at making your own sheep friendly sheepskin rugs, check out my rug making workshops or downloadable instructions: the “face up method” and the “face down method”.