I often get asked how I get my white rugs so clean so I thought it might be helpful to all you woolly crafters out there, if I shared my hints and tips with you.
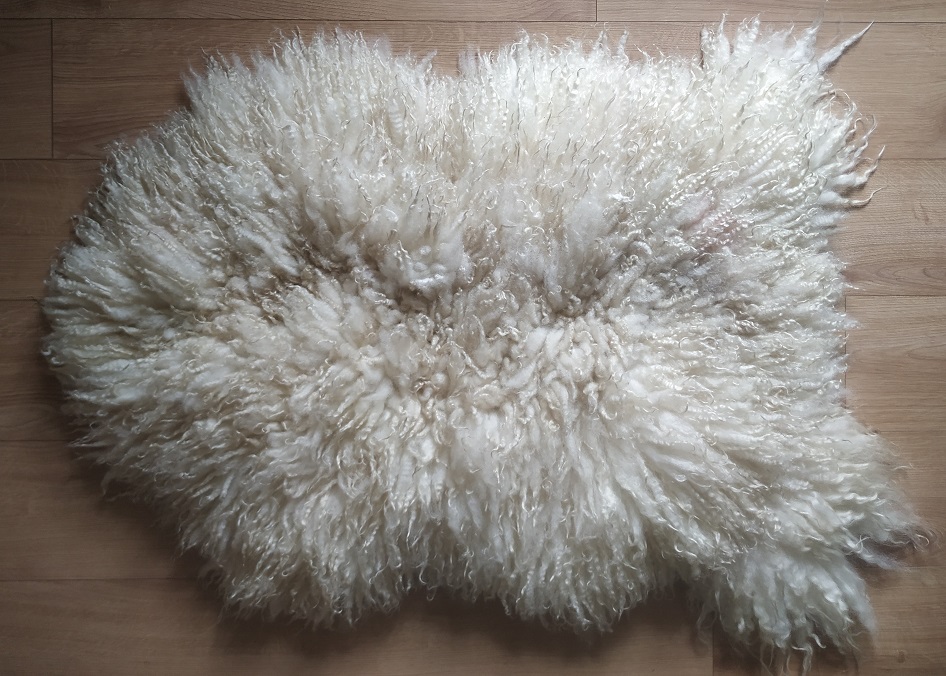
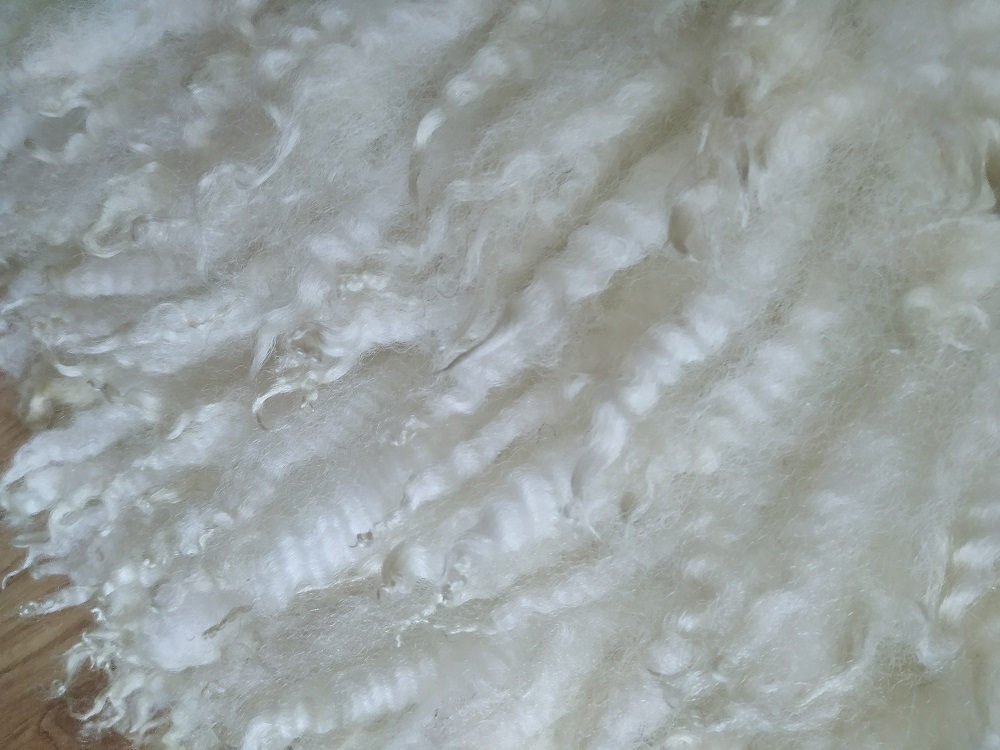
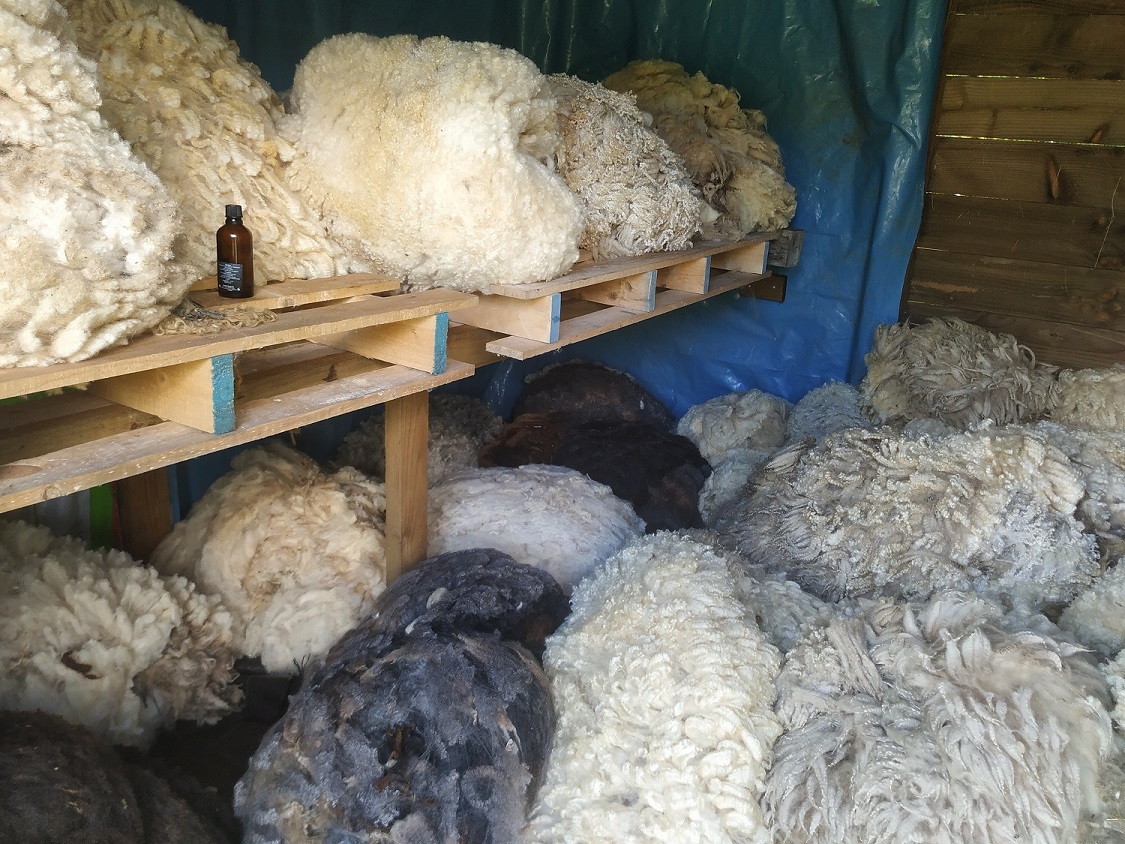
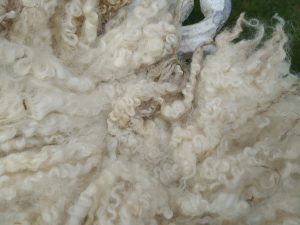
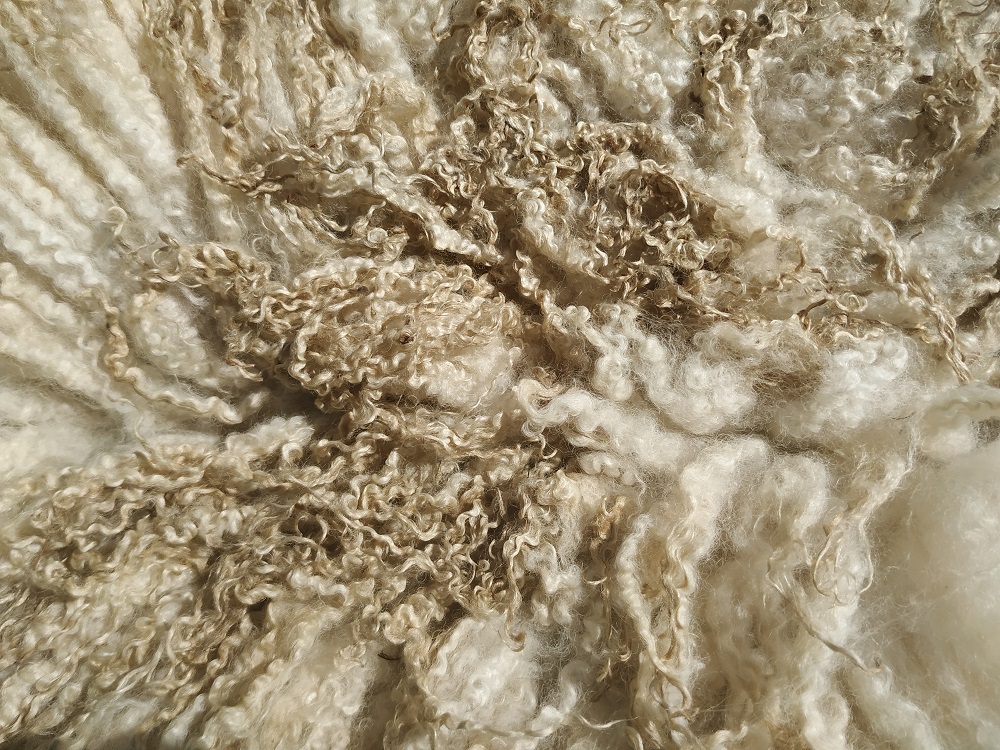
Most of the rugs I make come from Scotch Mule fleeces. The Scotch Mule is traditionally creamy-white in colour with long, silky curls. I’m a real sucker for a soft, white cloud of a rug so my fleece shed is unsurprisingly full of delicious, creamy, curly locked fleeces. Unfortunately, as with most fun things in life there’s a drawback, lighter coloured fleeces take a lot of work to clean up. Every speck of dirt shows and I don’t have an industrial set up here, it’s just me, soap and water.
While the natural look is a huge part of the beauty of these rugs, I like to strike a balance between keeping the wool looking as natural as possible while at the same time encouraging it to look its very best. The look I prefer is a mixture between natural beauty and “just stepped out of the salon”.
Happily, having made a lot of white rugs over the years I’m pleased to say that I’ve learned a few tips along the way which I can’t wait to share with you. Read on to find out about how to clean up a white fleece and get your rug looking absolutely gorgeous.
First and foremost, how the rug turns out depends largely on the quality of the wool that you start out with.
But let’s imagine you have a decent fleece. It’s raw and lovely, full of lanolin and has that yummy sheepy smell about it. There are dags here and there and some matted wool around the edges, but you can see it has lots of potential and would make an amazing rug.
Now let’s imagine you’ve skirted the fleece and removed the matted and daggy wool. You’ve picked out a lot of the vegetable matter (moss, seeds, straw etc). You’ve felted it and made it into a rug.
It’s time to sit down and put your feet up.
Sorry, what I meant to say was, it’s time to roll your sleeves up and do some more work 😉
Firstly, you’re going to remove the lanolin by a process called scouring. A lot of lanolin will have come out in the felting, but there will still be lots left. It’s important to remove it because it attracts moths and you wouldn’t want moths gobbling up your rug after all that hard work.
Scouring
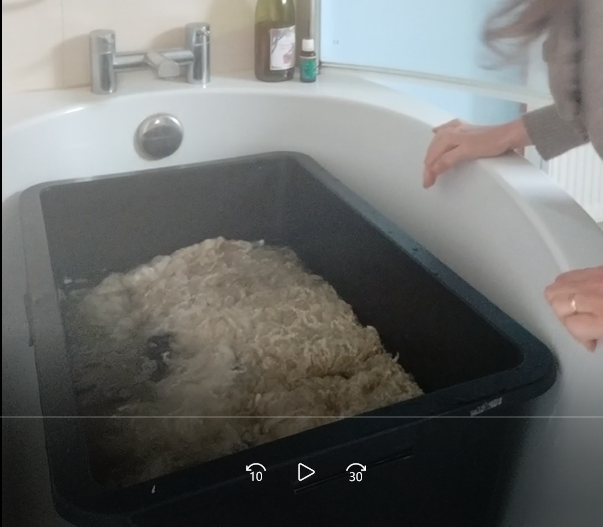
Put the rug to soak in very hot water (at least 60’c) with a normal laundry detergent, not a wool one yet, this comes later. You’ll want a detergent which is slightly alkaline to open the wool fibres and get them clean. Don’t agitate the rug, just leave it to soak for 20 minutes. The main purpose of the hot wash is to remove the lanolin and to kill any moth eggs that might be lurking in the wool. Hint, it’s important to take the fleece out of the hot water after 20 minutes and no later. If you leave it in any longer, the water will start to cool down and the lanolin will harden up and stick to the fleece again. Repeat the hot soak if necessary, (once, twice, three times … use your discretion depending on how much dirt and lanolin there is in the wool). The rug is ready for the next stage once the run-off water starts looking clearer. The run-off won’t be crystal clear at this point, but neither will it be a dark murky brown as it was earlier on.
Wool wash
Next, fill your bathtub with lukewarm water (no hotter than 30’c), add a squirt of wool/silk laundry detergent, lay your rug in the water face down and allow to soak for an hour or so. Feel free to swish the rug around a little to loosen up any bits of dirt. Rinse in cool water with a slosh of cider vinegar (or white vinegar) until the water runs clear. Add some drops of lavender oil to the final rinse water as a moth deterrent. Alternatively, put the rug into the washing machine on the wool cycle at 30’c. Make sure you use a wool/silk laundry detergent and never use fabric conditioner/softener. Instead, pour some vinegar (about 15mls) into the rinse drawer with a few drops of lavender oil. Wool really loves a vinegar rinse, it helps to get rid of soap residue and it brings the pH back to wool’s preferred state which is slightly acidic.
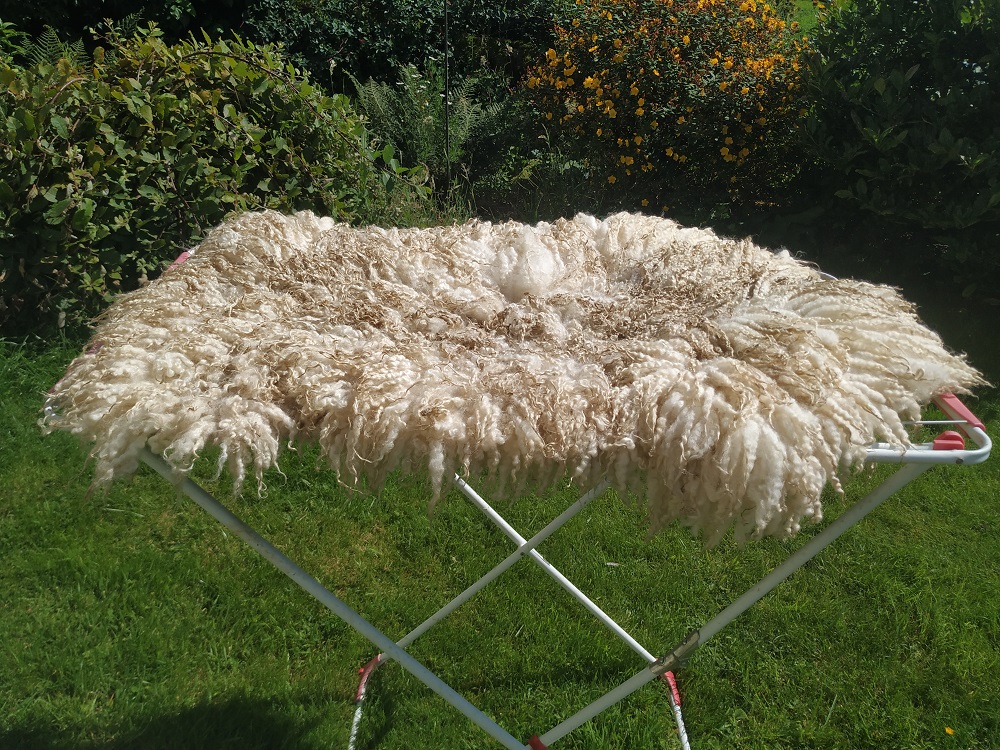
Once the rug is washed and rinsed, lay it flat to dry, curls facing upwards.
Beautifying
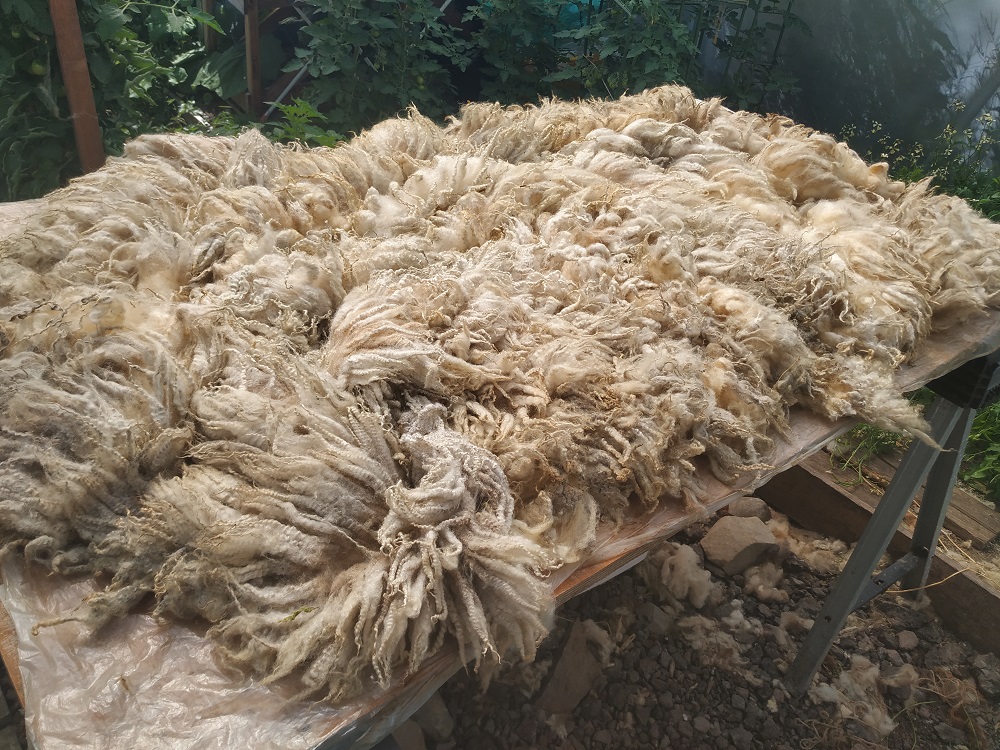
Once the rug is dry it’s time to check it over, make sure everything’s in place and remove any remaining bits of moss, seeds etc. You may be wondering at this point why your rug doesn’t appear as clean and fluffy as you had imagined it would be after all that washing. You might even think it looks a little grubby and seems a little sorry for itself.
Welcome to “the ugly duckling stage”. 🐣
Fortunately there is a simple explanation for this and a beautiful swan will emerge very soon. The wool is actually much cleaner than you think, but because the lanolin has been washed out it is lighter in colour now. This means that any dirt lingering in the tips of the curls (which is where it likes to linger), is very noticeable in comparison with the rest of the wool.
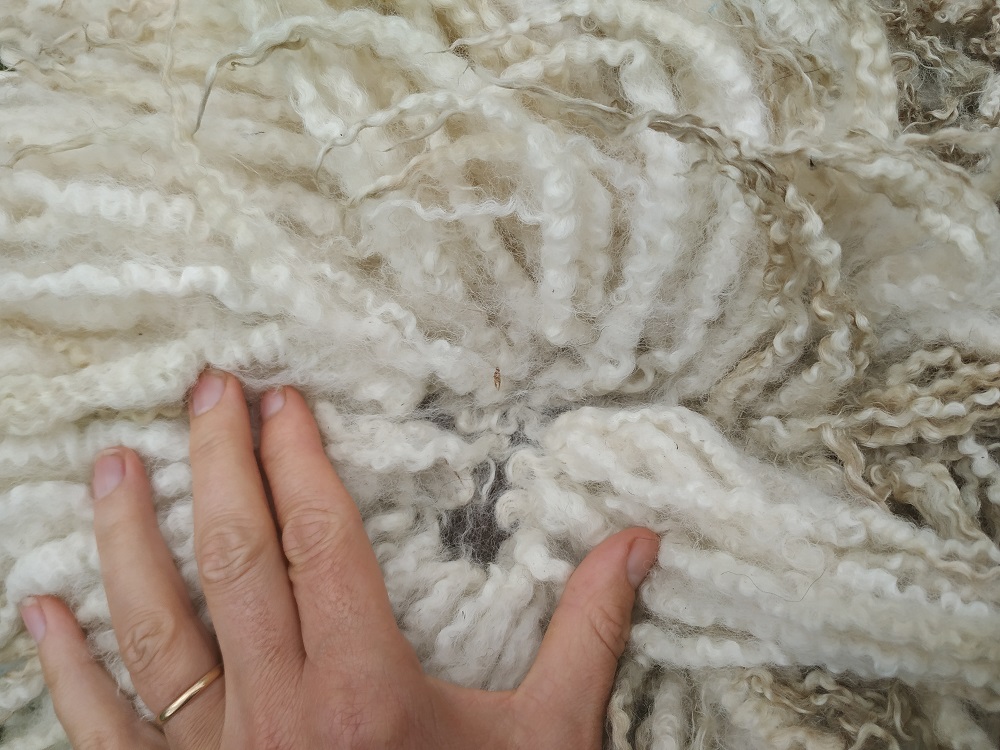
The other thing that you’ll notice is that a lot of the wool is flattened down. This is perfectly normal and nothing that can’t be fixed.
So, what can be done about those grubby tips and those squashed down locks?
Well first of all it depends on what type of fleece you have.
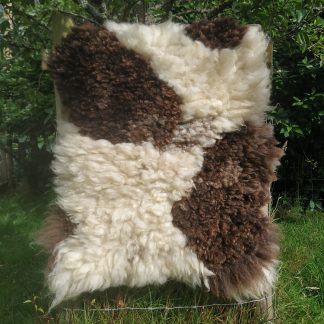
If for you have a fine woolled fleece, like my favourite Scotch Mule for example, the wool will need very different treatment to a coarser woolled fleece, like say a Herdwick or a Welsh Mountain.
I will leave courser wools for another day, but for fine wools read on to find out how to get your rug looking fabulous:
Make sure the rug is completely dry, set aside several hours, and start to work through the wool methodically. I call this process “preening”.
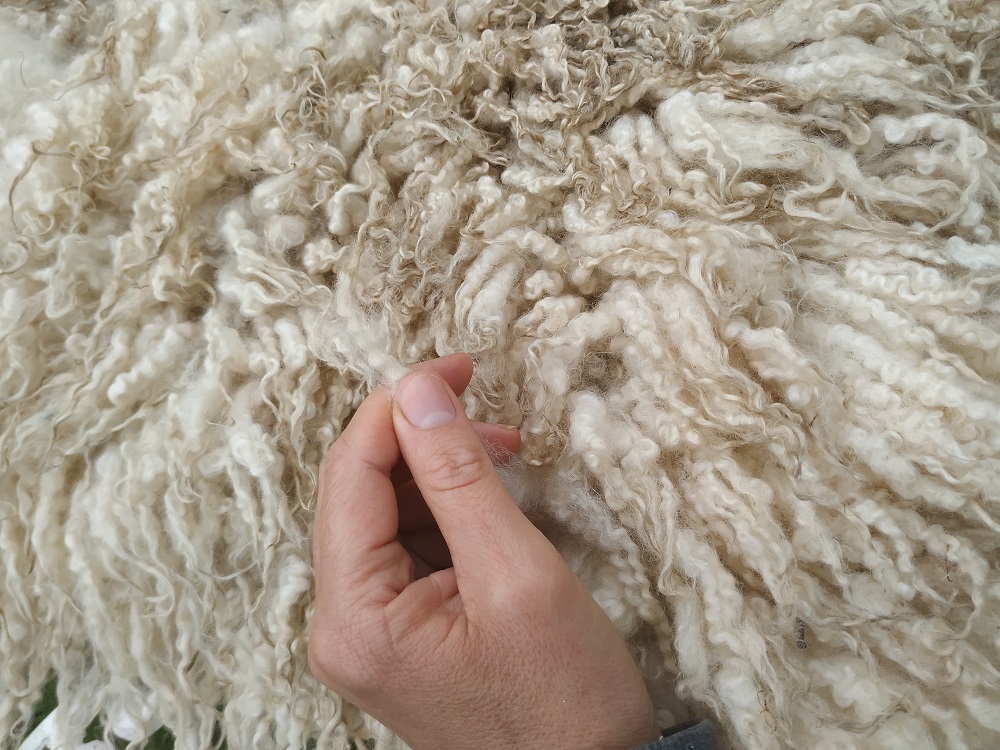
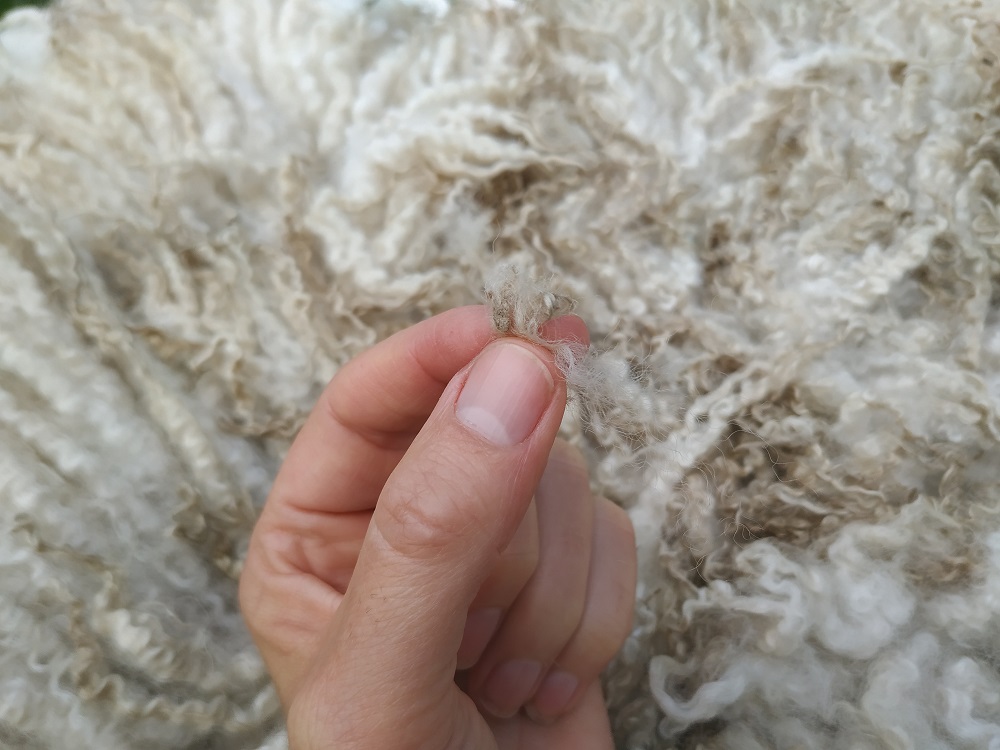
Take a little curl and run it between your finger and thumb from the base to the tip. This serves several purposes:
- You’re making sure that each and every curl has felted in properly and there are no bald spots. If you find curls which haven’t taken or a bald spot, this can be remedied using a needle felting tool and popping the curl back into place.
- You’re making sure each curl is standing upright and not squashed flat. If you find any flattened down curls, simply tease them up again.
some curls will be squashed flat

- You’re checking that the curls aren’t getting over friendly with their neighbours. In the felting and washing process the curls can bunch up a bit so just separate out any clumps you come across.
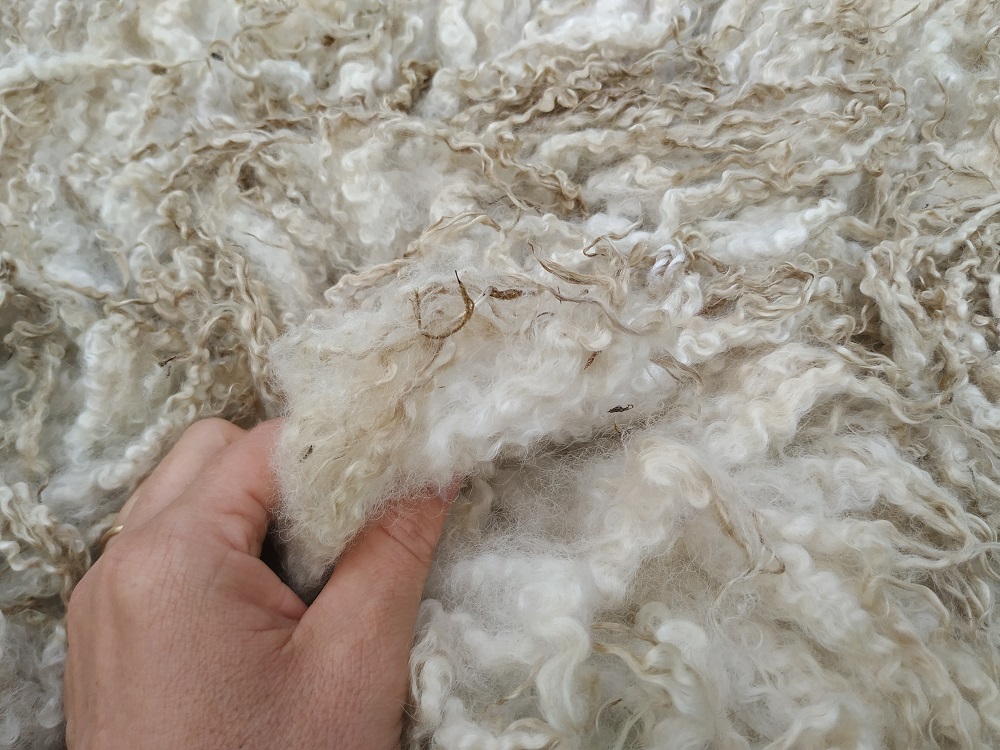
- You’re removing crispy tips. Sometimes, depending on the fleece you’ll come across crispy tips, (exactly like dry ends on hair). Afterall, the fleece has been on the sheep for a whole year so it’s not surprising there may be a little patch of dry and damaged wool here and there. These crispy tips are dead wool so can be easily pulled off.
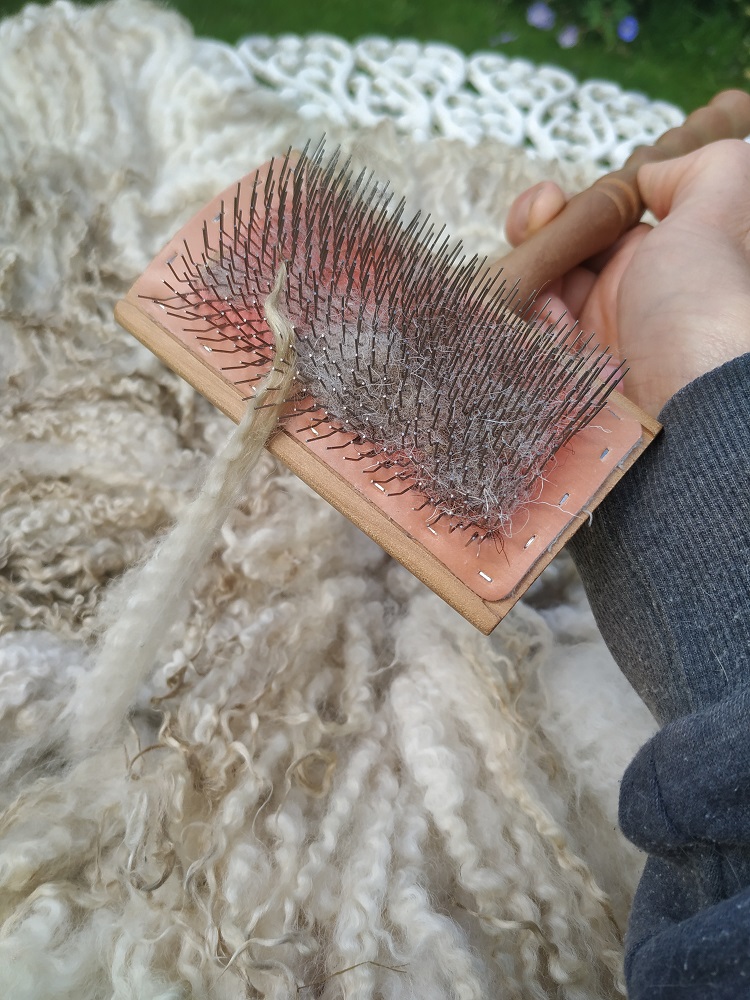
- You’re teasing out dirt from the tips. Dirt tends to linger in the tips and no amount of washing seems to remove it. It needs to be manually removed with your fingers. Gently separate the strands of wool at the tips and then “rake” out the dirt with your finger and thumb. You could brush out the tips if you prefer but be sure to only brush the very tip, not the whole curl. You want to keep the curl intact and brushing would destroy it.
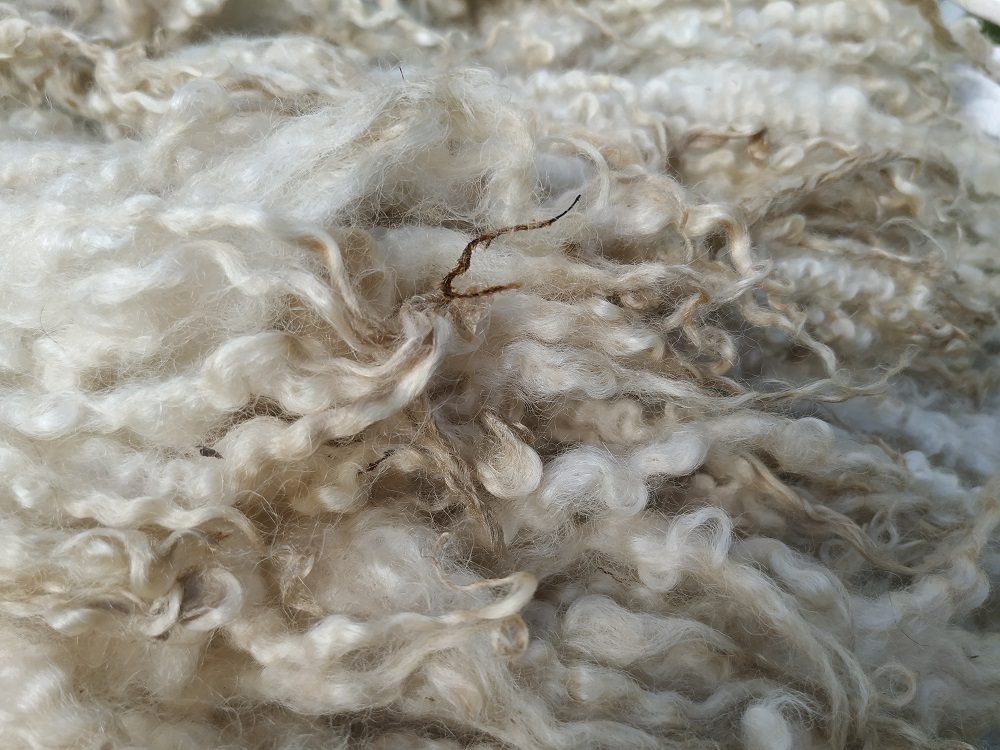
- You’re removing any remaining bits of vegetable matter. You’ll find that even after all that felting, washing and rinsing there will be little bits of grass, seeds and moss hiding away in the wool fibres. Part of the beautifying process is removing these remaining bits of meadow sprinklings.
All this takes several hours but as you work through the fleece and see the wool transform before your eyes you’ll see how satisfying it is.

Optional stage – second wash
Sometimes the preening can dislodge bits of dirt and you might feel the rug would benefit from another wash. If this is the case, pop it back in the bath or the washing machine (wool cycle) as before. If you handwash it, don’t forget the vinegar rinse.
Optional stage – Hair conditioning soak
Sometimes the preening can leave the wool a little fluffy. Or you might just decide to give your rug a special treat. Either way, a soak in hair conditioner really brings up wool looking and feeling its best. Here’s what to do: Fill your bathtub with lukewarm water, add a generous dollop of SLS and paraben free hair conditioner. Leave it to soak for an hour or so. Rinse in cool water (with a dash of vinegar and some drops of lavender oil) as before. Do not wring, gently squeeze out the water and leave flat to air dry curls facing upwards.
The moment you’ve been waiting for …
After a couple of days or so depending on the time of year, your rug should be dry and you can do that thing that you’ve been wanting to do ever since you first washed it. You can shake it out like hair in a shampoo ad and admire it and feel proud of yourself for putting in all those hours of work beautifying the wool. “Ta daa!”