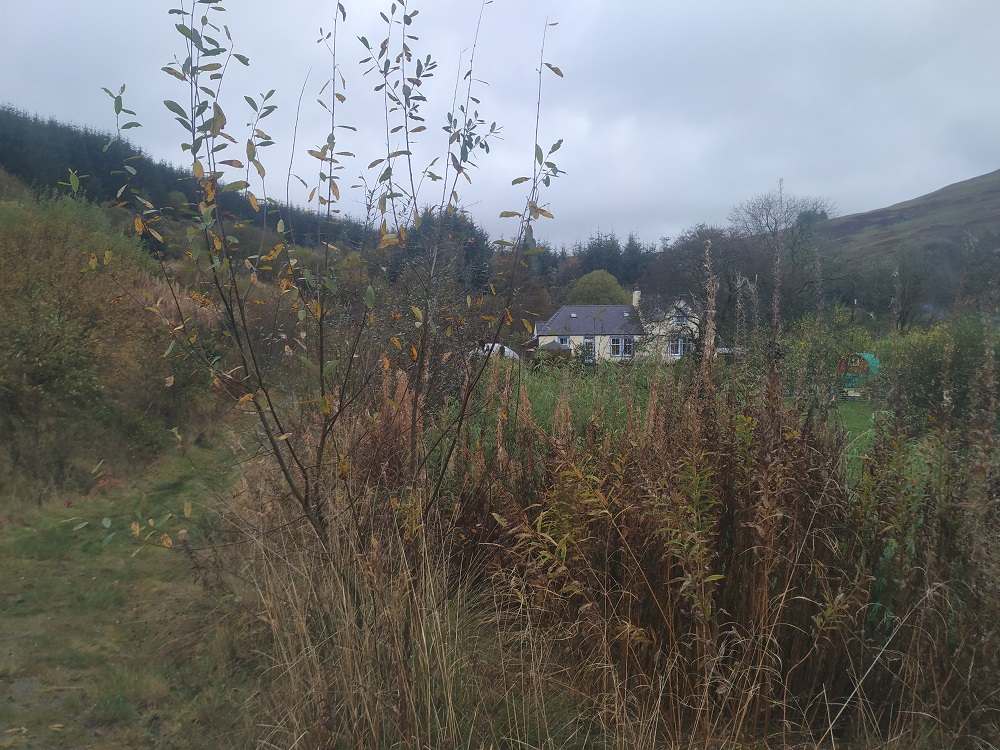
It has not been the driest of summers which has had it’s good and bad points. However, it has been one of the wettest of Octobers I can remember. Someone turned the rain tap on and has forgotten to turn it off again.
The ground has been turned from firm grassland into puddles. This is particularly true of the flatter areas where water settles having flowed down the hill. Sadly, there’s not much we can do about it except hope for some dry weather to give it all a chance to drain.
It’s not great for the animals. The hens gather and huddle in their shelters, trying to keep dry. The sheep venture out to find grass (plenty of that), but retire to dry off in one of their field shelters.
We’re having to keep a close eye on the sheep’s hooves, checking for signs of foot rot which can flare up in these conditions.
And autumn planting of garlic has been postpones lest the bulbs float away.
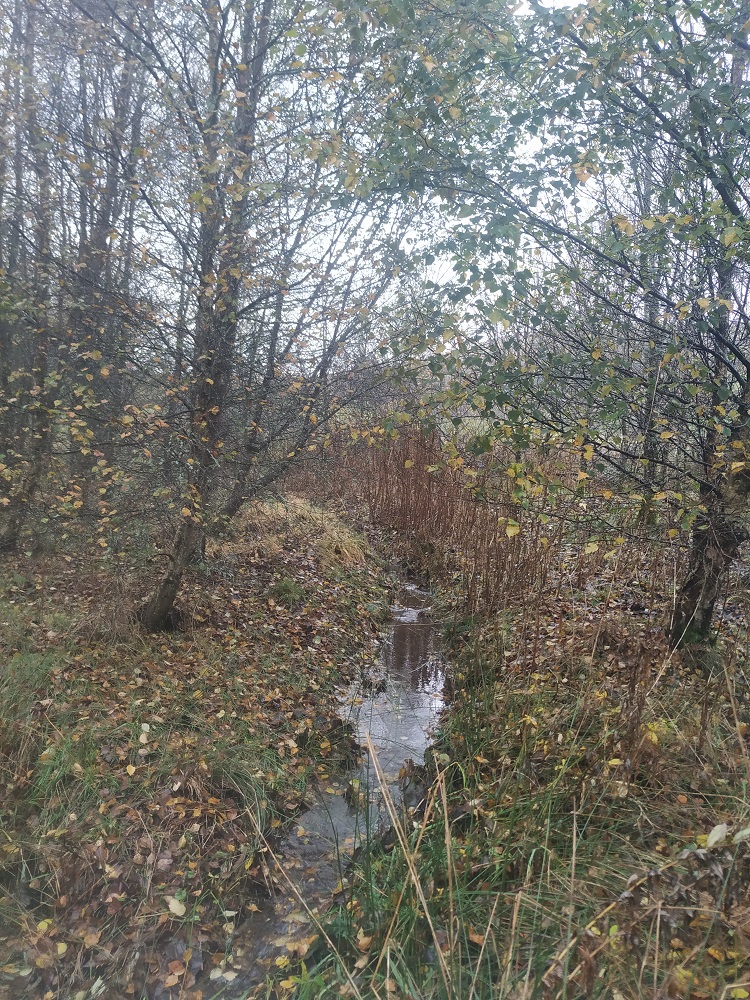
In the woodland, the drainage ditches are full but doing their job. Anyway, that’s the way it is in SW Scotland, either too much water or too little.
Today while I was in the polytunnel having a tidy up, I became aware of some strange noises coming from outside. It sounded like pigs scoffing their way through a pile of apples and bananas. I wondered if Adrian had got me an early birthday present. There were snuffles and grunts interspersed by a strange high pitched creak. I stuck my head out to investigate, the noises seemed to be coming from the direction of the veggie patch. There was also a sheepie-smell drifting around which I couldn’t quite place but seemed familiar.
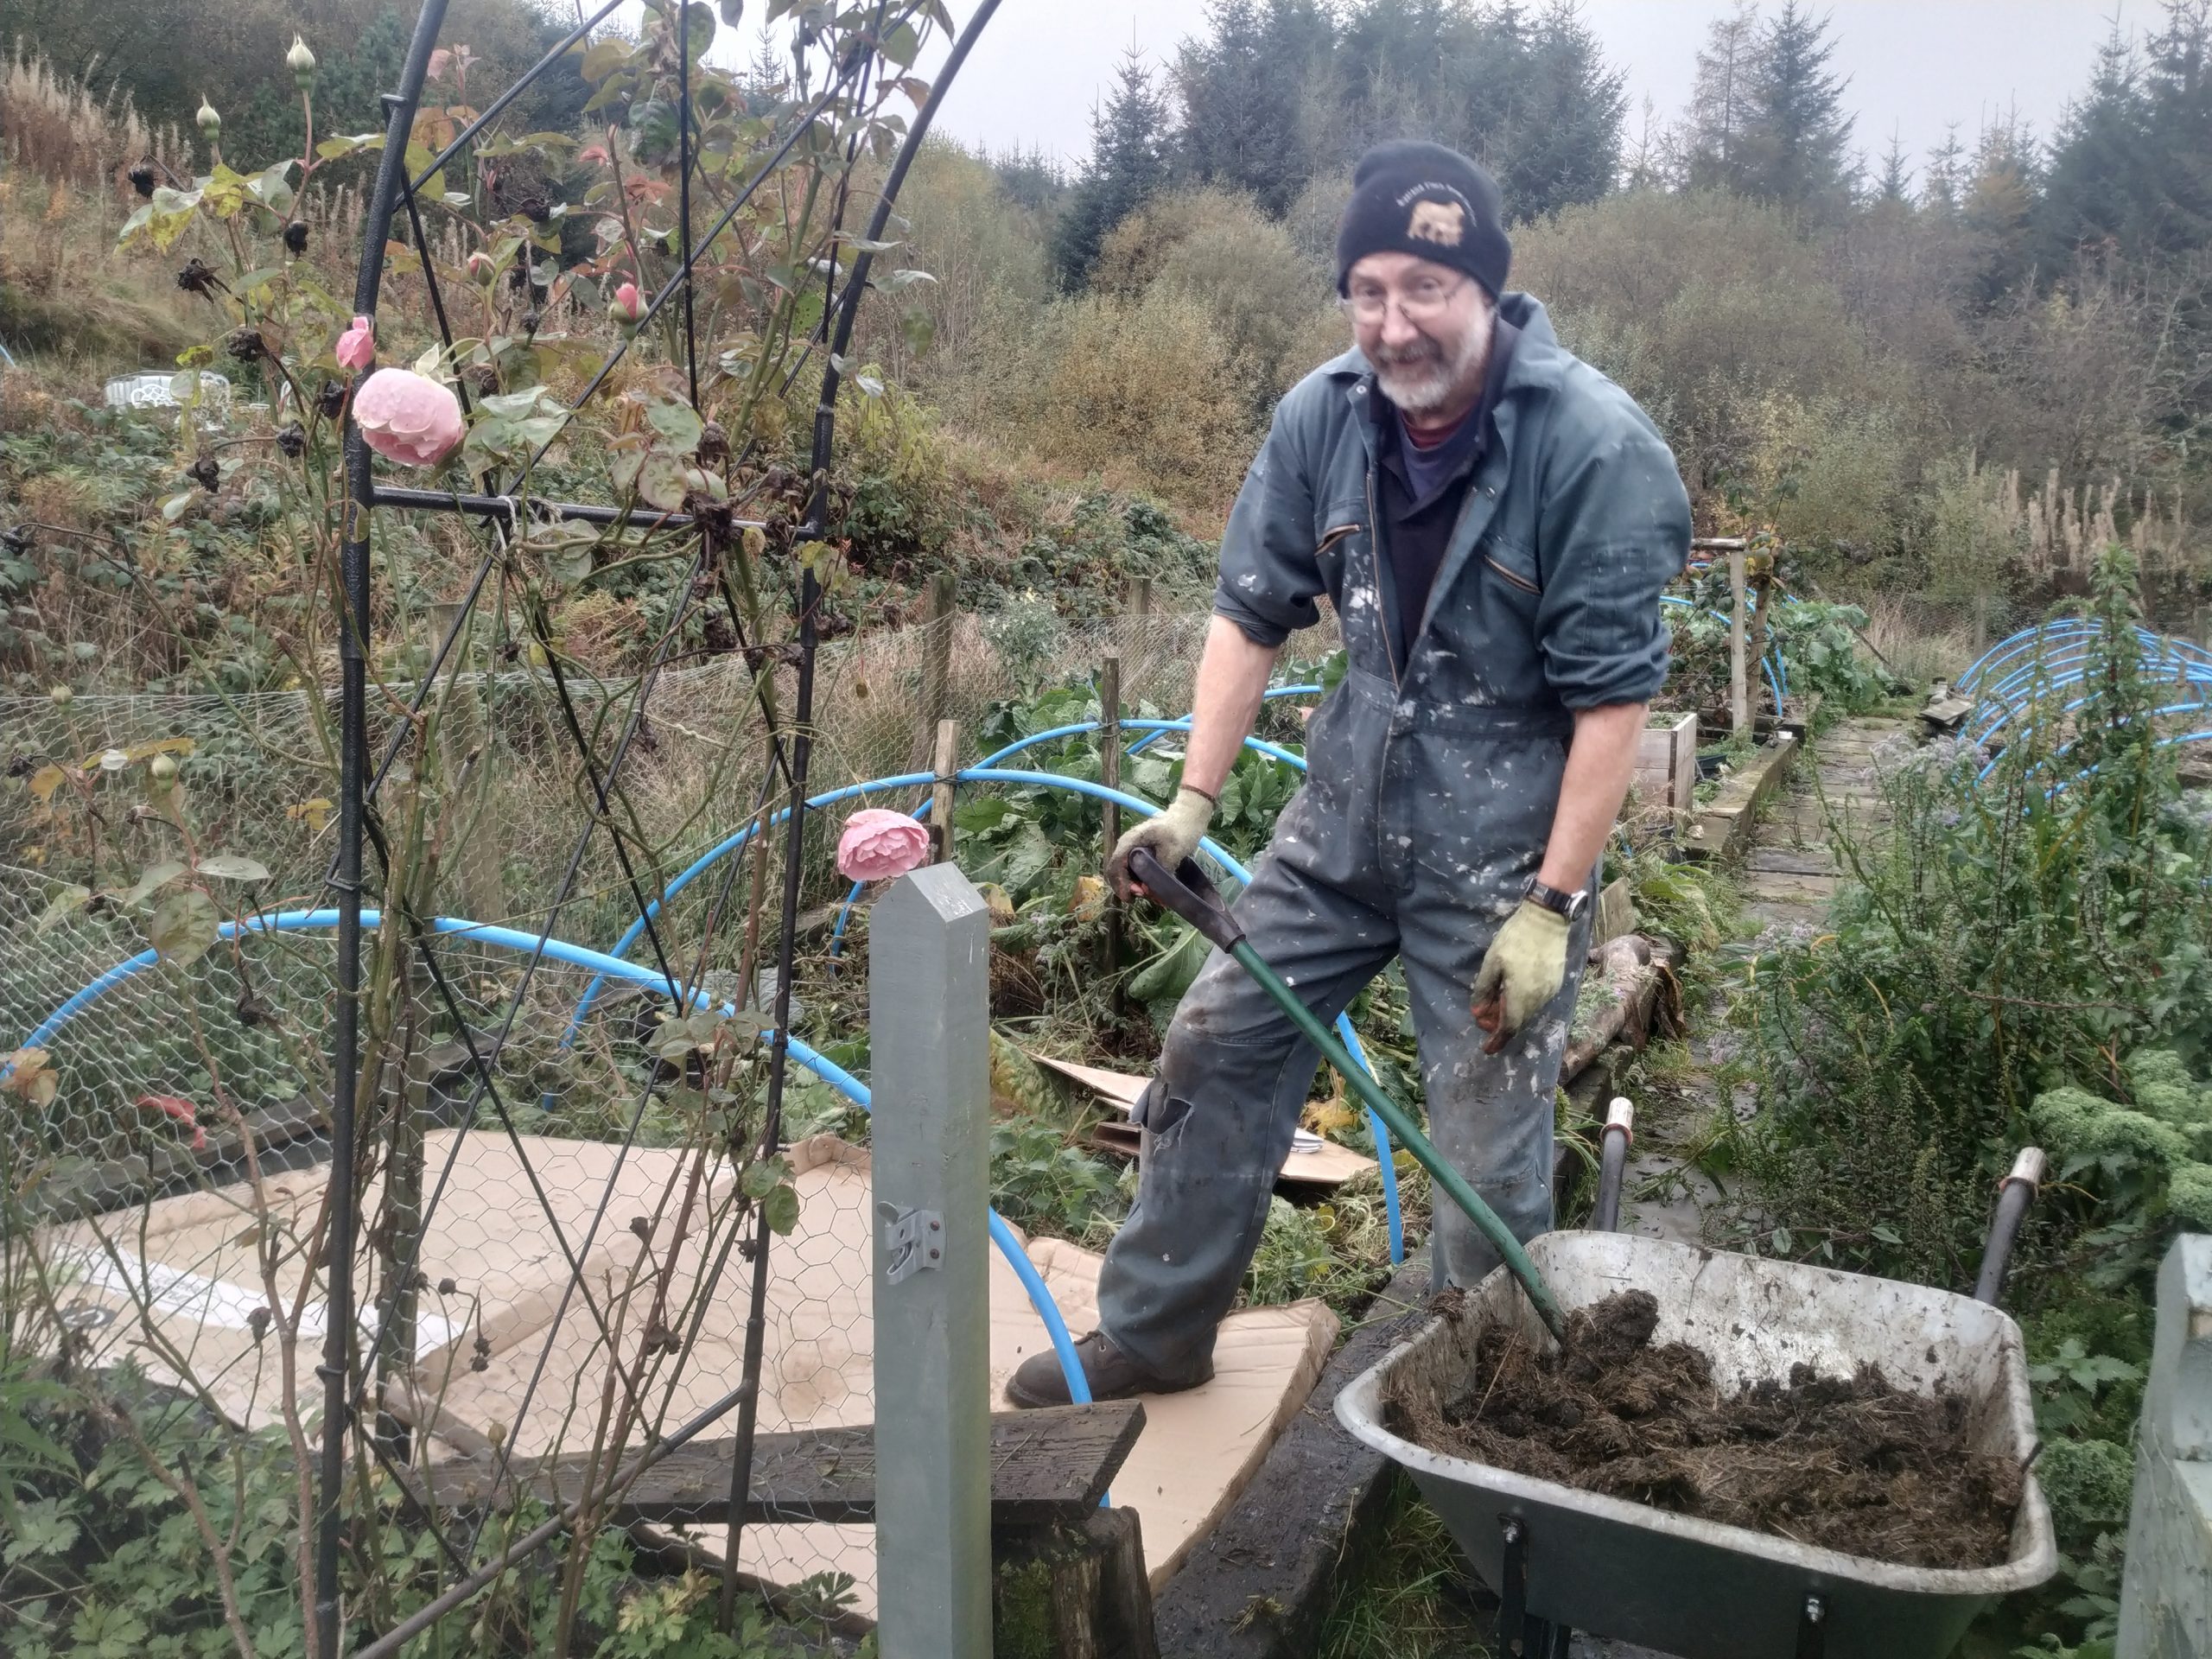
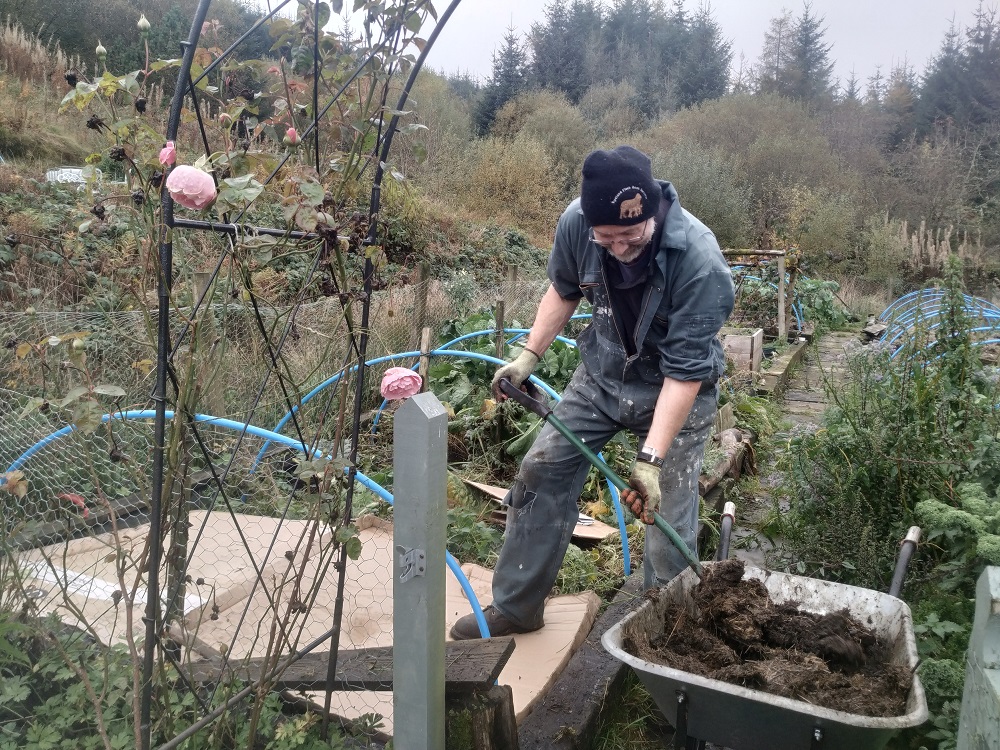
Looking over at the veggie patch I spotted a huge wheelbarrow filled to the brim with manure trundling down the path going “creak, creak, creak”. Behind the barrow emerged Adrian going “grunt, ah, ooh, aaa”. Atop the barrow like a cherry on a cake was a pitch fork.
mulching the dormant beds
Then I remembered, this week is mulching week!
Mulching week entails something we do regularly here, shifting dung from one place to another. In the case of mulching, this means shovelling well rotted sheep dung from the manure heap, over to the veggie beds. This is done using a pitchfork, a large wheelbarrow, muscle power and lots of huffing and puffing.
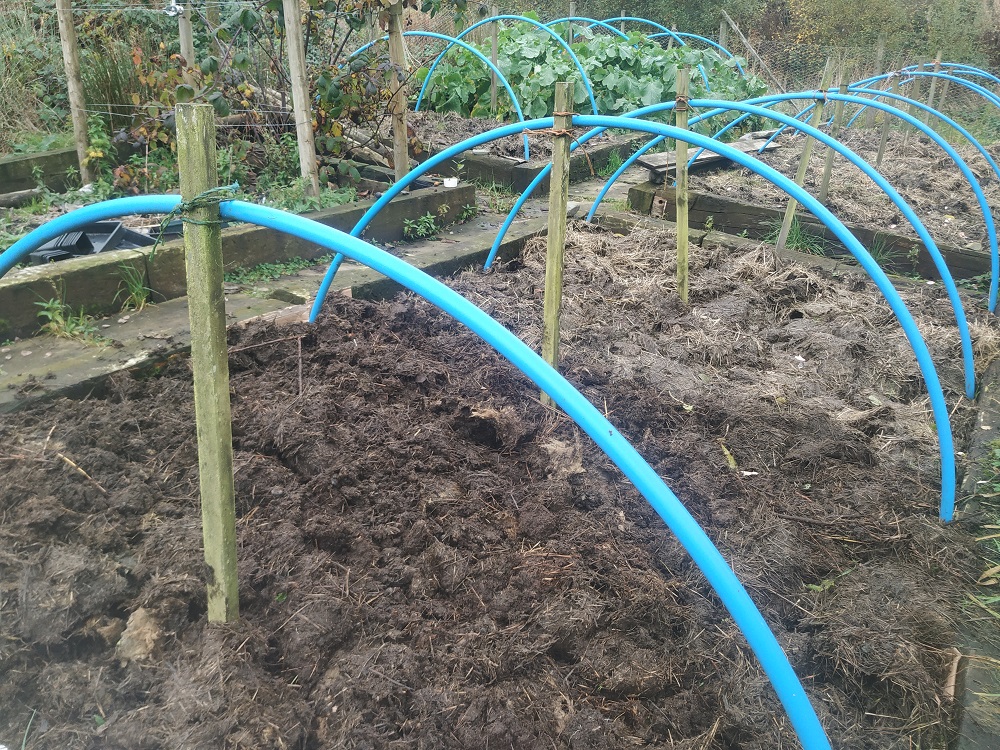
glorious sheep dung
Our veggies love a good mulching, the soil has improved a million-fold since we started piling on the dung every autumn. When we created our veggie patch five years ago, the soil was in a terrible state, all claggy and compacted. We think there might have been a structure at some point in the history of the farm, where the veggie patch now is because the soil was so compacted and there was a ridiculous amount of rocks just below the surface. Mind you, that is normal around here!
Fast forward five years and the soil is crumbly and lovely to work with. The veggies are happy and thriving, and so are the slugs, but that is another story for another day.
The harvest rush has been on in the last week. We already had collected what was left of the beetroot (see beetroot bother), but other fruit and veg were ready and needed picked before the pesky slugs had those too. The only things that seem to be safe are the tomatoes (polytunnel too dry for them) and the carrots (special anti-slug box works a treat).
In the last week, we’ve harvested the apples, onions and cabbage. That leaves the sprouts (what’s left of them), broccoli (which will be ready next year) and turnips (haven’t dared look).
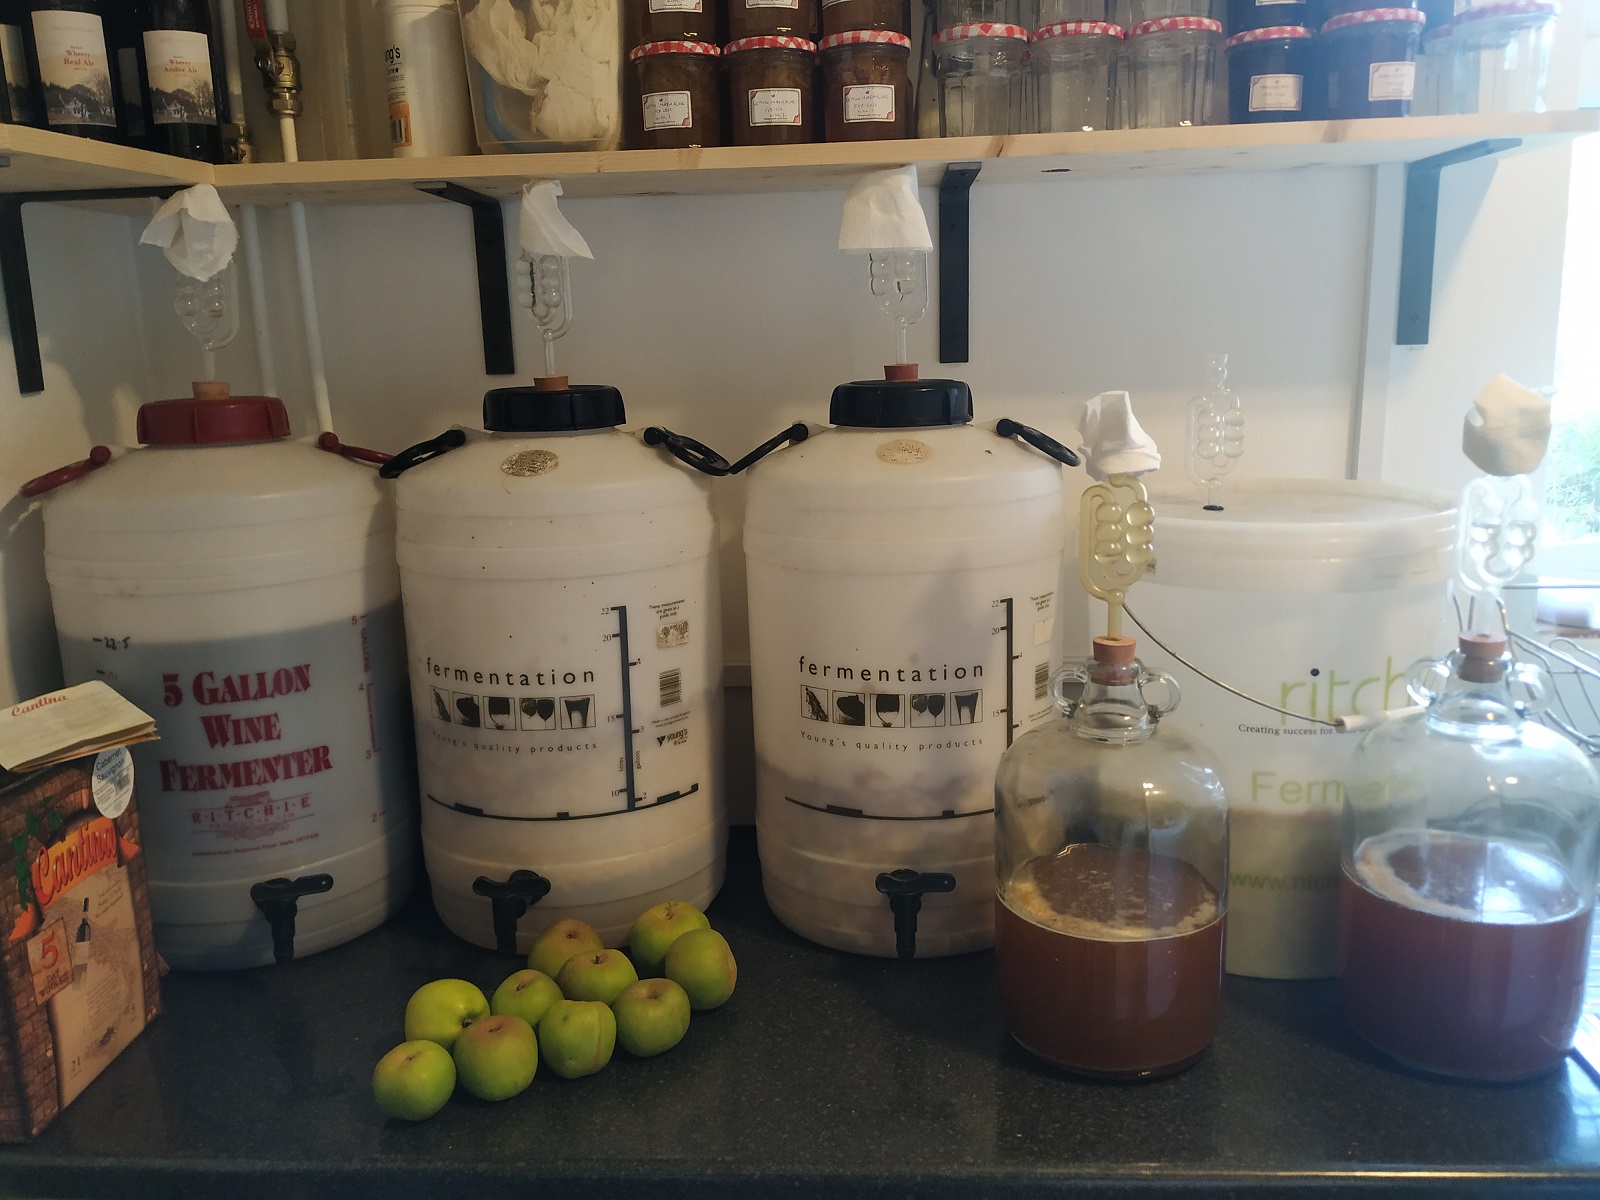
Left to right – red wine, cider vinegar (x2), sauerkraut behind 2 x cider
We got a good harvest of apples this year. The best have been set aside for eating, the rest converted into cider vinegar, cider and frozen apples for winter roasts. We got the cider press up and running this year (only taken 5 years), so got some apple juice. We got 5 litres to be exact and all is being made into cider. The eagle eyed among you might be wondering why I have split it across 2 x five litre demijohns. Well, it did all fit into one, but in my experience, wild fruit can be pretty vigorous in the fermentation process and has been known to spray the walls. Of course, nothing has happened yet as the temperature has dropped a bit and the yeast is shivering rather than getting on with it.
There are still a few late developing apples on the trees. Hopefully, they’ll be fine for eating as they come.
We also harvested all the cabbage. That, in itself, removed an army of slugs from the veggie patch. All leaves were examined carefully and any wildlife removed before the cabbage was shredded. Salt was added, massaged in and now that is also fermenting quietly. Should be ready in 3 or 4 weeks.
All takes time, but very satisfying once it’s done.
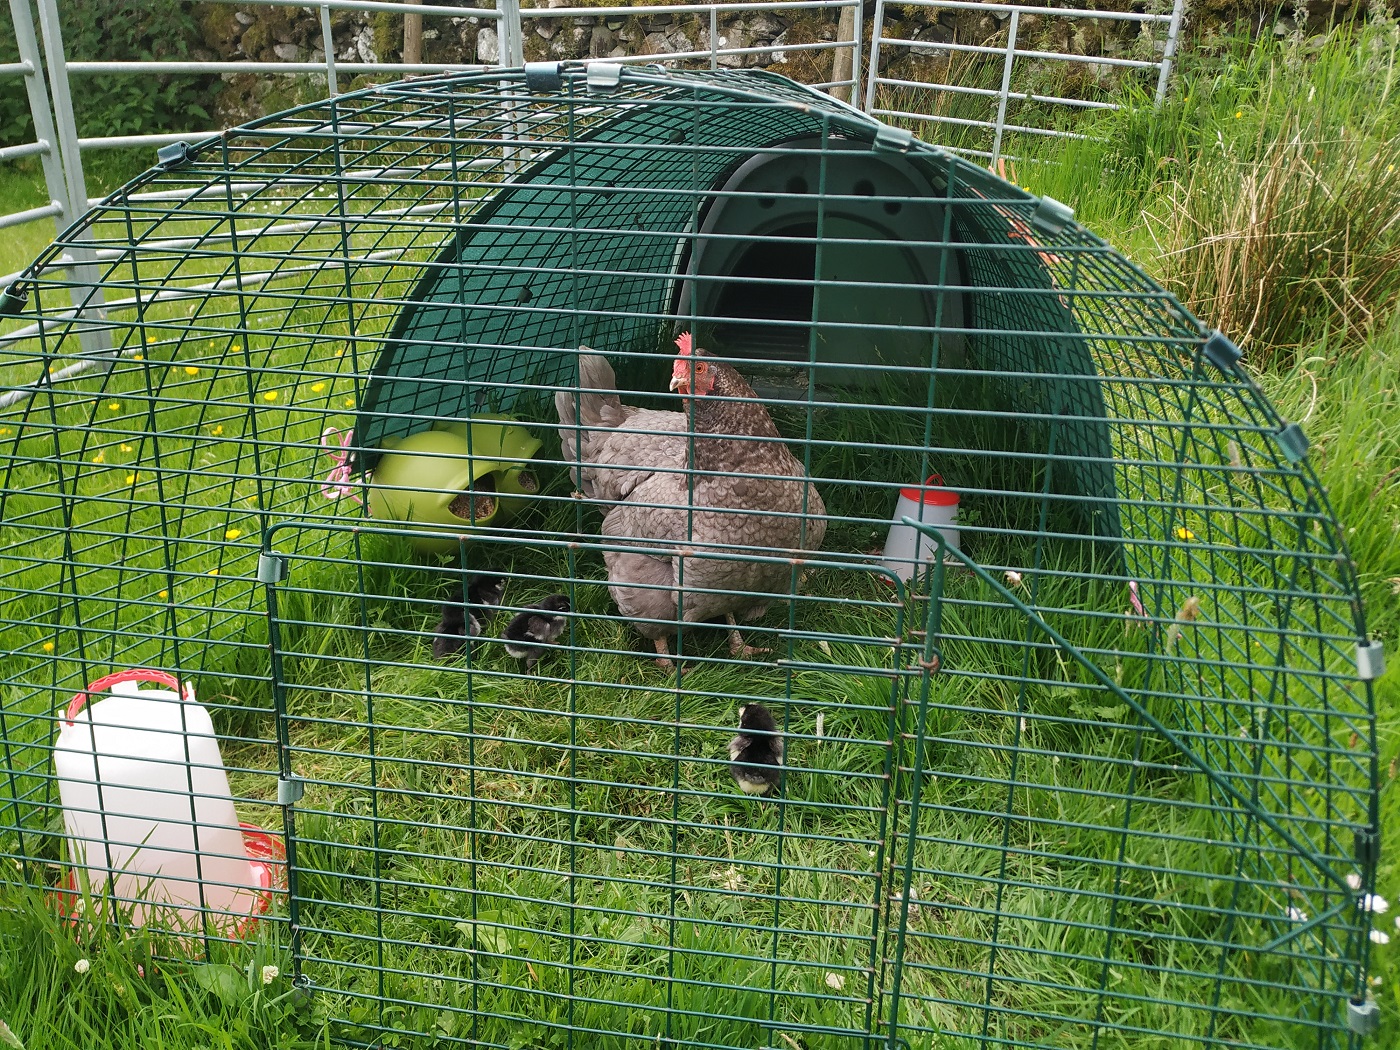
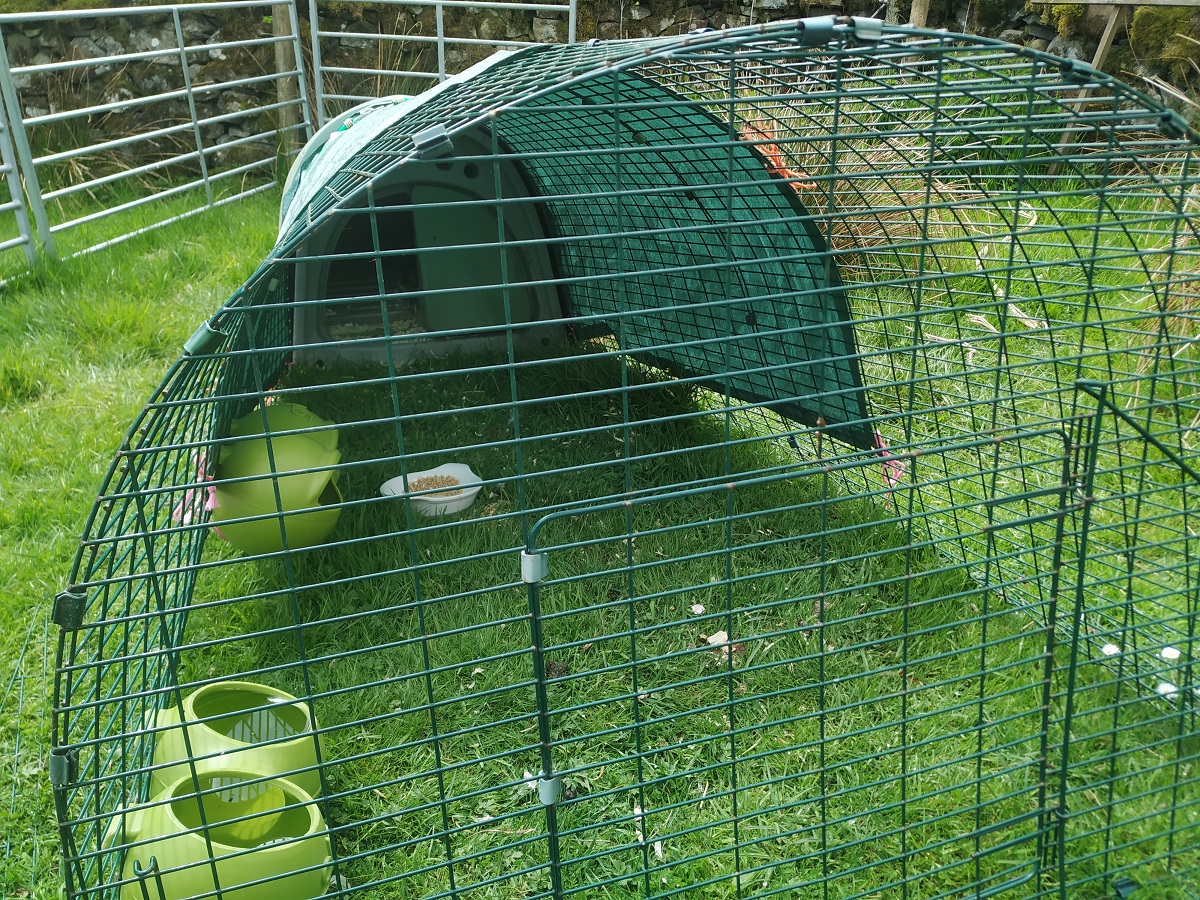
On Saturday, we spent some time watching our newly hatched chicks in their safe and secure run. It soon became clear that they already needed larger premises. Although they were safe where they were, the grass was showing signs of wear and tear plus, they needed to get out and about and get some natural food and exercise. Also, this means their mother, Mrs Mills Junior (MMJ), can teach them what they need to know. Over time, we have learned the best policy is to trust the animals – they know what they’re doing.
Our hens free range, but we do have fences to keep them away from danger, mainly the track (delivery vans) and neighbours’ cats. Though hens can fly, a 90cm high stock fence is enough to keep them contained.
In their secure facility
Having, some years back, had chicks happily charge through these fences and all over the place, we installed chicken wire around the perimeter. We also put in a few hedgehog tunnels so the hedgehogs could still roam freely. Tiny curtains were enough to stop the chicks. Over time, the odd gap had appeared. mostly around the gates. So, before we could let these chicks out, the main area needed to be checked and made chick proof.
We also decided to move the sheep out. They have been using the lambing shed to keep out of the sun and rain. This is situated in the orchard where the hens roam. Fortunately, we have a field shelter and a “silvo shelter” so we closed off access to the hen area. The other hens will find their roaming area reduced, but it’s still an acre or so.
Sunday, we set to work. I say ‘we’, but mean ‘me’, Nicole being busy with our new dog Elliot, I raised the ground level under three gates using some of the road scalpings we have for just such occasions. Ten barrow loads or so were duly wheeled in. I also attached chicken netting to the gates and made sure the gaps at either end were covered.
That done, we opened the door at the front of the run. MMJ was initially reluctant to set forth, but eventually wandered through. She was closely followed by four chicks. As she headed slightly further away, chick number five ran up and down inside the run, not quite able to work out how to follow her. Thankfully, she did find the exit and caught up.
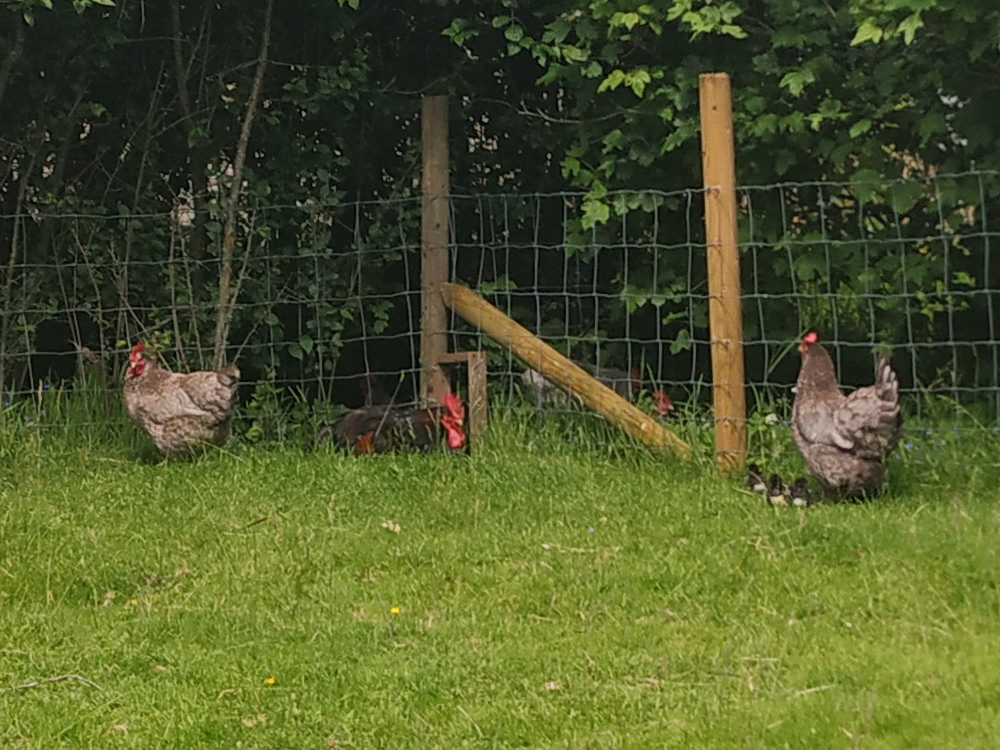
Saying hello to the others
Having sat on eggs and chicks for three to four weeks, the first thing MMJ did was have a dust bath. She found a shady corner and got to digging, all the while making contented clucking sounds. The chicks stood around waiting, bored, until having waited long enough, they started jumping all over her. Eventually, MMJ got the hint and took them for a walk. The other hens had seen them by now but, thankfully, seemed completely disinterested. In fact, MMJ took them over to say hello and announced their presence by jumping onto Clippy, the flock matriarch, and giving her a taste of what might happen should she get too close to her precious chicks.
tempted by strawberries
We kept a close eye on them all, but MMJ seemed to know what she was doing so eventually we left her to it. After, of course, we’d tempted them into camera range with a few chopped up strawberries.
Chicks being little cutie pies, we took a few photos and these can be found in the chicks gallery. We may add some as they grow up. In the meantime, it’s loads of stress for us as we worry about cats, kites, buzzards, golden eagles (we have the occasional visit), sparrowhawks, crows, stoats, foxes and so on.
About three weeks ago, we mentioned we had a broody hen (Broody Hens Conundrum); Mrs Mills Junior (MMJ) to be precise. After last year when two hens sat on eggs but none hatched, we decided to source fertilised eggs. It was made easy by the fact that MMJ was broody but not actually sitting on any eggs.
secure location
So, we moved her to a secure location, her own personal run safe and secure from the weather, predators and nosey hens. We settled eight eggs underneath her and sat back to wait. 24 days was the time to hatching according to reliable sources.
This week, they hatched, a little early we suspect. First we knew was Friday morning when a tiny ‘seep seep’ could be heard. Peering down the run into the hen house revealed MMJ peering back accompanied by a hatchling stretching its neck to look at us. We had chicks!
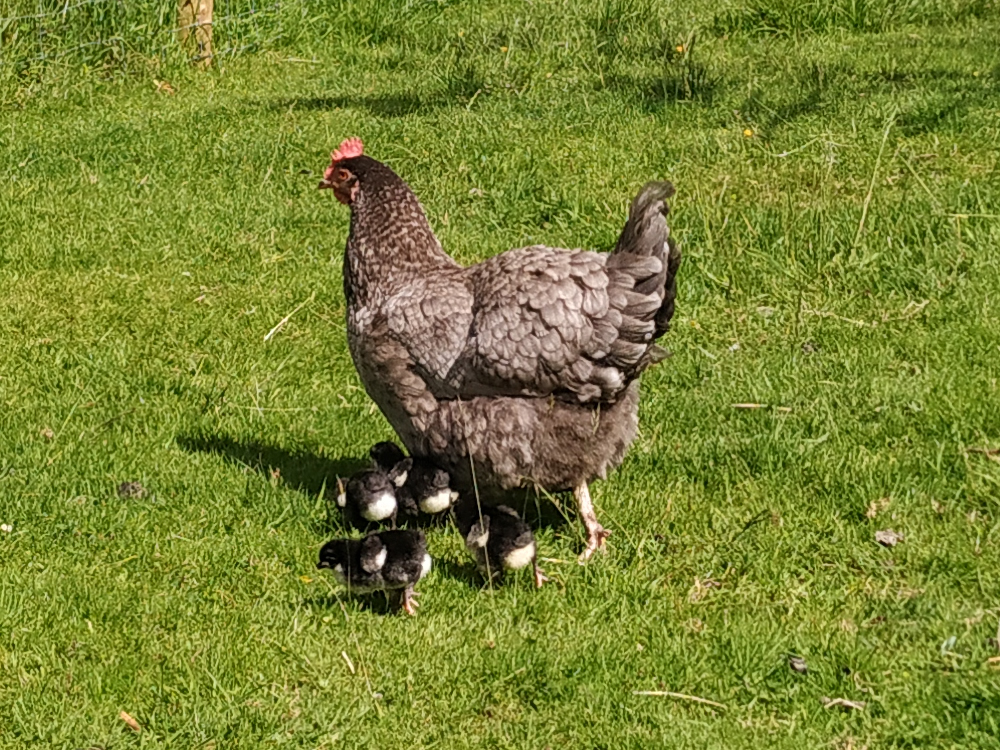
We kept our distance, despite much temptation to peek more closely. Today, we were rewarded by the sight of MMJ taking her brood out for a walk in the sunshine. I say walk, what I really meant was nap. MMJ was sitting there happily and one tiny head was poking out from under one of her wings. We both stood and watched, our breath held in anticipation. A few minutes later (long minutes let me tell you), a second head popped out from under her front. Two chicks. Moments later, two more heads. Four chicks.
Eventually, all four squeezed out and started mooching around in the grass under MMJ’s watchful eyes.
At this point, Nicole sneaked round and checked the hen house. Of the eight eggs, five had hatched. We waited and watched, but number 5 never appeared. With things to do, including sheep to shear (Shearing 2022 – hand clipping the woolly Ryelands), we left them to it.
Later on, I made a cuppa for Nicole and took it to her at the shearing pen. On the way back, I checked in on MMJ. She was up and about scratching away happily and was surrounded by five chicks.
This is excellent news. Not only will we have chicks brought up and accepted into the flock, MMJ only had to sit for 3 weeks. Last year, sitting on eggs that turned out not to be fertilised, Clippy and Pepper sat for 9 or 10 weeks, maybe longer, and their condition suffered as a result. MMJ’s comb is bright red, as it should be, and she looks to be in excellent condition. All in all, we are well pleased we decided to give her her own enclosed space.
Next job, check the wider perimeter so the chicks can’t get through the fence onto the track.
This year we decided to hand clip our flock. We normally have them sheared by a pro and in recent years we’ve had a lovely chap round called Guy who specialises in small flocks. He does a great job and we’re really pleased to be on his books.
It was our sheep Vera who got us thinking about hand clipping this year. Vera has a sun allergy and each year just after shearing poor Vera gets the itchies. She comes up in red spots and we need to give her cream and steroids to help her cope. This goes on all summer from June until October when the weather cools down and her wool starts growing again. Although her sun allergy came about originally as a result of eating a toxic plant a few years back, we think losing her fleece at shearing time is definitely a trigger for “the itches”. We also think her skin might be a little irritated by the shearing blades.
So we thought we’d hand clip Vera this year and not give her a “number 1” hair cut, we’d give her a neat trim instead using hand shears. We thought leaving a little covering of wool on her might help her skin.
Happy with this plan we then had a radical thought, why stop at Vera, let’s hand clip them all!
starting …
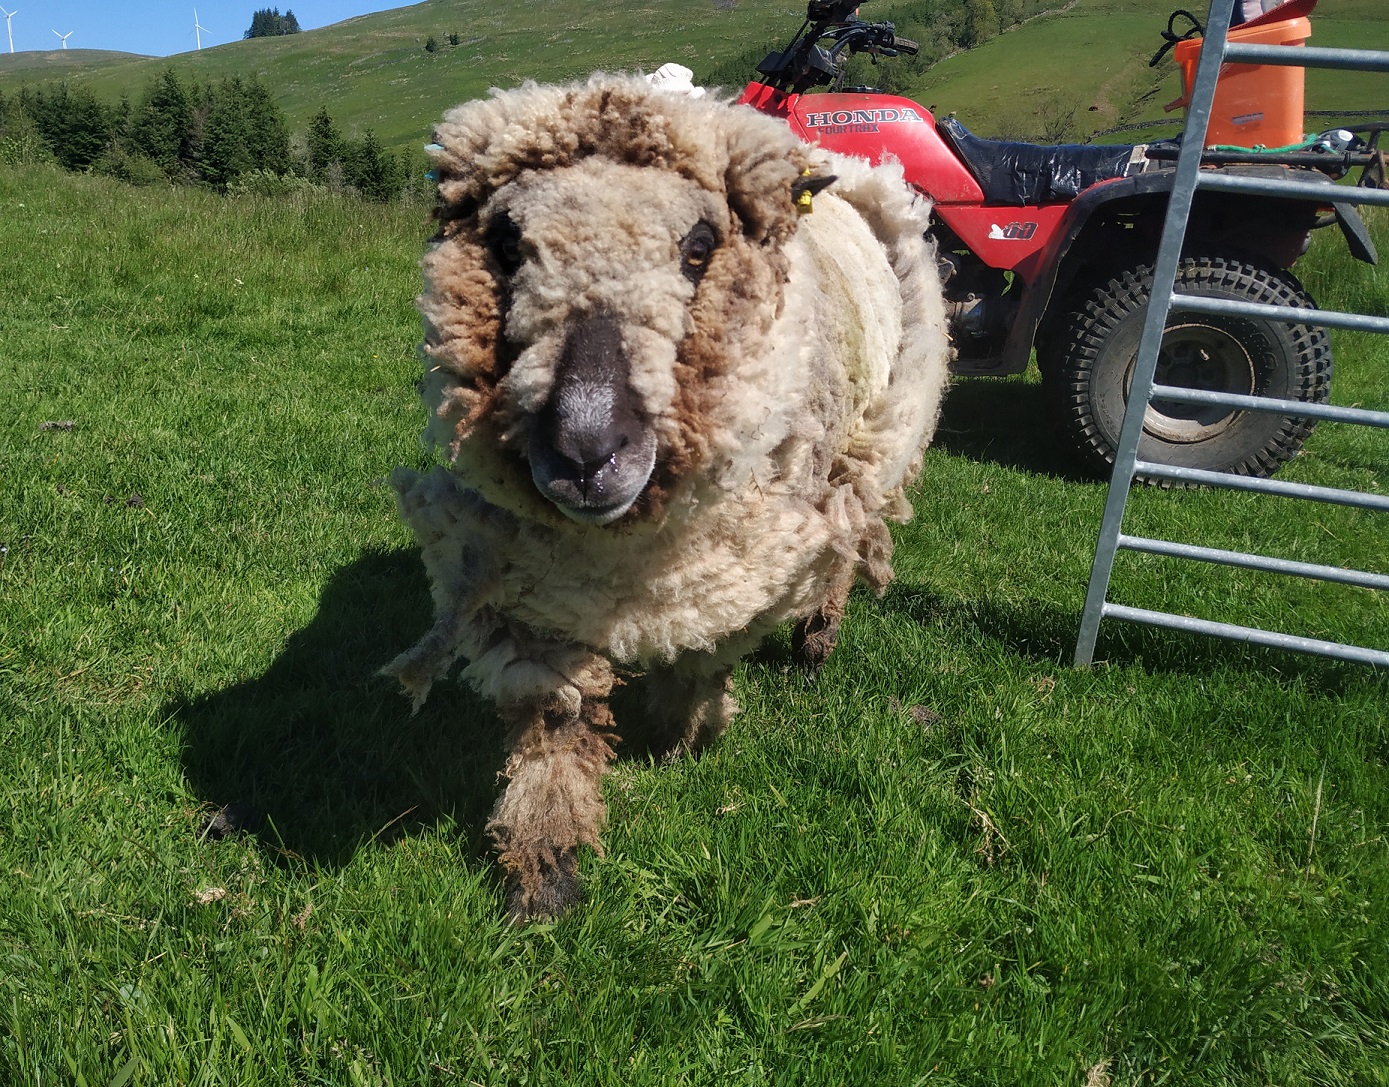
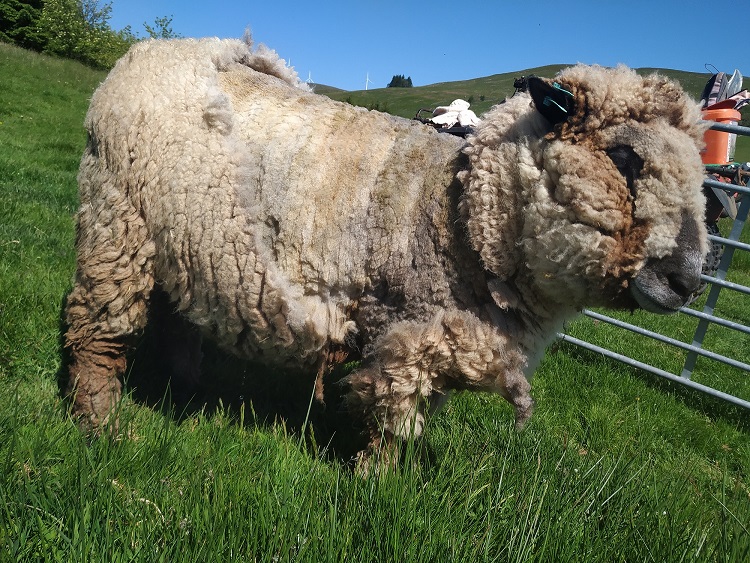
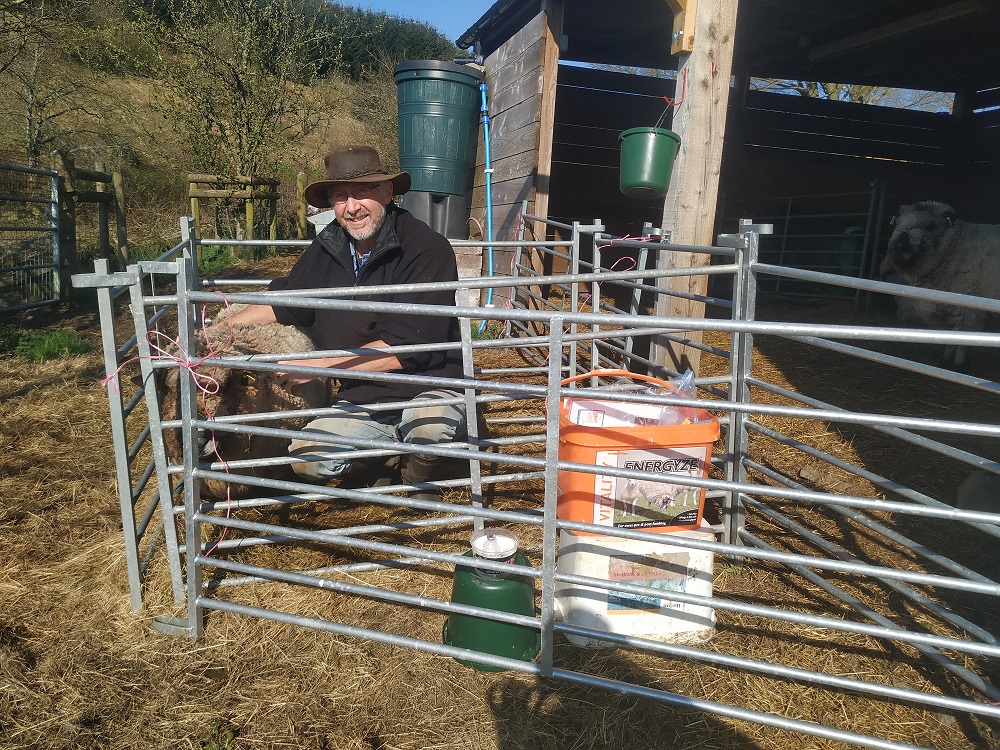
The result being that off I went this morning to shear my first sheep, Yaar! (aka Mr Roly Poly).
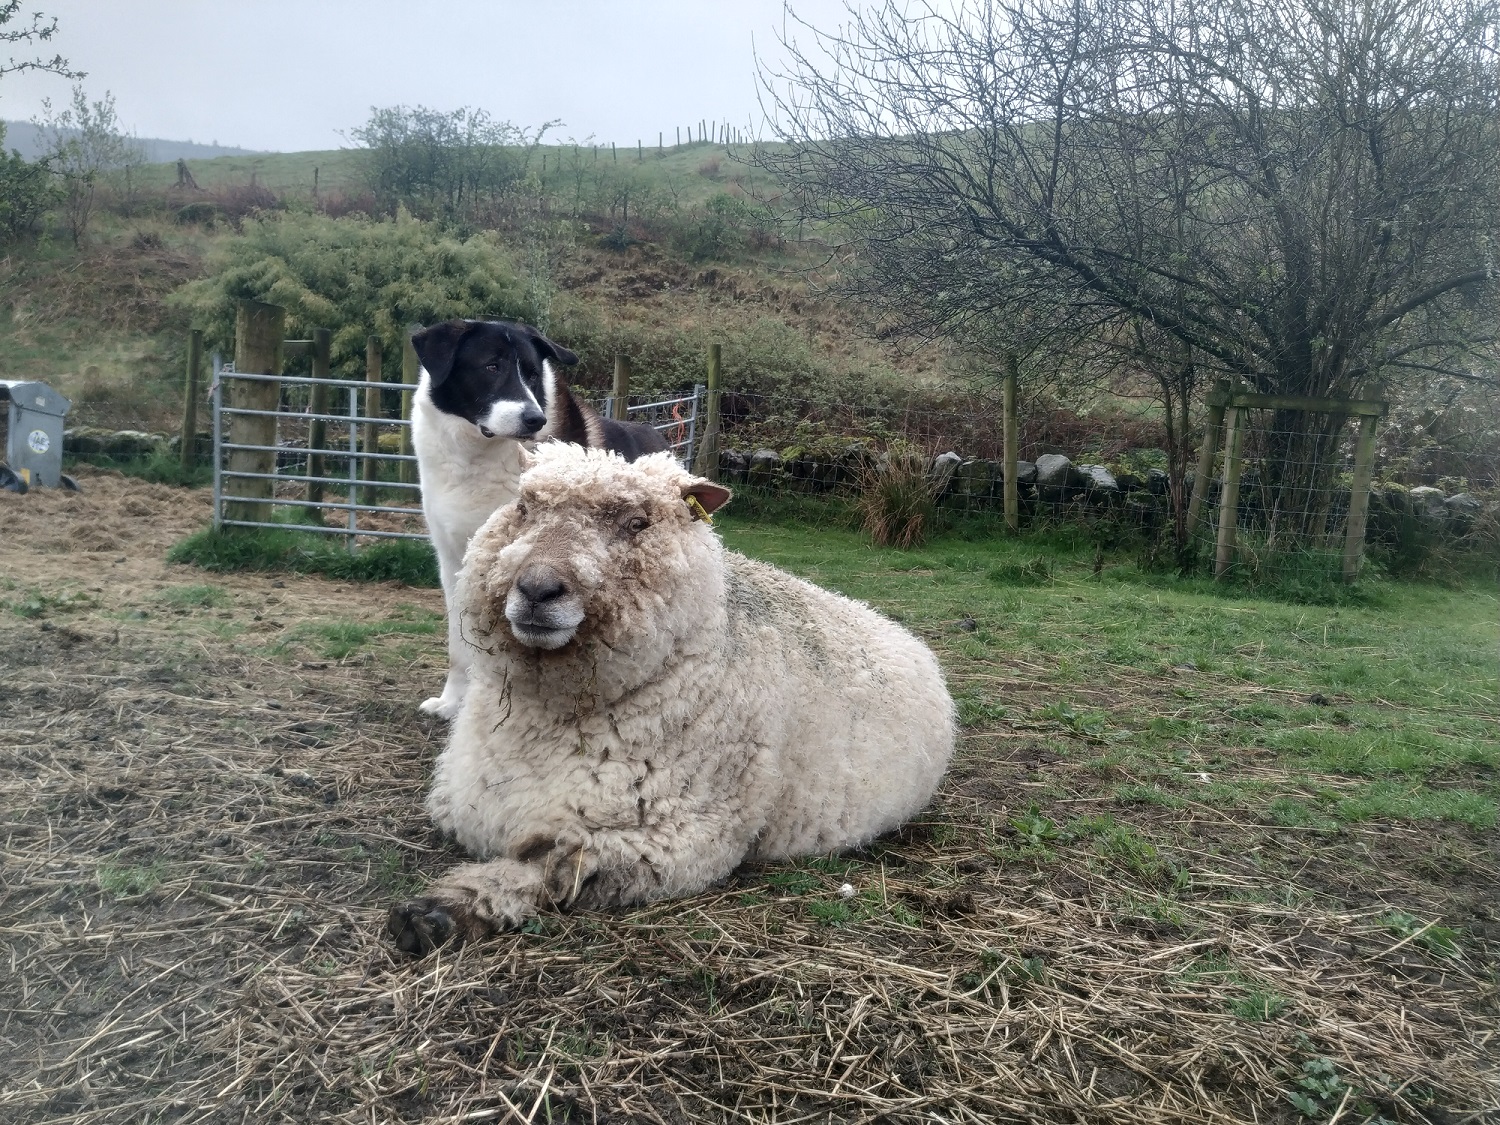
Originally myself and Adrian were going to share the task of shearing, but we received Elliot our new dog last week. We’ve not trained him (or the sheep) to be in each other’s company yet so Adrian is on dog duty while I’m going to be shearing solo.
So, off I went on the quad bike with four hurdles rattling around on the back tied on with bailer twine. I also had with me my trusty pink rucksack containing my newly purchased shears, halter, water bottle, wound spray, plasters and some sheep nuts .
Slightly nervous, this being my first time hand clipping, I found the sheep in one of the top fields and set up a pen where they were, in situ. They gathered round curious as I laid everything out, including my instructions on a piece of paper which promptly blew away.
making progress
I brought Yaar into the pen and got to work.
As you can see from the photos, I decided to clip the sheep with them standing up as opposed to the more usual way which is where you have them in a sitting position between your legs and move “as one” with the sheep. Our flock are a relaxed bunch and are happy chewing cud and breathing in our ears while we do whatever needs doing to them. That said, this morning I did pop a halter on Yaar in case he decided to wander off at a critical moment.
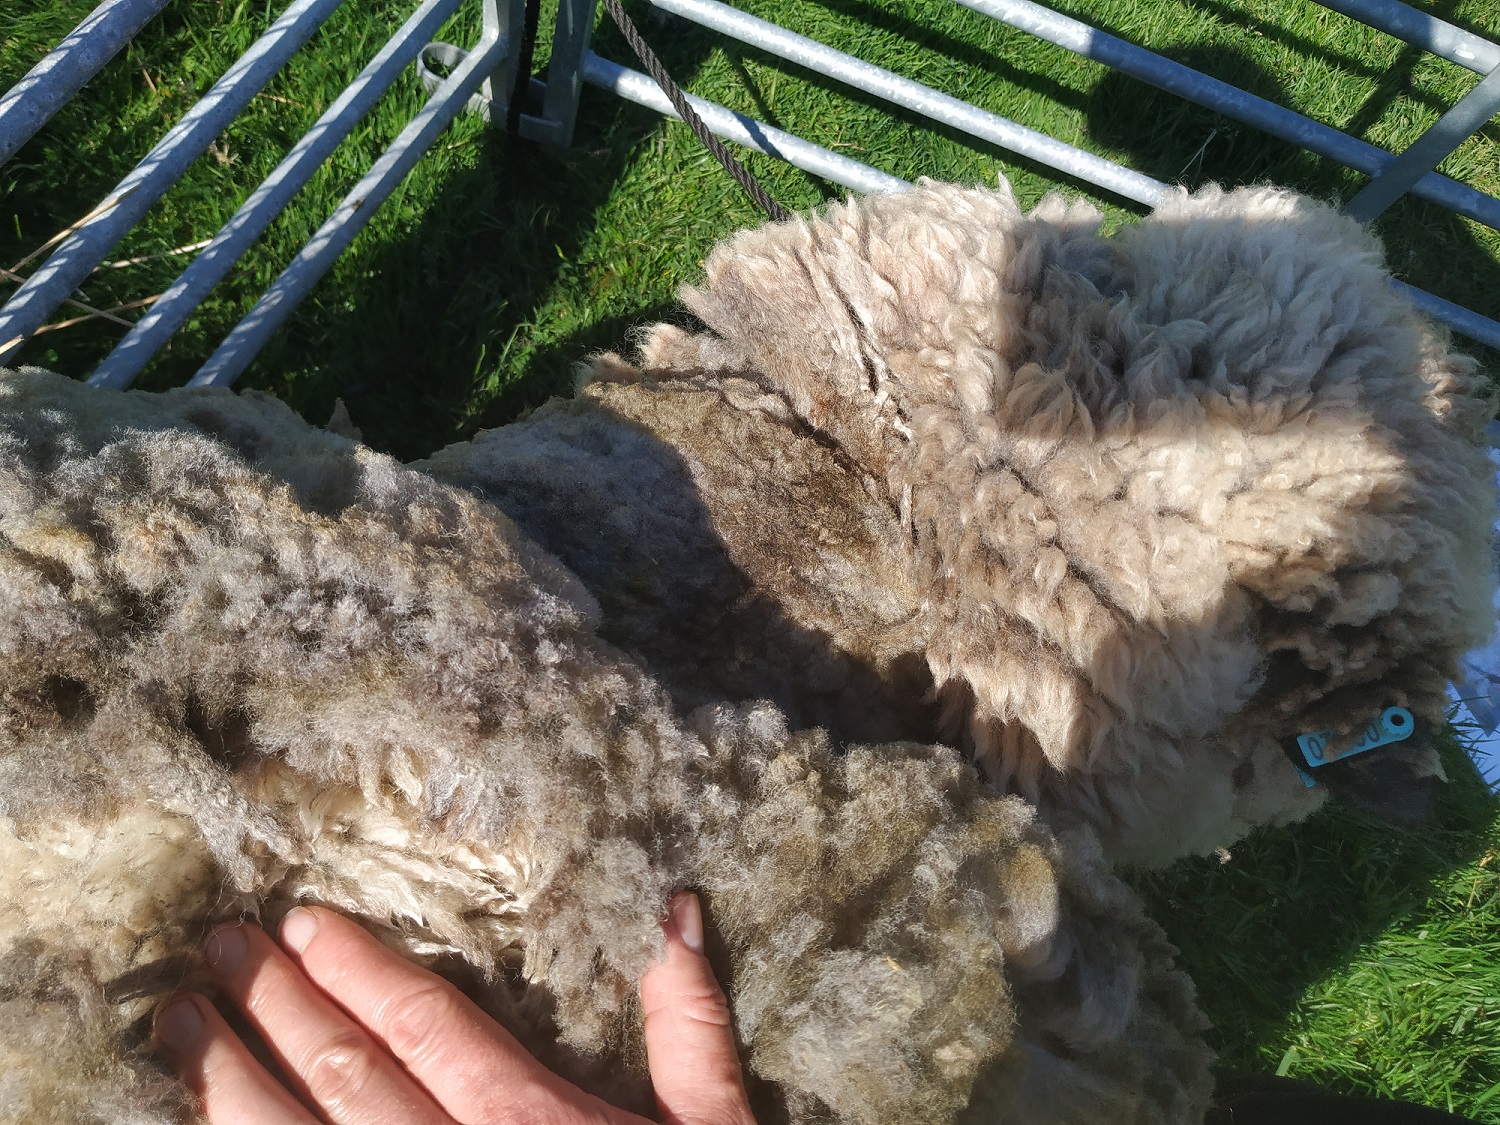
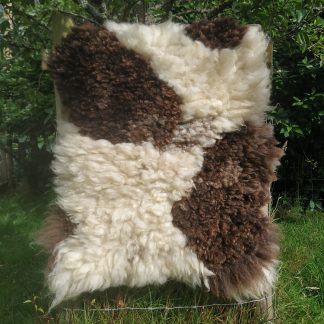
I started at the nape of the neck and clipped away. An hour or so in I was quite pleased with my progress, I’d taken off most of the wool from his “barrel” and miraculously I’d managed to do it so it came off in one piece, a bit like peeling an orange. As I use their fleeces to make things with I didn’t want it all in bits floating around the hills!
After two hours of work I could tell Yaar was getting bored and I needed a cup of tea and something to eat so I let him out and went back to the house for some refreshment.
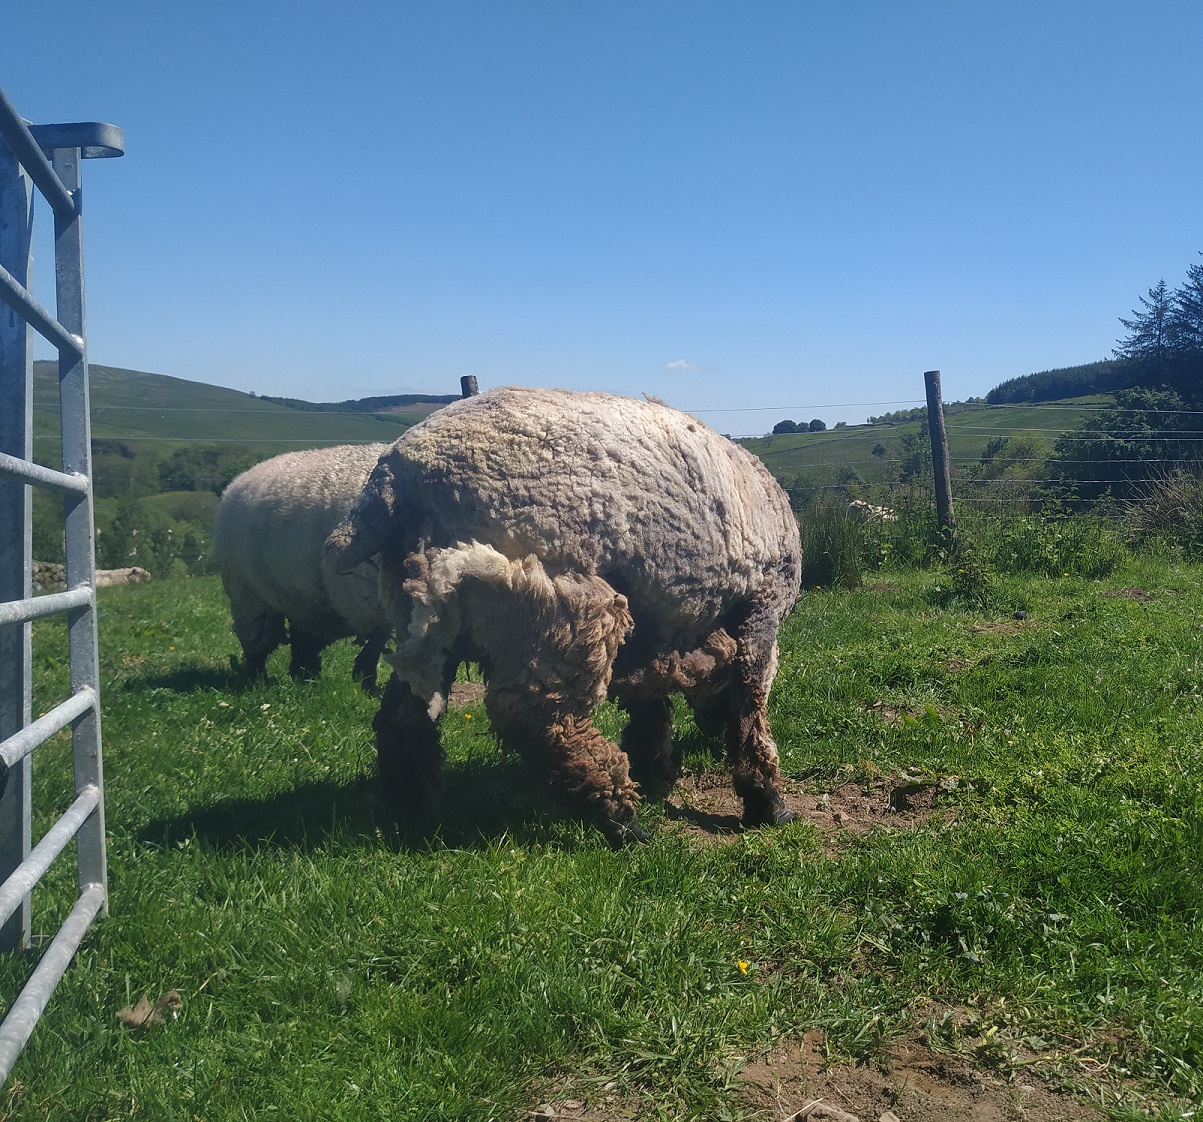
about halfway
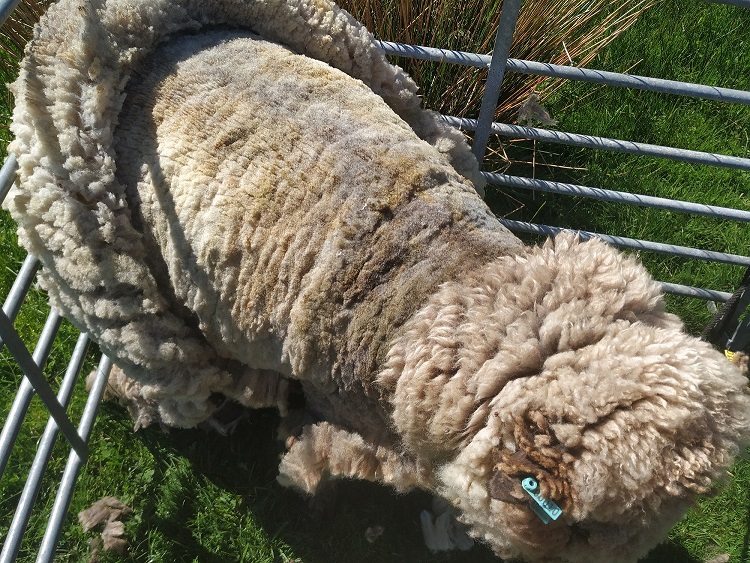
Half an hour later, re-energised, I went back and worked some more until lunch time. By now I’d done all of him except one of his back legs and his tummy.
just the back lets and tummy to go
After lunch I went back and finished him off. The trickiest part was definitely his tummy, Ryelands have a lot of wool on their tummies, more than most sheep and I had to watch that I didn’t accidentally castrate him. Poor Yaar, he let me crawl underneath him like a mechanic, he was so patient with me!
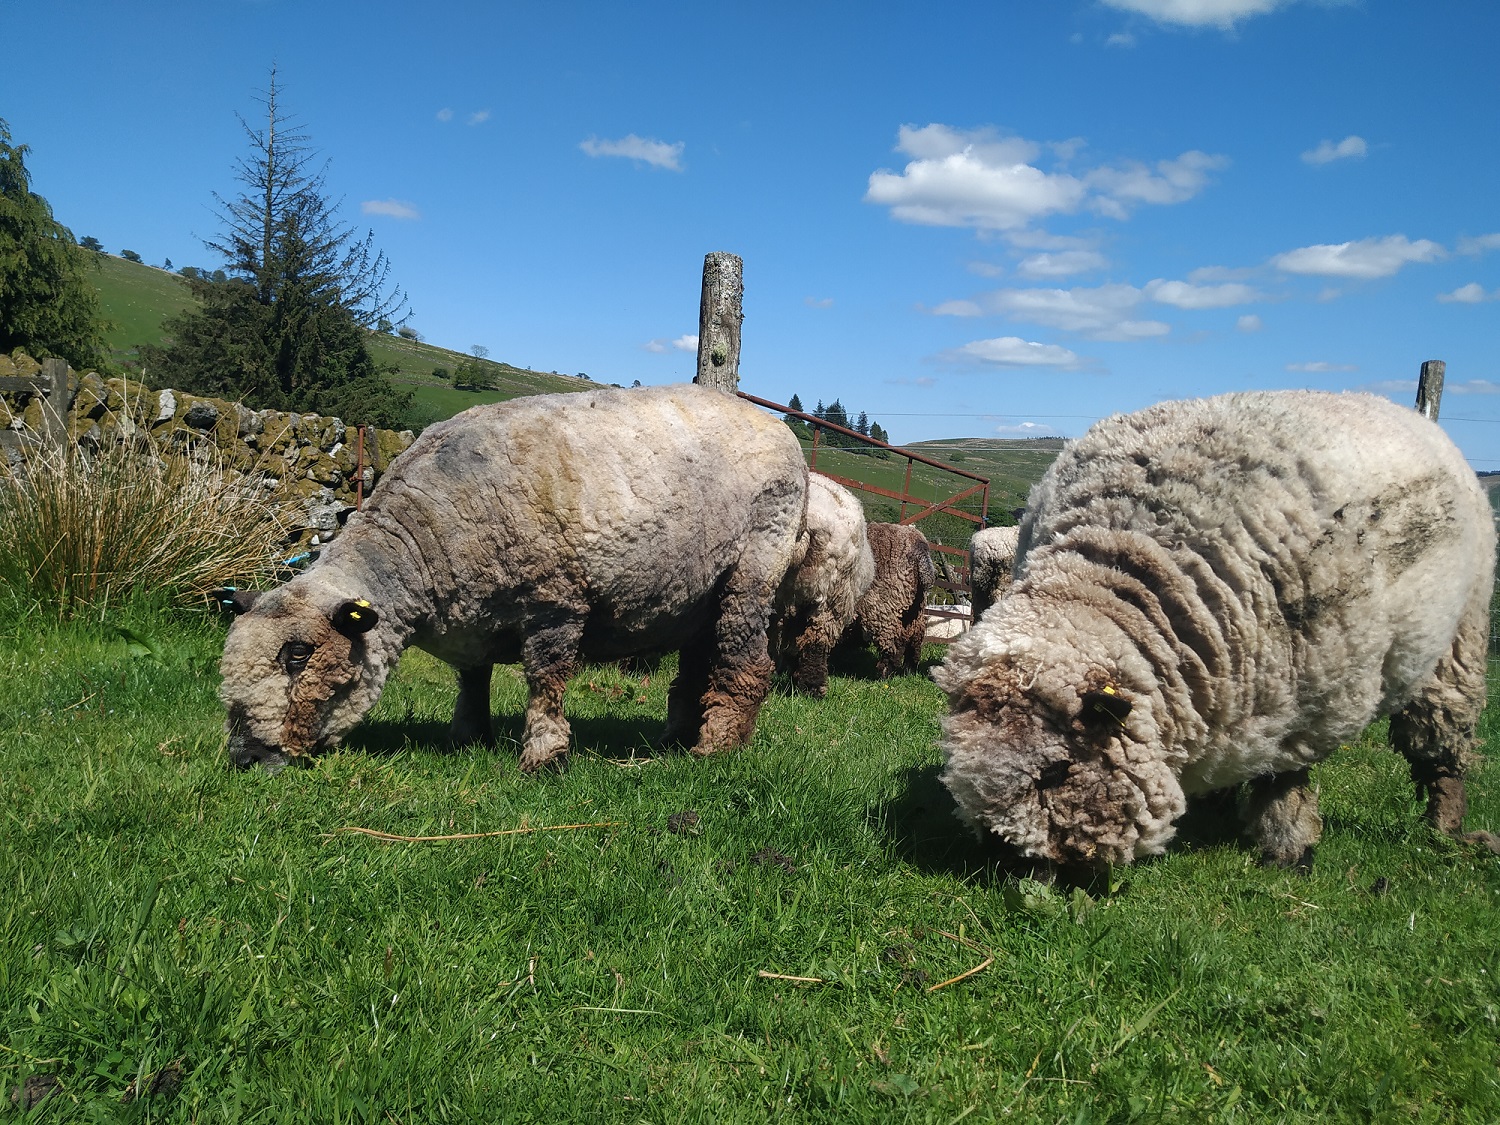
all done!
By mid afternoon I’d finished, I calculated I’d worked on him for about three hours not including all the breaks. I’m hoping the more I shear the faster I’ll get and hopefully I’ll have them all done and sporting new haircuts by the end of June!
For a while now Adrian and I have been thinking about silvopasture. This is a pasture system where livestock are given controlled access to trees so they can enjoy the benefits of woodland grazing.
Silvopasture has loads of benefits, not only to livestock but also on a grander scale to the planet. The more trees which are introduced to pasture systems the more diverse flora and fauna there is and the less “green deserts” there are (sterile fields). And let’s not forget the biggie; trees are a great way to contribute towards carbon sequestration.
But coming back to livestock and in particular to sheep, as you might have read in previous stories of ours sheep love trees, they use them as scratch posts and enjoy the shelter they provide, but they particularly enjoy eating them! So, when thinking about silvopasture, the fact that livestock are rather partial to tree bark and low growing branches means any woodland grazing needs to be carefully thought about.
Done properly, livestock is given controlled access to woodland grazing, usually in strips, which minimises the risk of tree damage and overgrazing. Not allowing permanent access to woodland allows the all important flora to regenerate and continue providing delicious forage for our livestock friends year upon year.
With this in mind, we thought long and hard about how to create an area of silvopasture for our little flock. All the woodland we have around our fields is young and so not ideal. It is also surrounded by a deer fence and if we gave the sheep access we might accidentally trap a deer within the woodland which would be a problem for both the deer and the young trees.
Then Adrian had a brainwave, we have a copse ideally situated in one of the sheep’s favourite fields. The trees are mature and would provide plenty of shade. It wouldn’t be great grazing, but as an alternative field shelter it would be just the ticket!
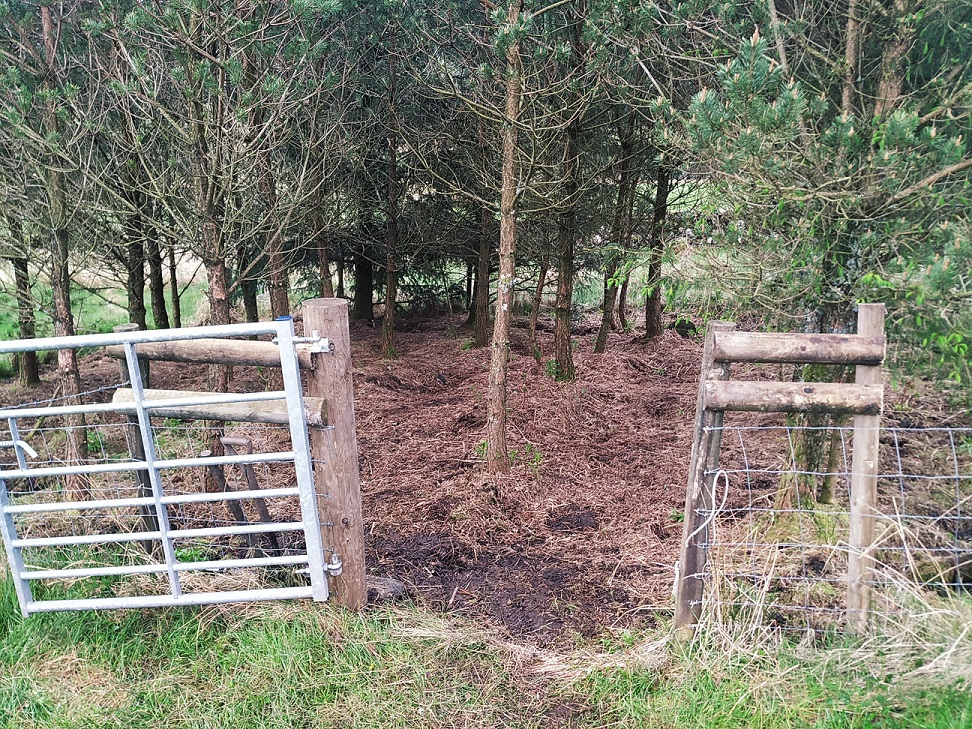
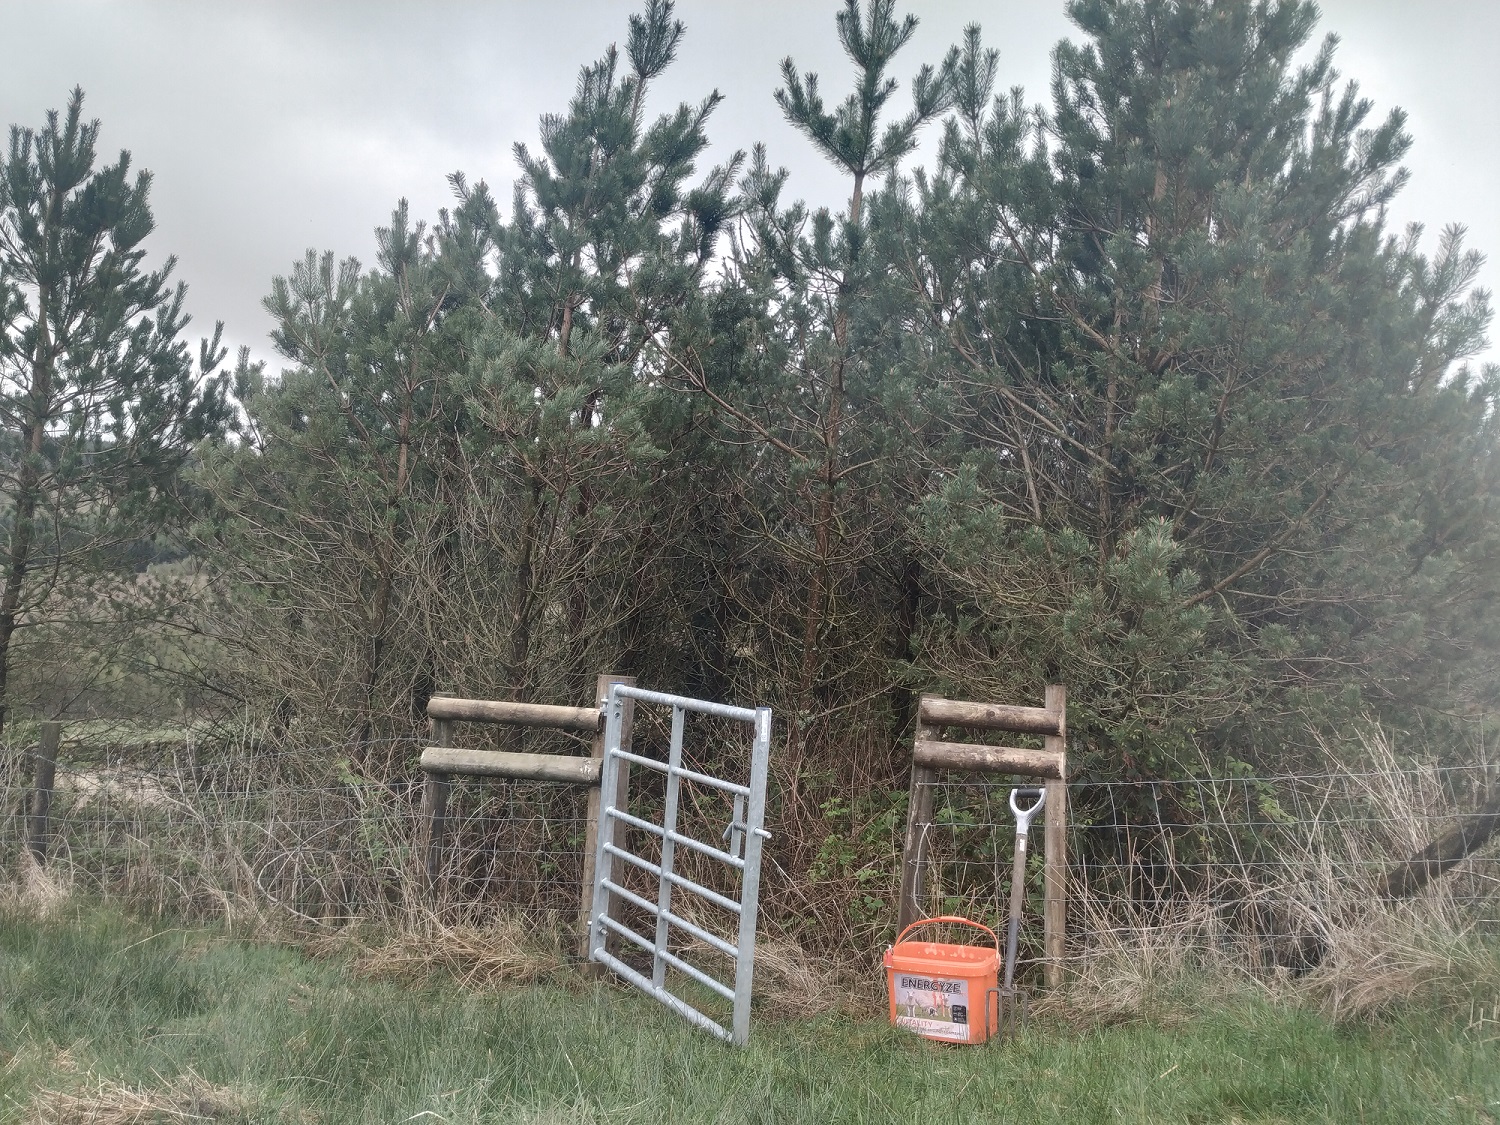
the copse before we started work on it
Currently fenced off, the copse comprises mostly conifers (we would have preferred more of a variety of trees and are already planning interplanting some deciduous trees in amongst the evergreens). But the location of the copse is good so we’re going to work with it.
Now that our main focus would be to give the sheep somewhere shady to go on hot days we would be able to close off the field shelter which is a magnet for flies. Building the shelter seemed like a good idea at the time but looking back we probably wouldn’t have built it now. There is little airflow and although it provides shade and we keep it mucked out, flies are a big problem.
The great thing about silvopasture is that the trees provide shade, but because there is good air flow, there are a lot less flies hanging around than there would be in a field shelter.
As I’ve mentioned in previous stories, flies, especially the Blowfly are bad news for sheep. Flies in general are annoying but the Blowfly can kill. Flies are always a concern for us during the summer but it’s a tricky one because sheep don’t fare well in hot weather and actively seek out shady areas to sit in and chew the cud. But if the air flow isn’t good then flies will be a problem which can be just as stressful, if not more so, than the hot sun.
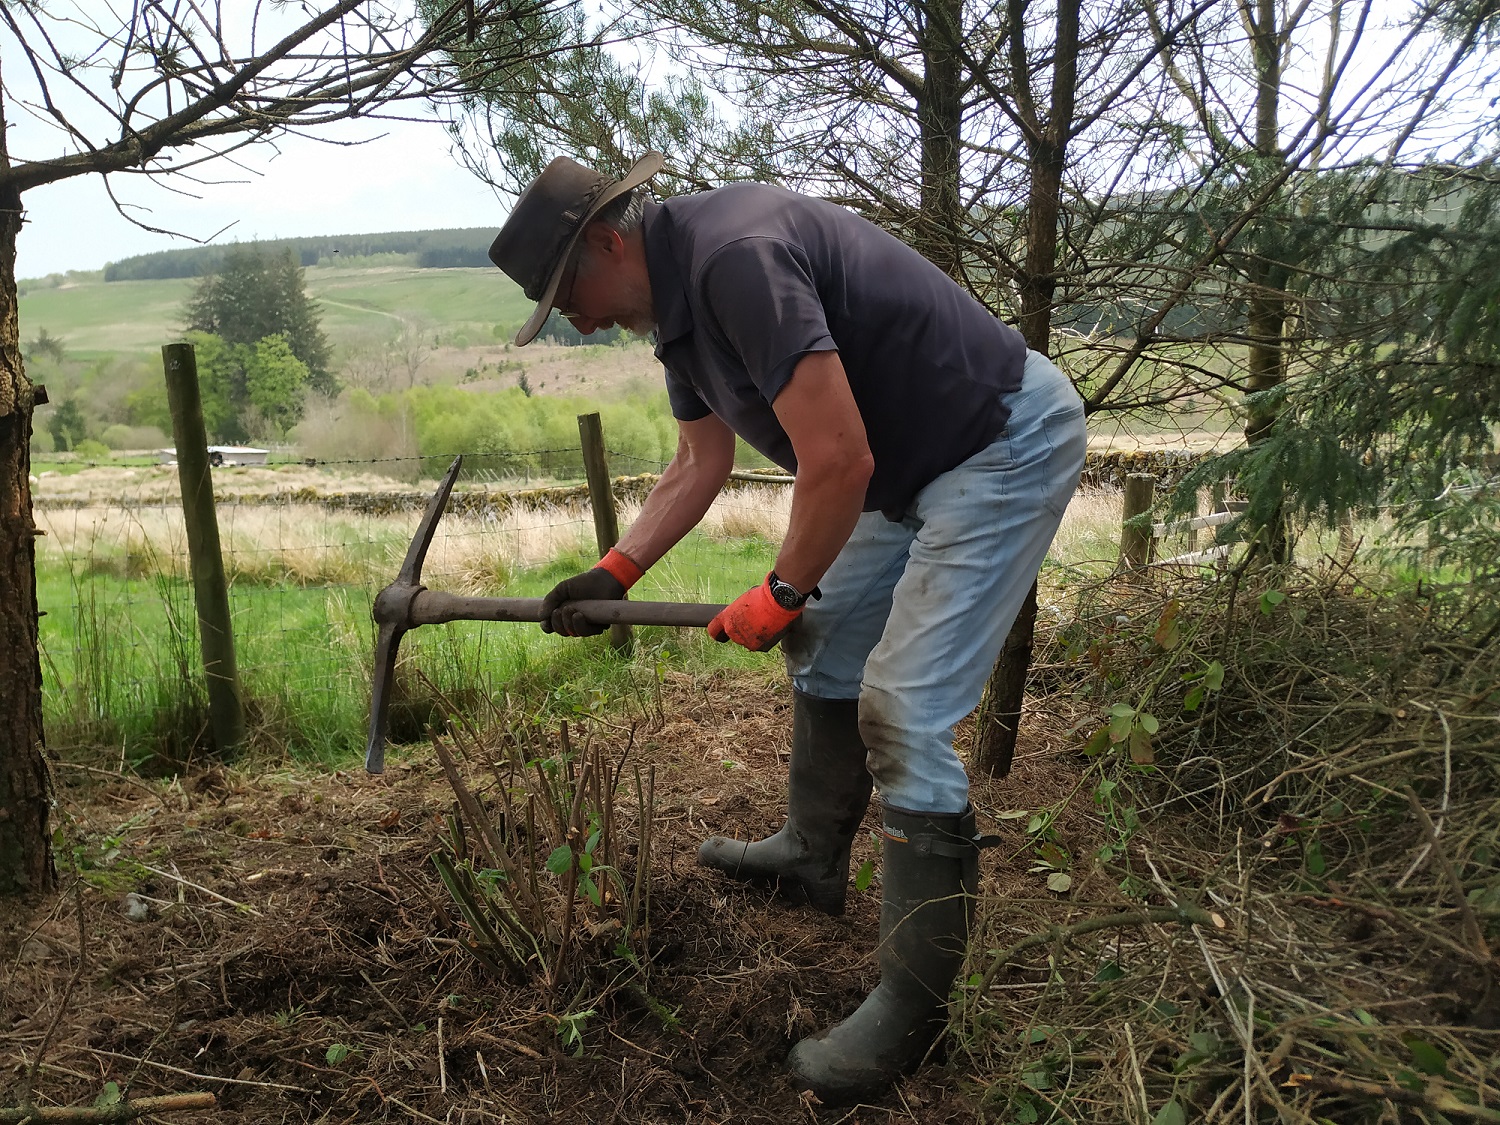
digging out bramble roots
When we made the decision to shut off access to the field shelter last month the sheep were not impressed at all. Despite it being less than ideal, they still love it and go there every day in the hope that they might be allowed in. It’s hard to see them missing their favourite haunt, but we know the new shady area will be a much better environment for them. We did explain this when we shut them out but they weren’t convinced. Sheep are creatures of habit and trundling off to sit in the old field shelter is still firmly part of their daily routine.
Just over two weeks ago we began work on the copse. First of all, Adrian created access to it by way of a wooden gate. This meant banging in a gatepost so we could fix the gate to it.
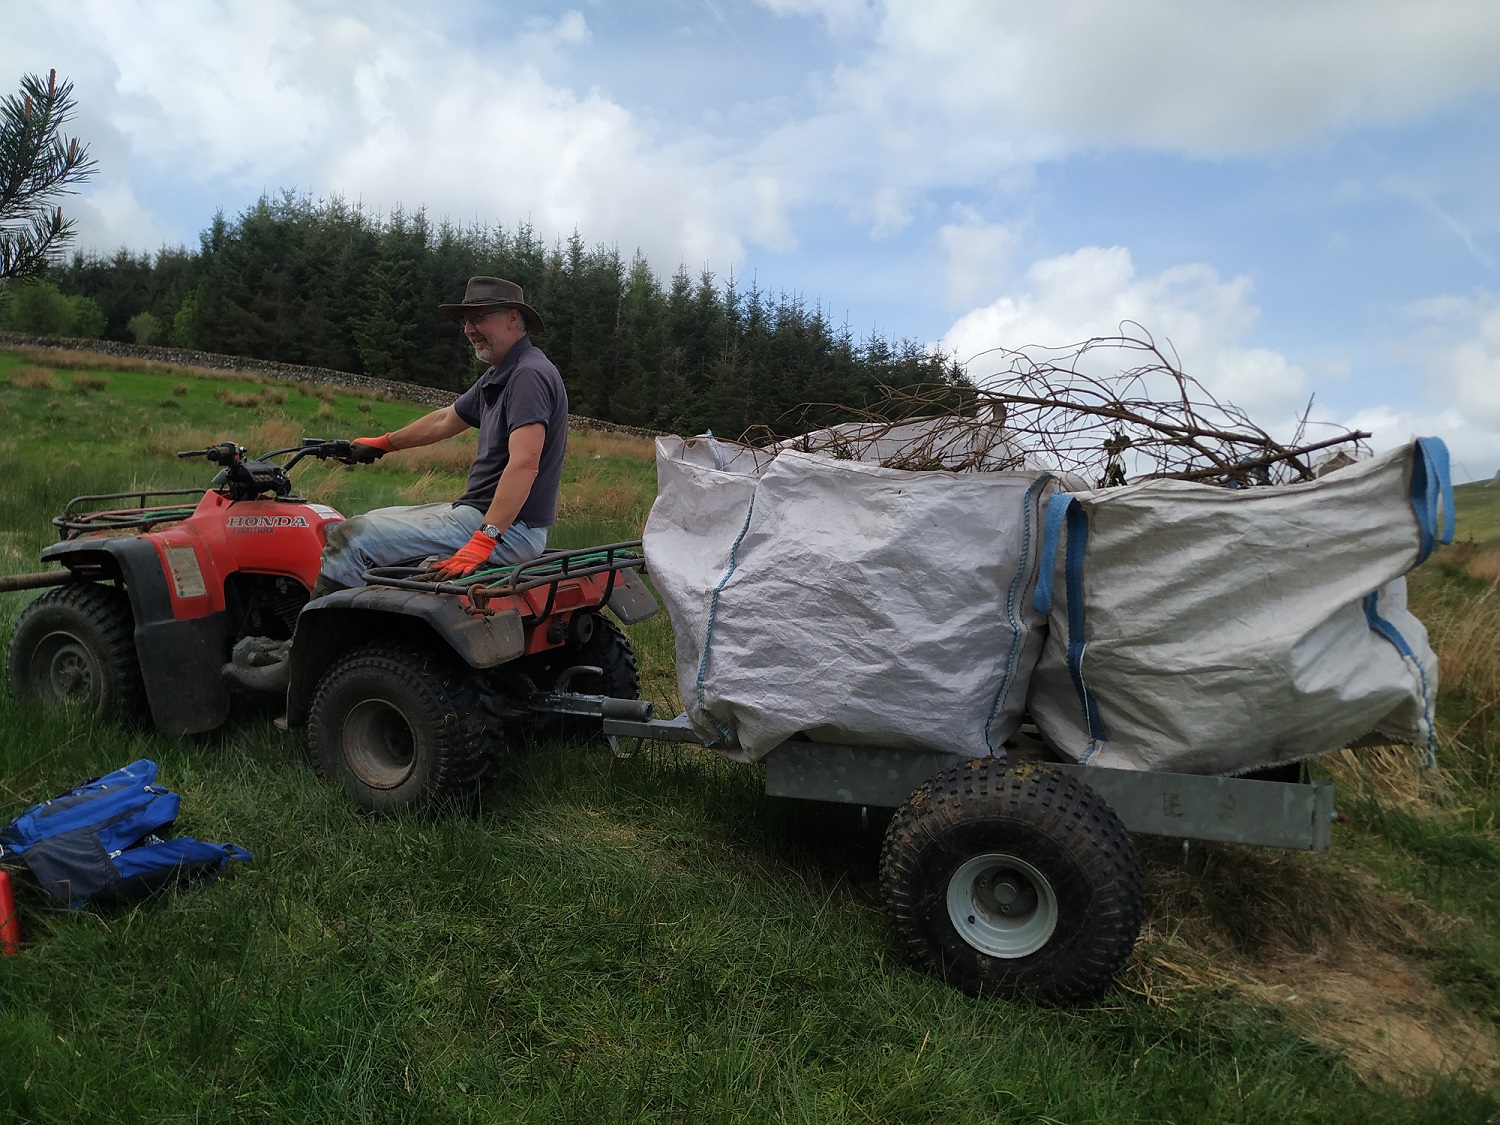
taking away endless bags of brambles
This done, we got our secateurs, loppers and pick axe and began work on the brambles. The copse was absolutely choked with them, they completely carpeted the ground and were halfway up the trees. We really had our work cut out.
We filled 12 big dumpy bags full of bramble branches and roots, we worked for two hours a day and gathered many splinters, so many we lost count.
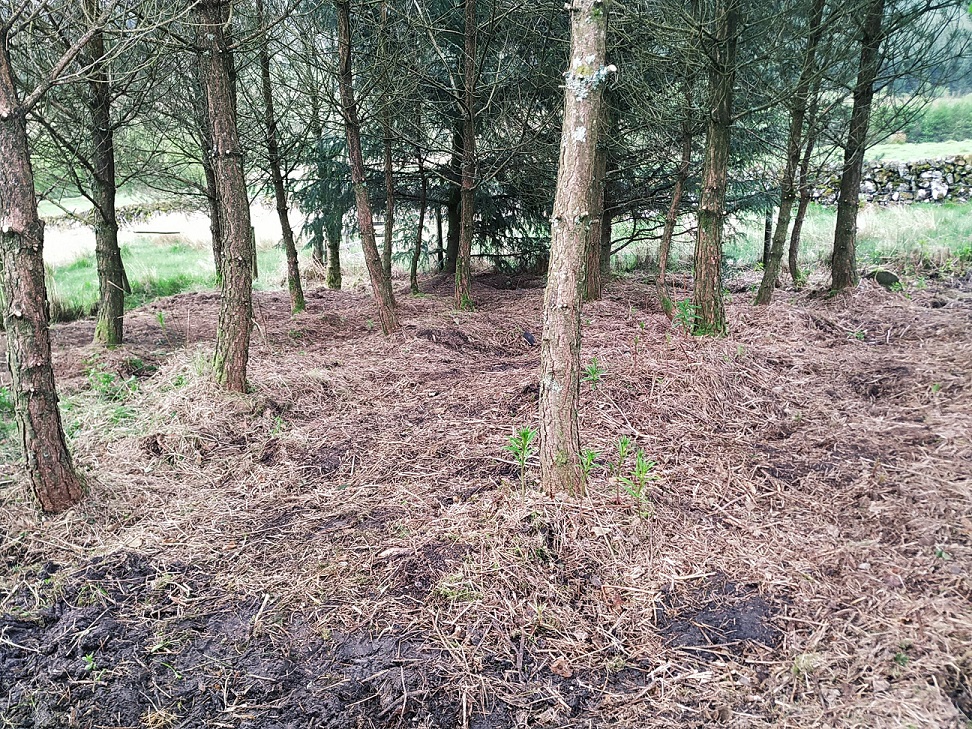
But at long last, yesterday evening we pulled out our last bramble and were able to sit back and admire our work with a much deserved cup of tea and slice of flapjack. It was a very satisfying moment!
“after”
We will let the dust settle for two weeks and then let the sheep in. They’ll only be allowed in on hot days. We’re hoping that by only giving them occasional access during the summer when there’s plenty of grass about, they won’t be tempted to nibble bark and low growing branches.
There will be another story coming soon about how the sheep react when we let them into their “silvoshelter”, we can’t wait to see their faces when we open the gate for them and let them in to investigate!
A few years ago Adrian and I were a normal couple who had summer holidays and long weekends off, lazy Sundays and spontaneous trips away.
And then we got sheep…
To be honest, we were a little naïve when we acquired our mini flock back in 2014. We wanted to keep the grass down and I fancied doing something with wool.
our first sheep
Little did we know just how much those three innocent looking teddy bears were about to change our lives.
Our first inkling came when we went to the Mole Valley Agricultural store in Bridgewater (in Somerset where we used to live) to buy some sheep equipment. I remember that day well, we were really excited and had a long, carefully researched shopping list containing interesting sounding farmy things like drench guns, hoof shears, hurdles and hay feeders.
After ordering the hurdles, feeders and troughs from the outside bit, we went into the shop to get the rest. We popped hoof shears, a hoof pick, dagging shears, halters, bucket licks and nuts into our trolley. Then we went round to the medicines aisle where we confidently selected a bottle of antiseptic spray.
On our shopping list I’d also written “wormer”, “fluke meds” and “fly spray”. But we weren’t sure which type or brand to buy. There was so much choice! It felt very much like the washing powder aisle in Tesco’s which is somewhere I’d prefer to avoid if at all possible.
So off I went to find someone and to my relief I located the store Sheep Expert. He told us he had sheep himself and was only too happy to help us. He sat us down in a little office where there was a small round table, some chairs, and a life sized model of a sheep. He told us all about parasites; but mainly he told us about flies. He told us flies were the number one concern to sheep farmers and that we would need a fly spray to prevent and to deal with the dreaded Blow Fly. He demonstrated how to spray a sheep correctly using a demo drench gun on his model sheep.
We asked him how flies can kill sheep and soon wished we hadn’t as he went into very graphic detail. He explained that if a sheep is struck by a Blow Fly, she has only days to live. We asked him how to tell if a sheep has been struck, at which point he said, “you have to look for The Signs”. We asked him what these Signs were and he said the main one was the “head turn” where the sheep looks back over her shoulder. “Wild eyes” was another one, “bottom rubbing” and “foot stamping” were other signs, and then finally “any behaviour which is out of character”.
It was at this moment, as we heaved a bottle of Crovect into our trolley we felt the first creeping tendril of Sheep Angst taking hold. What if we didn’t spot one of The Signs? What if we didn’t apply the spray correctly? Actually, how did we even catch our sheep in order to apply the spray? (We’d only had our sheep a few days and were rubbish at rounding them up).
As we drove home, our excitement of a few hours earlier had pretty much disappeared along with a vast amount of money and we were both lost in our own thoughts as we rattled back along the lanes towing our trailer full of shiny new things.
Fast forward a few years and here we are, not exactly old hands and not exactly wiser – but definitely older and more experienced than those early days of sheep keeping.
Unfortunately, we discovered that the “sheep angst” that took hold of us both in the Farmers Store all those years ago doesn’t go away the longer you keep sheep, but you do find ways of managing it.
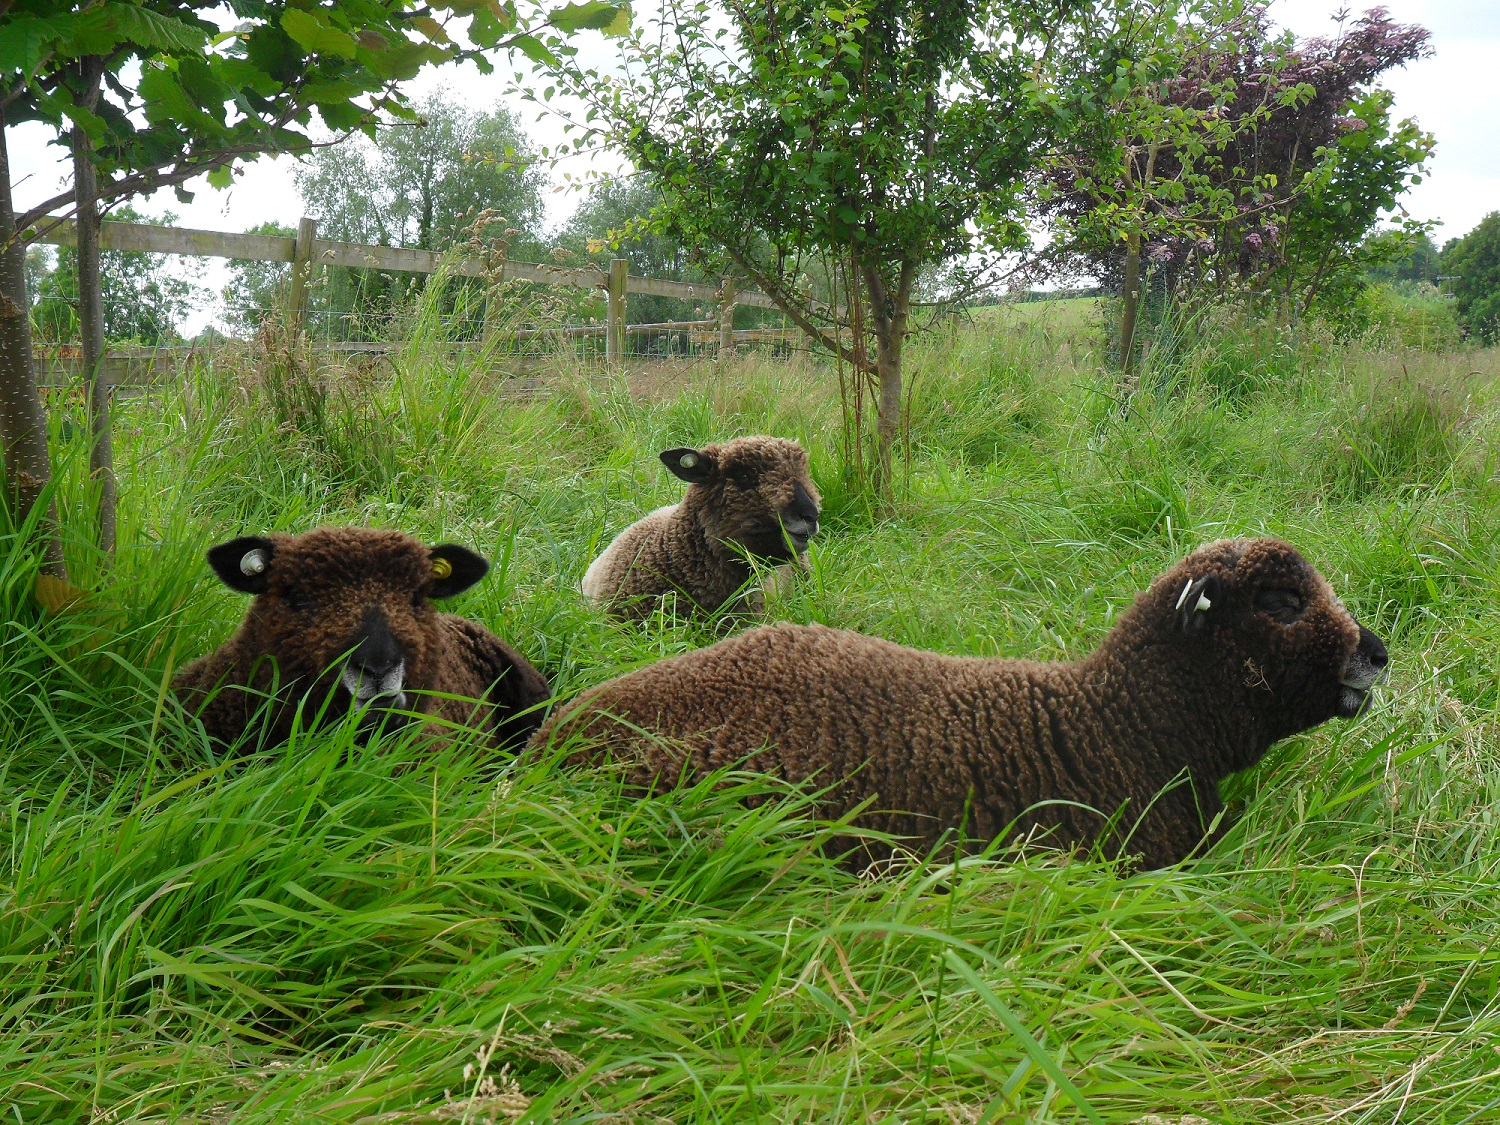
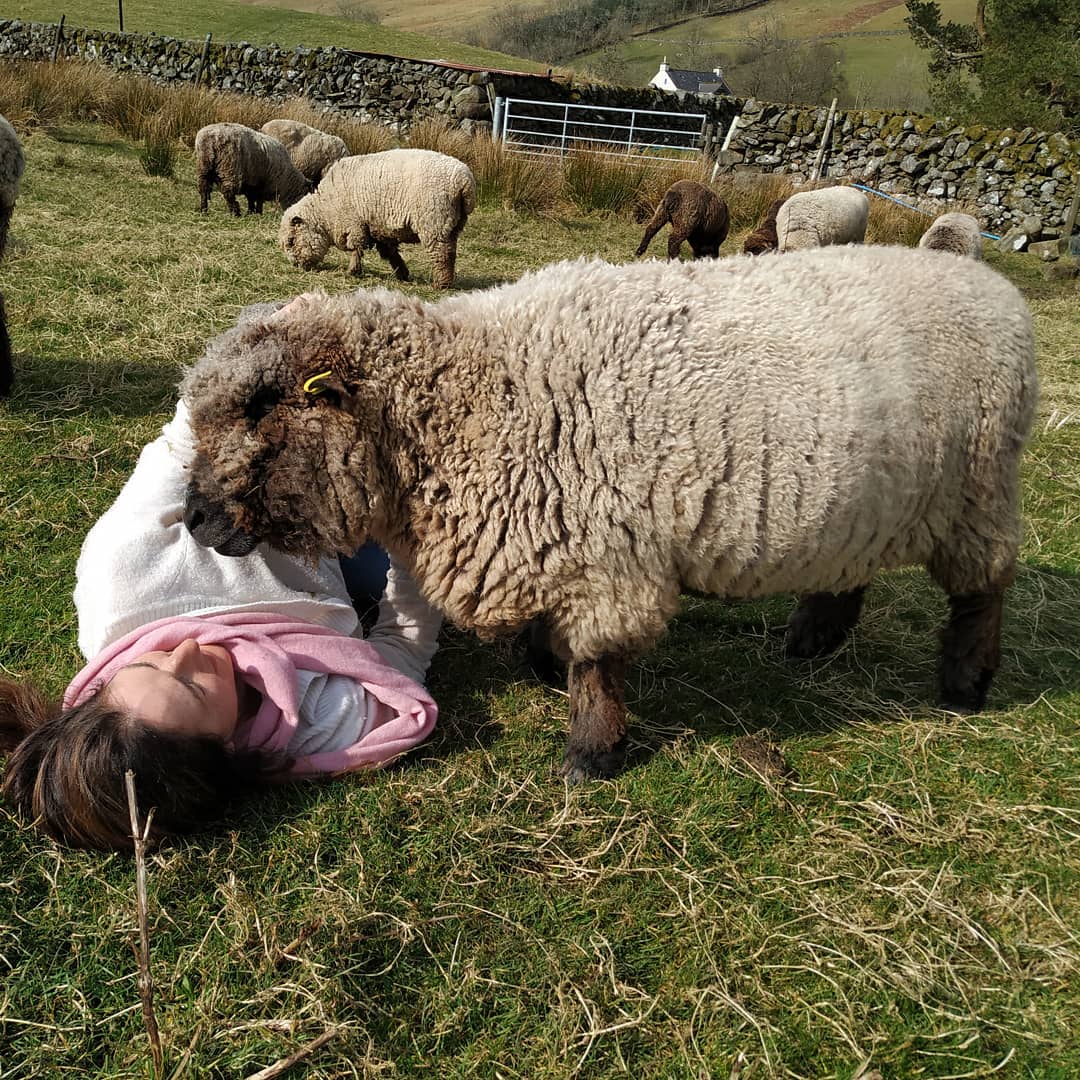
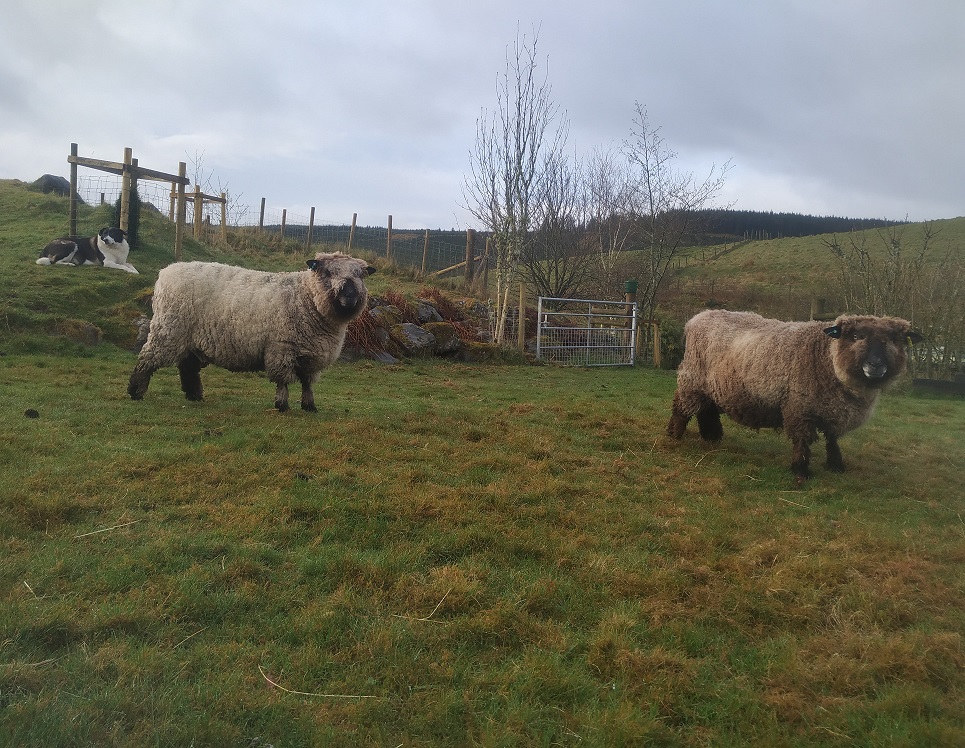
getting to know the flock
The first thing you do is get to know your flock. By observing your sheep you start to learn how they behave and you get familiar with their individual characters. It takes time, but it’s worth it because watching sheep is in itself is actually a lovely activity. There’s nothing quite like lying on your back in the field surrounded by your flock, listening to them cudding in your ear and nibbling your wellies.
The other thing you do is check up on your flock regularly. We check up on ours twice a day, more often if we’re lambing.
We’re very religious about our checks because nowadays we don’t use fly spray. We like to be able to handle our sheep without fear of chemicals transferring onto us. We’ve found that our scrupulous checks and regular bottom trims have paid off, in the few cases of fly strike we’ve had (two cases in four years) we have managed to deal with it very swiftly.
Apart from checking for The Signs, the checks tell you all sorts of other things, you’re mainly scanning the flock to see if anyone’s behaving out of character, you’re counting them to make sure they’re all there, and you’re making sure they’re not in pickles (lame, head stuck in fence, on back with legs in air, stuck in a hedge etc) …
The other thing that happens is, you stop going away as much. Holidays have to be meticulously planned, you book a farm-sitter and you still worry even if your farm-sitter is brilliant as our is. Bye go the lazy Sunday morning lie-ins, and bye go the spontaneous trips away.
On the plus side though, you gain lots of woolly friends and by being around sheep you find yourself learning unexpected things such as the art of patience and how to be calm. You can’t be impatient or in a bad mood with sheep, they sense it and scarper. You have to be able to compose yourself. This is really good training for being a better human. It sounds cliché but sheep have so much to teach us.
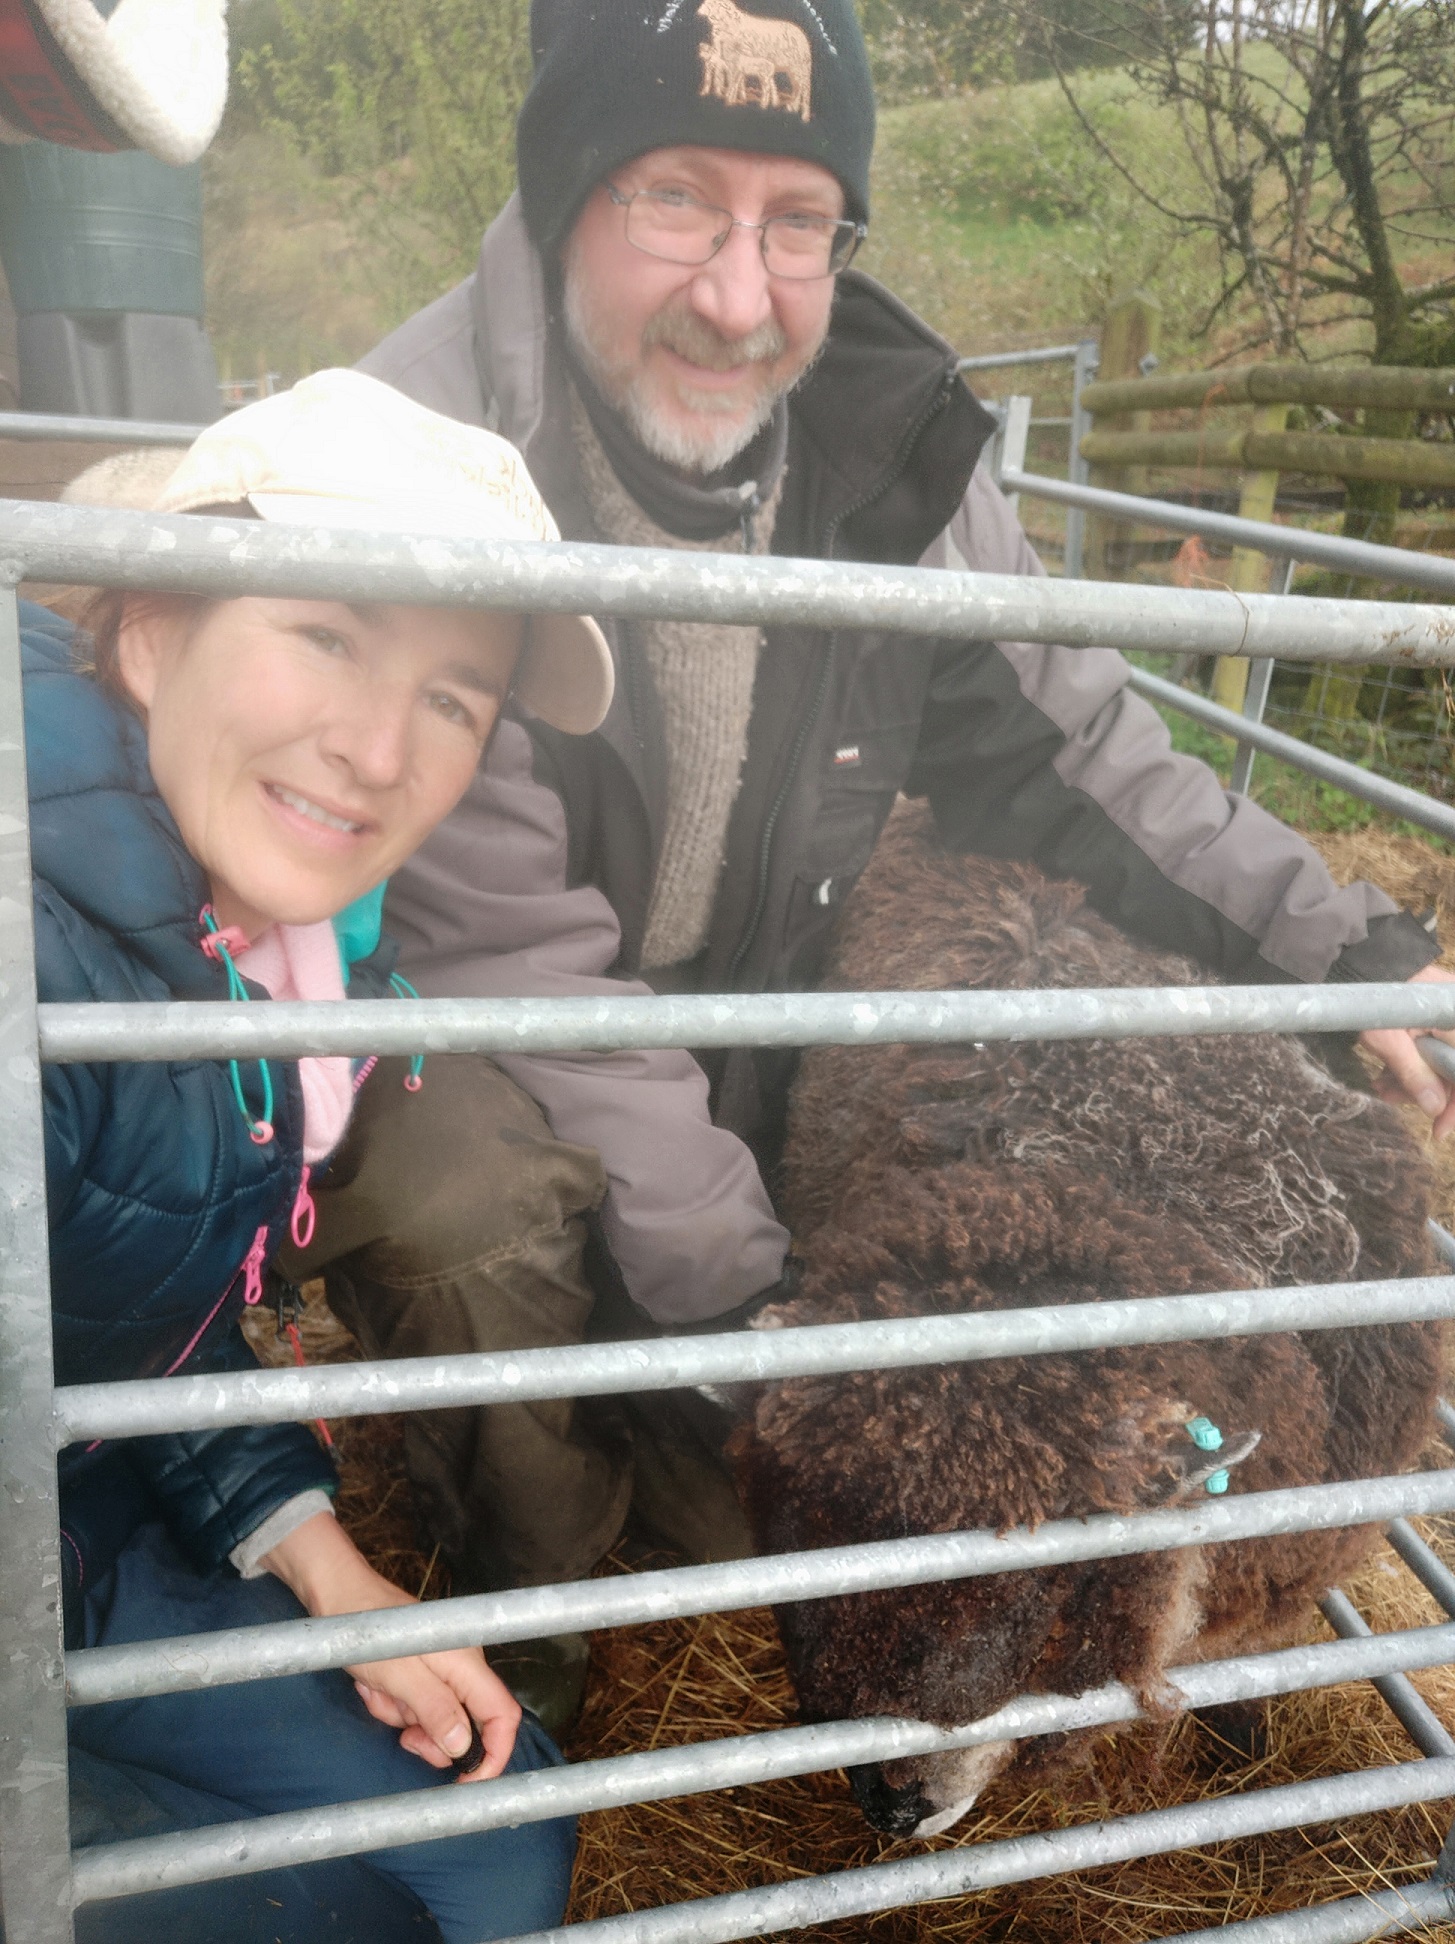
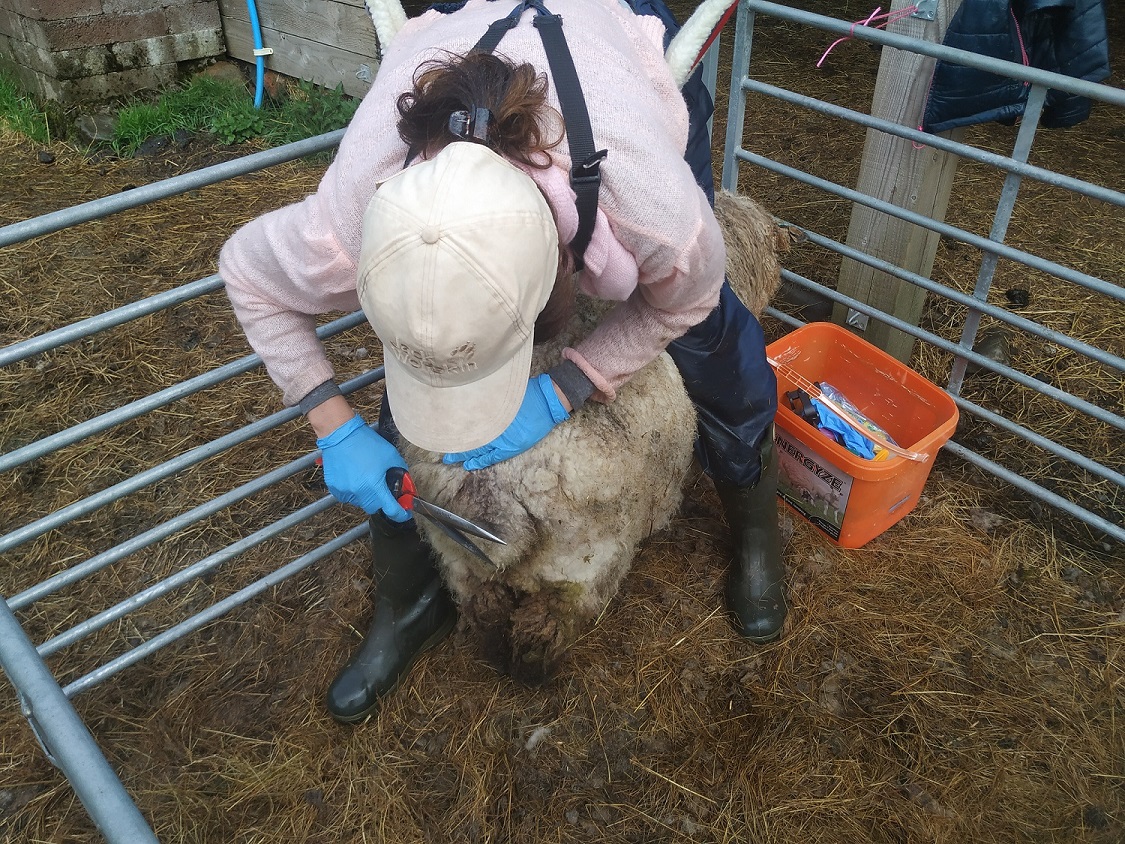
using backeze sling
We’ve also found an easier way to do all those routine things which sheep need regularly such as “crutching out” (bottom trimming), face trims and hoof trimming. We used to bring them in every three months and work through the whole flock. This would take us hours and we’d be fit for nothing afterwards. So this year we decided to bring in three sheep a week and rotate through the flock doing three a week on a continual basis. We thought it would be easier on our backs, and also better for the sheep as they’d have their bottoms and faces trimmed more often and we could catch any hoof problems faster. All in all, so far at least, we’ve found this to be a good system for us.
Yogi with her face trimmed
The other change we’ve made this year is to purchase a “backeze” sling by Longhorn. You can see me using it in the photo. It’s just brilliant! It gives support to your back exactly where you need it but is also springy so you can adjust position easily. It’s made those weekly bottom trims much easier, happy us, happy sheep!
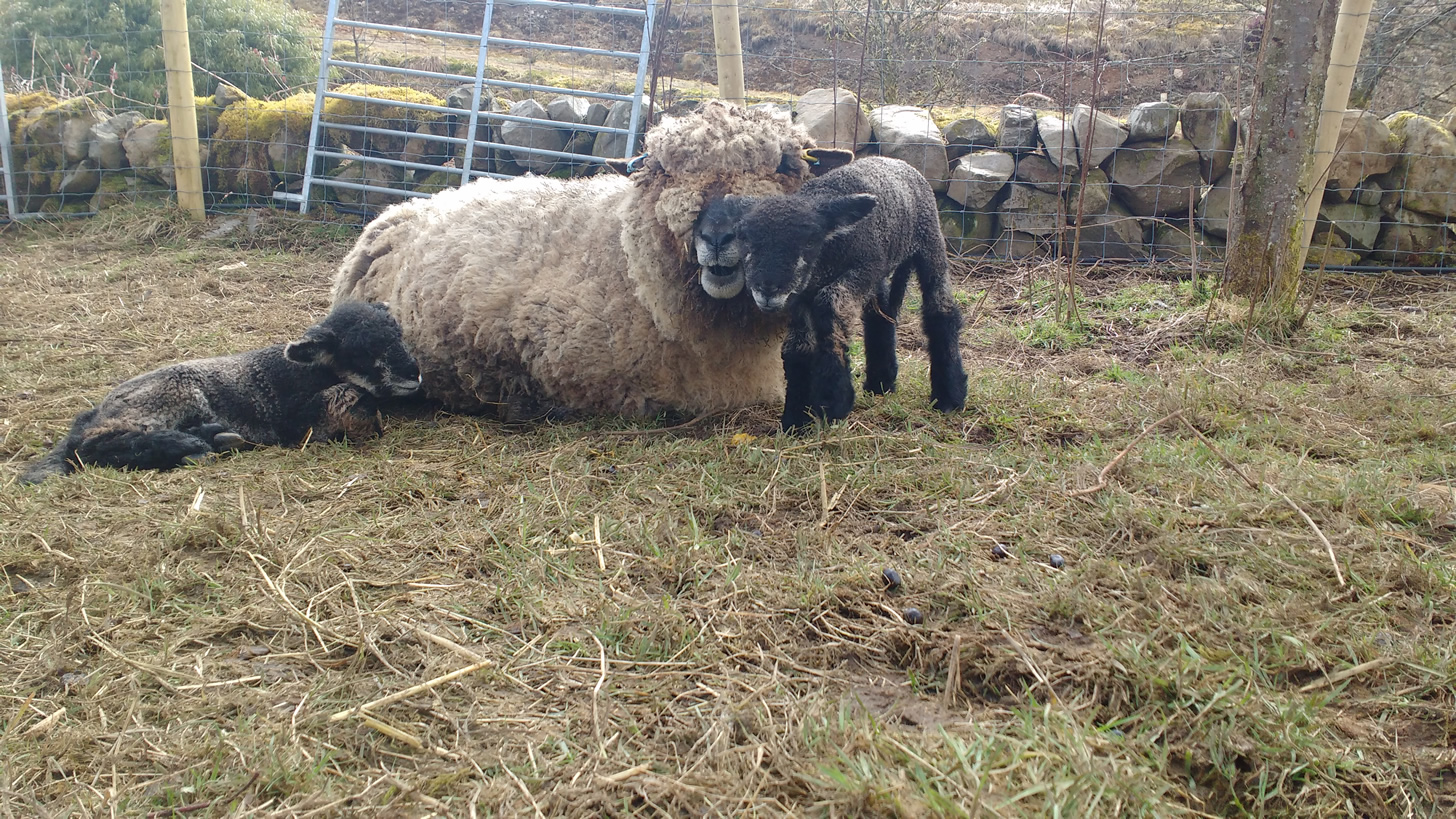
From time to time sheep pick up things and become ill, particularly lambs. Similar to newborn babies, lambs are particularly vulnerable to disease as their immune systems have not yet built up that all important resilience which only develops over time as they mature.
We always joke that lambing is not over once all the lambs are born, it goes on for another 3 months at least, with all the checking and monitoring of the little ones to ensure they’re all healthy and not on their way to the great pasture in the sky.
A couple of years ago we caught Yin on her way skywards thanks to a nasty attack of coccidiosis (parasitic worms). Fortunately we found her in the nick of time and were able to give her life saving medication. Yin is still with us to this day and is a big robust girl.
Not only are parasitic worms a problem for young sheep, but also “clostridial diseases” – for example pulpy kidney, tetanus and bloody scours. In addition, young sheep are also susceptible to “pasteurellosis” (pneumonia).
All of these conditions are serious and so we are very fortunate to have a vaccine called “Heptavac P” which helps prevent these diseases from taking hold.
Every year, approximately four weeks prior to lambing, pregnant ewes are vaccinated with Heptavac. Antibodies develop in the ewes which then cleverly pass through to the lambs via the colostrum.
We’ve Heptavac’d our woolly gang as long as we’ve had sheep and have continued to do it even though we no longer lamb. I’m not sure why the thought struck me this year and not in previous non-lambing years, but it occurred to me that perhaps we didn’t need to vaccinate our sheep. Afterall, they are mature and have developed antibodies. Aside from that, they’re fit and healthy from their stress free existence here on the farm, no lambs to worry about, the most they have to ponder is where to find the tastiest blades of grass and where molehills come from.
I decided to phone our vet and find out, I wanted to know whether mature sheep retained immunity against clostridial diseases and pasteurellosis and whether we would be wasting our time (and money) on vaccinating a non-lambing flock.
I love a bit of science and when the vet gave me the low down I was so excited I had to make myself a cup of tea and sit down for a moment.
I learned that although sheep retain immunity against pasteurellosis, they do not retain immunity against the clostridial pathogens which reside in the soil.
I learned that there’s a different vaccine which we can give our non-breeding flock (and not forgetting wethers) called Covexin. This doesn’t include the pasteurellosis protection which wouldn’t be needed.
As we already had a bottle of Heptavac in the fridge we decided to use that, but next year we’ll probably get Covexin.
So we gathered our sheep in last week and gave them all their jab, they weren’t too impressed, but we reminded them that we had their best interests at heart. They also each got a wee handful of sheep nuts so that they went away post jab with a happy experience in their minds and a sweet taste in their mouths.
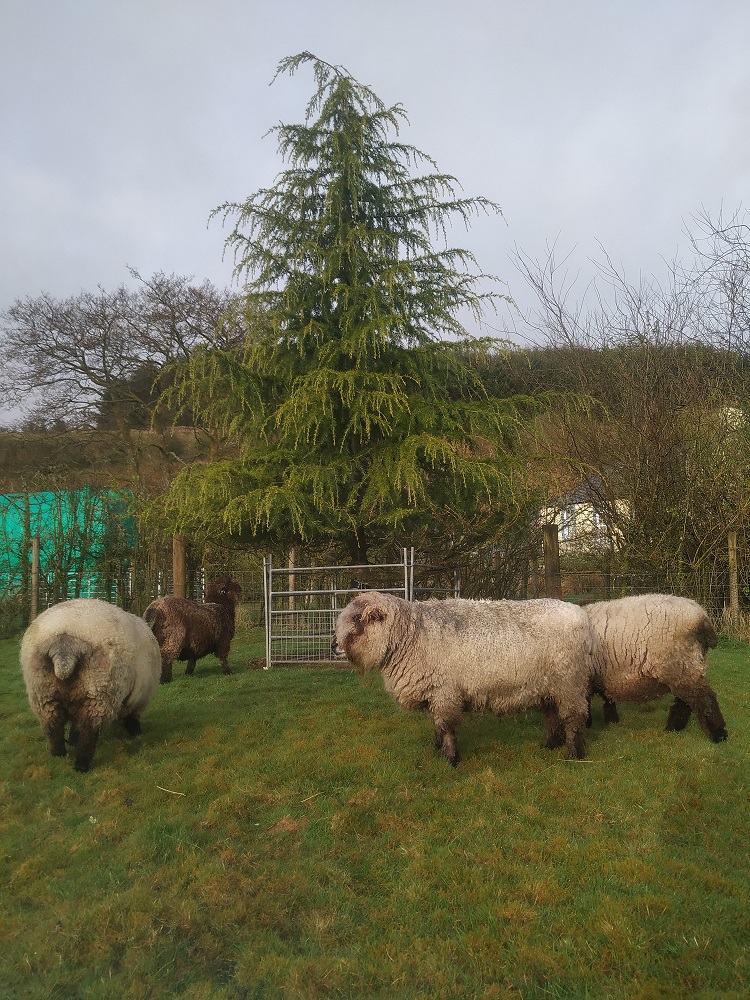
On our smallholding our main focus is making sure our animals have a long and happy life, but we also love plants and if there’s a plant in trouble, we’ll make sure we do our best to save it. This story is about our efforts to rescue a beautiful Himalayan Cedar tree.
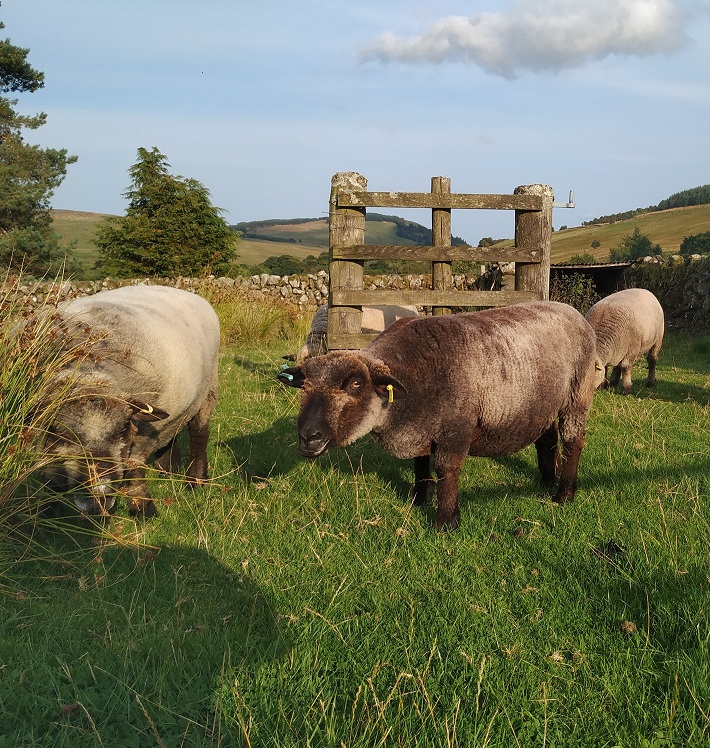
During the winter our sheep spend a lot of time in the orchard where they have access to the shed and hay feeders. They can still trot off to the wider pastures if they choose, but they tend to hang around the orchard for much of the time, especially when the weather’s blowing a gale.
Last year we extended the orchard to include more meadow and give them extra space to mooch about in. During the winter the ground can get really muddy, especially around the hay feeders so we thought the additional space would be much appreciated by the little dears. And it was!! They love the new bit, it includes a hill which they trundle up and down, and also several trees which they like to stand under whilst watching the world go by.
We also love the new bit, it’s great to know we can give the sheep variety, particularly access to trees. Trees give perfect protection against the elements; in the winter they provide wind breaks and in the summer they provide cool places to sit under and chew the cud.
In the orchard we have apple and pear trees which are all neatly protected with tree guards. Sheep love trees but they also love eating them!!
In the new bit, there’s a Himalayan Cedar tree which somehow we forgot to protect. But the sheep didn’t seem that interested in it and so we thought no more about it.
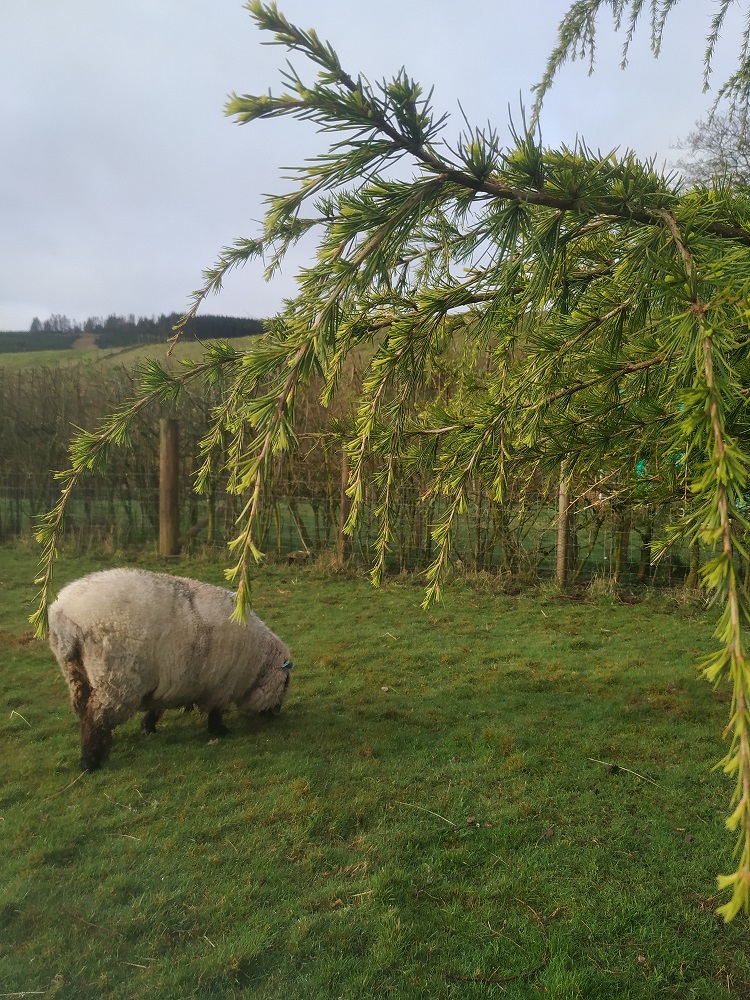
Summer turned into autumn and then winter and the little ones were spending more and more time in the orchard again. Early one December morning we were topping up the hay feeders and discovered a suspicious looking, four legged woolly crowd loitering around the Cedar tree. As we drew nearer we heard scraping and nibbling noises. On closer inspection we discovered a wide, neatly nibbled orange band all around the tree trunk, at exactly sheep head height.
Oh no!!! Our tree had been completely ring barked!
After feeling awful about the fact we forgot to protect our poor tree we quickly got to work. First we put some sheep hurdles around it to prevent further damage, then we googled “what to do”. Now I’m a horticulturalist, RHS trained thank you very much and I do people’s gardens but the truth was, I felt really daft because at that moment, I didn’t have a clue what to do. I had an inkling there was a grafting technique out there for ring barked trees, but I couldn’t remember what the technique was called, let along how to do it.
After multiple searches on google and several cups of tea later I found the info. There was a technique called a “bridge graft”. This entails taking lengths of one year old growth (scions) from the upper canopy and attaching them across the damaged area, like little bridges, so that the sap can continue to flow from the bottom of the tree to the top.
We also had to protect the nibbled bit (which was actually quite a large area!) The RHS website recommended applying damp moss all over the injury and holding it in place with tape. So first we did this, (luckily we have moss aplenty here!) Moss is naturally anti-bacterial so makes the perfect dressing for a wounded tree. We got to work applying the mossy bandage until the whole wound was protected.
Next, Adrian whizzed off to the shed to rummage around for some small non galvanized nails. We would need these to attach the scions to the trunk.
Then, tools at the ready, we got to work. We had to work quickly because it was due to rain later and you can’t get grafts wet or they rot.
It was heart breaking standing on the ladders and snipping lengths of growth from the already damaged tree, I felt like a traitor. But it was the only way we’d be able to save our poor tree so I carried on snipping.
Once I had six healthy scions I took my knife and made little “pockets” into the tree trunk so that I could pop the scions in. Easier said than done! The sheep had nibbled the trunk so far down that the only bark I had access to was rough and not at all pliable. But I persevered, and eventually, lots of grafting wax and nails later we managed to create a circle of grafts all around the trunk.
Then we waited until spring … until now in fact, to see if the tree would make it.
We are pleased to report that so far so good! There are fresh shoots and there doesn’t appear to be any signs of die back.
All the grafts except one, survived the winter storms and they appear to be doing their job, transporting nutrients from the bottom of the tree to the top.
We have started a two weekly regime of feeding with juice from our wormery. Plants love wormery juice, it gives them a real boost, even though it’s a bit whiffy.
We’ll leave the mossy bandage on through the summer and remove it in the autumn. It’ll be tricky to remove because of all the little bridges which sit over it, but I’m sure we’ll manage.
Meanwhile, we’re not counting our eggs, but so far so good. And the sheep, well, they spent a few days trying to get to their new favourite snack but the hurdles proved to be a good defence so they gave up. Now that it’s spring they prefer grass to trees anyway.
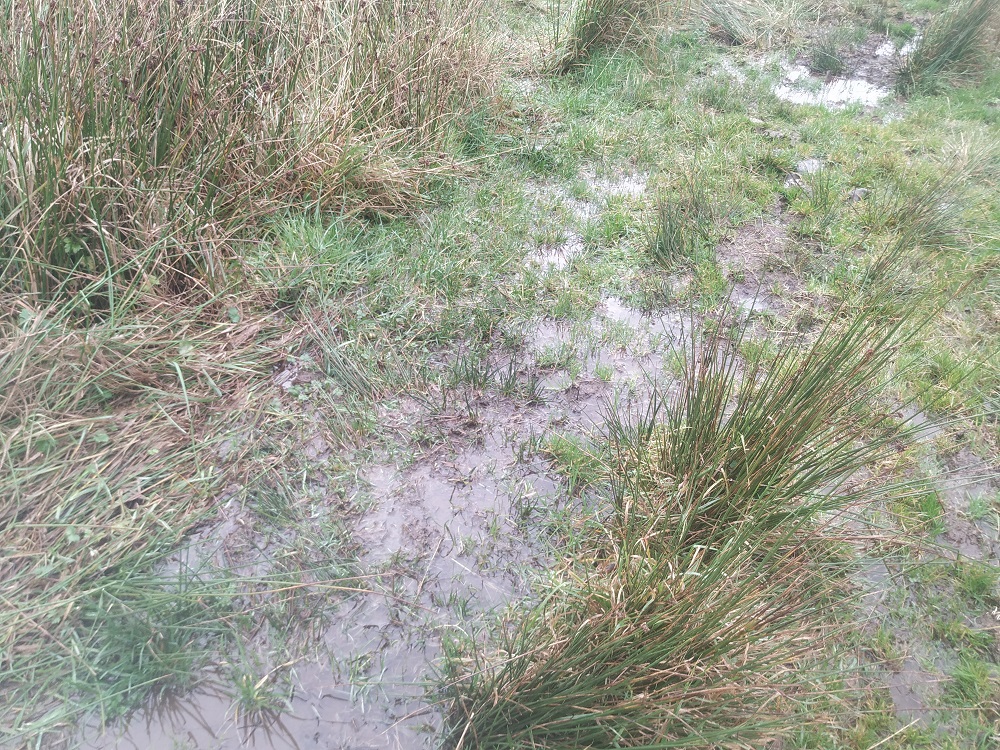 The ground has been turned from firm grassland into puddles. This is particularly true of the flatter areas where water settles having flowed down the hill. Sadly, there’s not much we can do about it except hope for some dry weather to give it all a chance to drain.
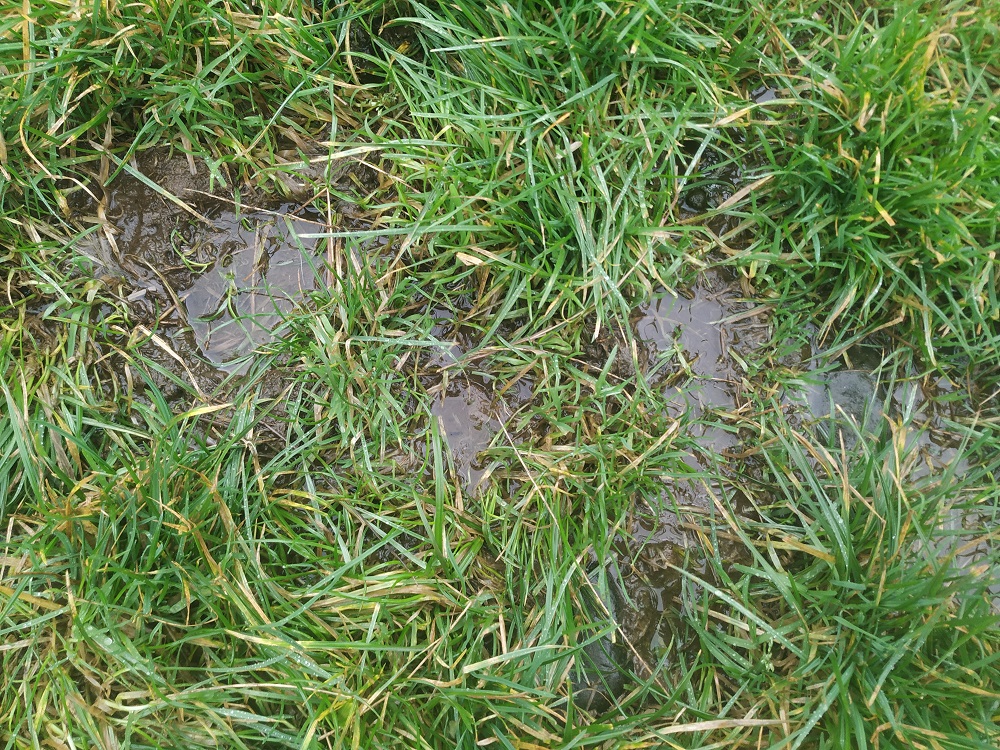 It’s not great for the animals. The hens gather and huddle in their shelters, trying to keep dry. The sheep venture out to find grass (plenty of that), but retire to dry off in one of their field shelters.