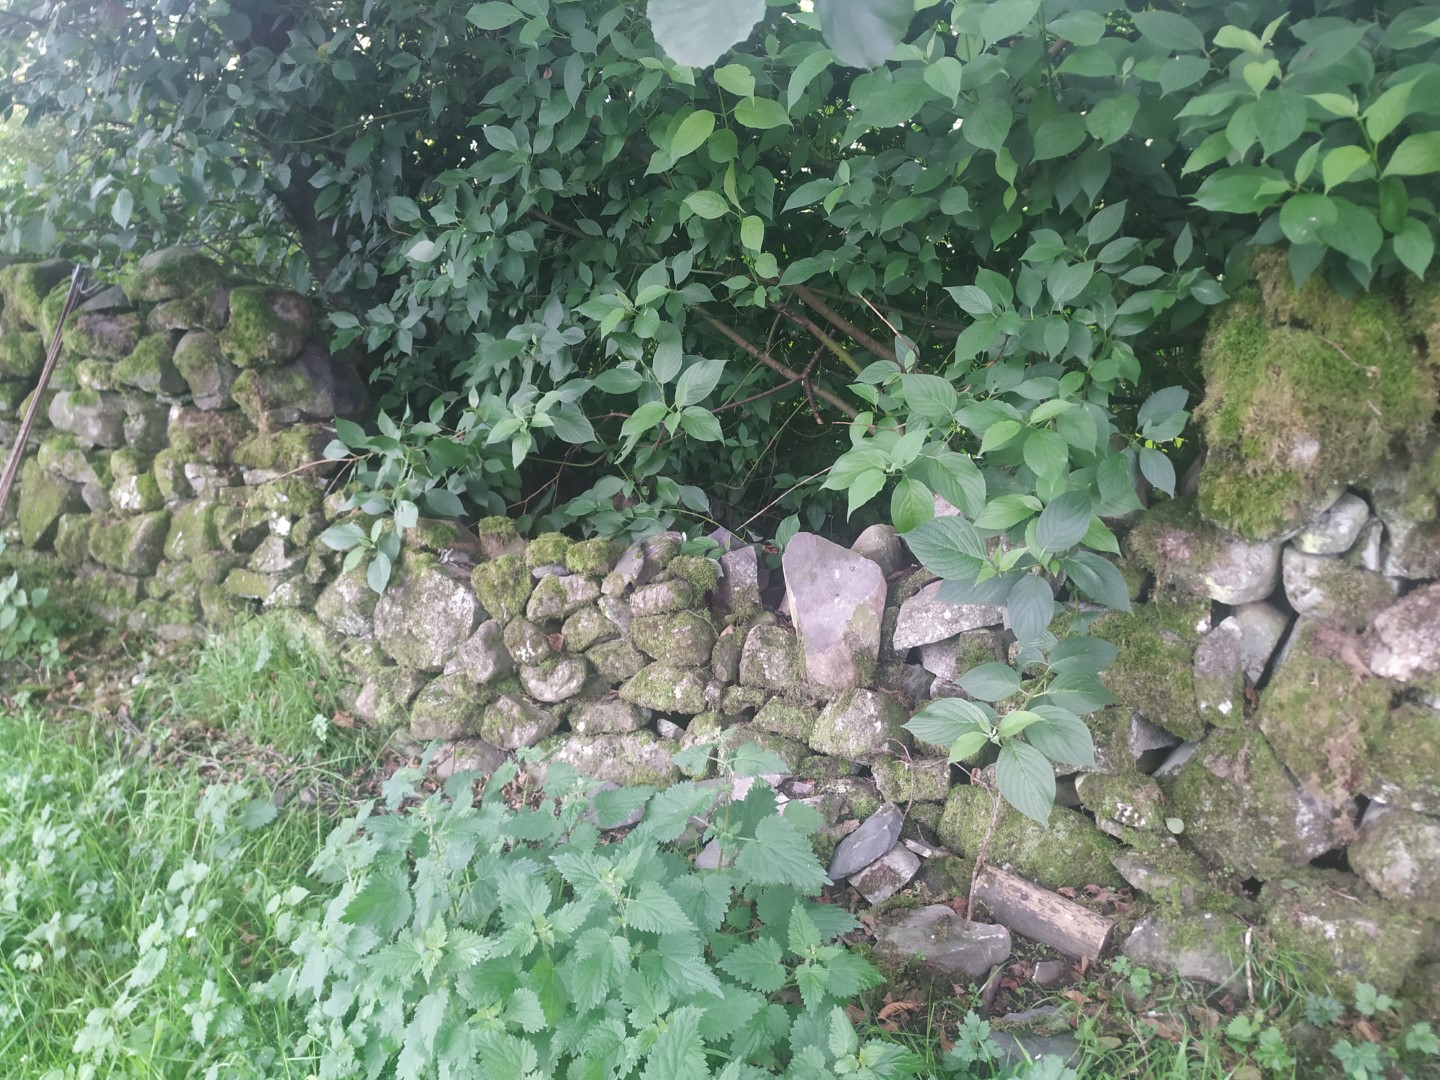
This is not the the first story about drystane dykes and probably won’t be the last. Most of the ground here is soft and so, over time, the dykes subside. Given a dry stone dyke is essentially two walls leaning against each other, if one side sinks faster than the other, then all those stones that started out level start to tip. Over time, it becomes more unstable until the merest puff of wind can blow it over.
In this case, though, I have only myself to blame. In an effort to keep the hens out of the garden, we erected some netting to stop them flying onto the wall. It was held up by long stobs. All fine, you might have thought, but the wind caused the net and stobs to sway and tap, tap, tap they went on the wall. Eventually, it was one tap too many and down it went. Strangely, although in plain view, the only animal to take advantage was Elliot who trundled through to check out the paddocks for intruders.

Working full time now, I had only the weekends to repair this. As ever, first thing was to sort out the mess of stones. It’s always a good idea to keep the top stones (coping stones) and through stones to one side. The coping stones that were there before the collapse can be identified by the way the moss has grown on them. It’s also a good idea to keep a passage clear either side of the dyke, though I have to admit I tend to leave some of the heavier beasties (my terminology for big stones) close by. Of course, these badly placed stones did try to catch me out and I nearly went flying a couple of times. Nearly!

Stones sorted, next step is to sort out the foundations. The original wall was not really high enough so I took the opportunity to build wider foundations. These should be half the height of the wall. These were tapered as one end was 4 feet high and the other 4 feet 6 inches. Hard to use metric measures with walls, given their age.
Of course, wider and taller meant more stones, lots more stones. Fortunately, there were some lying on the ground nearby I could use.
As you can see from the photos, I erected an ‘A-frame’ with string so as to get a straight wall. Also, the keen eyed amongst you might see some metal poles protruding. These will form the supports for the new hen netting. Built into the wall, they will be discrete. The netting itself will only be a few inches high, it’s all it needs really.

From then on, it’s just effort combined with an eye for which stone will best go where. Although hard work, I enjoy building drystane dykes, they are almost works of art. It is immensely satisfying to see them grow, particularly when you get to the top.

For this rebuild, I was blessed with a few decent days of dry weather combined with a long weekend I’d booked as holiday, so I made good progress.
In the midst of this was our tenth wedding anniversary and I’d bought a sneaky bottle of champagne which went down a treat. I added the bottle (empty of course) into the wall as a feature. You can see it in the picture to the bottom right.
I was pretty tired when I finished it because, as is my way, is I got closer, I just kept going, stopping only for a brief cup of tea and a quick lunch. Luckily the sun was out so I collapsed into a chair with another cuppa and a book. The day was nicely rounded off off with a bottle of cava and a pizza.


