One of the things that has been a problem for us is that we don’t really have anywhere to put our garden tools and associated paraphernalia. We have flowerpots in a plastic trunk (impractical), tools dotted around various sheds (can never find anything), cloches and shelves scattered around and so on.
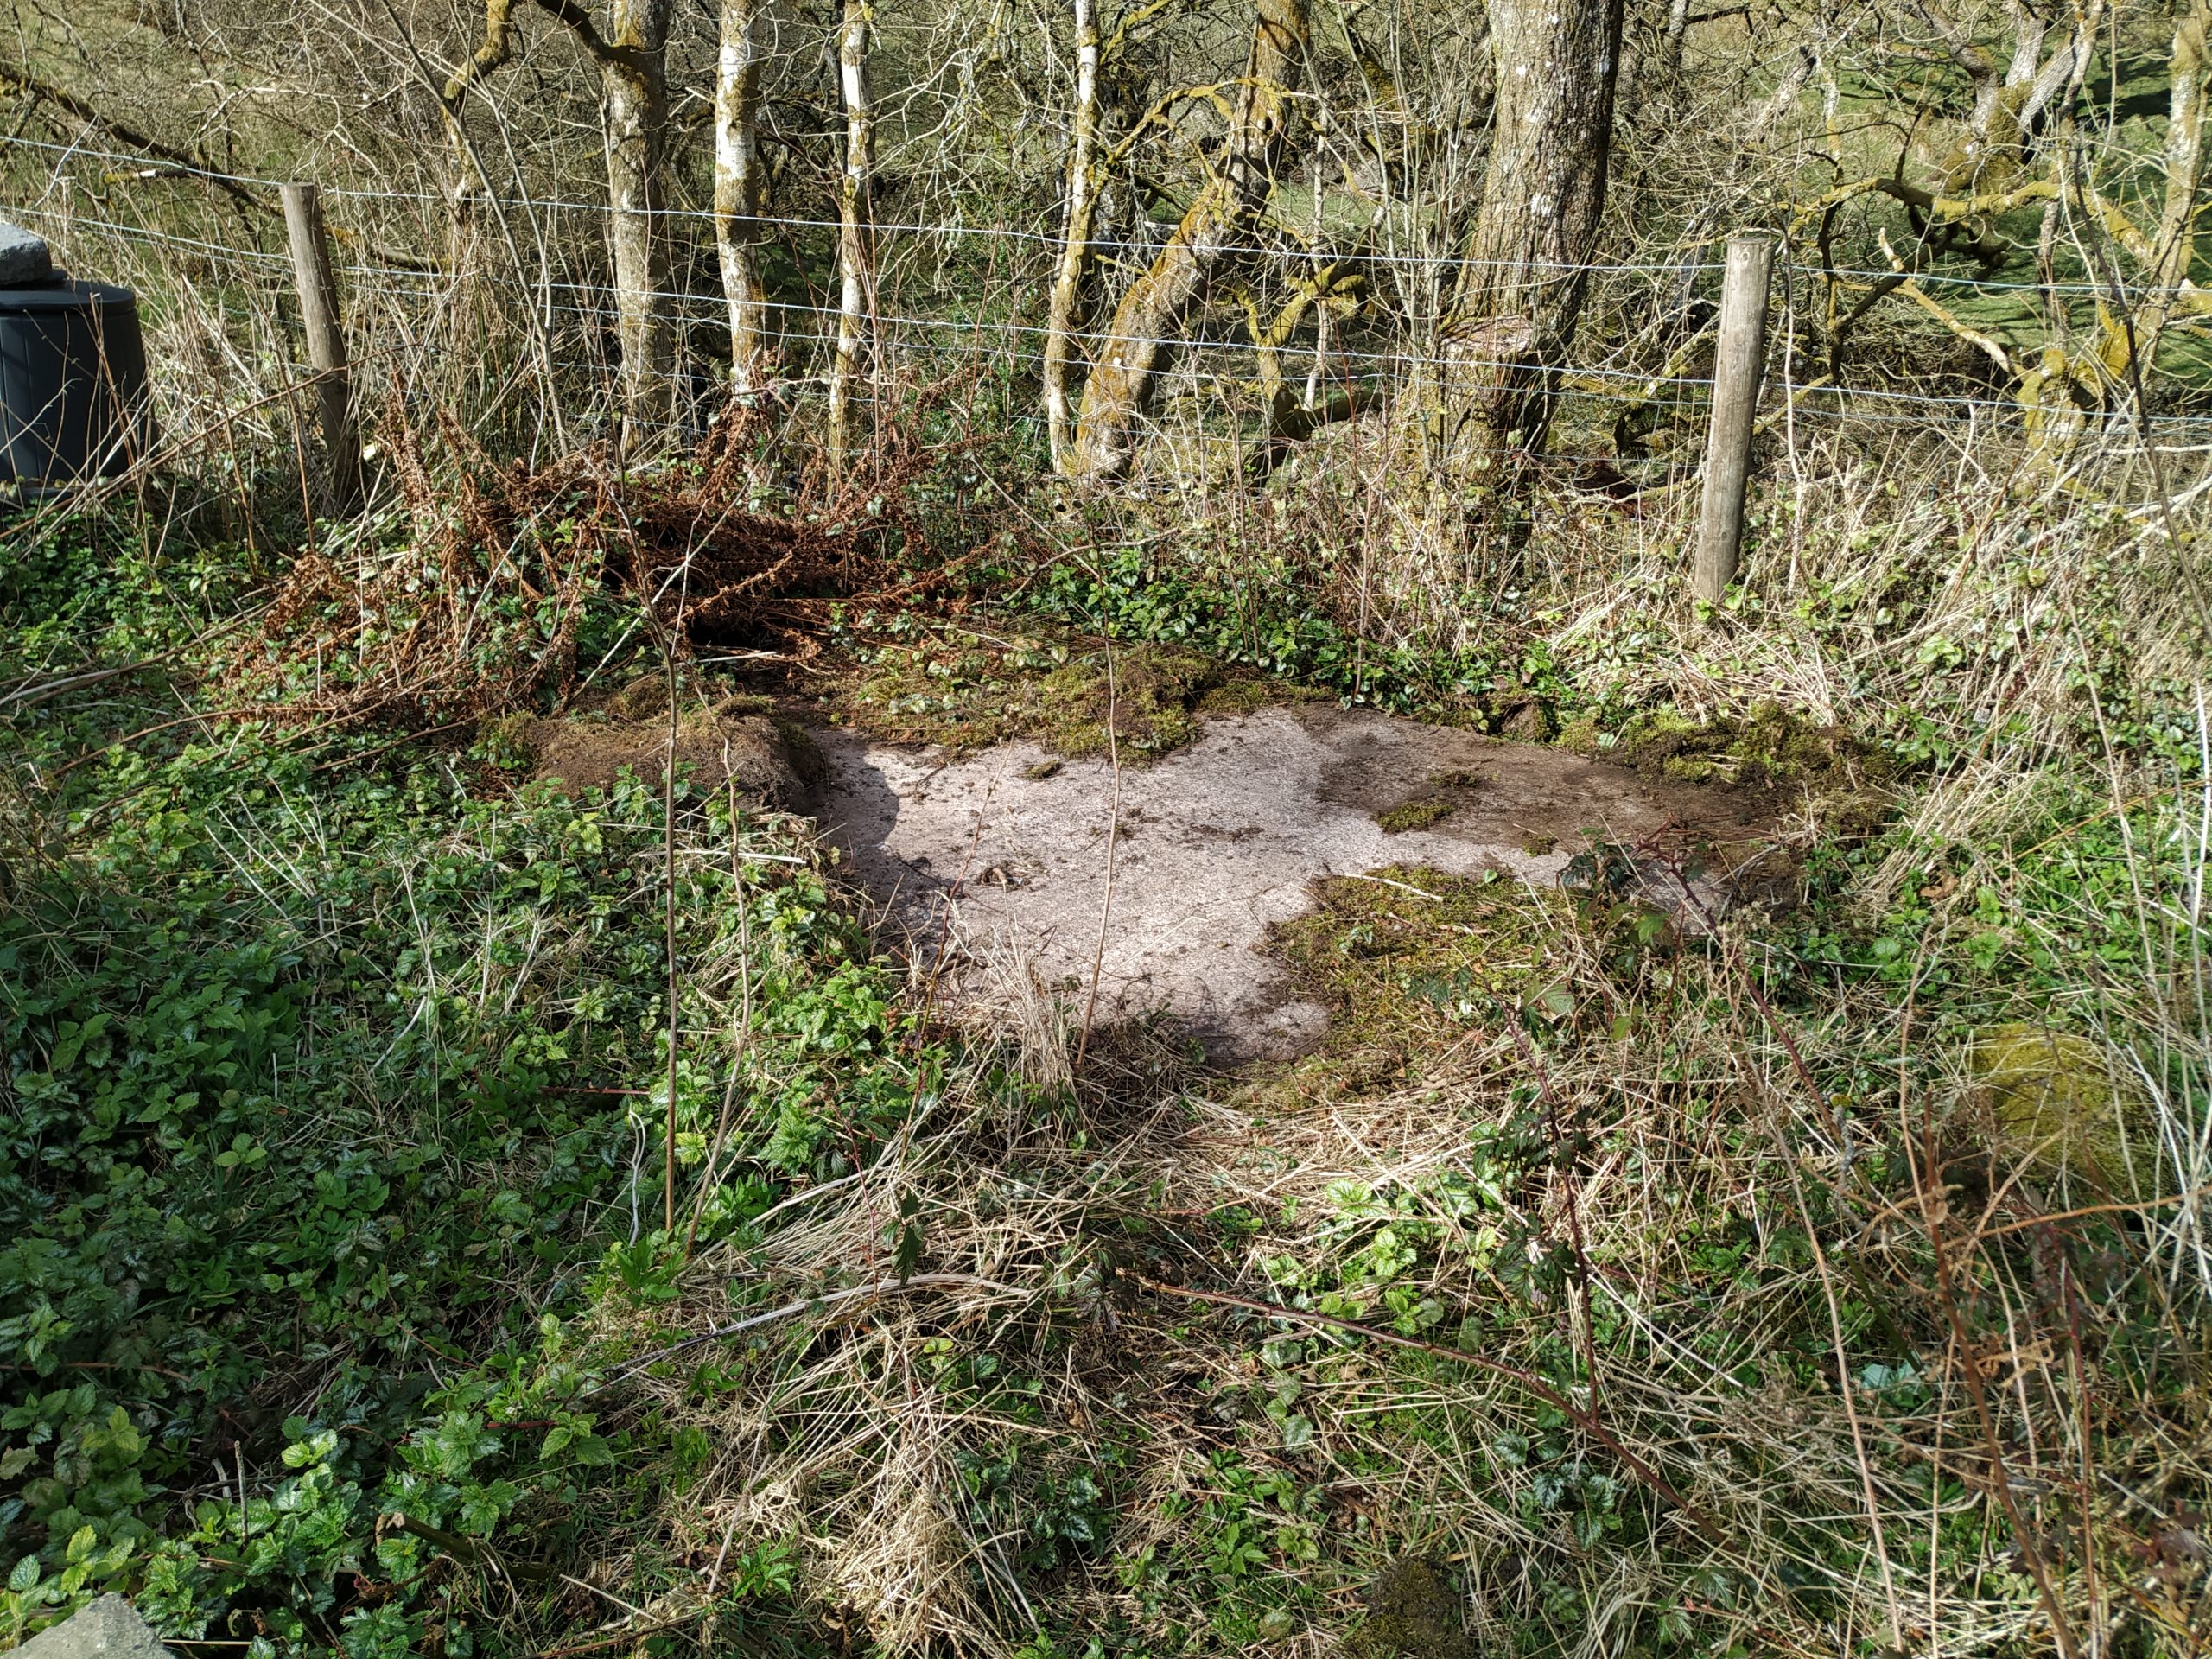 We decided to invest in a shed and site it where we need it; near the greenhouse. There was a concrete area here which looked promising, but turned out not to be level nor big enough. It needed a new base built. Normally, this would be relatively straightforward. Get some concrete, lay it and then build the shed on top. The problem was, with COVID, all the builders merchants were shut.
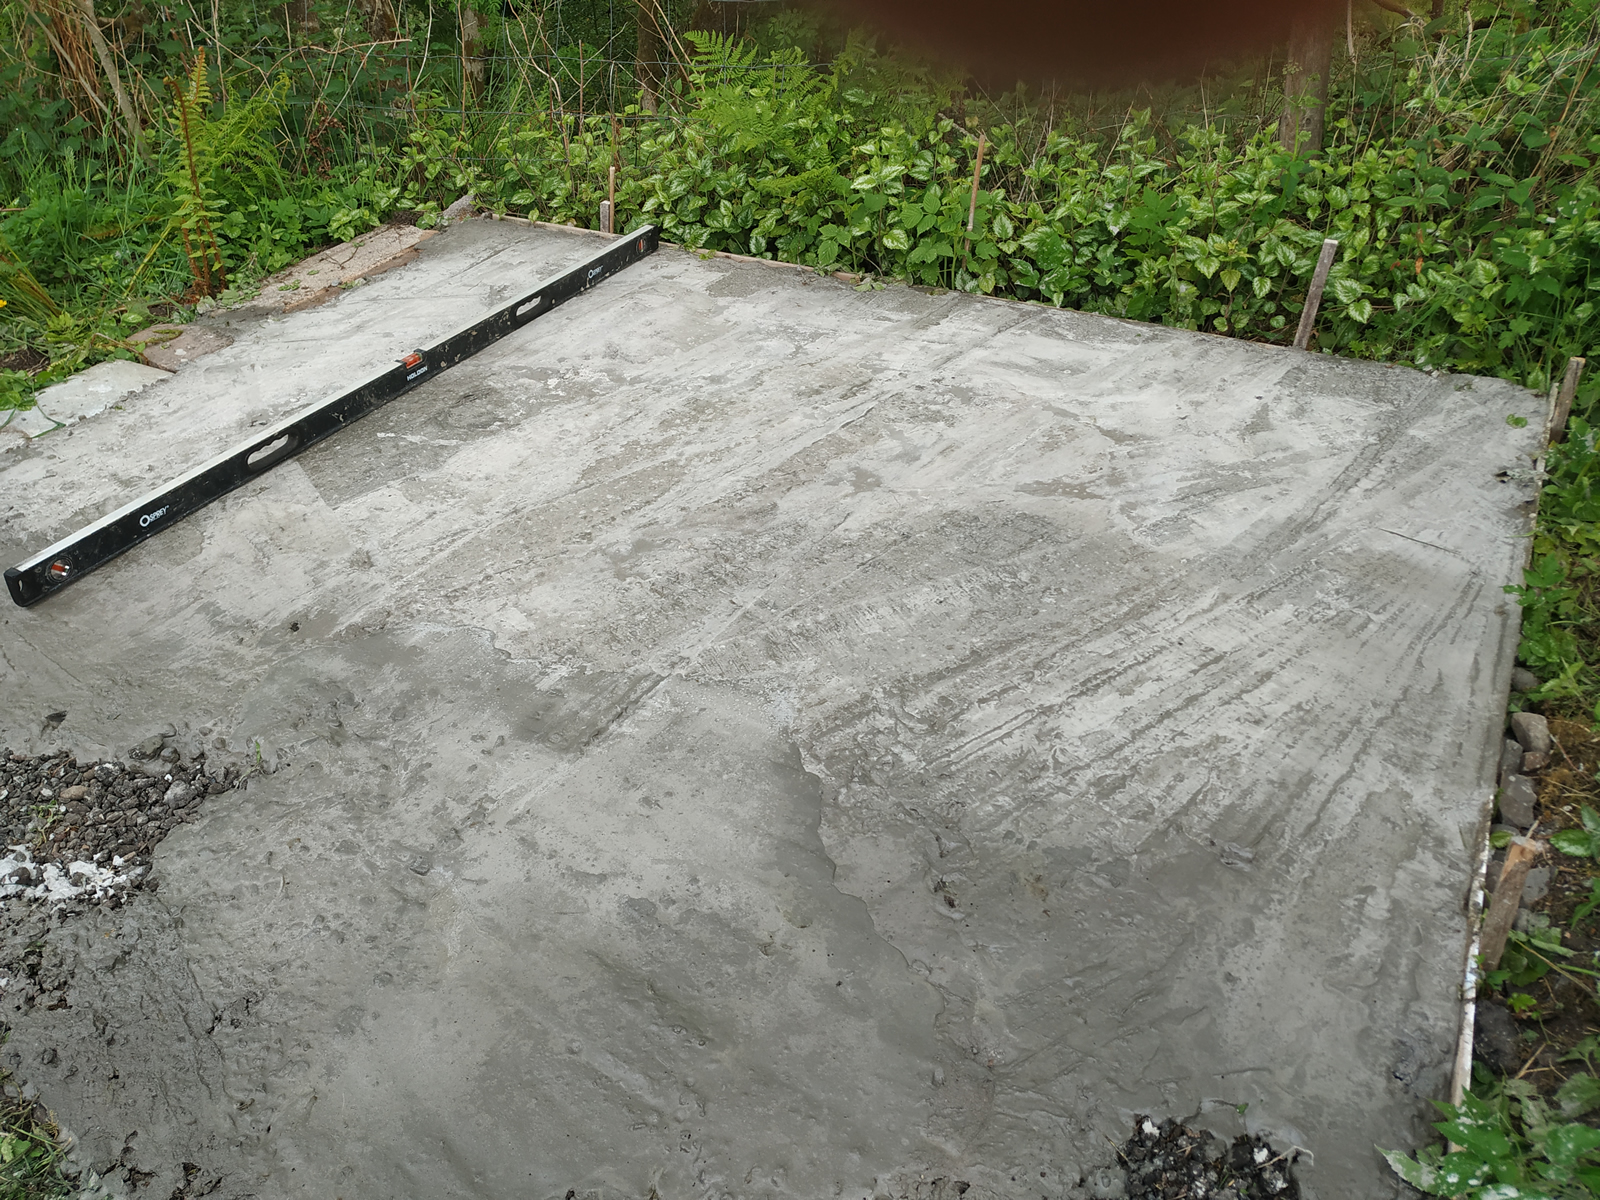 So, the shed arrived weeks before I could get my hands on concrete and slabs. Finally I managed to get some delivered from B&Q. I borrowed a cement mixer and got to work. It needed quite a lot of concrete so I was kept busy. What didn’t help was the constant attention from midgies. I had to wear a net, but the net made it hard to see into the mixer to check the concrete so I kept having to take it off. Anyway, I got there in the end and we now had a level base.
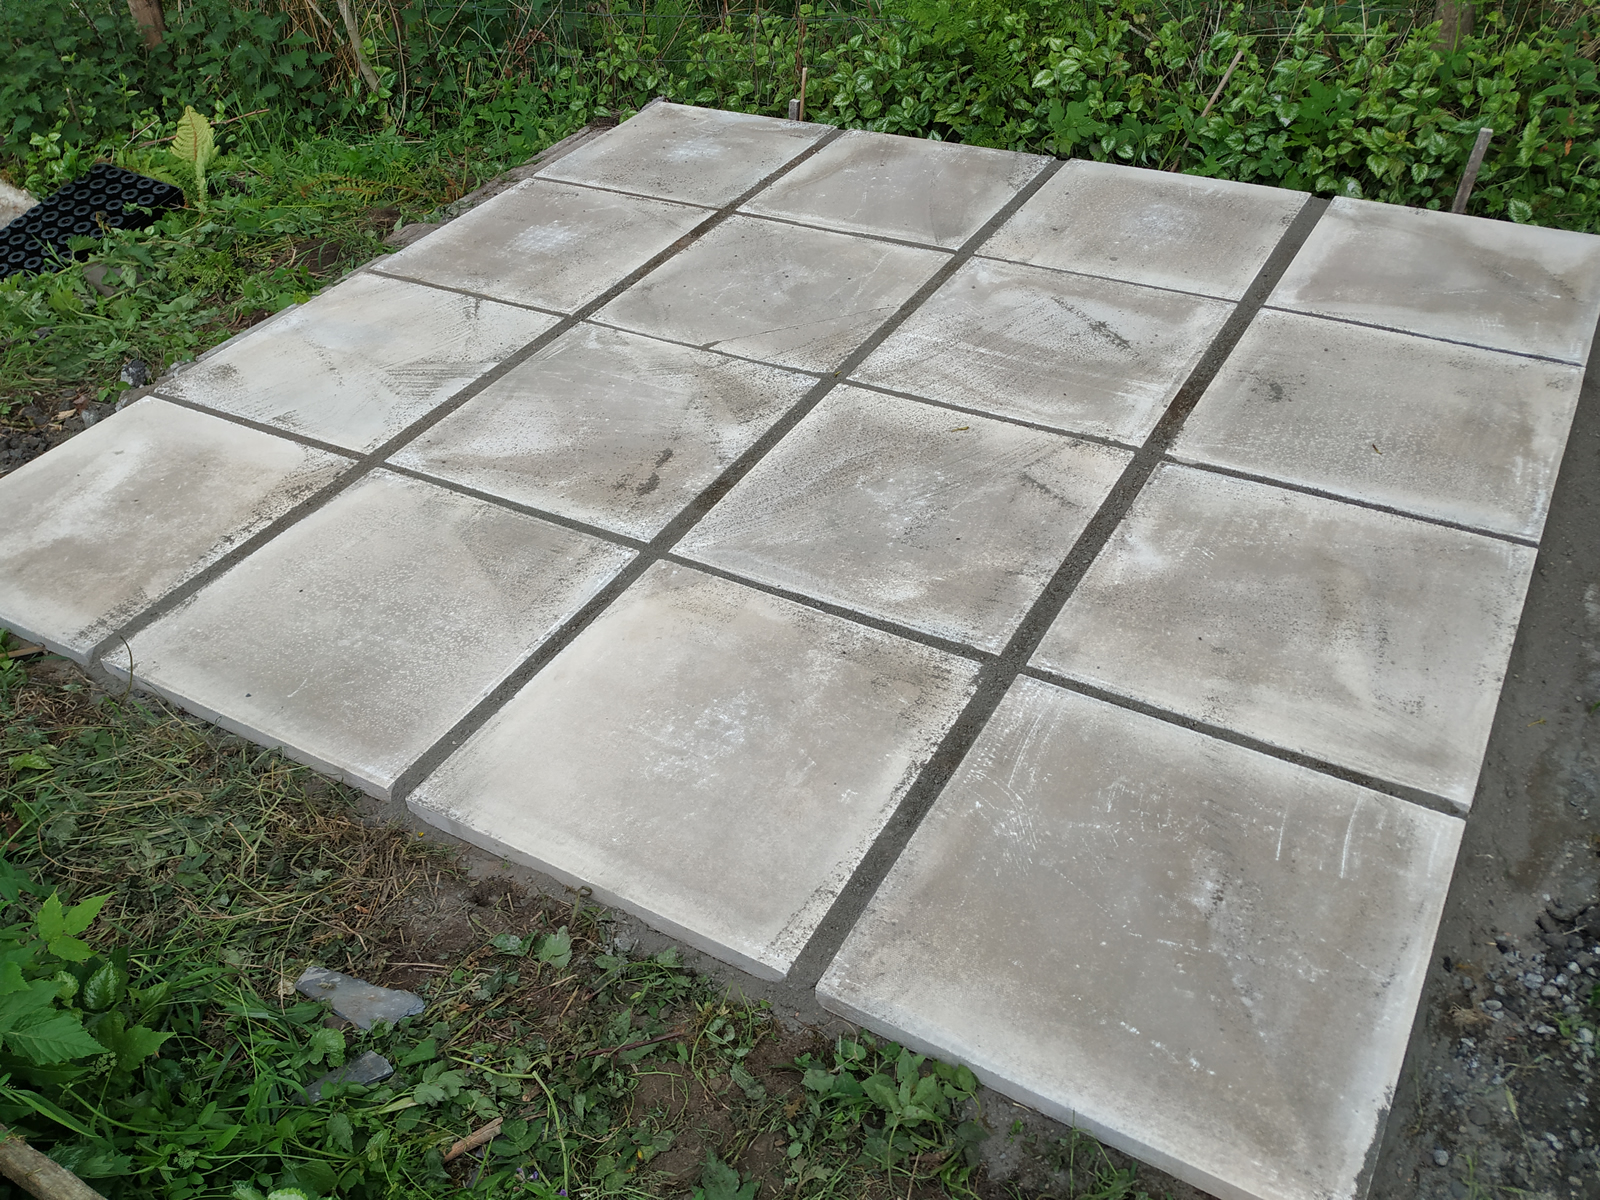 I covered this in slabs. This was mainly becase the ground to the front had a couple of large rocks at the height of the concrete. I wanted slabs to the front as they look much nicer than concrete. Easiest solution was to cover the whole base.
Next stage was to build the shed. It’s not the first shed I have built so I was relatively confident. That didn’t last long. The shed fittings had been wrapped in plastic. I had put all the shed pieces onto pallets and covered them in plastic sheeting. Yet, all the item descriptions were sodden. I had a pile of wooden pieces and no idea what was what.
What would we do without the internet? I logged into the website from which I had bought the shed and found all the packing notes as PDFs. I breathed a big sigh of relief.
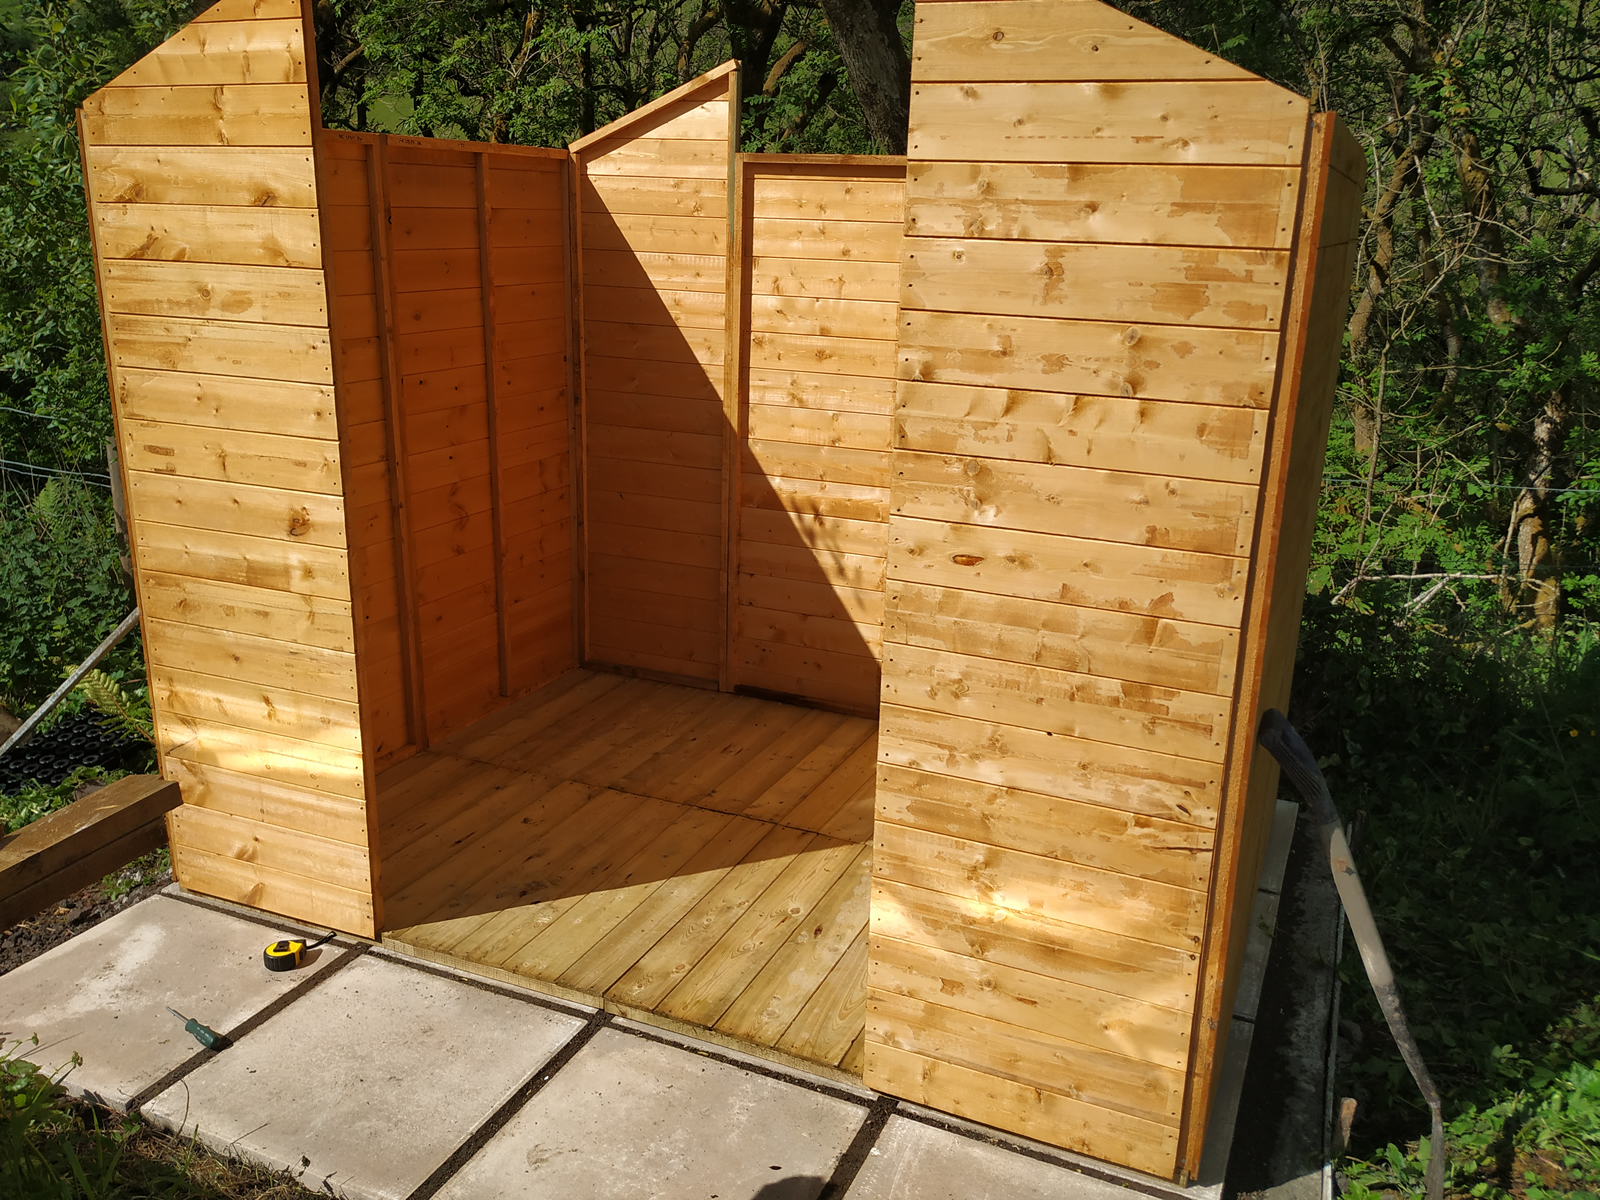 Now, every now and then I have a good idea. This time, it was to write all the part numbers on each piece of wood with a black marker pen. This made locating bits so much easier.
Construction got underway. Once again I was plagued by midgies, but there you go. Luckily, I don’t react to the bites otherwise I might have ended up looking like a wrinkly spotty teenager.
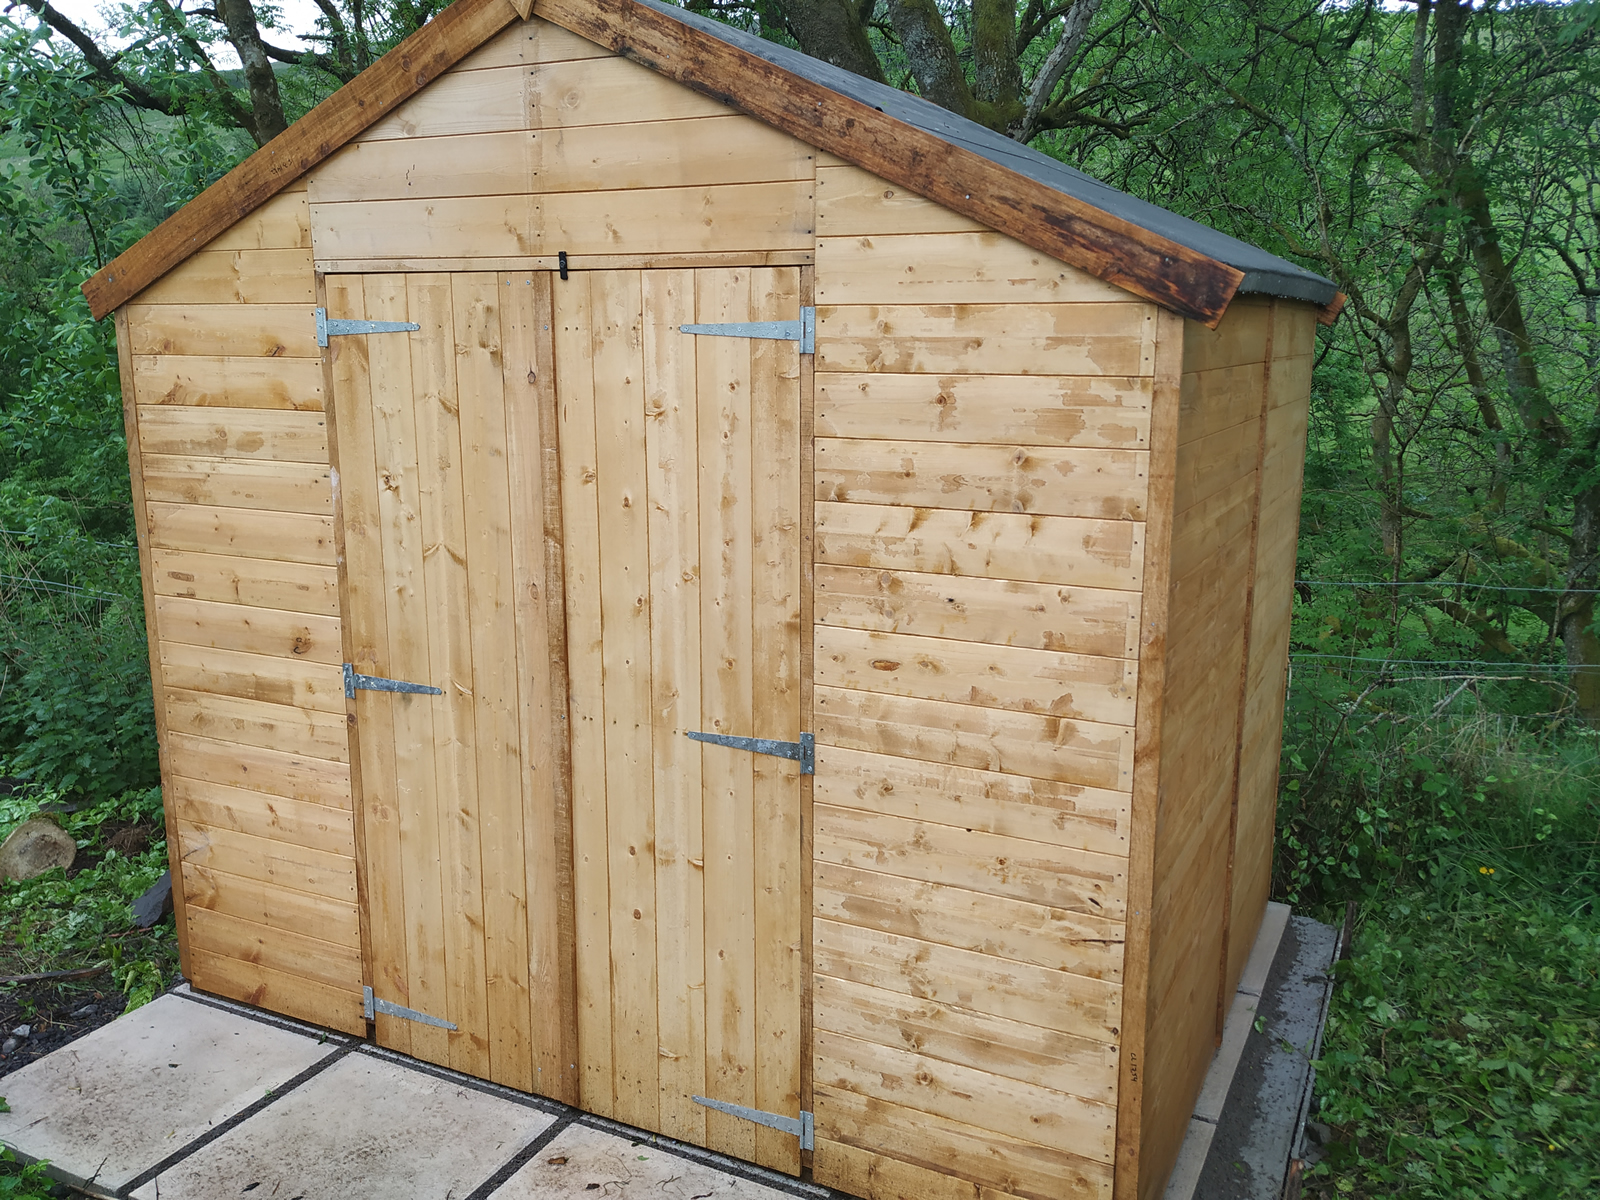 It took two days to complete. The biggest challenge was at the back. Just behind the shed, the land drops steeply down to a river. It’s a long way down. It made siting a ladder a bit tricky. I had to be careful swinging a hammer in case I unbalanced myself backwards.
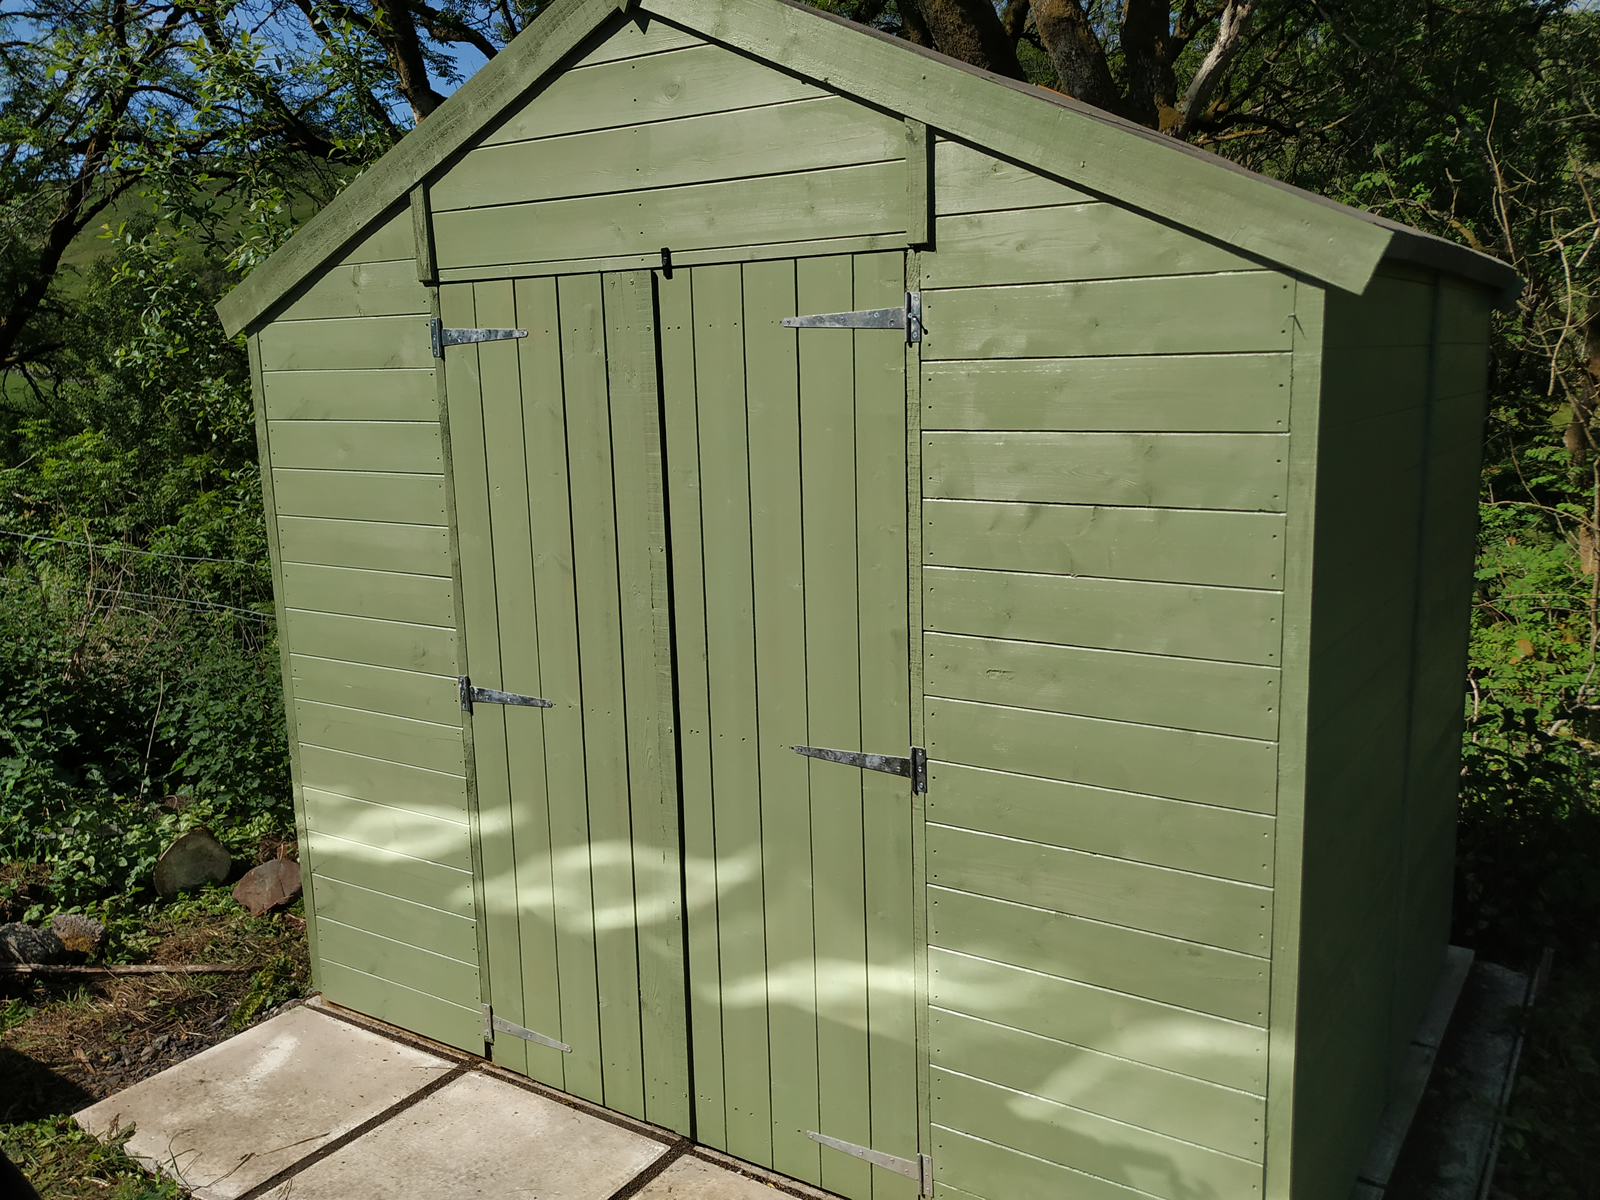
The next stage was to paint it. We wanted it look nice and to blend in so I had sourced some green shed paint at the same time as buying the shed. We are pleased with the results.
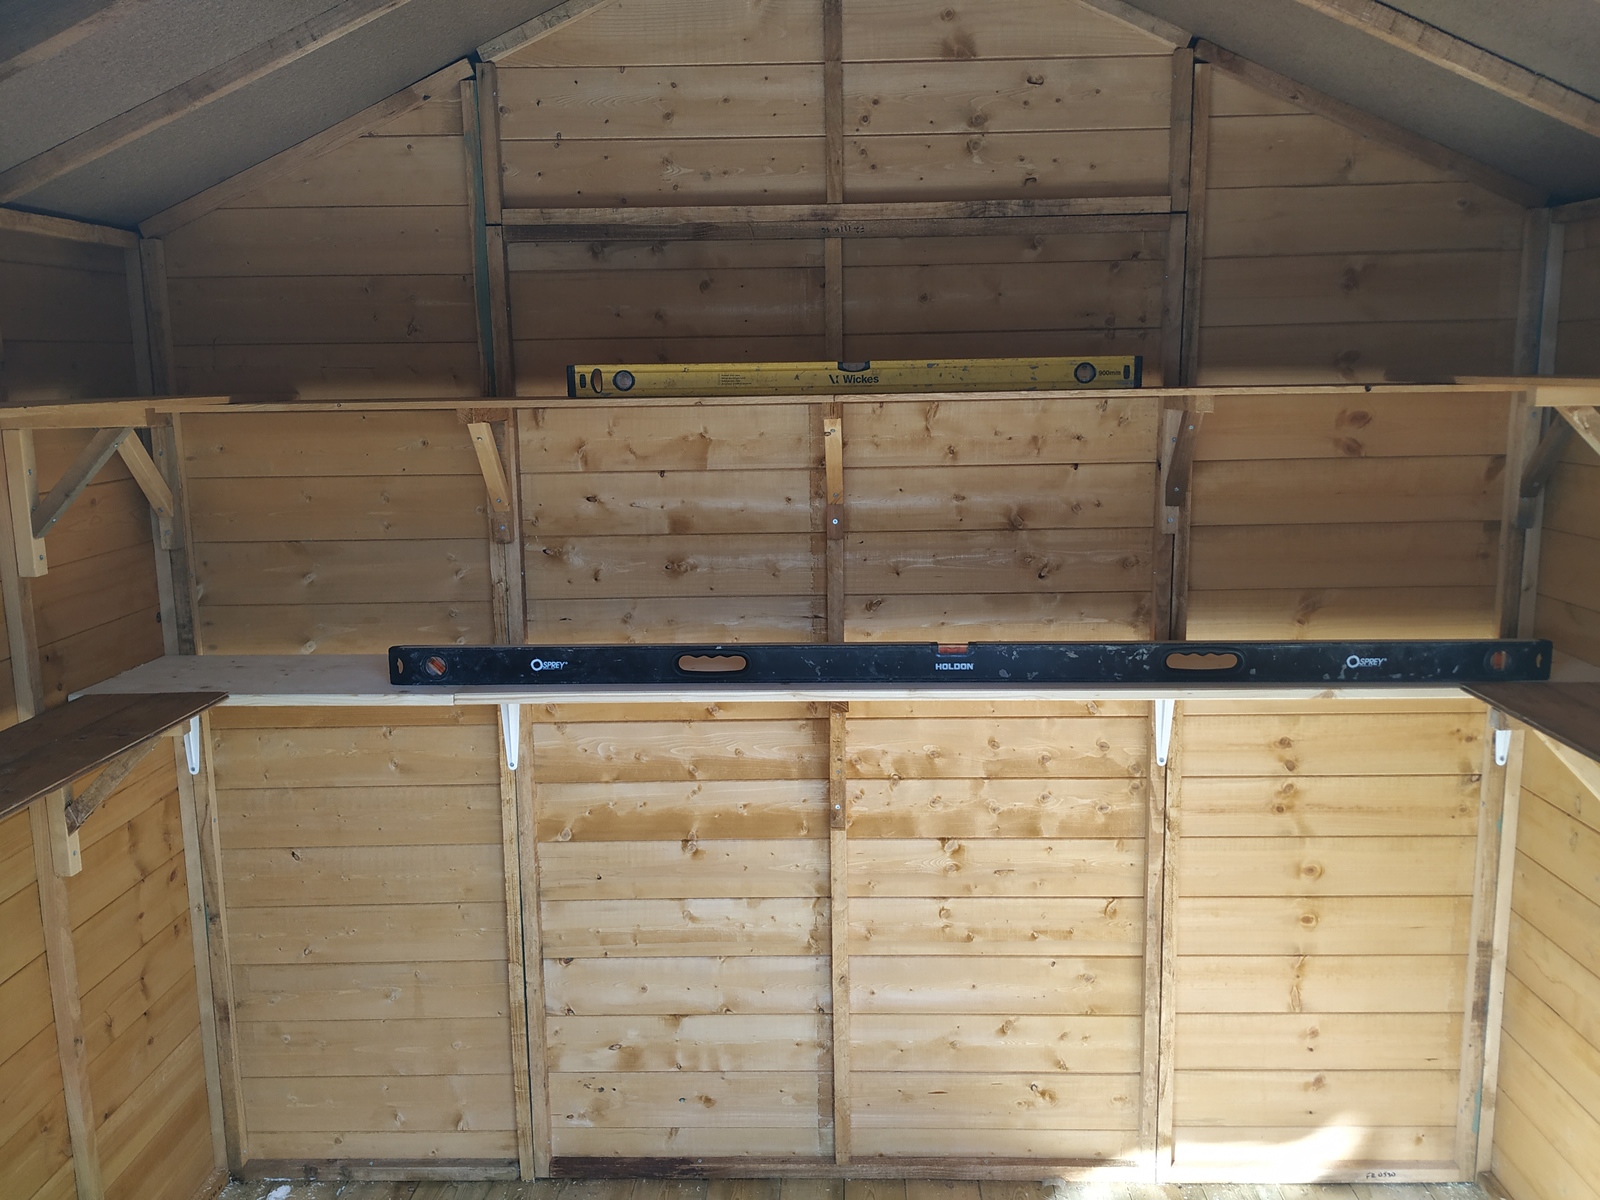
Final stage was to add some shelves. Now all that remains is to put all our stuff in it. Another small step in making our life a bit easier.
|  |