Regular visitors to this blog will know I spend a fair amount of time repairing the dry stone dykes we have here. We inherited some fallen down sections from the previous owners and a couple of storms did some damage as well. However, the latest repair is down to what can best be described as inconsiderate behaviour by walkers who clambered over one of the most fragile sections of wall, loosening and dislodging a few stones in the process.
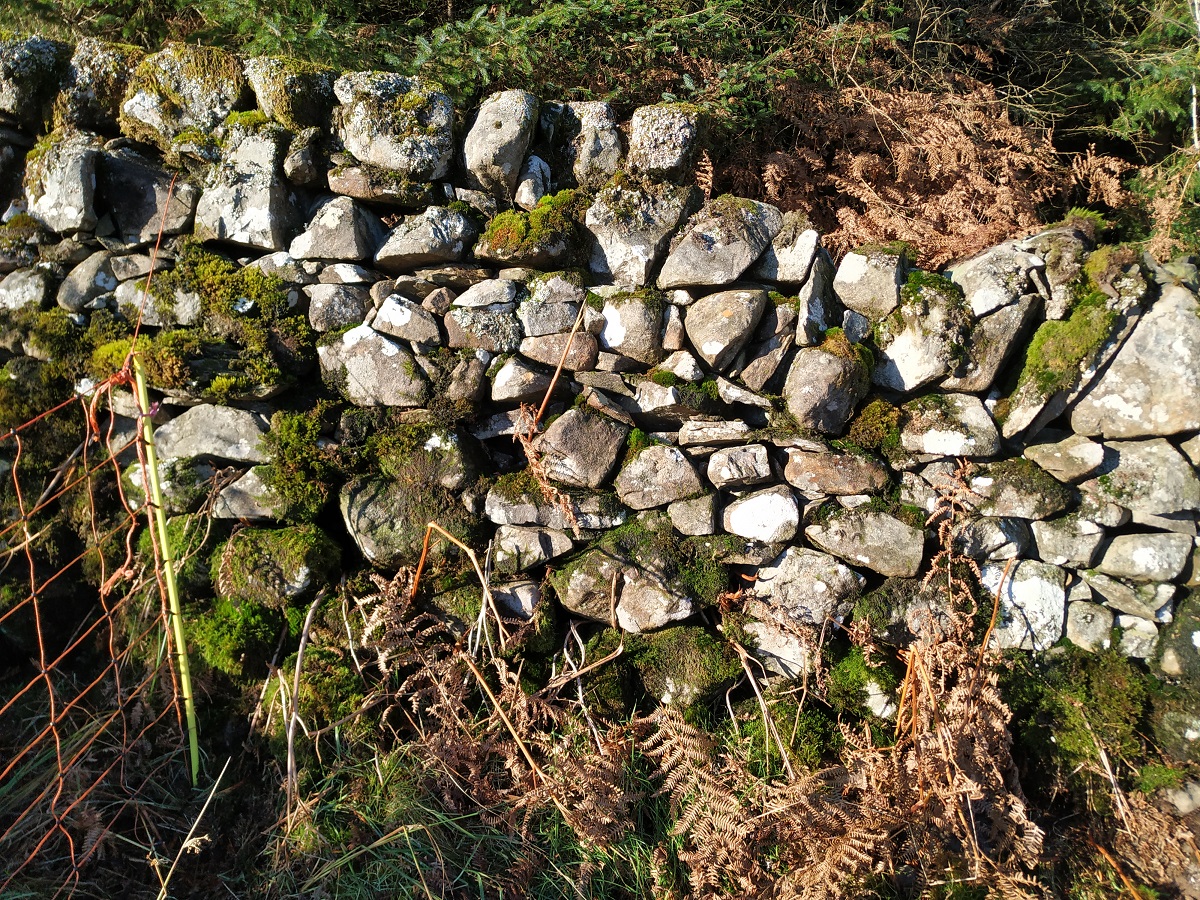 At first glance, it seems like nothing. You can see the small gap in the photo to the right. You might ask why I didn’t just replace the fallen stones. The answer is that it’s not that simple. What the photo doesn’t capture is that the wall is leaning quite markedly away as you look at the photo. So, the seating for the stones is not level and in any attempt to replace them, gravity would simply pull them back to the ground. Even if you could get them to stay there, it would only be a matter of time before they fell off again.
The wall is important to us as it keeps the sheep from wandering off into the forest next door. So, the first thing we did was put an emergency sheep fence up.
The problem with old dry stone dykes is, in a word, settlement. A dry stone dyke comprises essentially of two walls built in parallel. Between the walls are placed what we call filling stones and these keep the walls upright. Half way up, large stones are laid across the two walls to hold them together. These are called through stones and they give the wall its strength. Then two more walls are built on top of the through stones and these are capped with a neat line of coping stones. Sometimes, if the stones are large, the top half is a single wall. This is called a Galloway March style and is common here.
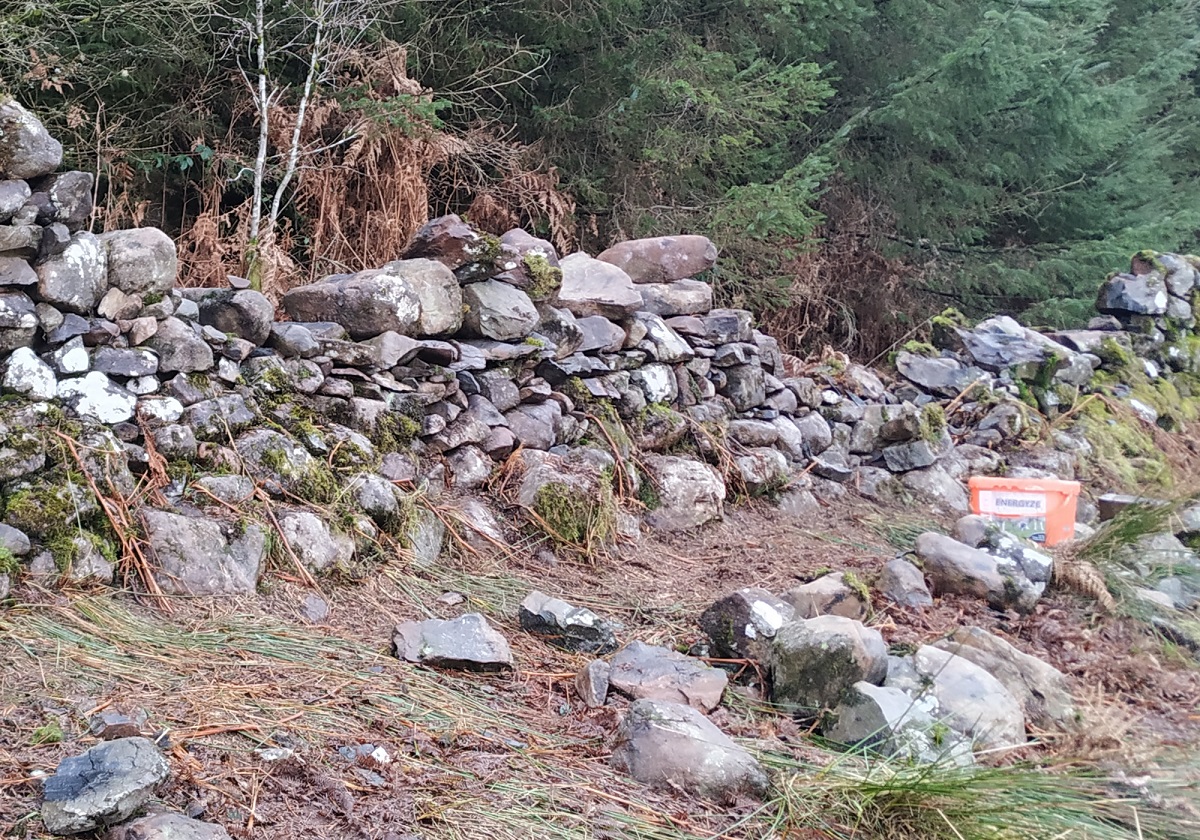
In fact, some of the upper stones were so large I did not want to put them on the ground as I worried I’d never get them back up again. This meant I had to repair the wall in stages, building it up to the half way point, then rolling the large stones along – you can see this in the photo to the left.
Over time, some of the filling stones settle causing the stones in the lower walls to collapse inwards. Also, the two walls settle differently meaning that one ends up higher than the other. The through stones are pulled away from being level. Now, the top wall is sitting on a slope and leaning. Instead of gravity holding the wall together, it’s now pulling it down. The wall is now in a fragile state.
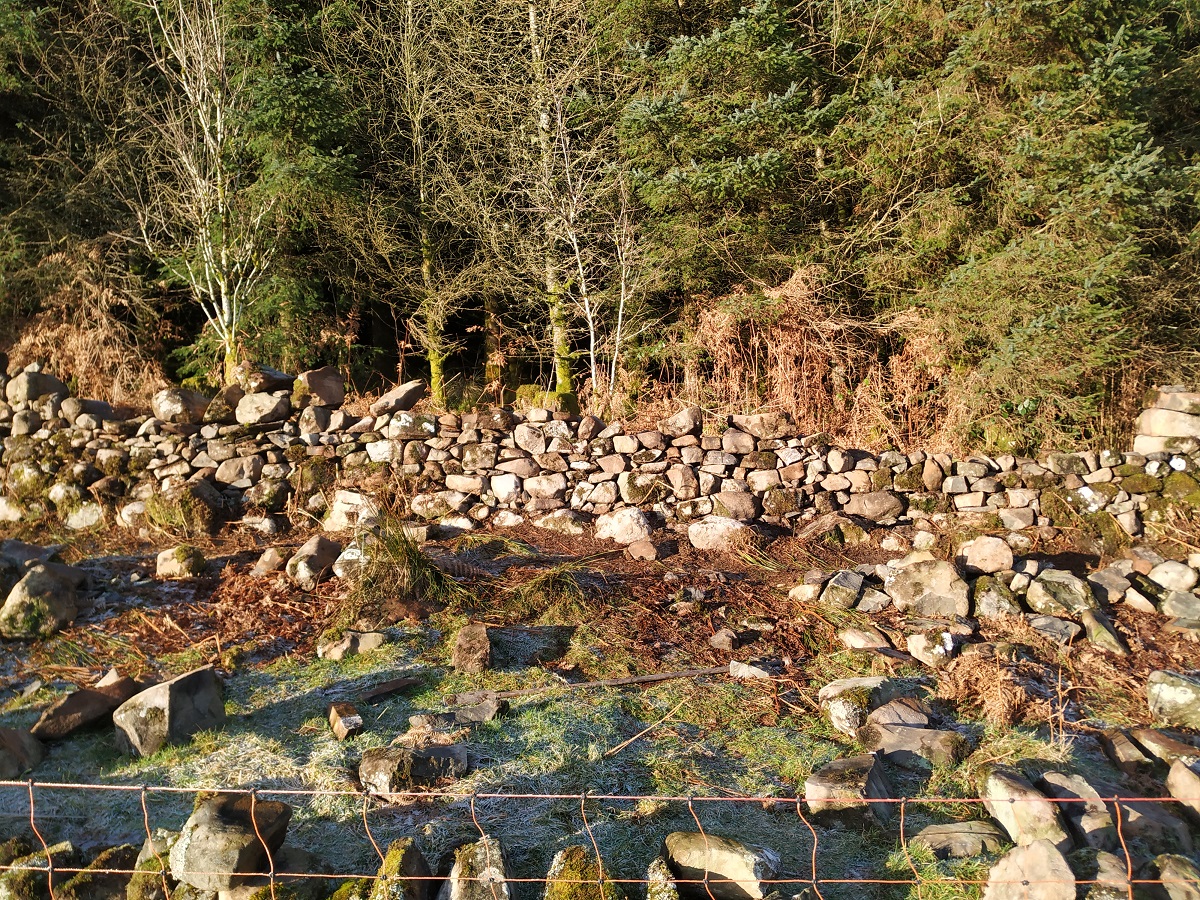
 Looking at these photos, you might be wondering why so much wall is missing for such a small repair. The problem is that this wall is old and is leaning in both directions for much of its length. If you look down it, it weaves back and forth like a drunken snake. To make a neat repair, you need to find two upright and stable sections and repair the entire portion inbetween. For this particular damaged section, the nearest stable section to the left of the damaged section was about 1m away. However, to the right at weaved back and forth for around 16m before it had a short upright section. These walkers probably had no idea how much work they were creating for me.
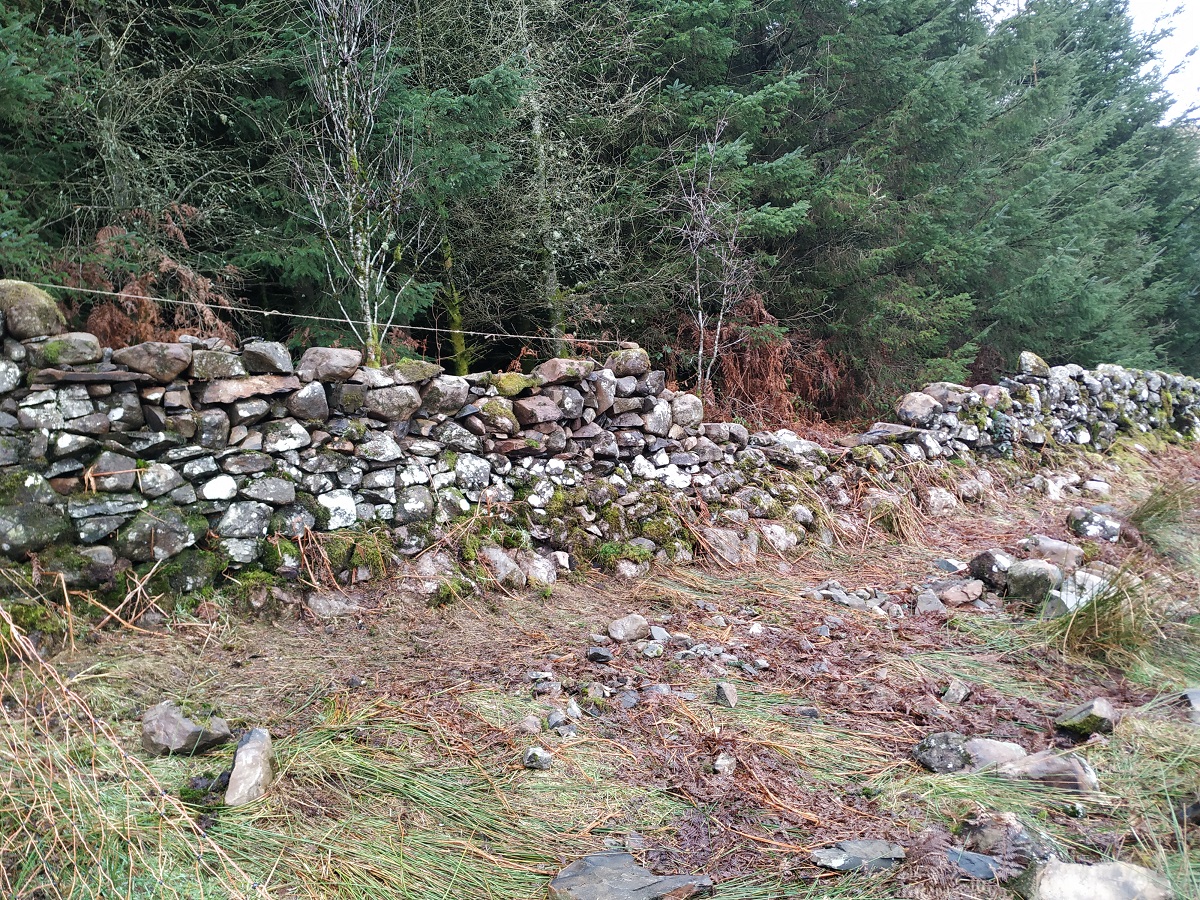
 The photo to the right does not even show the whole picture. The original area of damage is to the left end of the string, where the brown bit of bush can be seen.
I took down around 8m and repaired the first 4m (where the string is), leaving a further 2-3m of stable half built wal on which I could store the large stones from the right hand side. Soon after this photo was taken, I took down another 8m, pretty much all the wall shown in the picture.
To the left, you can see the repaired bit (it has less moss and lichen) along with a burgeoning collection of large stones sitting on the half built section.
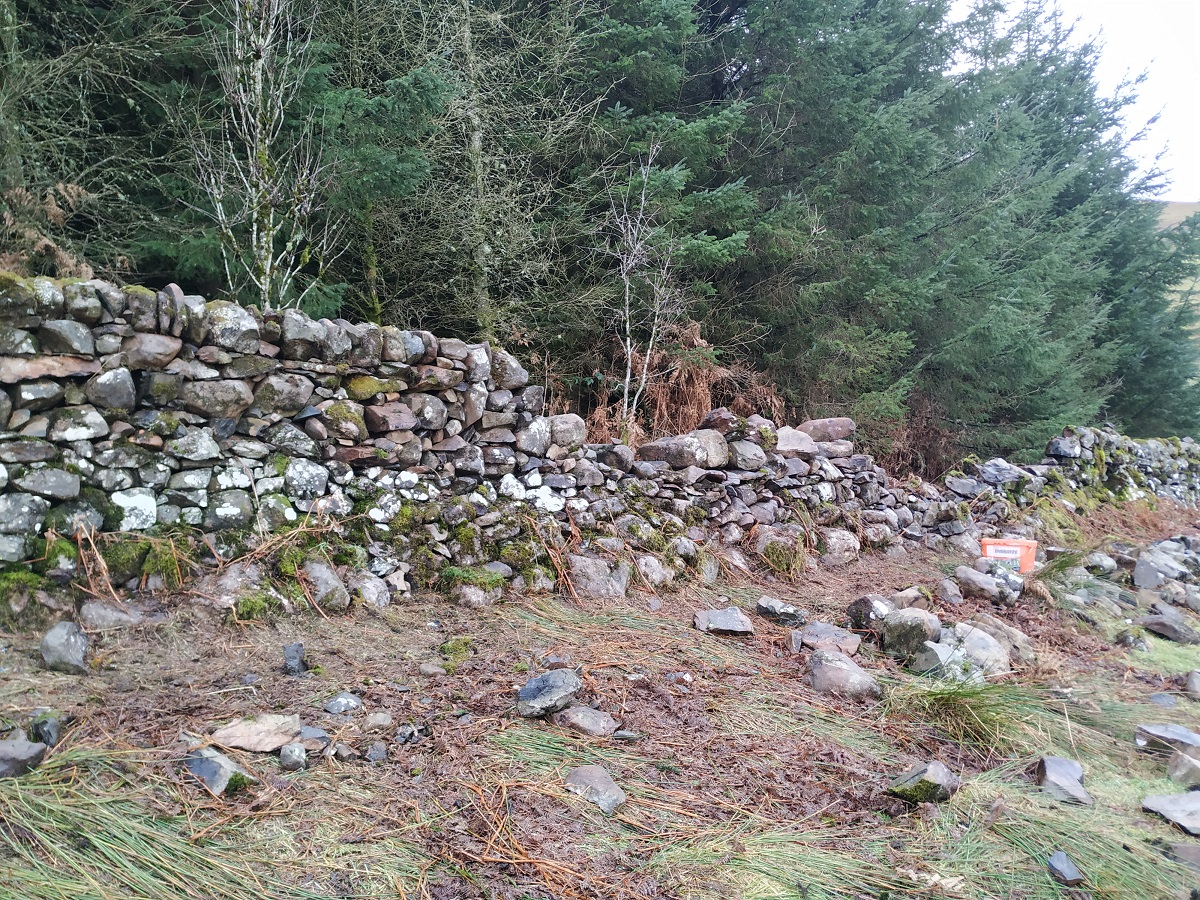
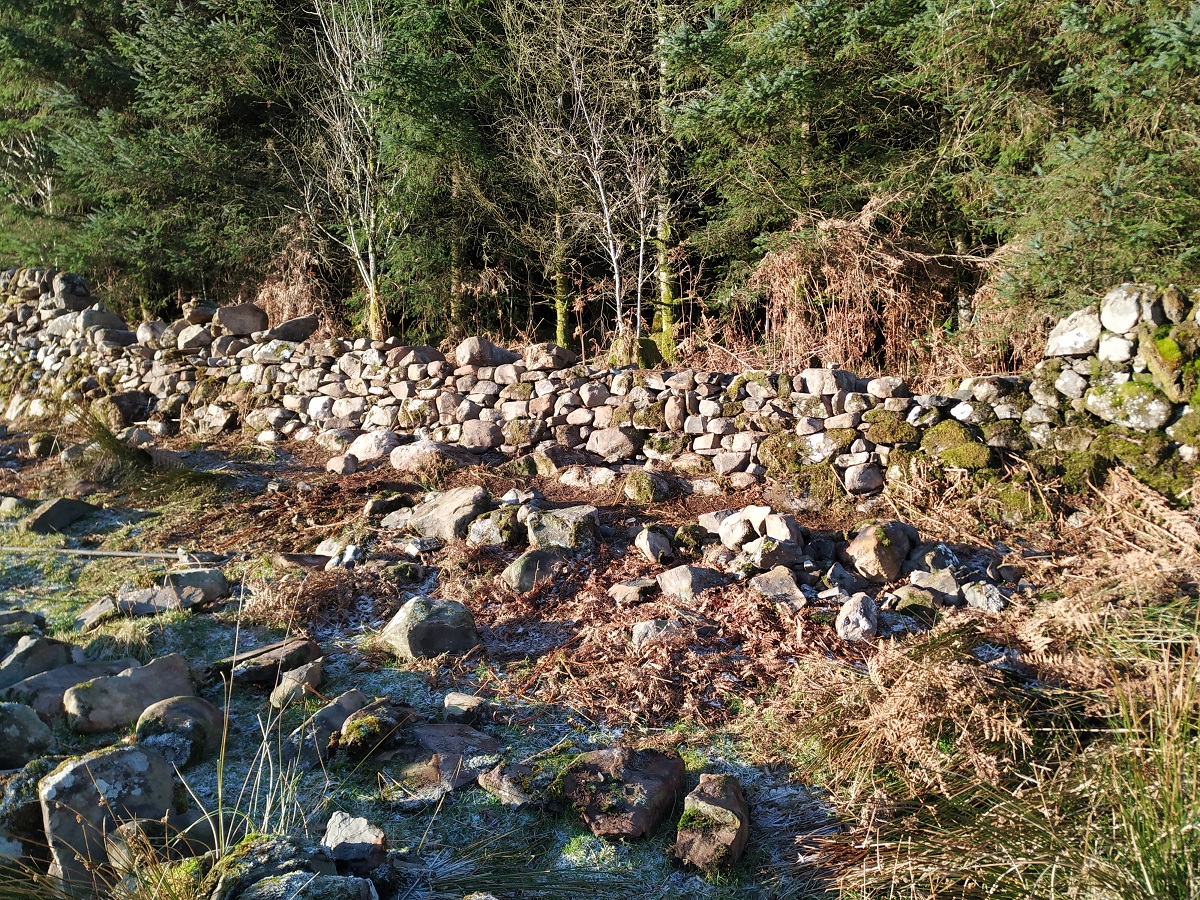 A few weeks and much work later, I have finally got past the half way stage. I have now completed the first lift, the lower two walls capped with through stones. I now have a stable lower section of wall. I just have to fill in some gaps between the the through stones and I can maneouvre the large stones into place. After that, I can build it up to its full height.
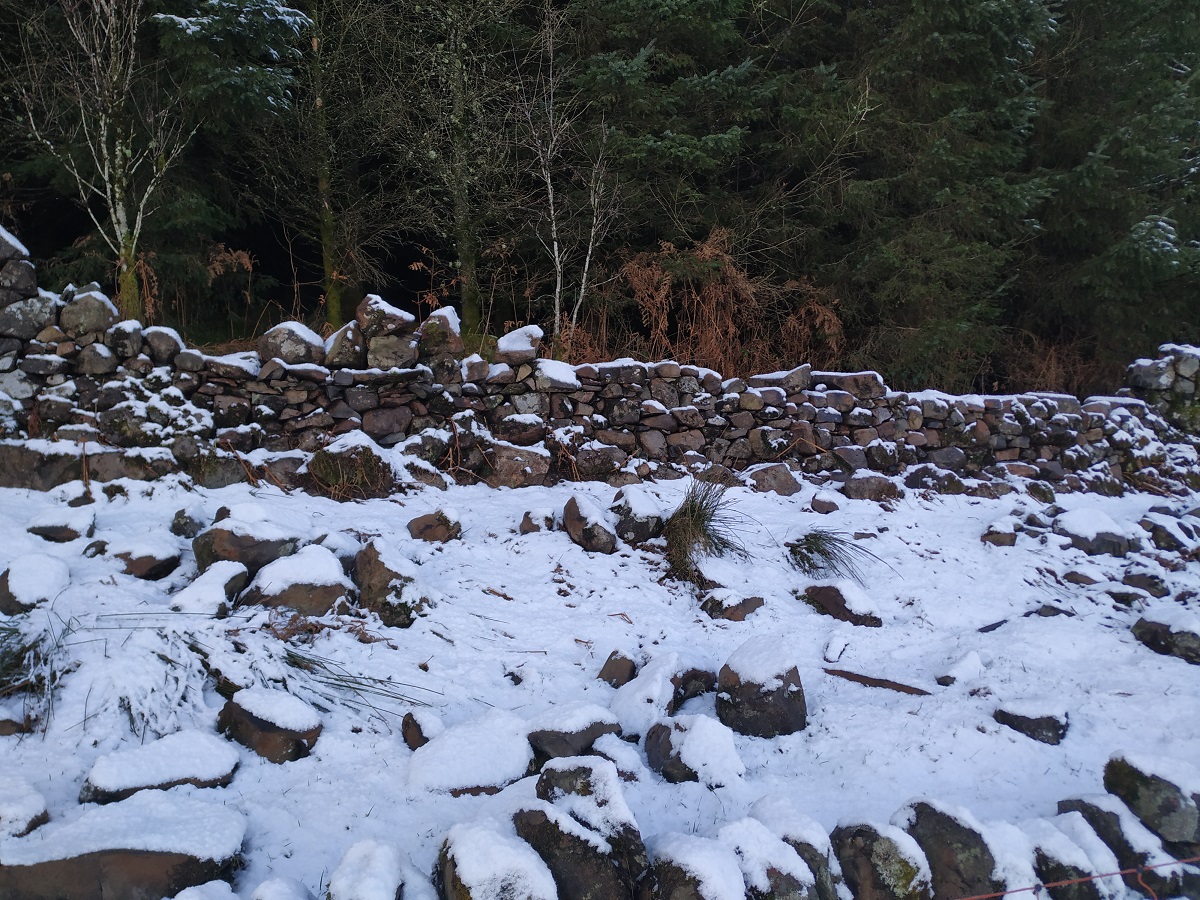 Progress has been interrupted by the arrival of some apple trees that need planting along with some snow. It’s not the cold that stops me working on the wall, more the danger of heavy snow covered stones slipping out of my hands onto my feet. There’s a limit to the protection offered by steel toecaps. Also, little patches of snow can get wedged inbetween the rocks making them feel stable, however, when the snow melts the rocks will suddenly be loose.
There’s still a fair amount of work to be done plus a few heavy stones to lift back into place (some of them did fall to the ground). But the end is in sight. That said, there are a few further sections crying out for my attention, so 2022 could be the year of dry stone dyke repairs. It’s a good job I quite enjoy repairing dry stone dyke, it’s hard work, but also very creative.