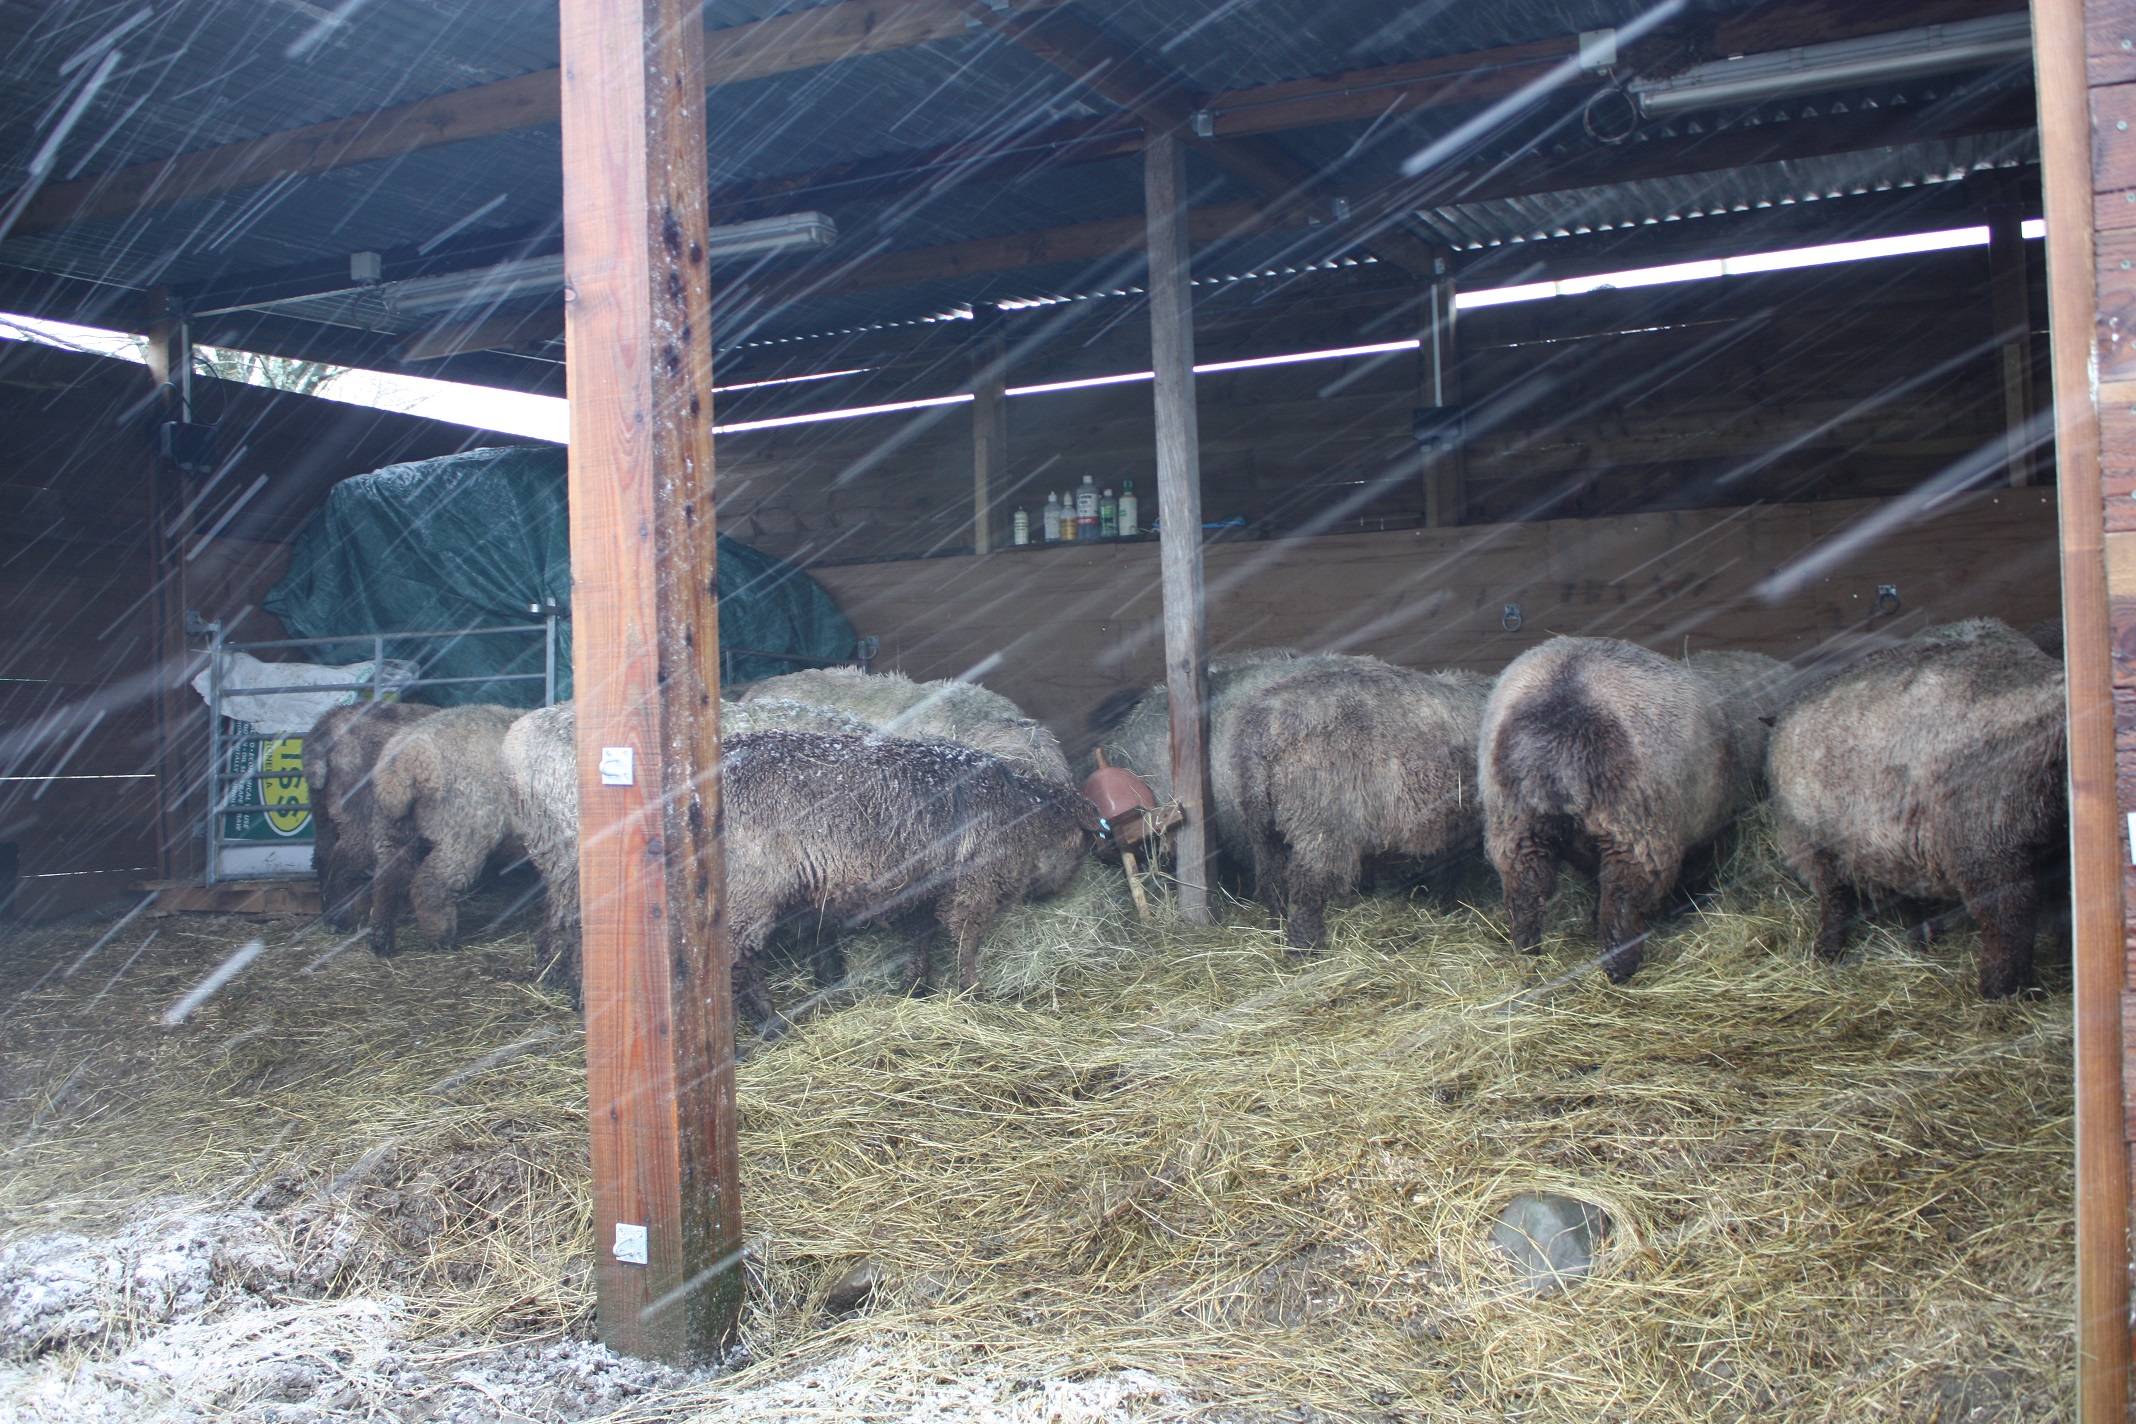
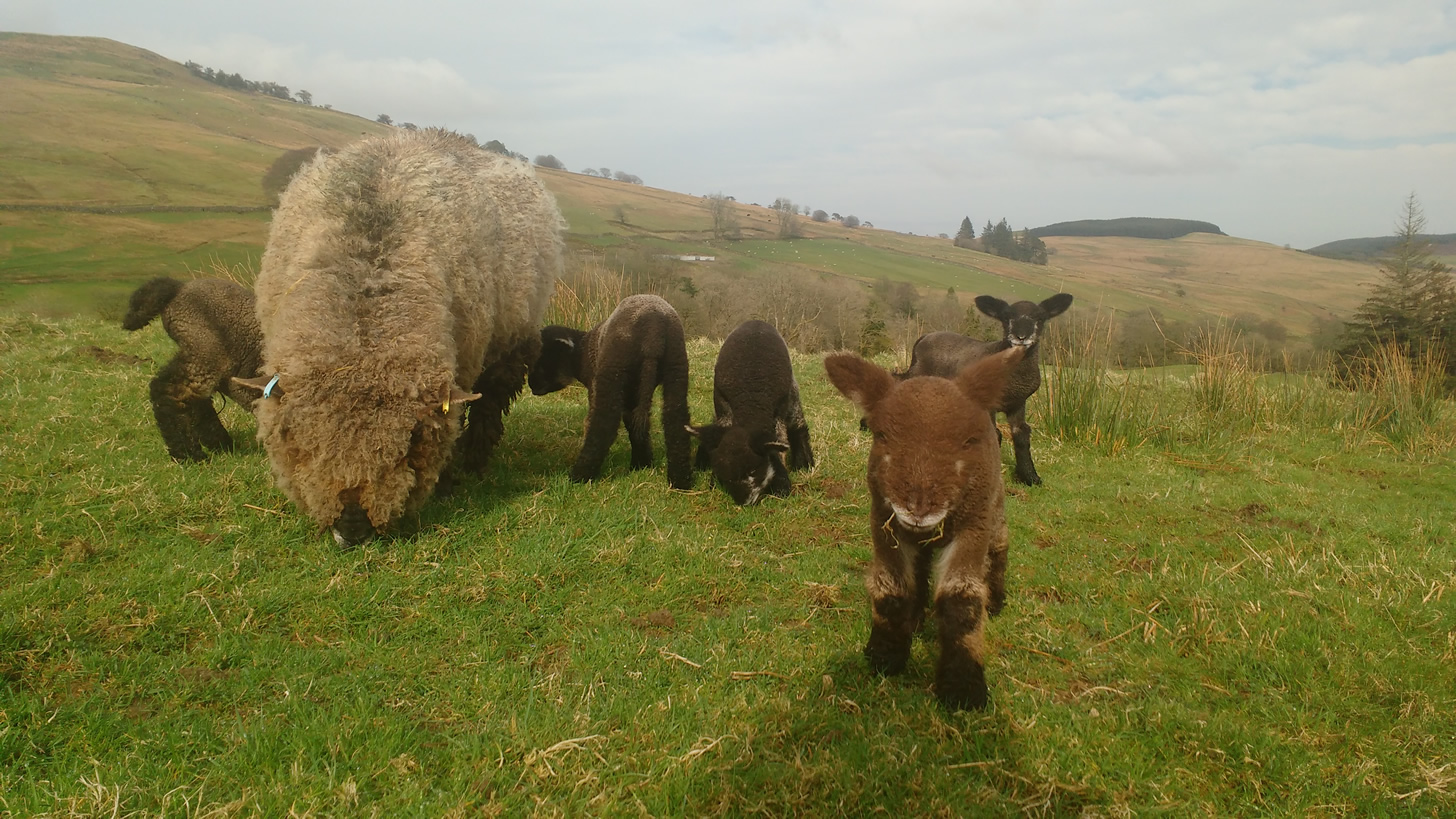
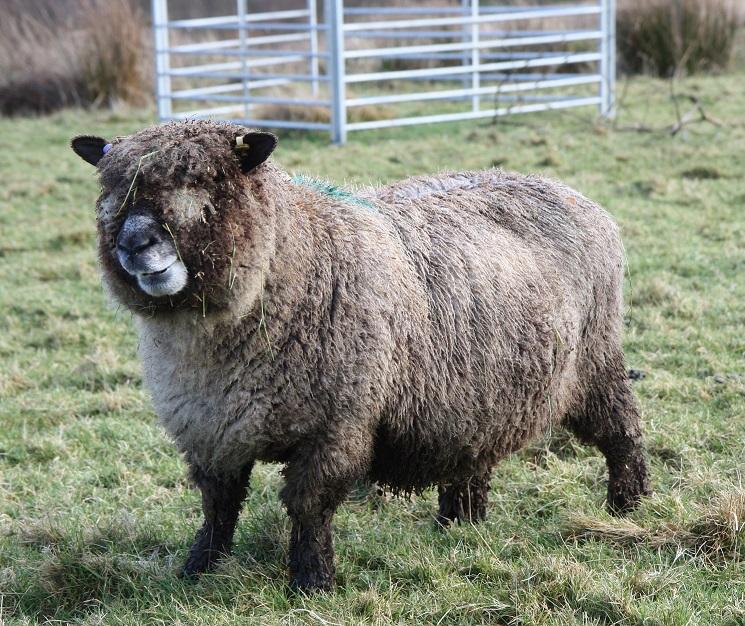
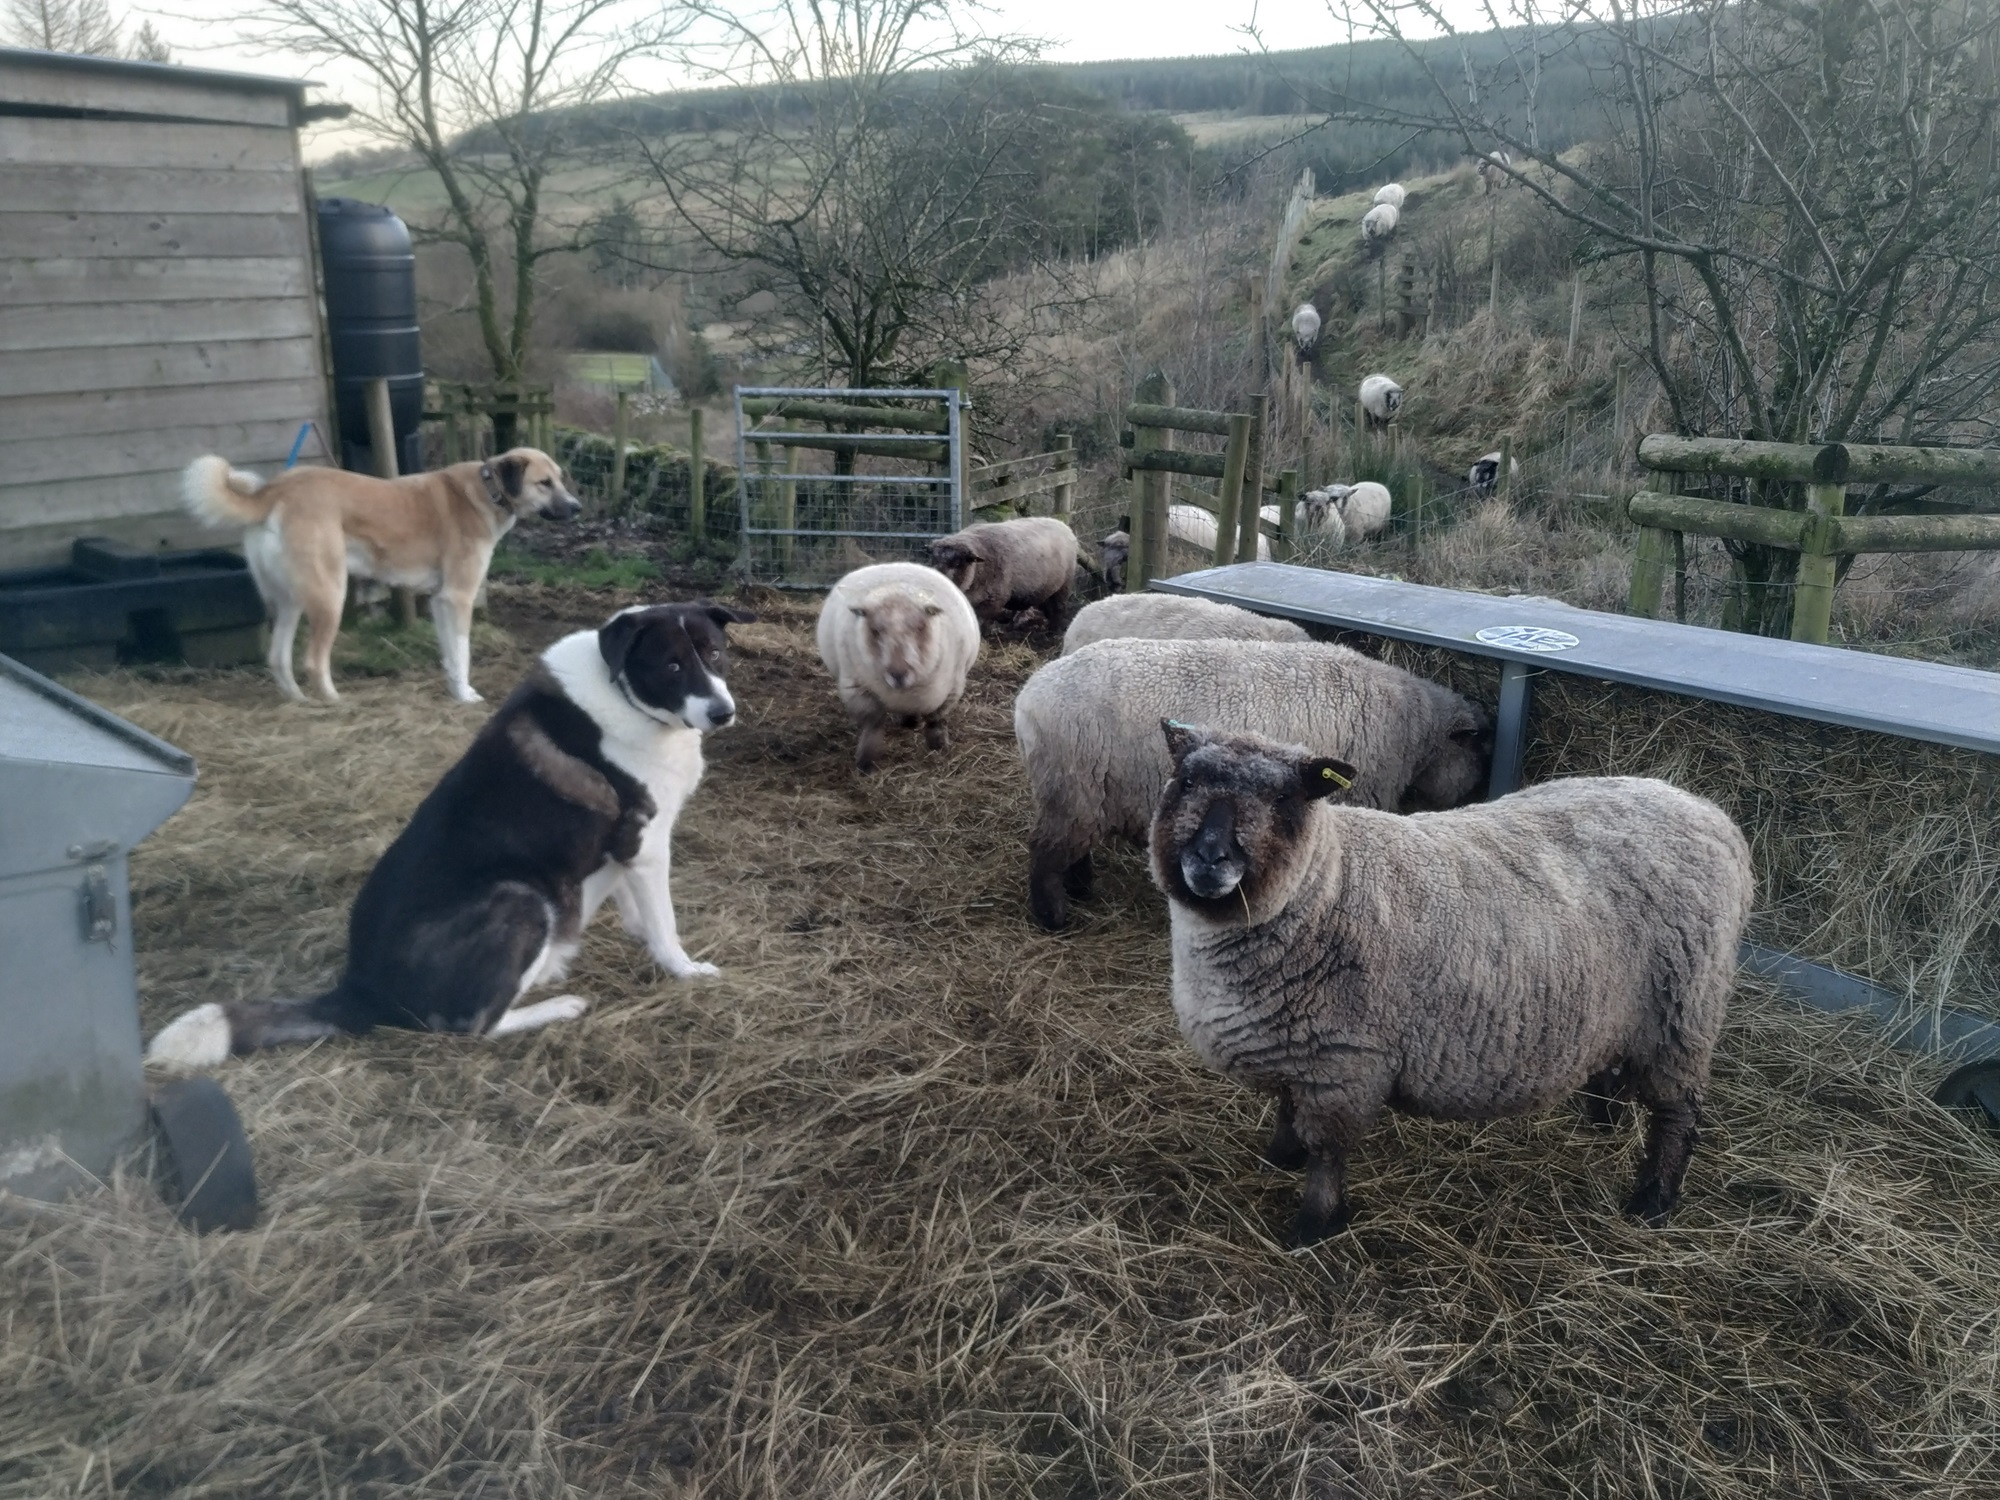
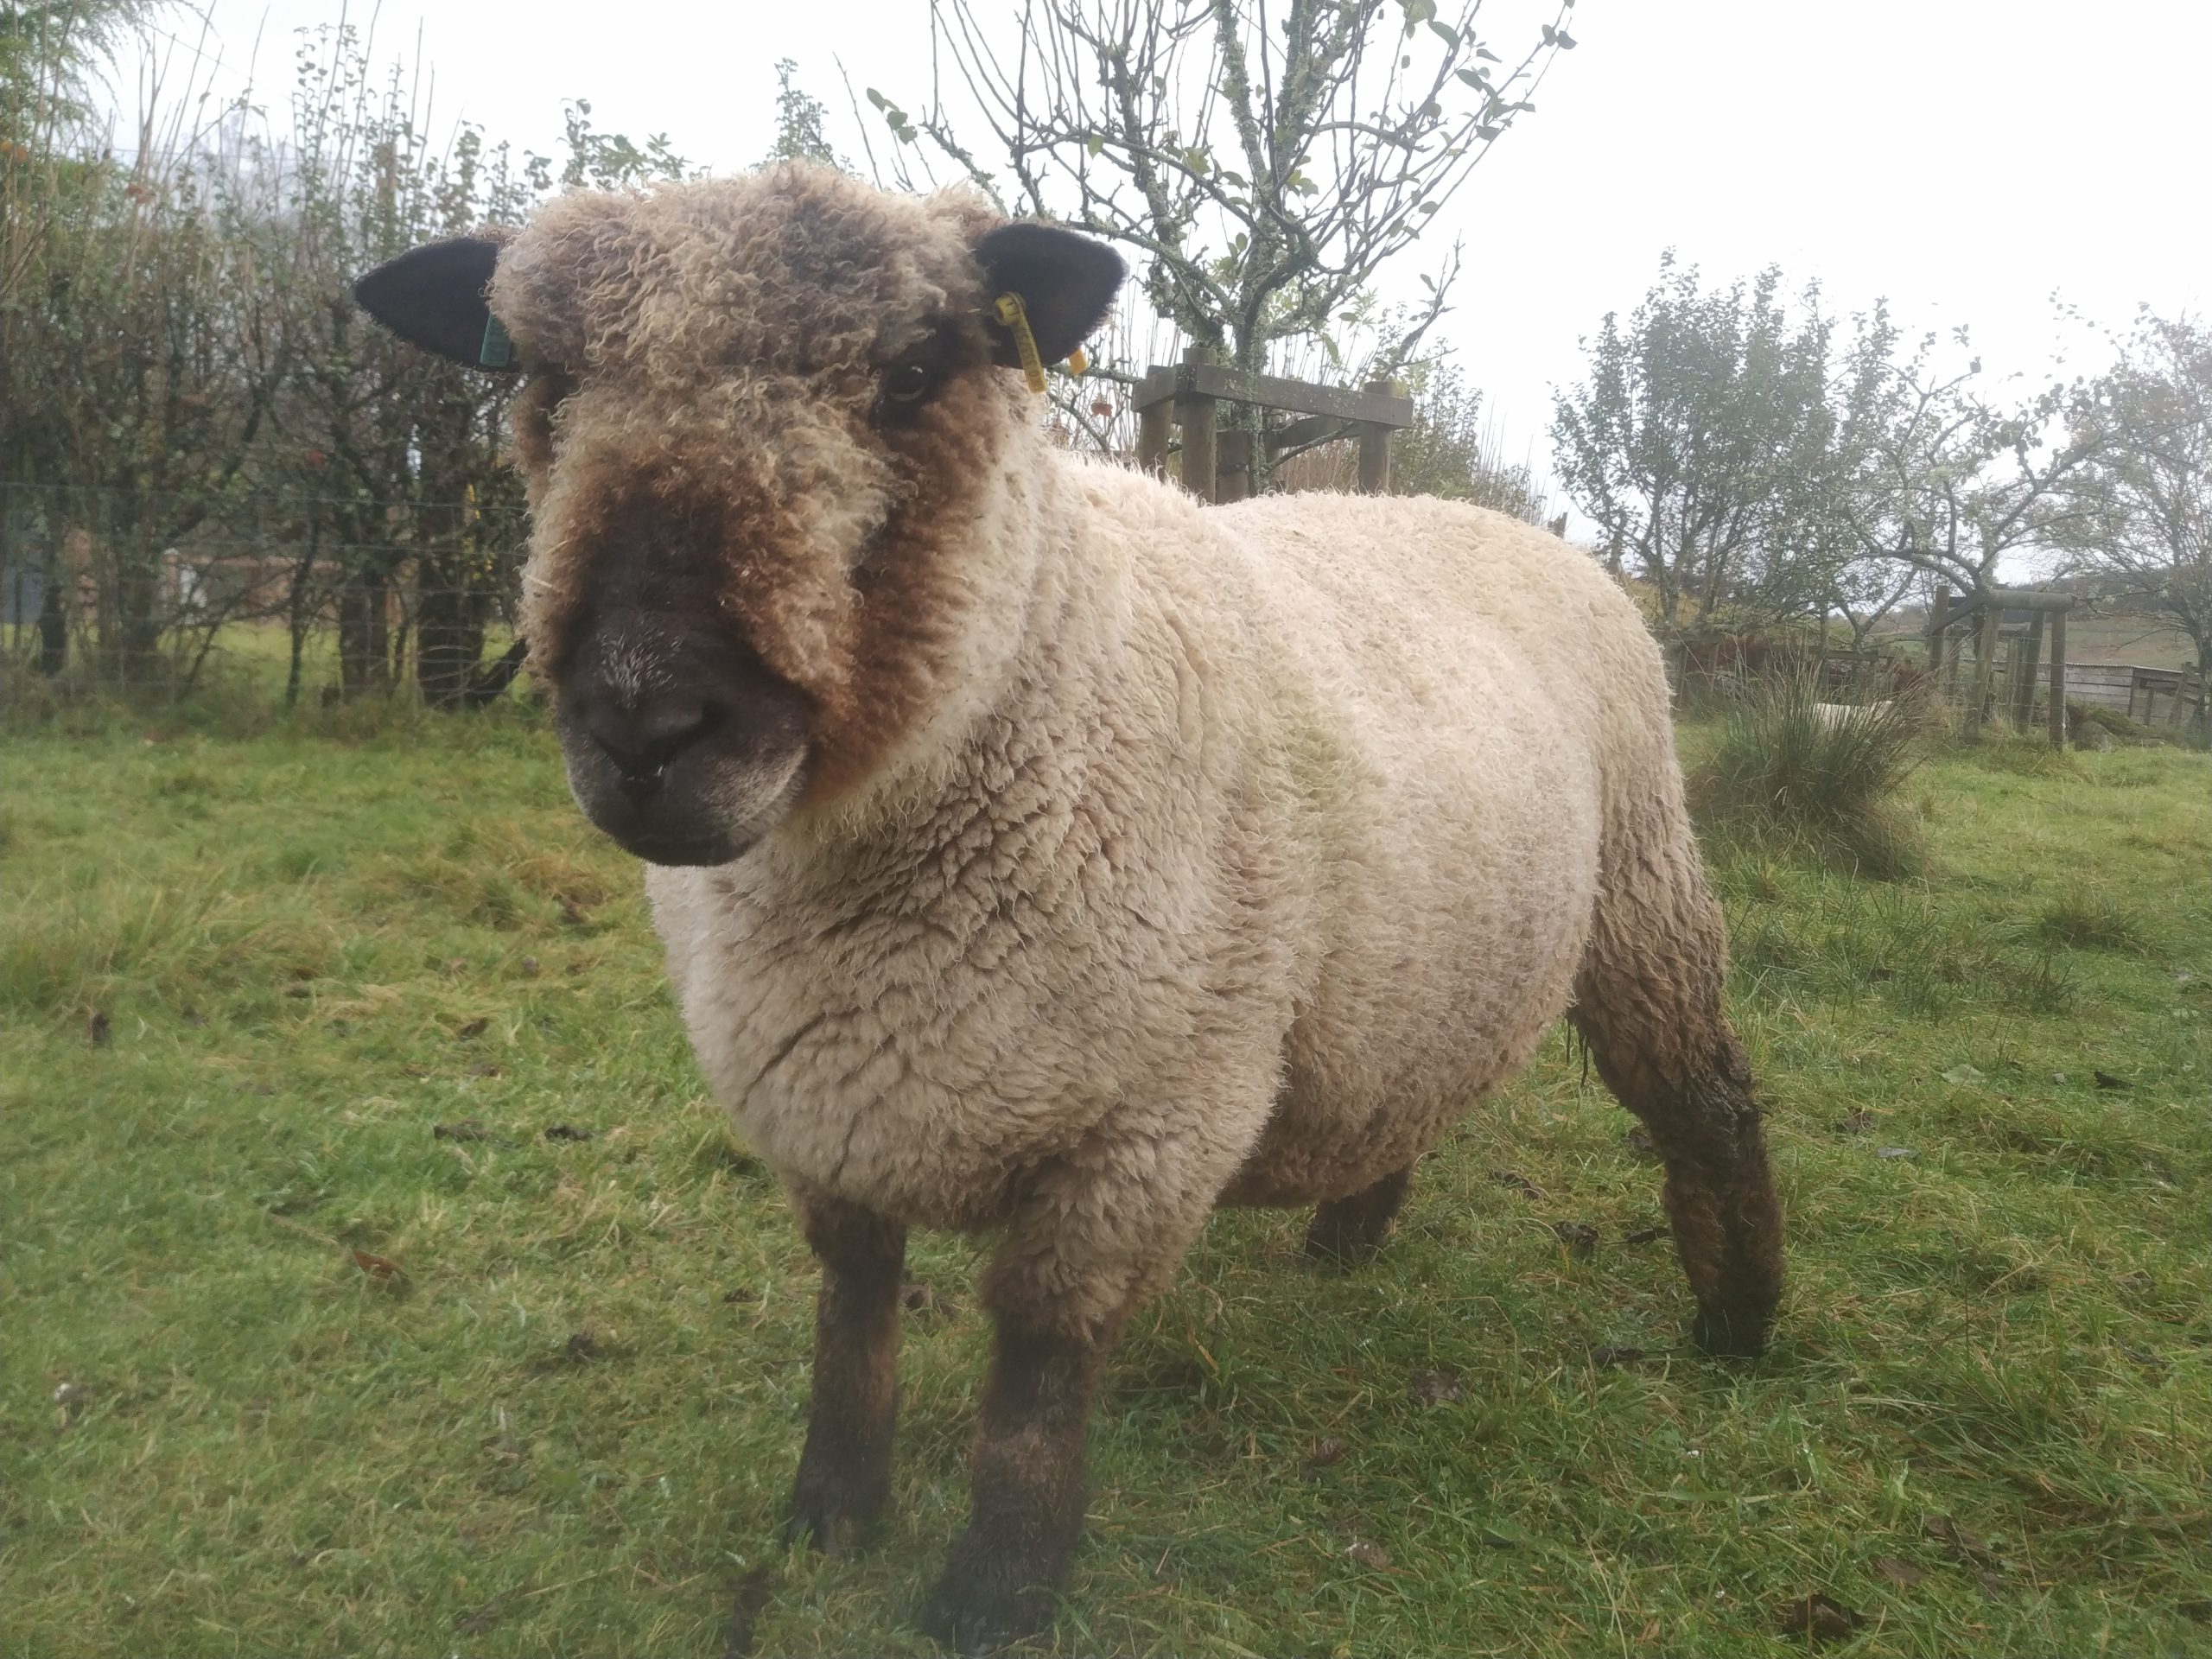
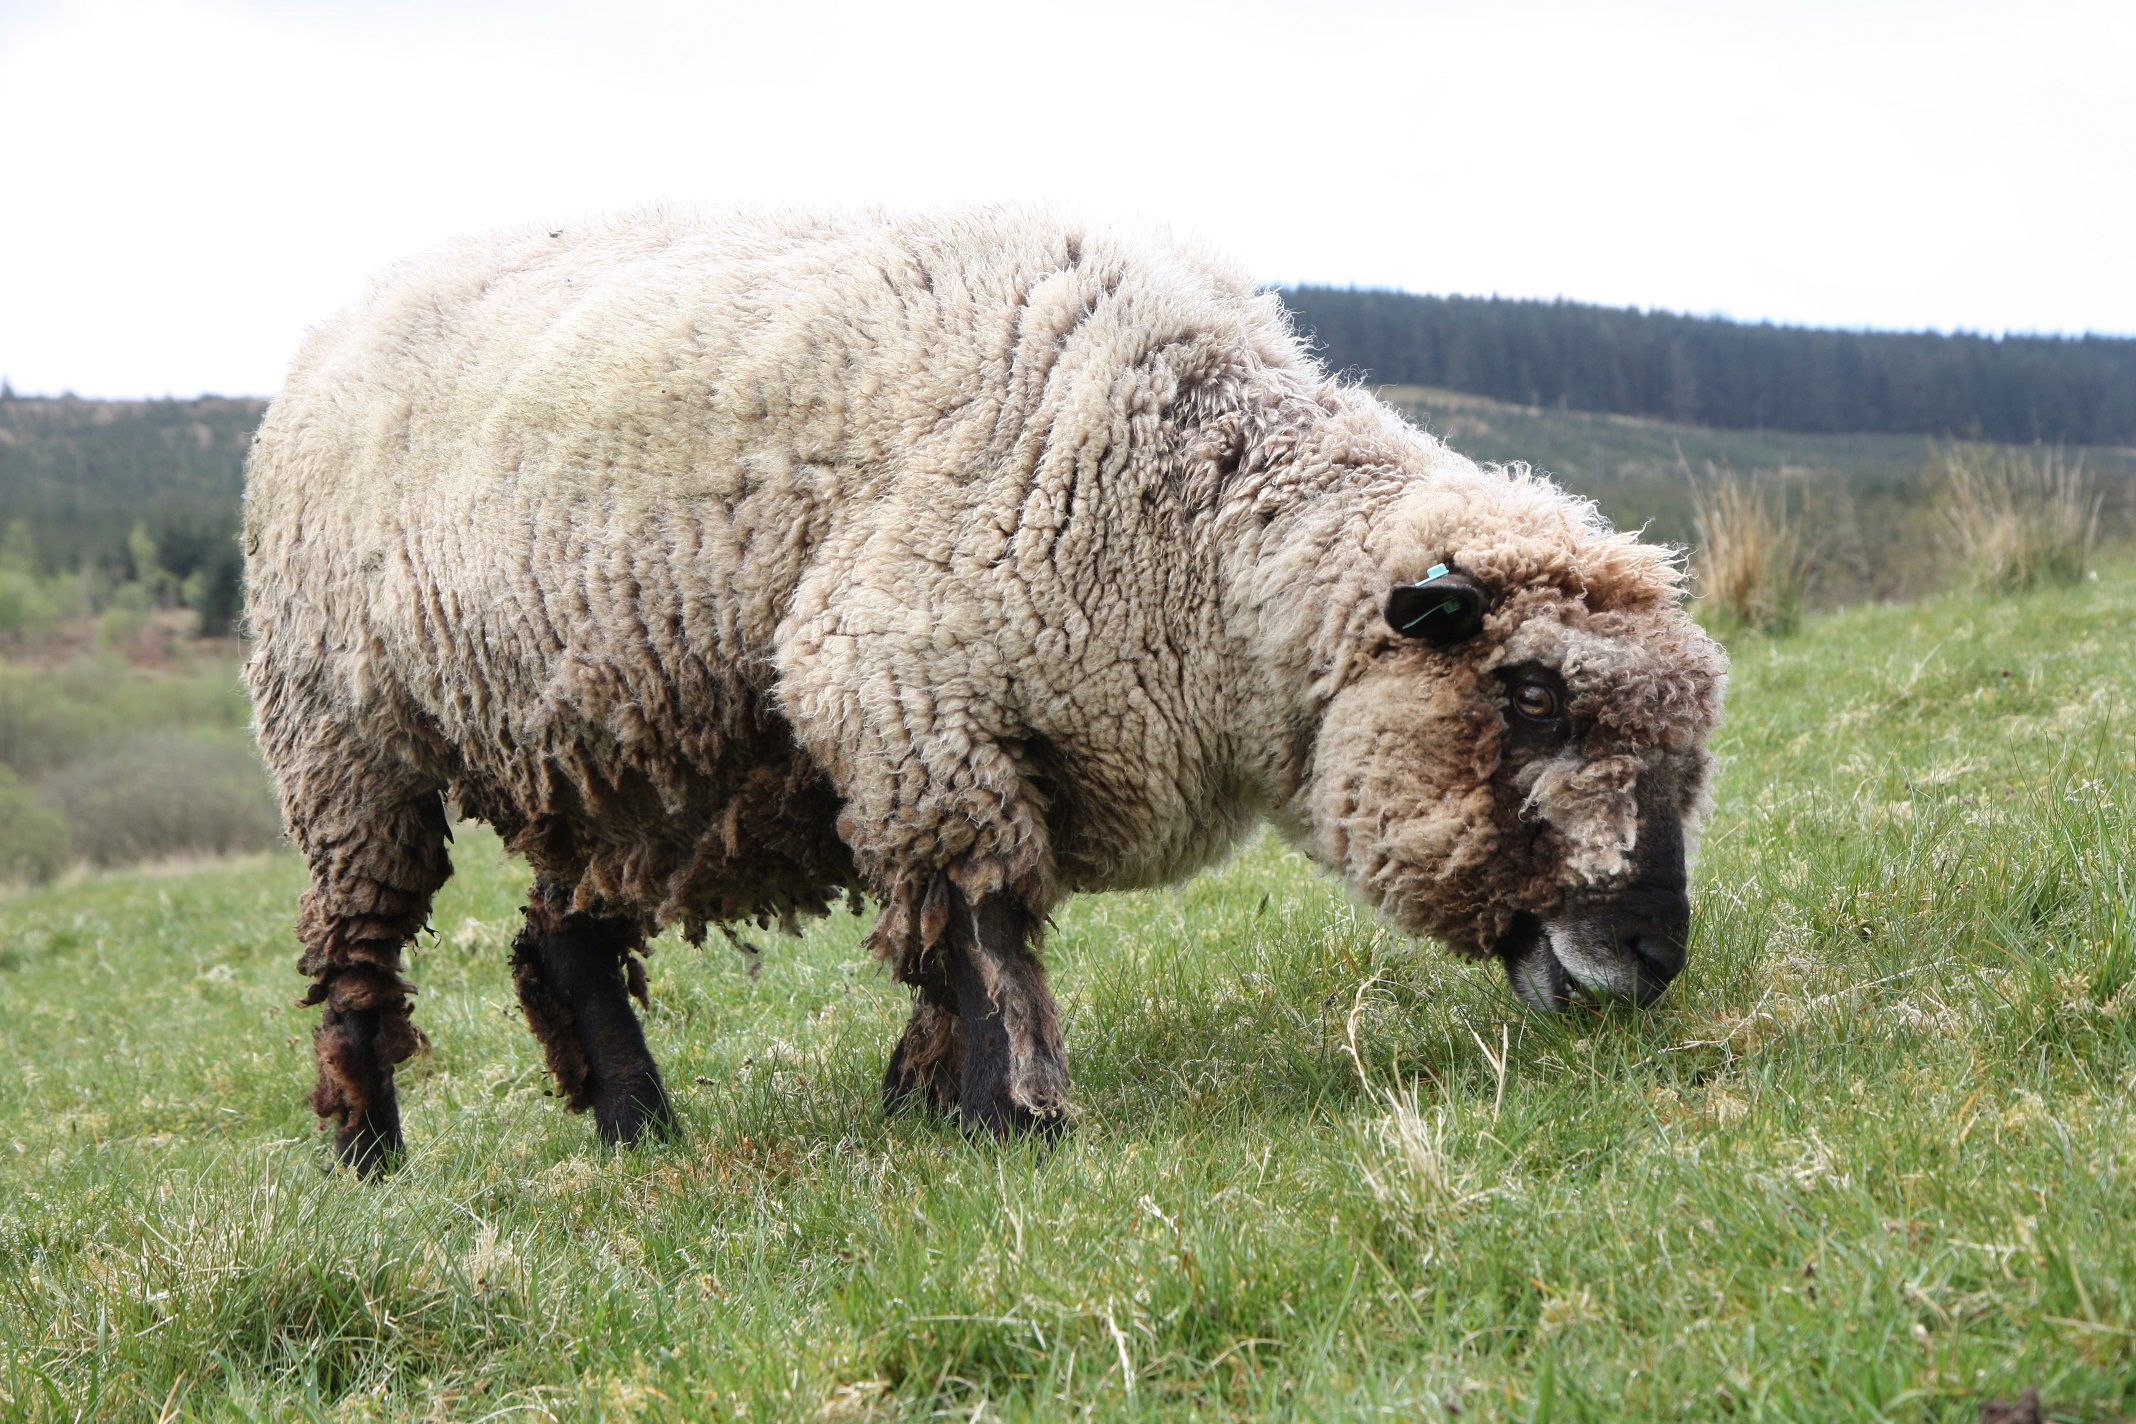
Every week, (weather depending) I arm myself with my ‘sheep bits and bobs kit’ and set off for a morning of hoof and bottom trimming. In other words, I gather in a small number of sheep and spend a lovely morning with our teddy bears doing their health checks. This includes checking and trimming their hooves, checking their bottoms and trimming their bikini lines, and if they’re woolled up I’ll trim the wool around their eyes too so they can see better.
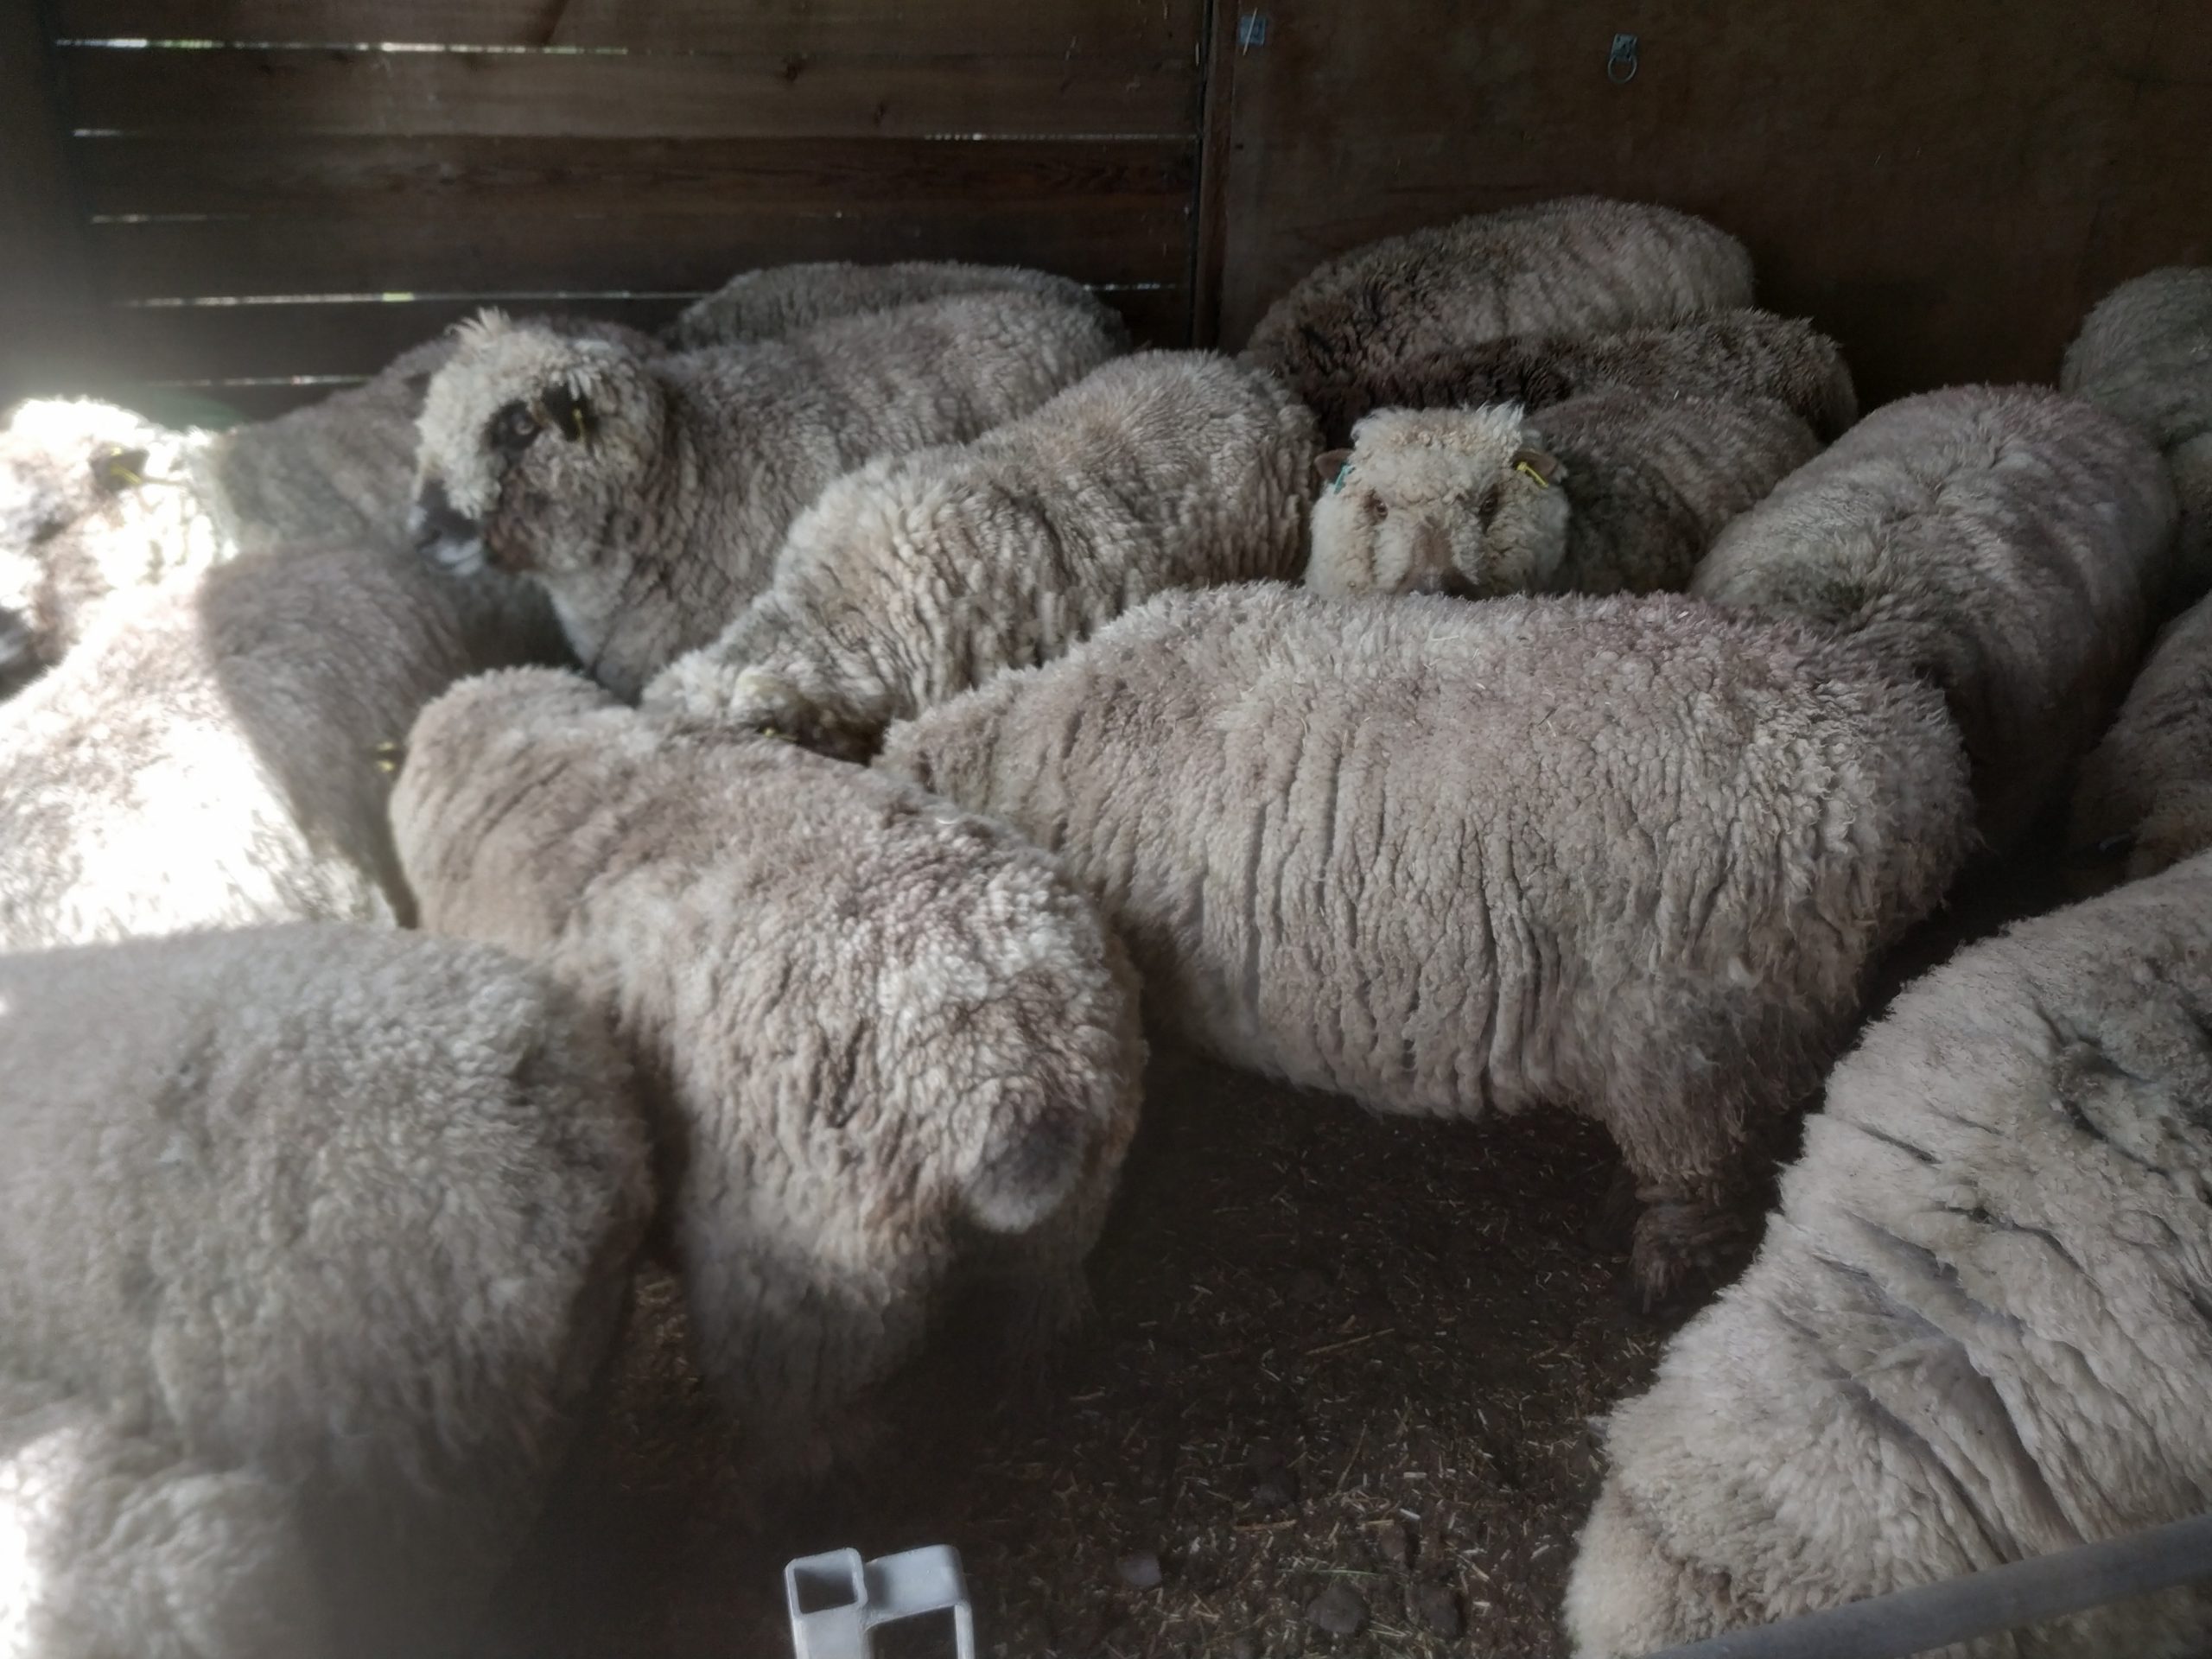
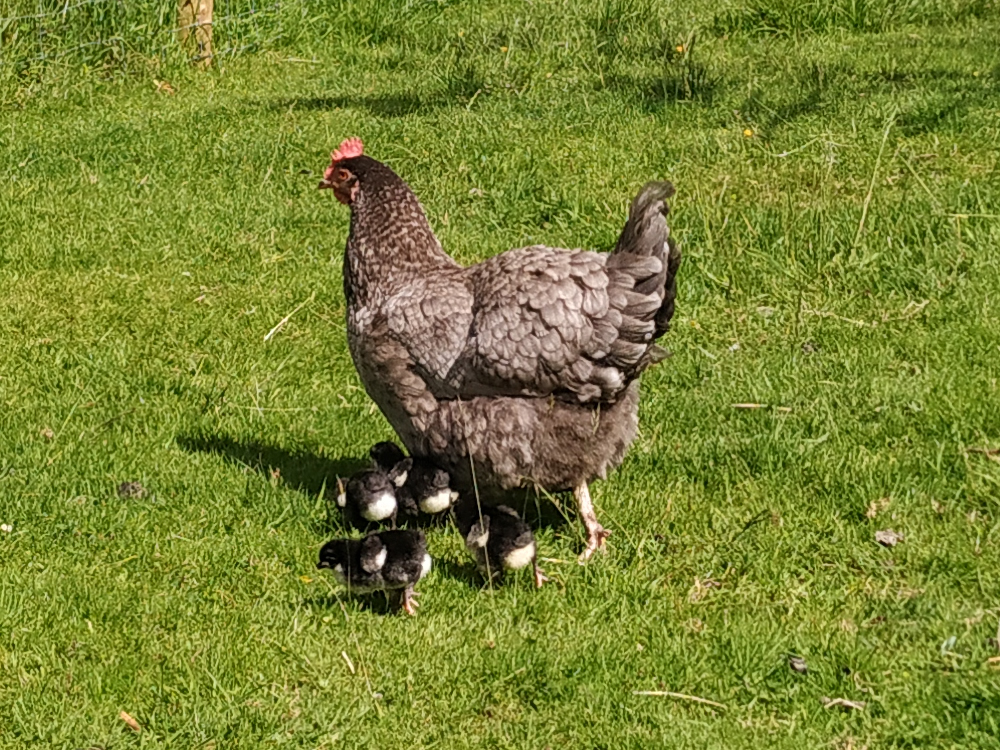
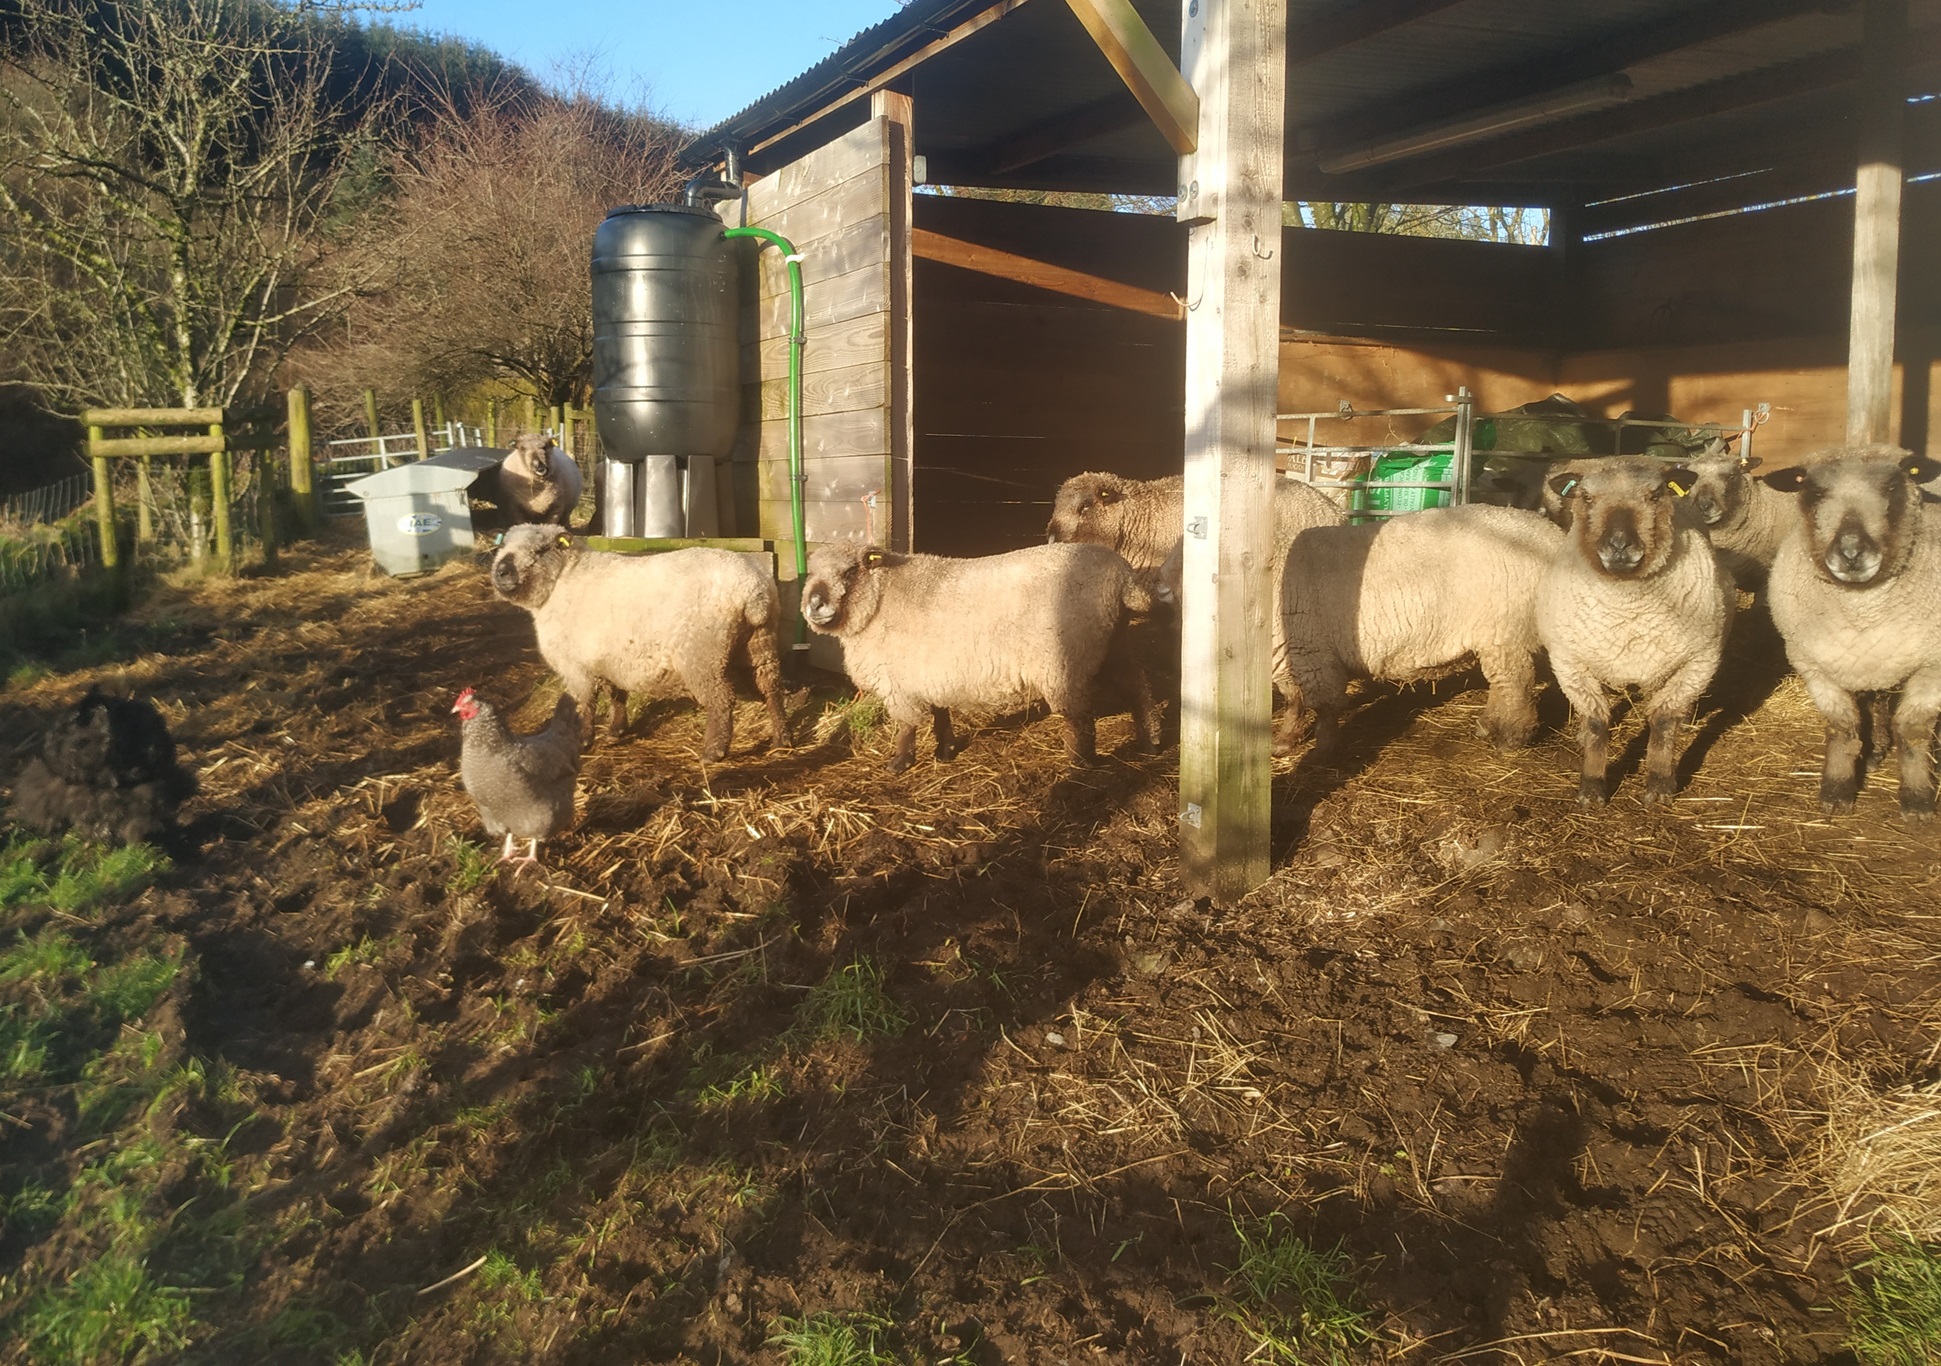
We have nineteen sheep and doing the whole flock in one go is quite a lot for me on my own, so I do three or four each week. This means each sheep gets a health check and mini hair cut roughly every six weeks.
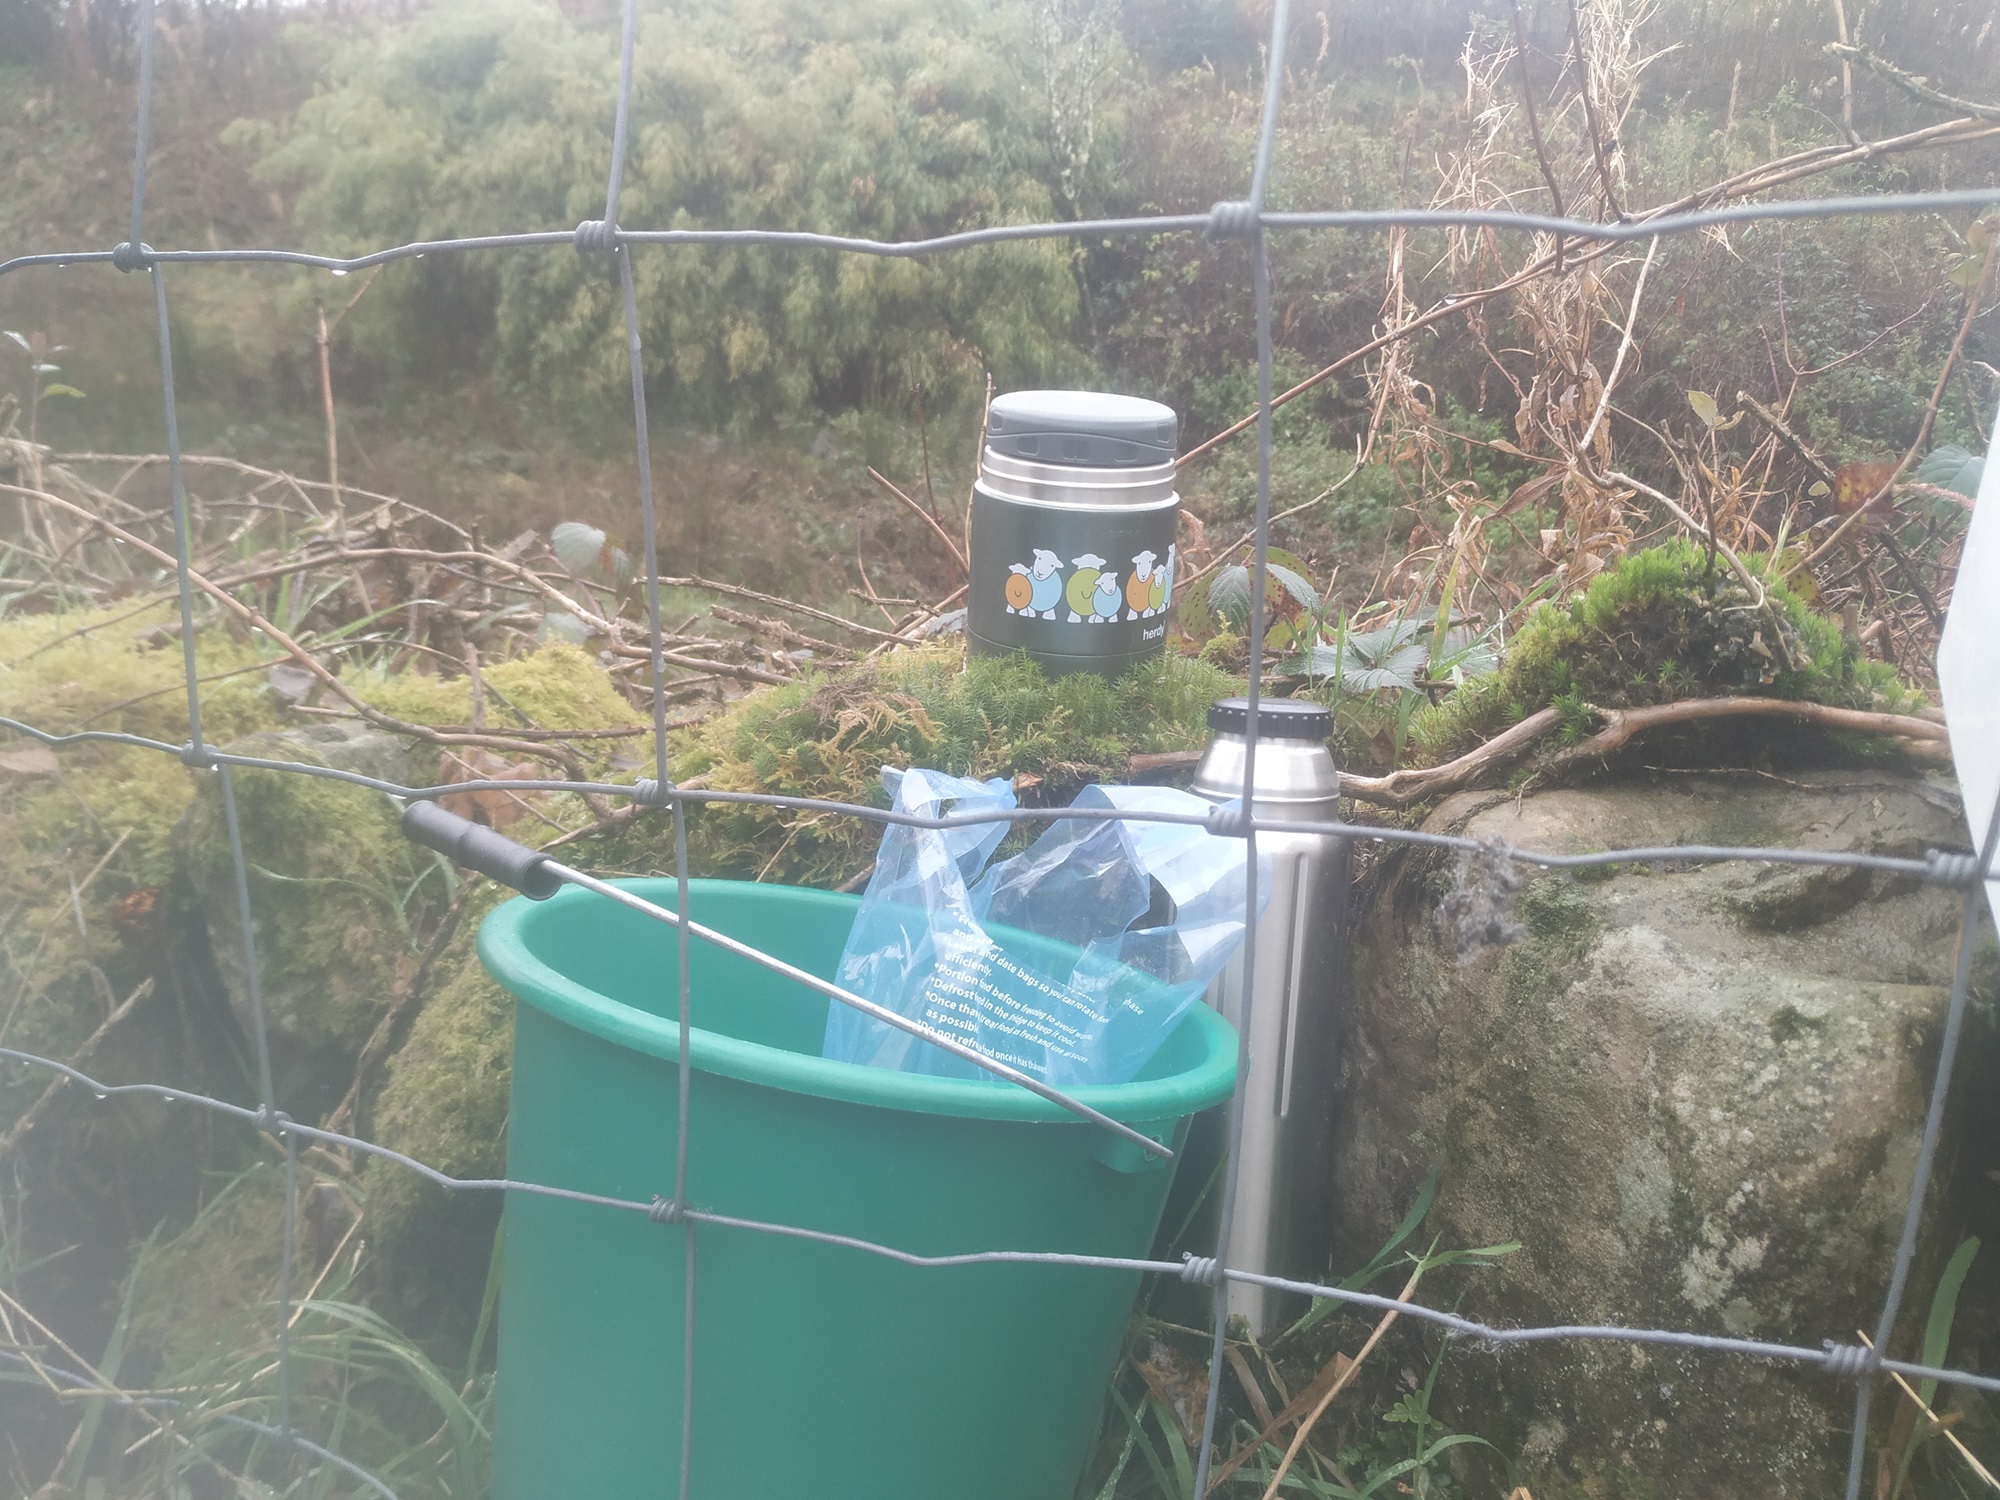
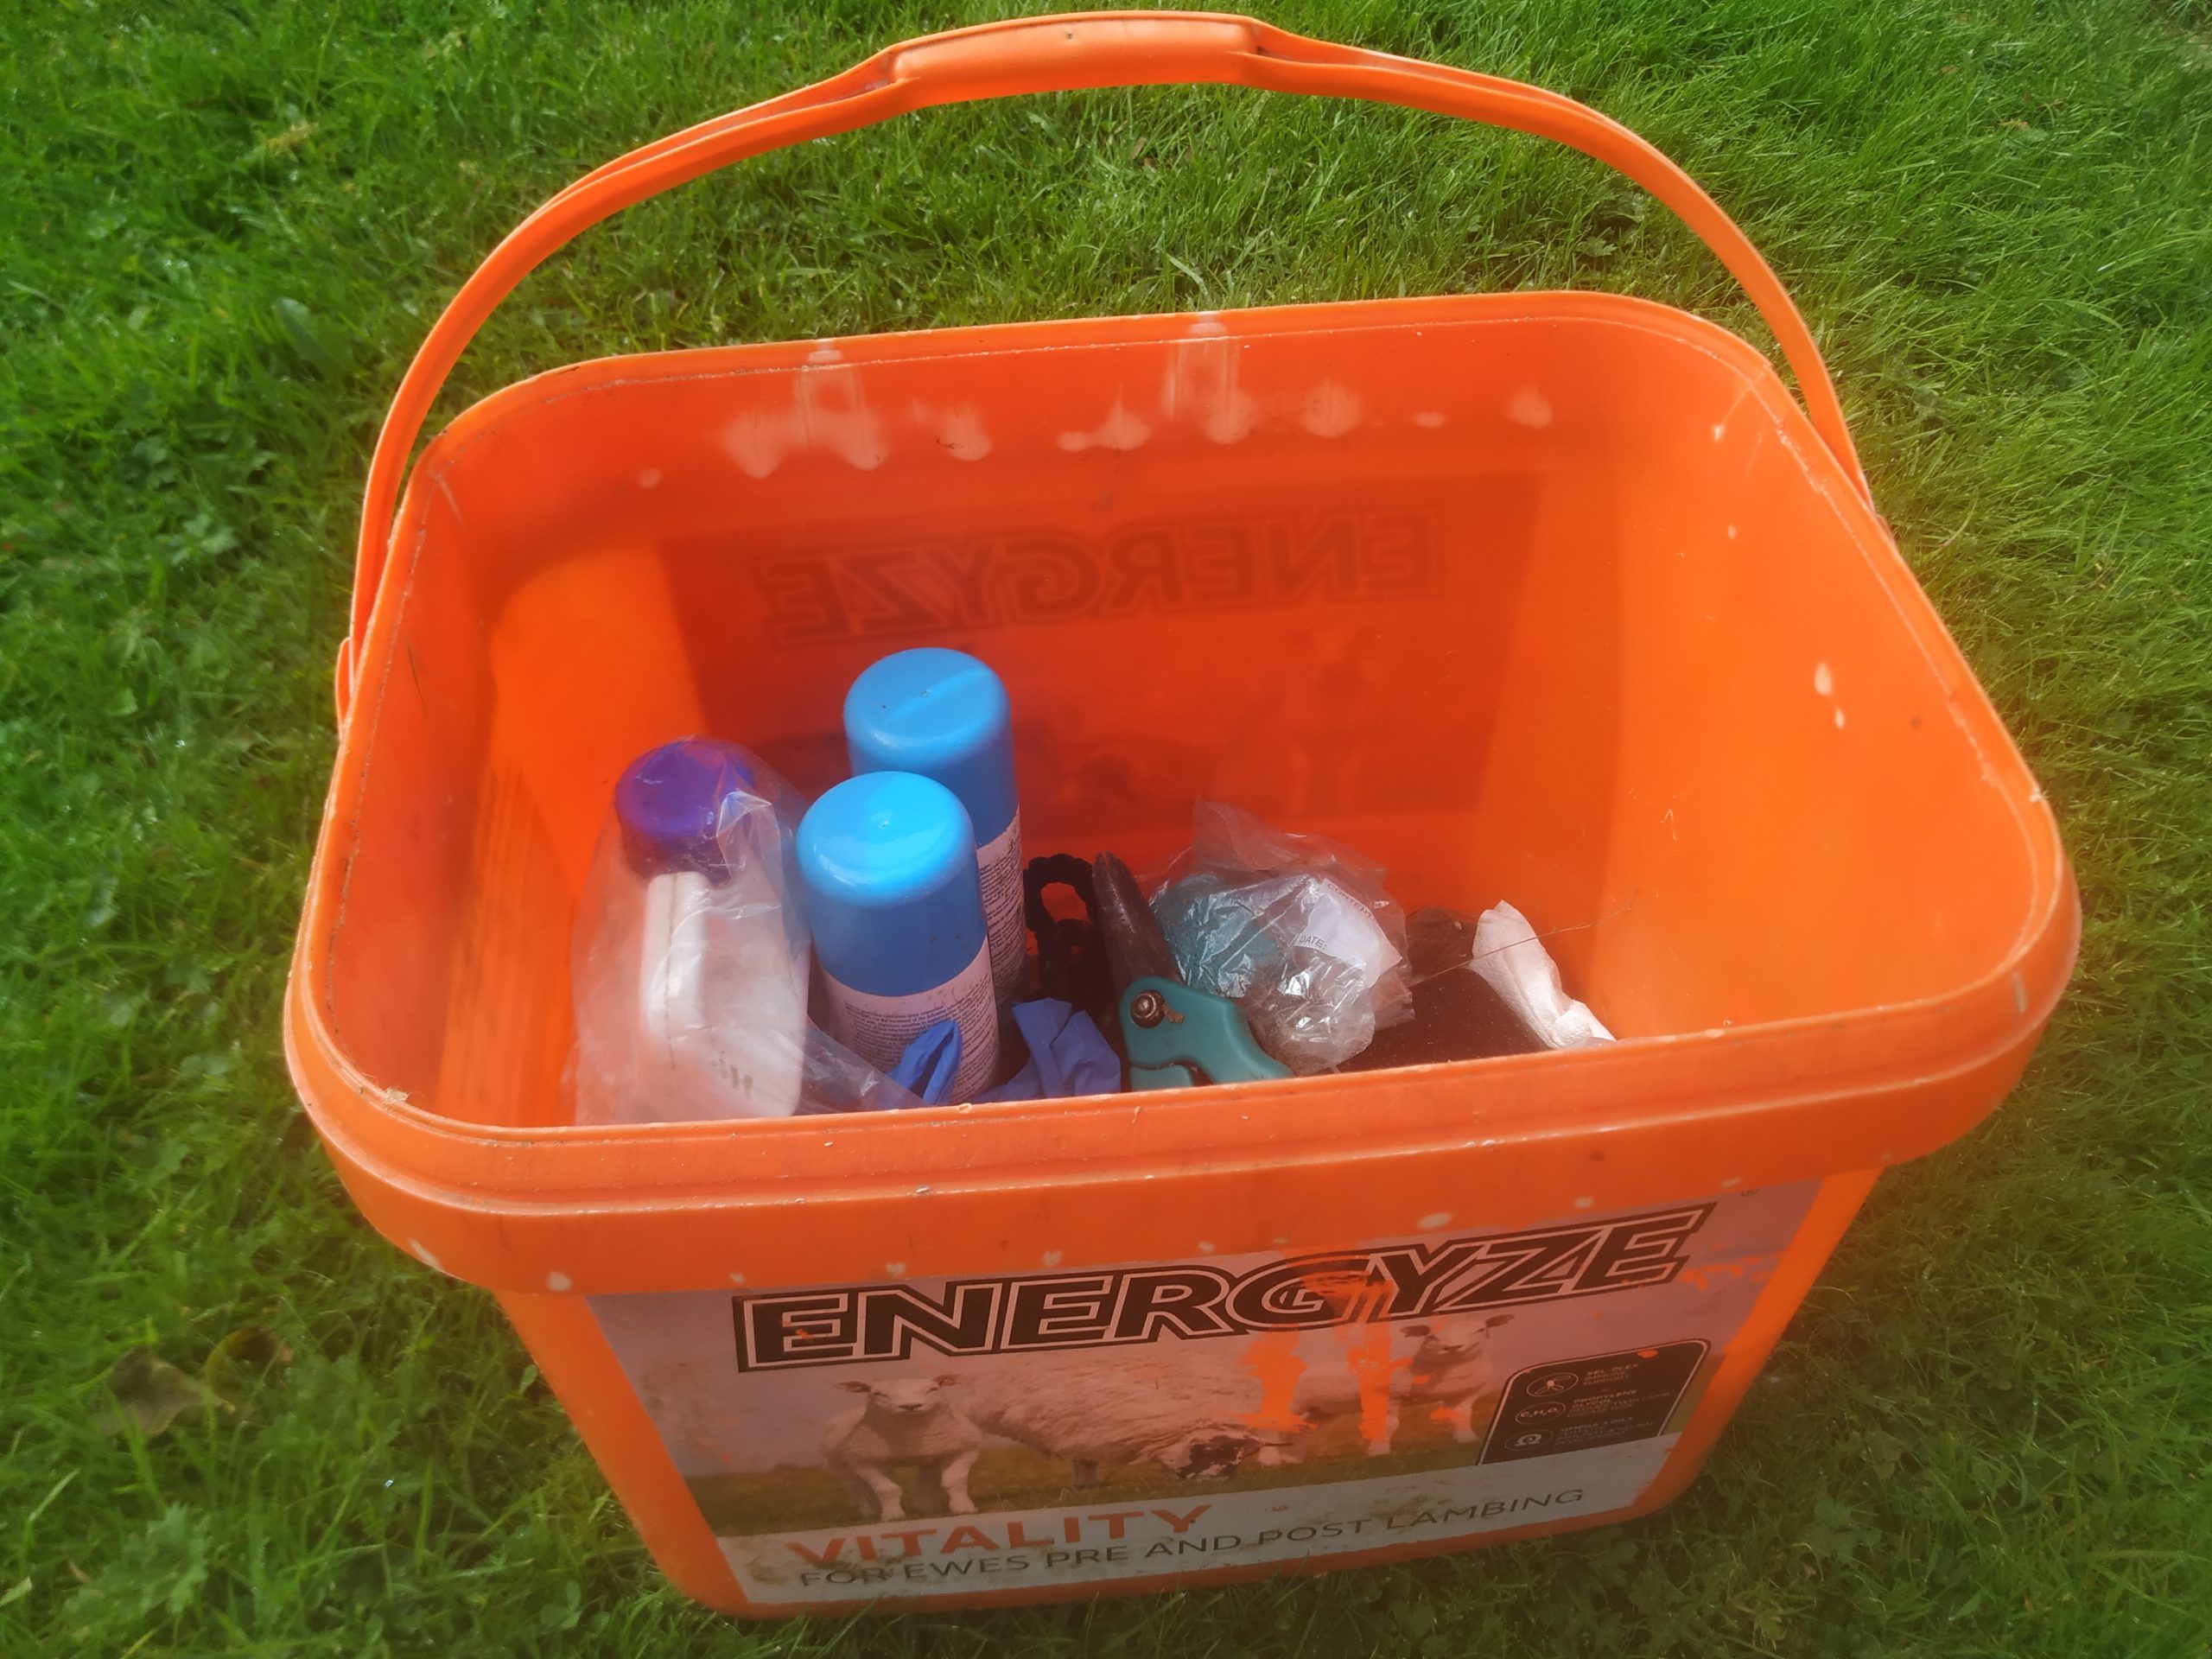
My ‘sheep bits and bobs kit’ is one of the most useful things I own. It contains:
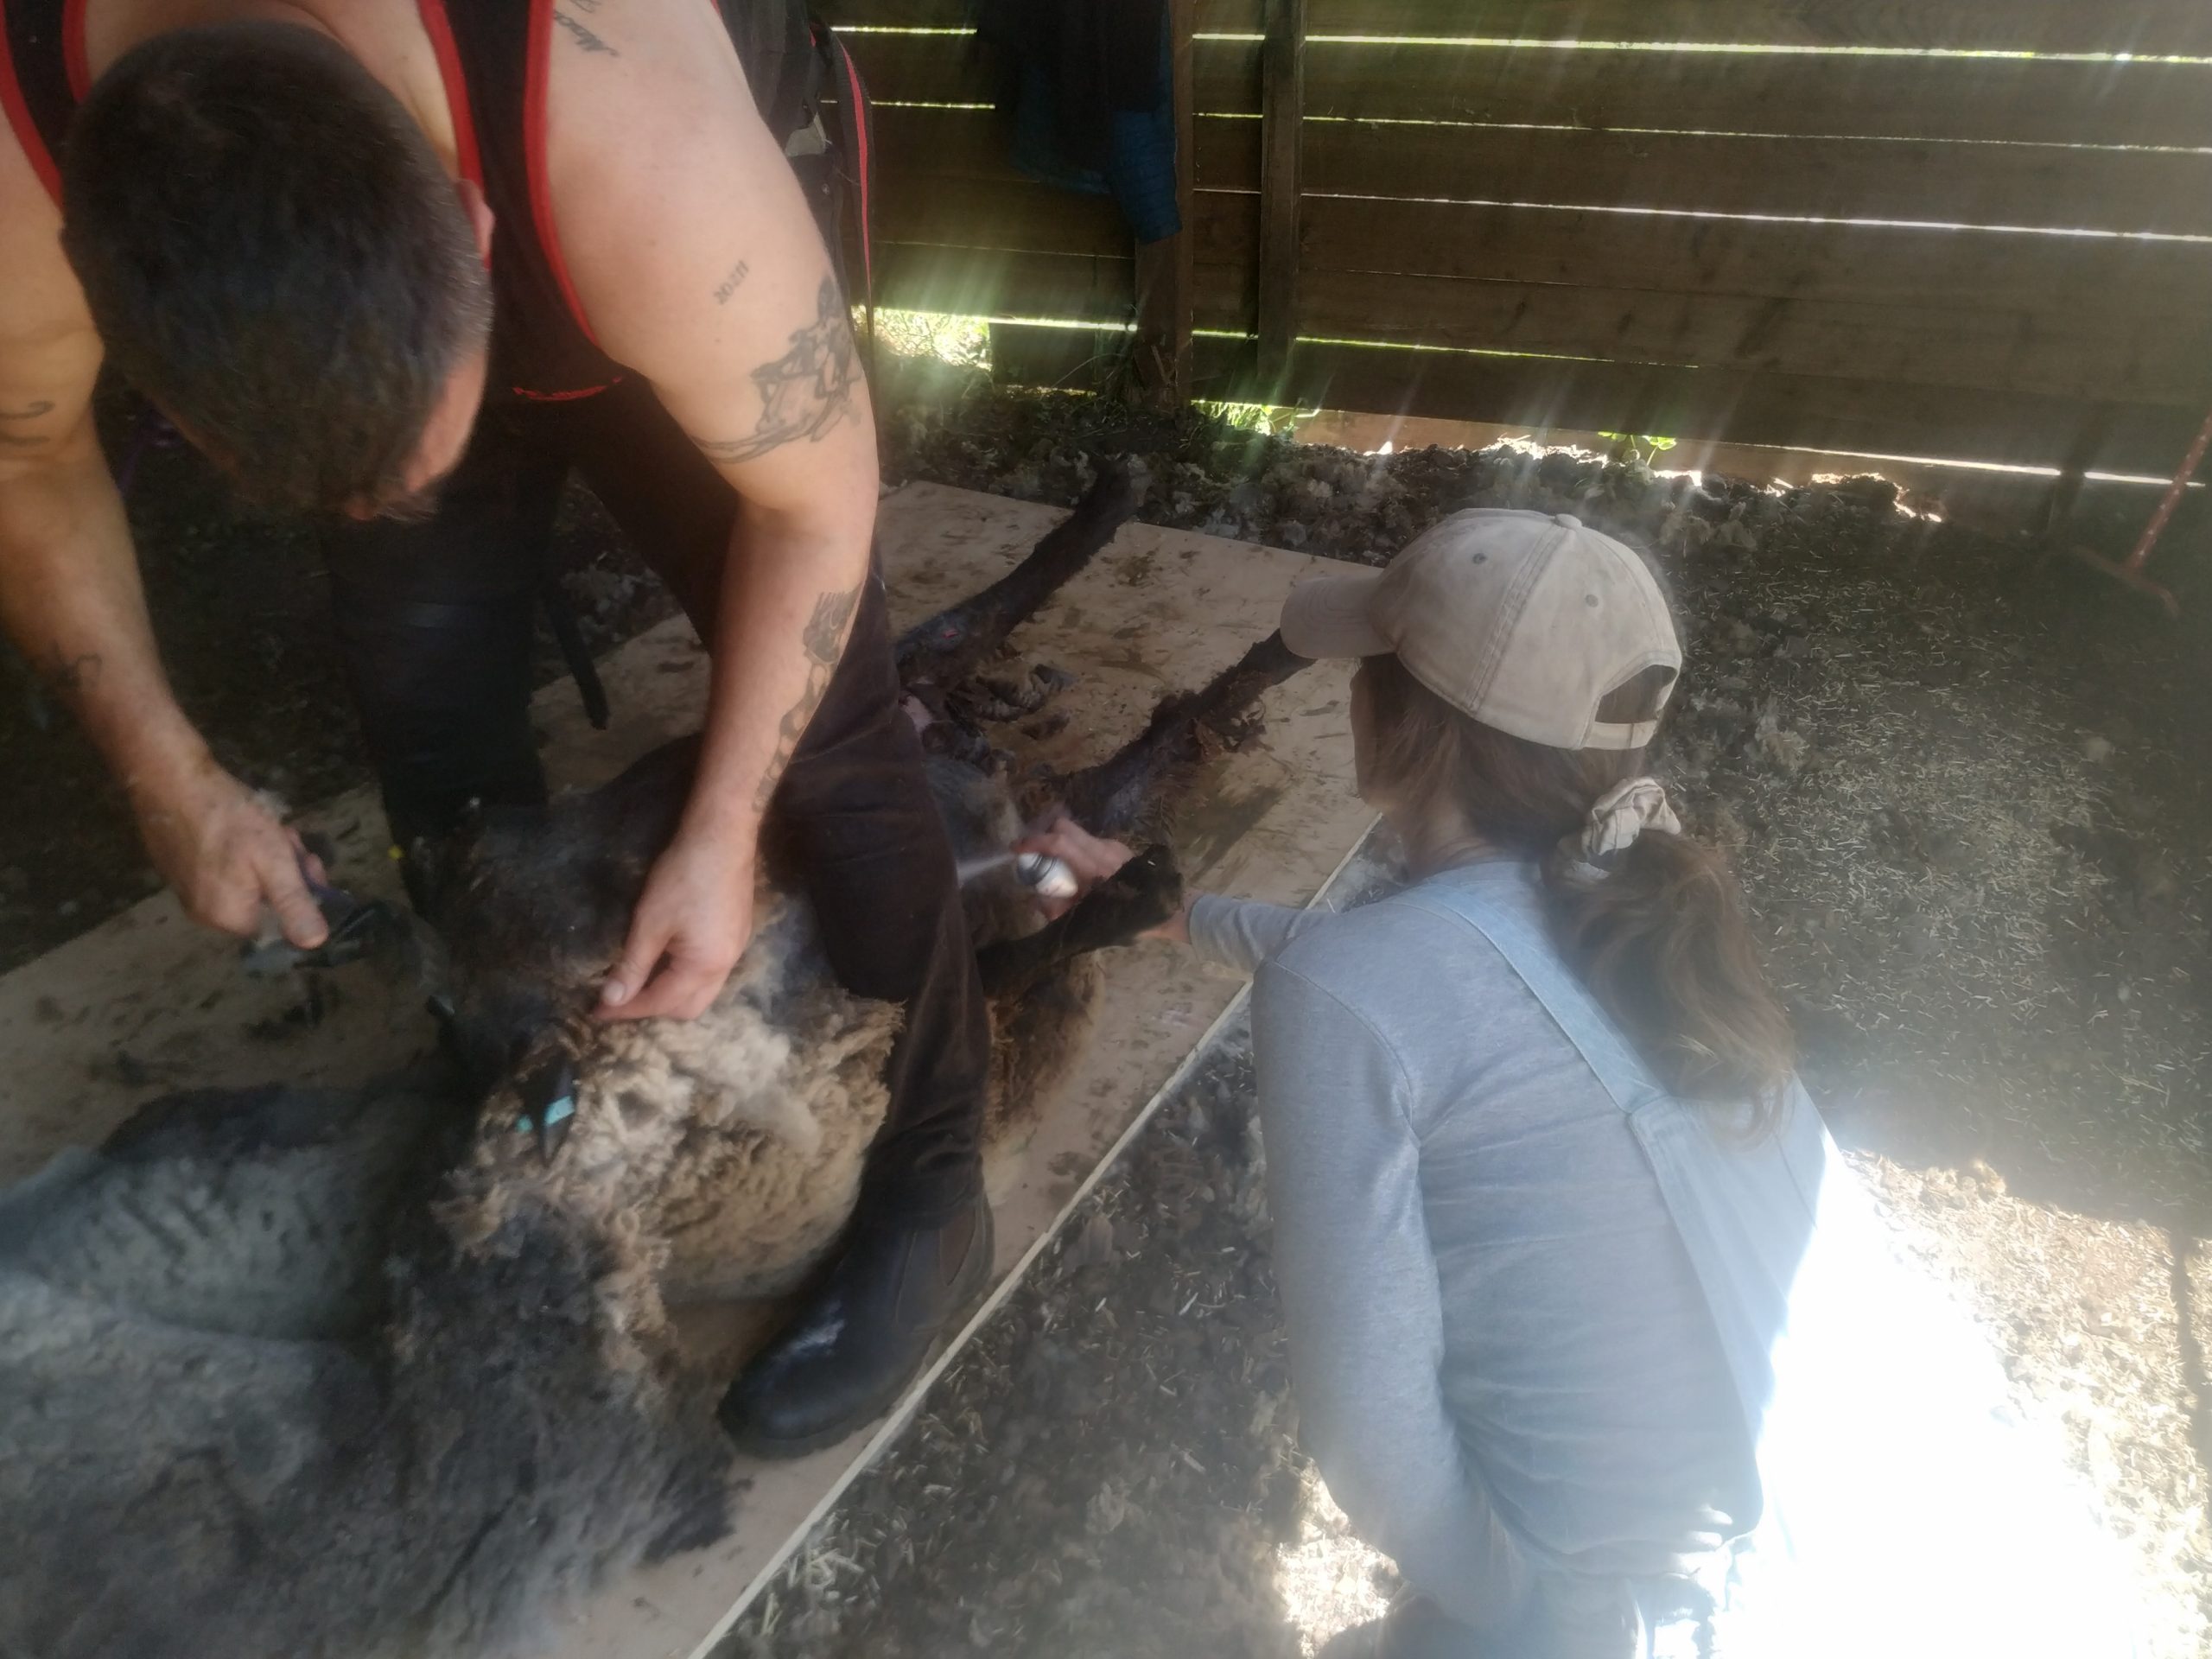
Engemycin spray (aka blue hoof spray – great for mini foot infections)
Protego herbal powder spray (my favourite product of all time, I use this for minor skin wounds, it’s very effective and smells divine. Yogi, Yssi and Ynca are all prone to getting urine stains on their bottoms so I’ll trim up the stained wool and follow up with a cloud of powder spray to prevent infection and keep their bottoms fresh)
Burgon and Ball hoof trimmers
Fiskars sewing scissors (I find normal sewing scissors easier than full on shearing shears for doing mini trims)
Fiskars scissor sharpeners
Battles maggot oil (just in case)
‘Tom Tick’ (for removing pesky ticks)
Self-stick bandages, cotton wool and Styptic powder (in case of accidents)
Nitrile gloves
Rope halter (in case I need to secure one of the teddies)
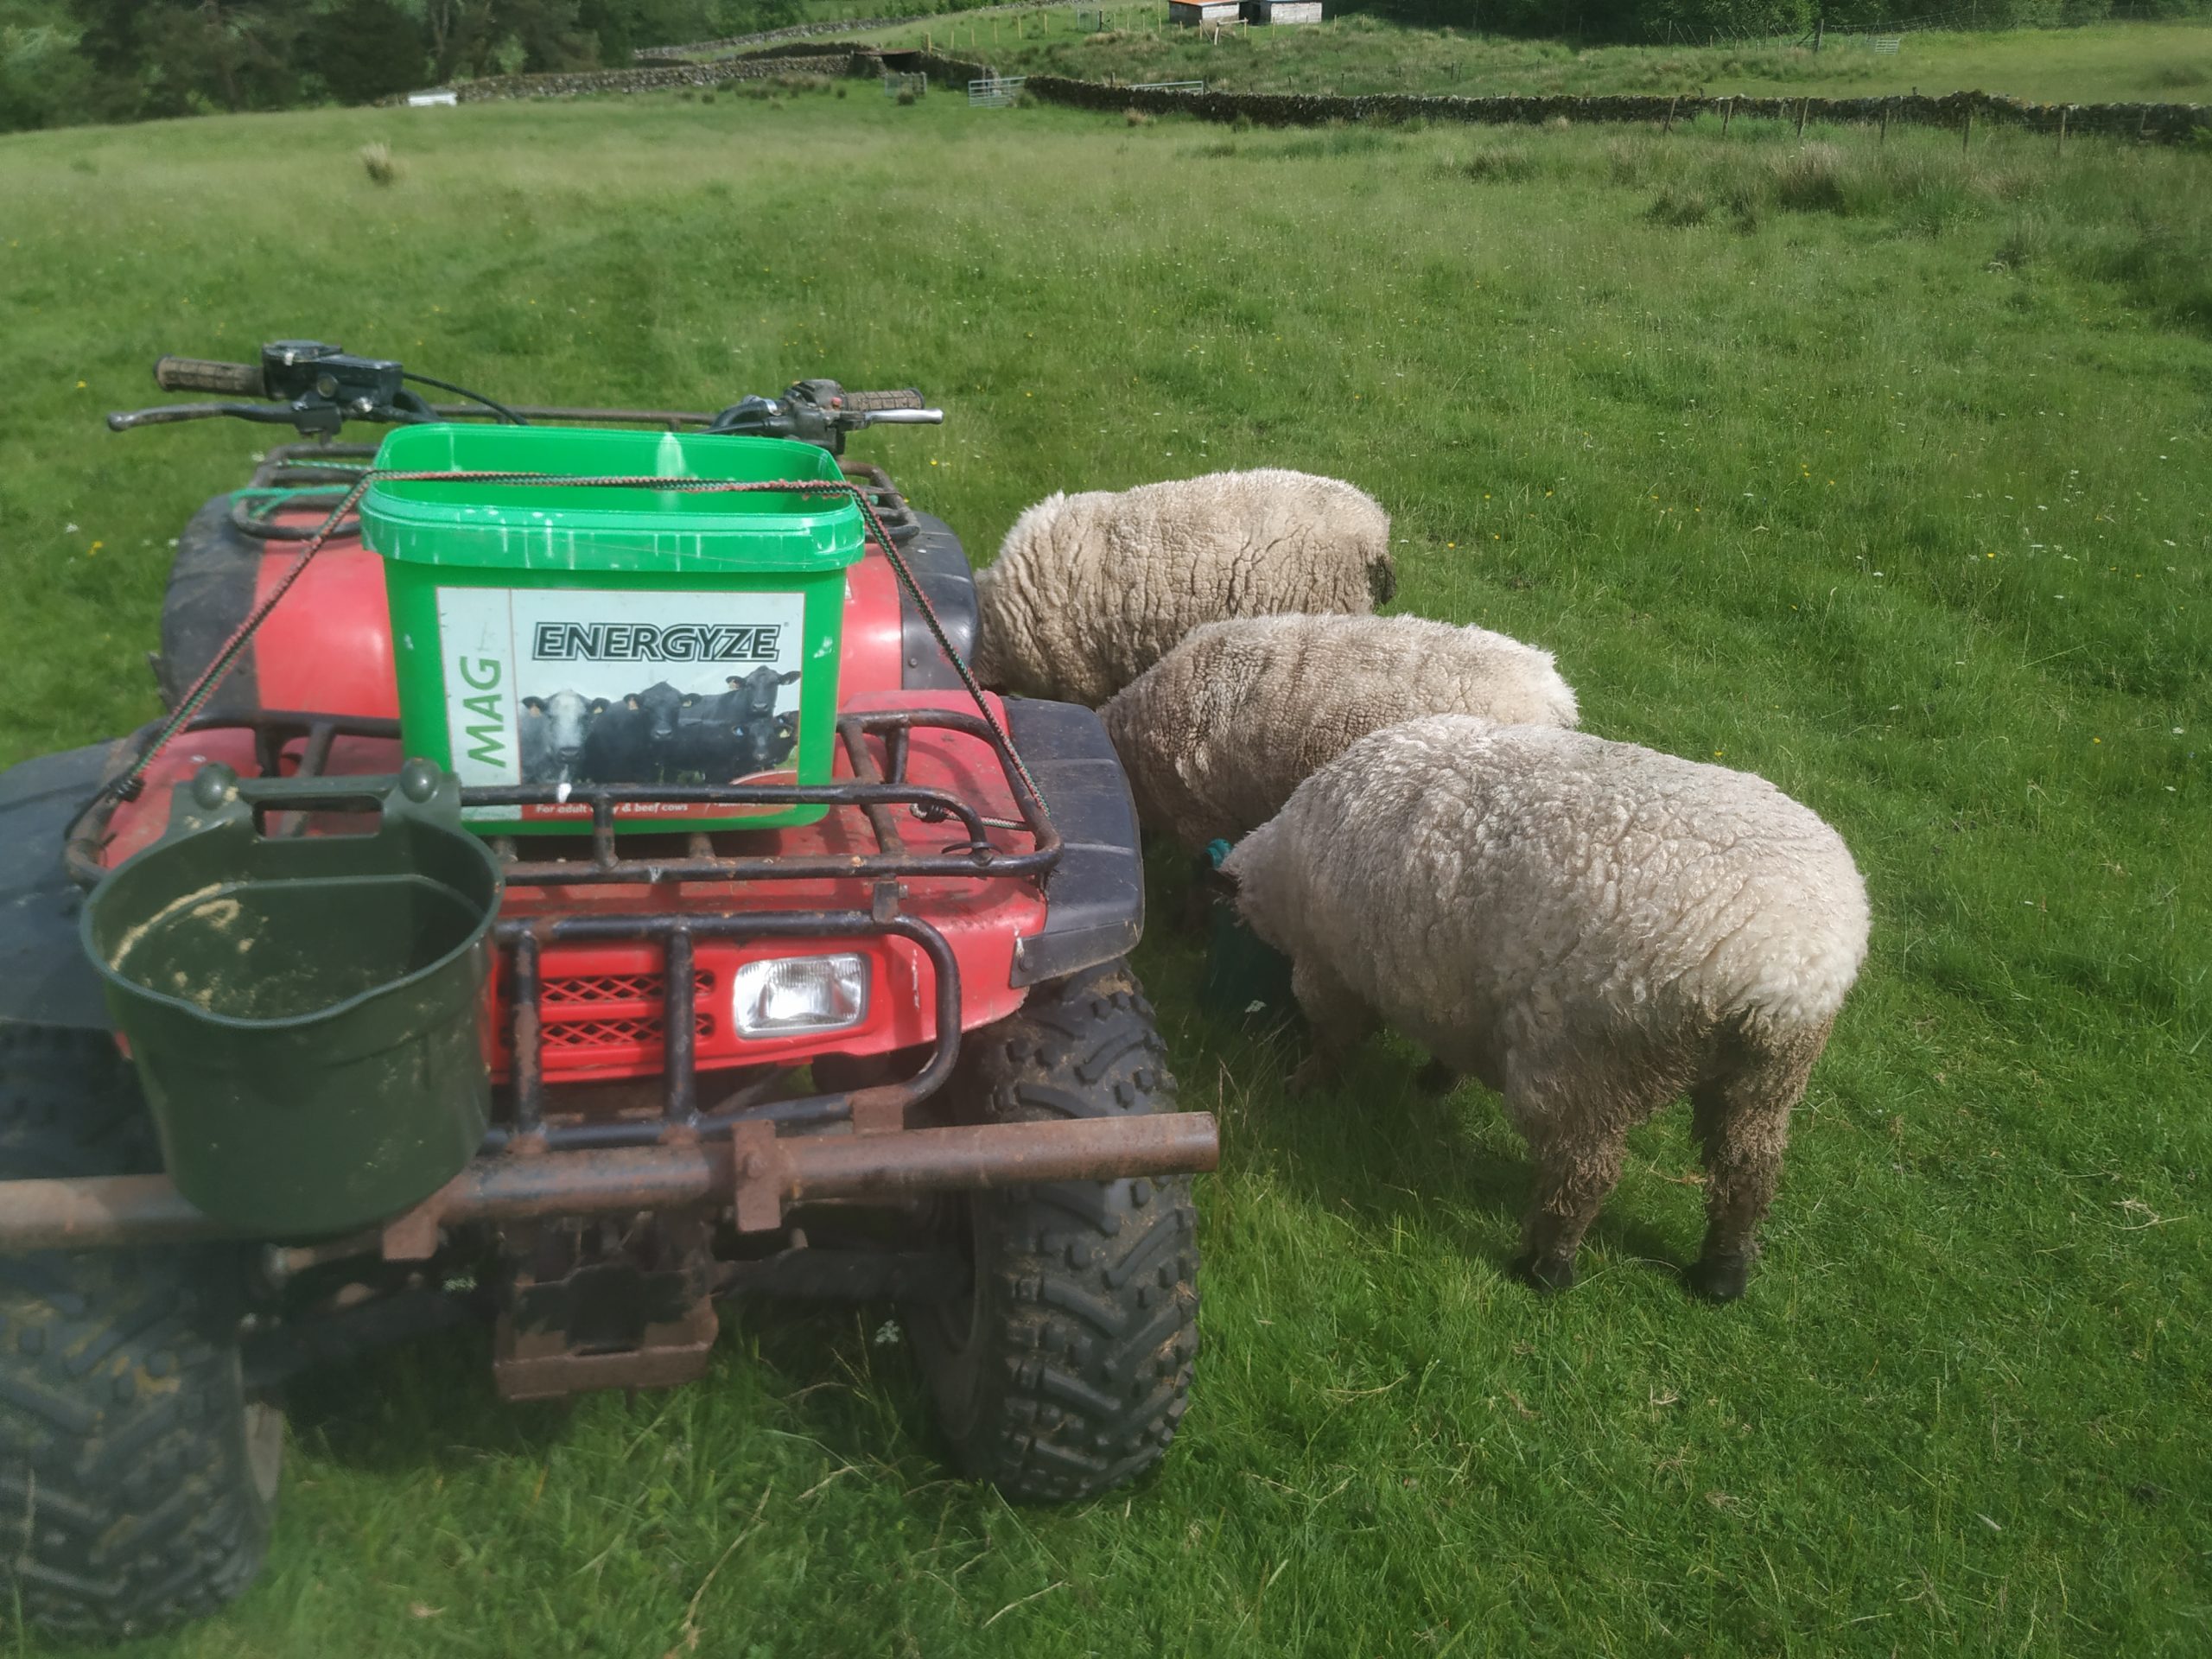
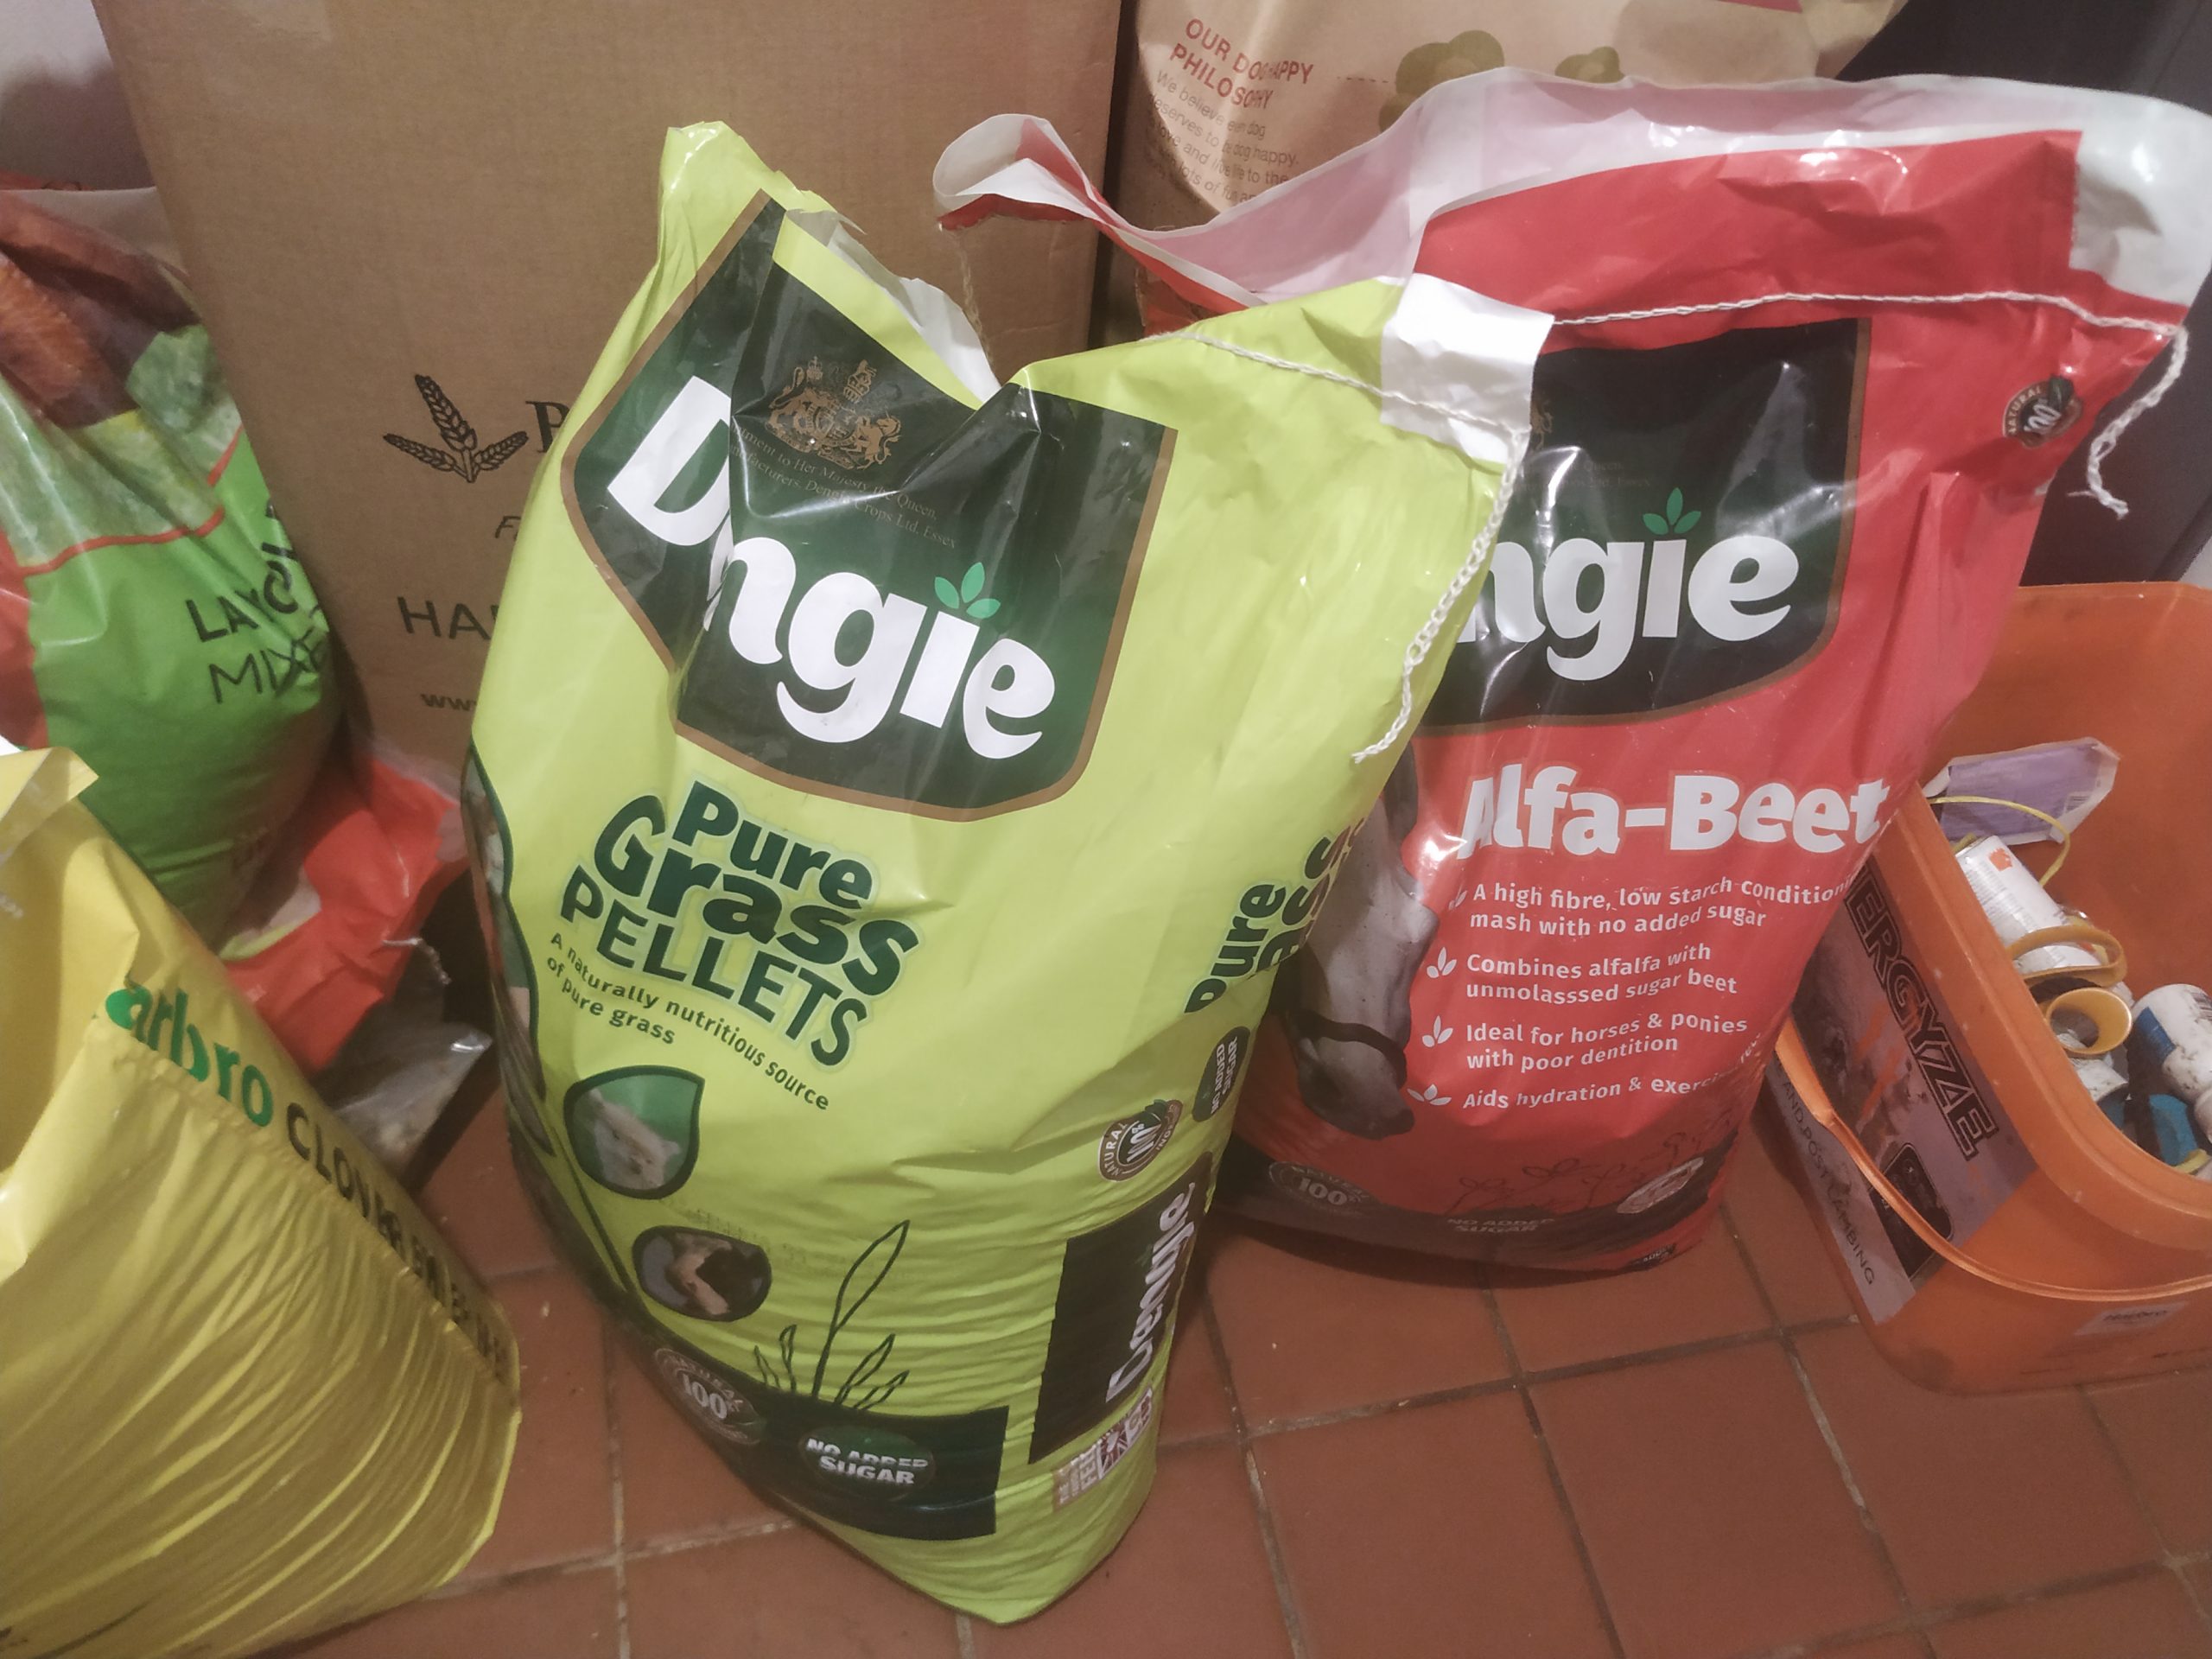
Bribes (sheep nuts and / or chopped apples, carrots, turnips depending on what season it is)
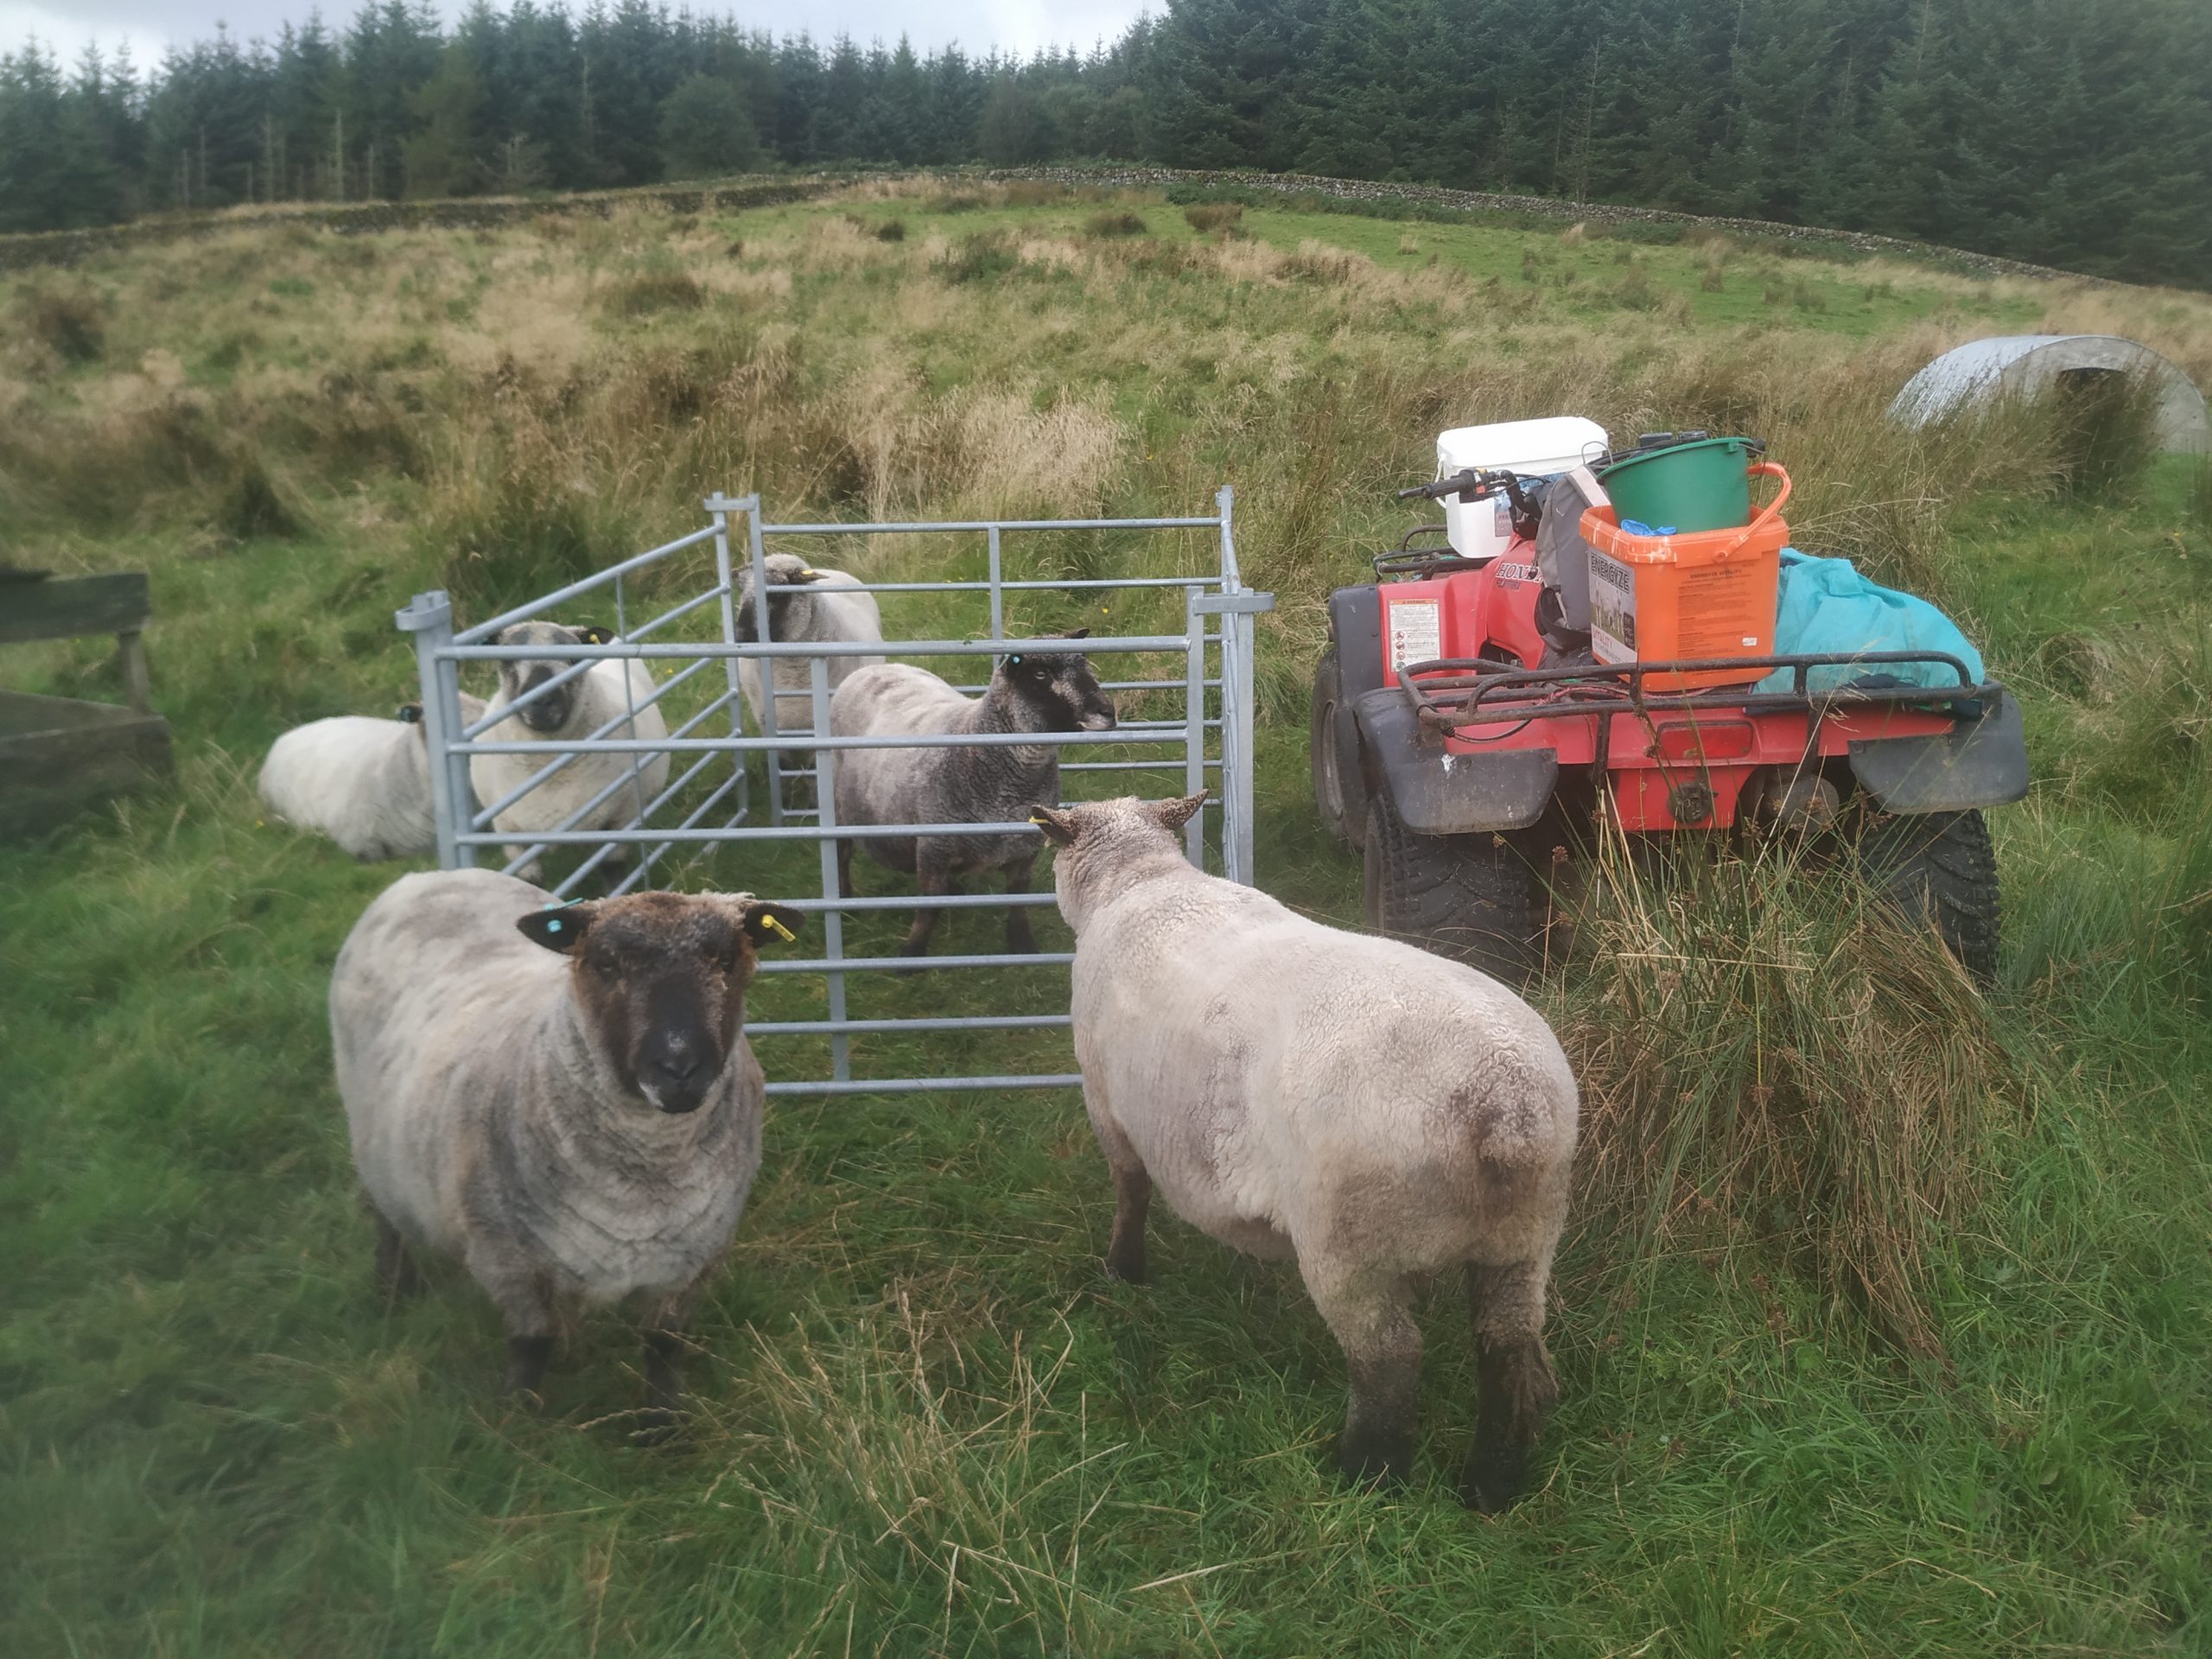
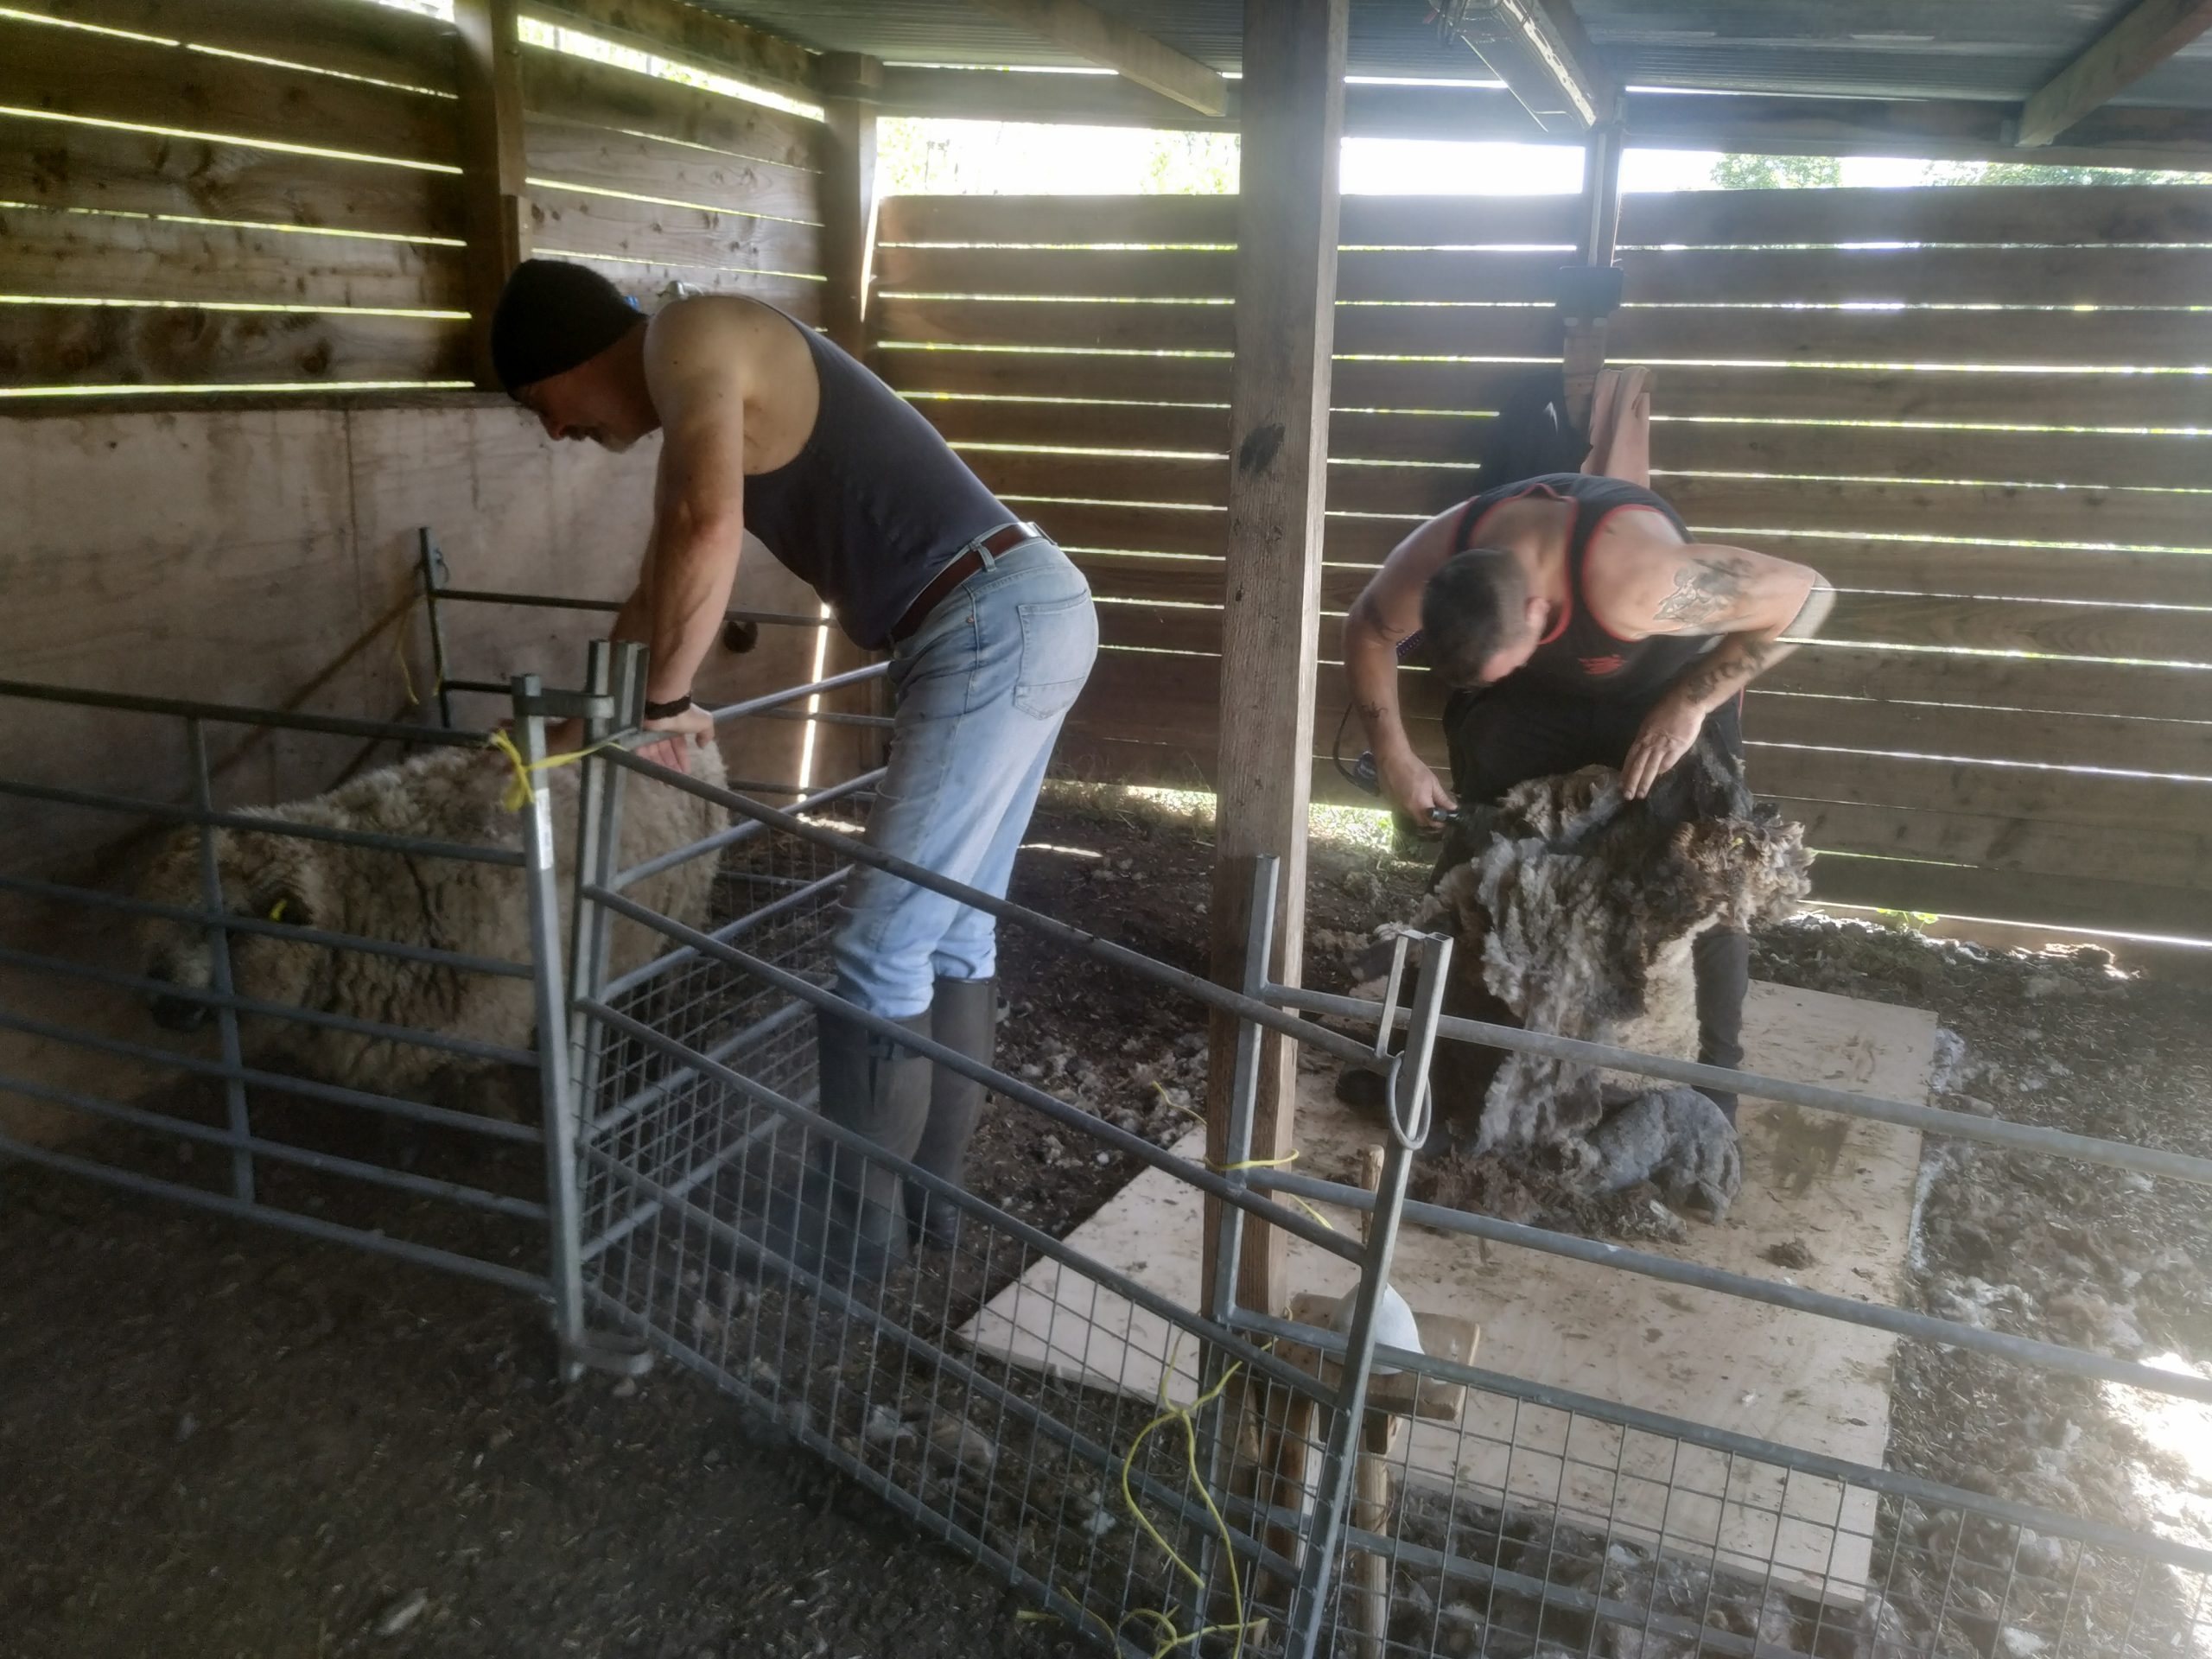
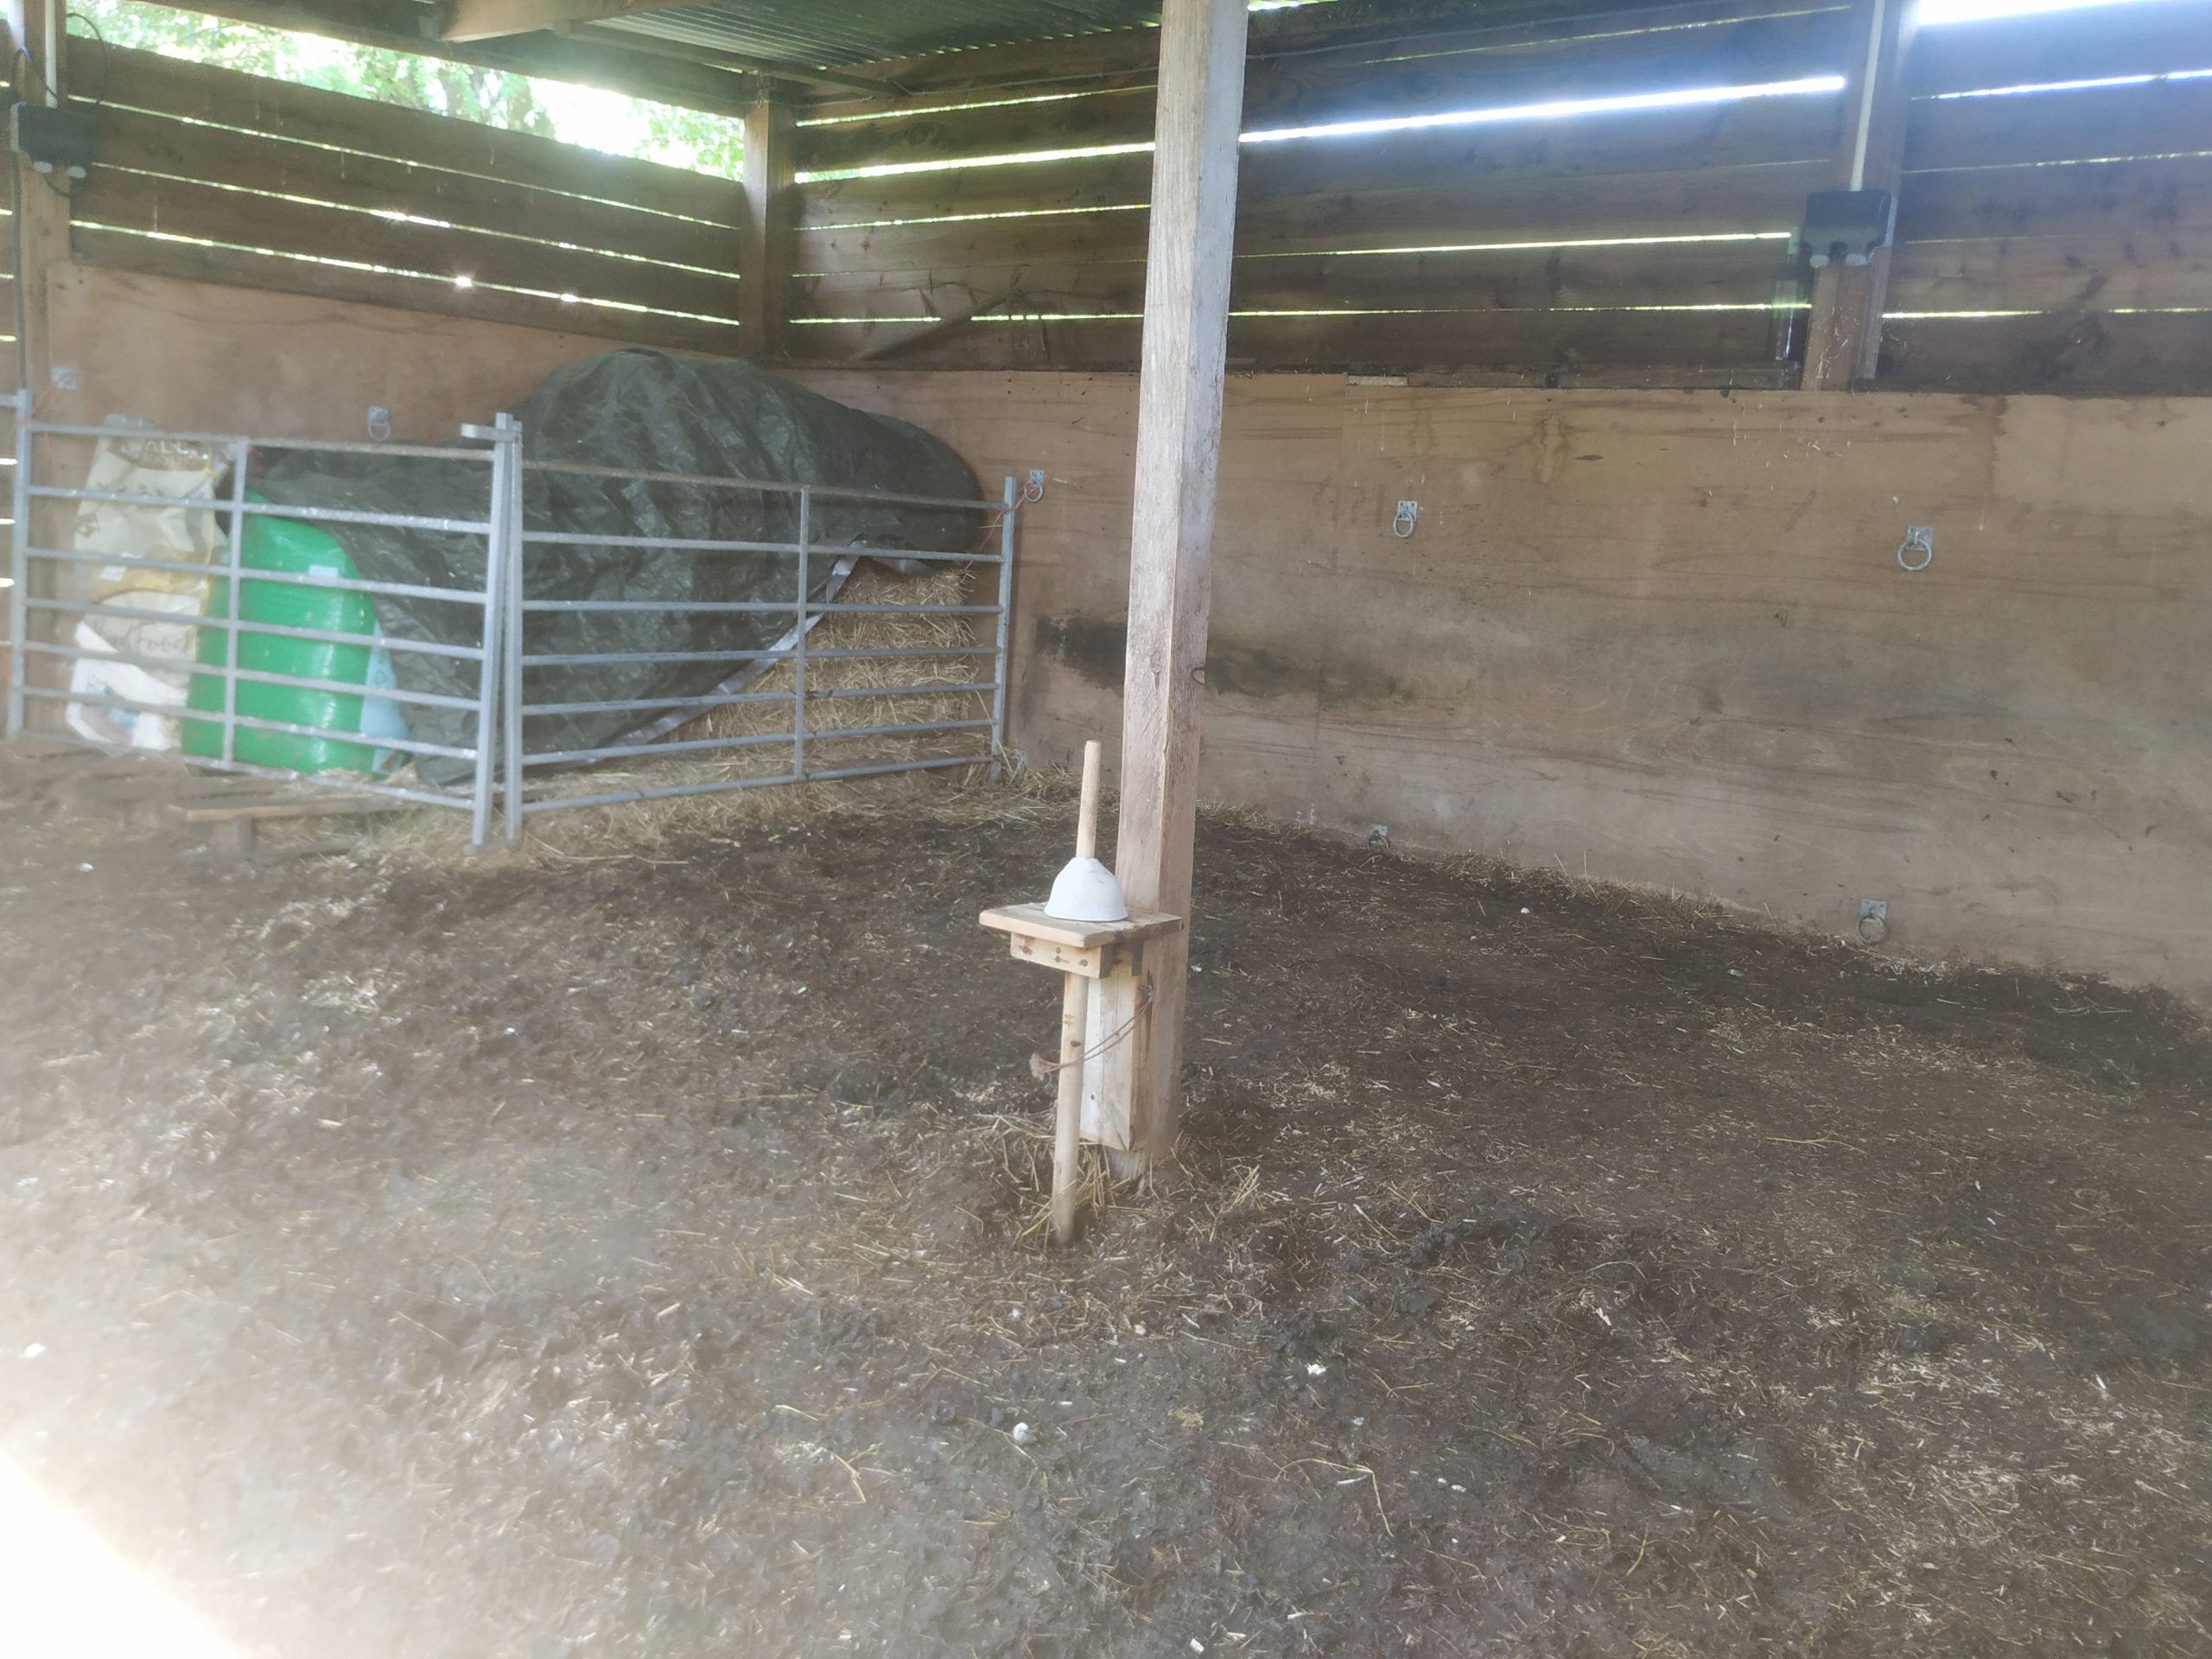
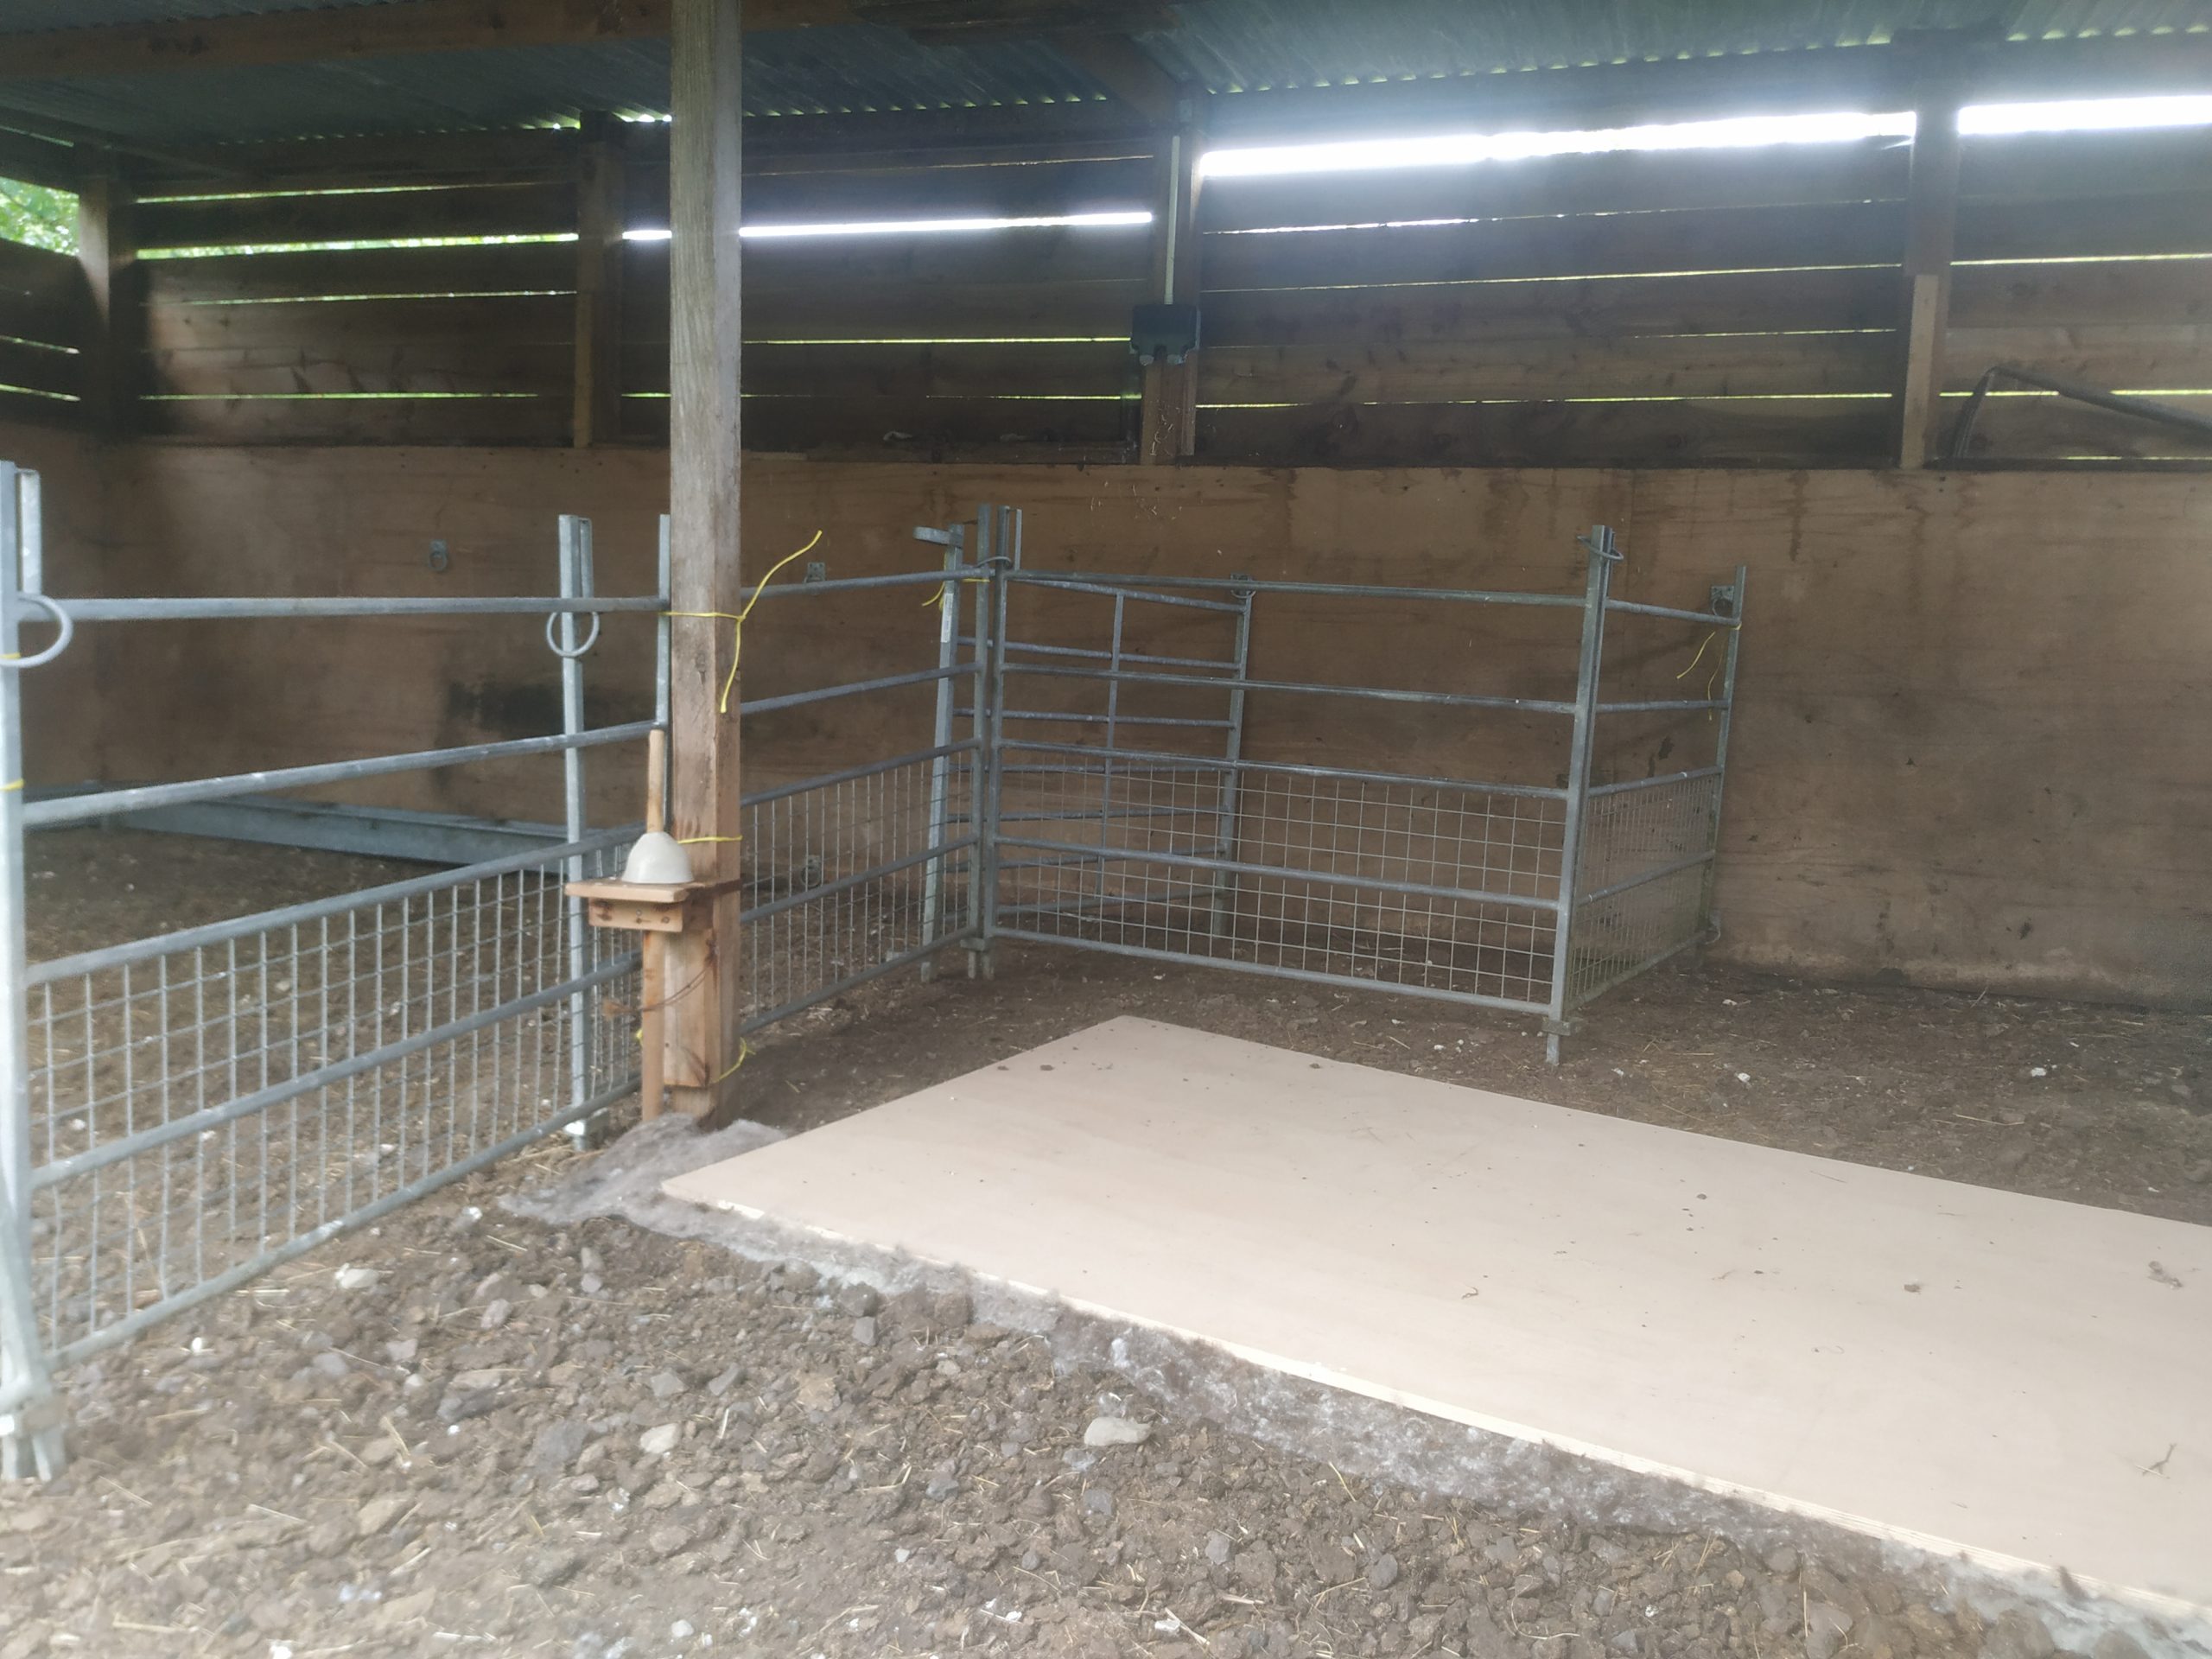
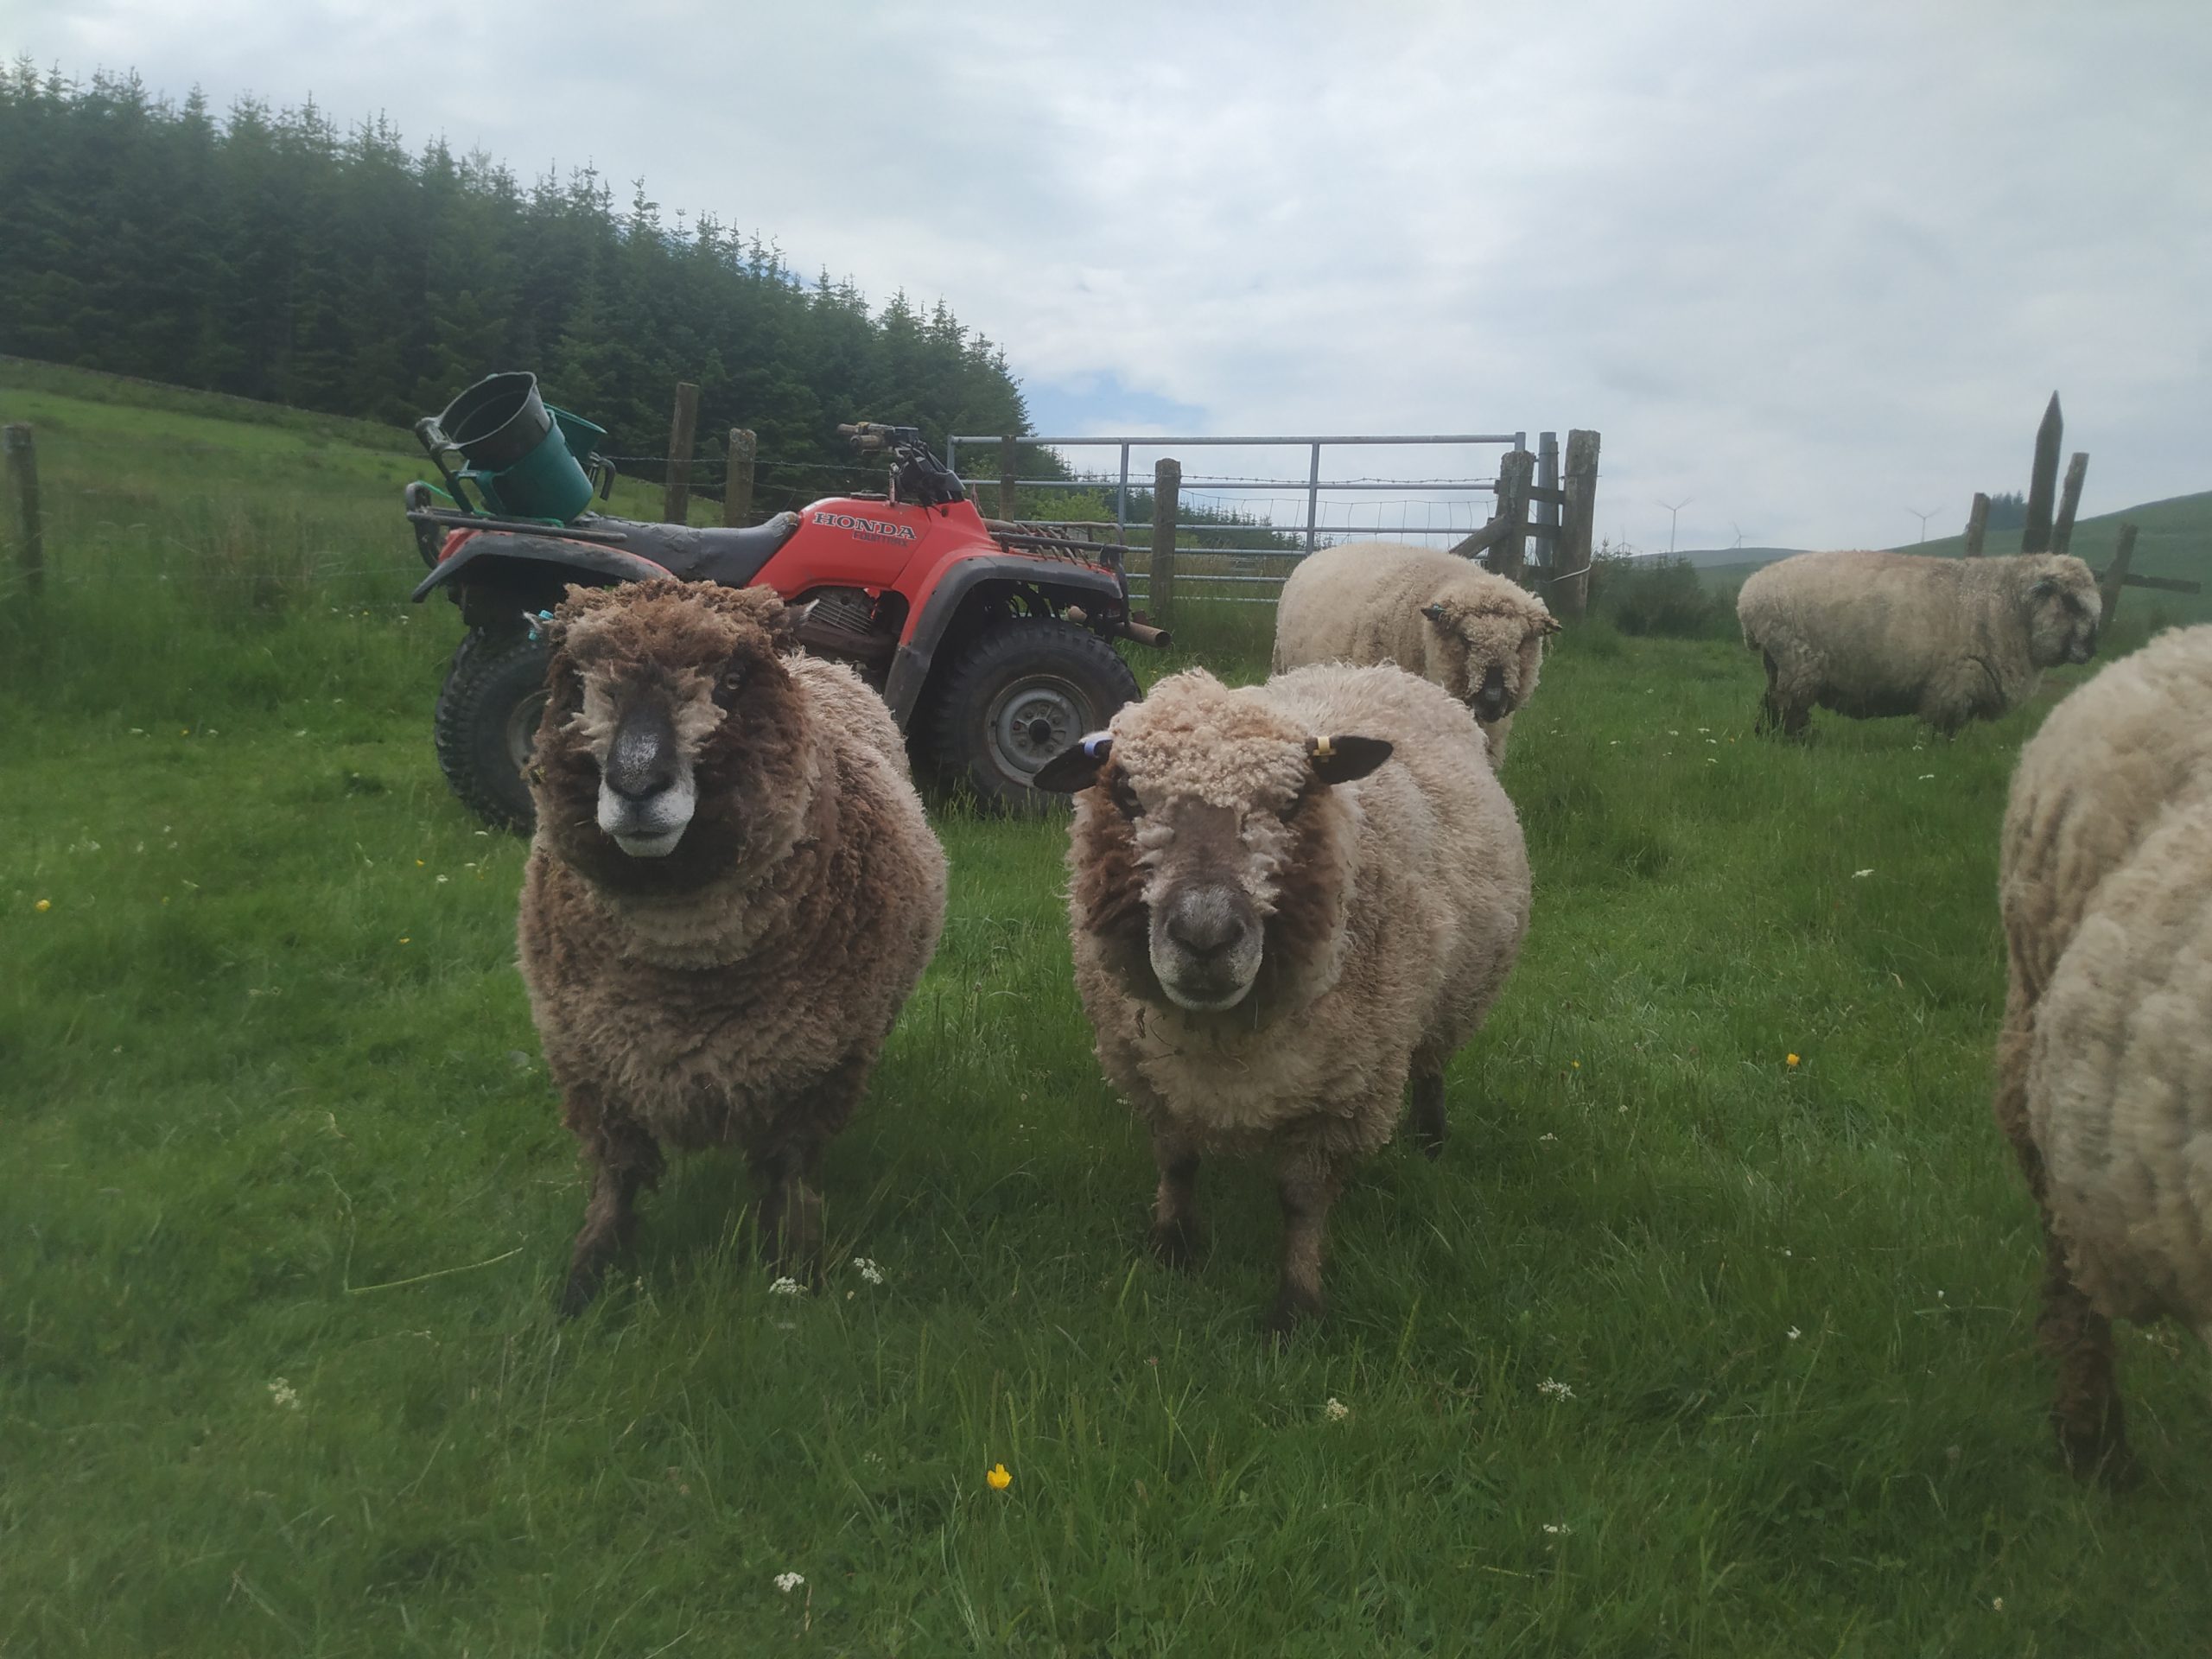
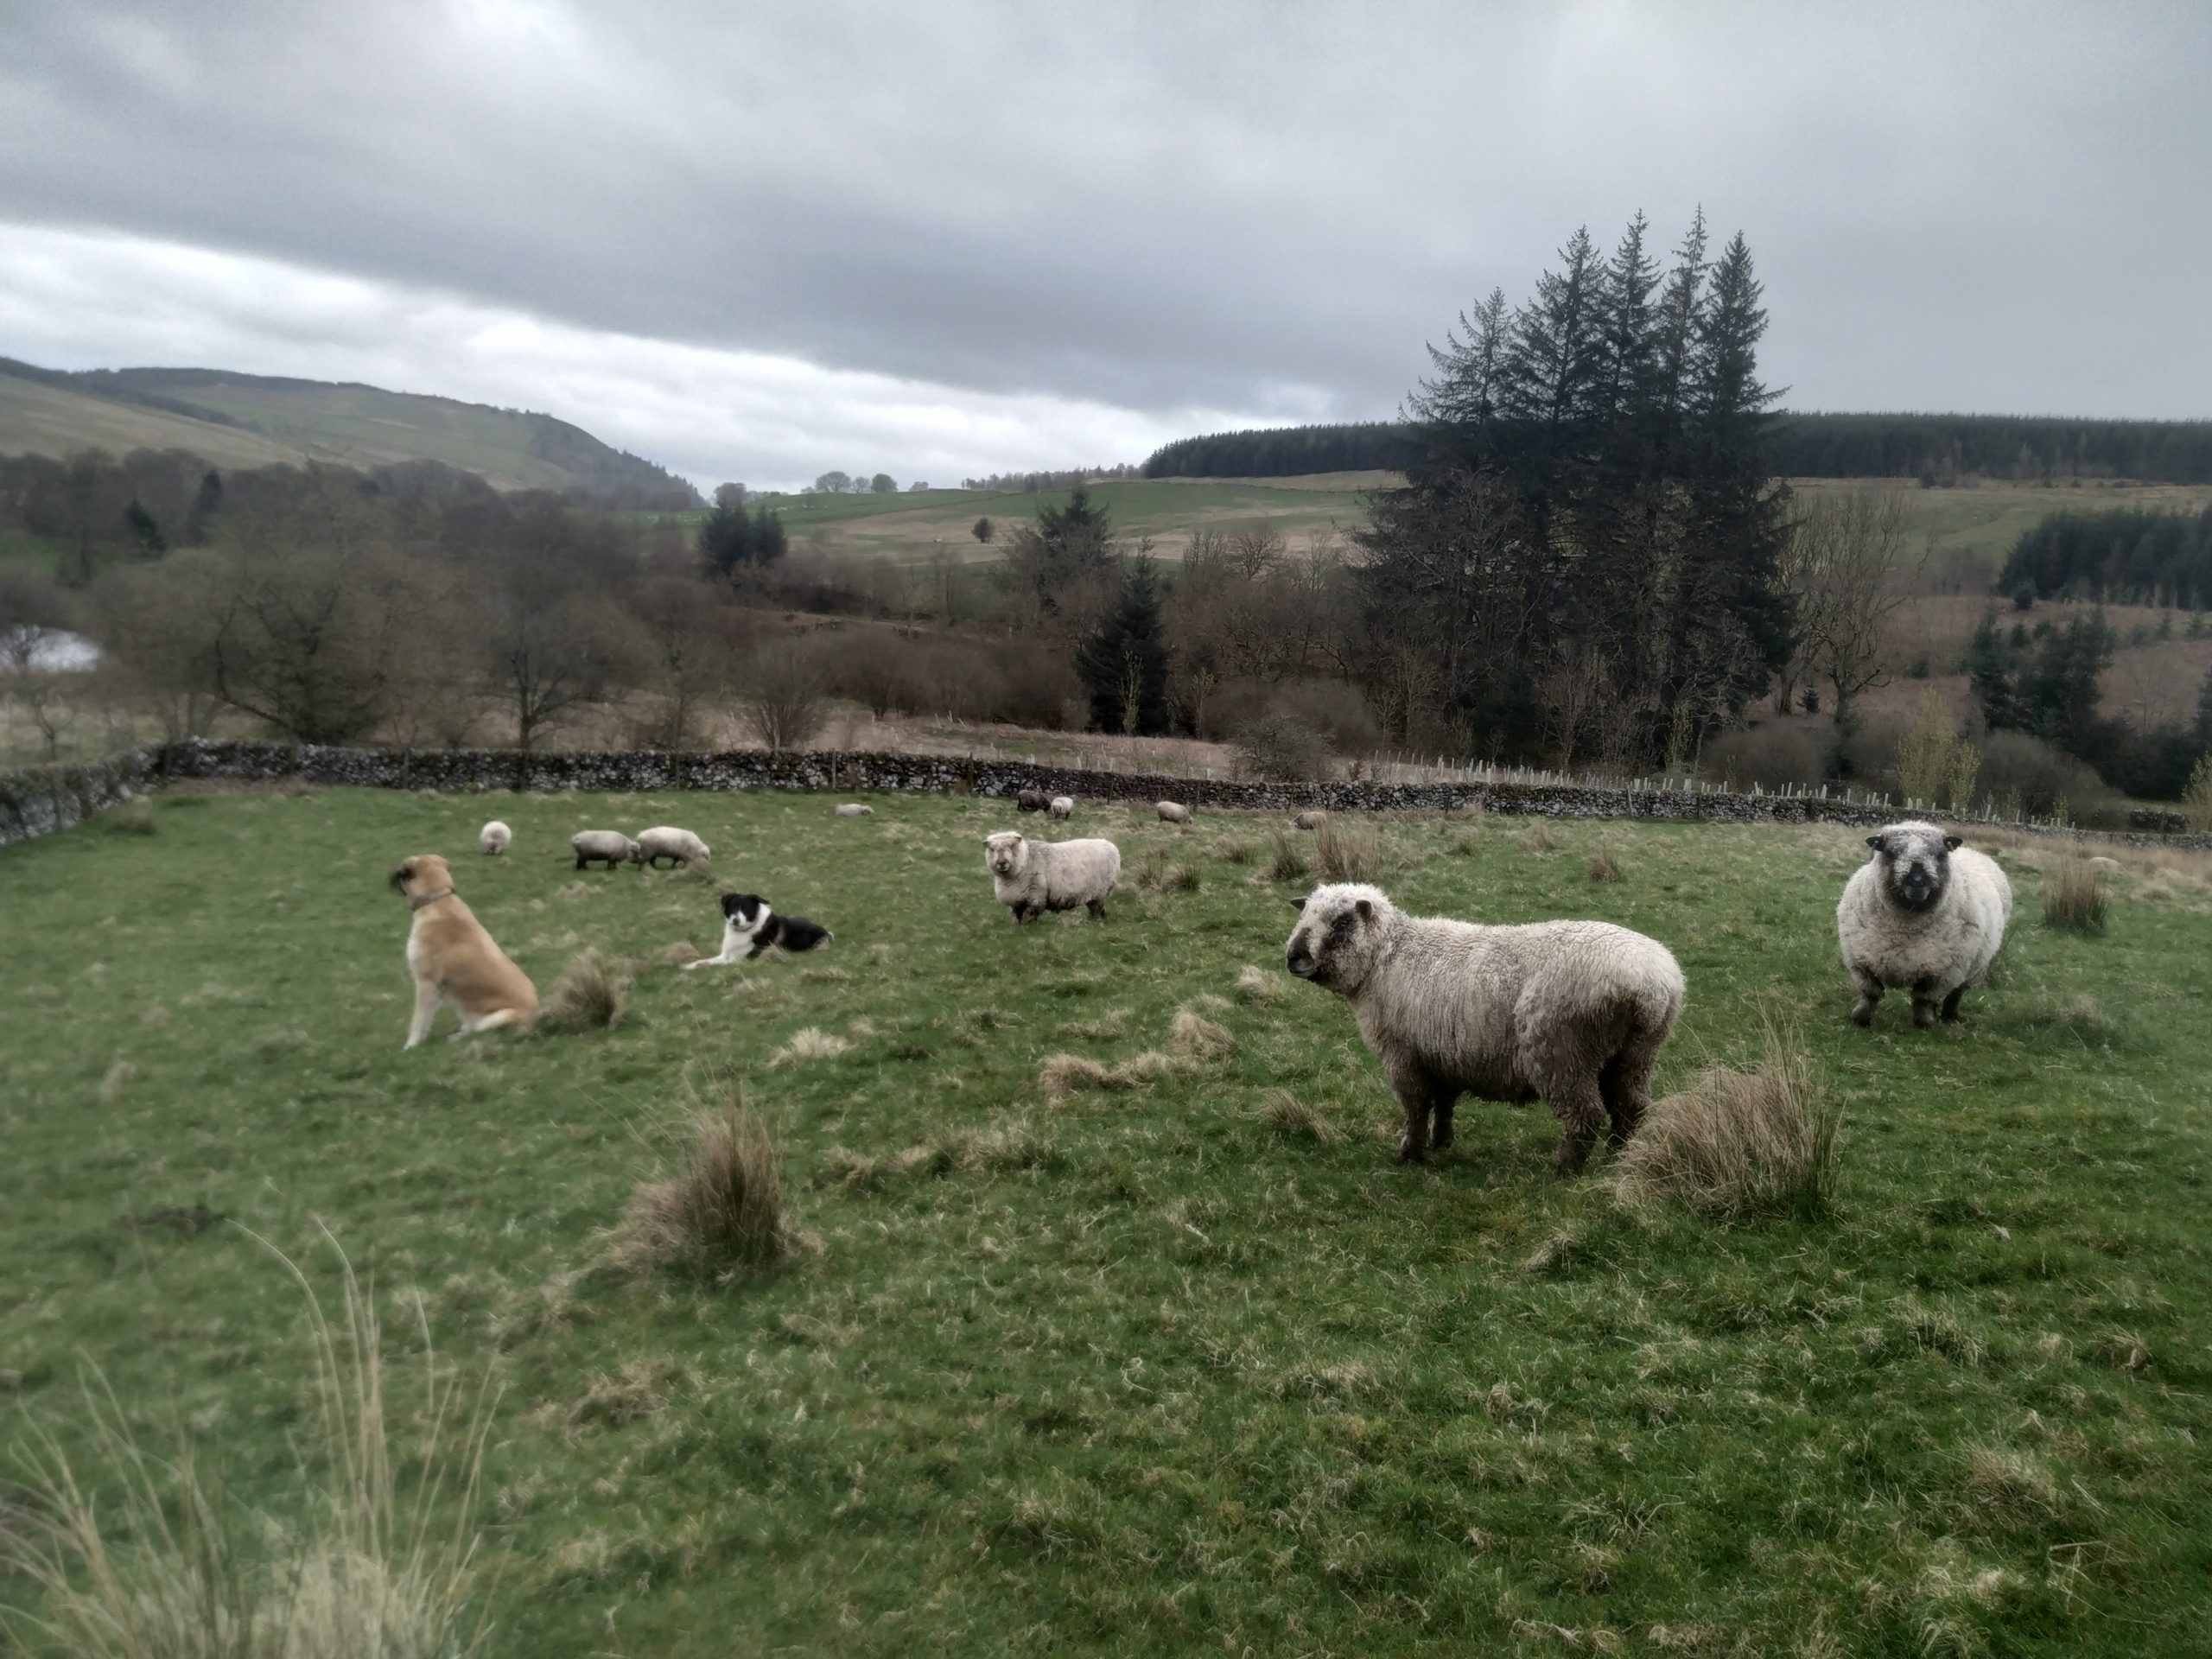
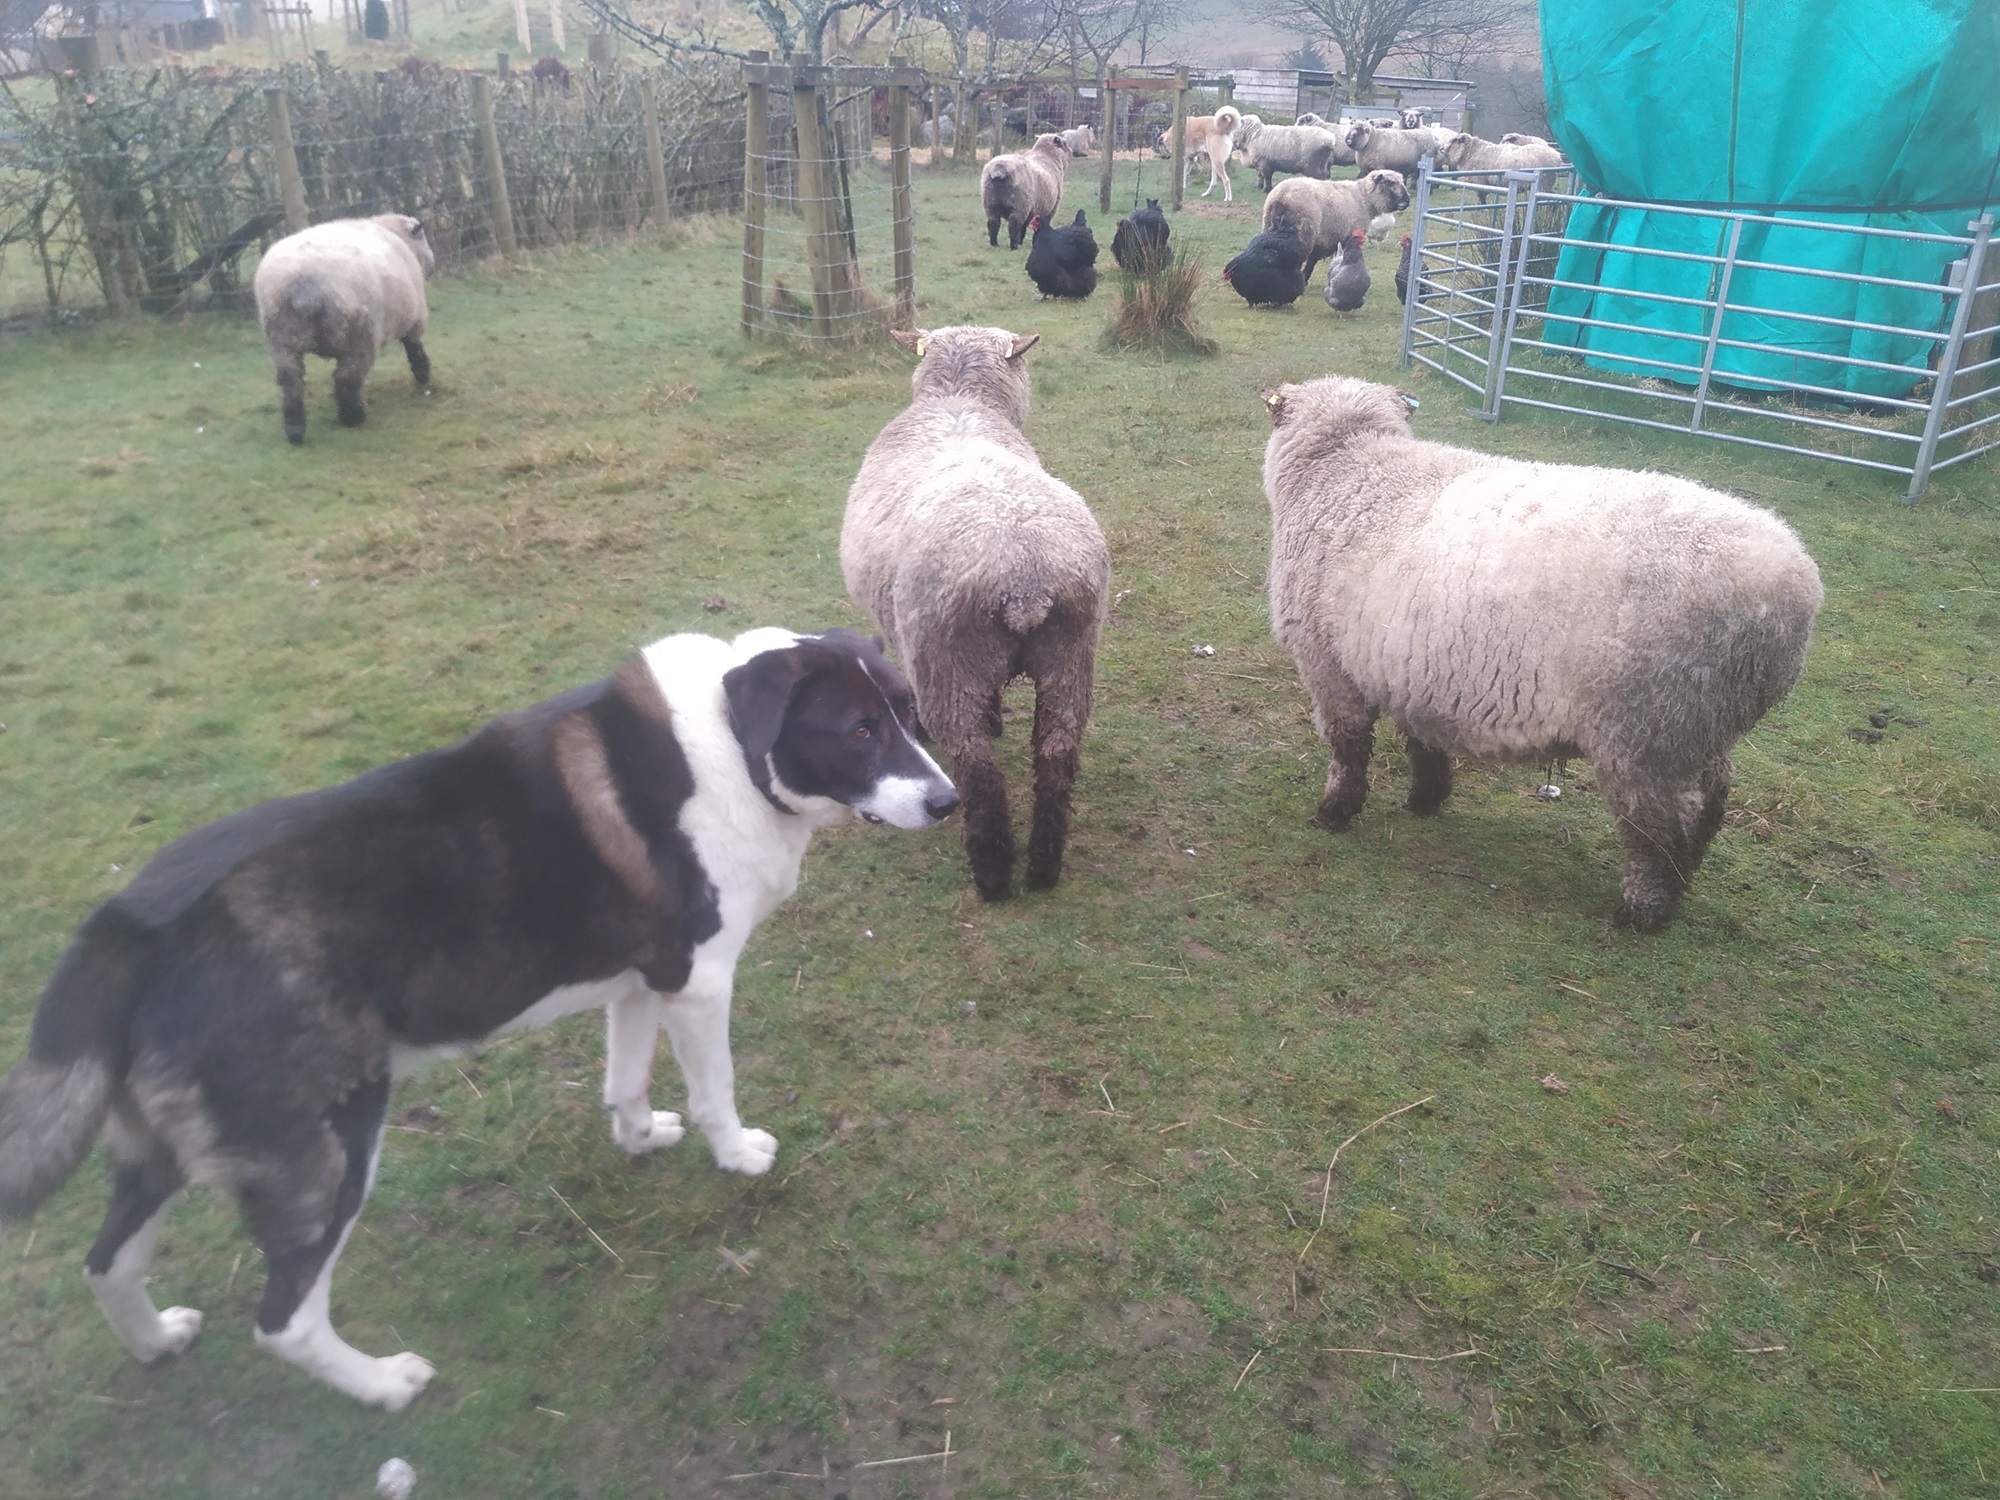
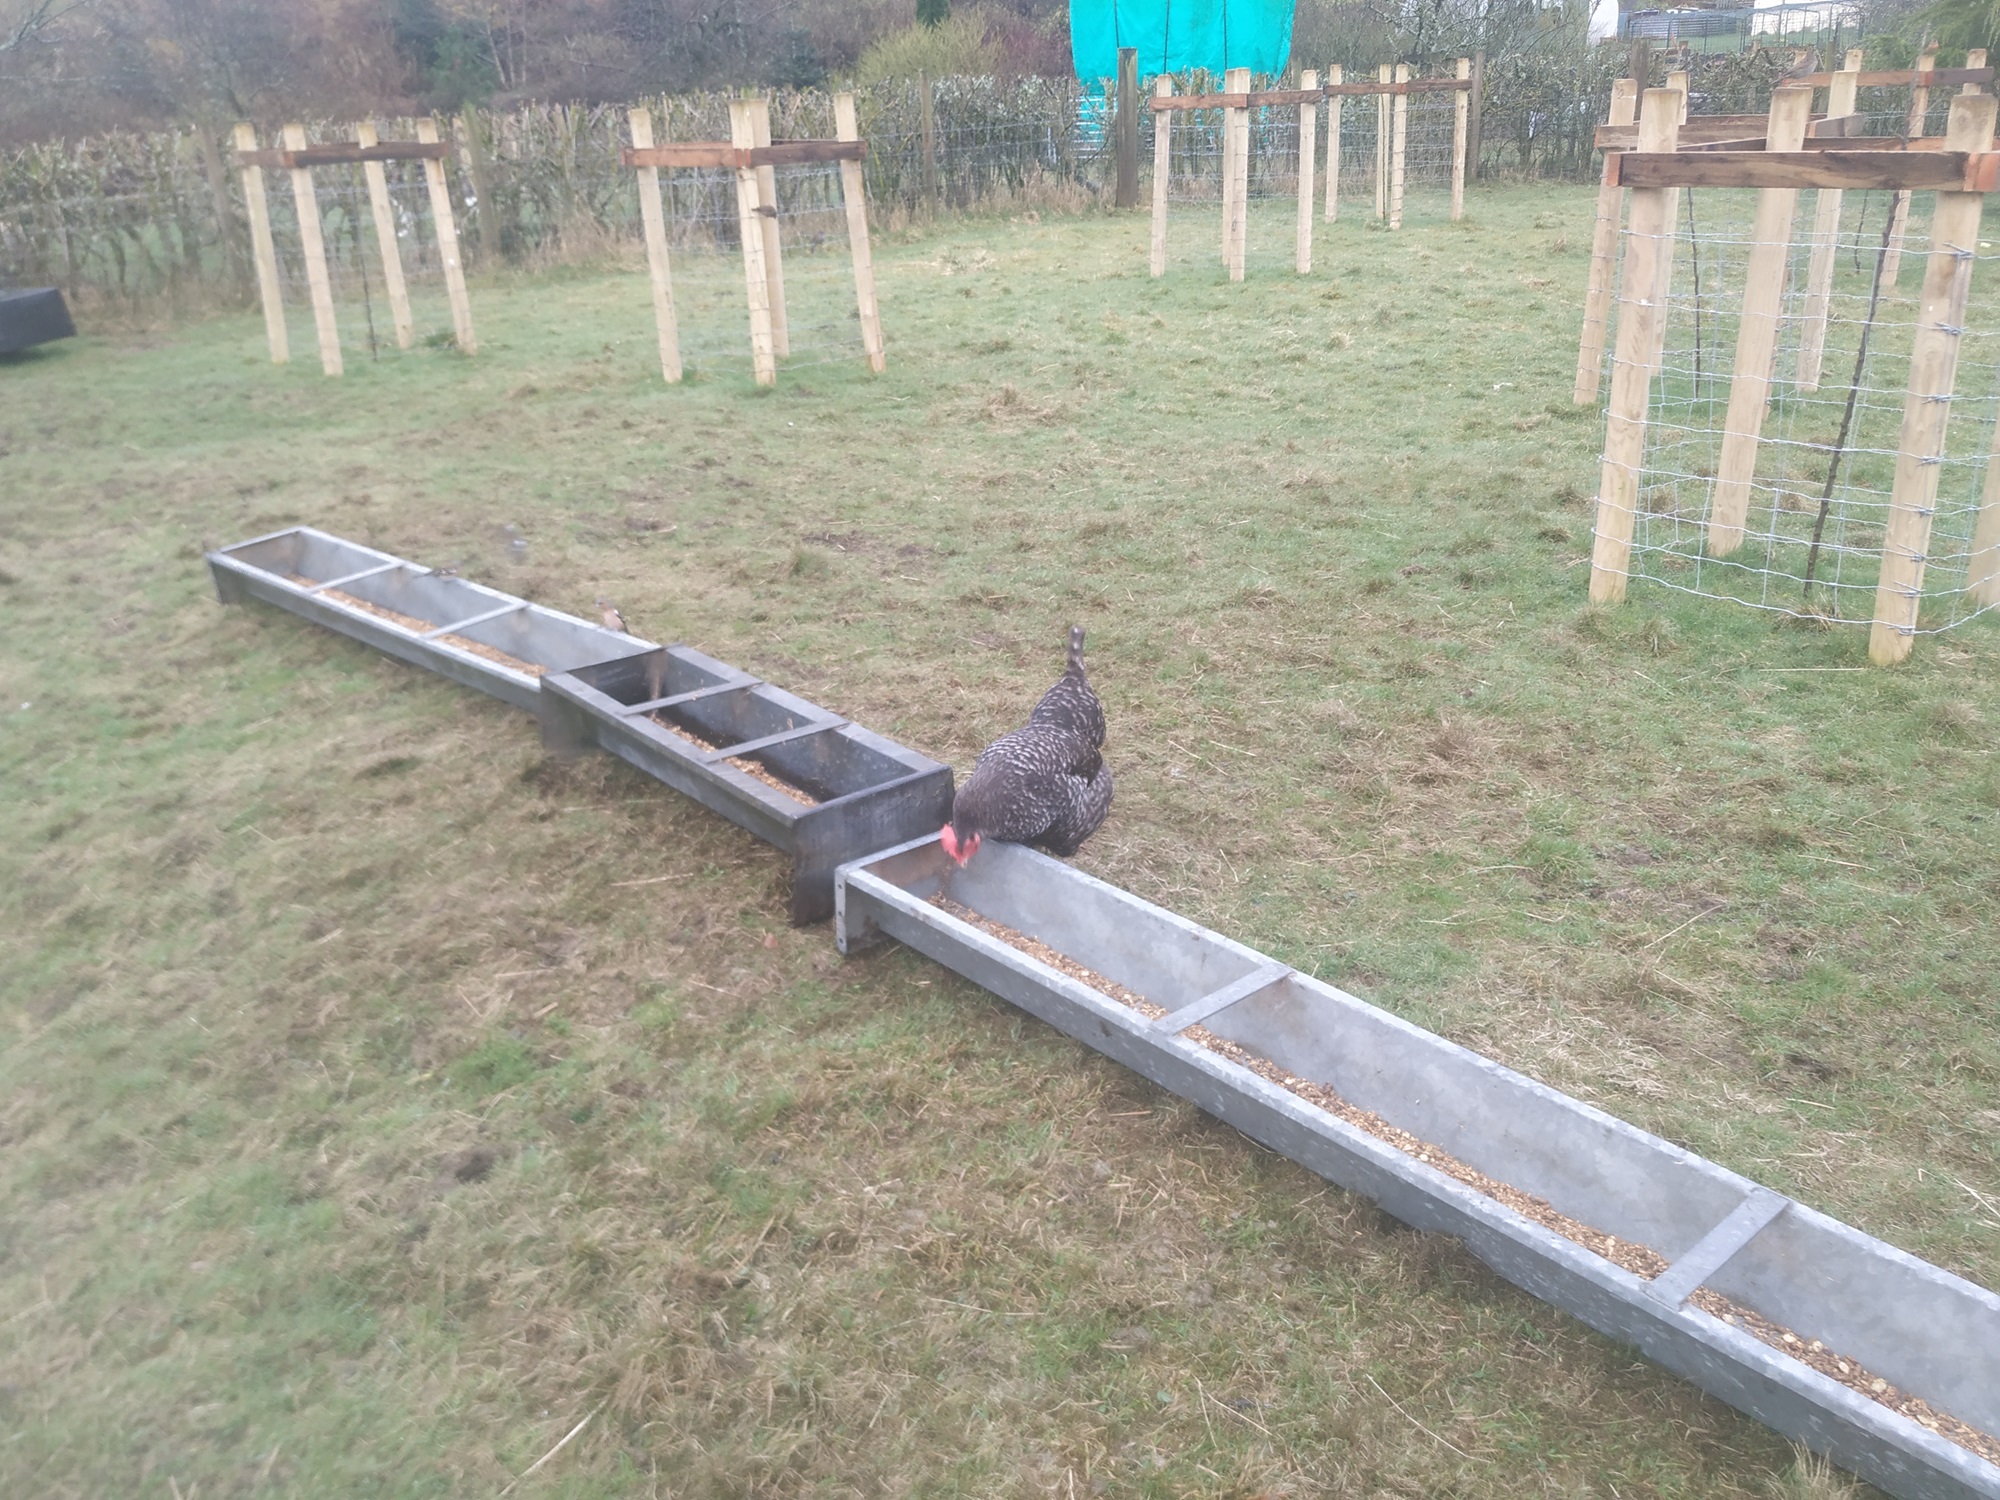
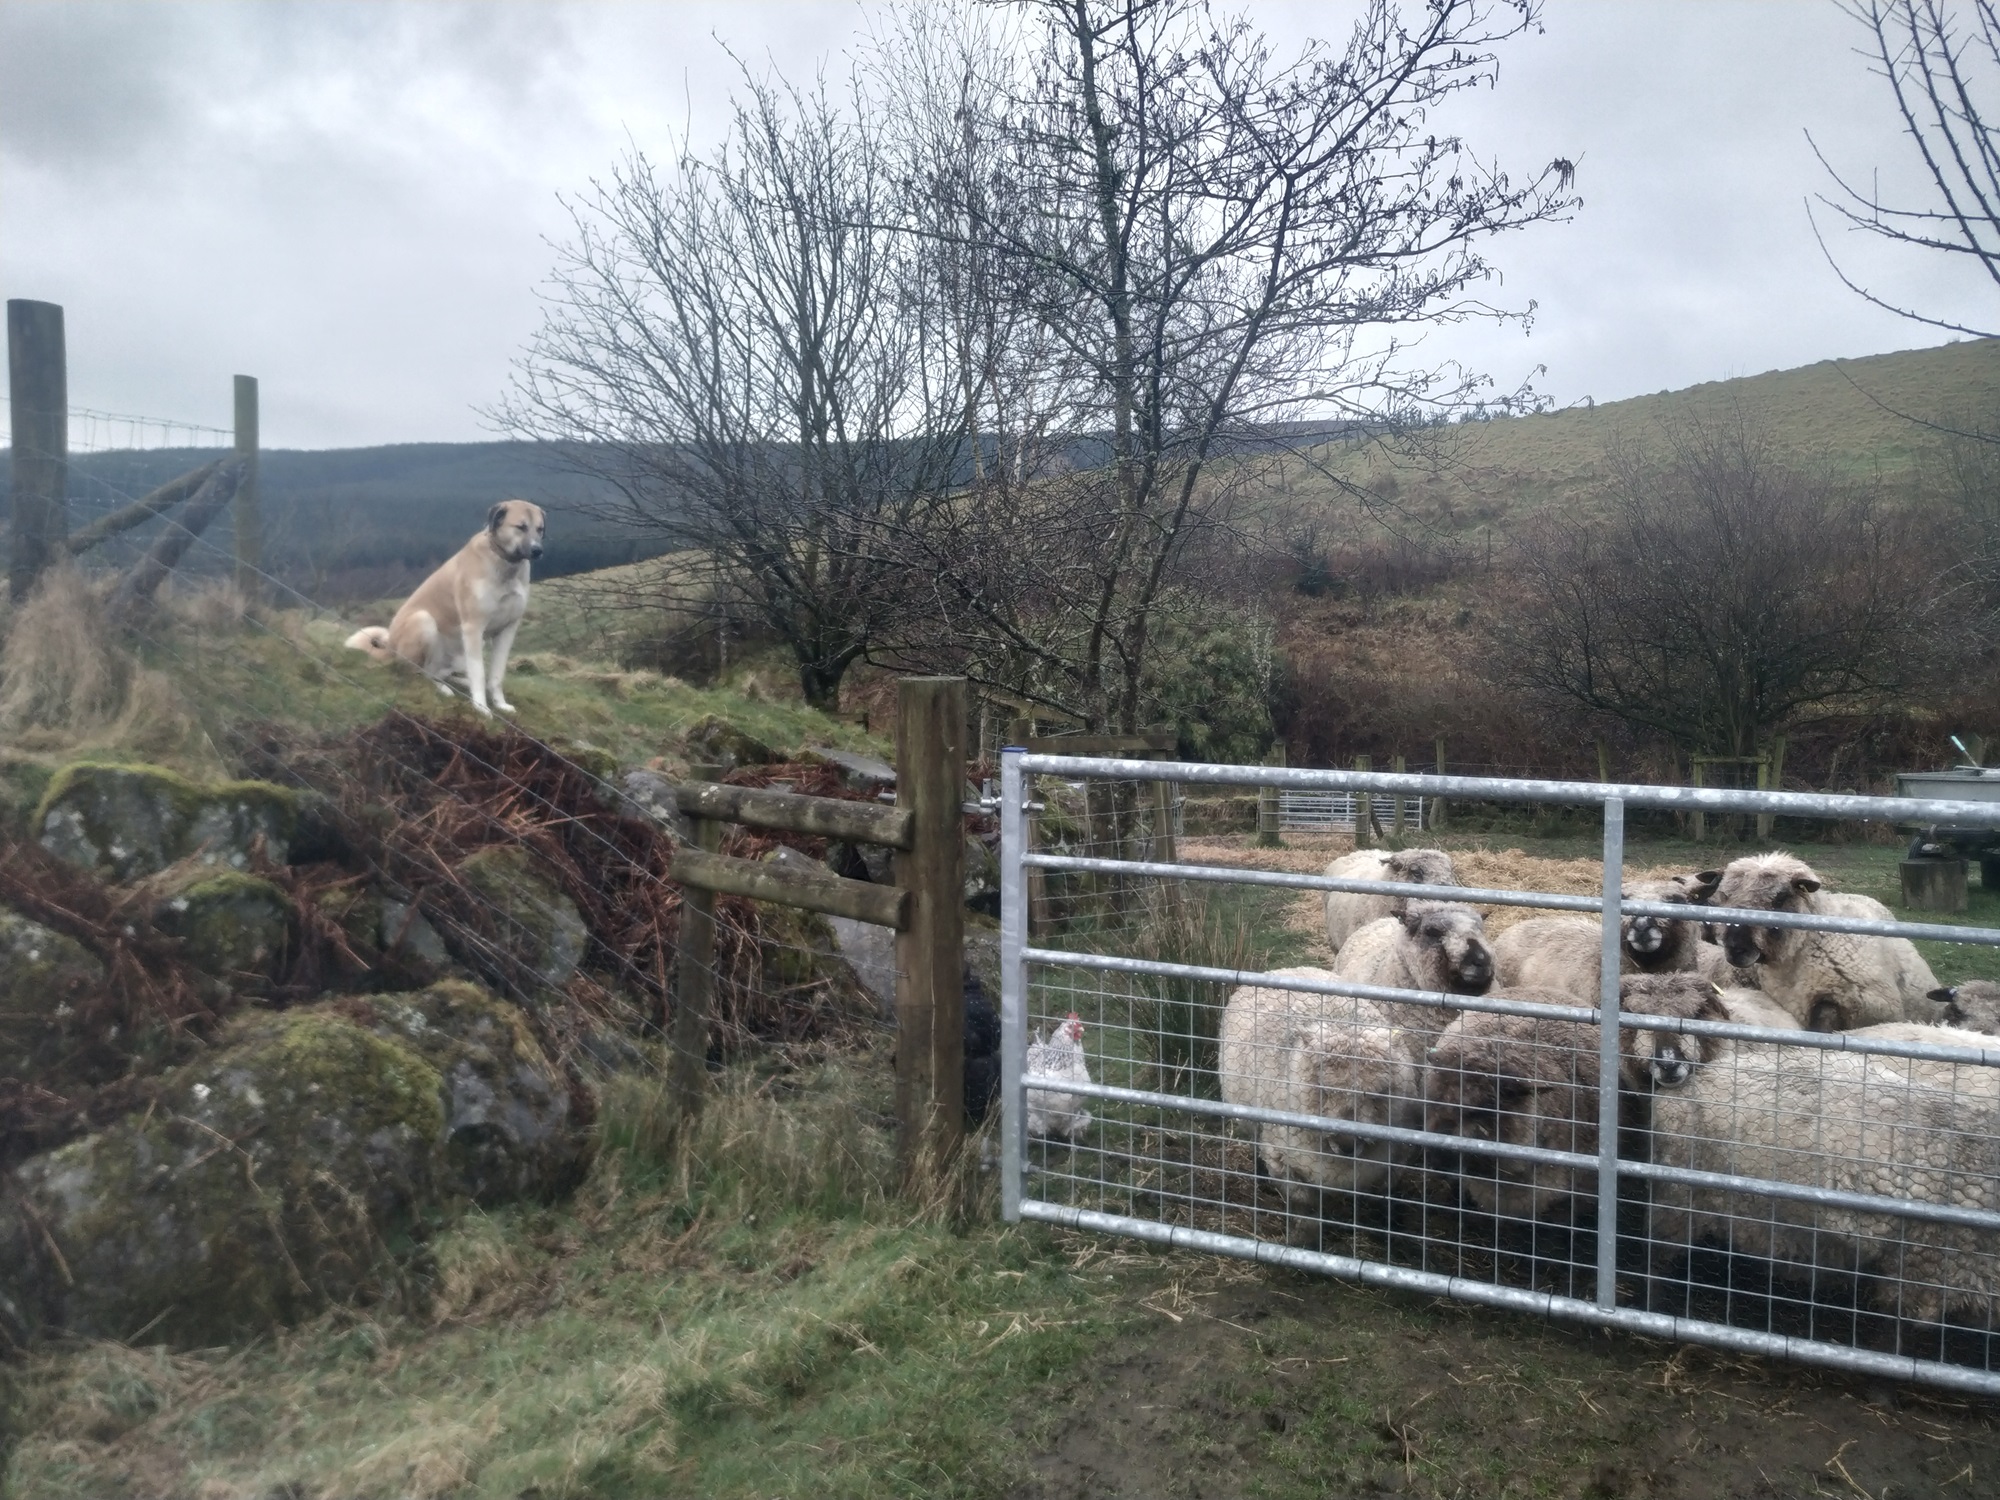
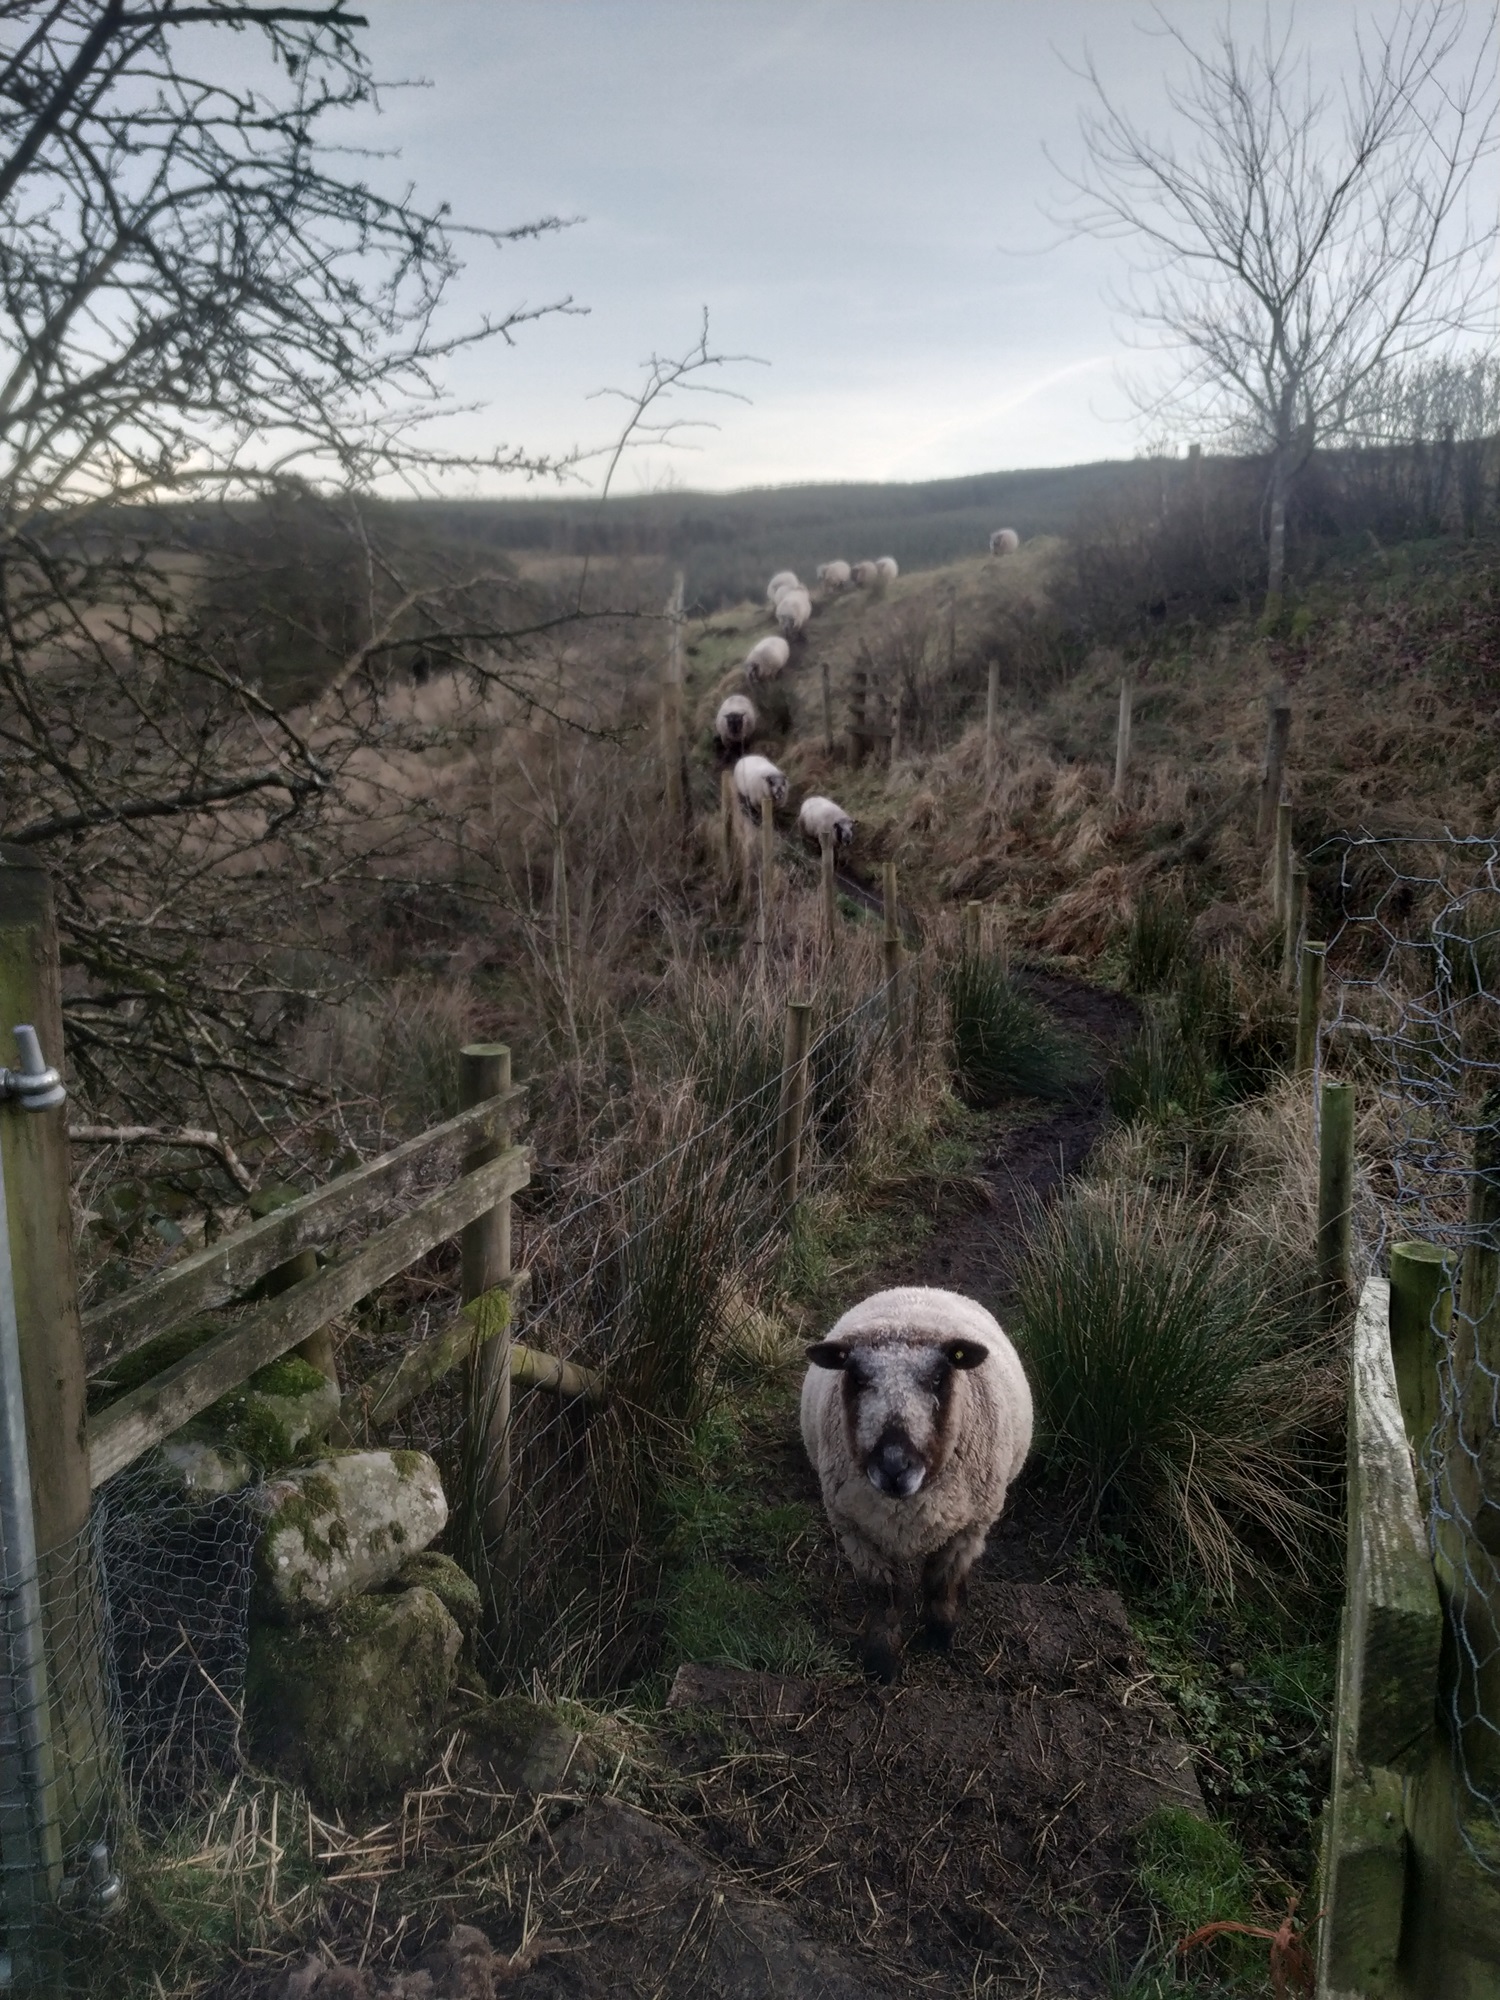
I pop my bucket of things on the quad bike, secure with bungees and zoom off to look for the flock. I have various hurdle pens dotted about over our pasture. This means wherever the flock happens to be there’ll hopefully be a pen nearby.
Once parked up I’ll check my list to see whose turn it is, then I’ll walk over to the flock and bring in my first teddy bear.
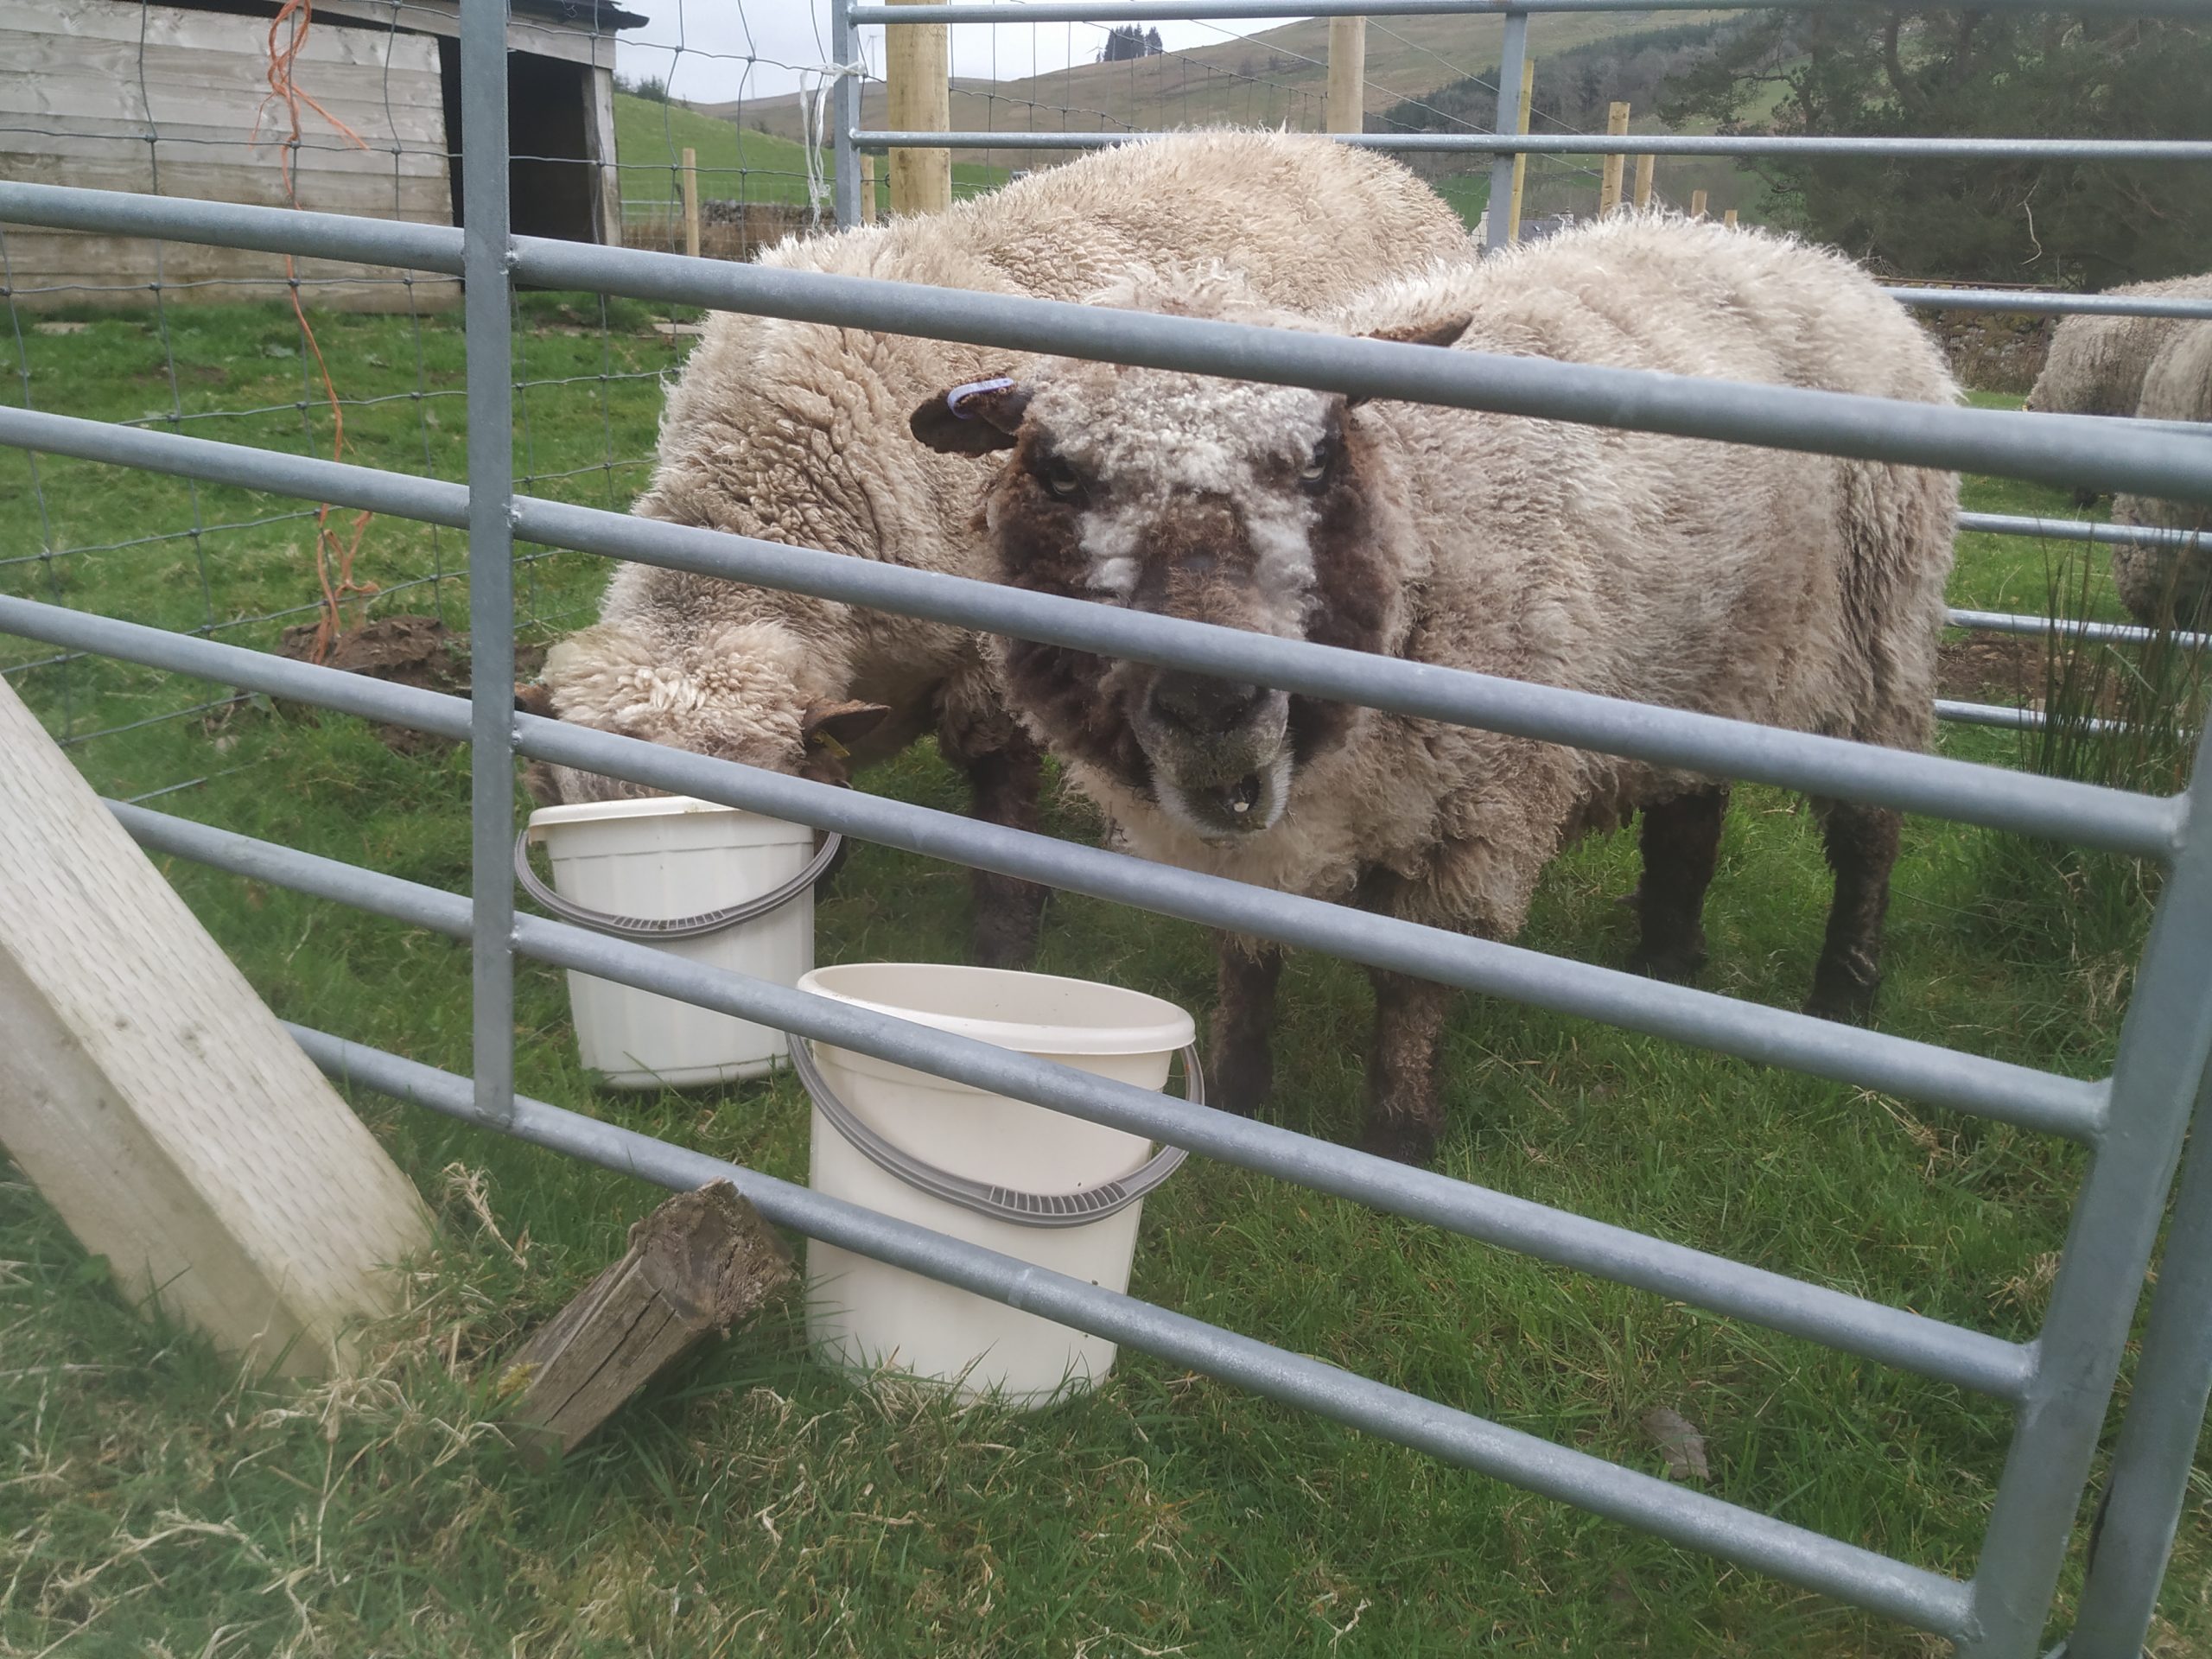
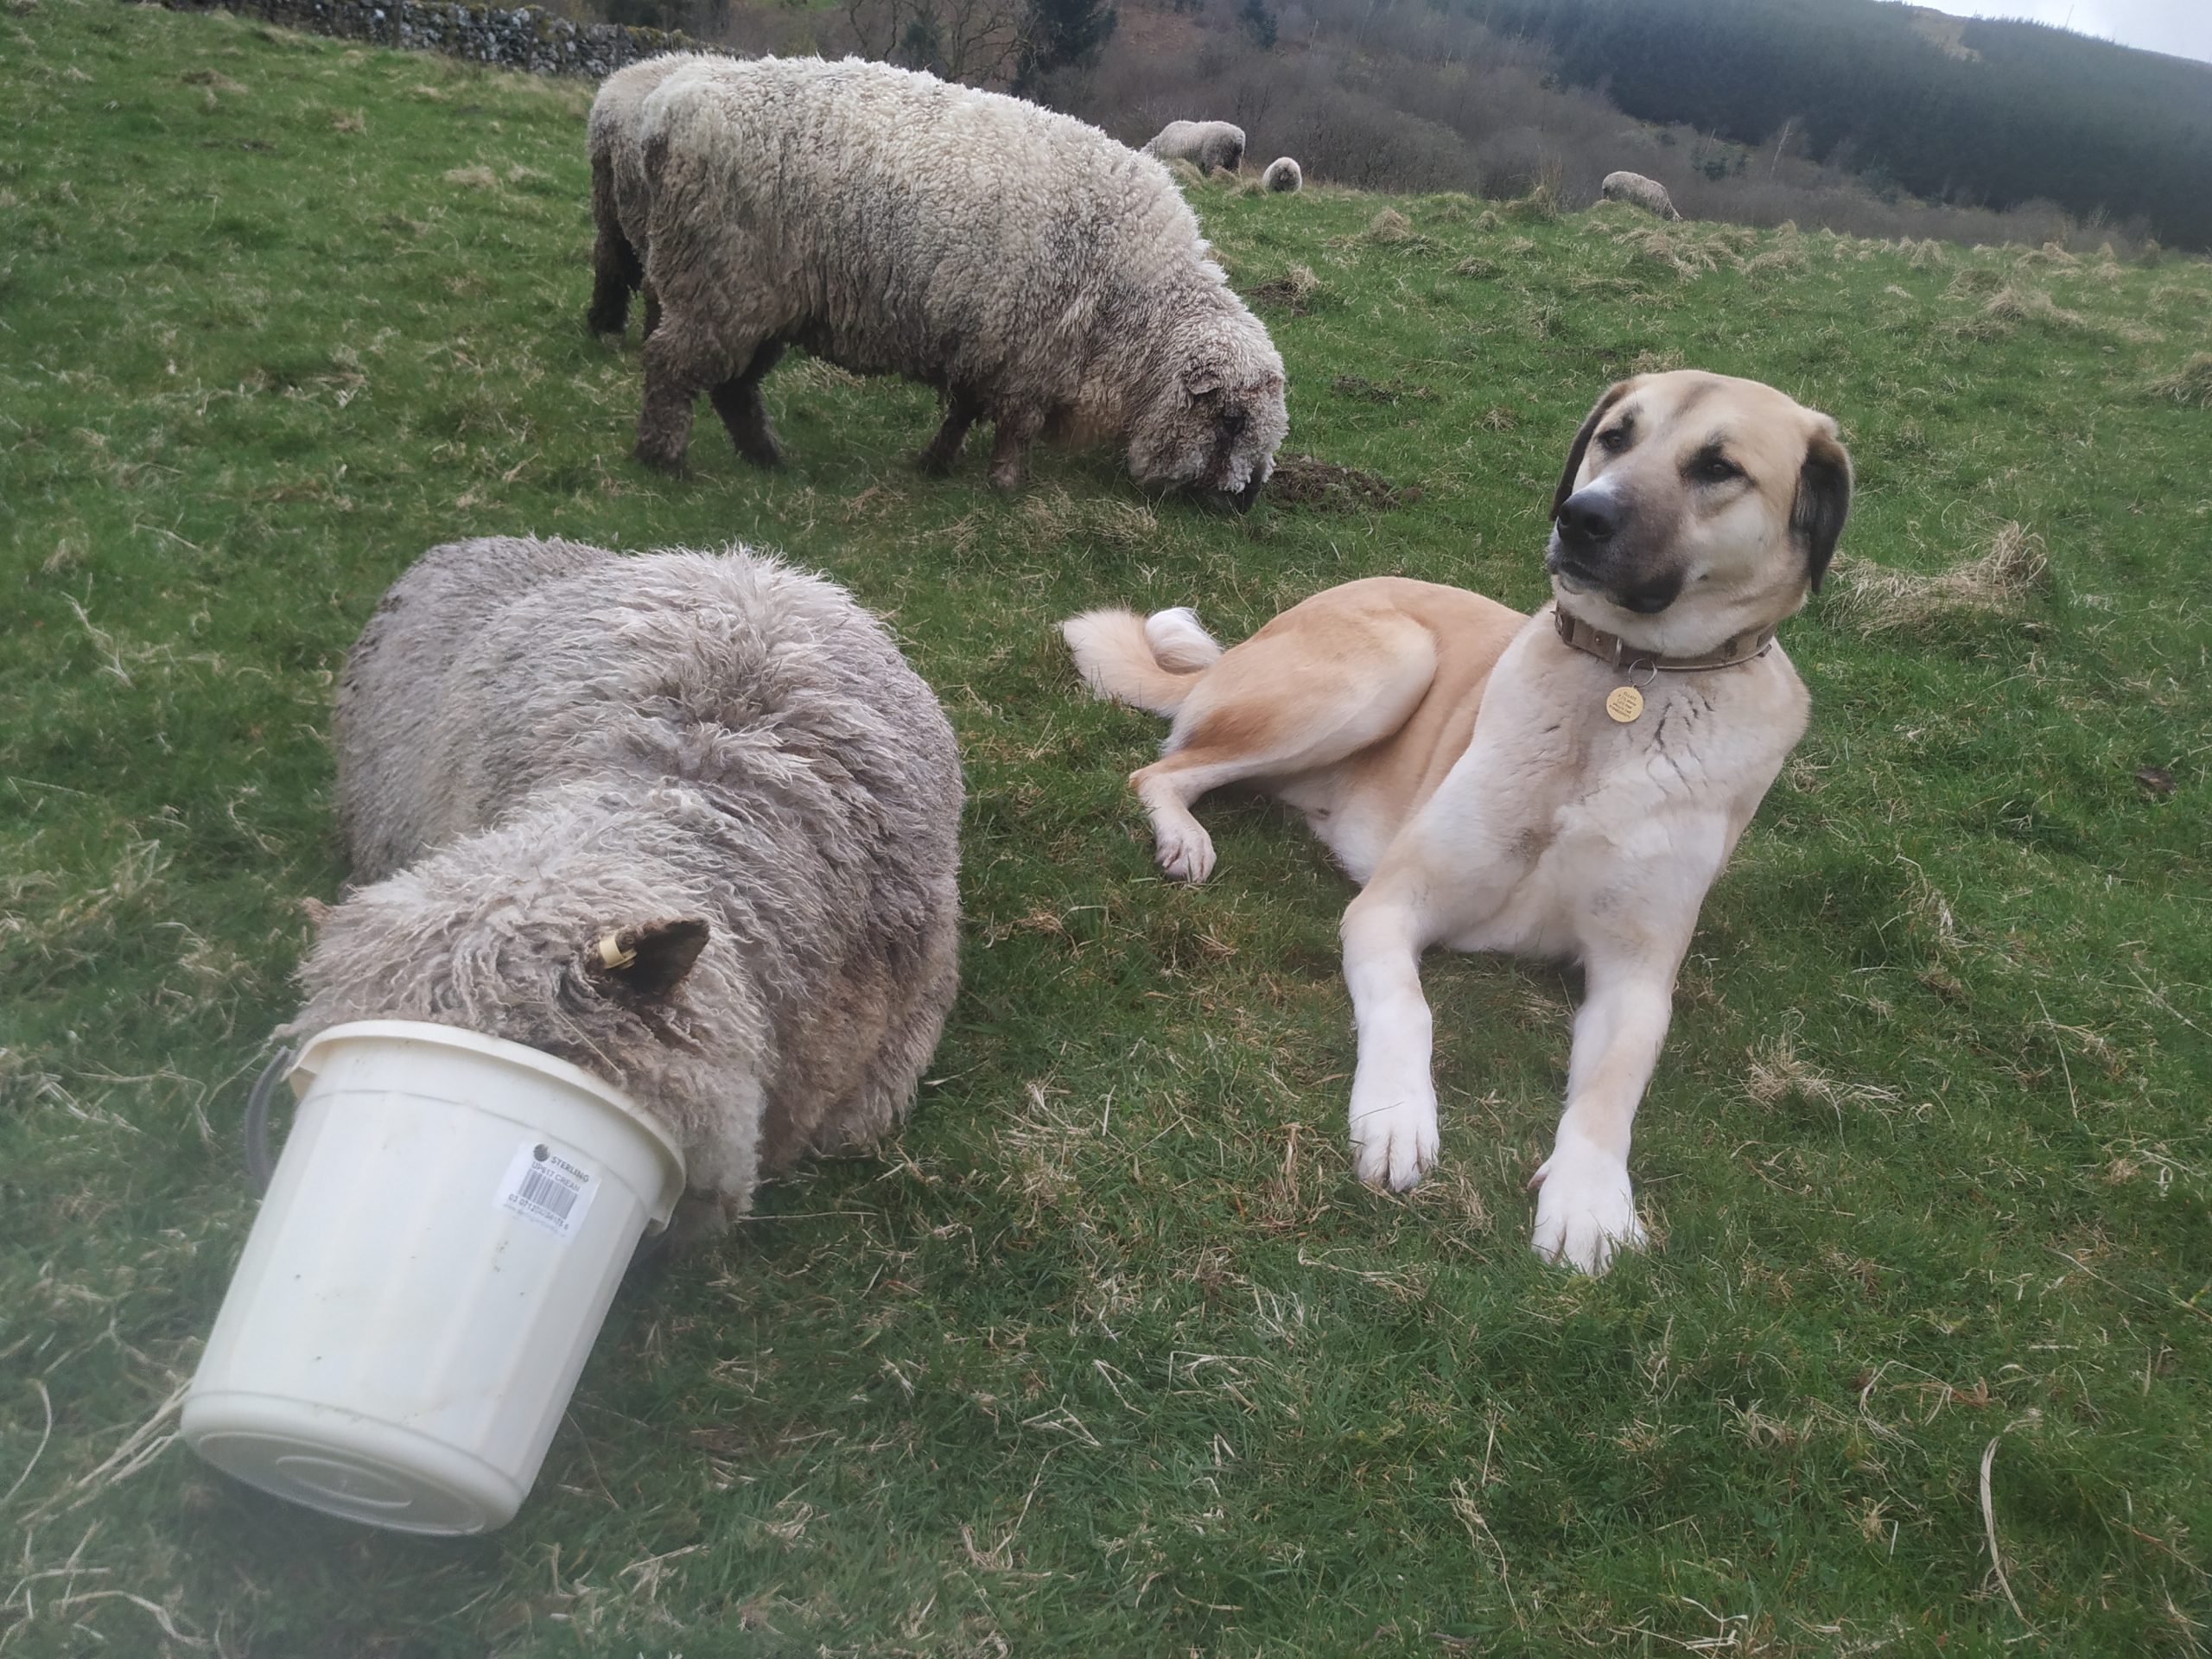
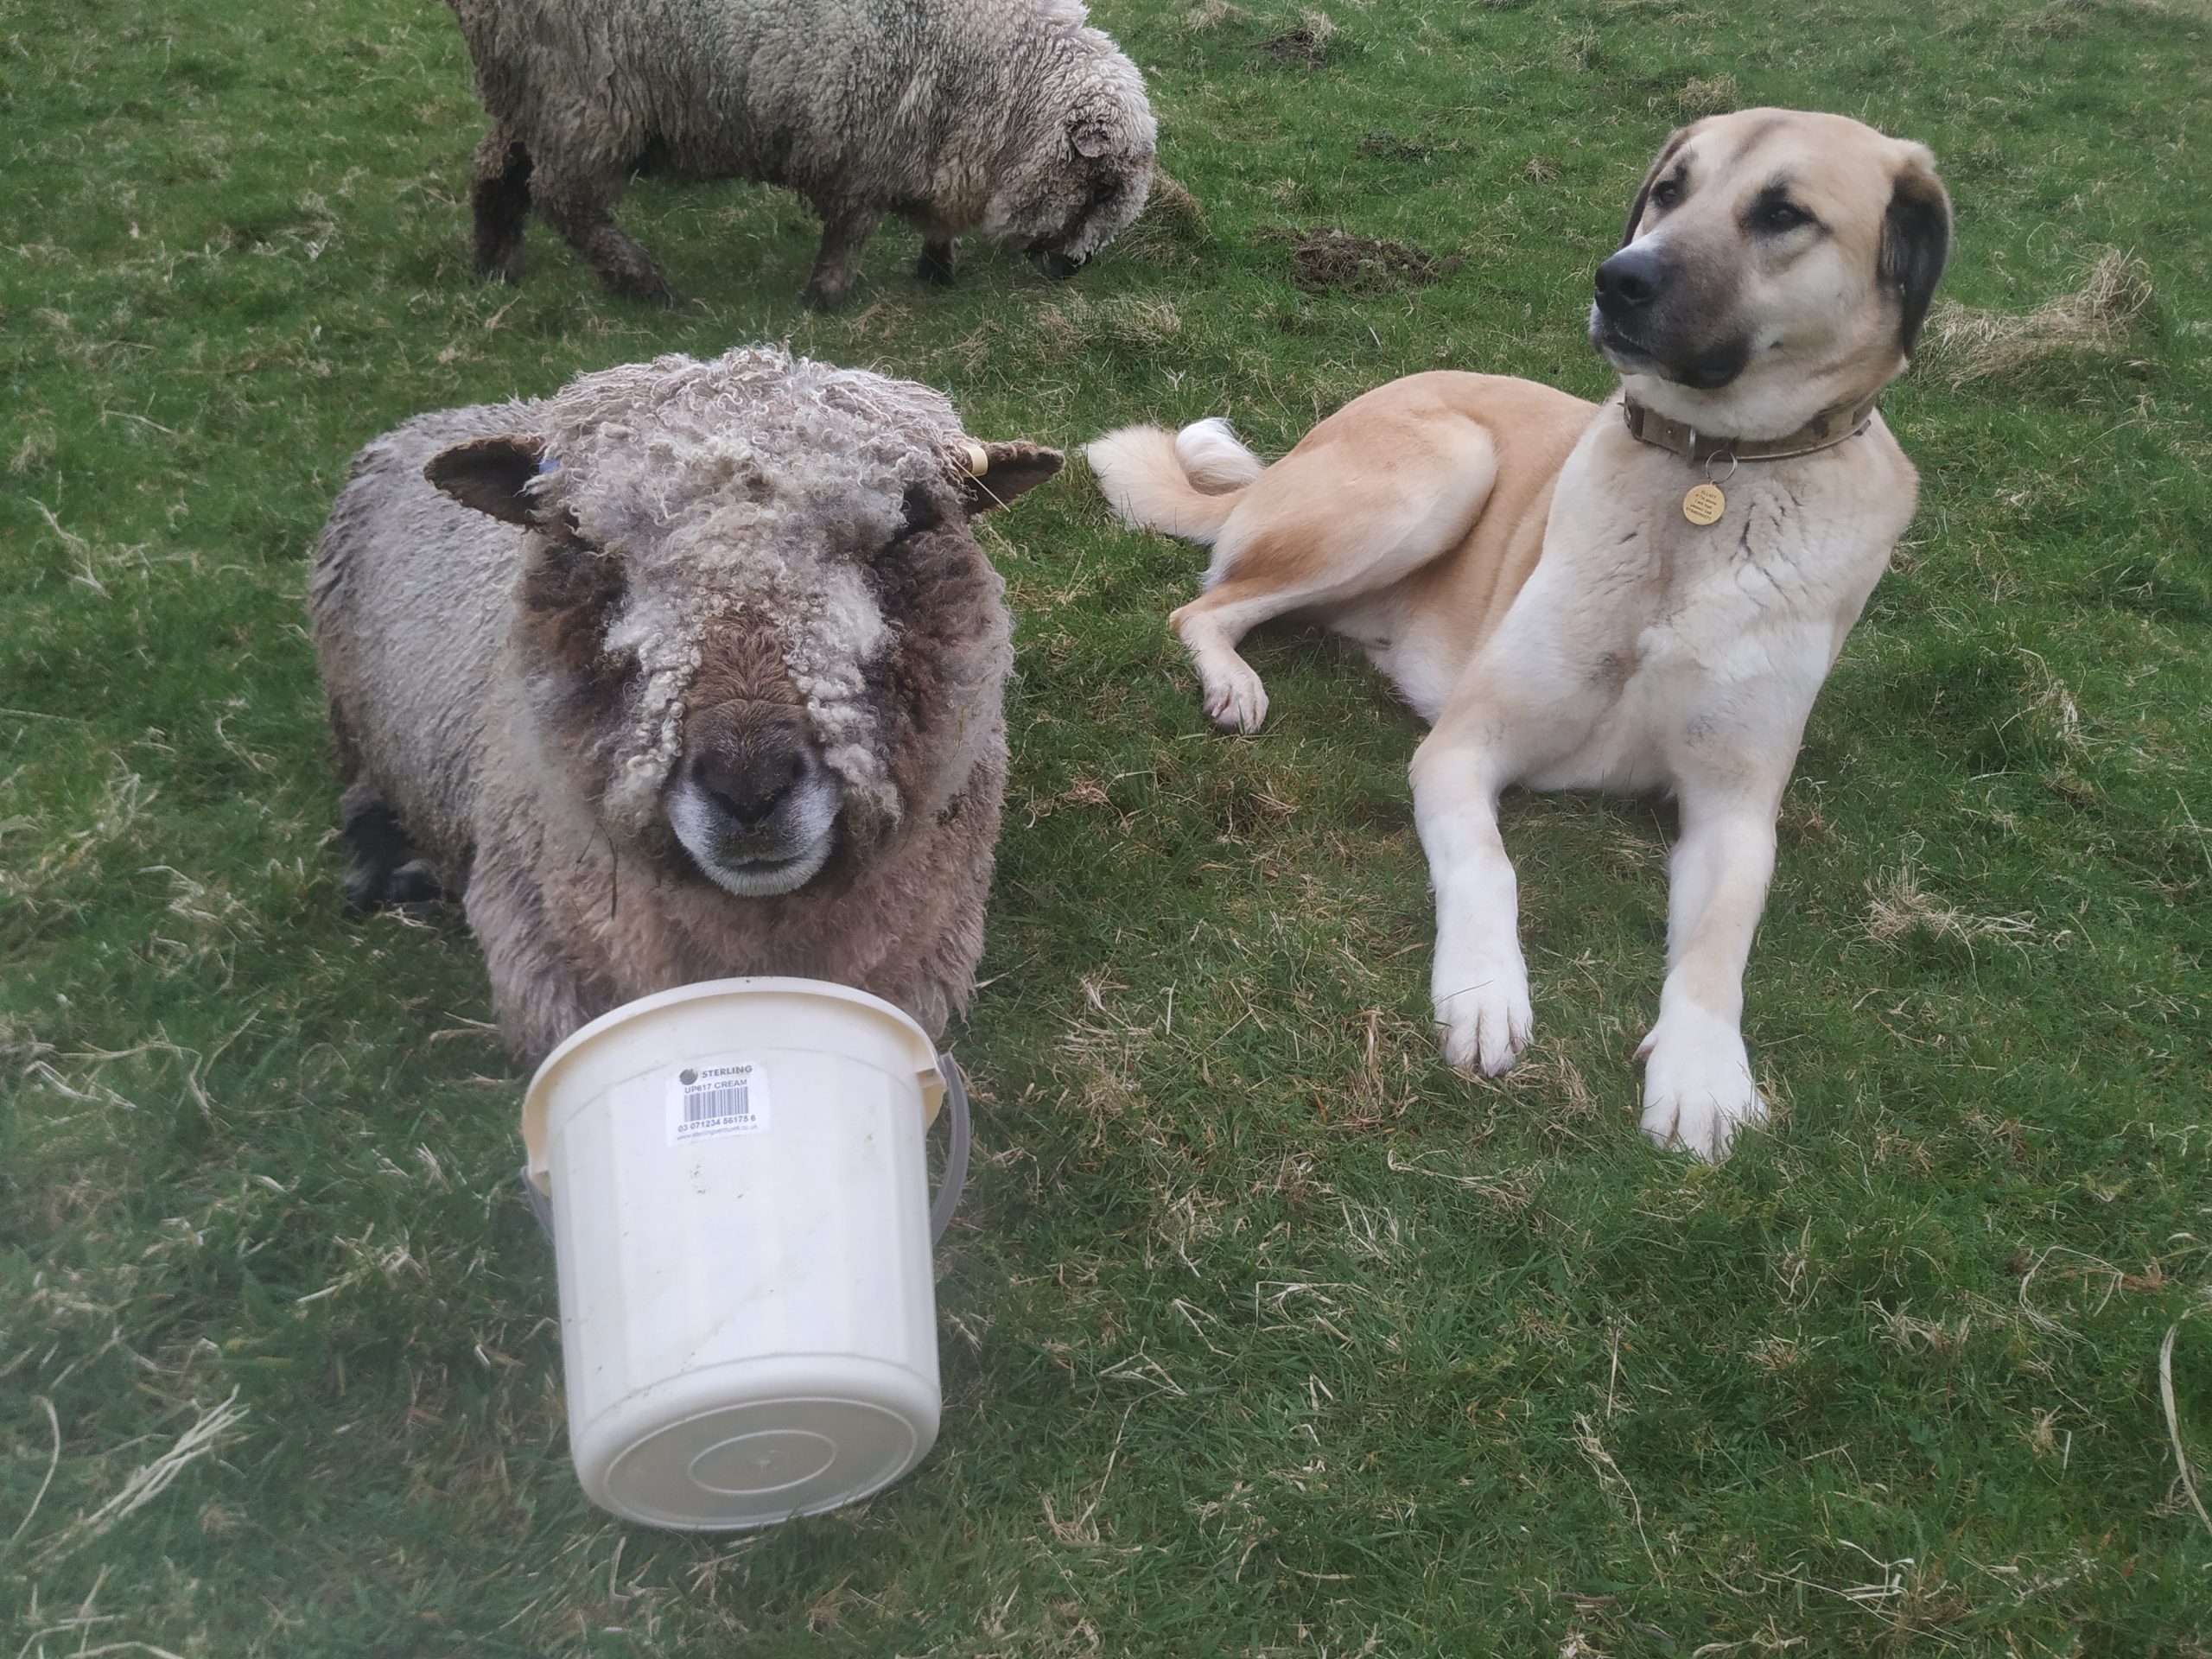
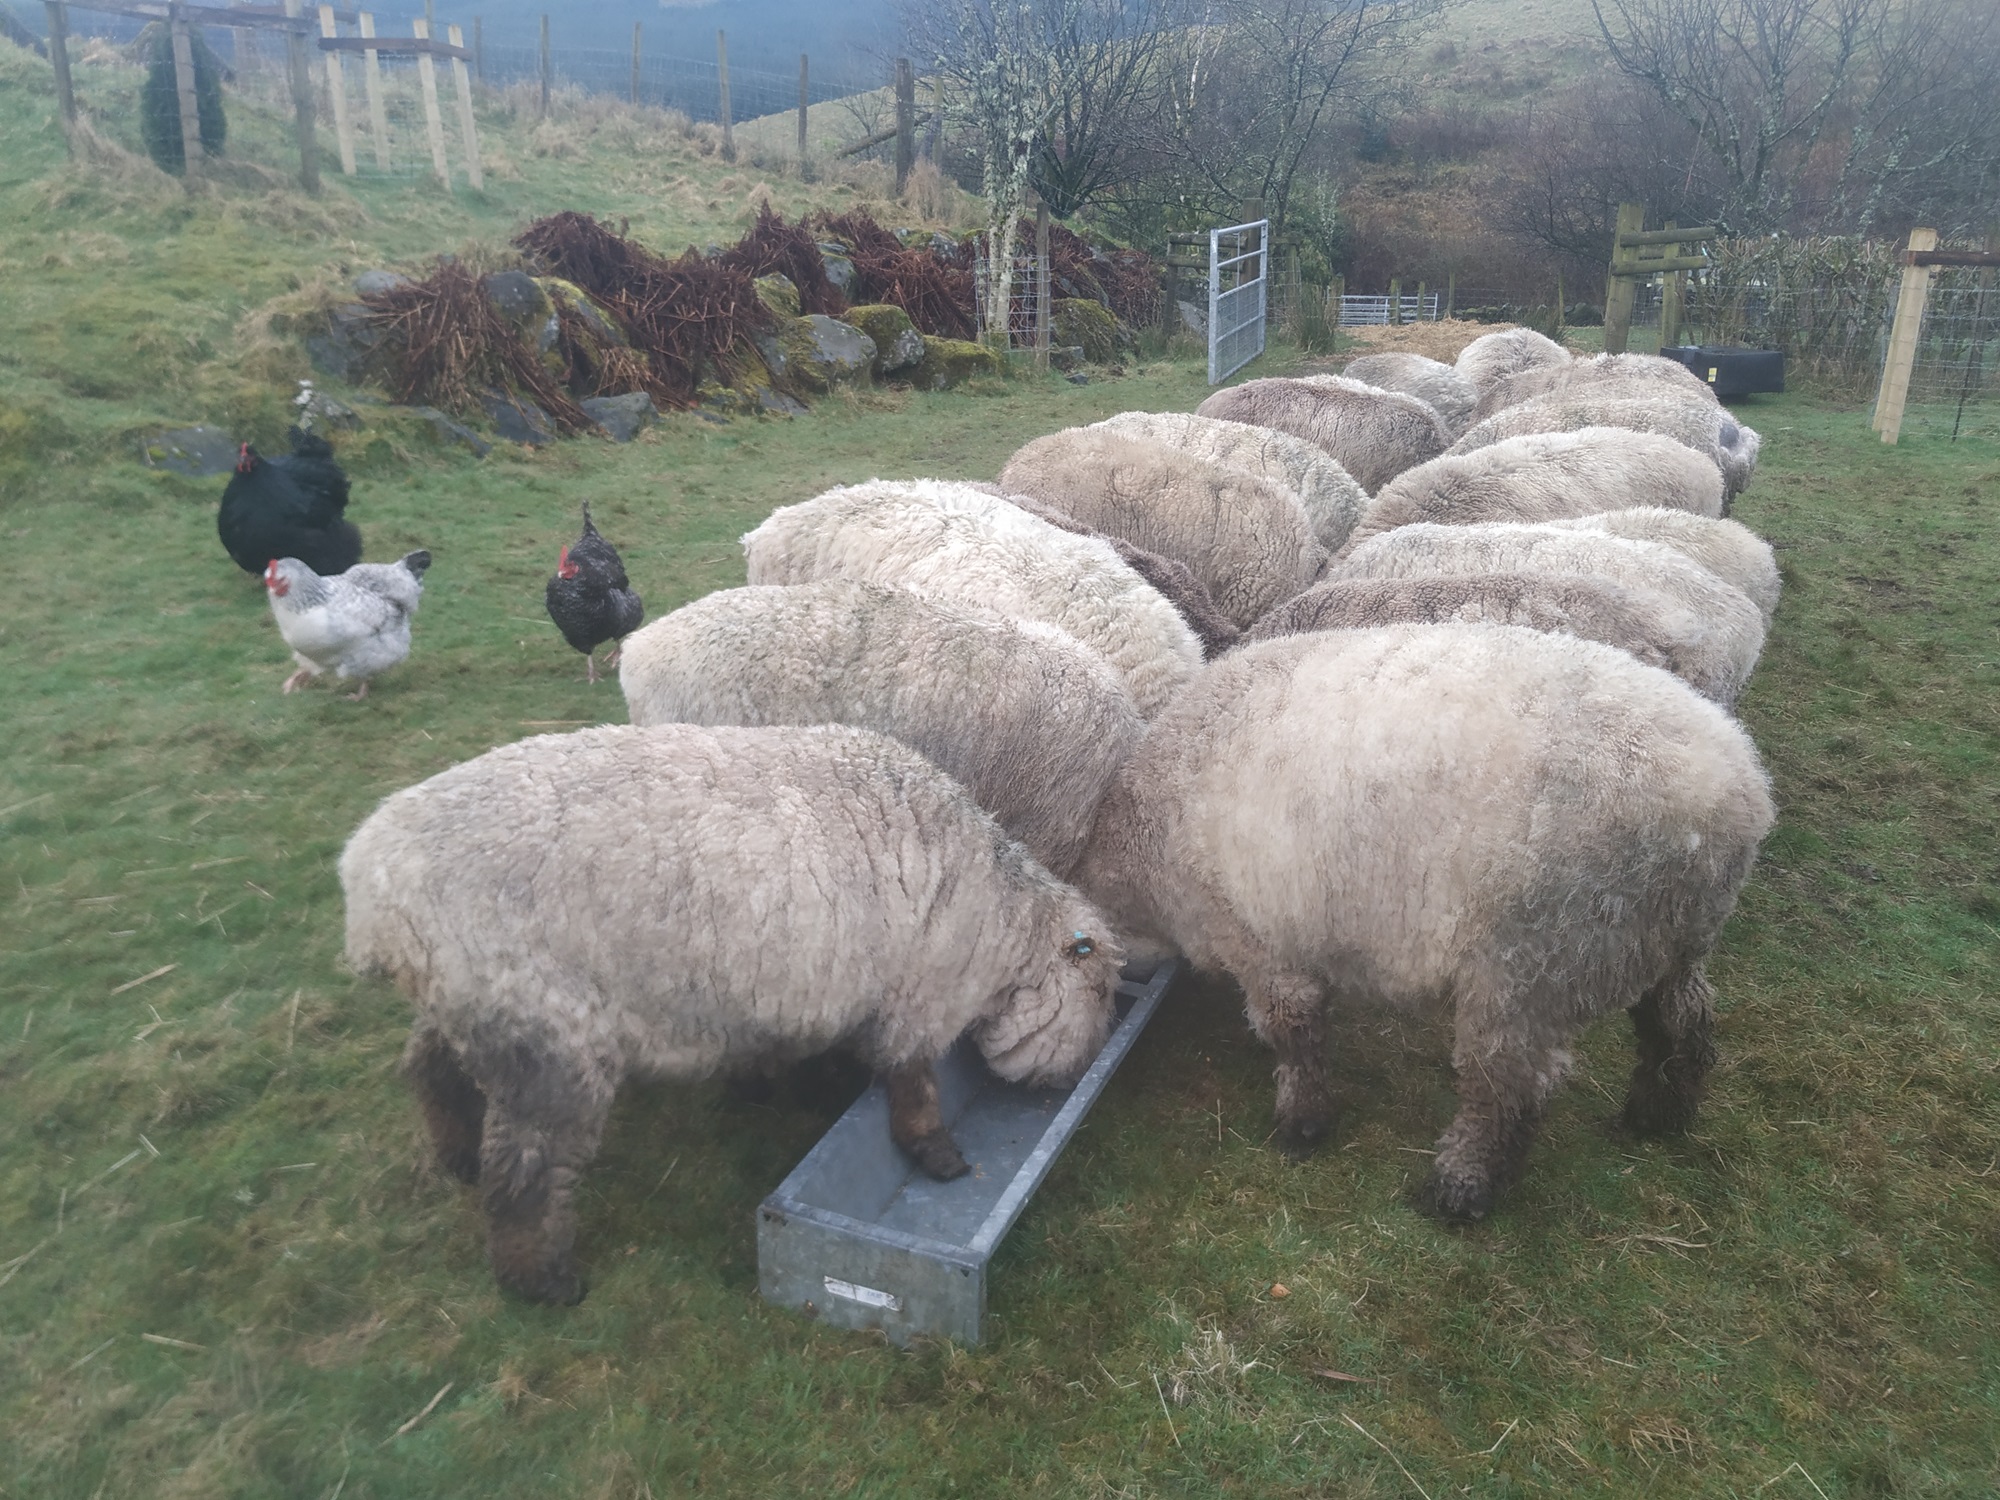
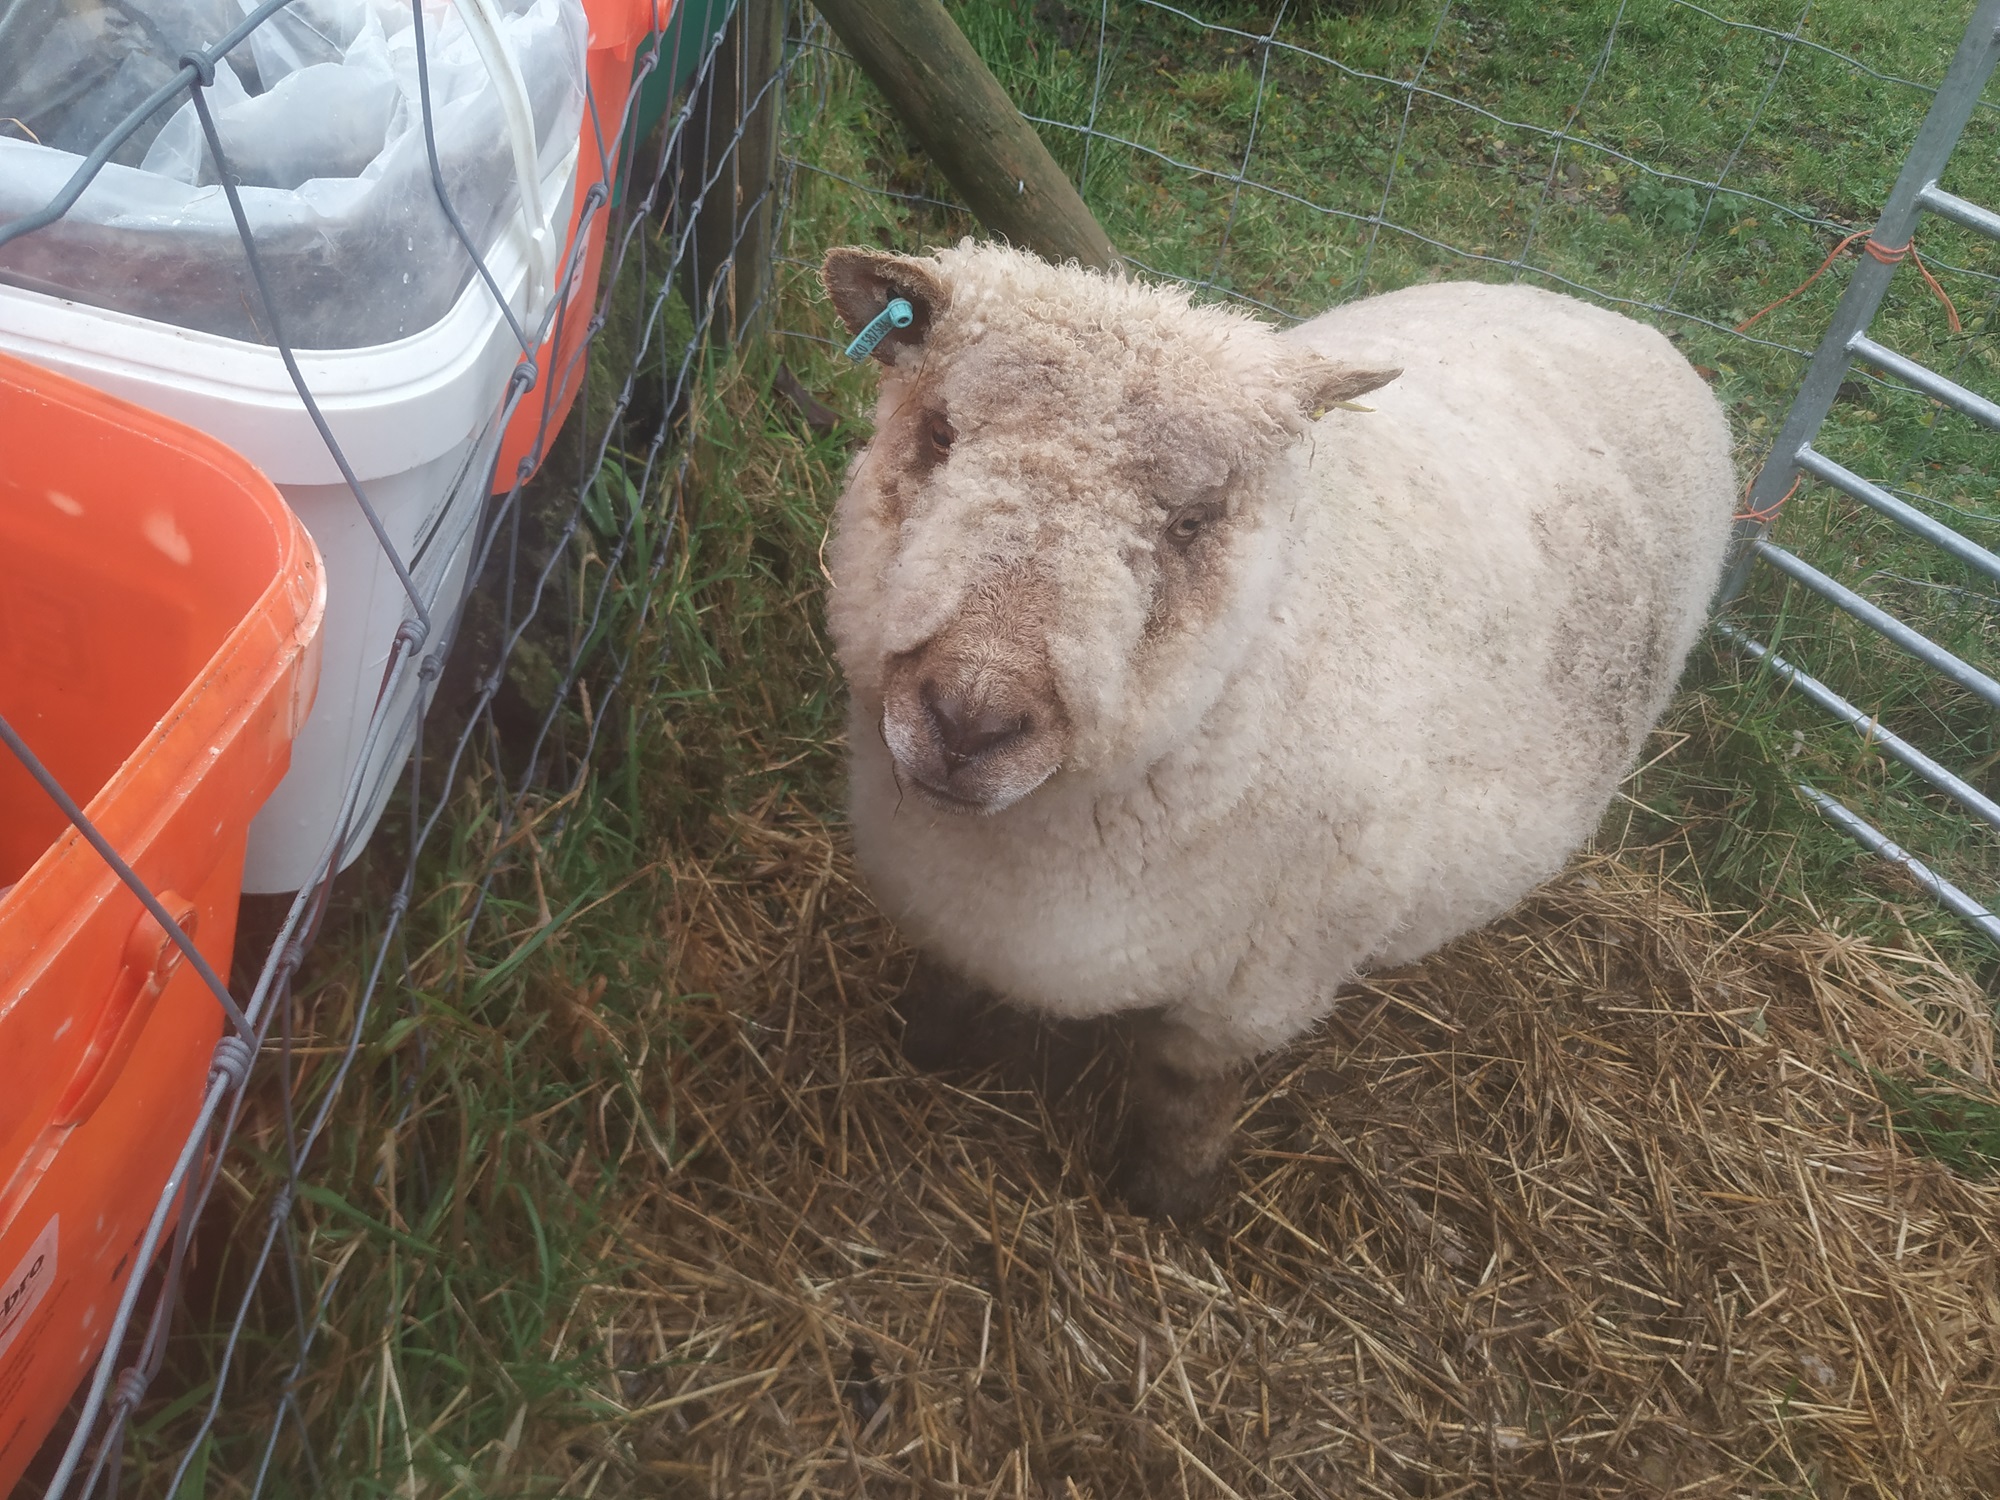
Once I’ve got my sheep in the pen I’ll give her a piece of apple or a few sheep nuts, then a ‘tickly pickly rubbadubdub’, (some lovely scratches and head rubs). This is important as I like the sheep to associate the pen as a pleasant experience.
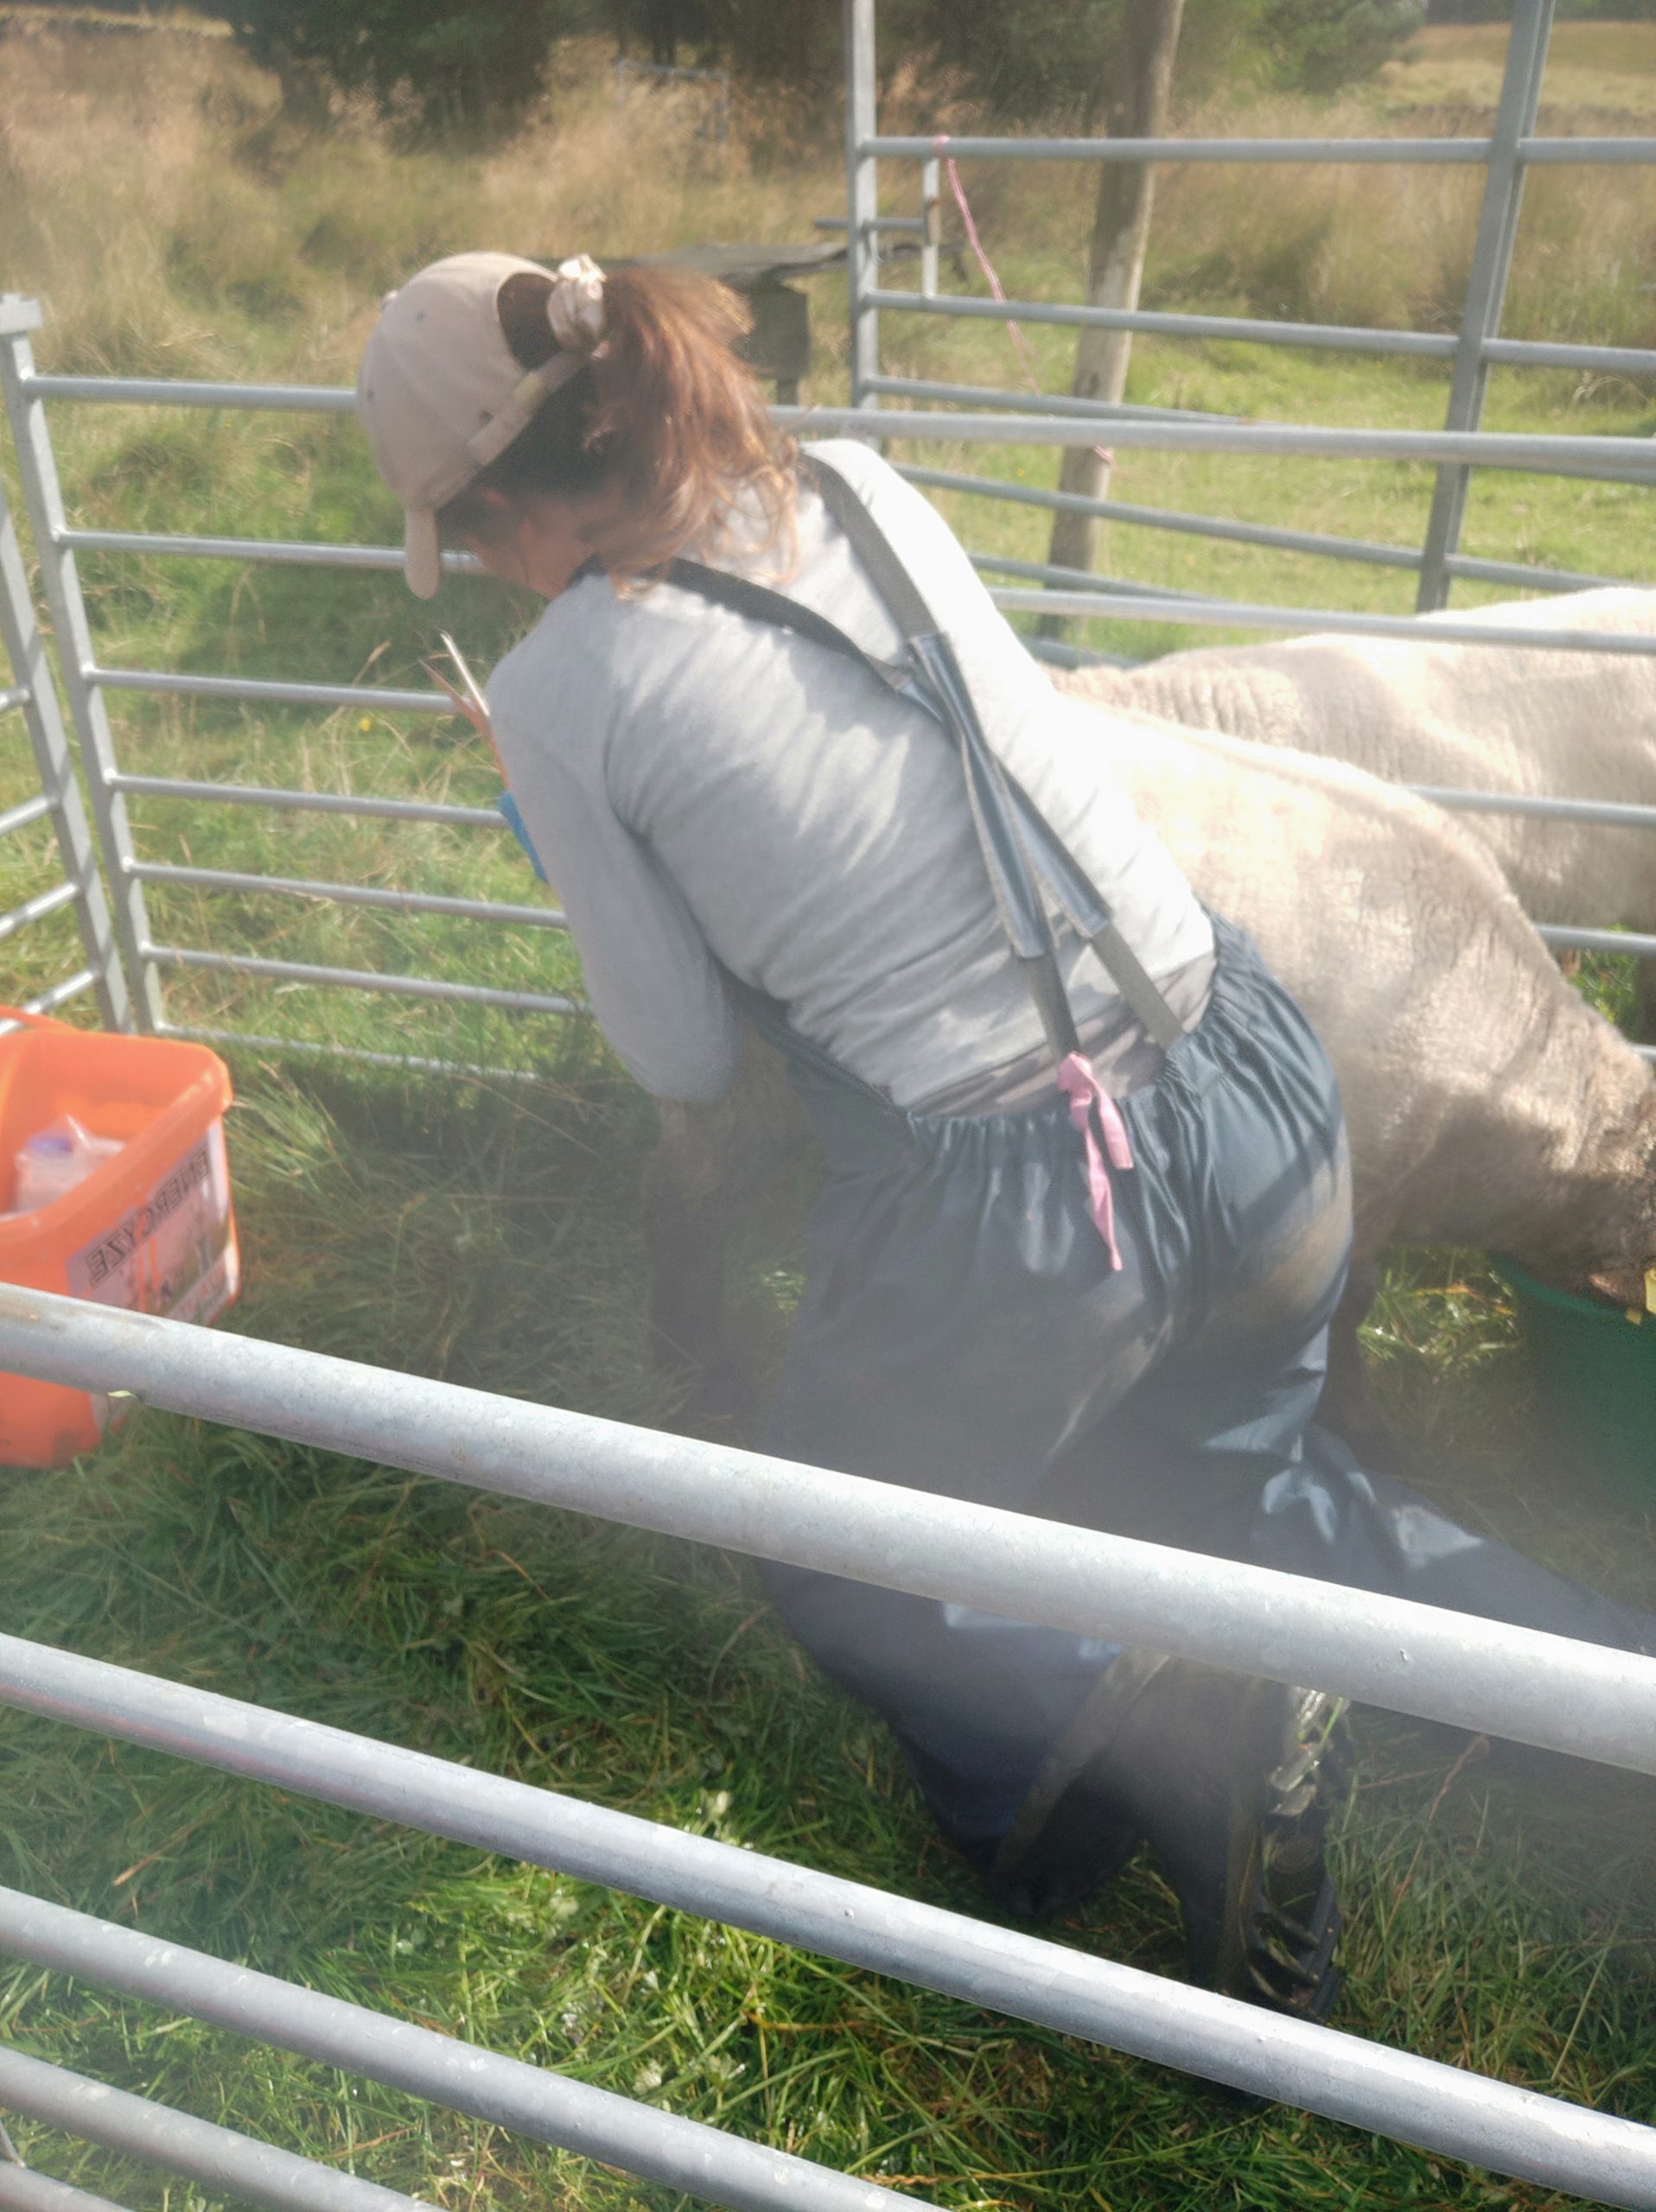
Then I get to work. I put a handful of chopped apples / nuts etc in a bucket and place this in one corner. This part is very important as I want to keep my sheep fully occupied while working on her hooves. Where I place the sheep and myself is super important as I want to make sure her body weight is fully supported by the hurdle and me at all times. This way when she’s balancing on three legs she’ll feel secure and and not want to run off in a panic.
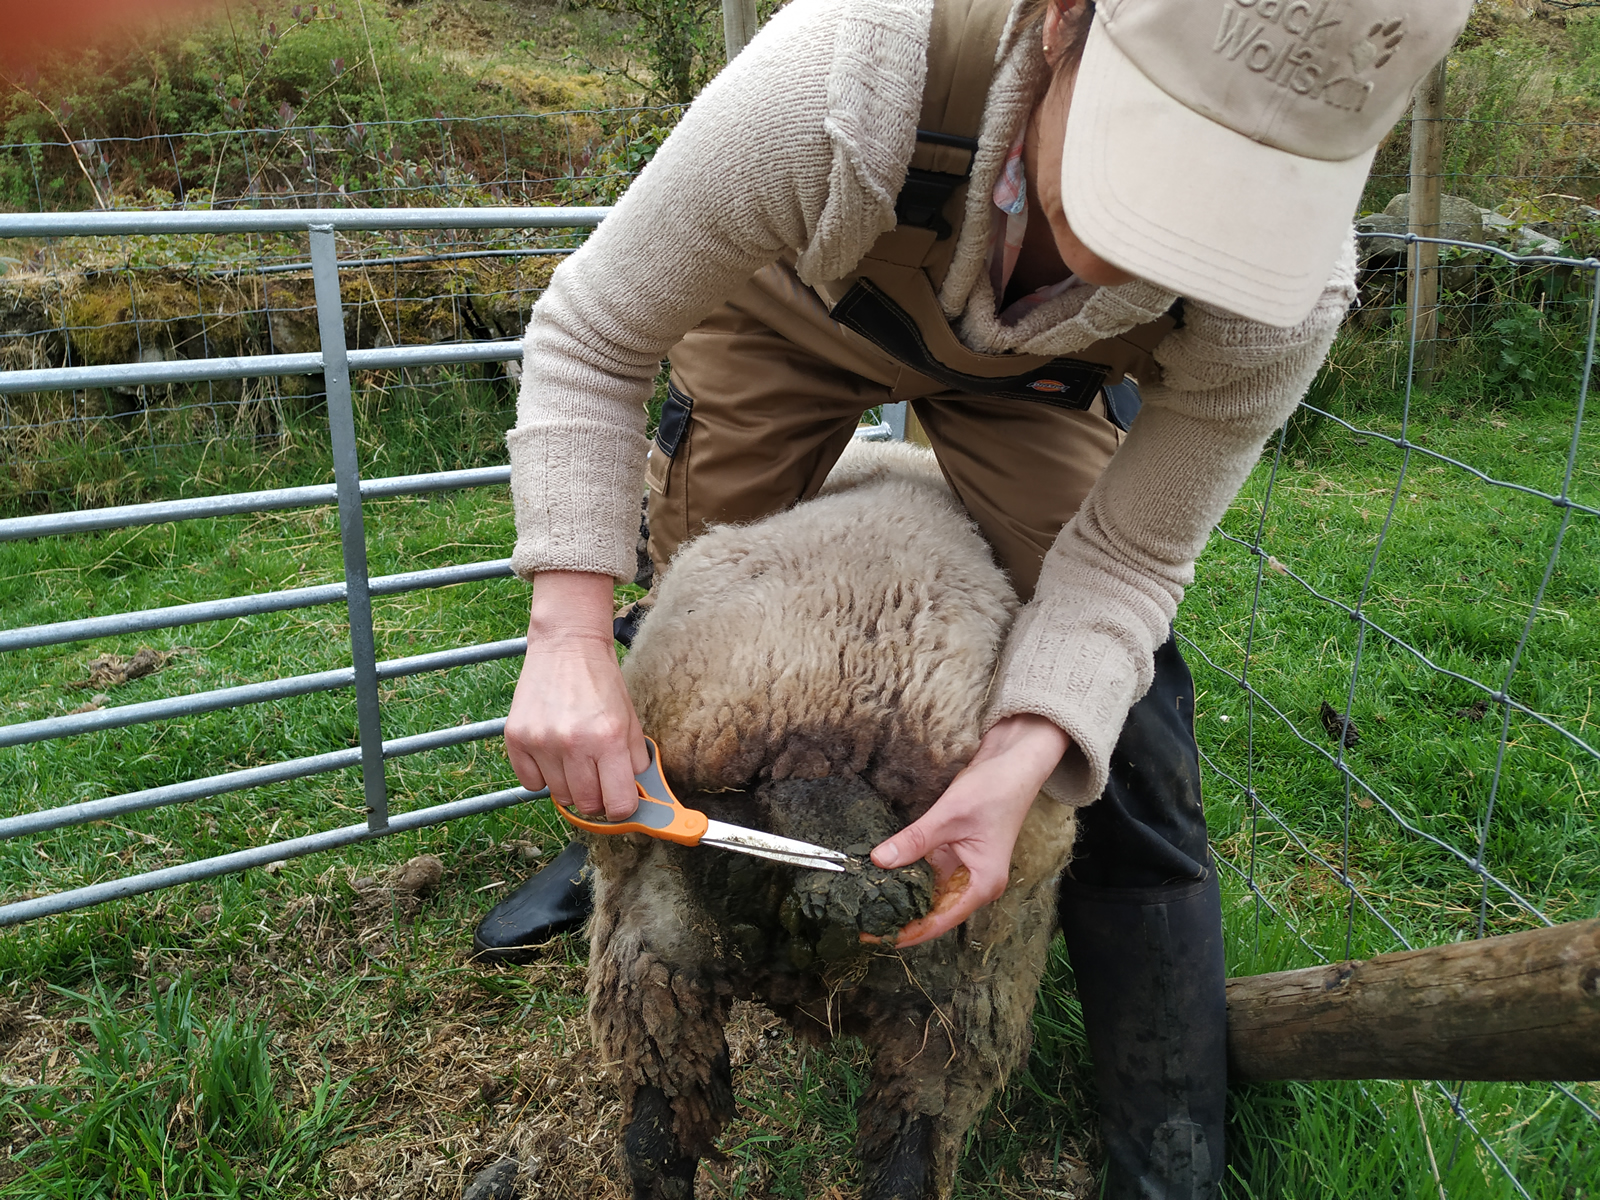
When I’ve done the hooves I’ll top up the bribery bucket and start on the bottom. If I’m working on a skittish sheep I’ll halter her up. Sheep instinctively move forwards when their bottoms are touched which isn’t ideal when I’m trying to snip off dags and peer through wool for maggots.
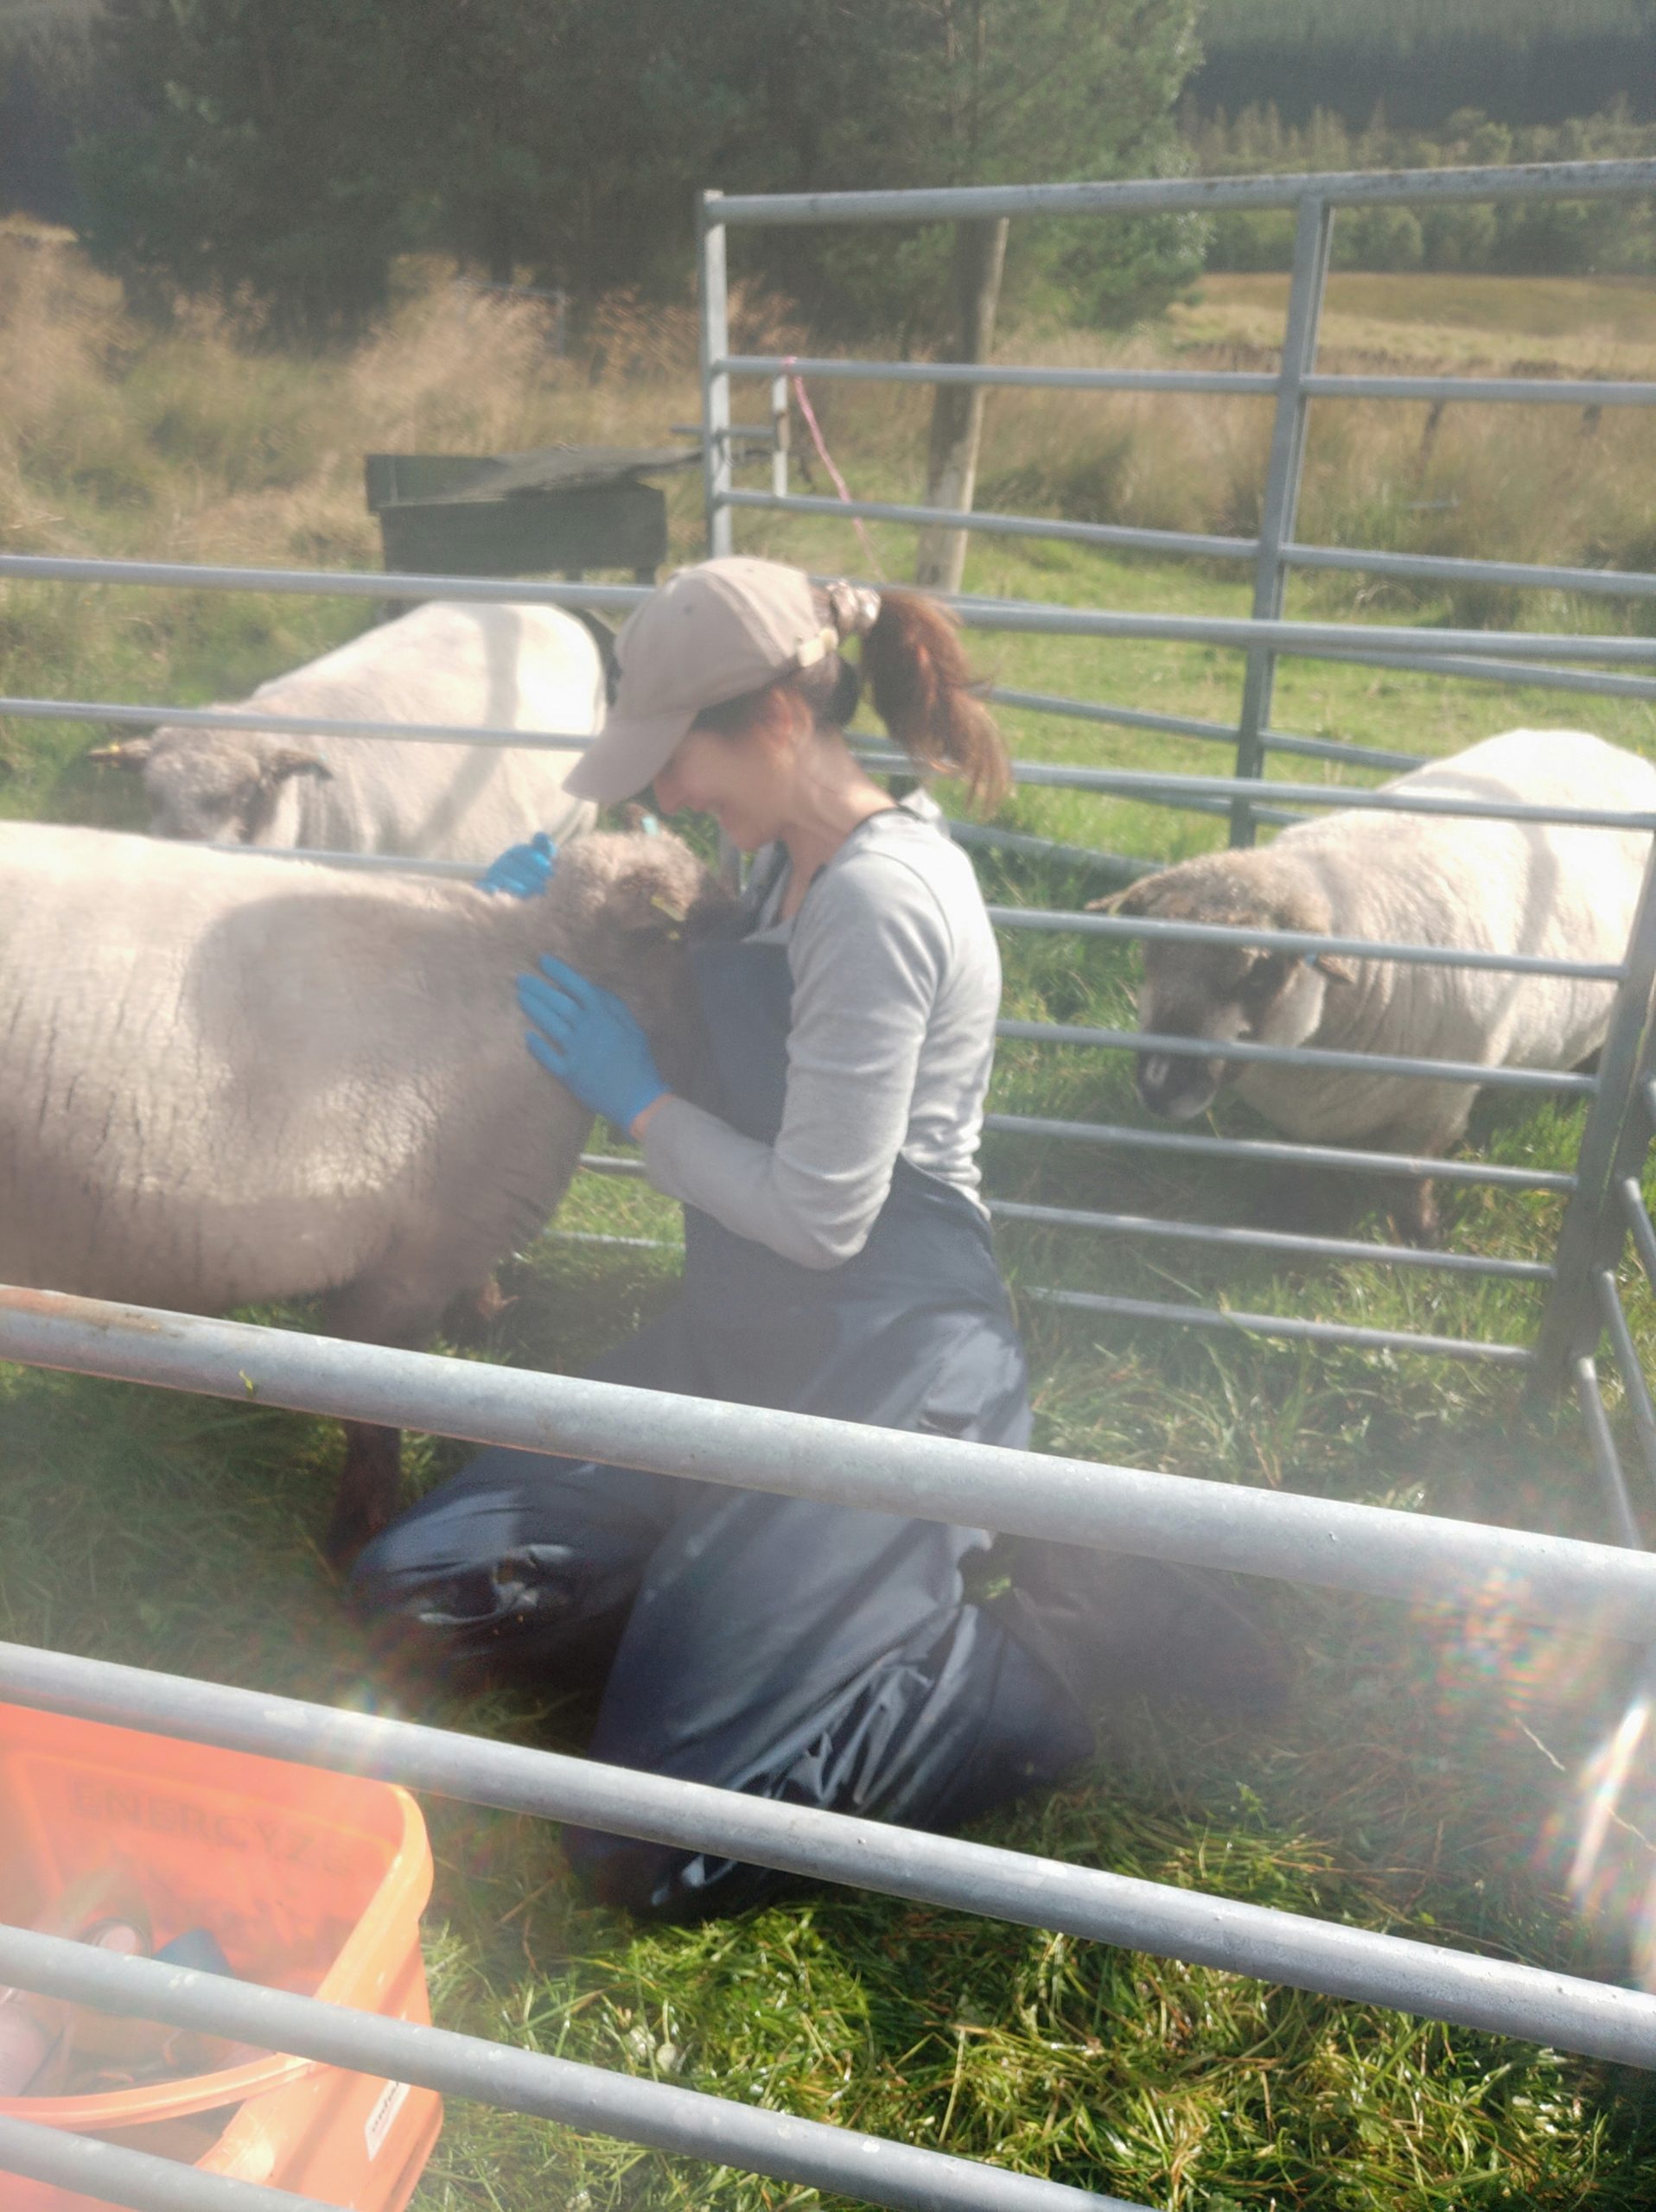
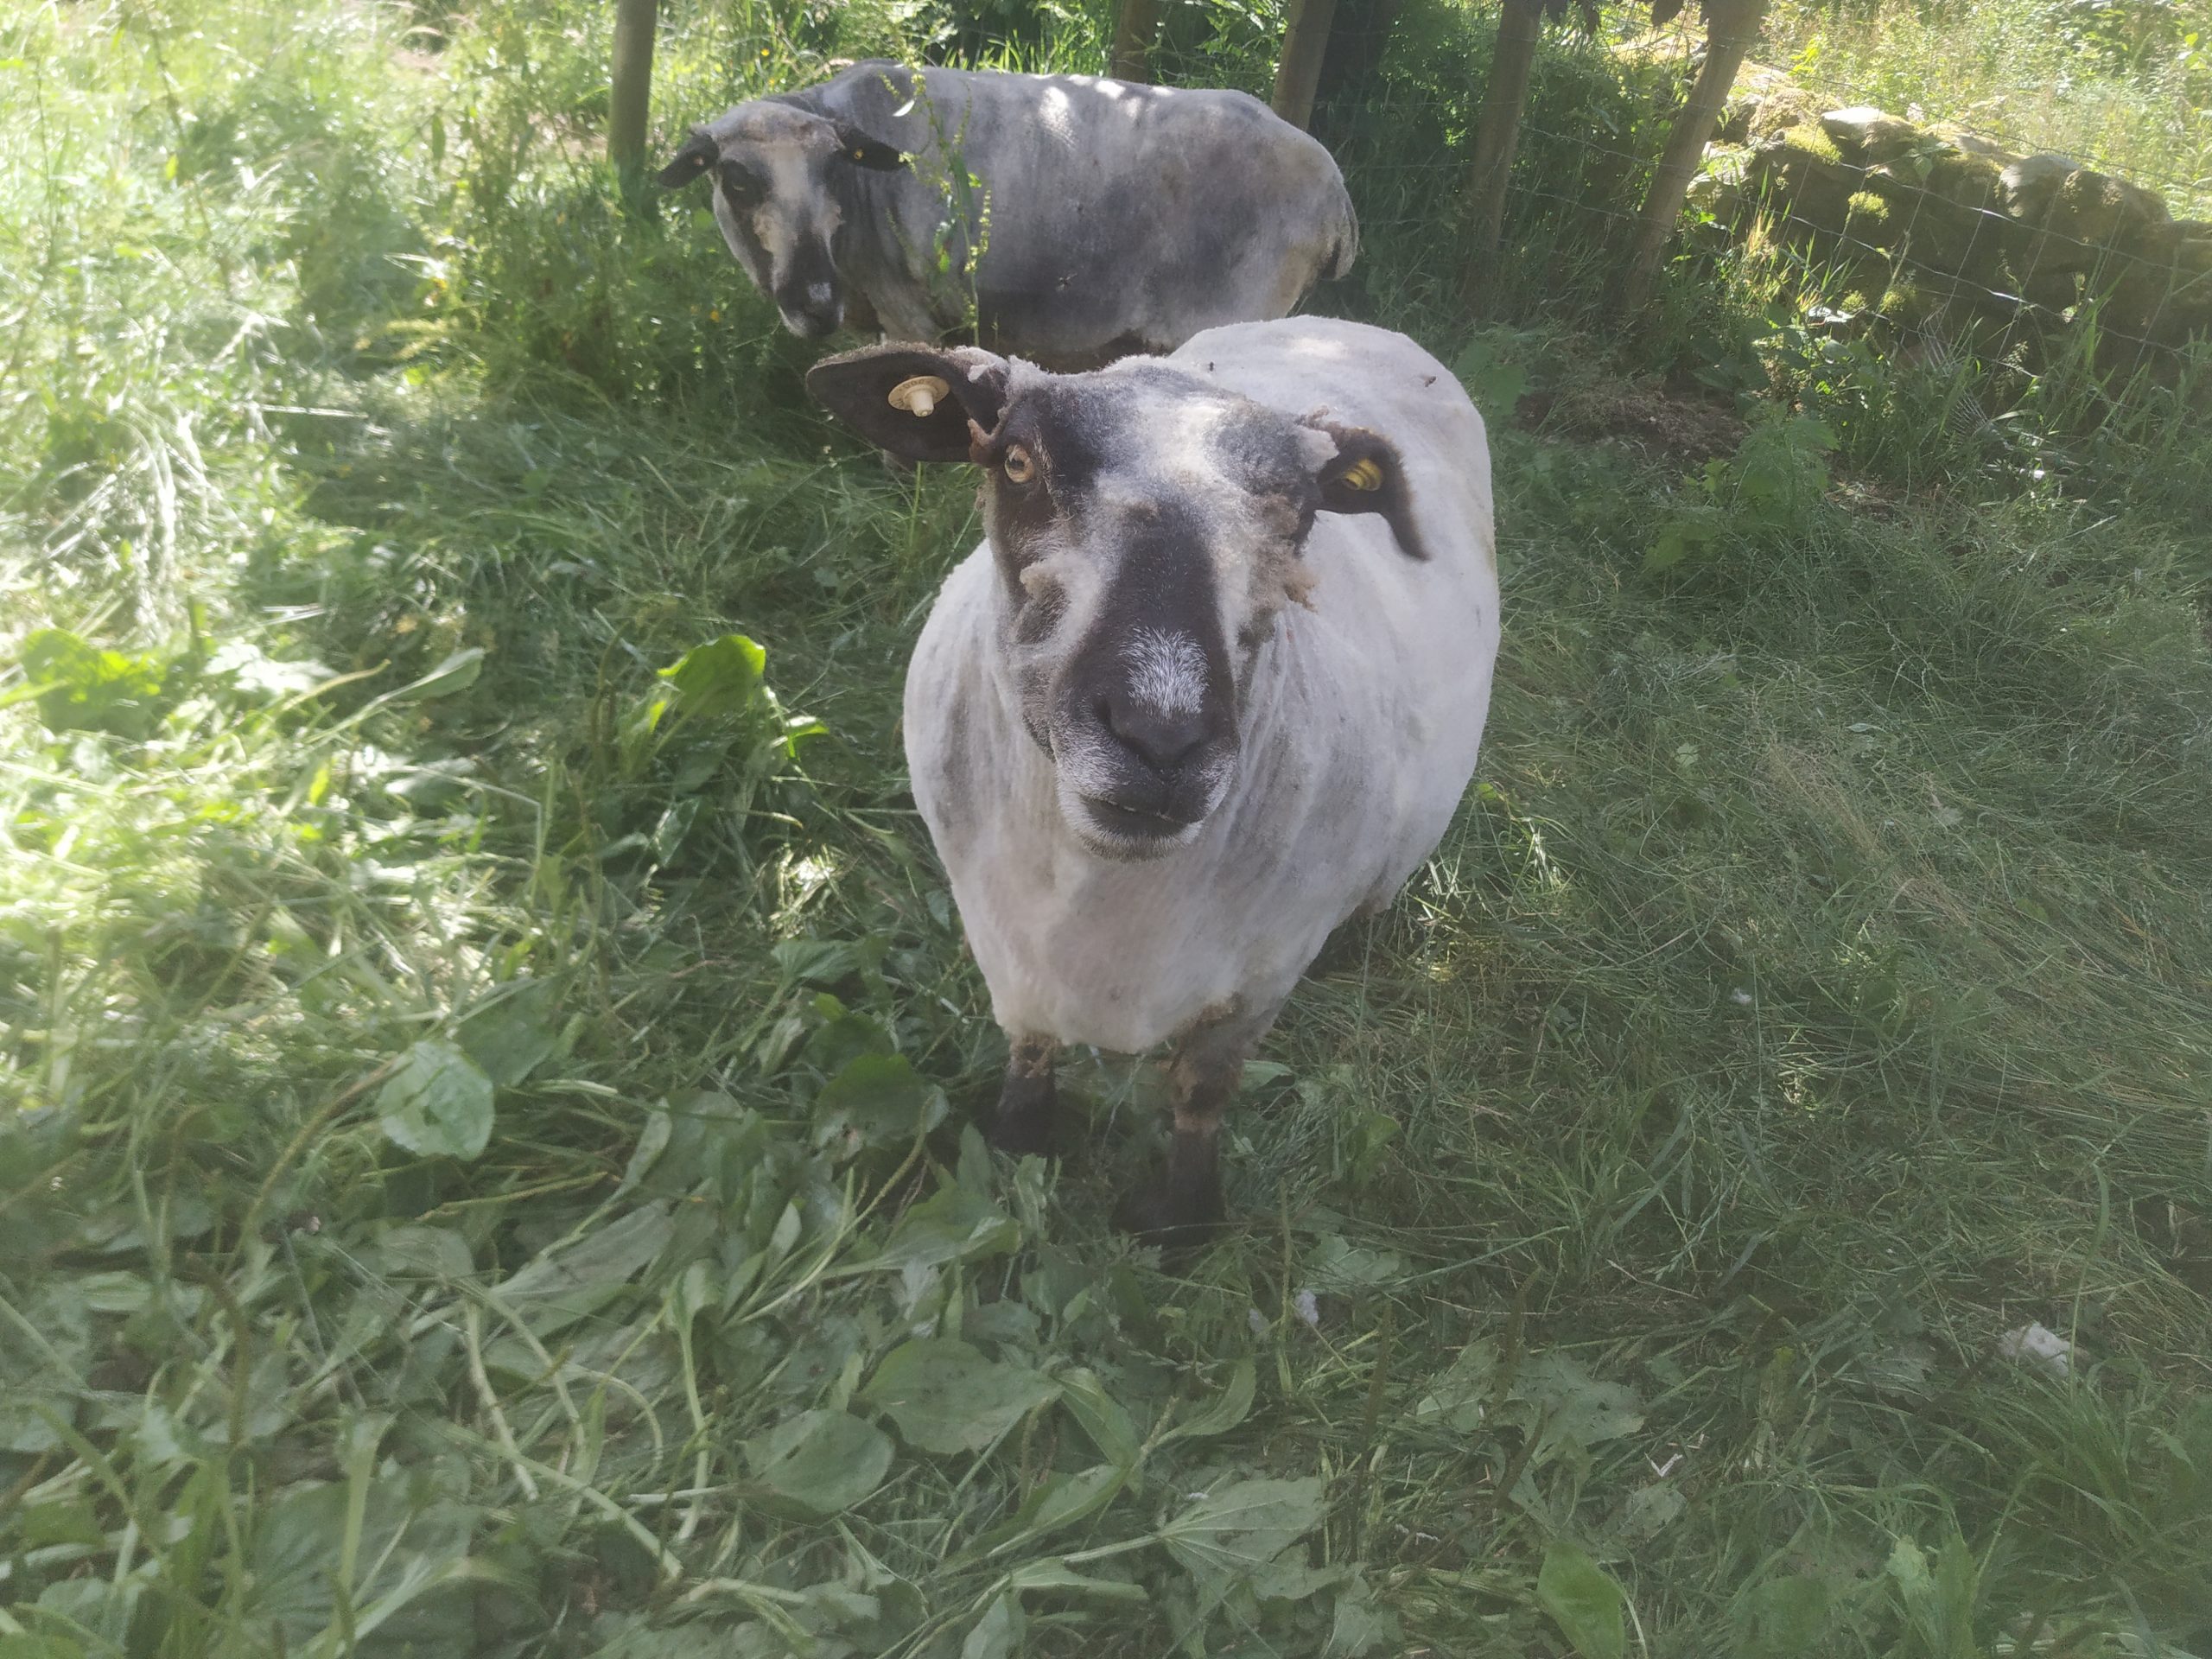
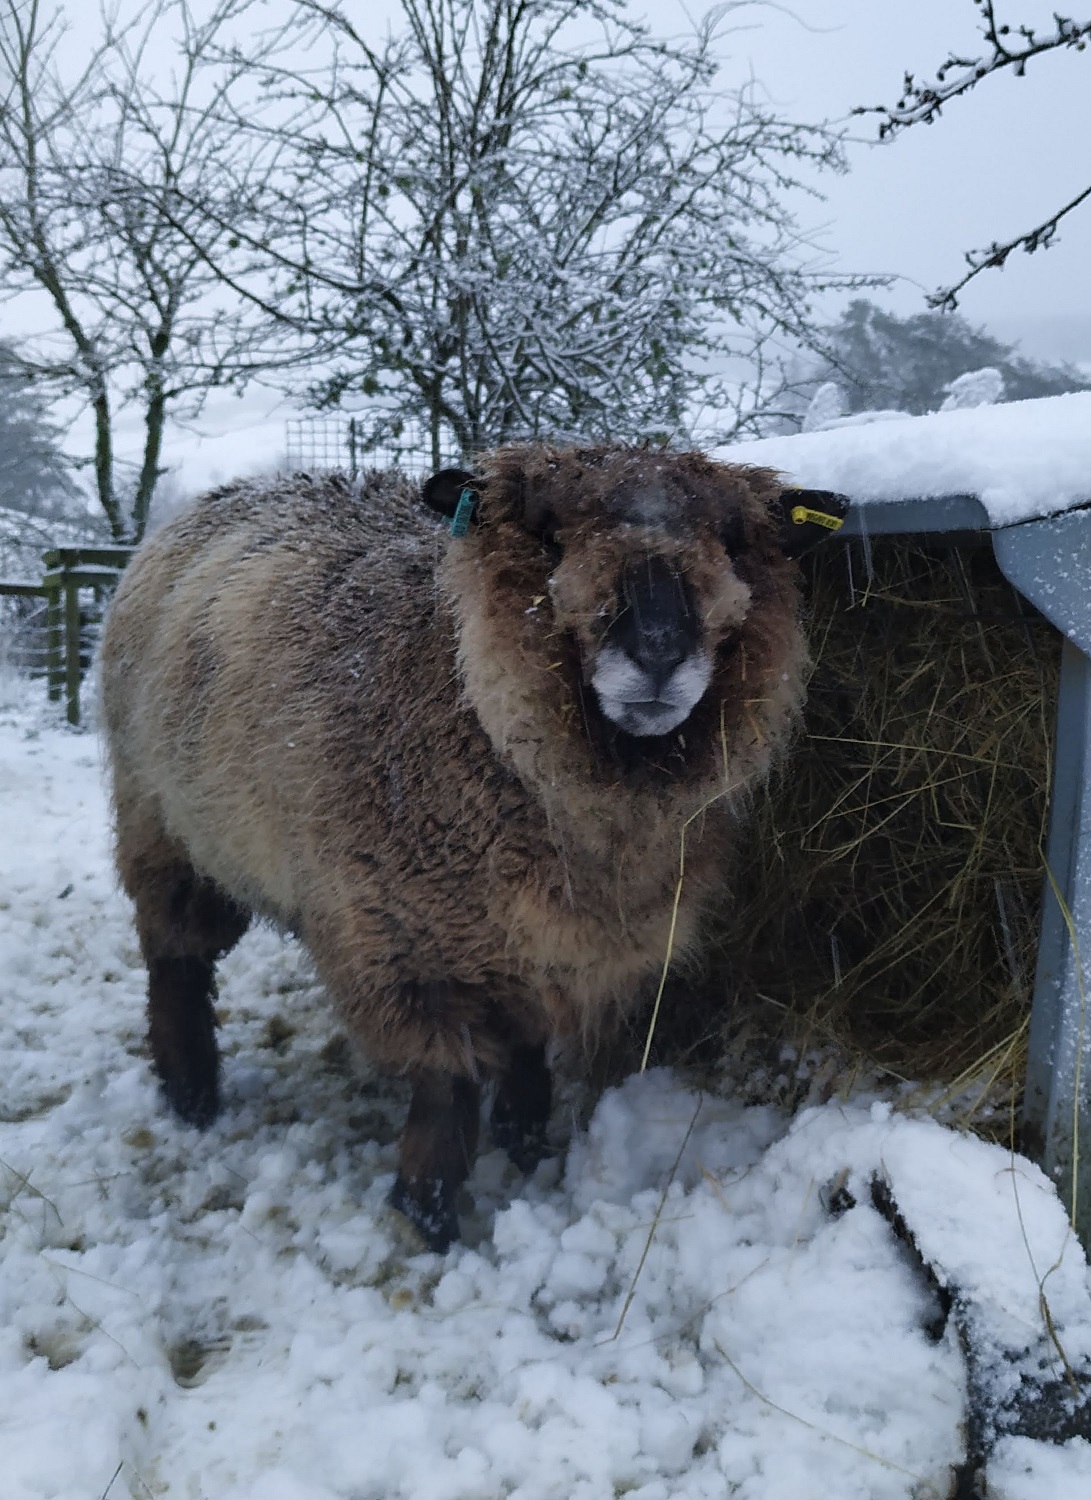
Bottom done, I’ll remove the treats bucket and get to work on the face. Some of our flock don’t need a face trim but most of them do. Ryelands generally have the full on teddy bear look so appreciate a wee trim up around their eyes so they can see properly.
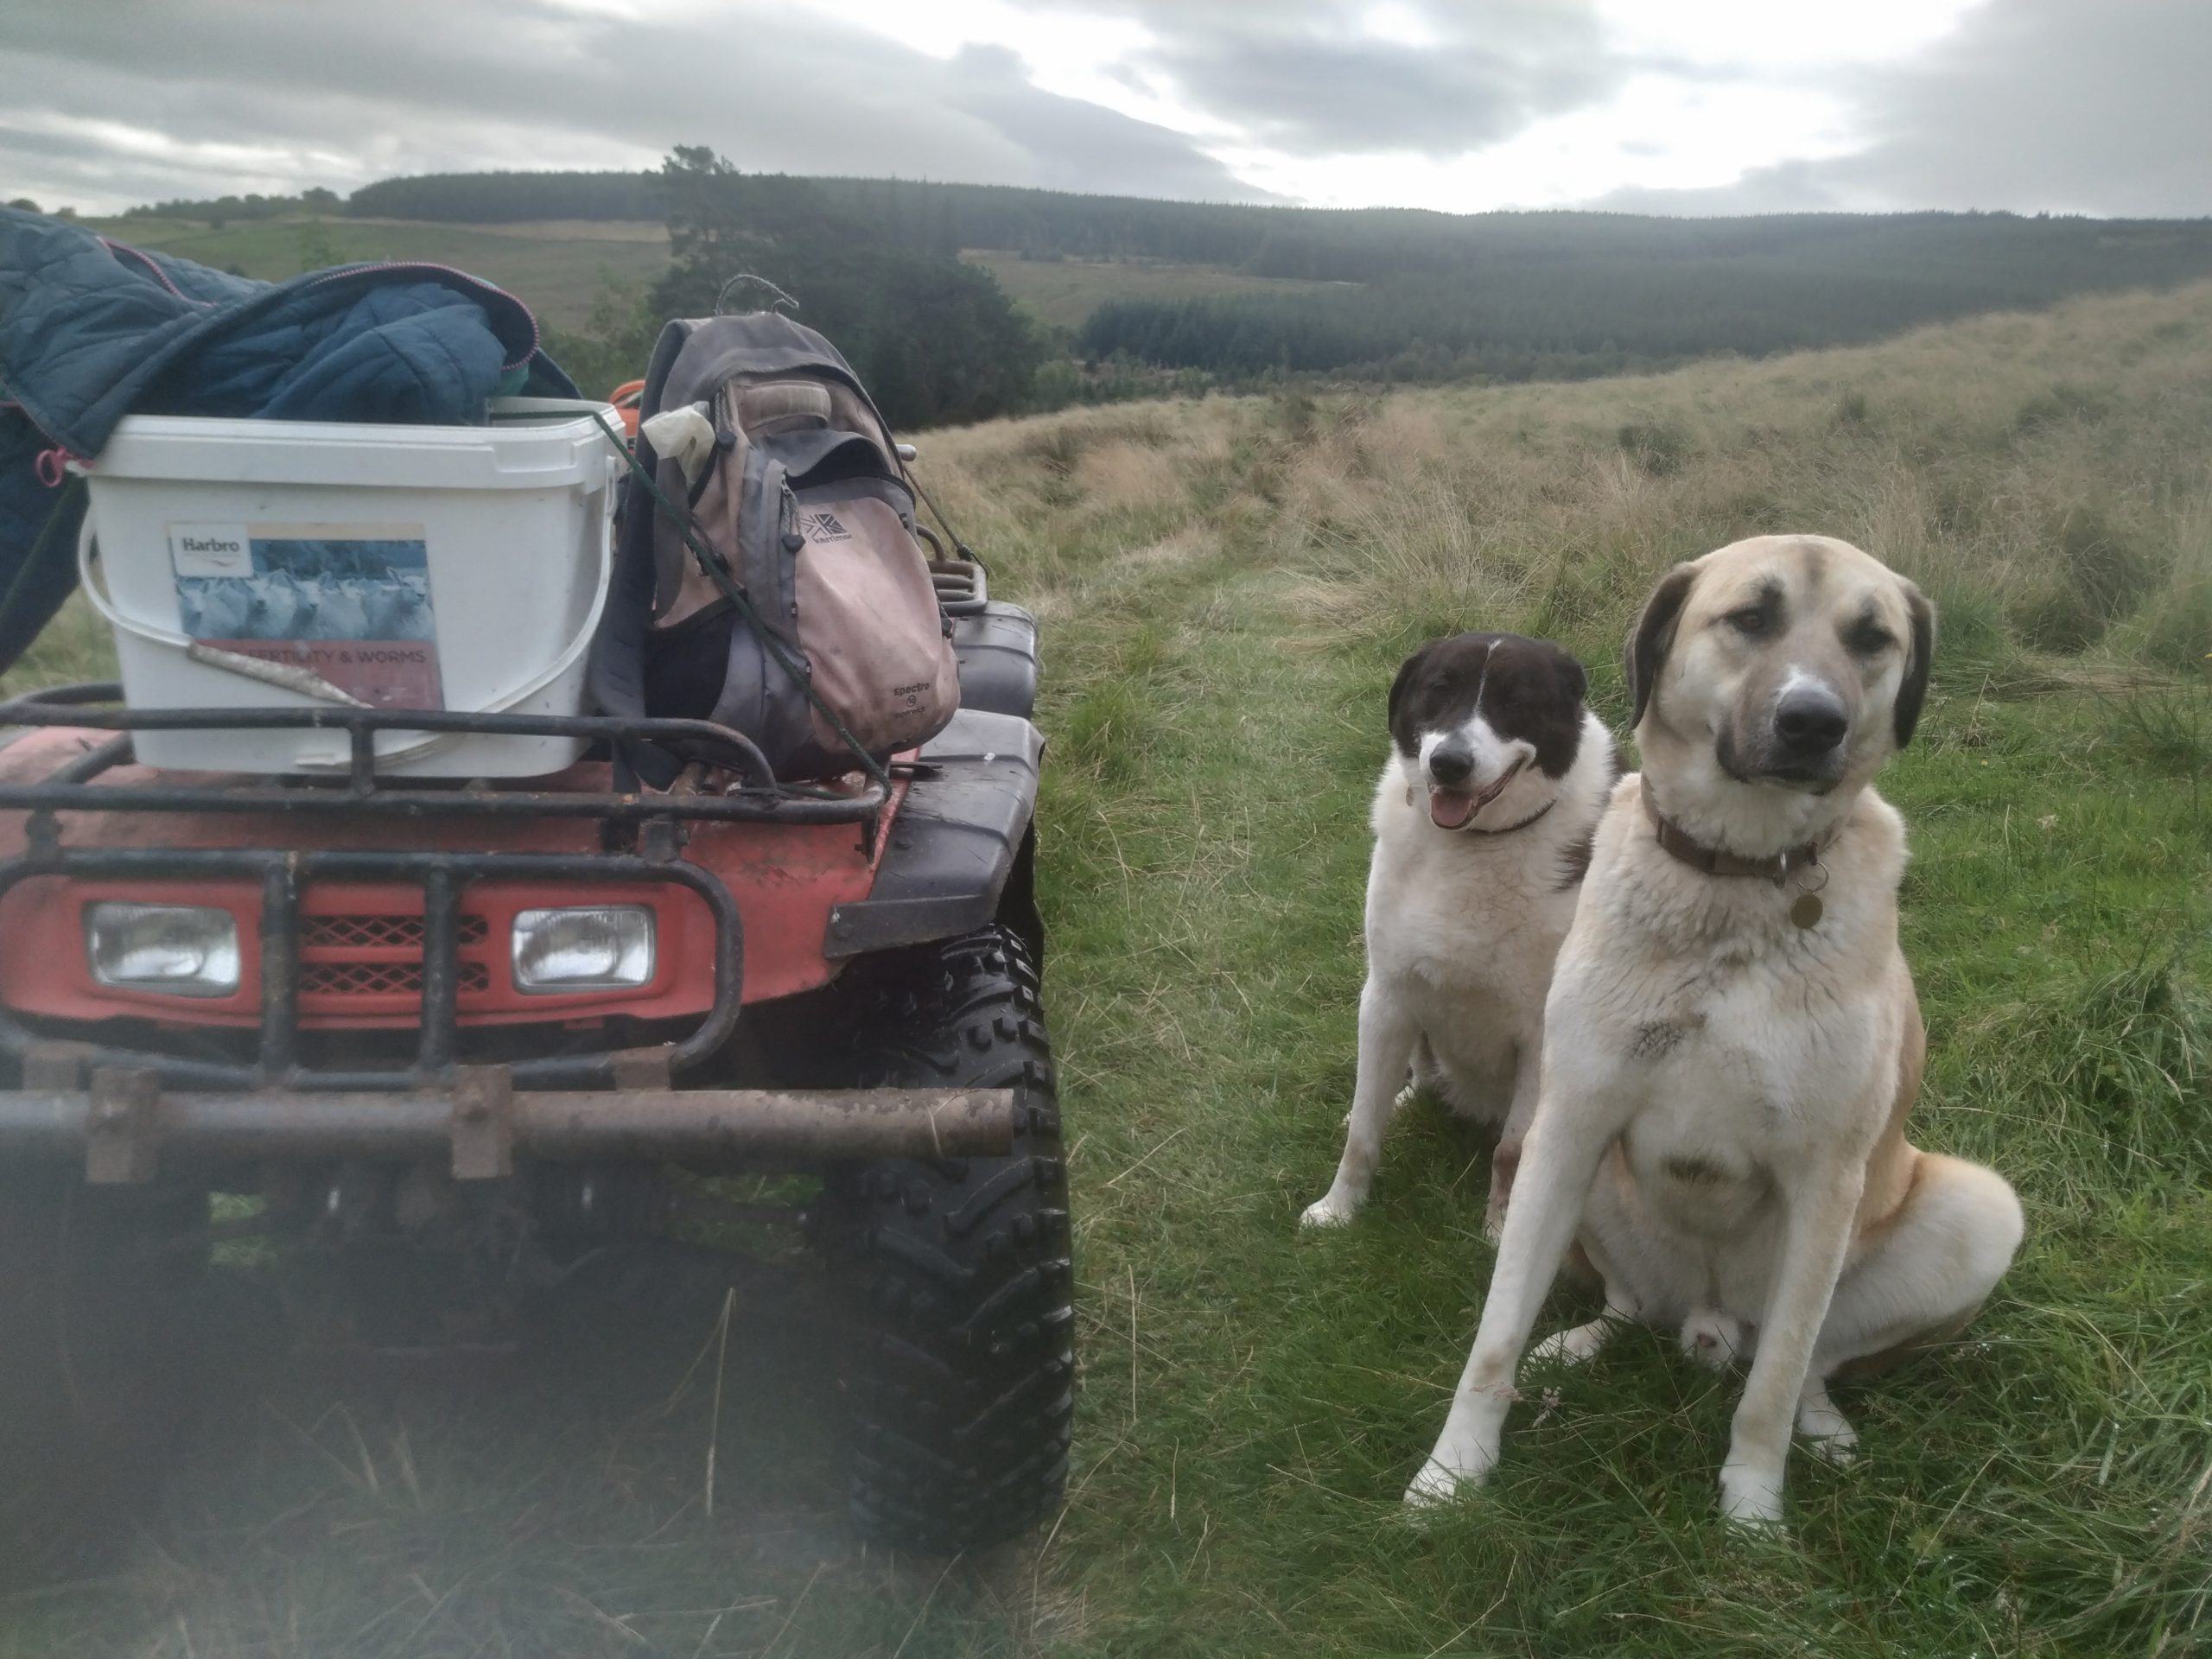
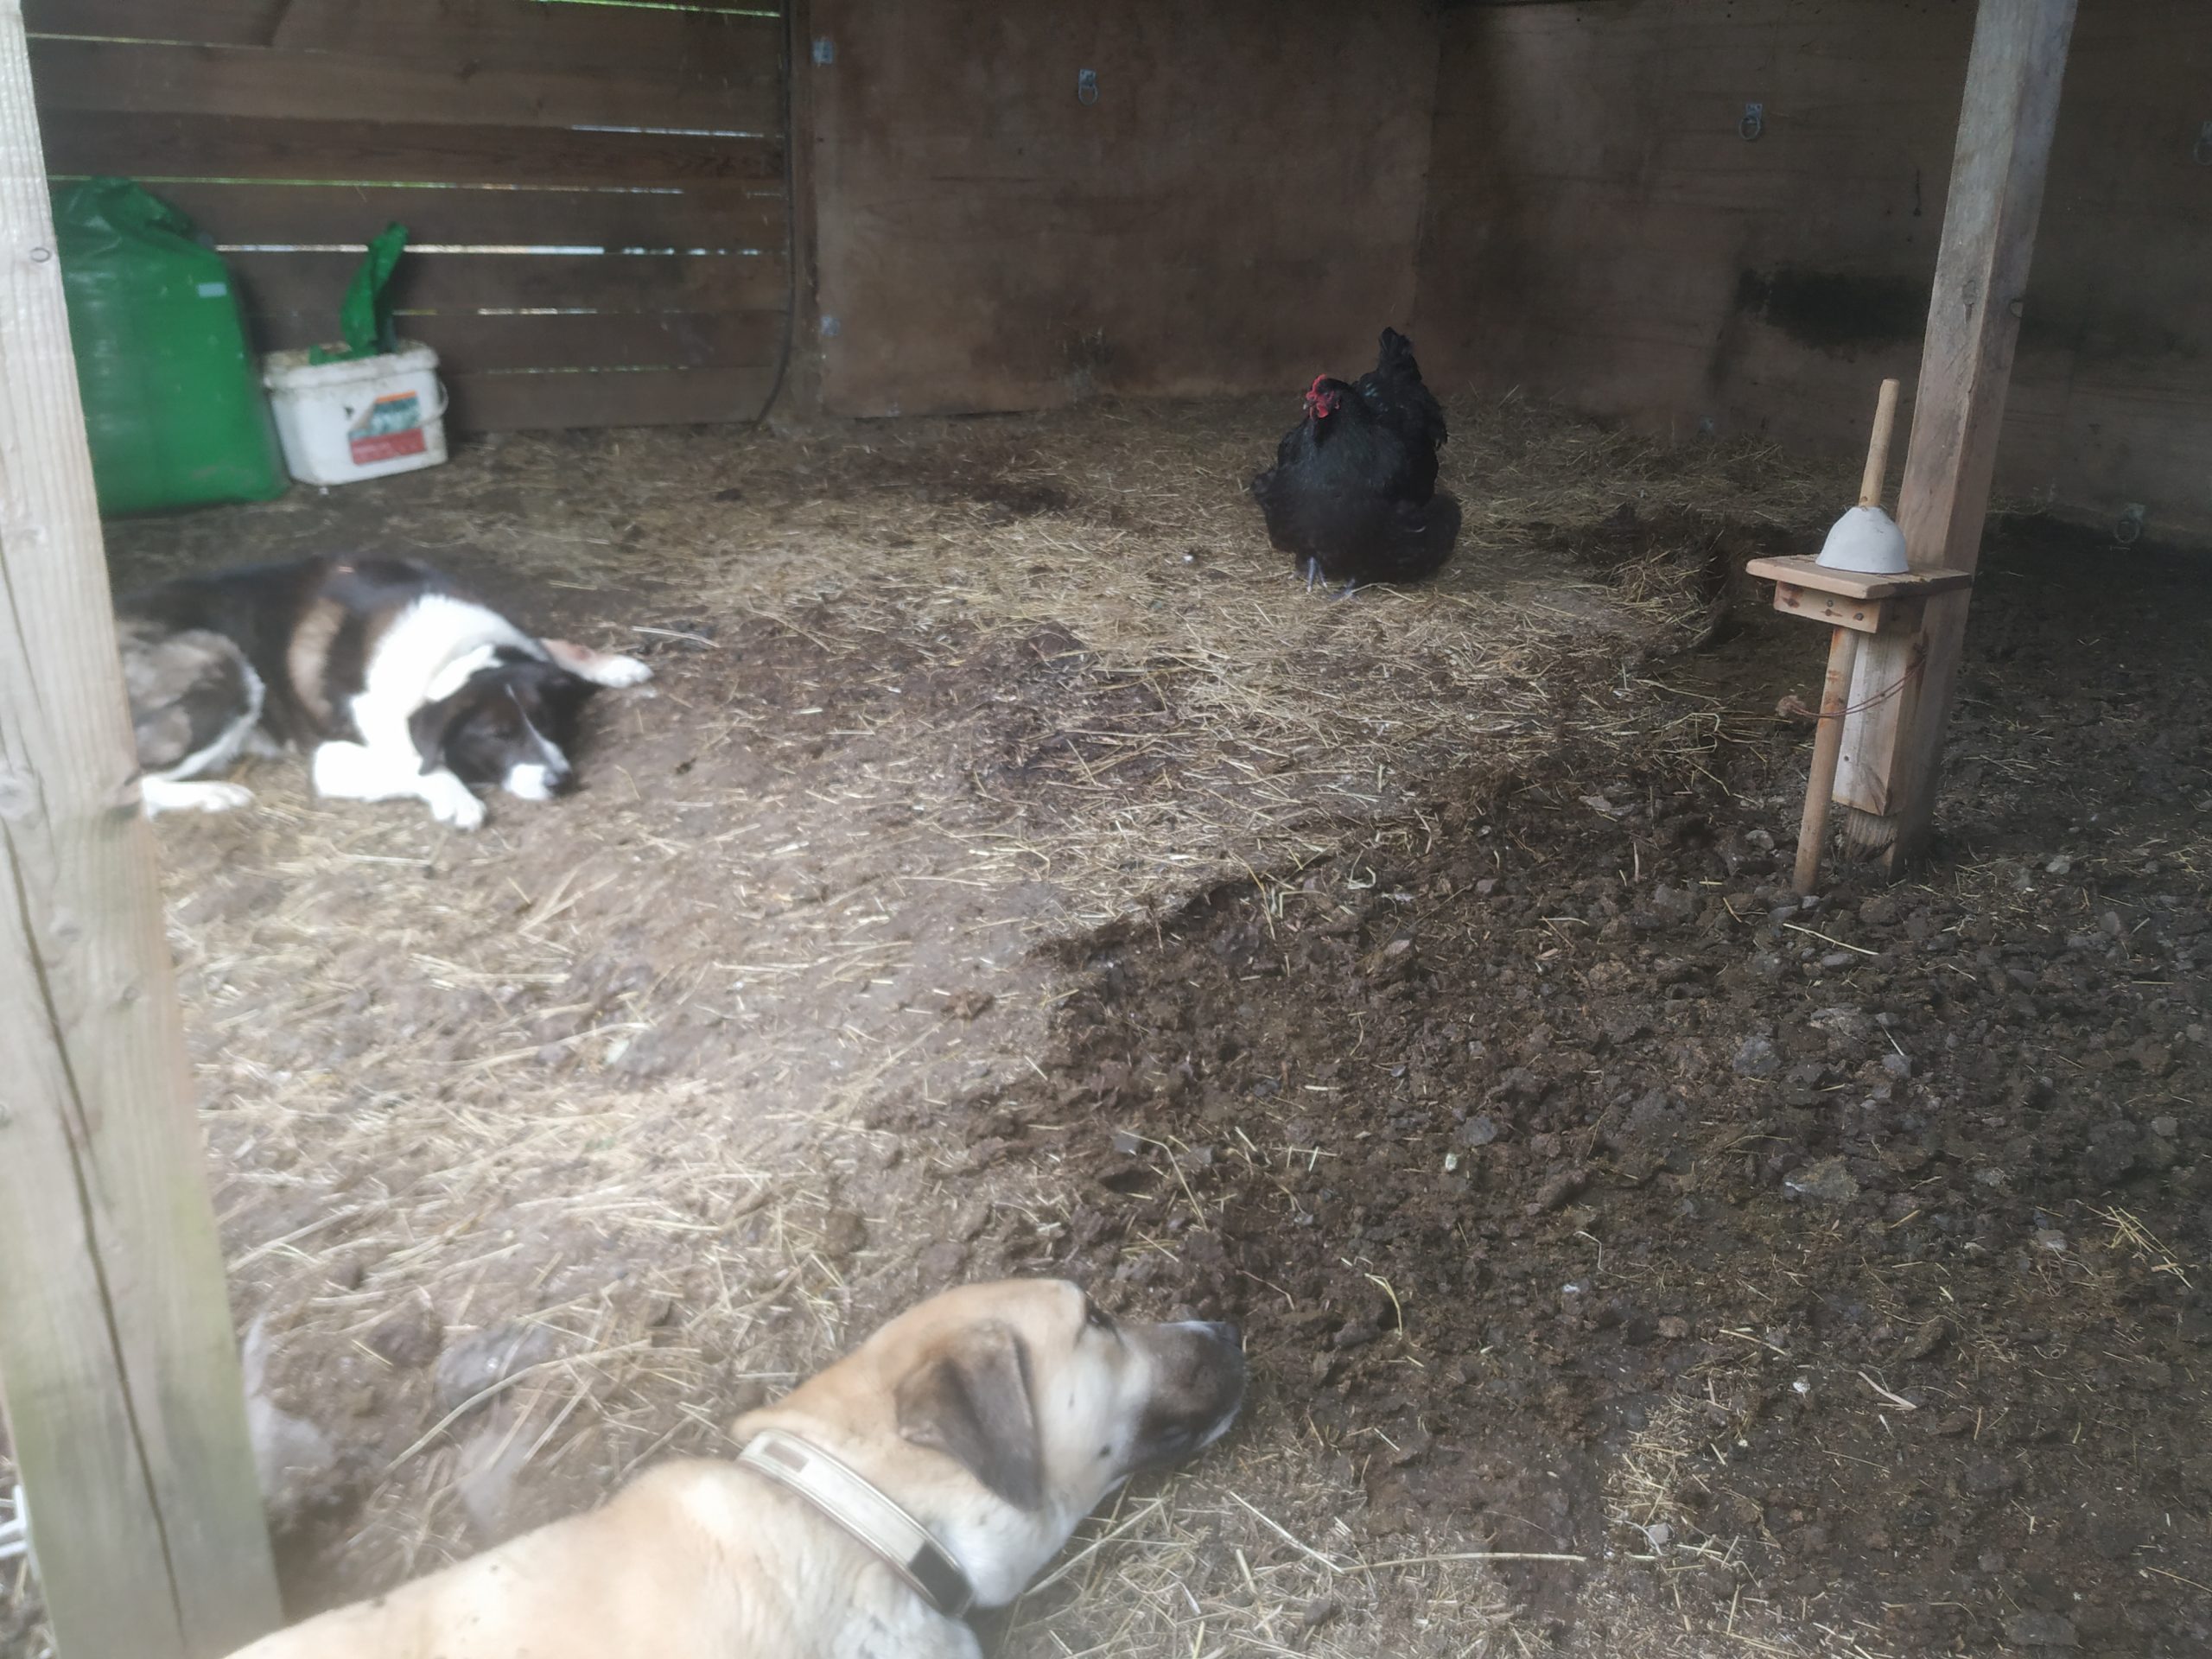
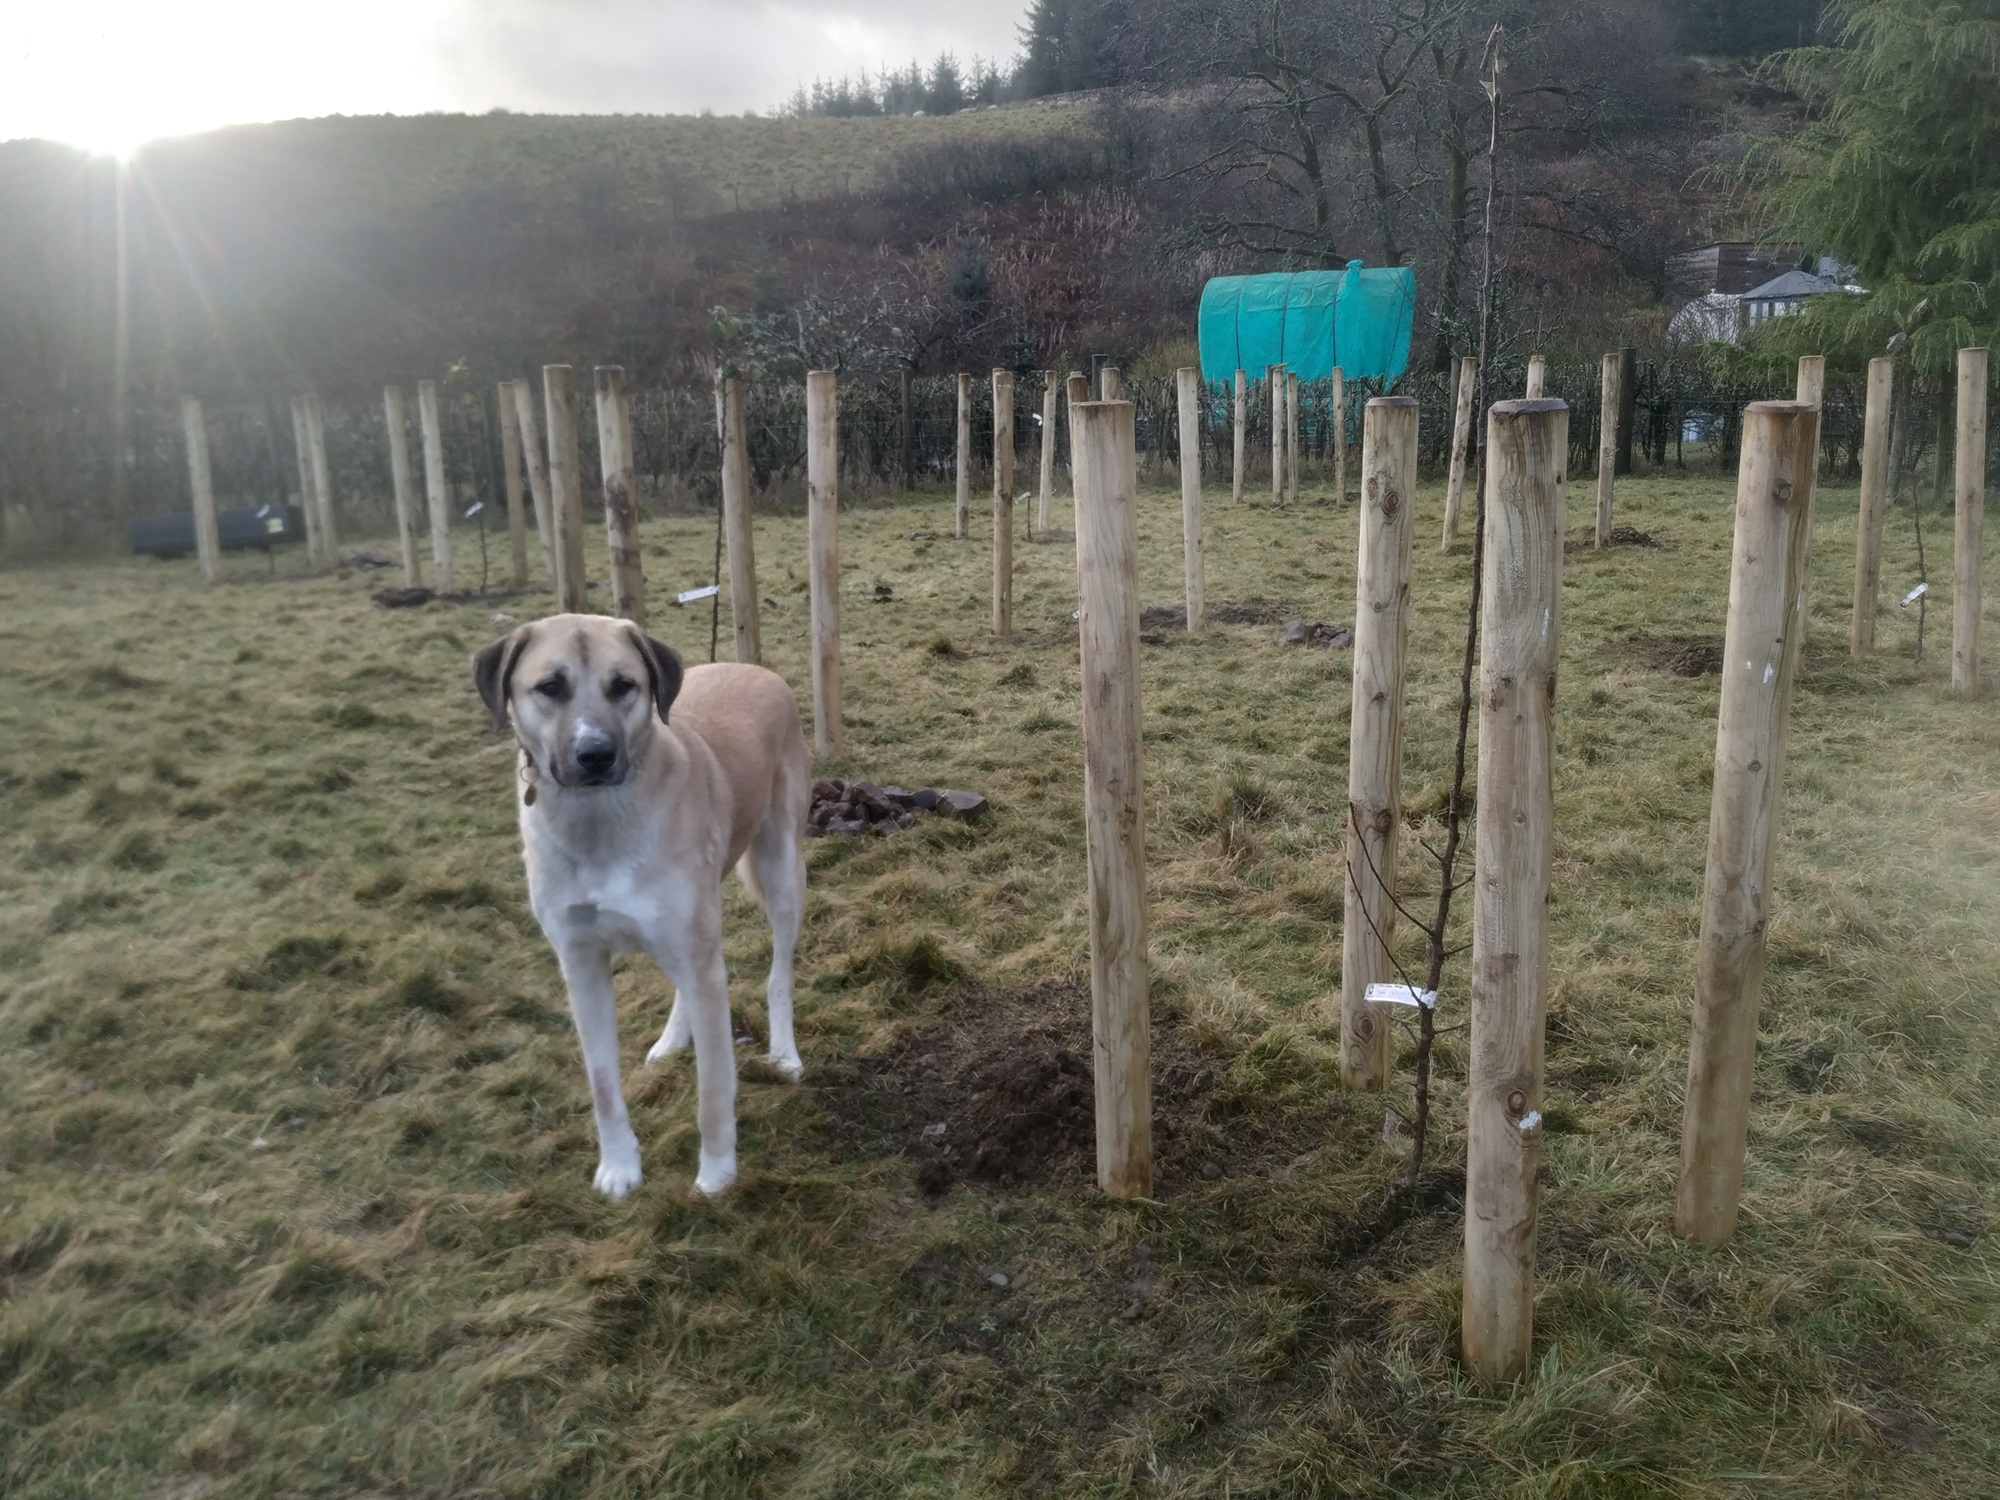
Each sheep takes around half an hour, so after doing four or so sheep I’m pretty sore from all the shuffling around. I’ll load up my things, call the dogs over and head back to the house for a welcome cup of tea.