Posted on

Sky in a pickle

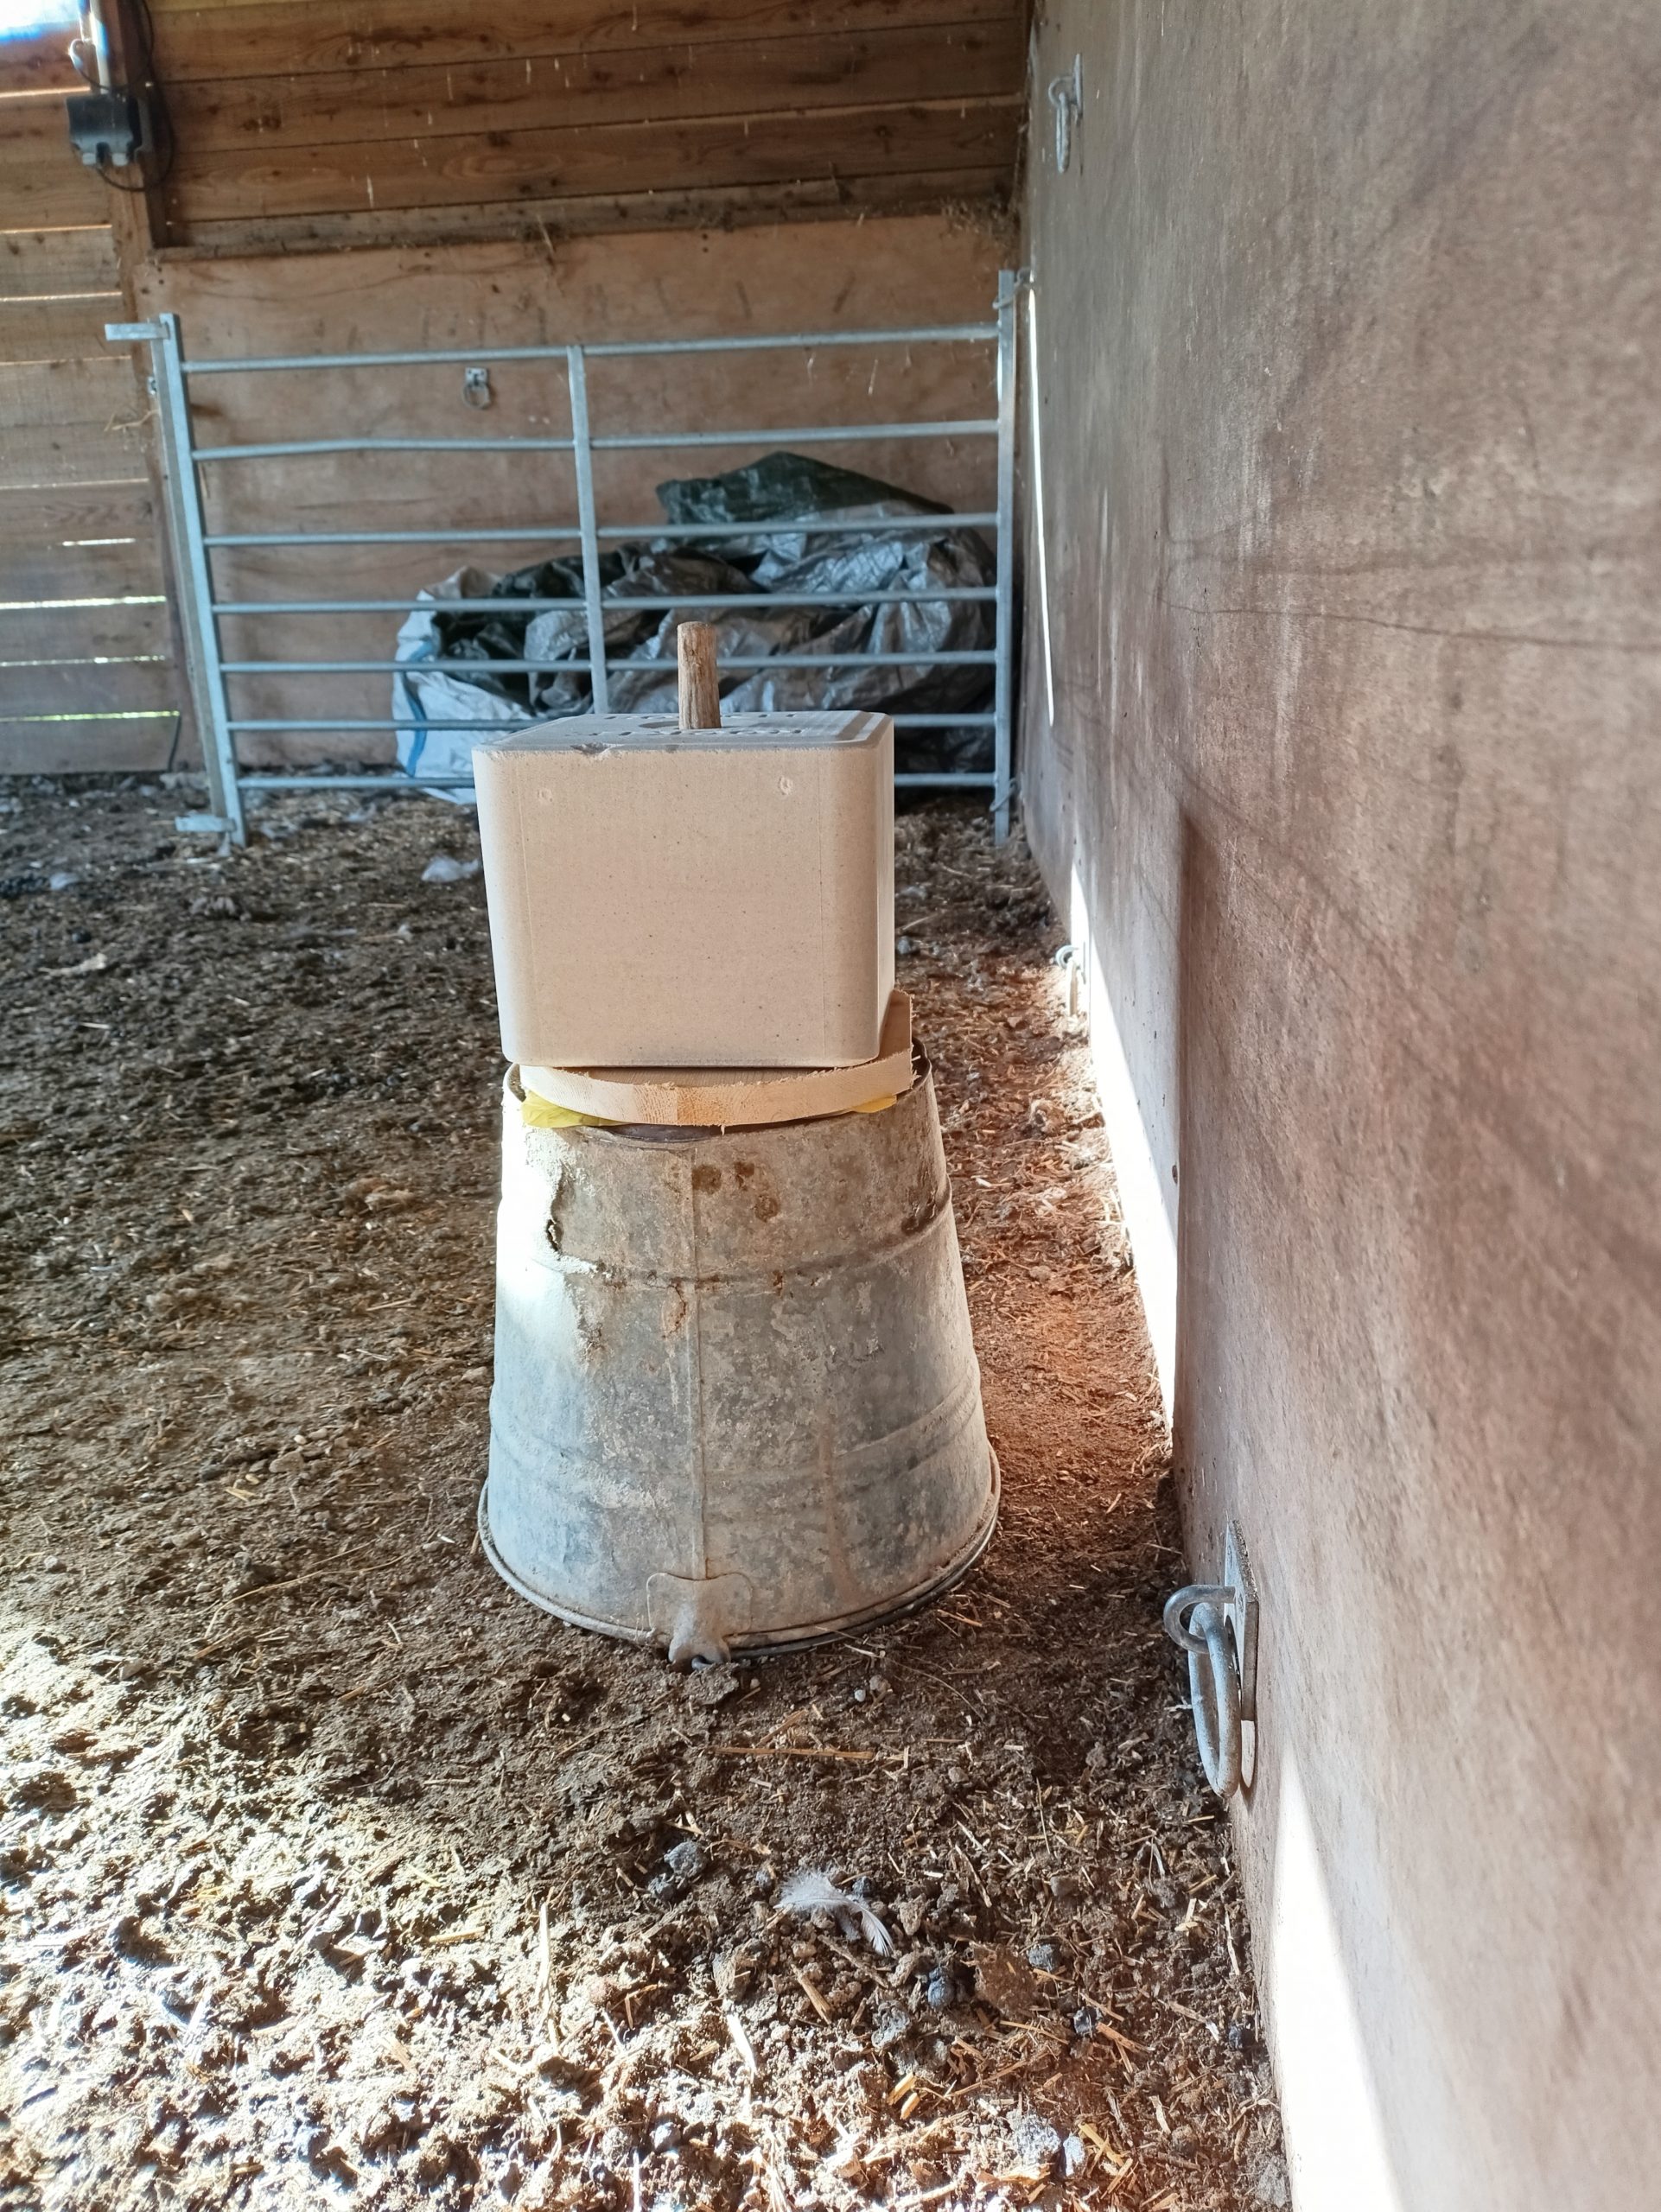
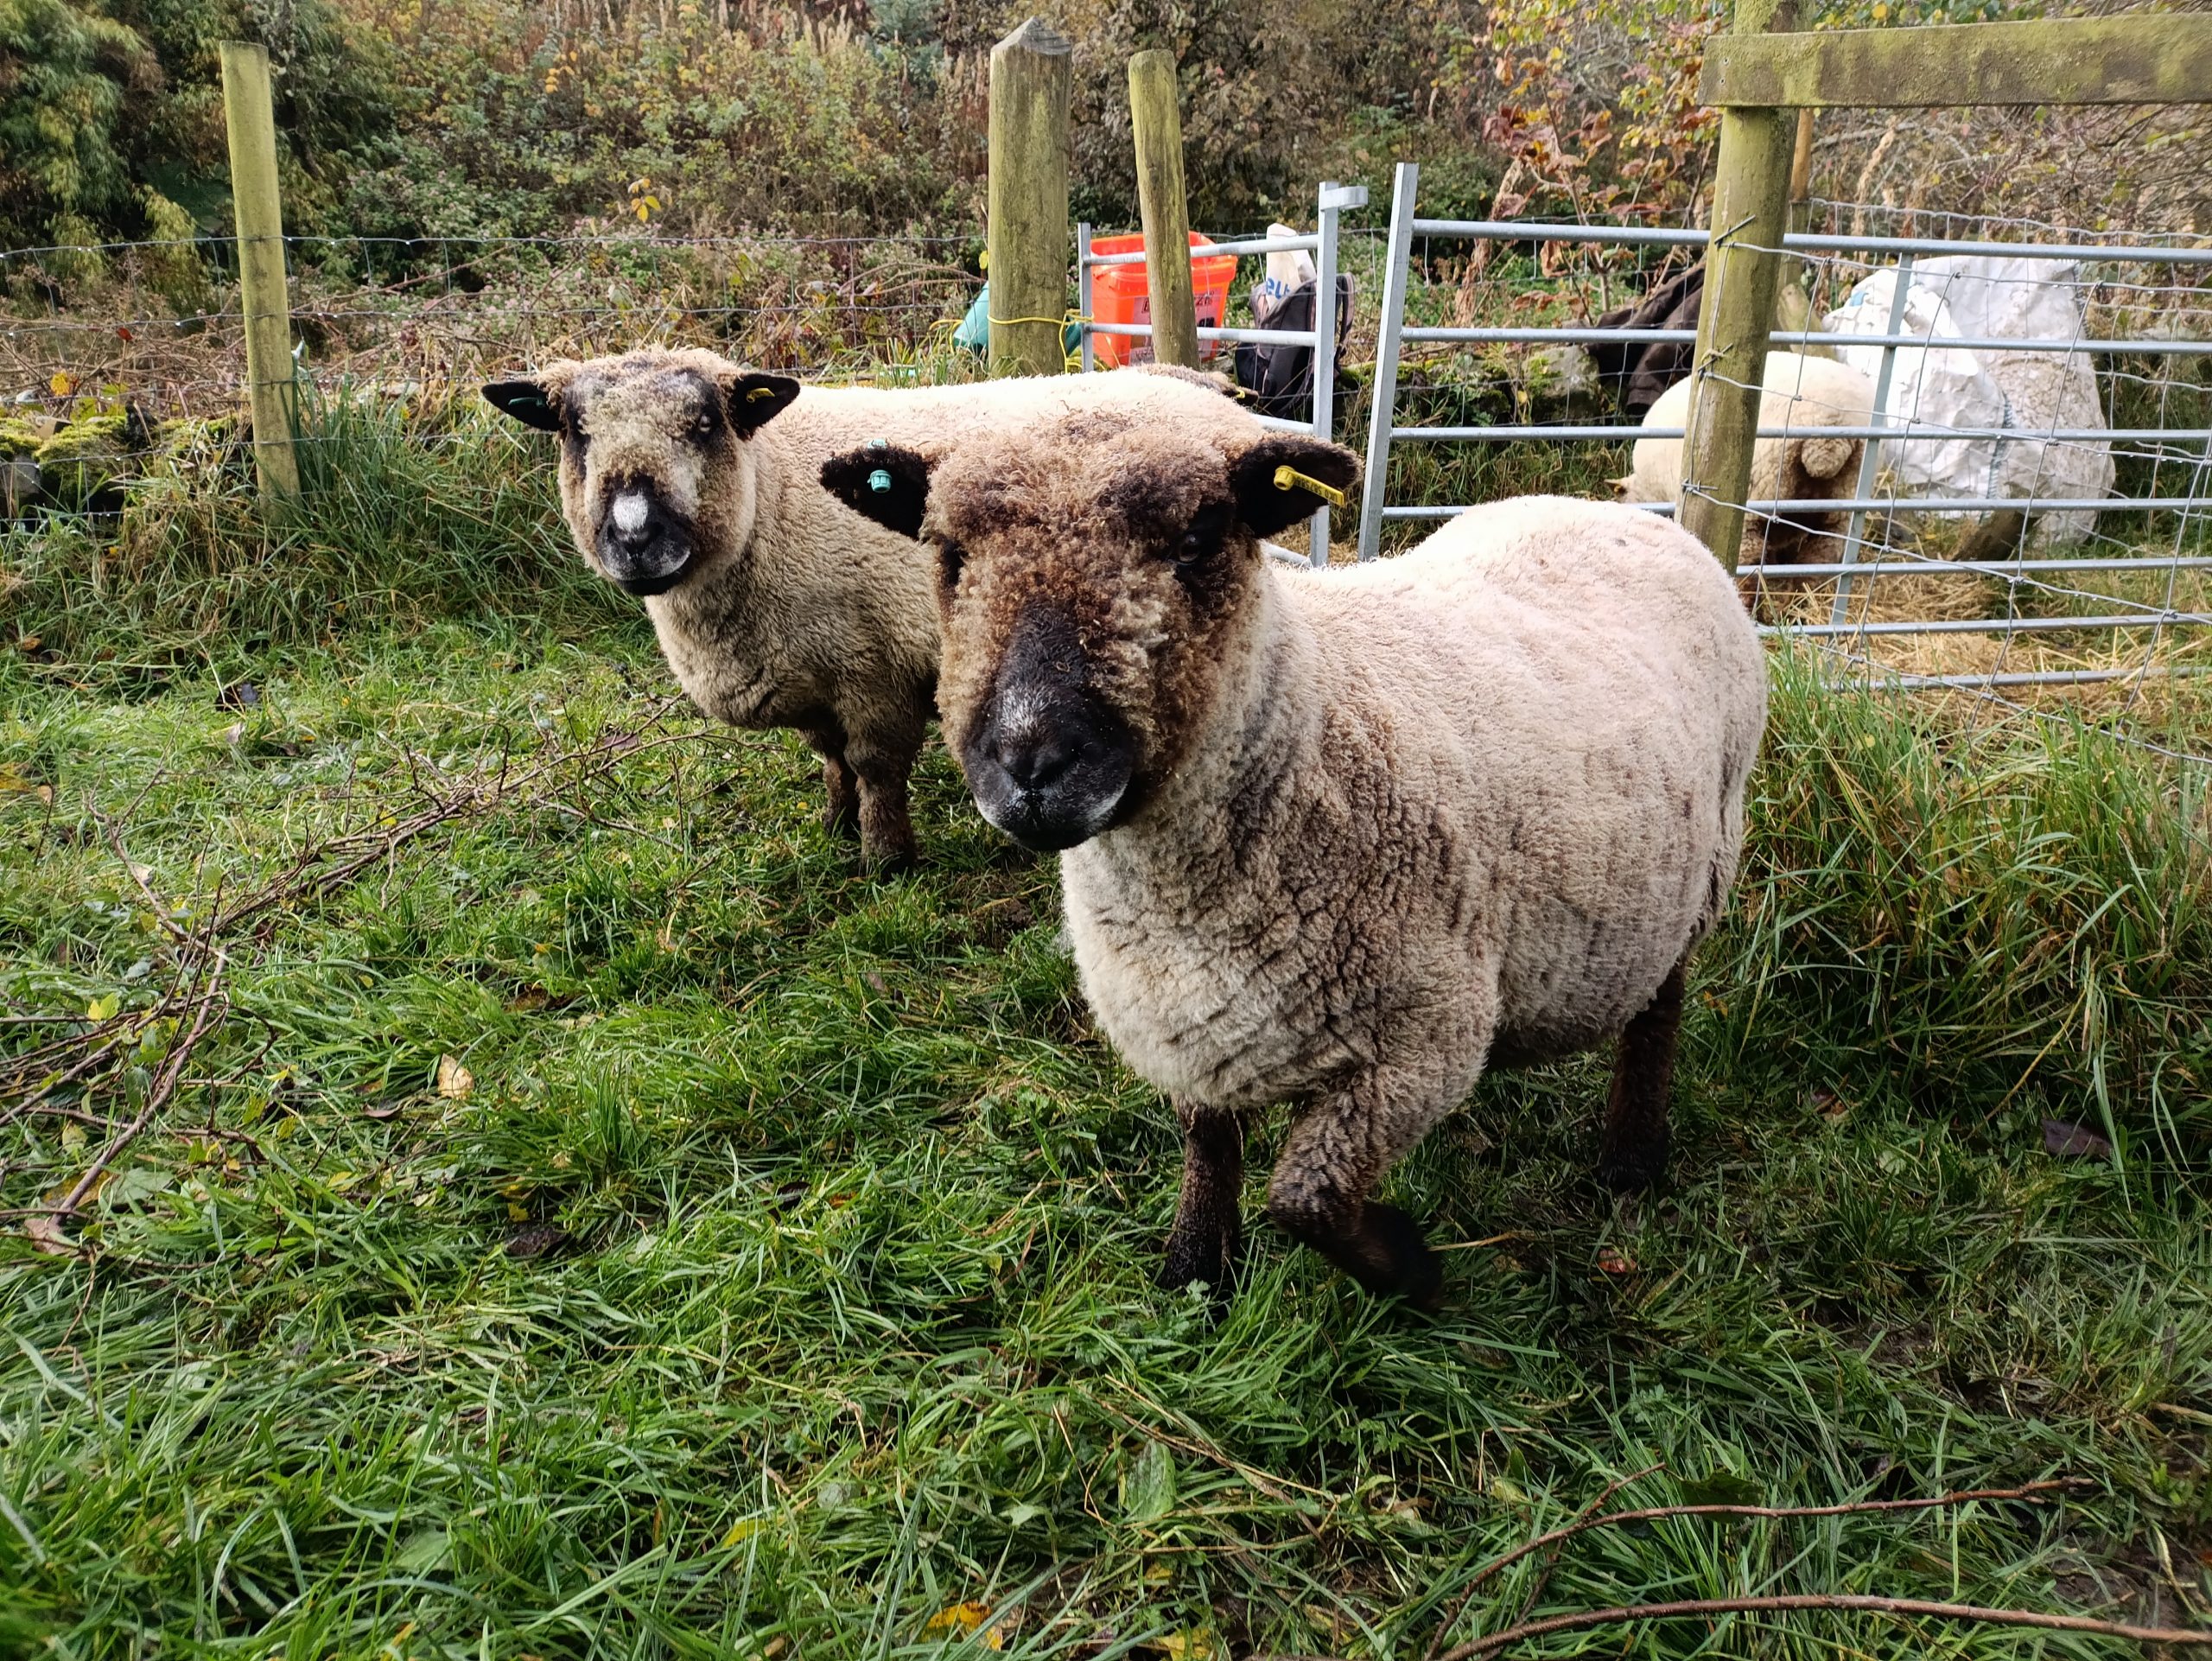
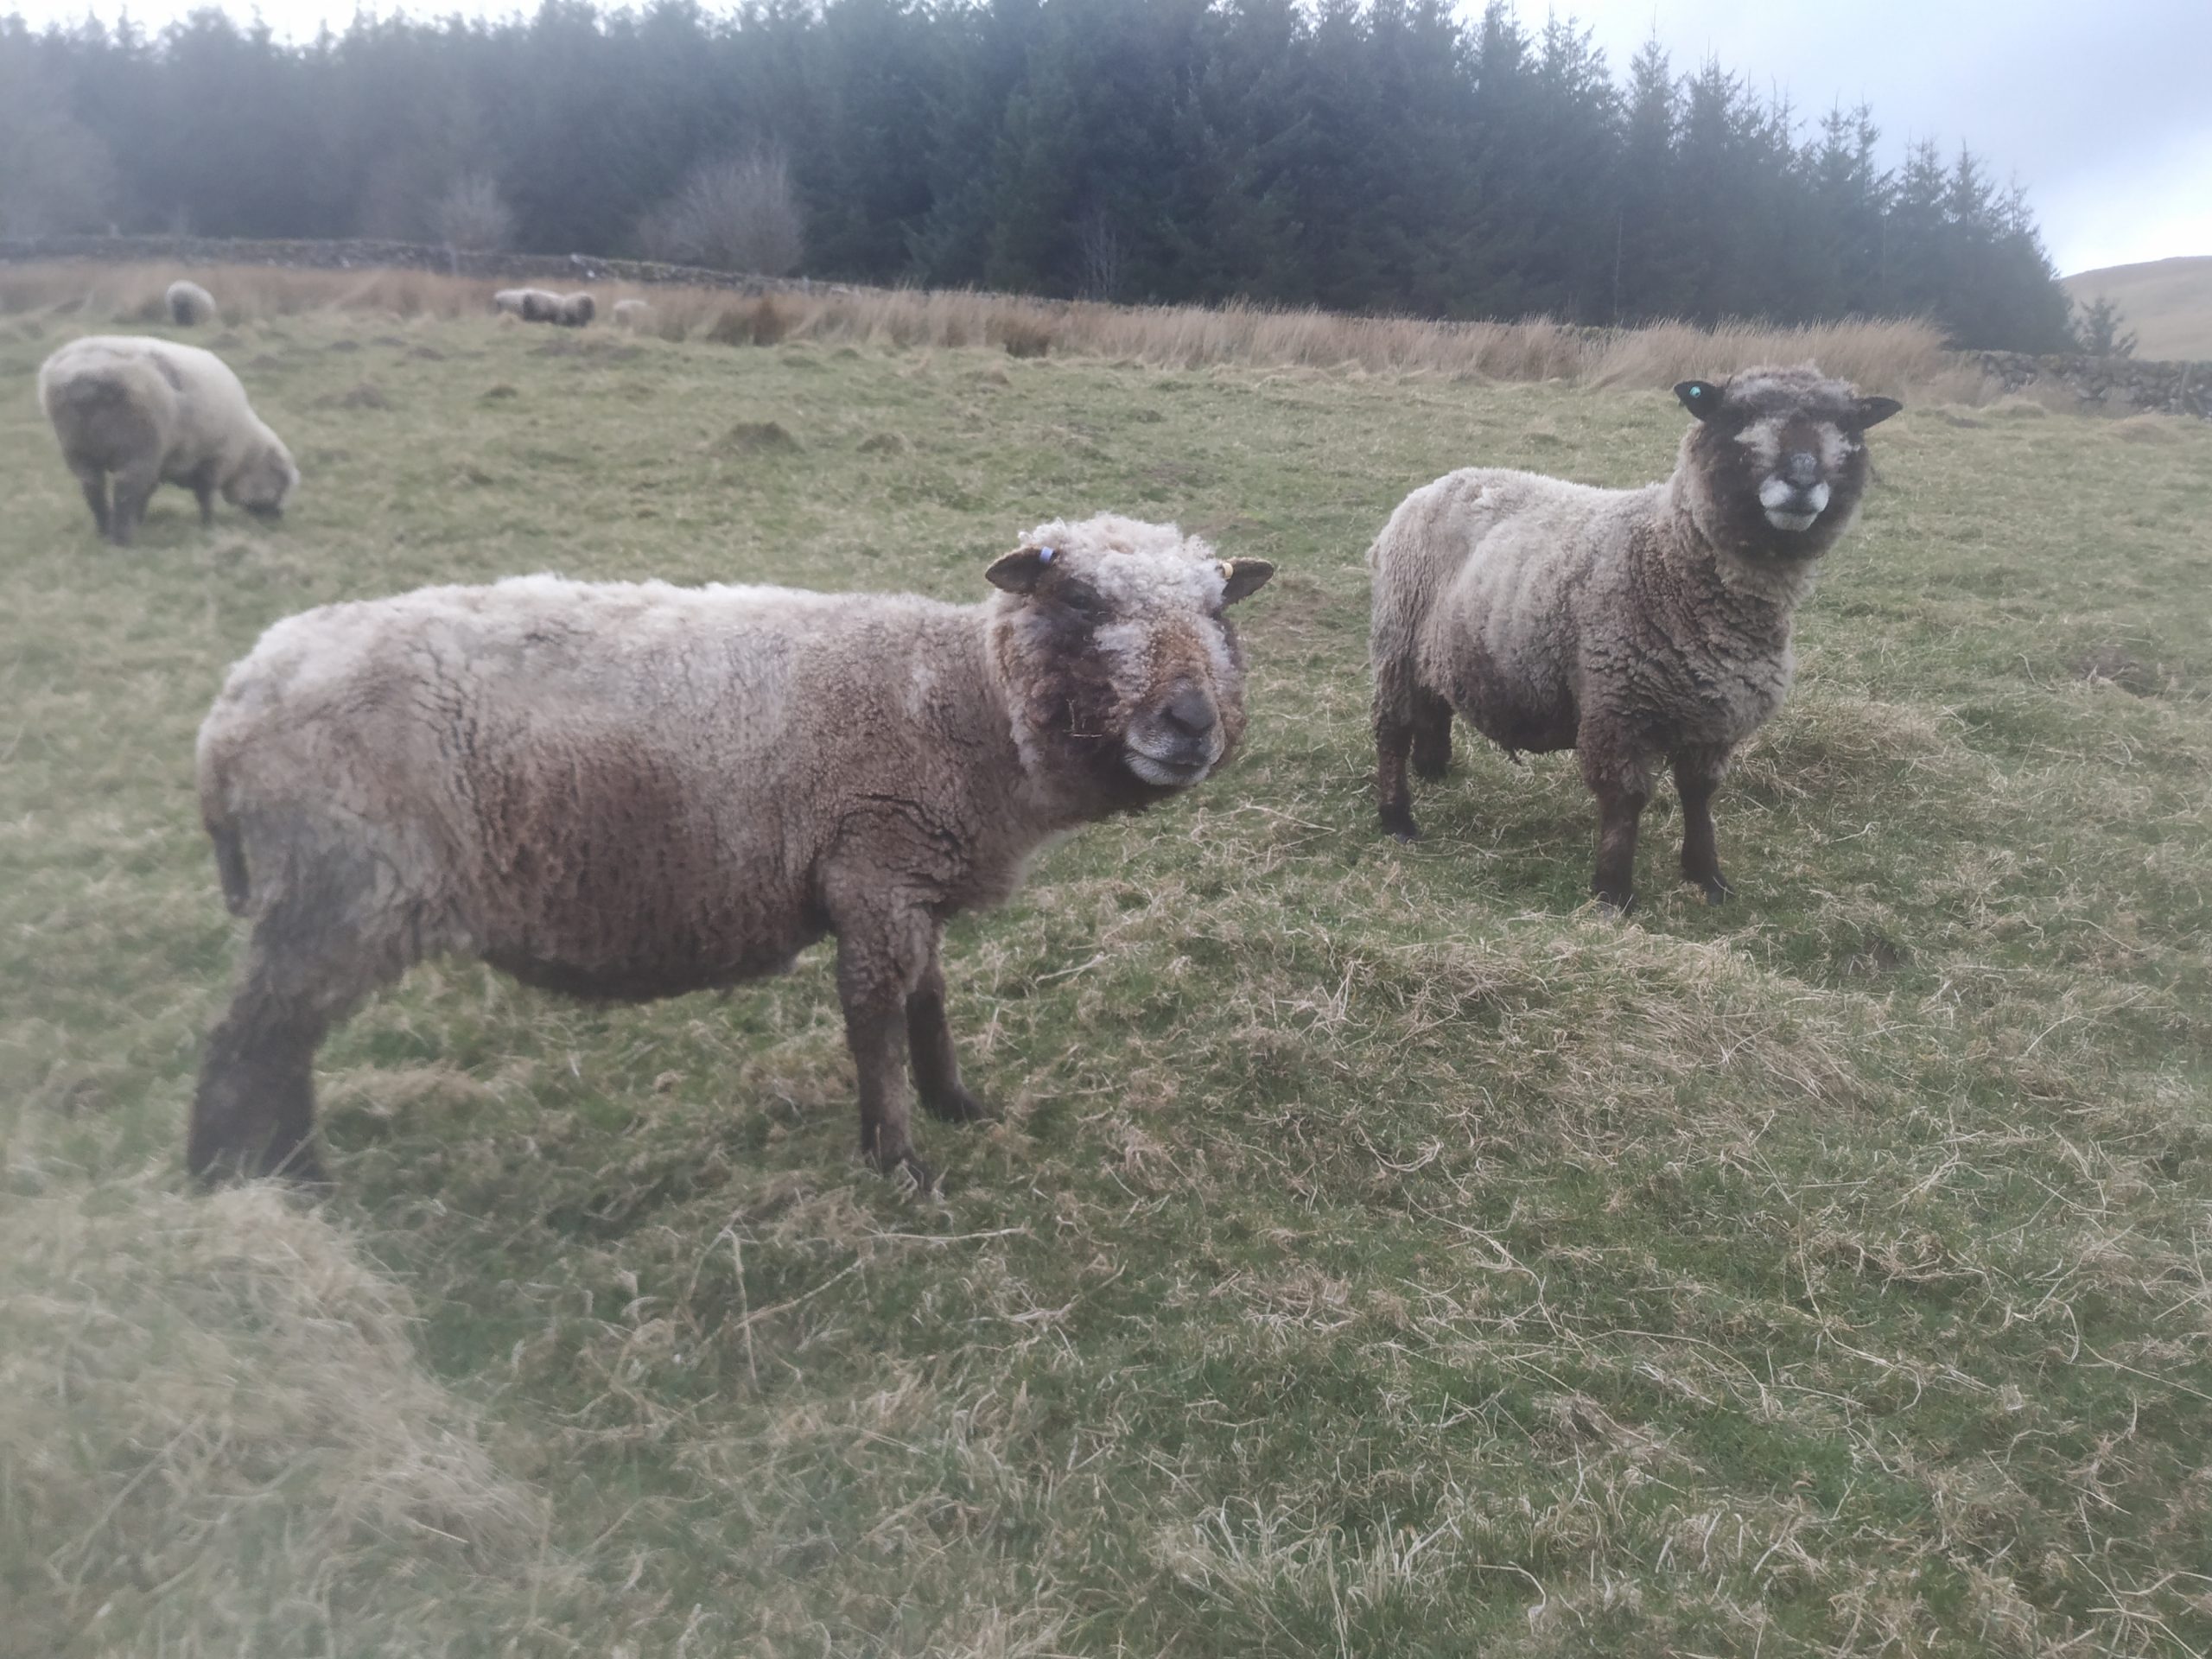
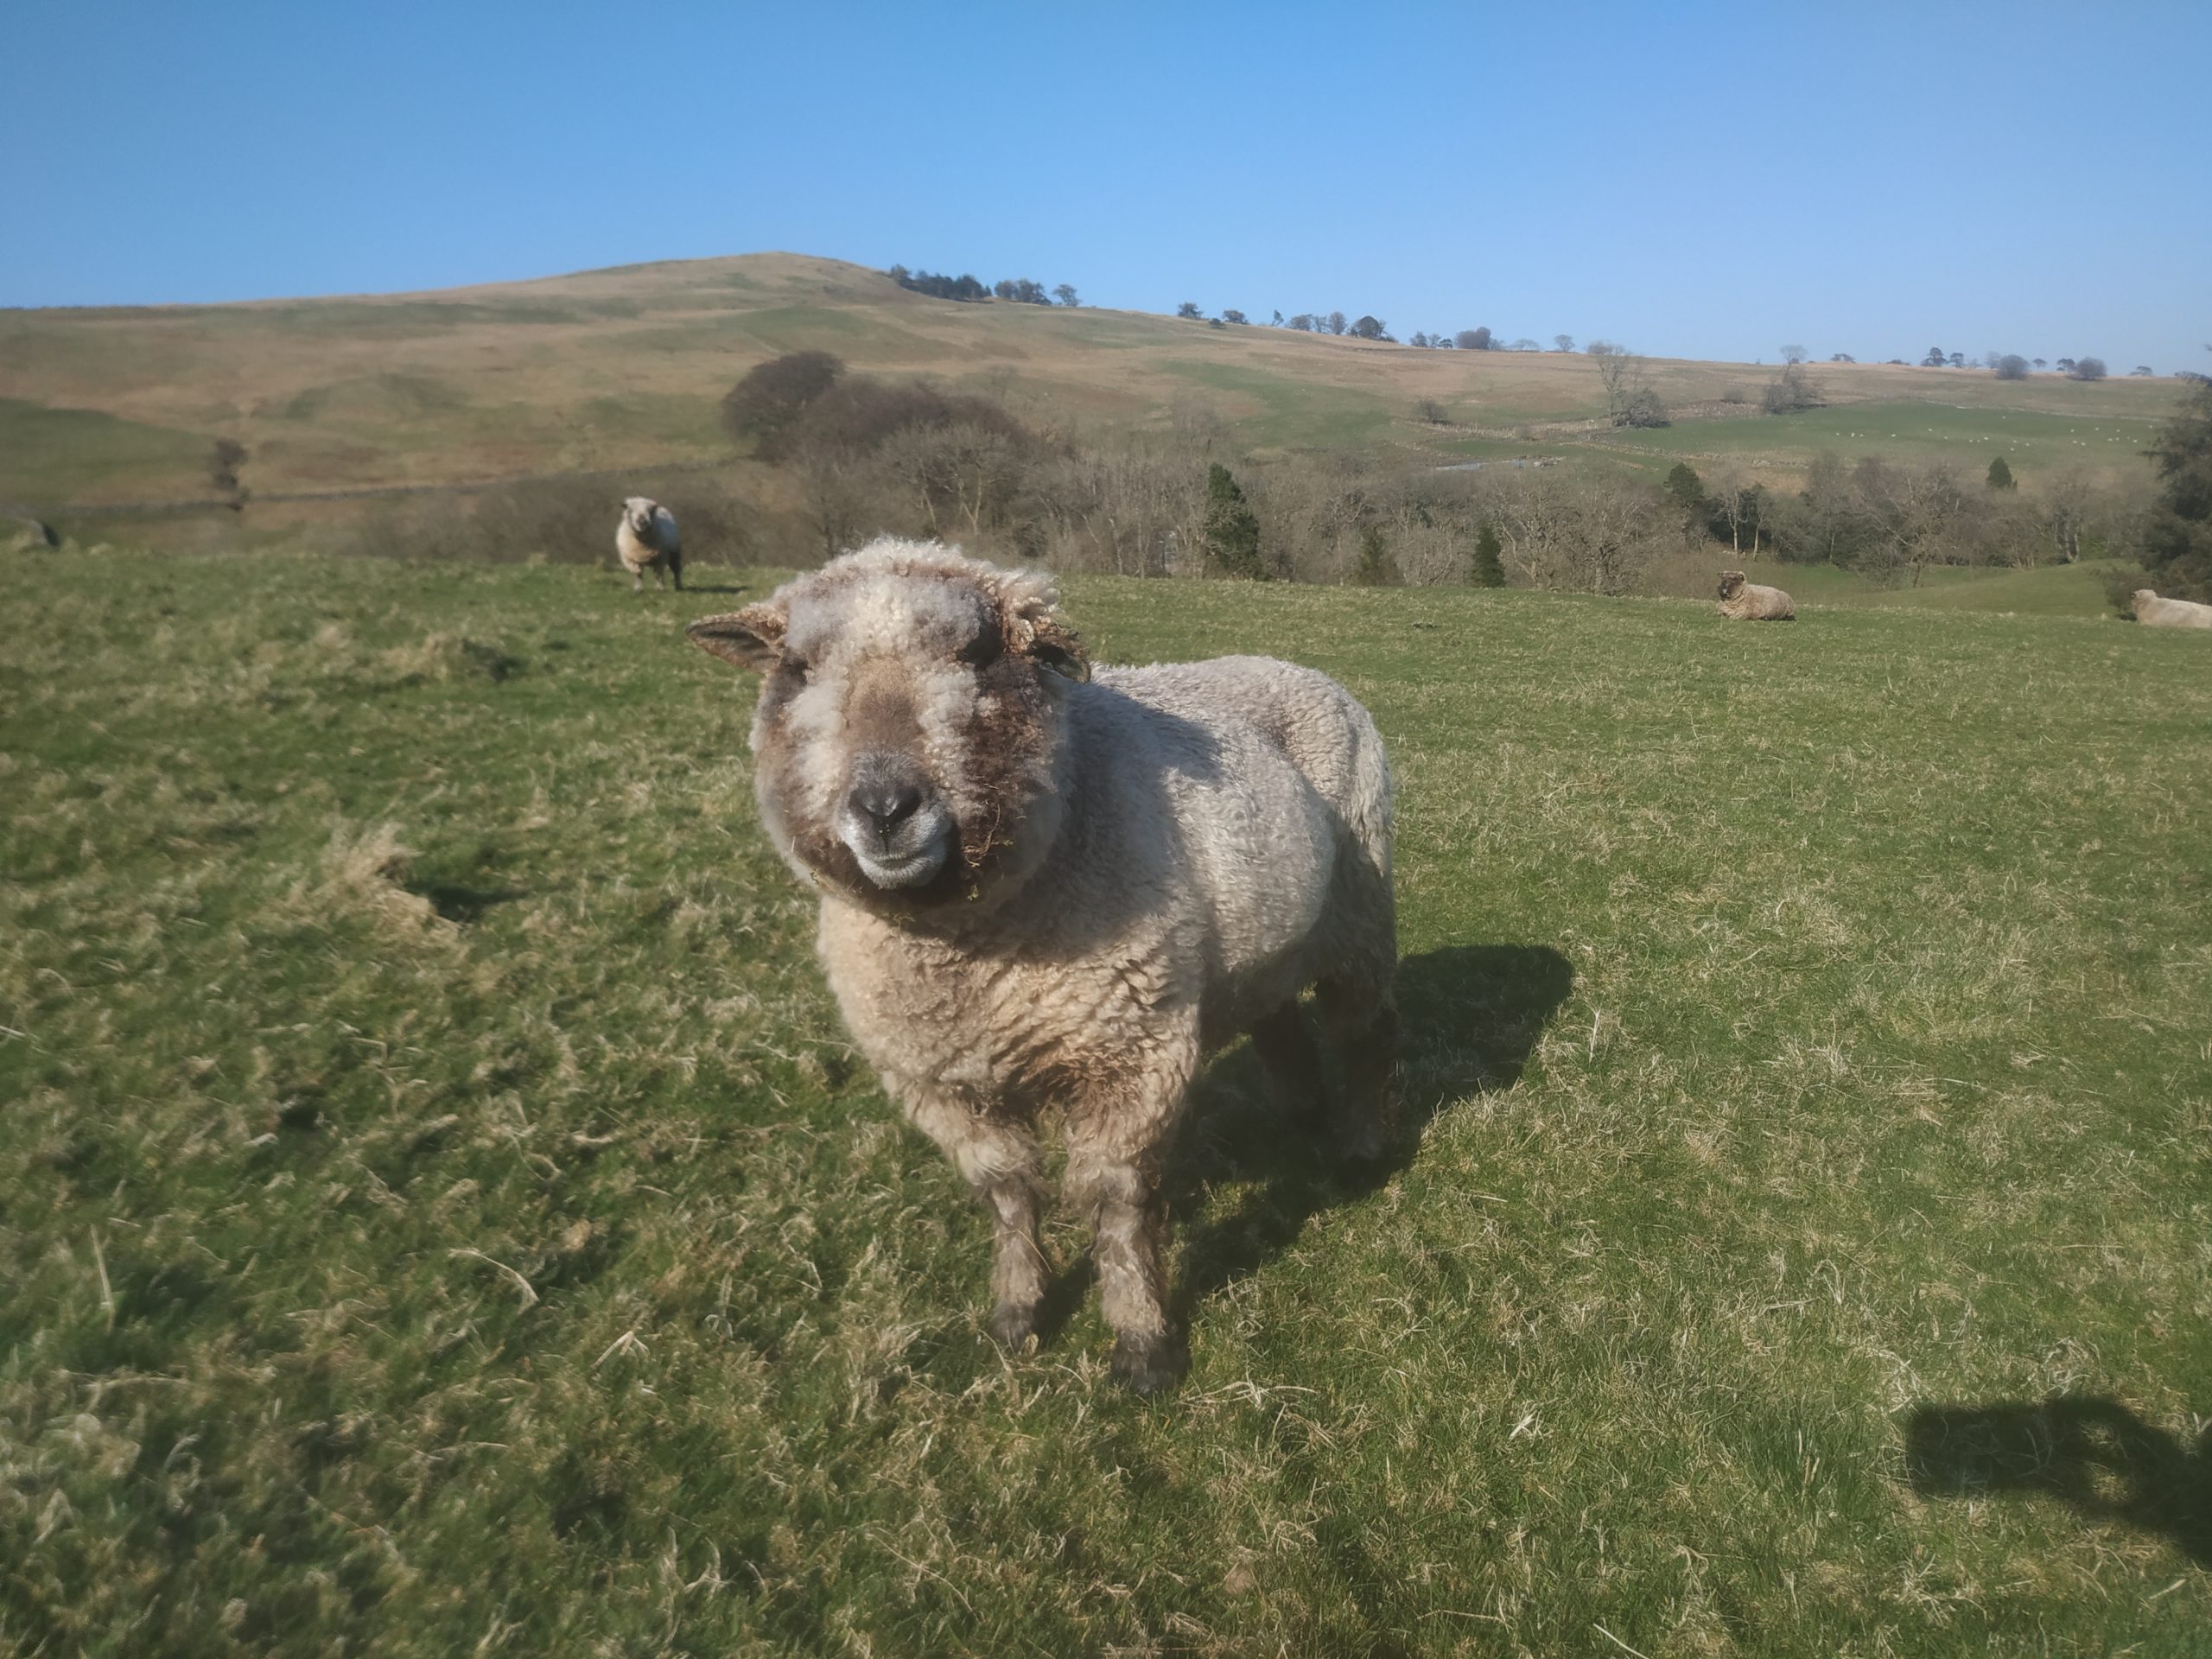
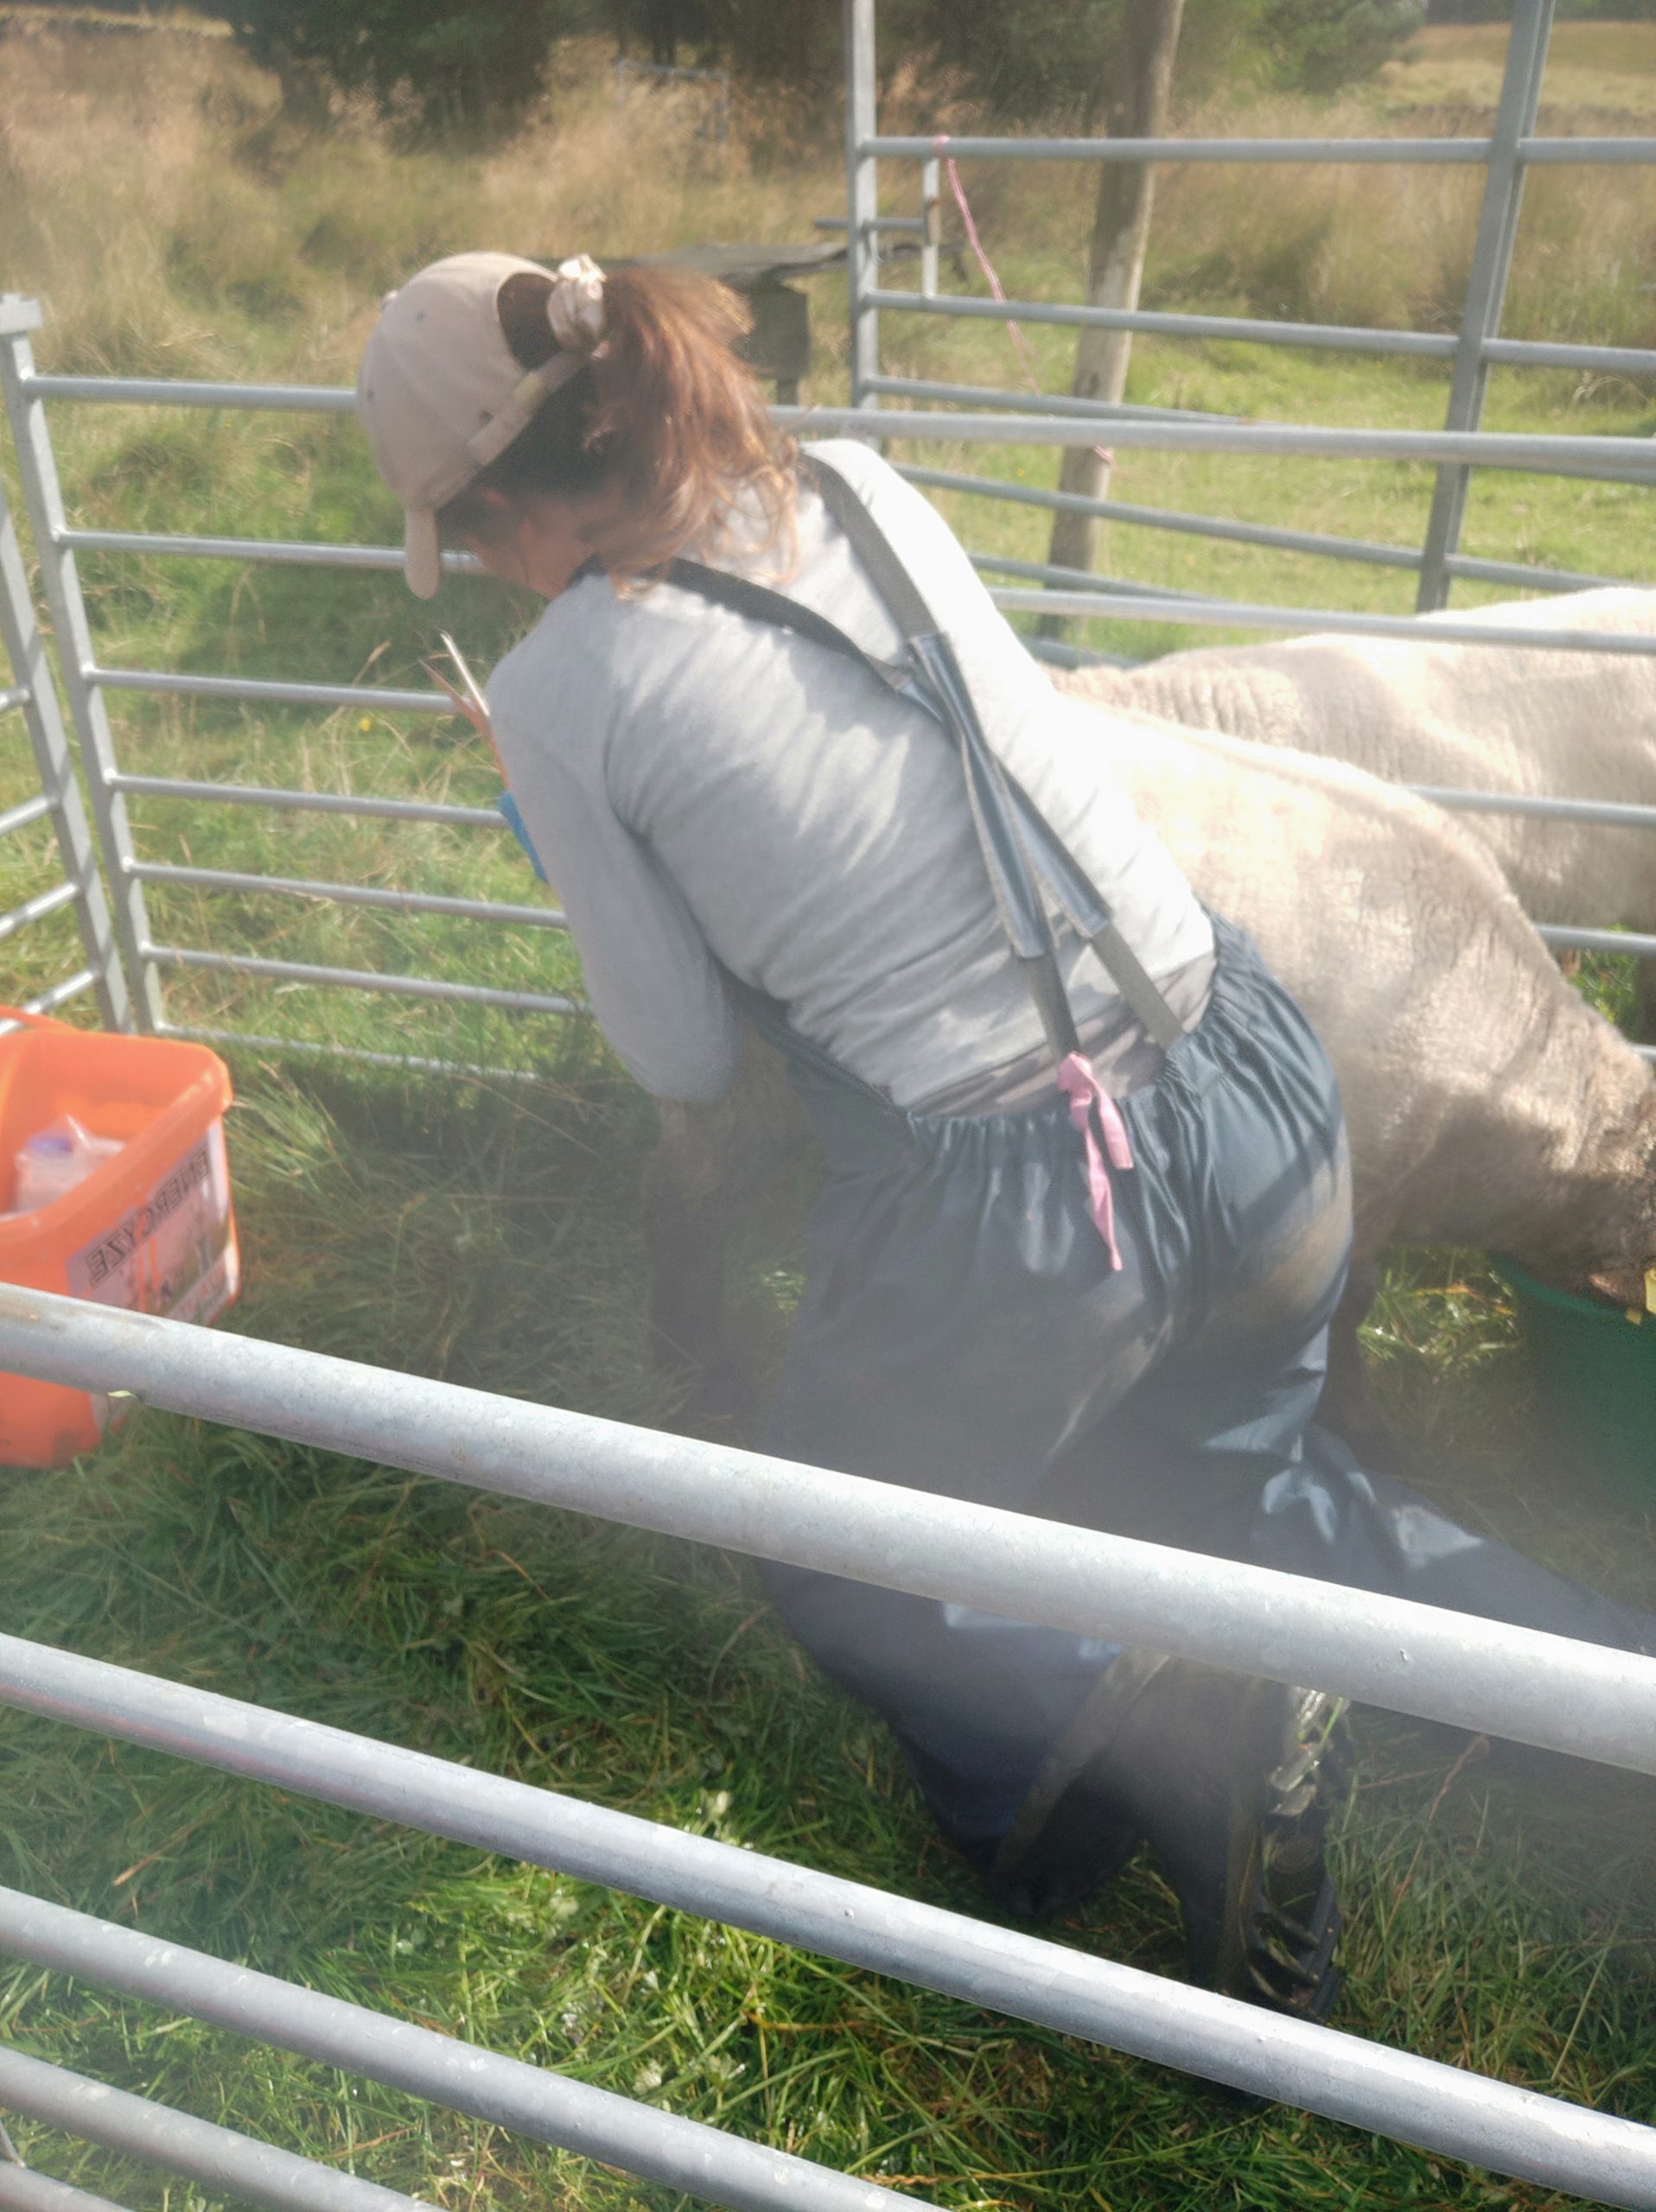
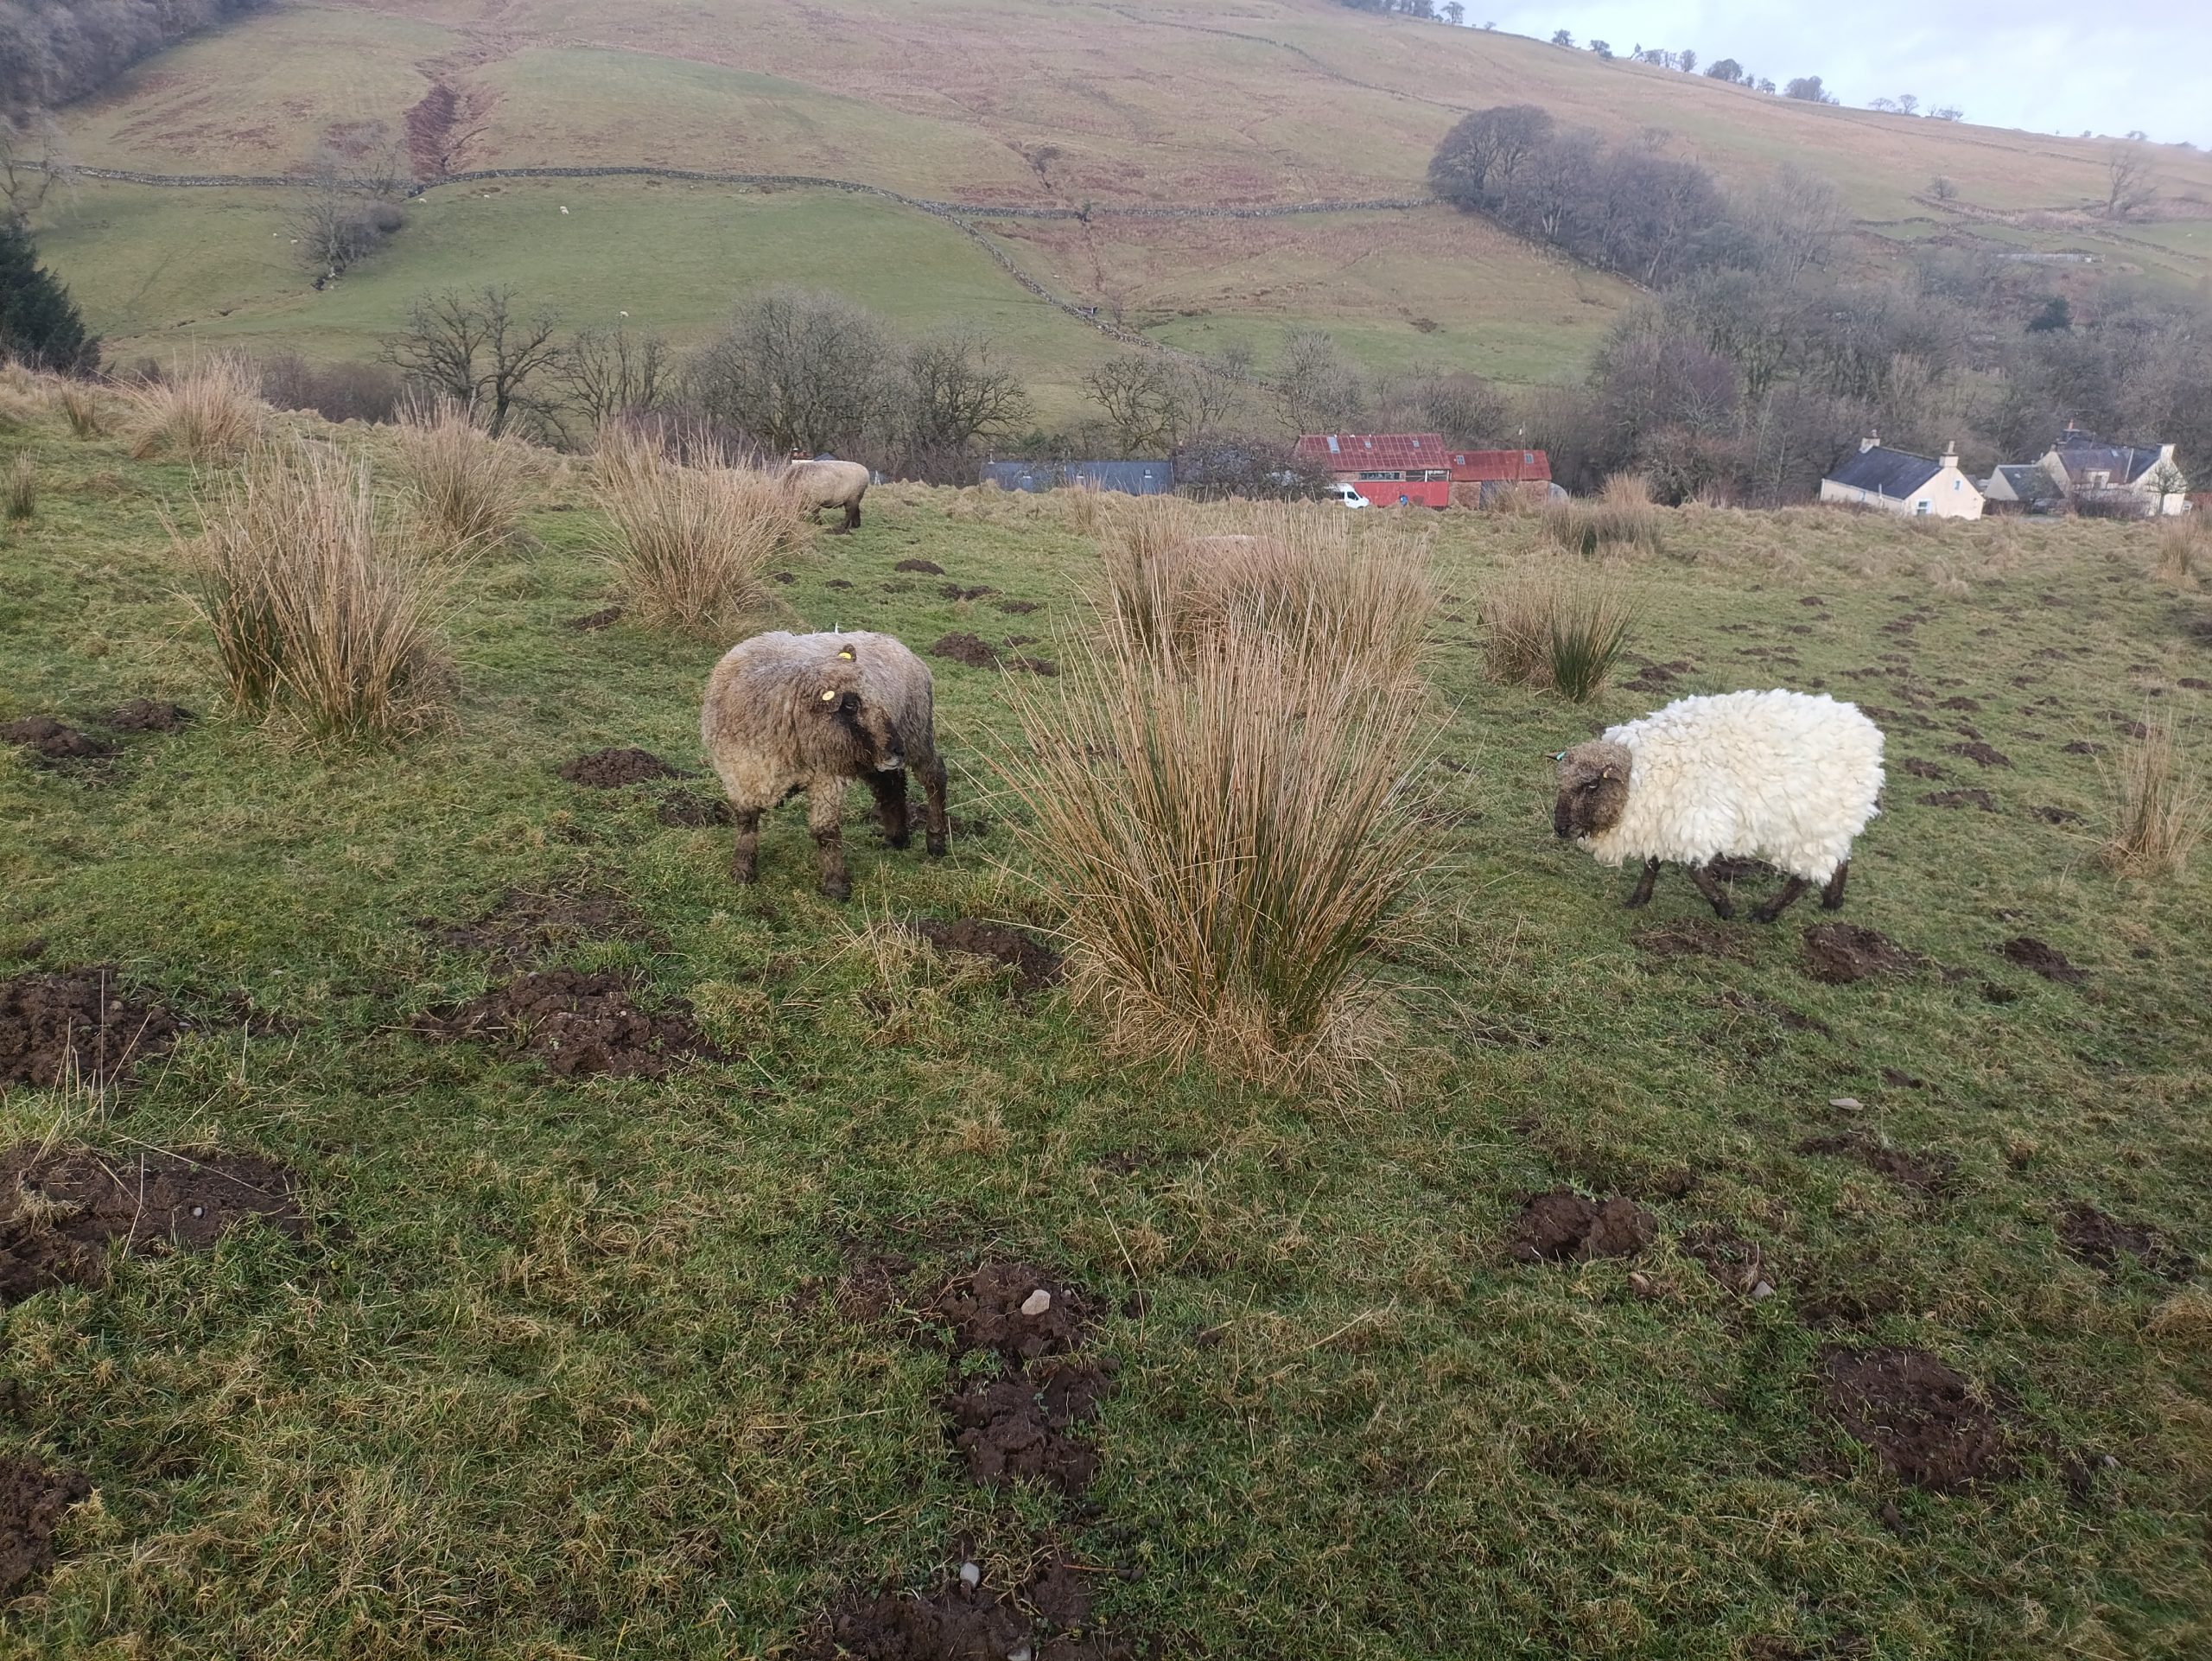
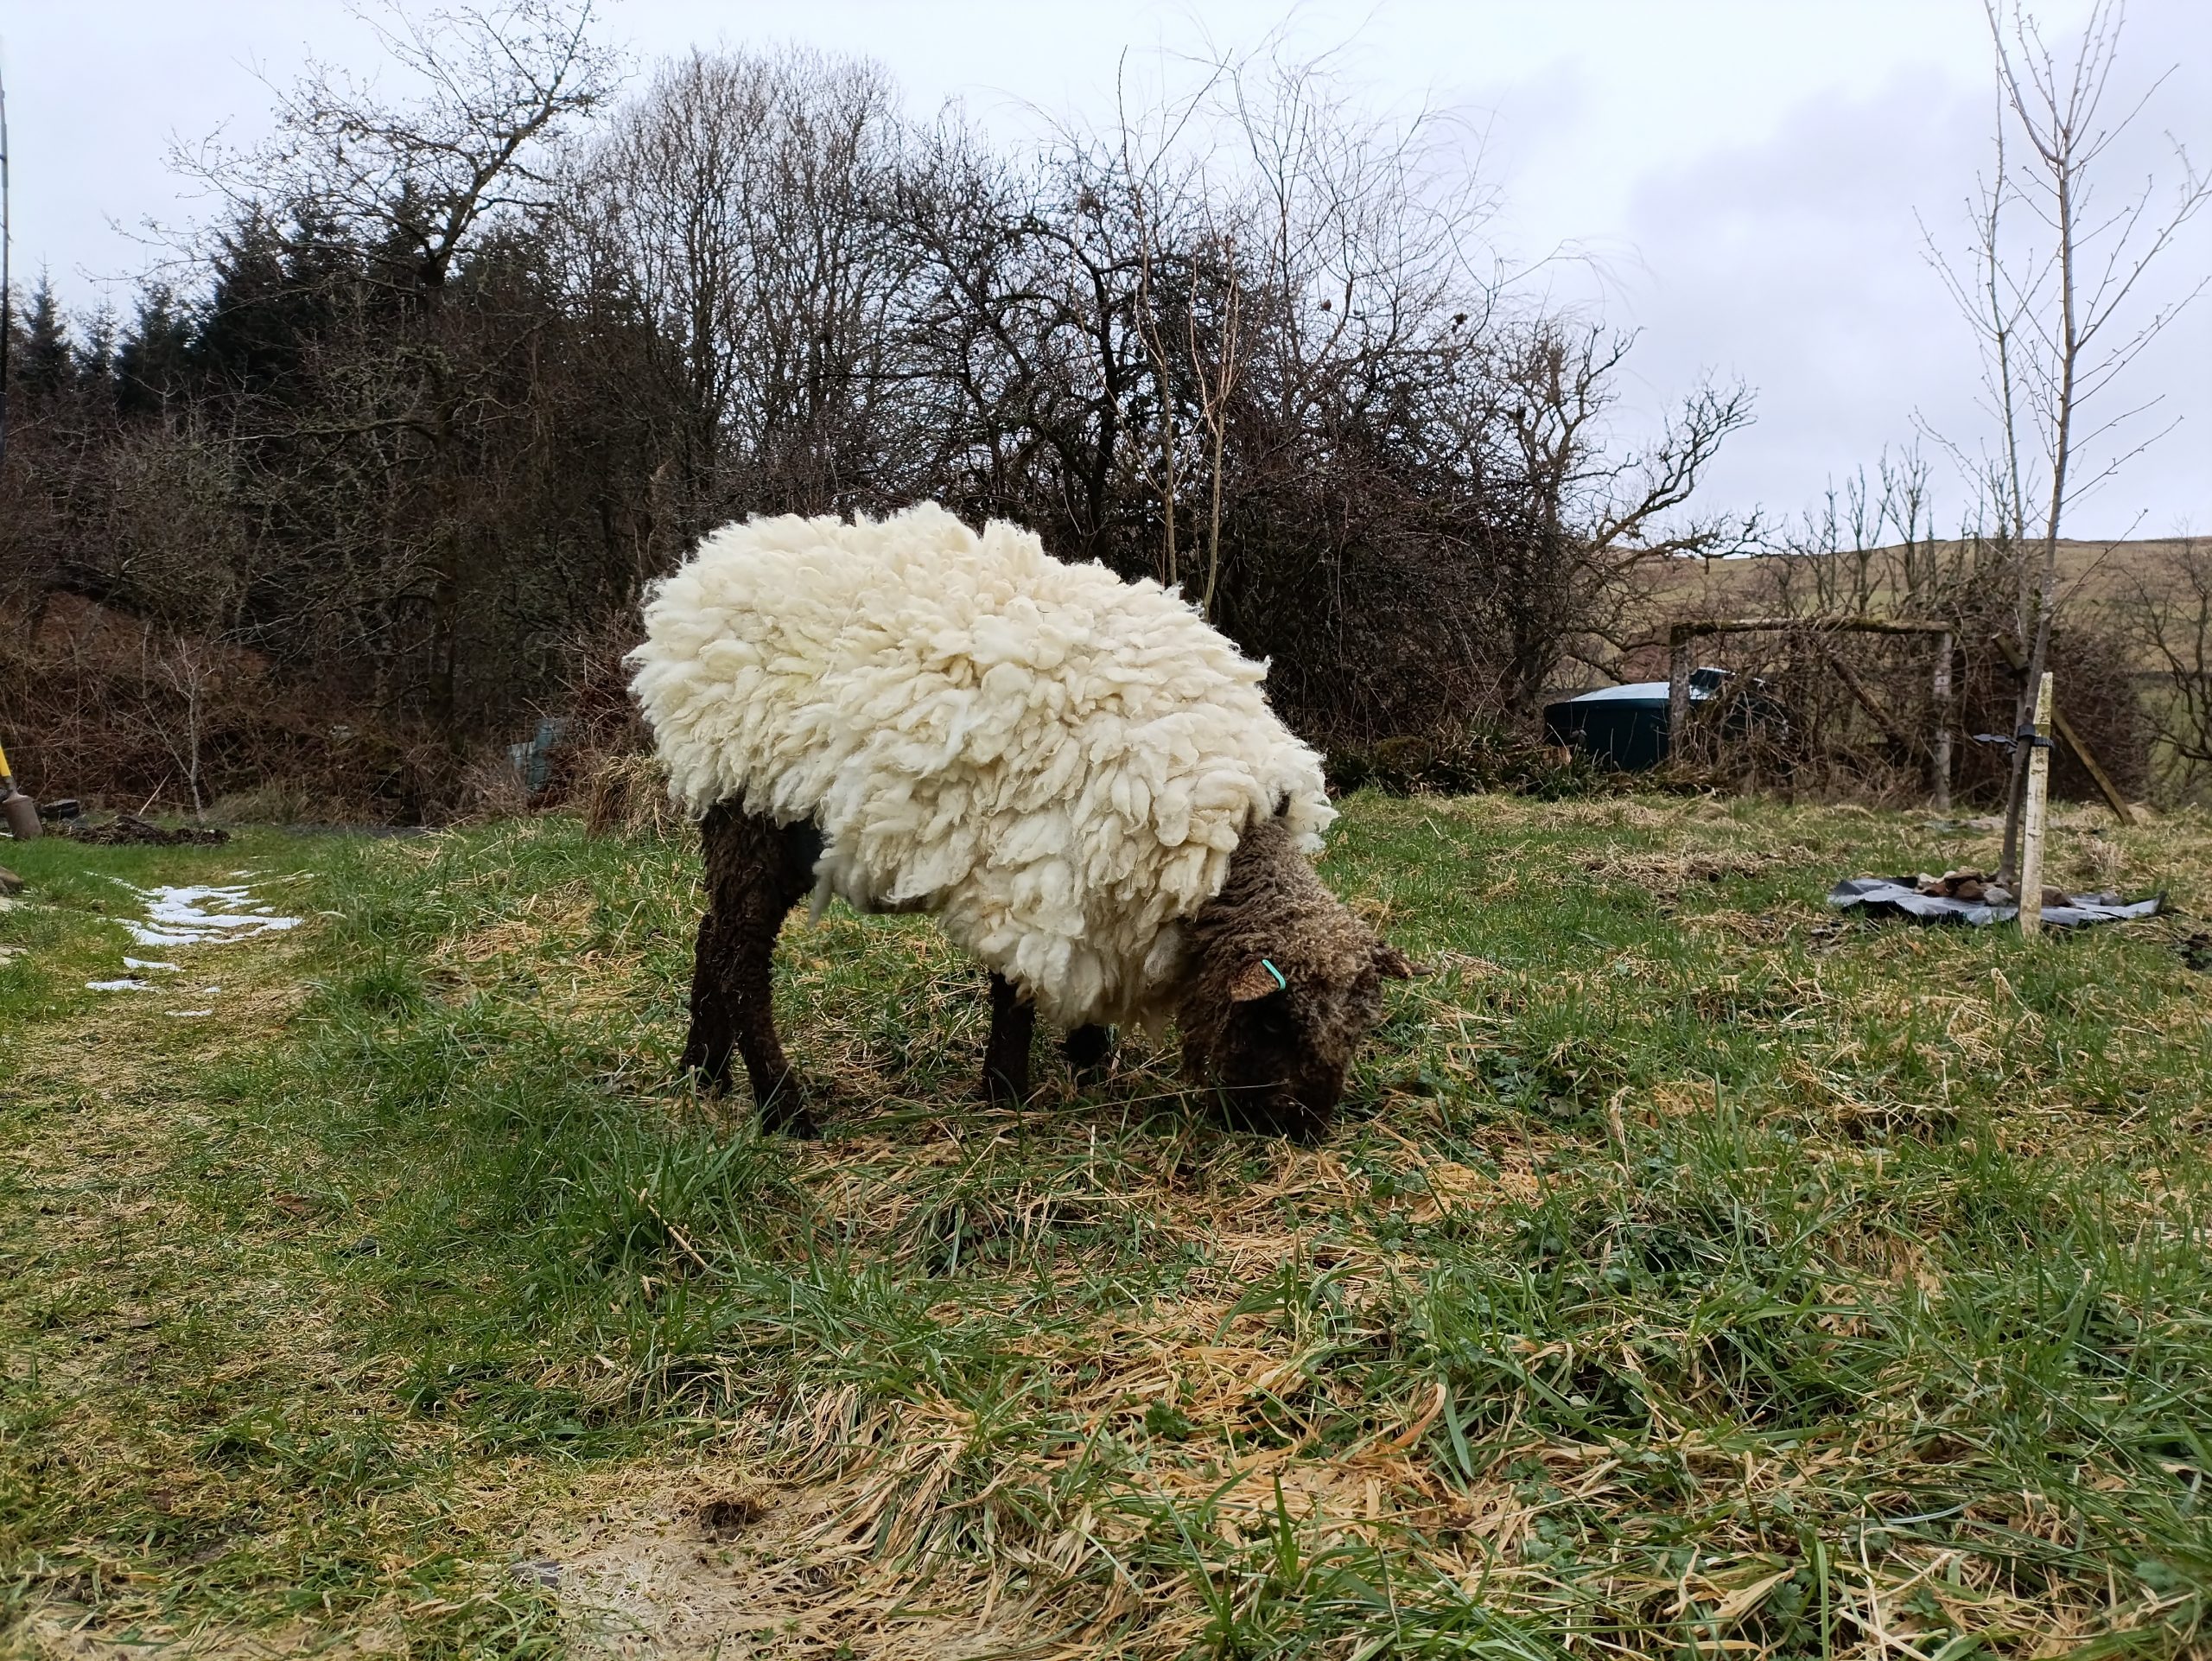
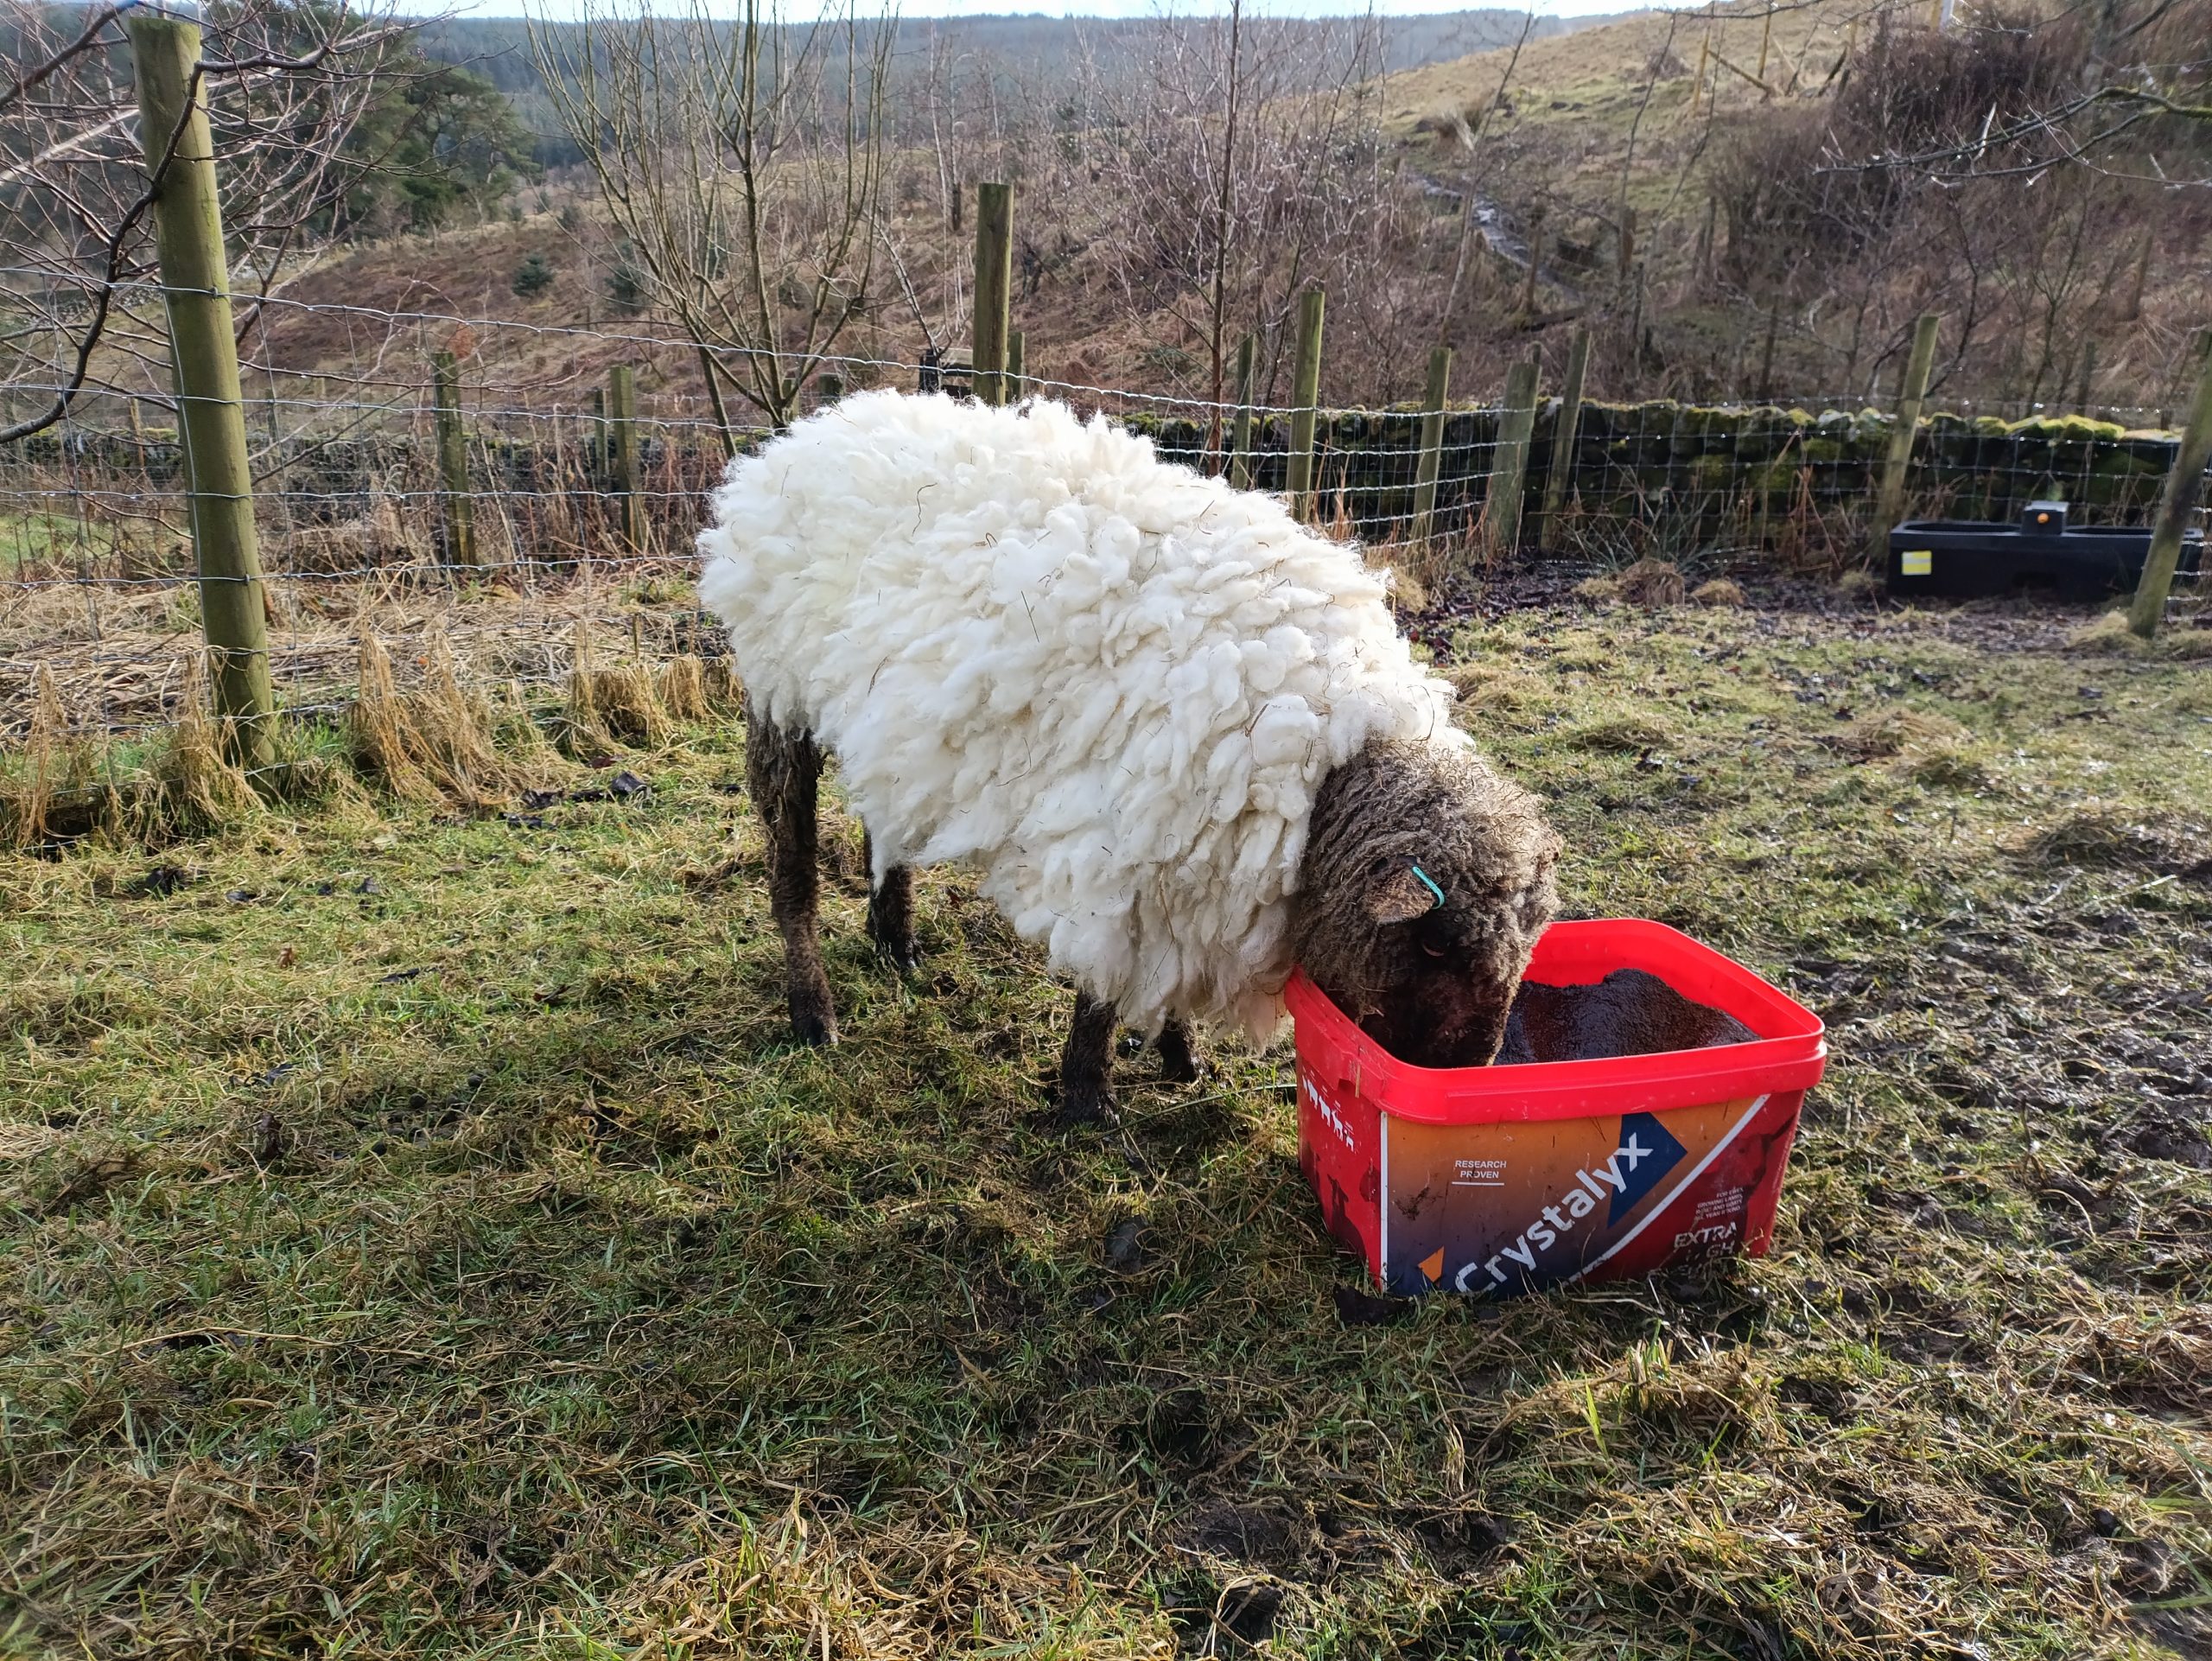
One of our elderly sheep, Sky, has had us a little concerned lately.  Being fourteen she’s one of the original members of the ‘green bucket club‘.  (Our older sheep get a daily ration of soaked grass and alfa-beet pellets to give them a boost).  Despite her advanced age, Sky is a feisty little sheep and full of beans.  However, in recent weeks we’ve noticed she’s not been quite herself.  We put it down to it being a long wet winter and the general decline that comes with old age.  But what’s been getting us worried is that she’s been losing weight despite the extra rations.  So we’ve been keeping an eye on her and hoping that when the grass comes through in April she might gain condition and perk up.

Sky wearing her new jacket

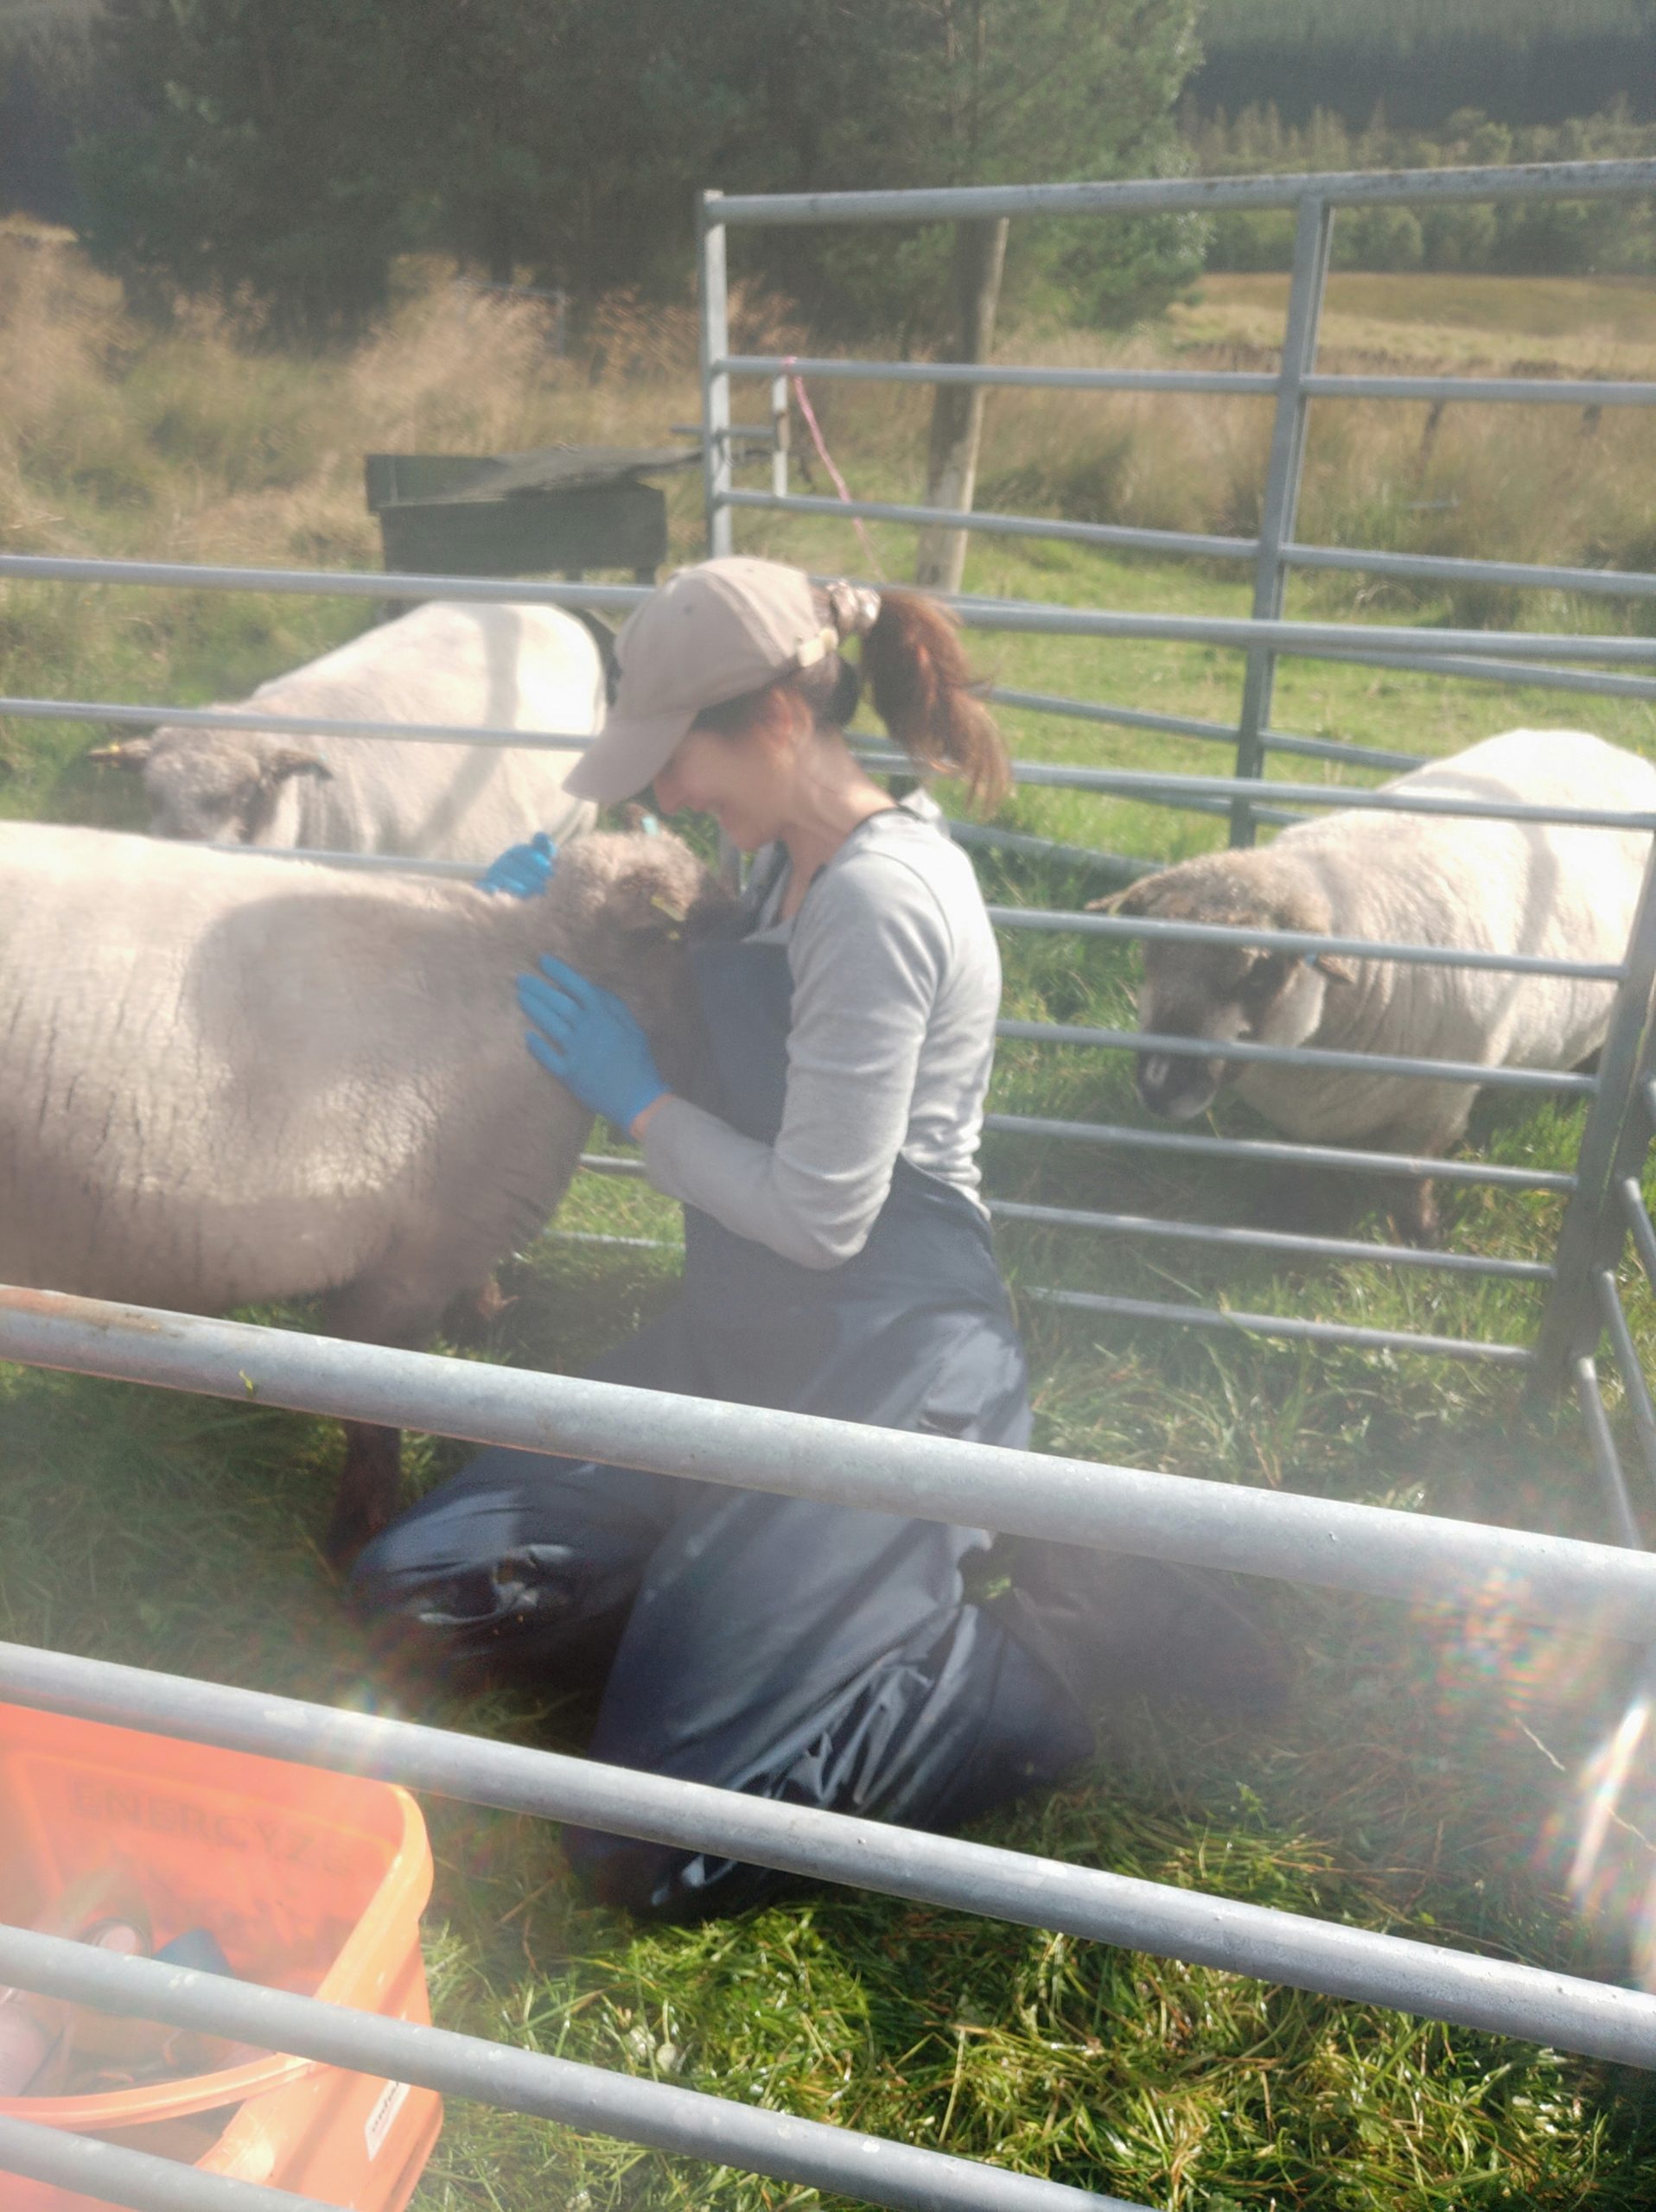
In the meanwhile I gave her a dose of wormer just to be on the safe side.  With old age, sheep’s natural immunity to intestinal worms can decline.  Now that we’re into February we’ve had the odd warm day and the sudden rise in temperature can bring on a hatching of dormant worm larvae ready to cause mischief.

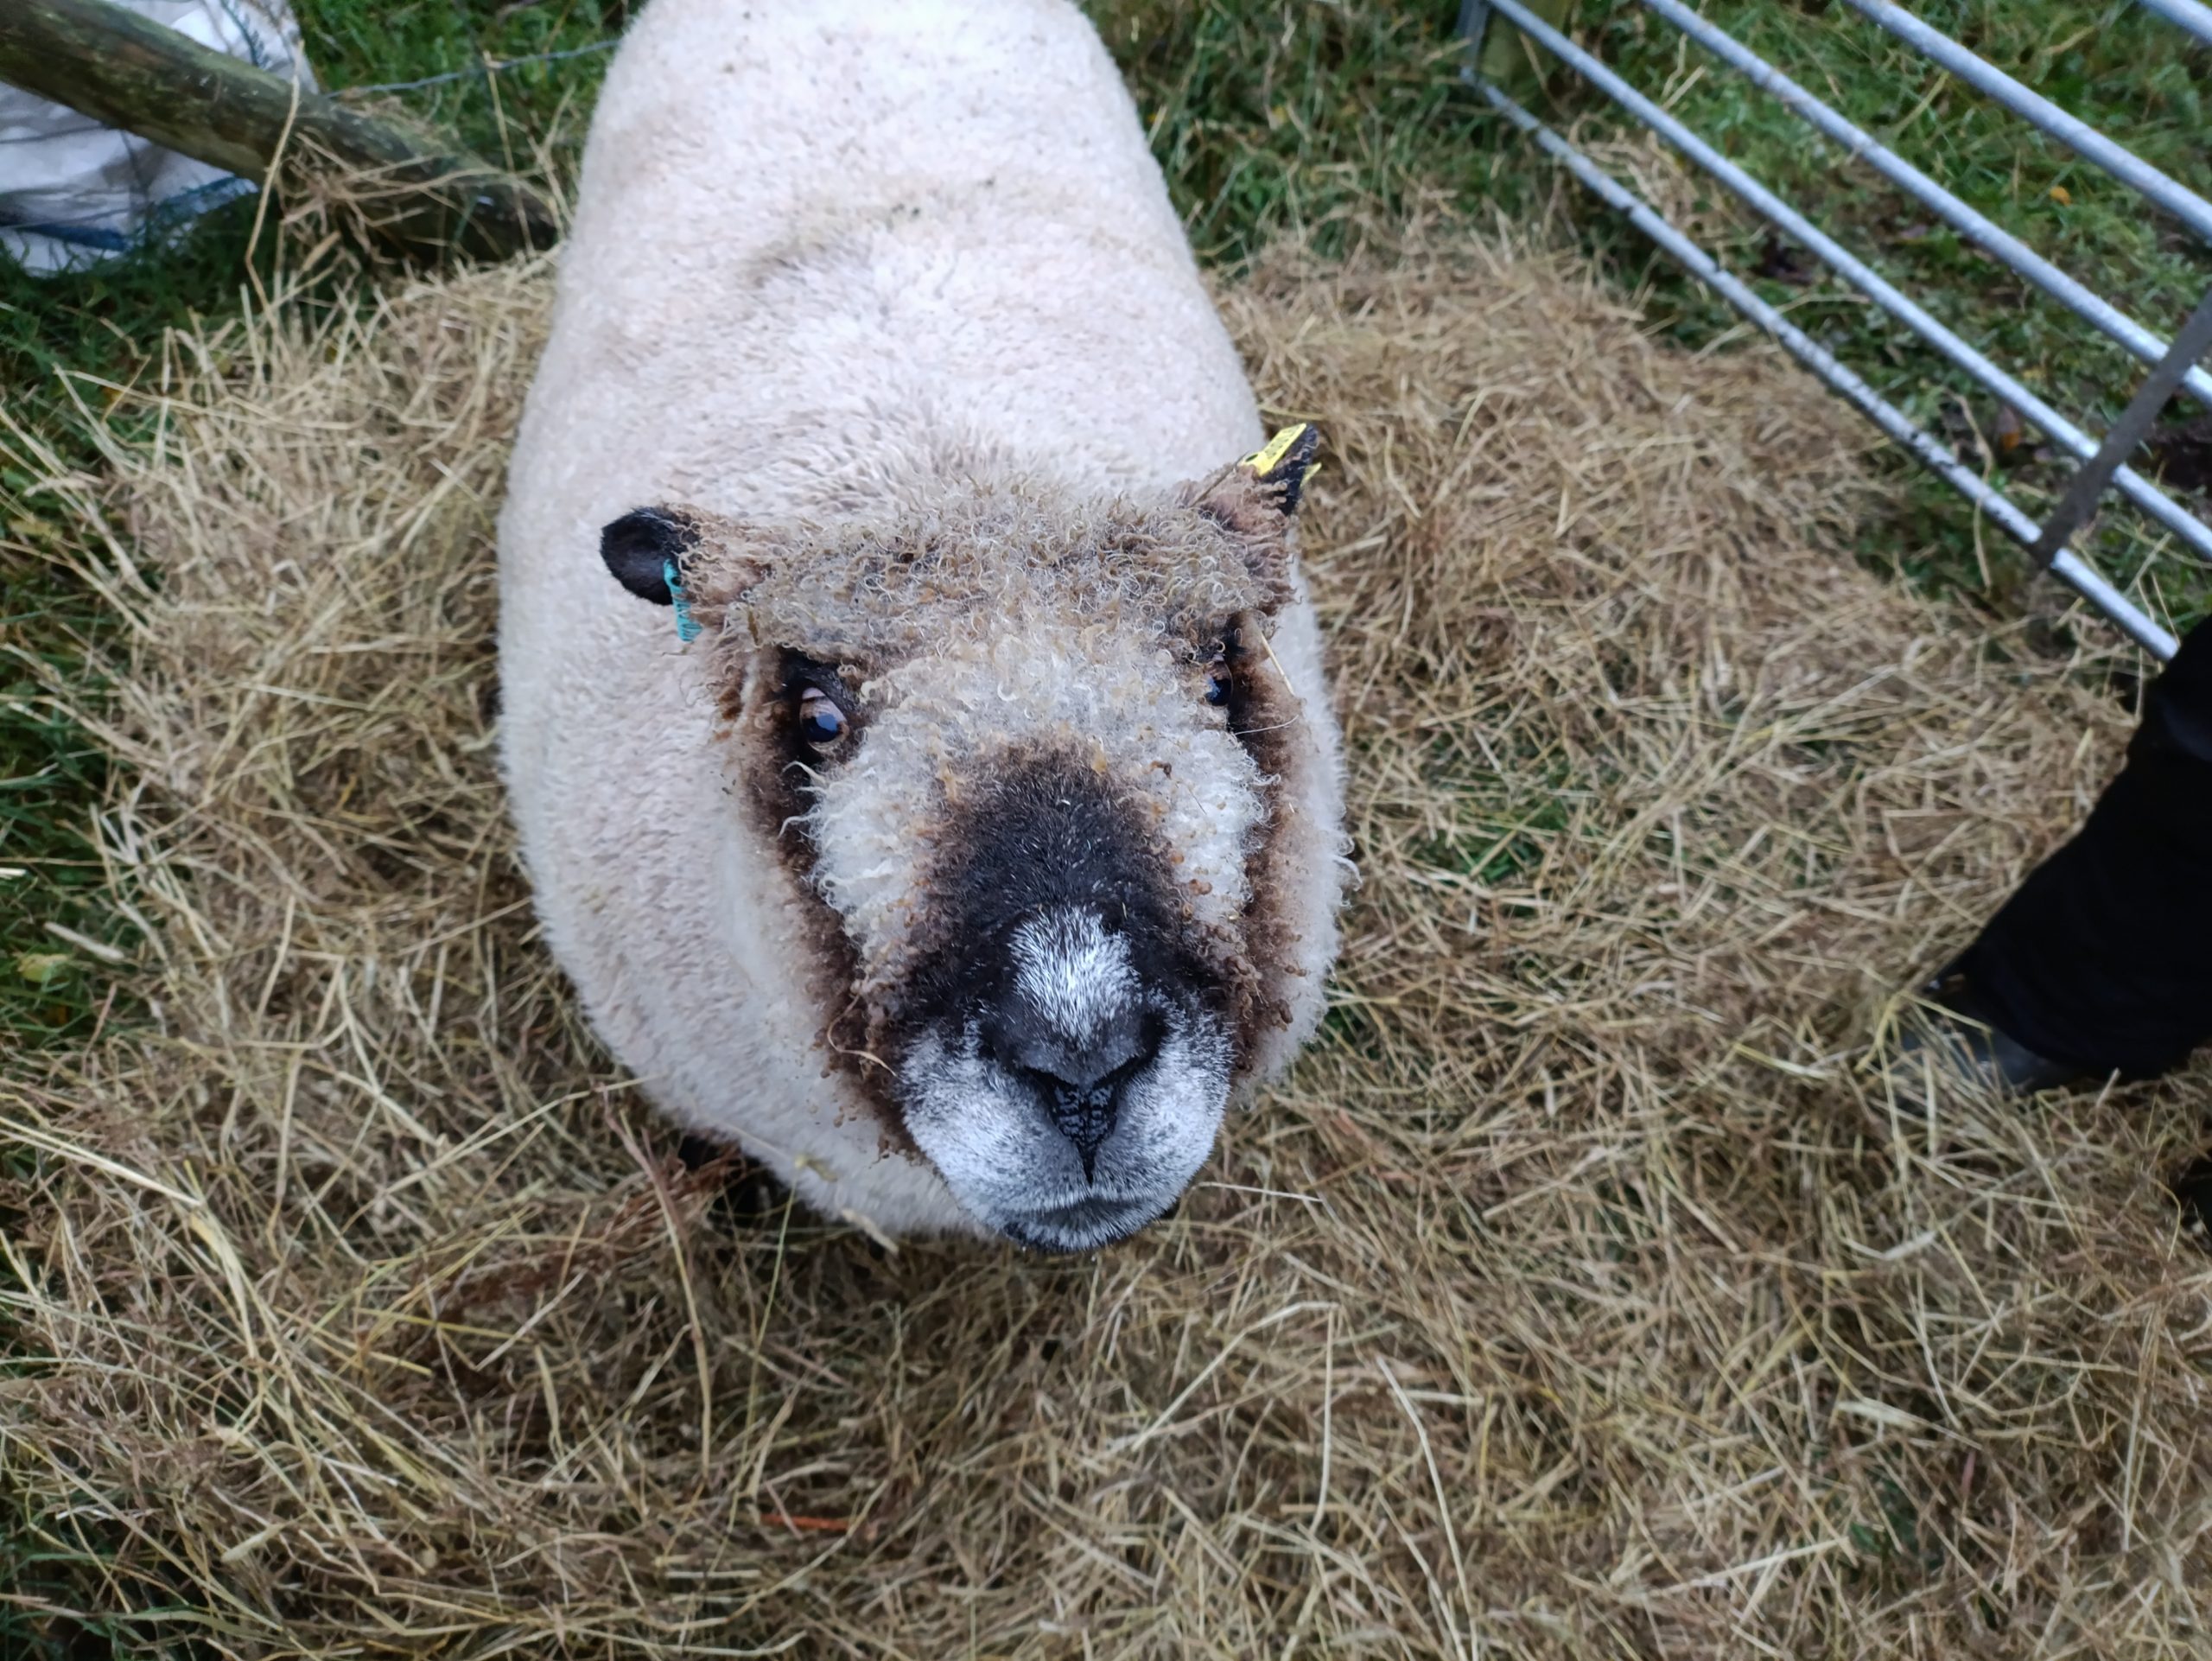
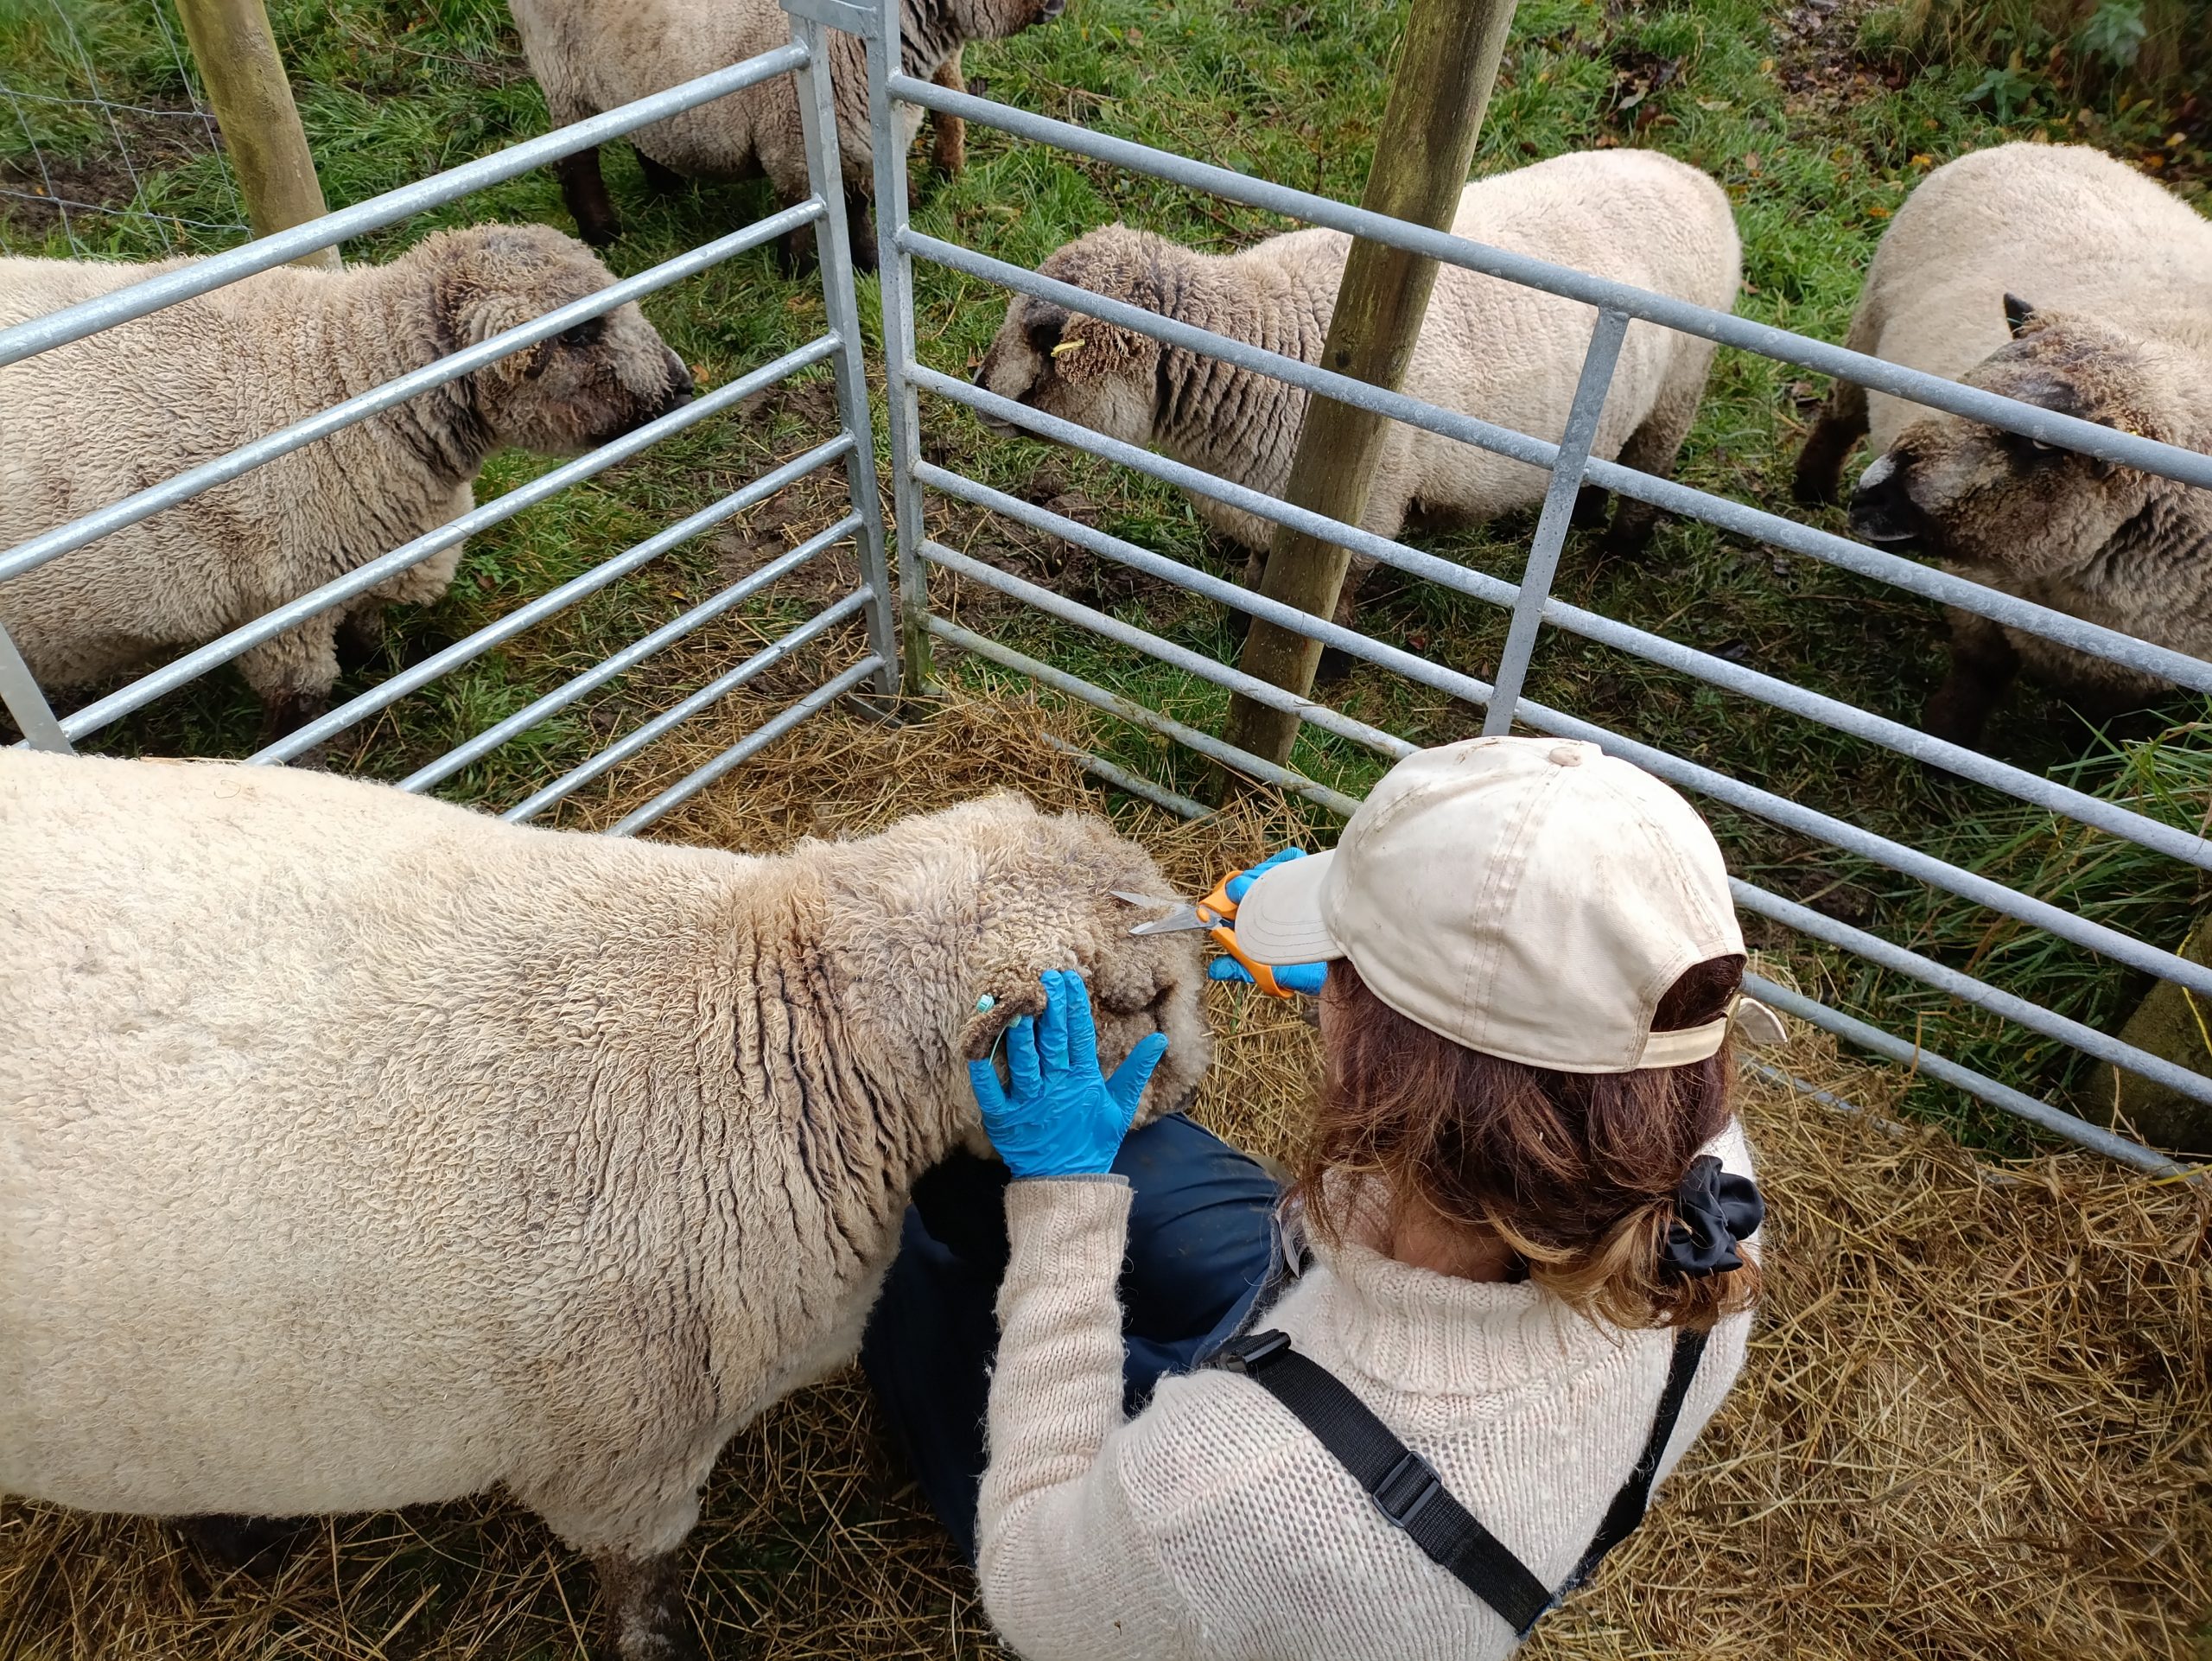
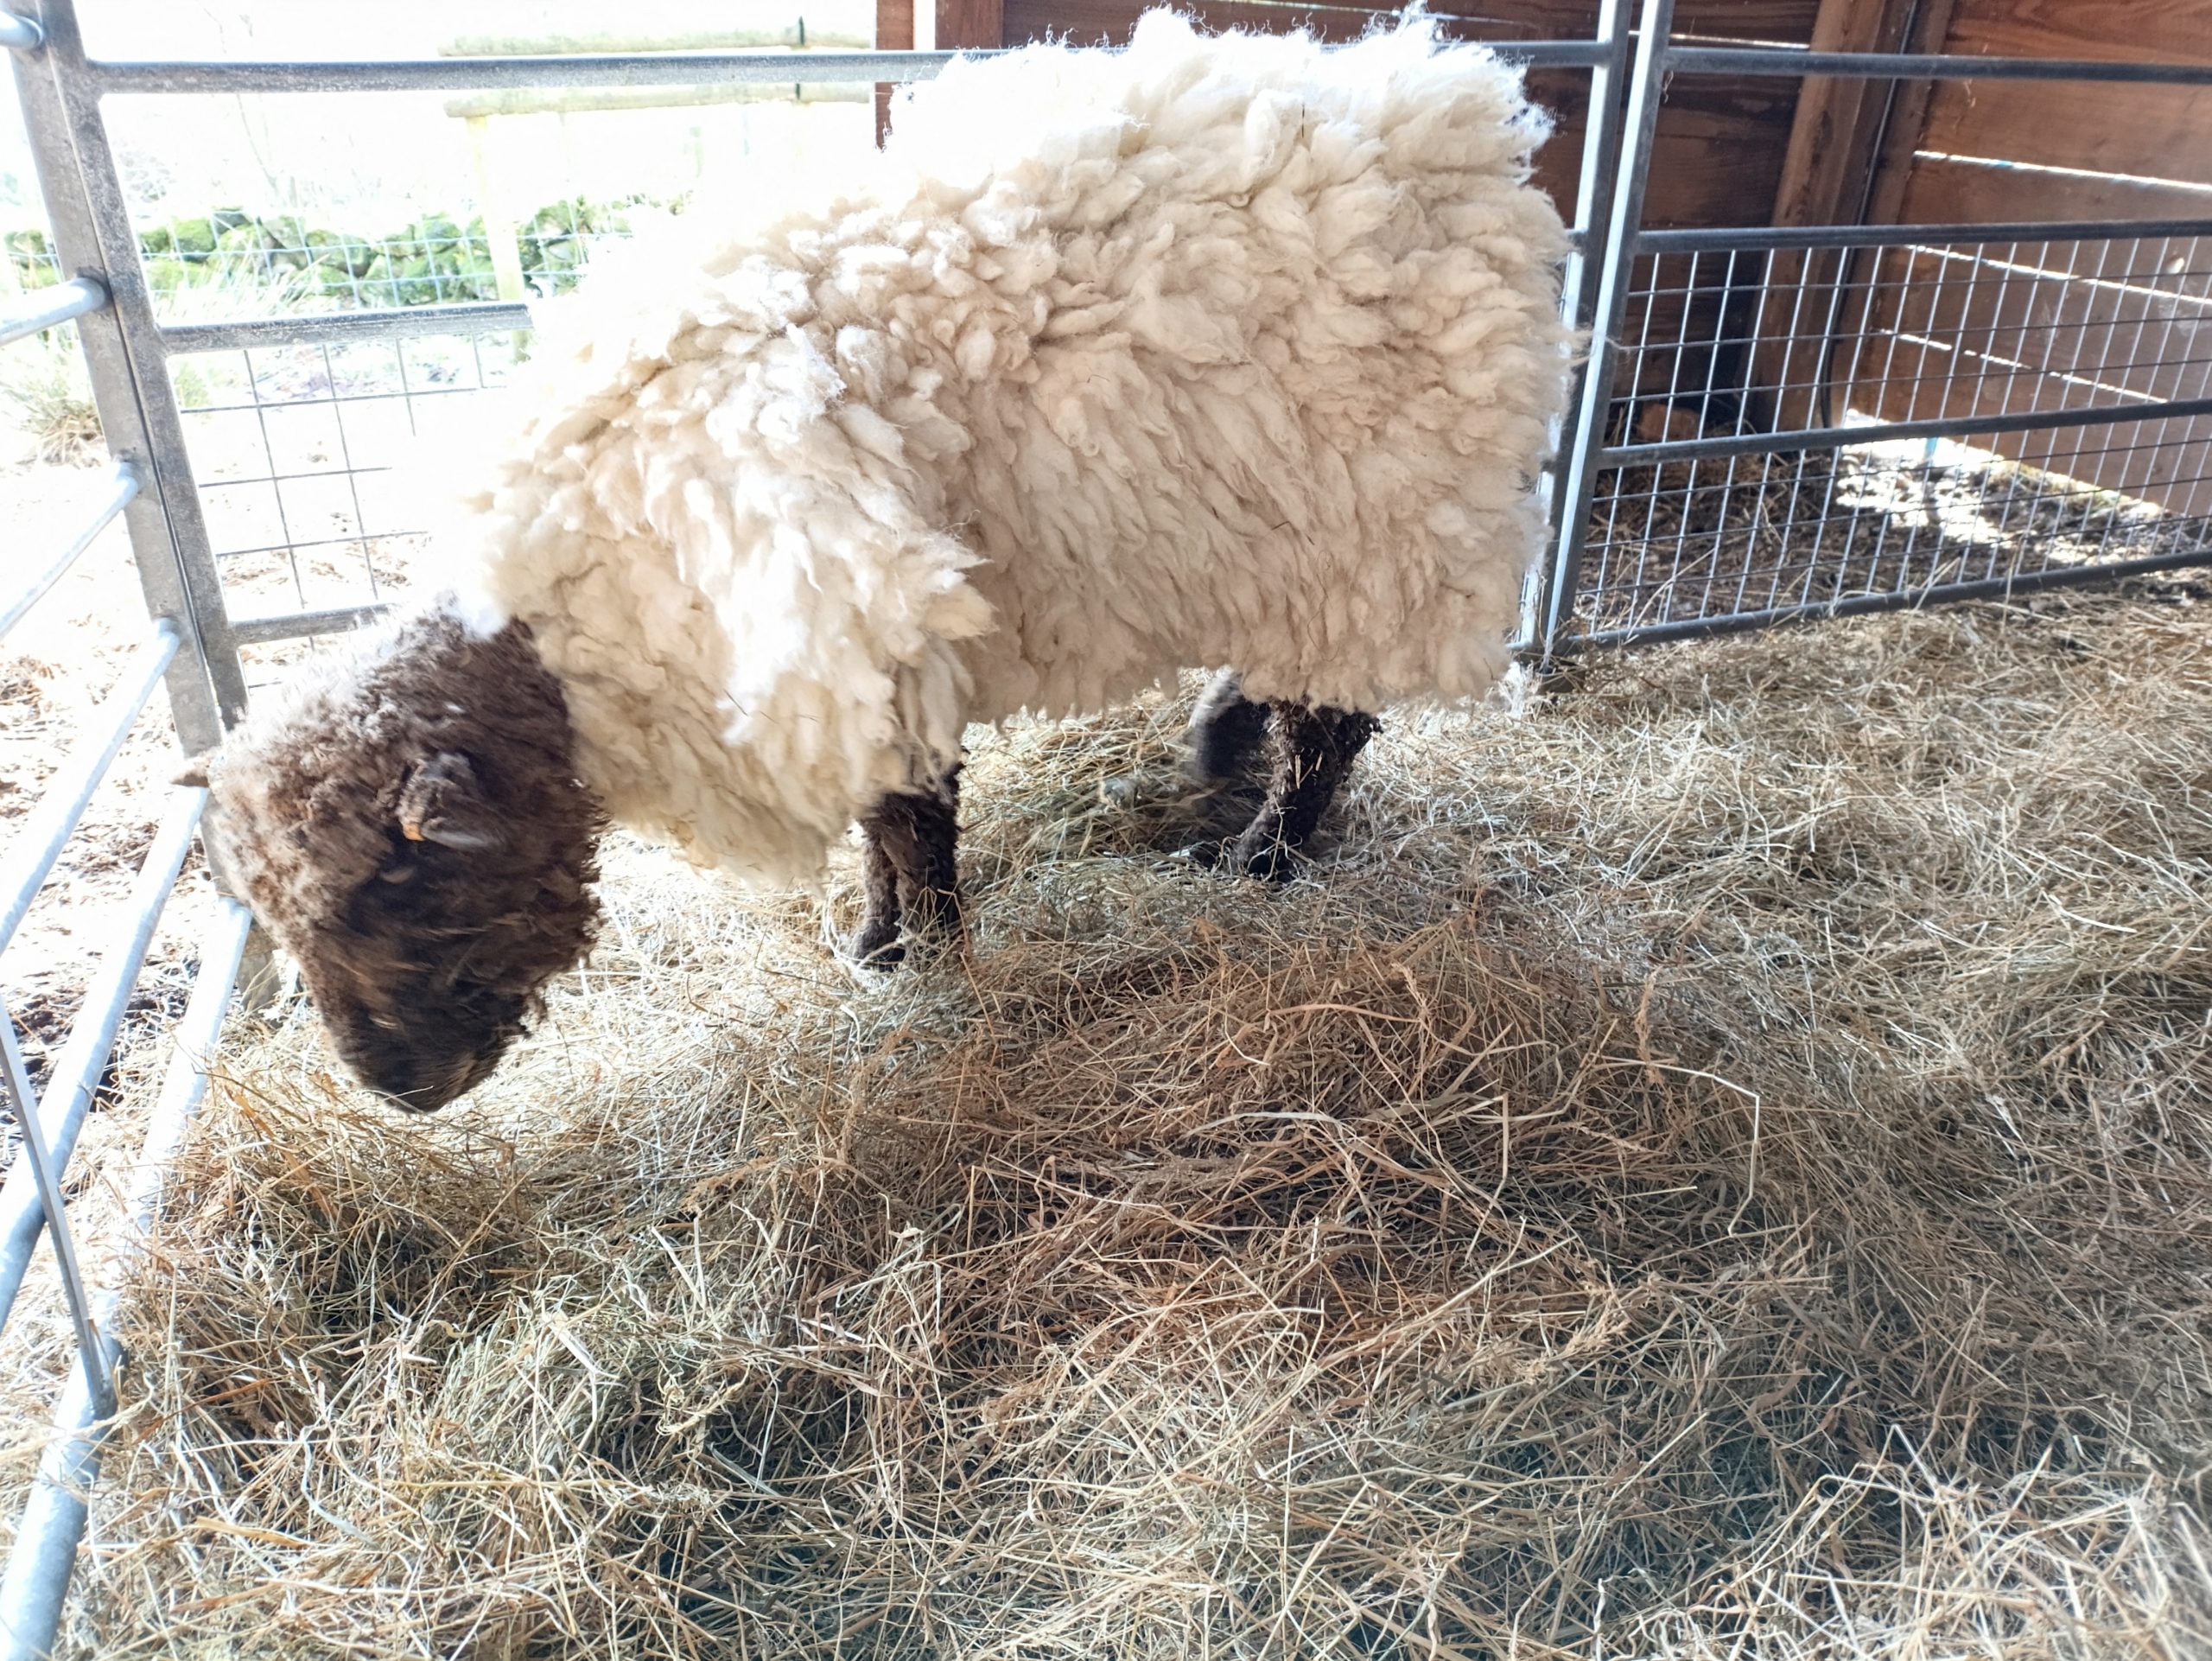
I also checked her teeth, she has no front teeth but fortunately she doesn’t seem to have a problem grazing or pulling hay from the feeders.  Sheep are amazingly resilient and as long as their back teeth aren’t worn down, they can manage fine.

having a little graze in the garden

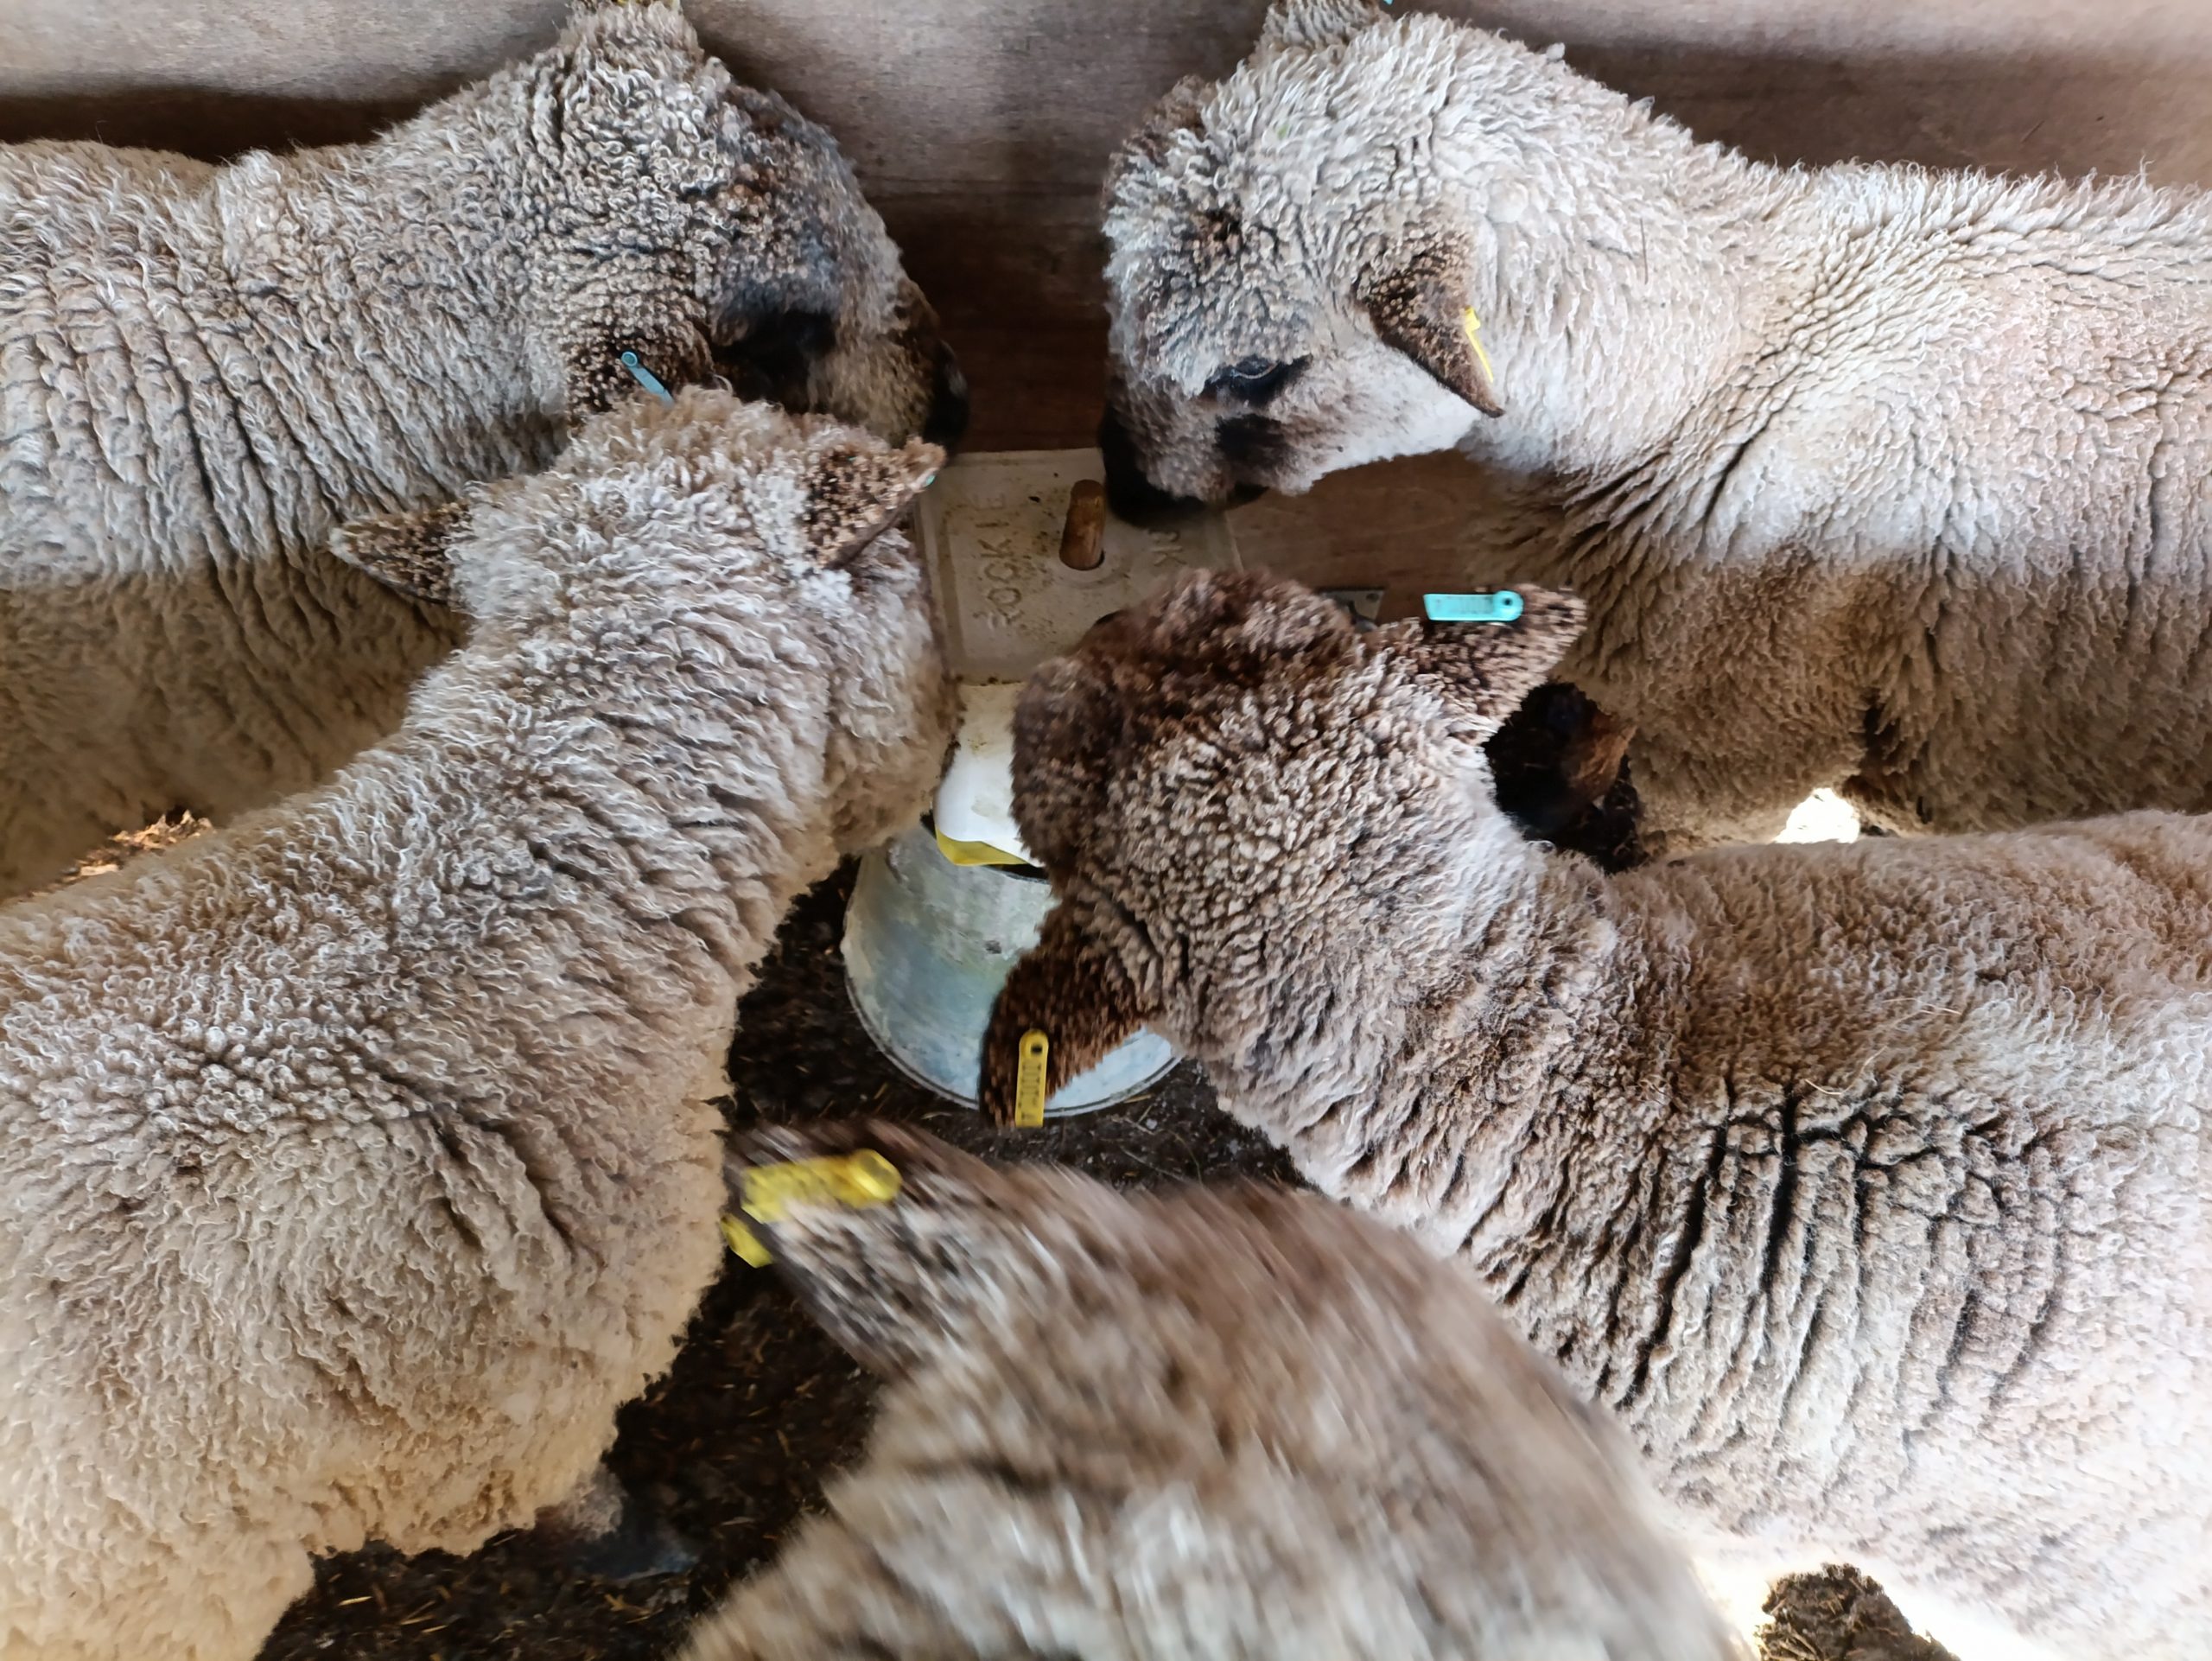
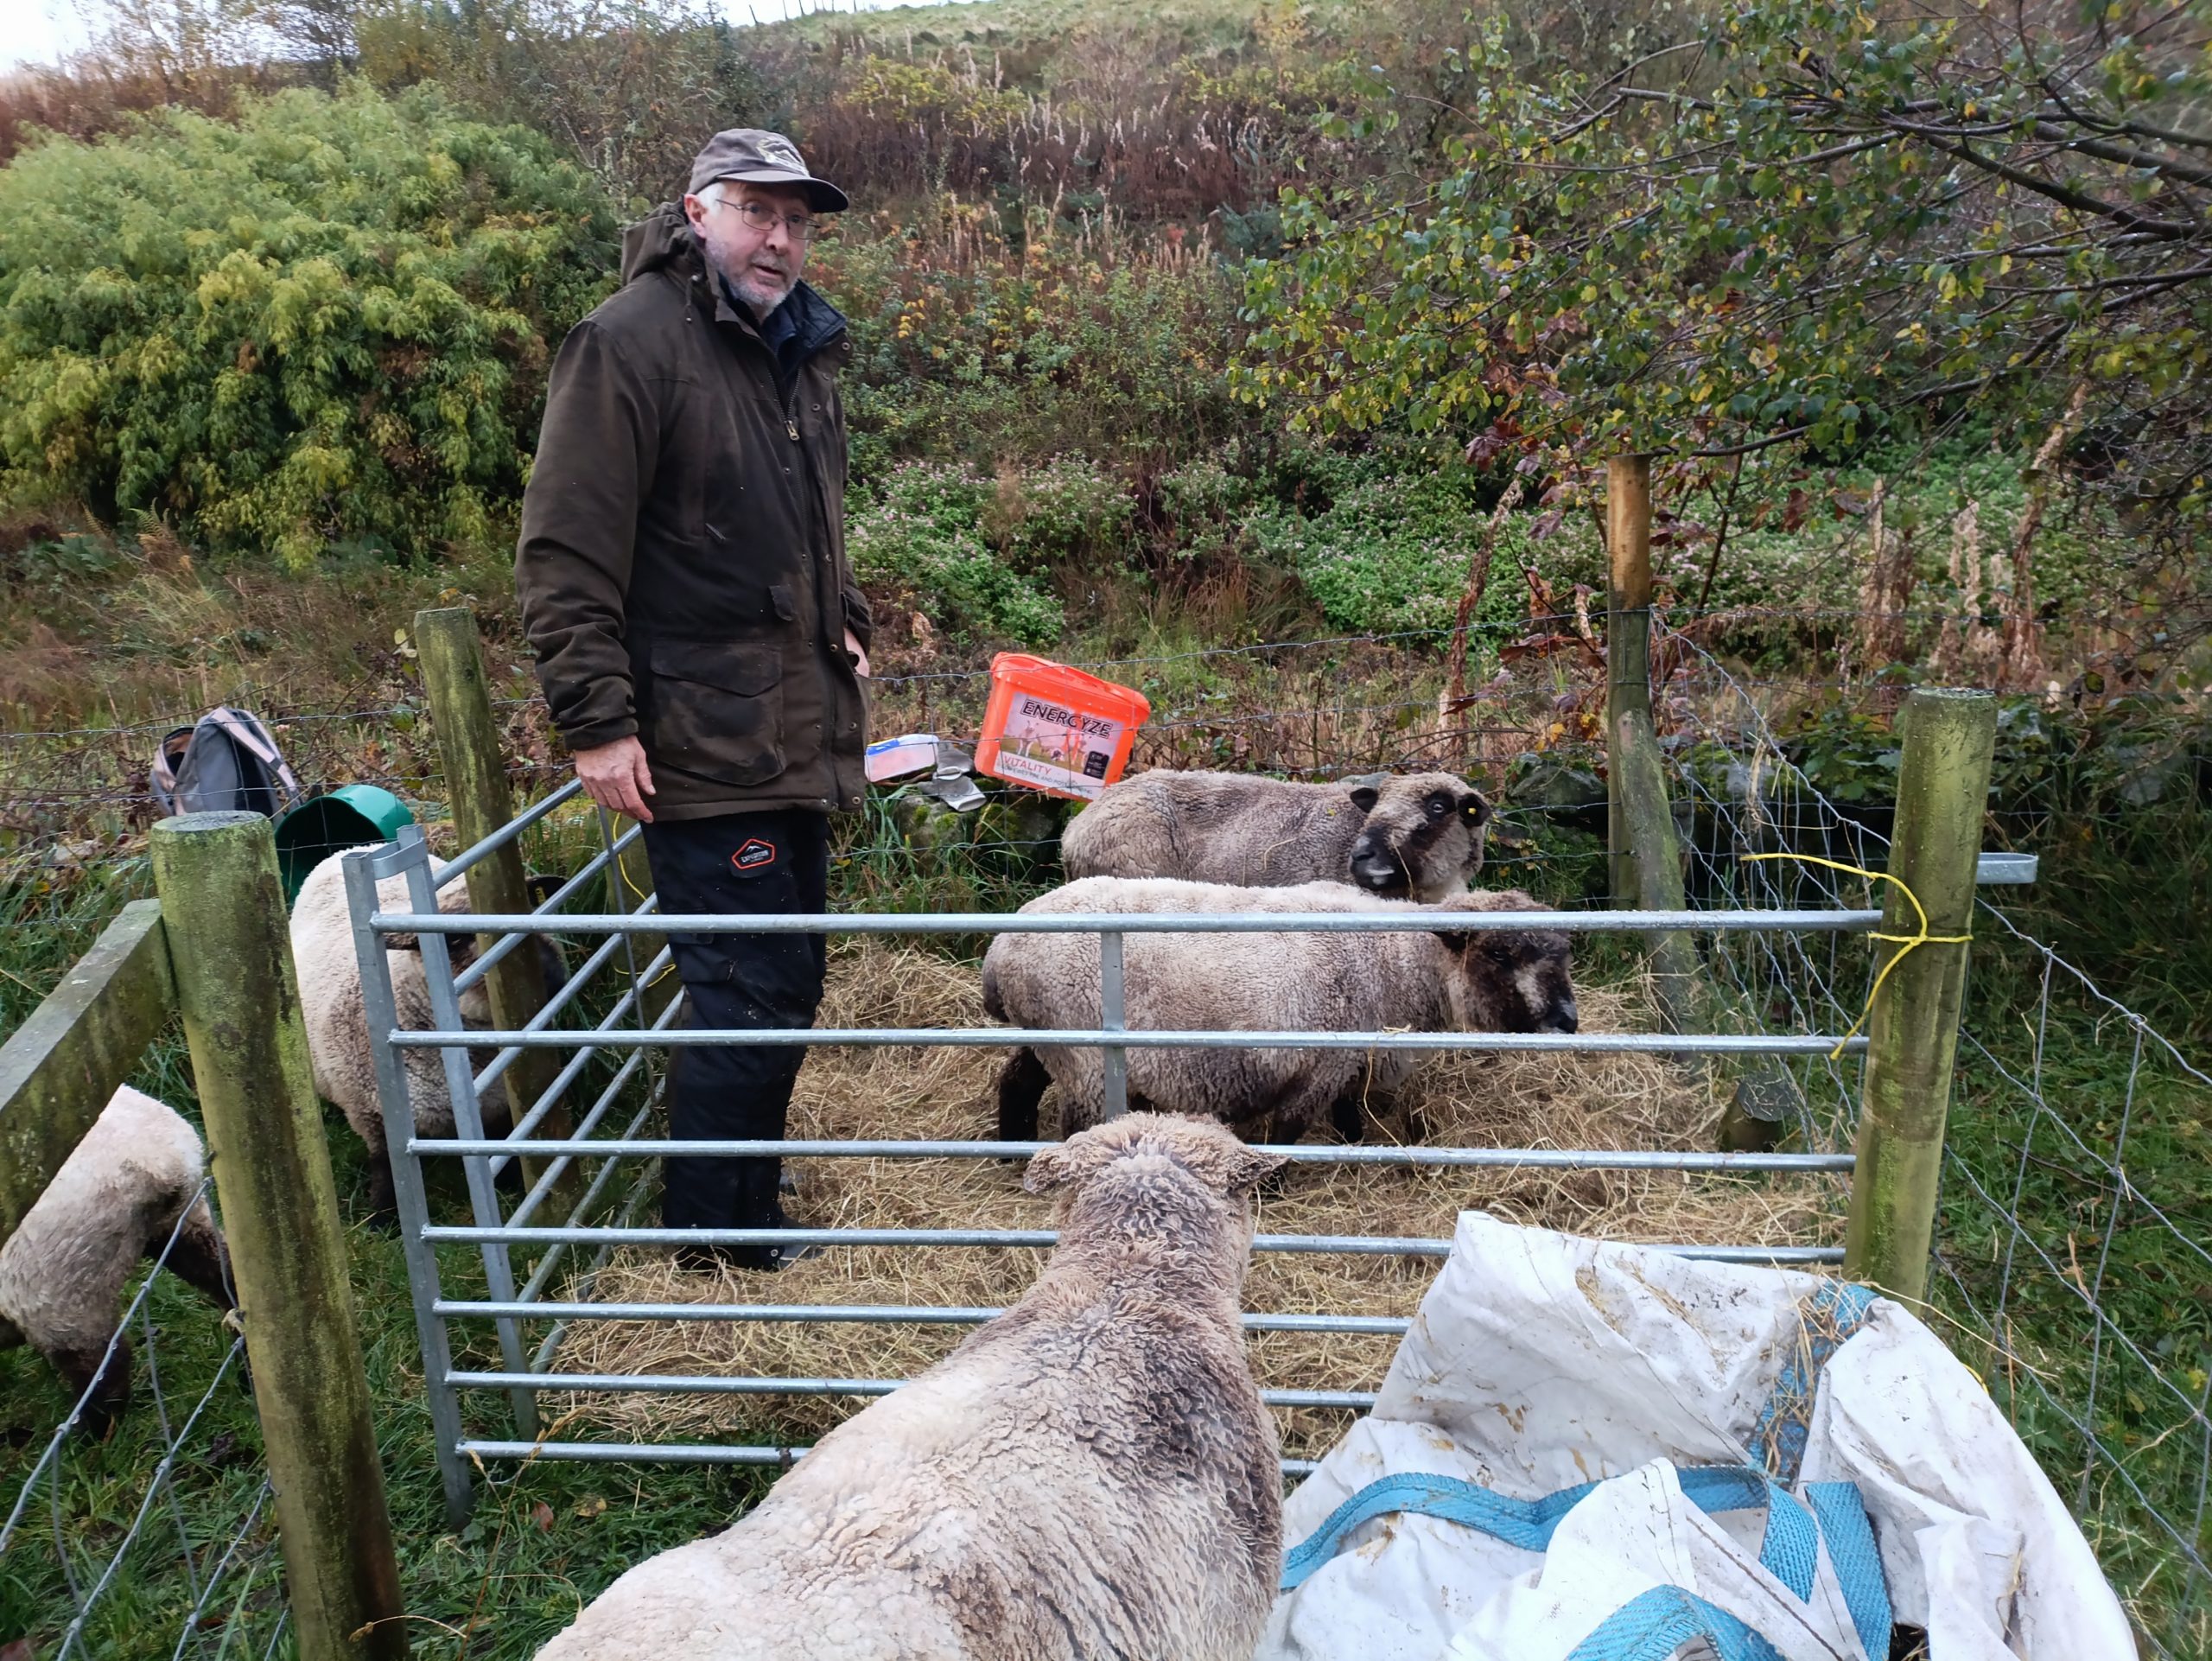
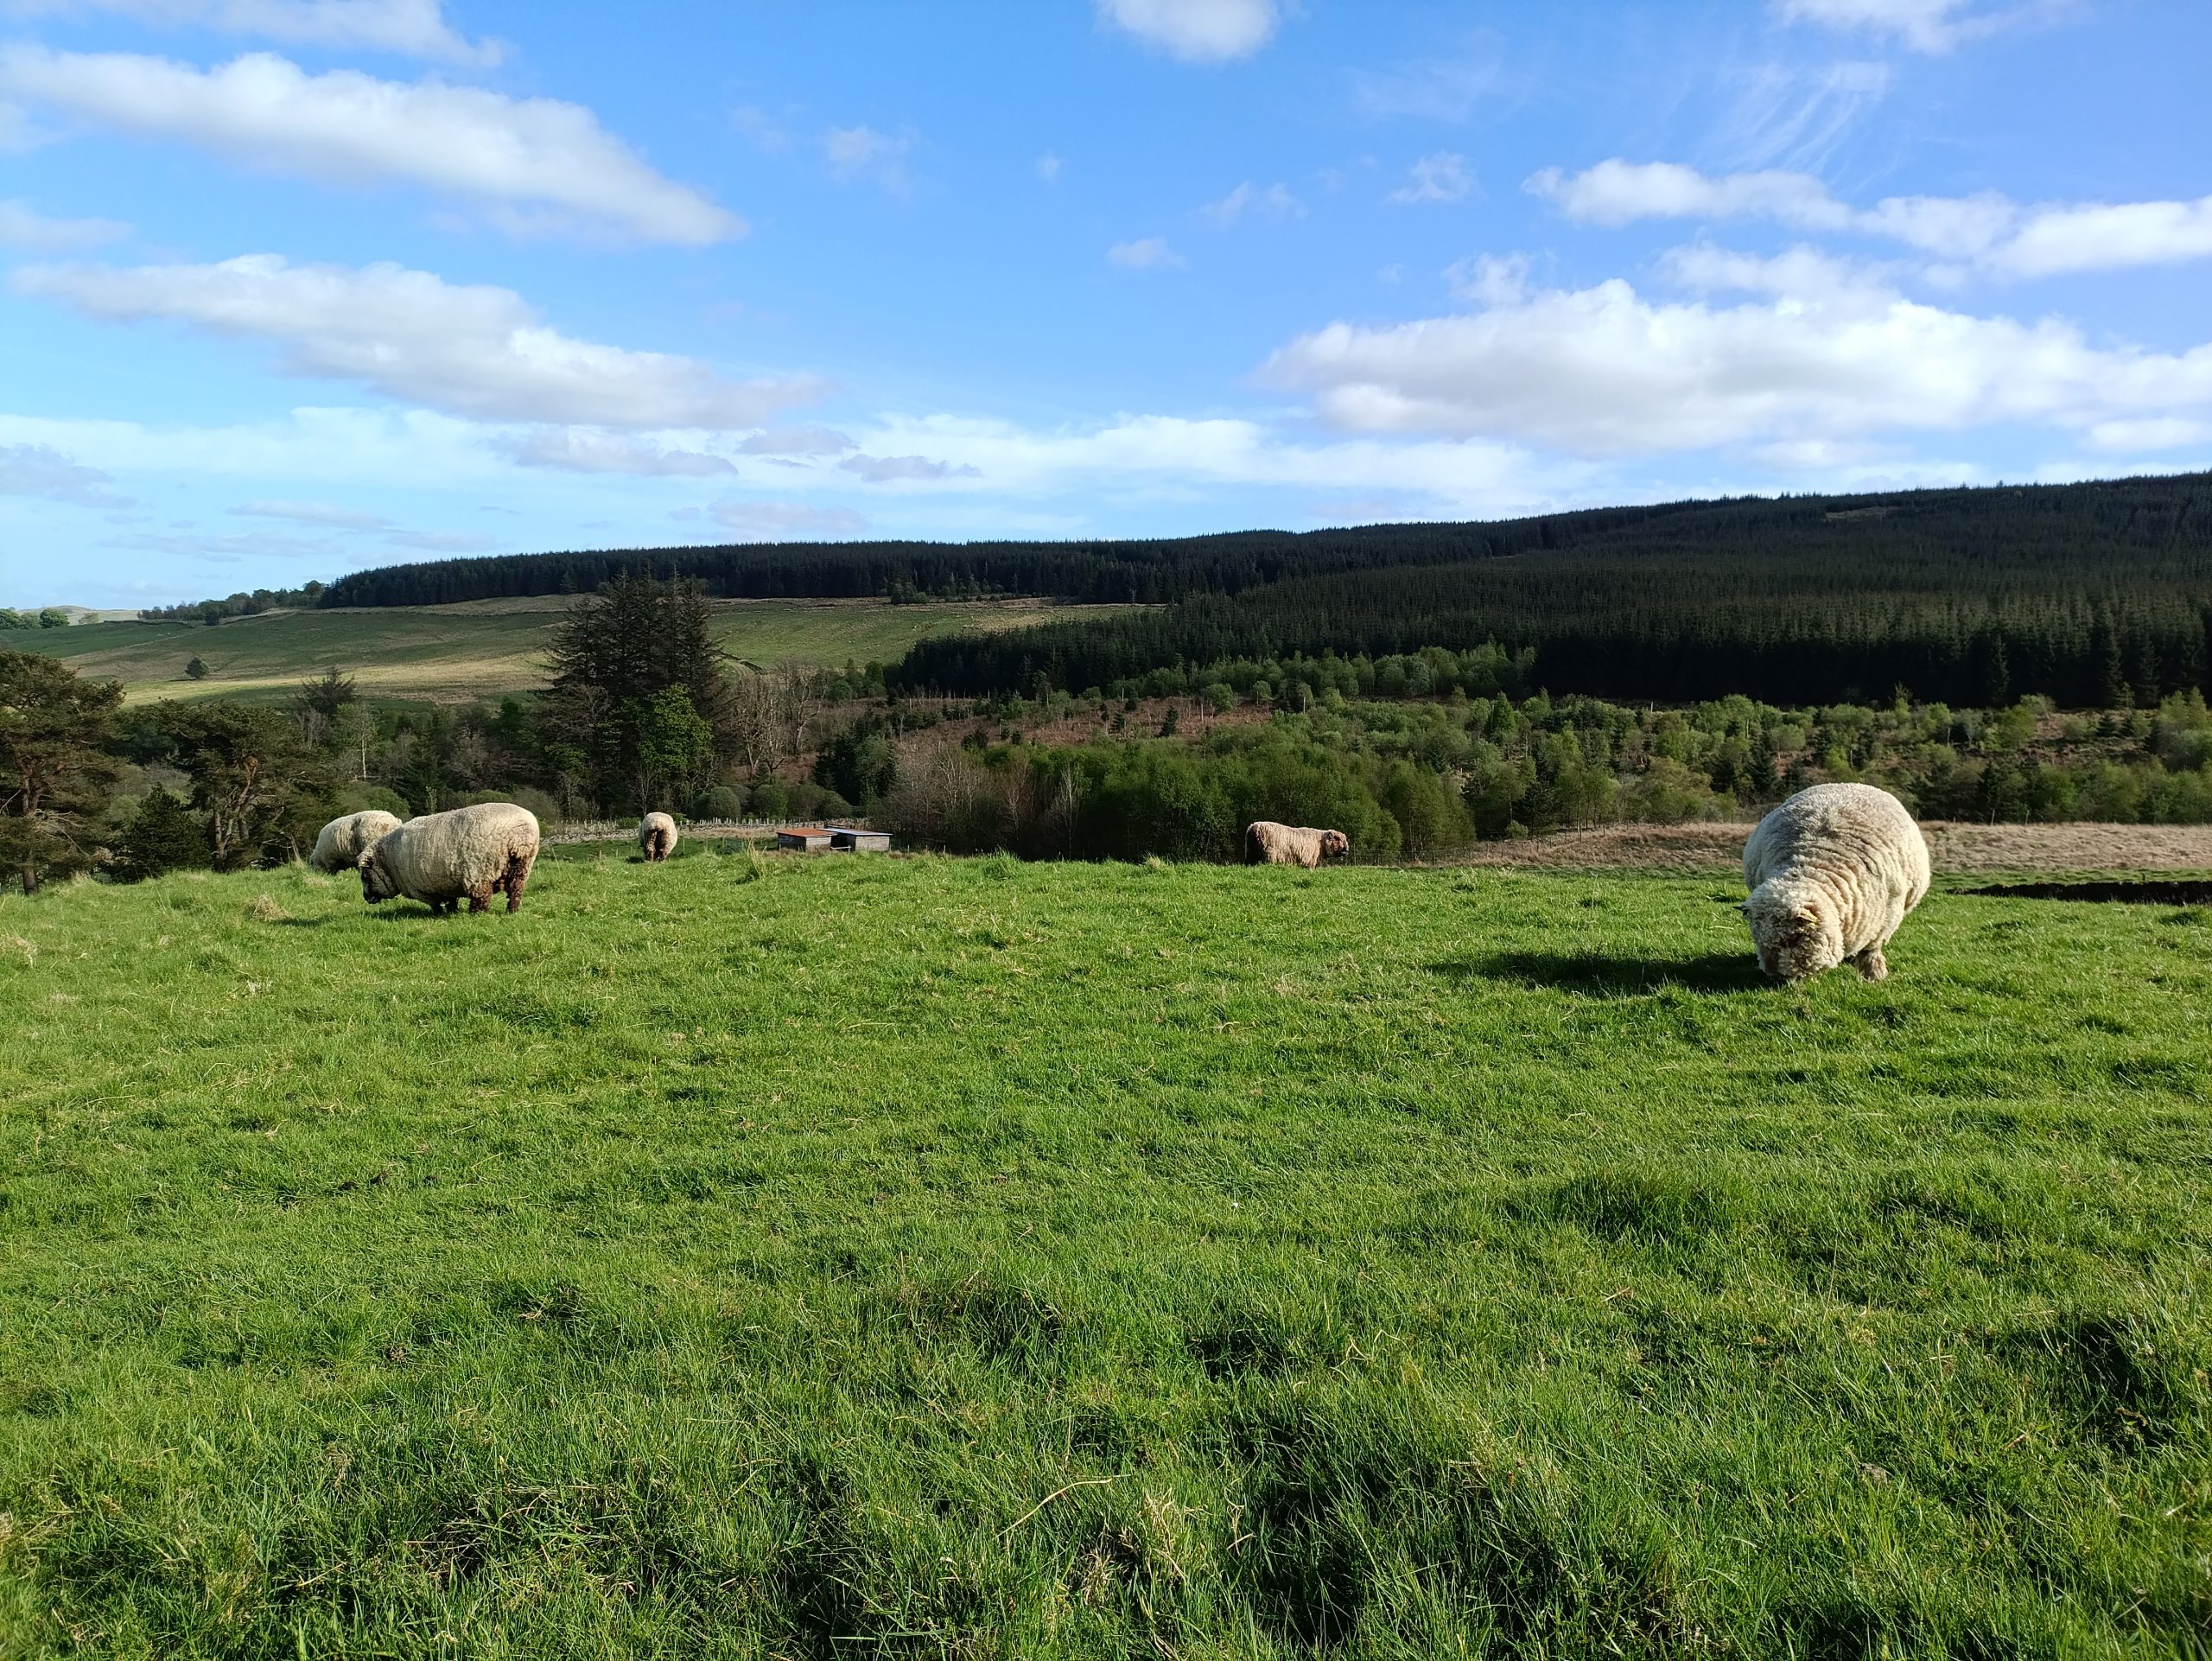
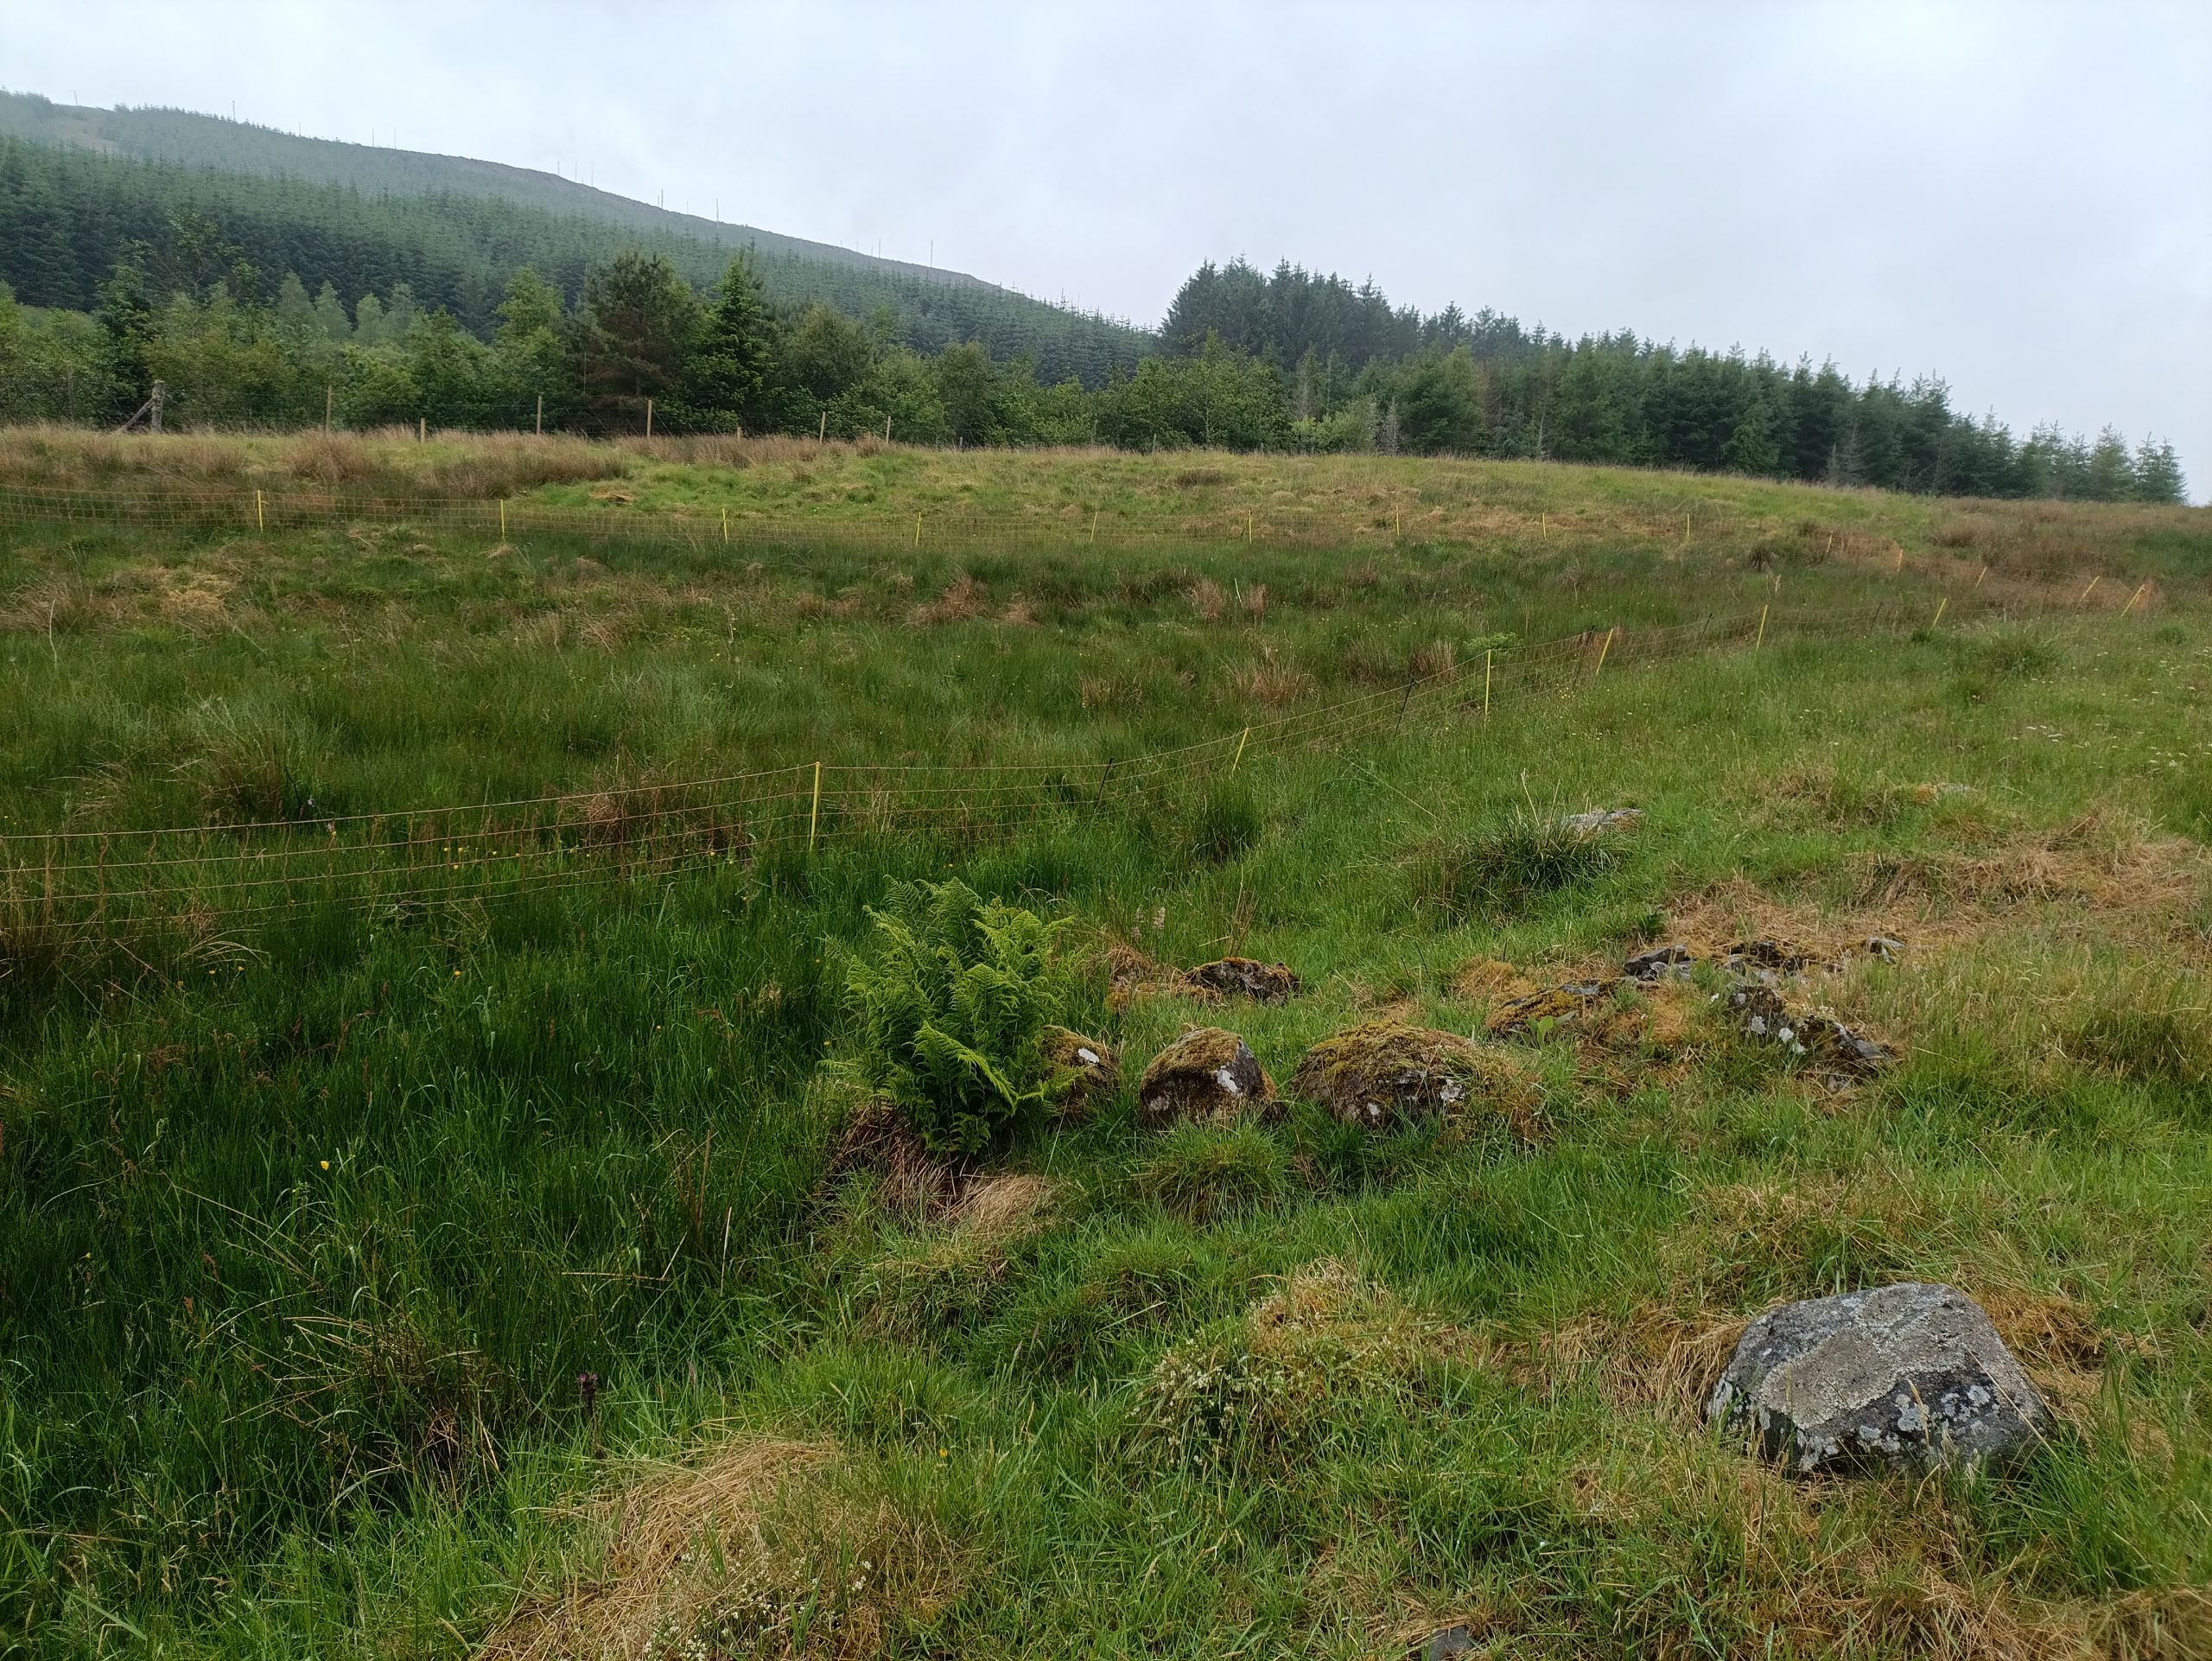
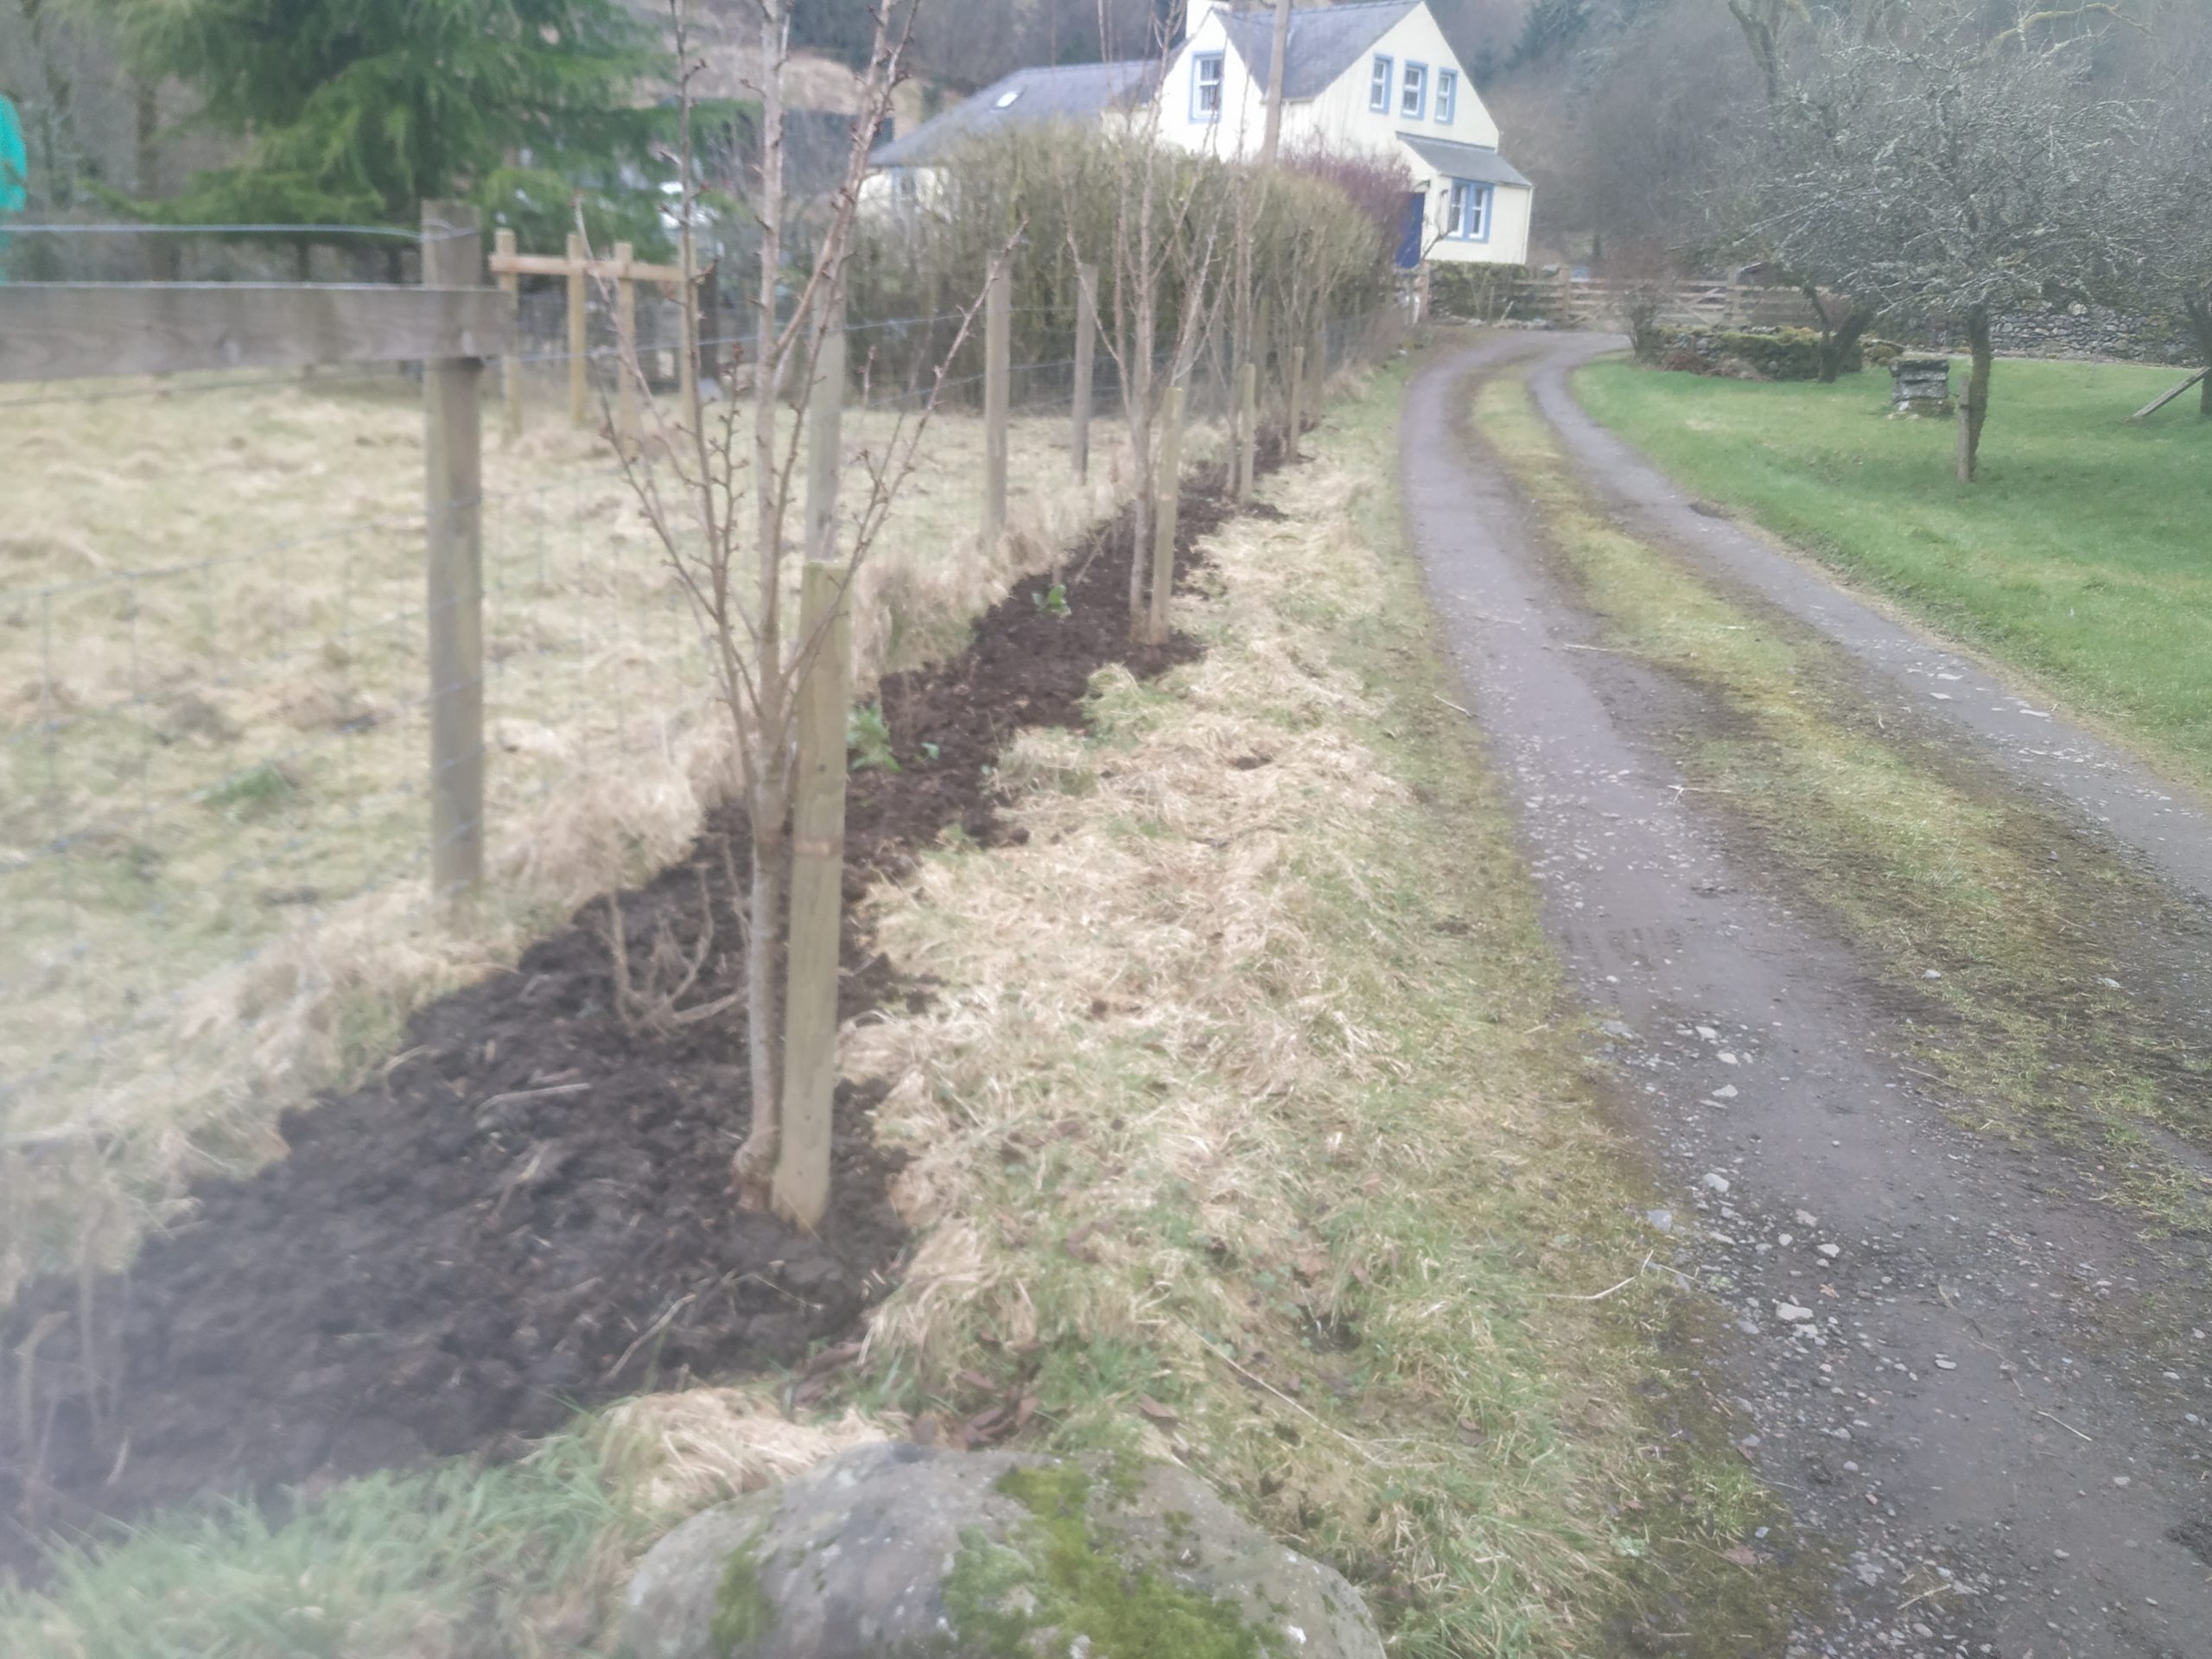
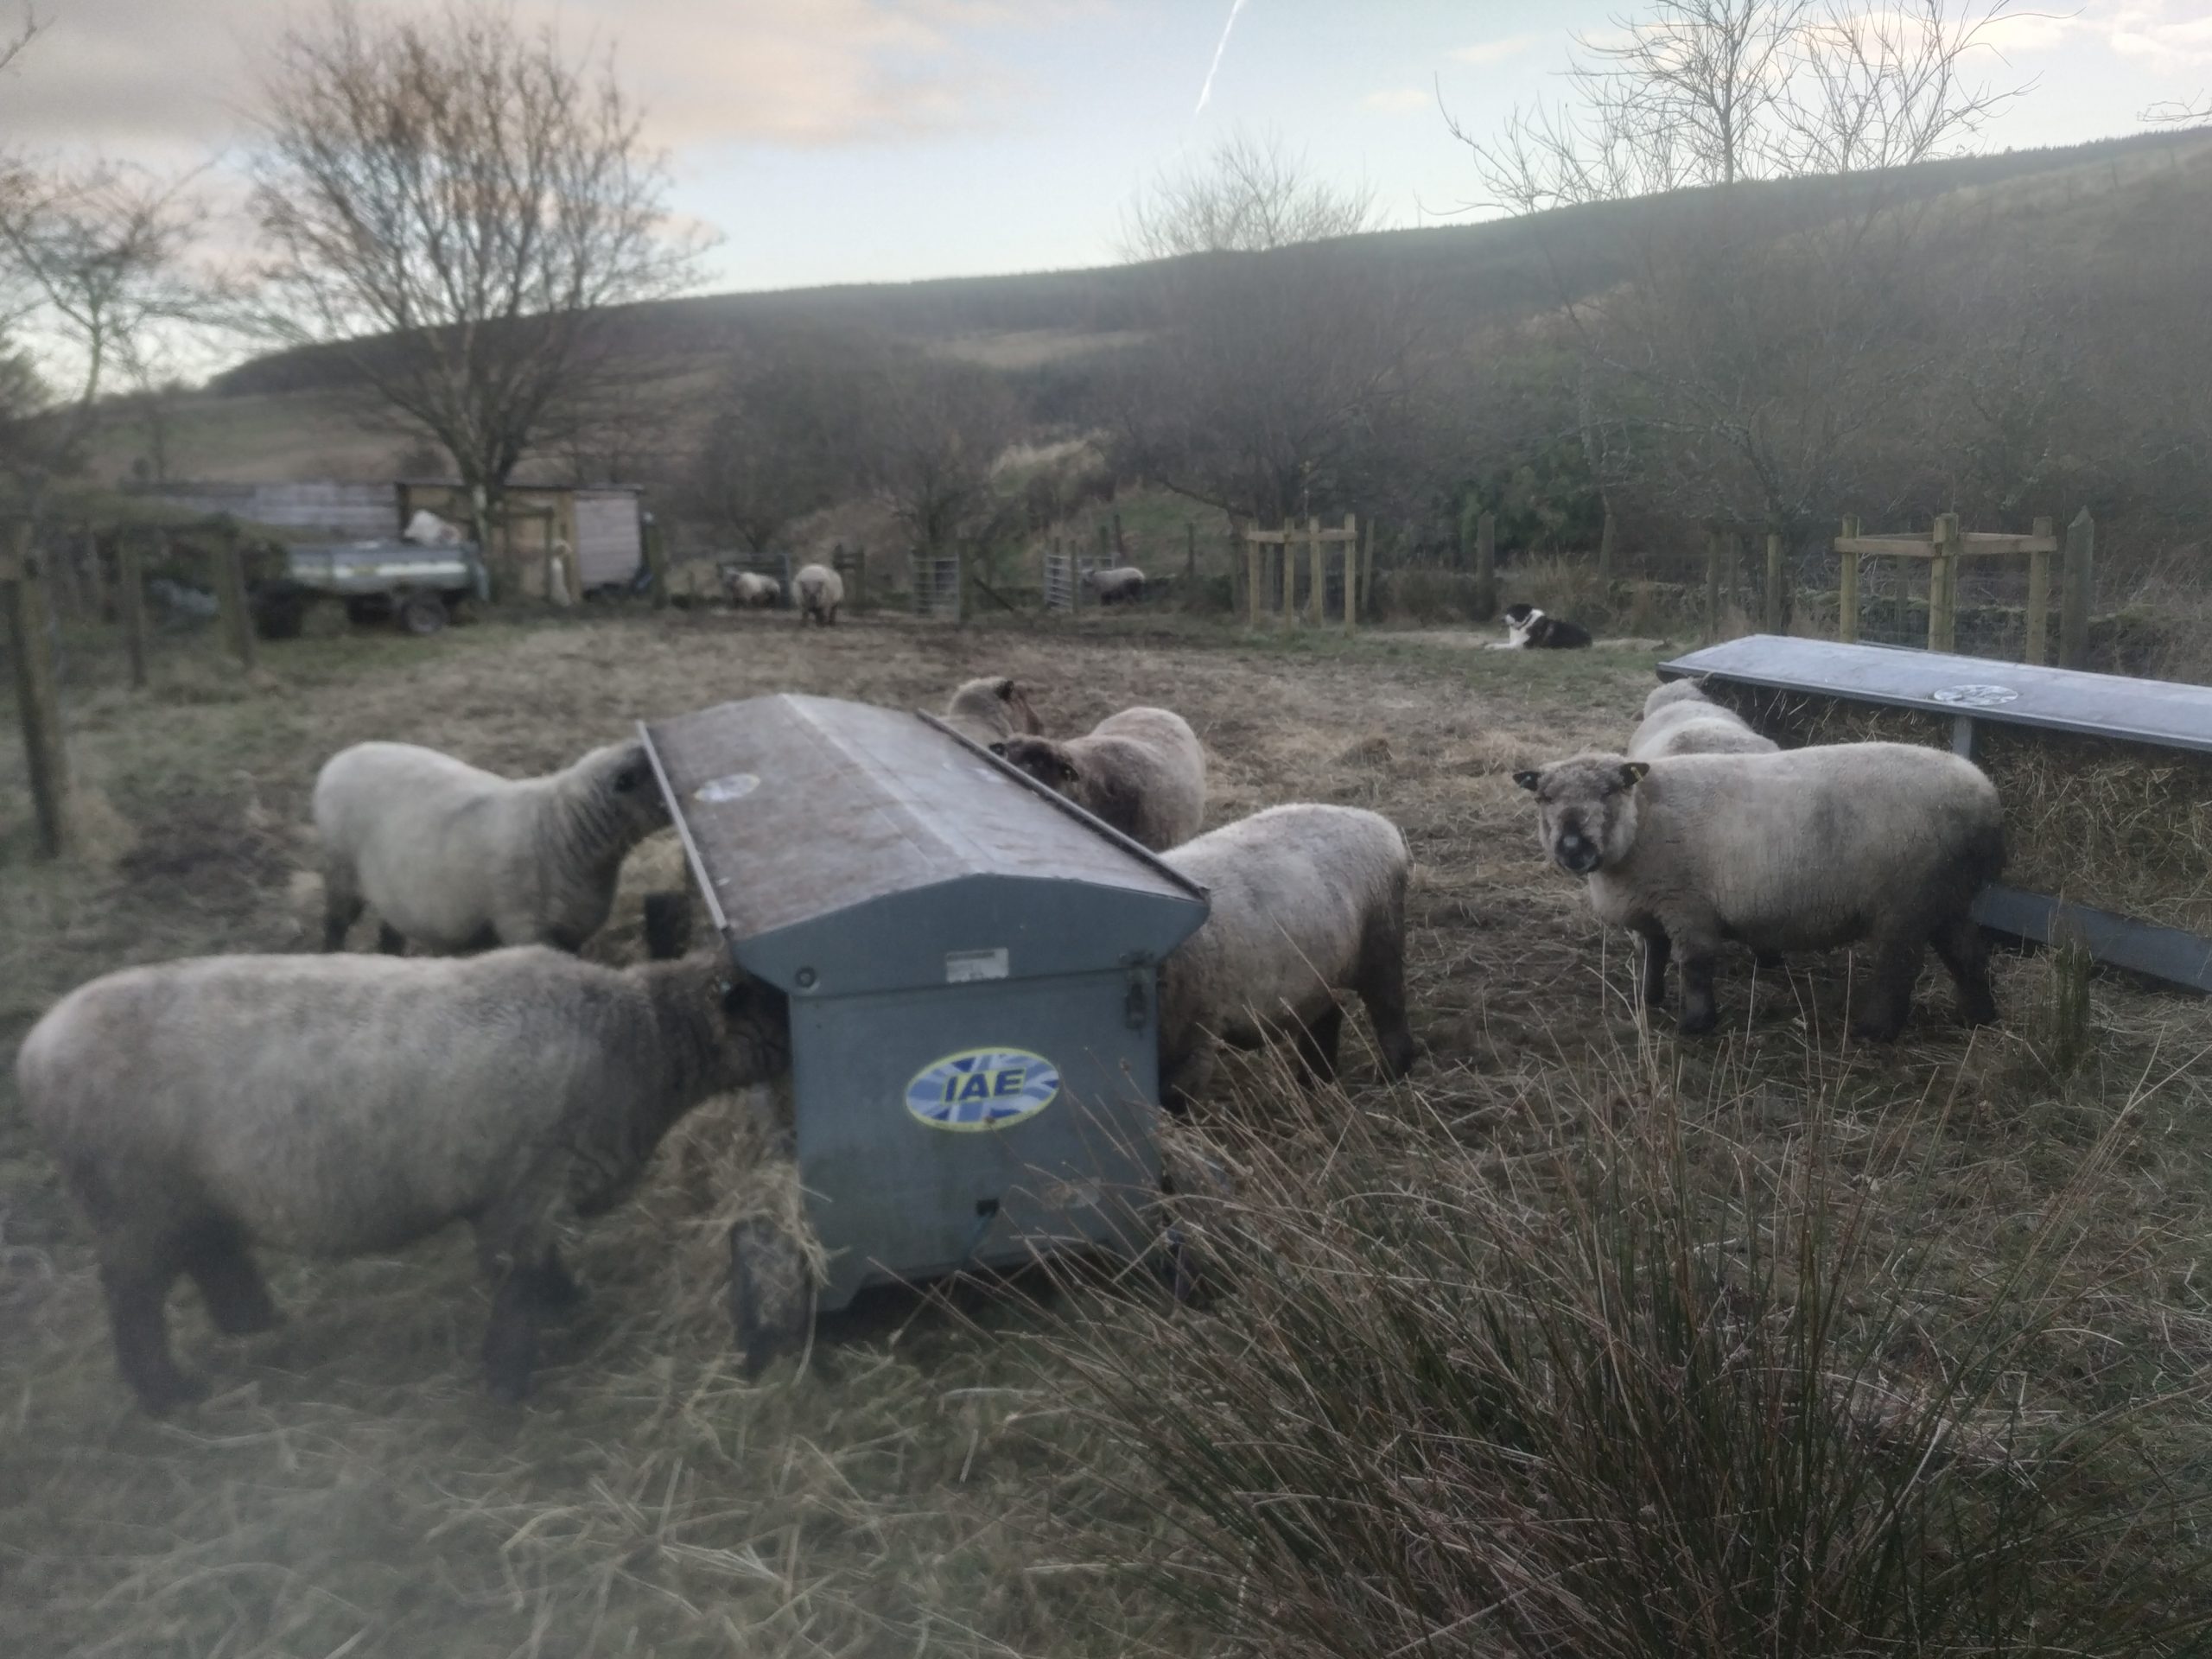
This week however, after weeks of rain we had a sudden cold snap with snow and sub-zero temperatures.  With the snow settling on the pasture the gang very sensibly set up camp in the orchard near the feeders and their favourite place; the shed.

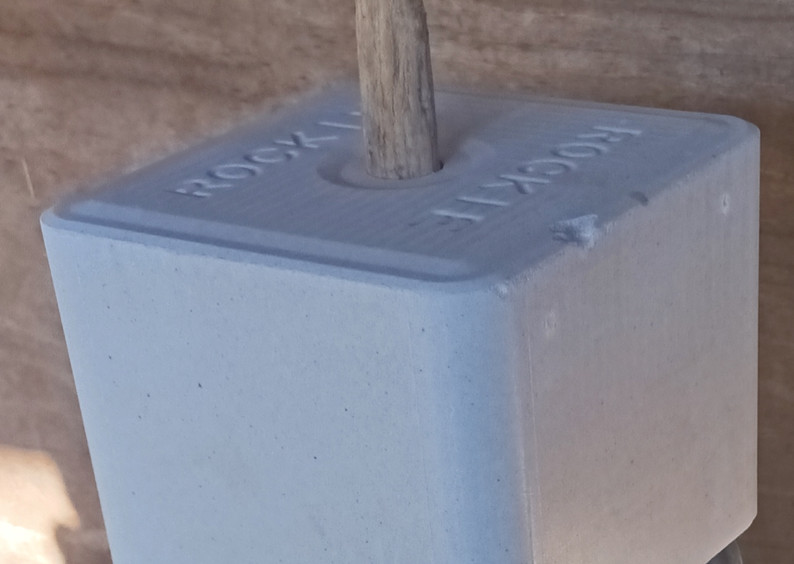
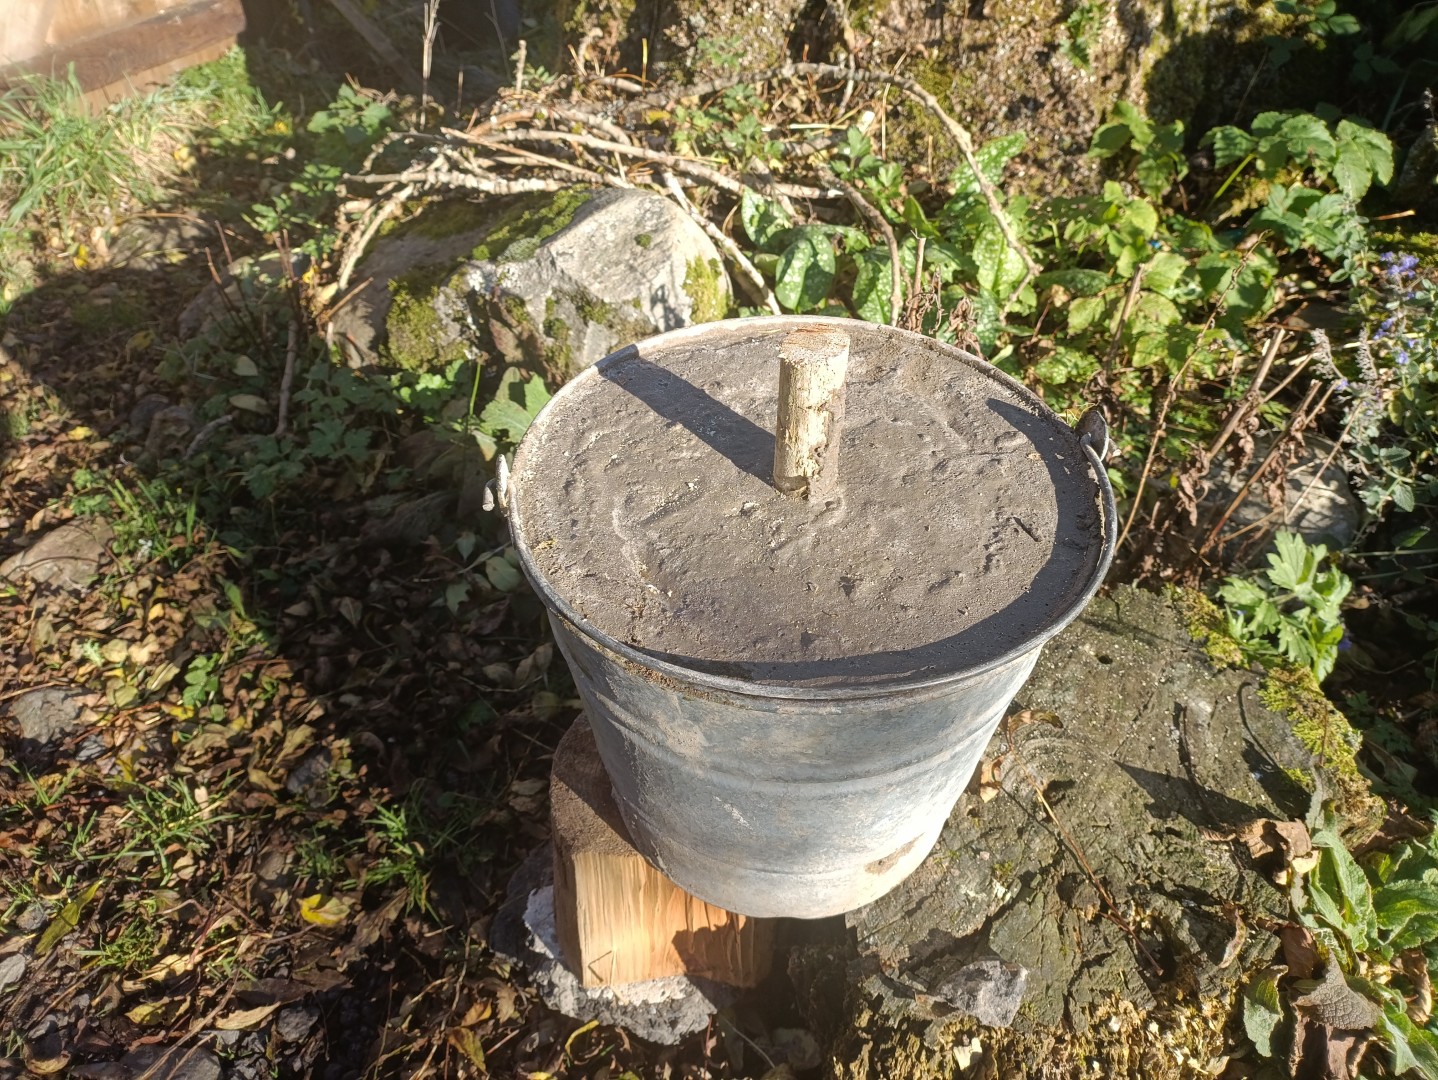
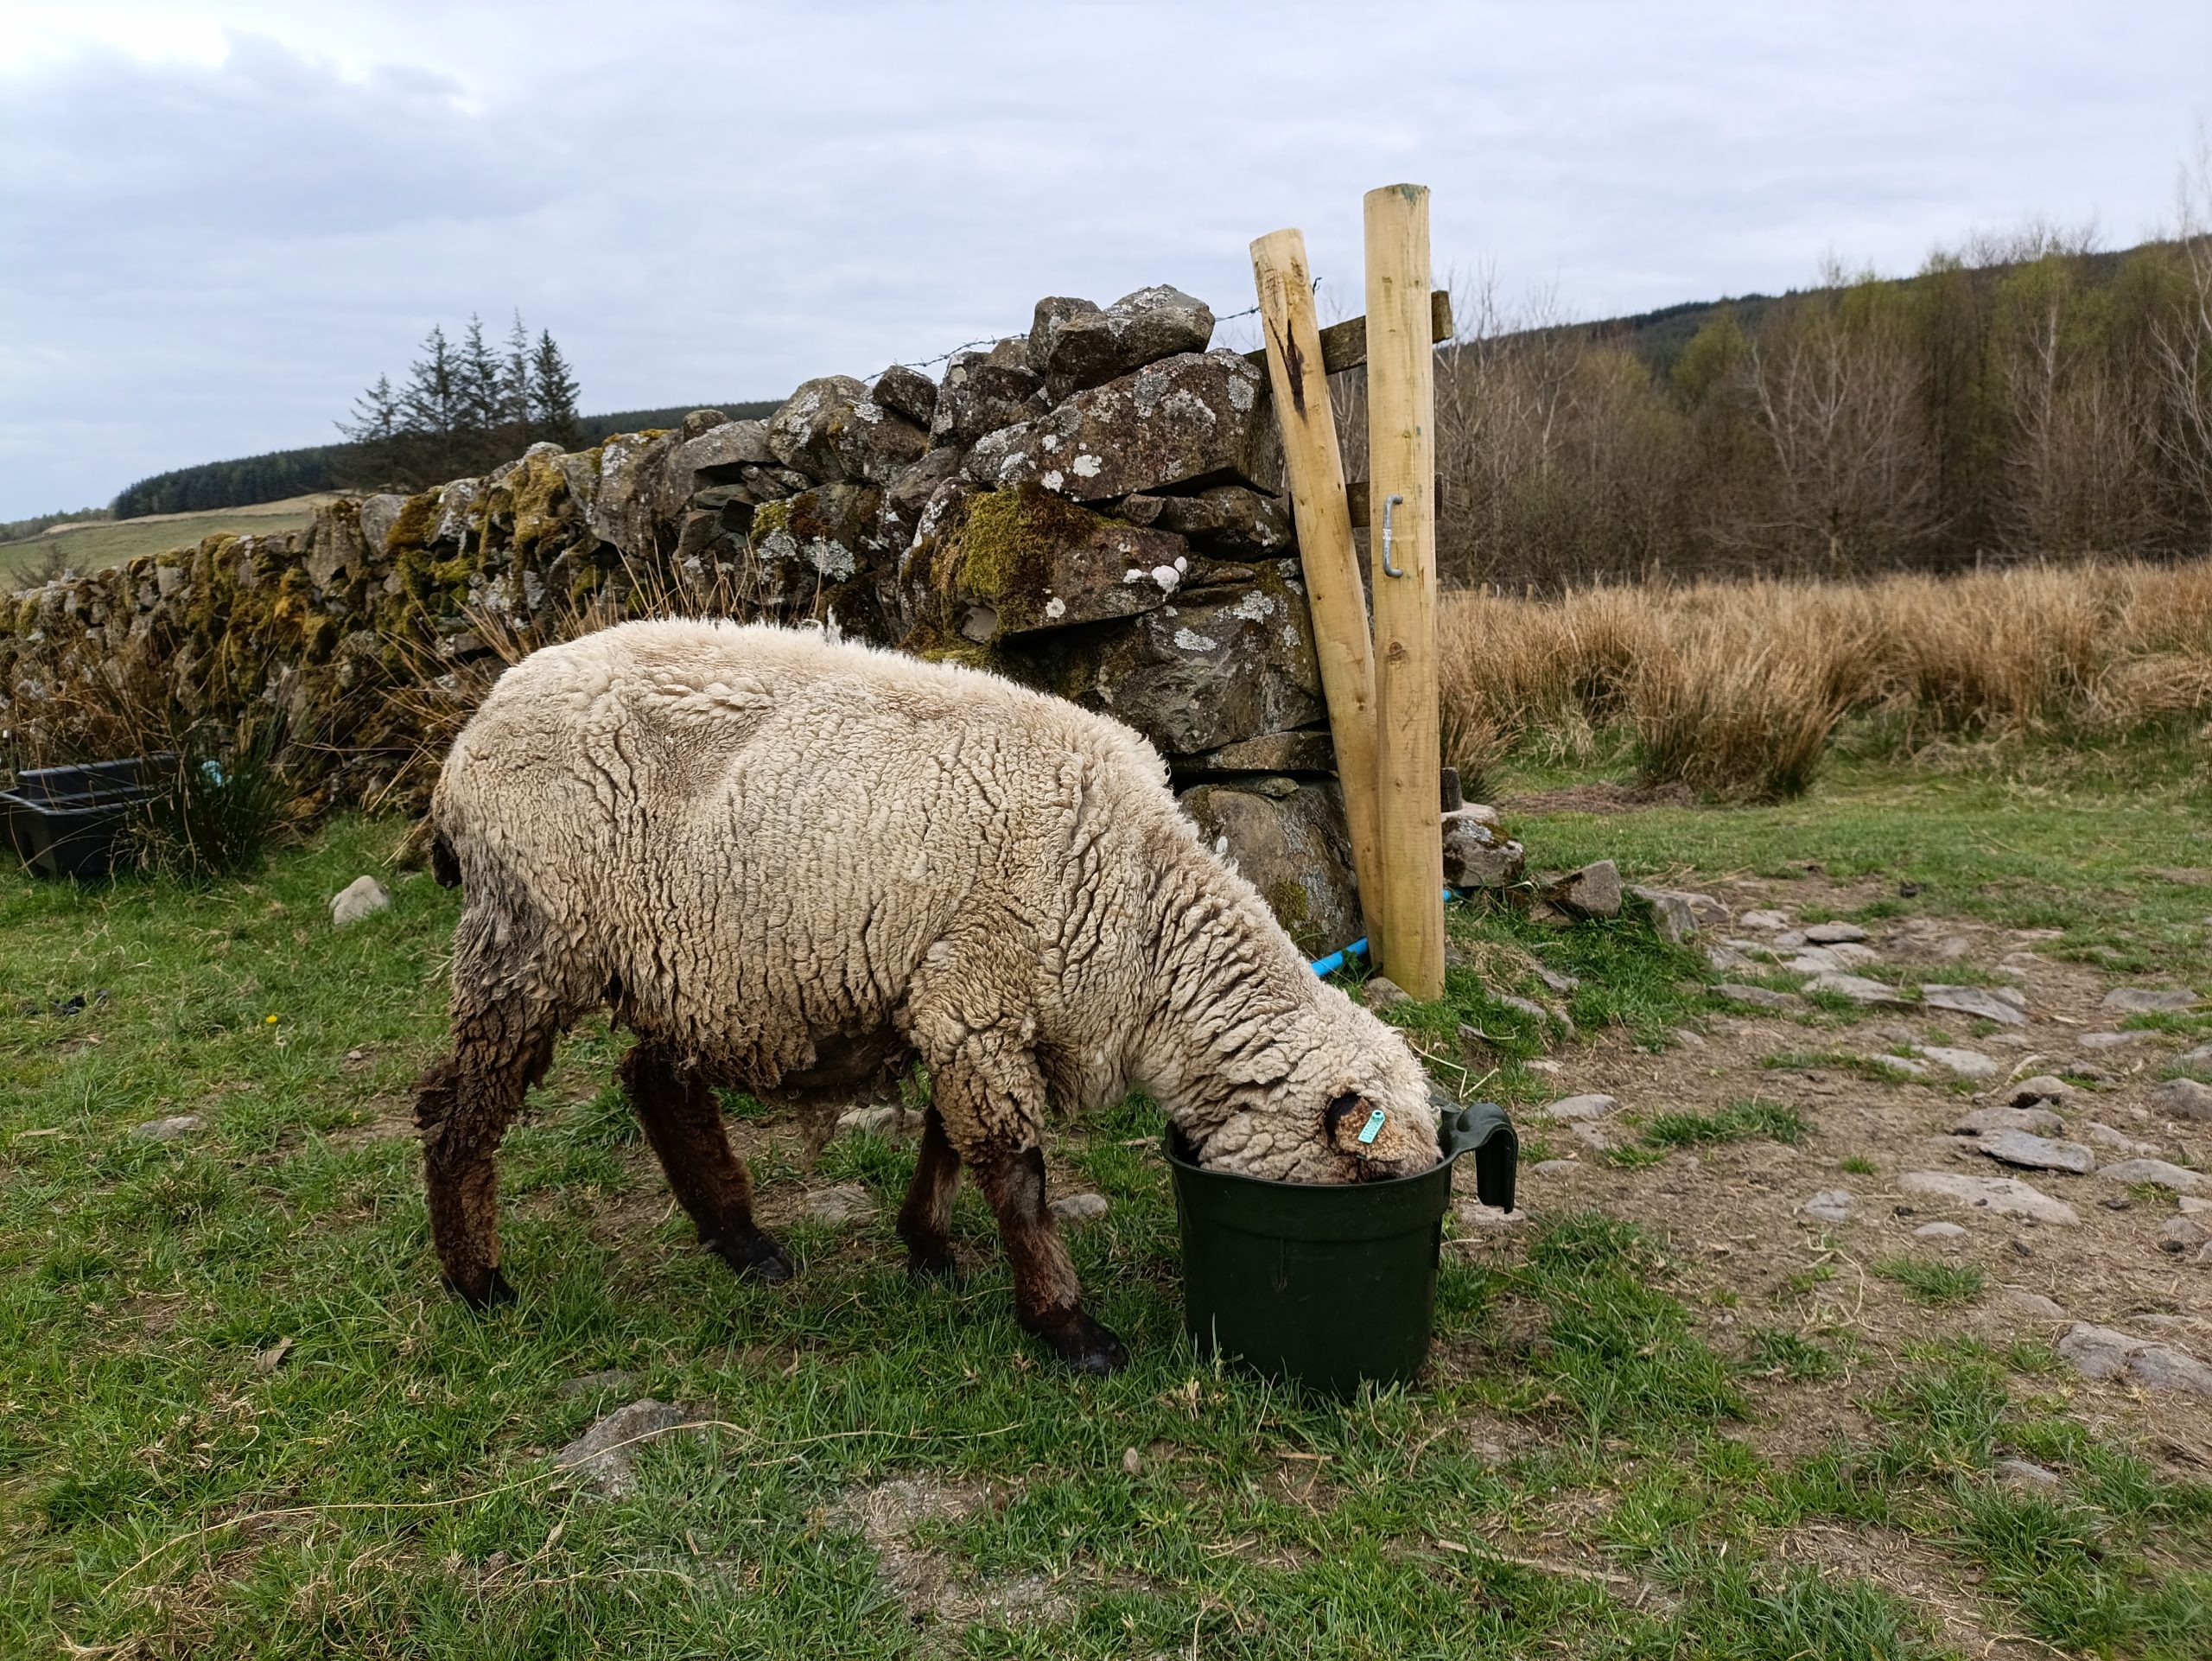
With the cold weather I noticed Sky was starting to lose interest in her bucket.  This was strange as normally she loves her bucket.  We wondered what could be going on.

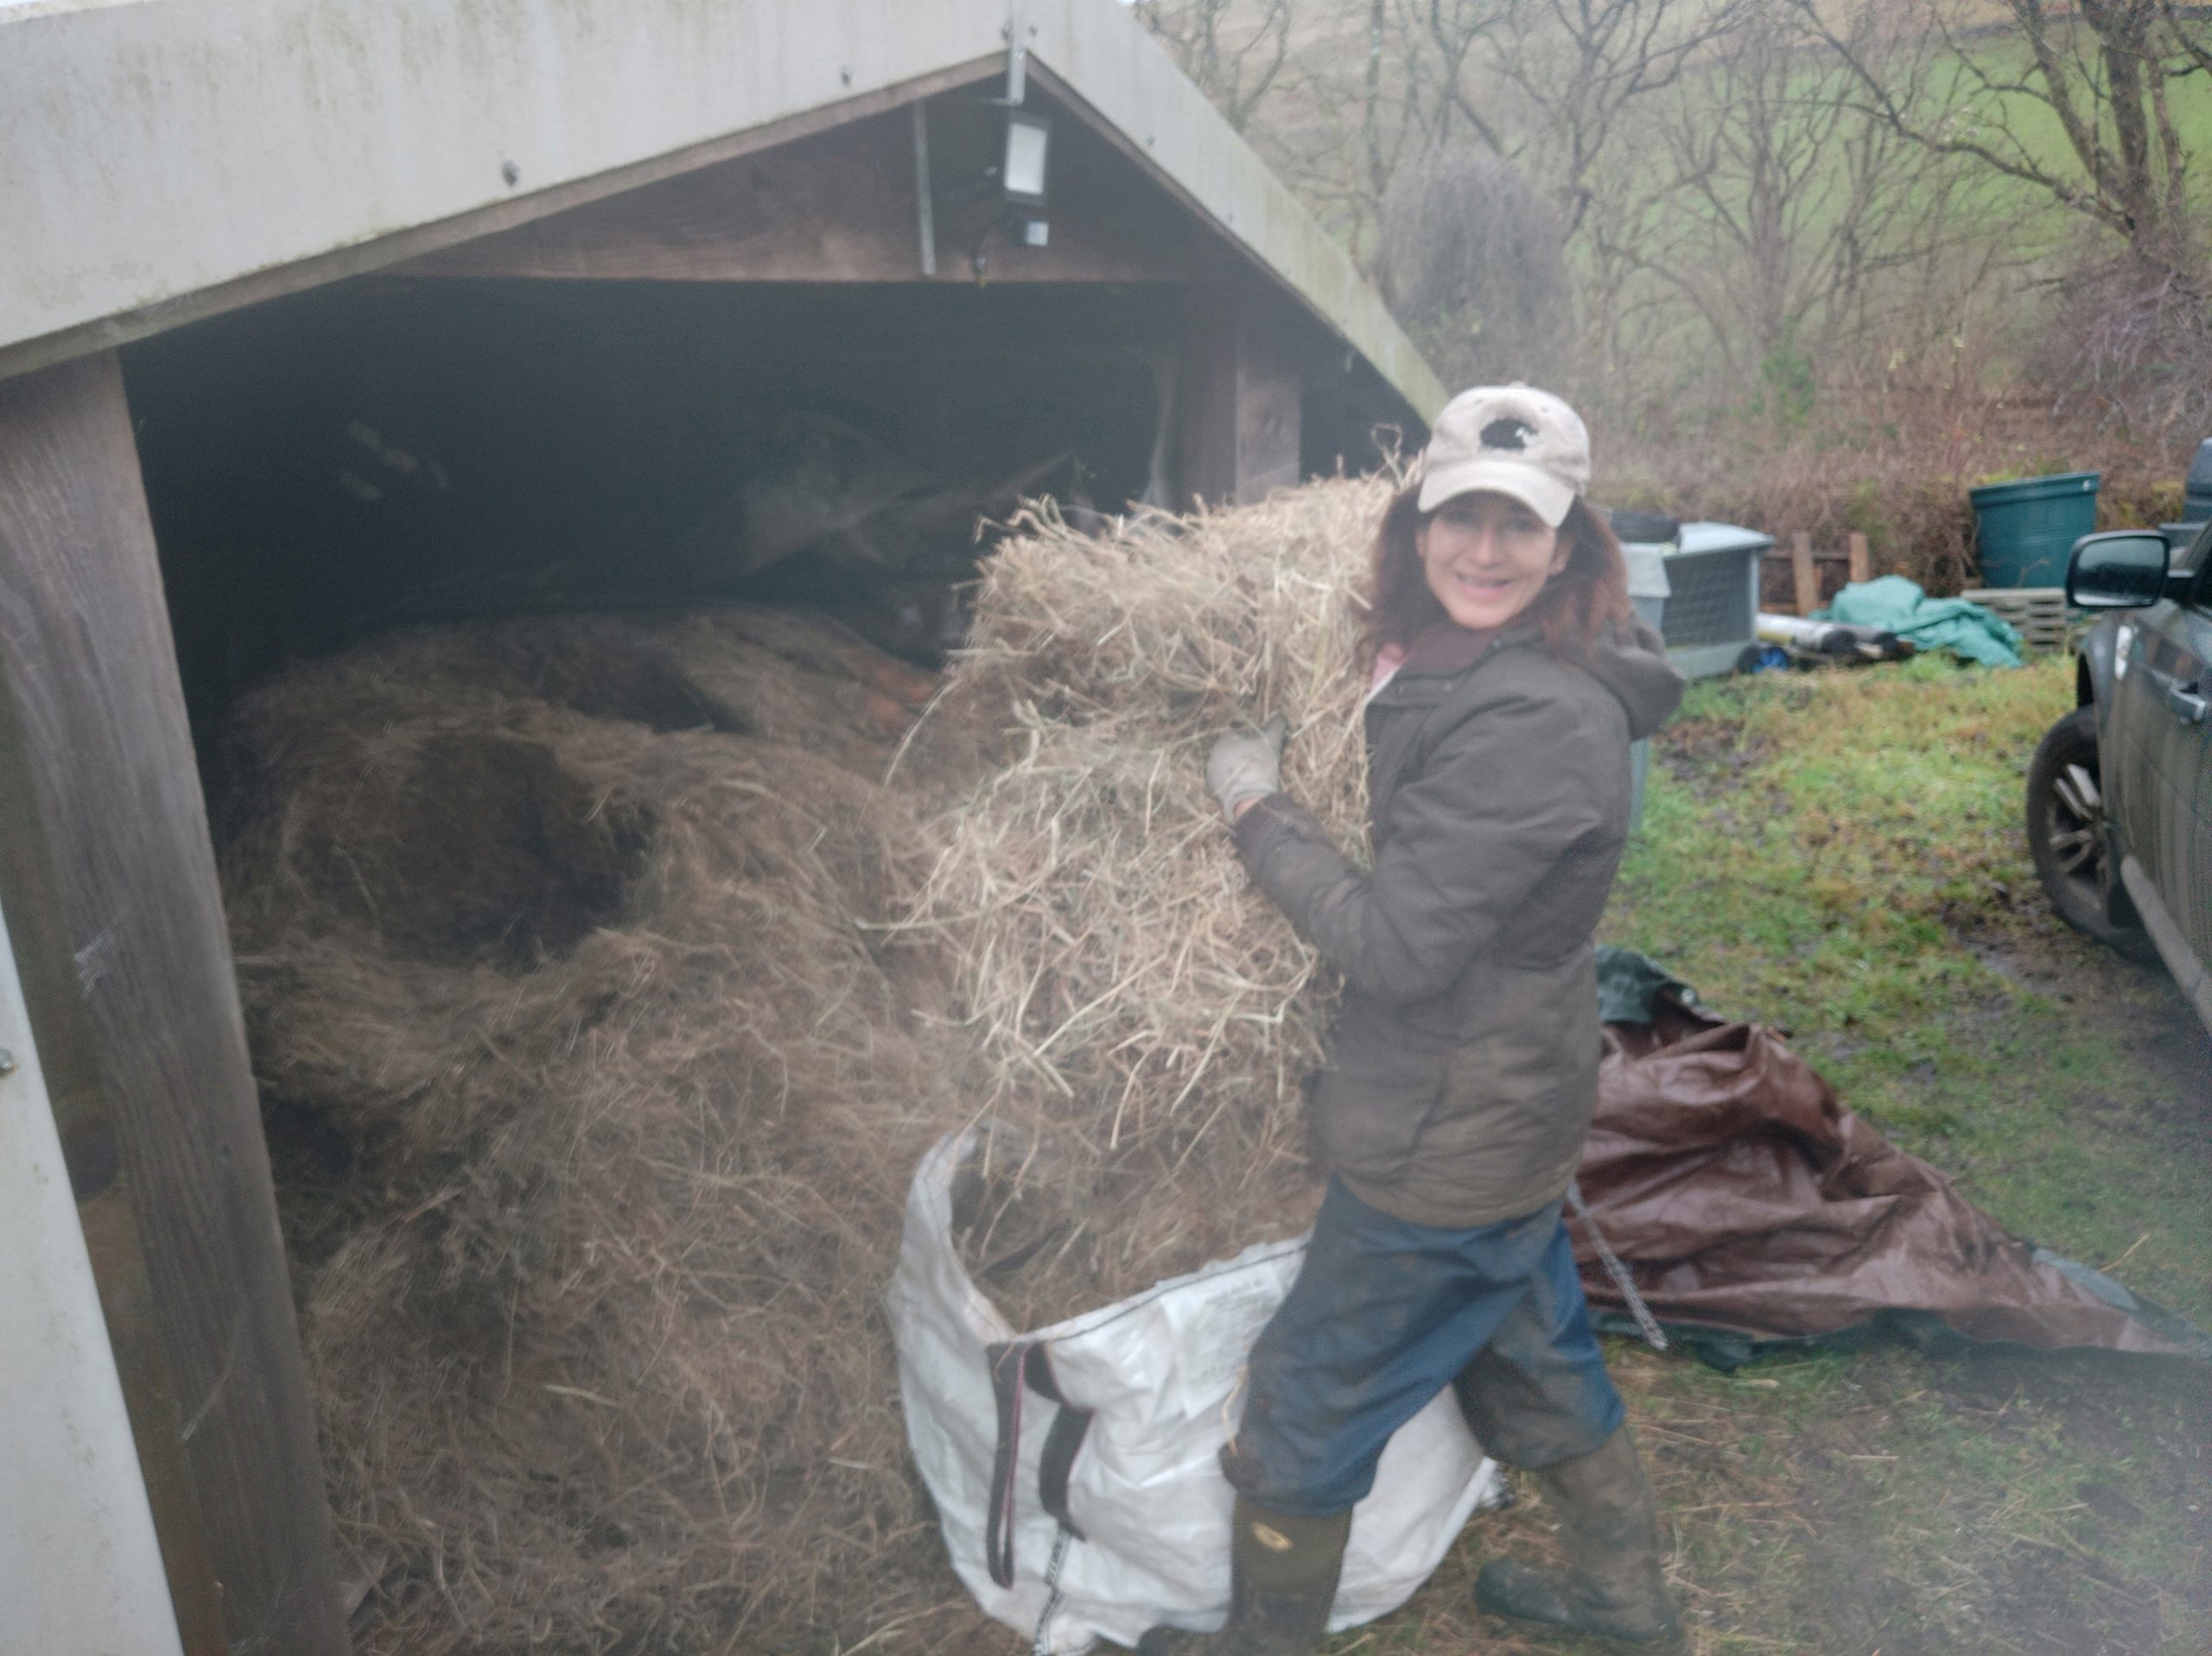
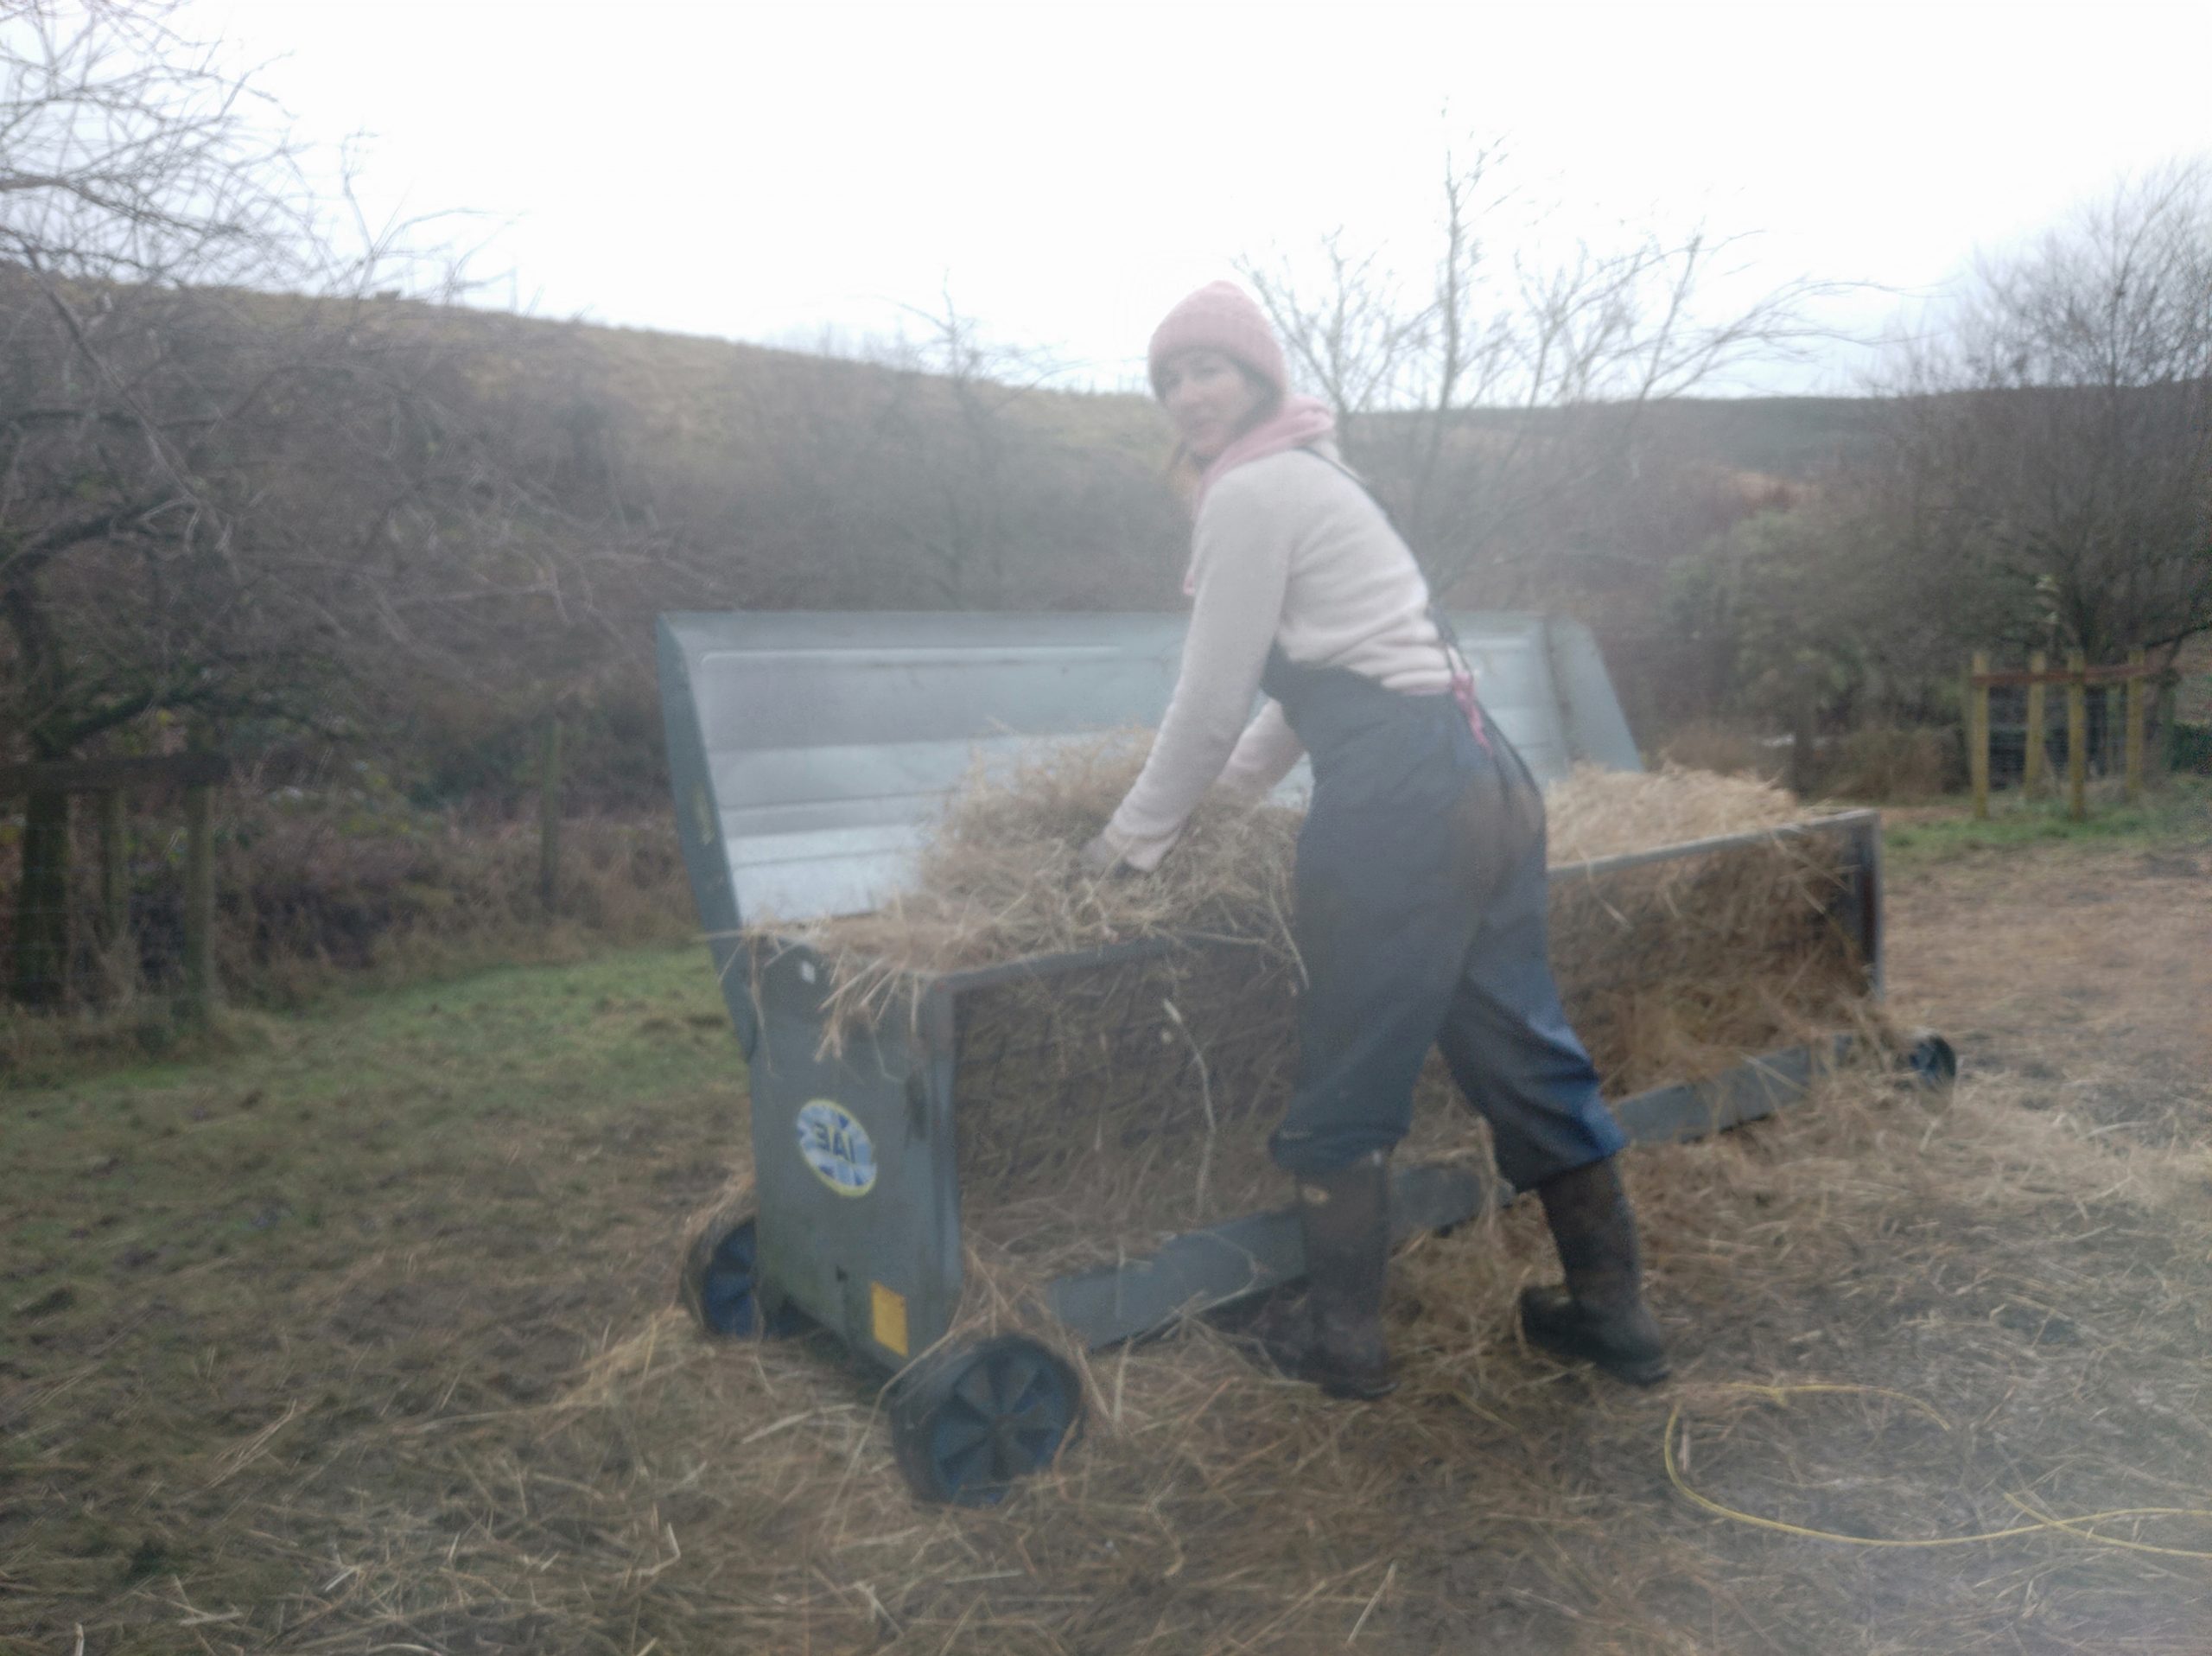
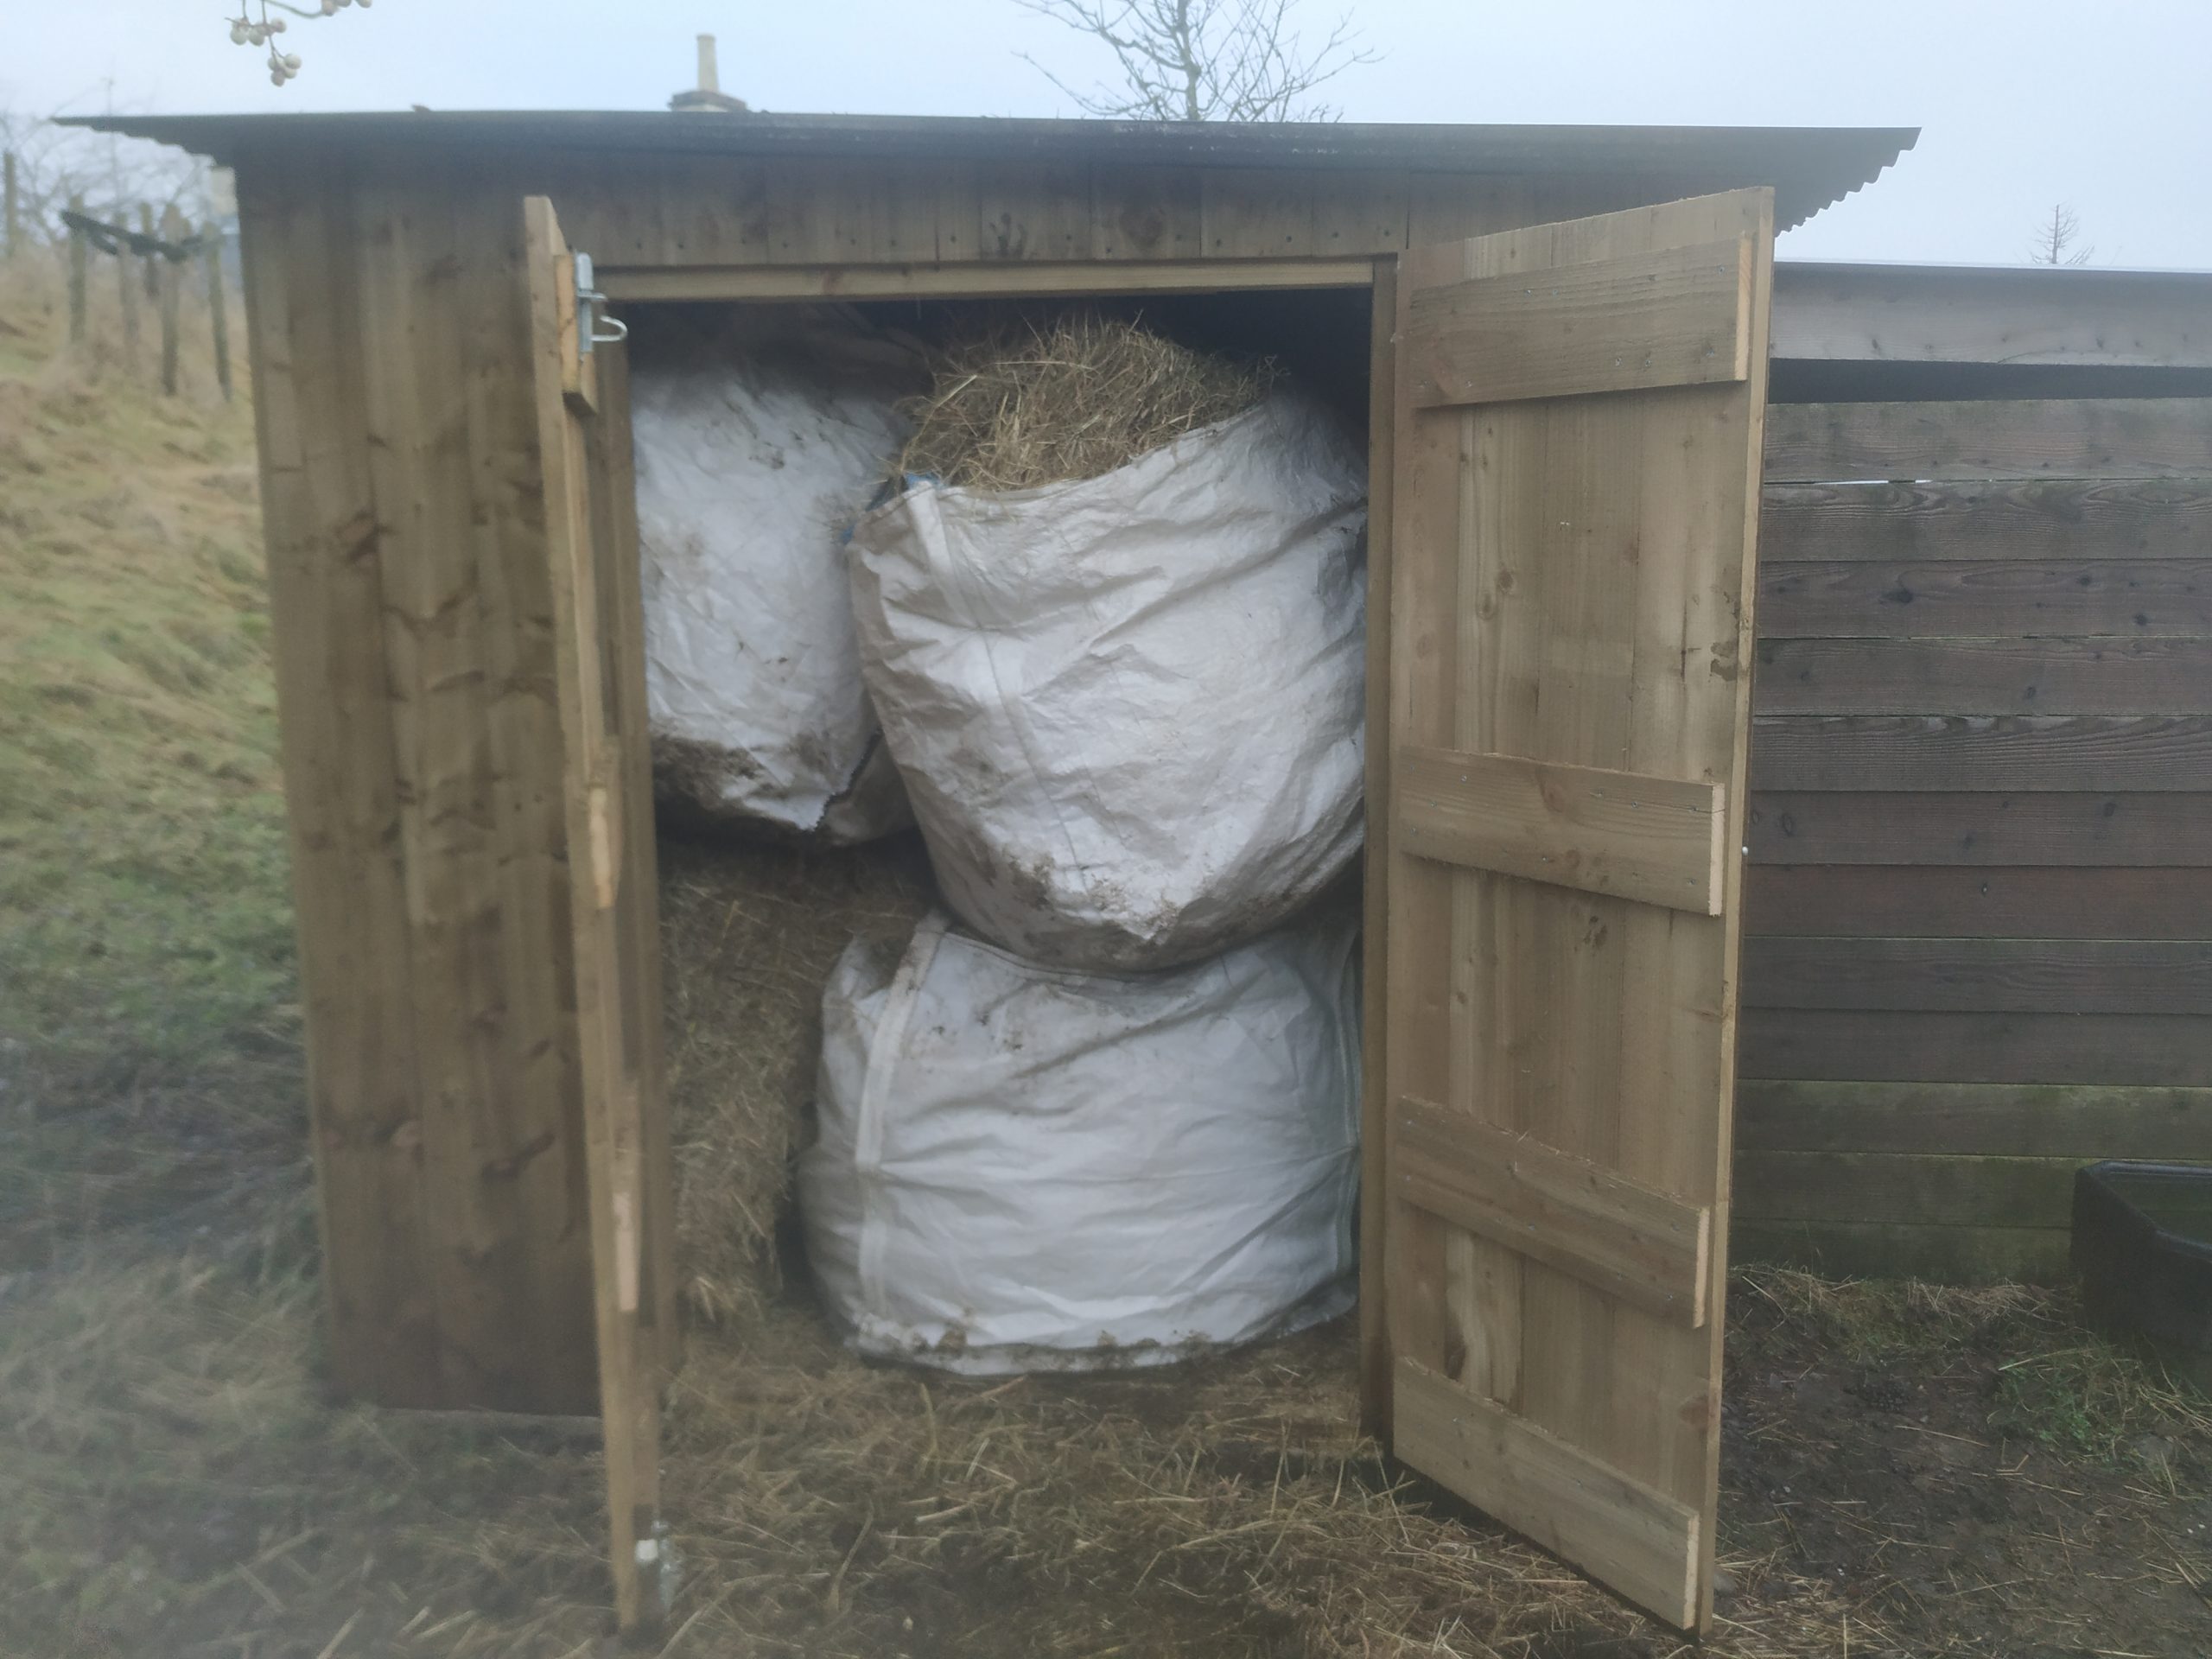
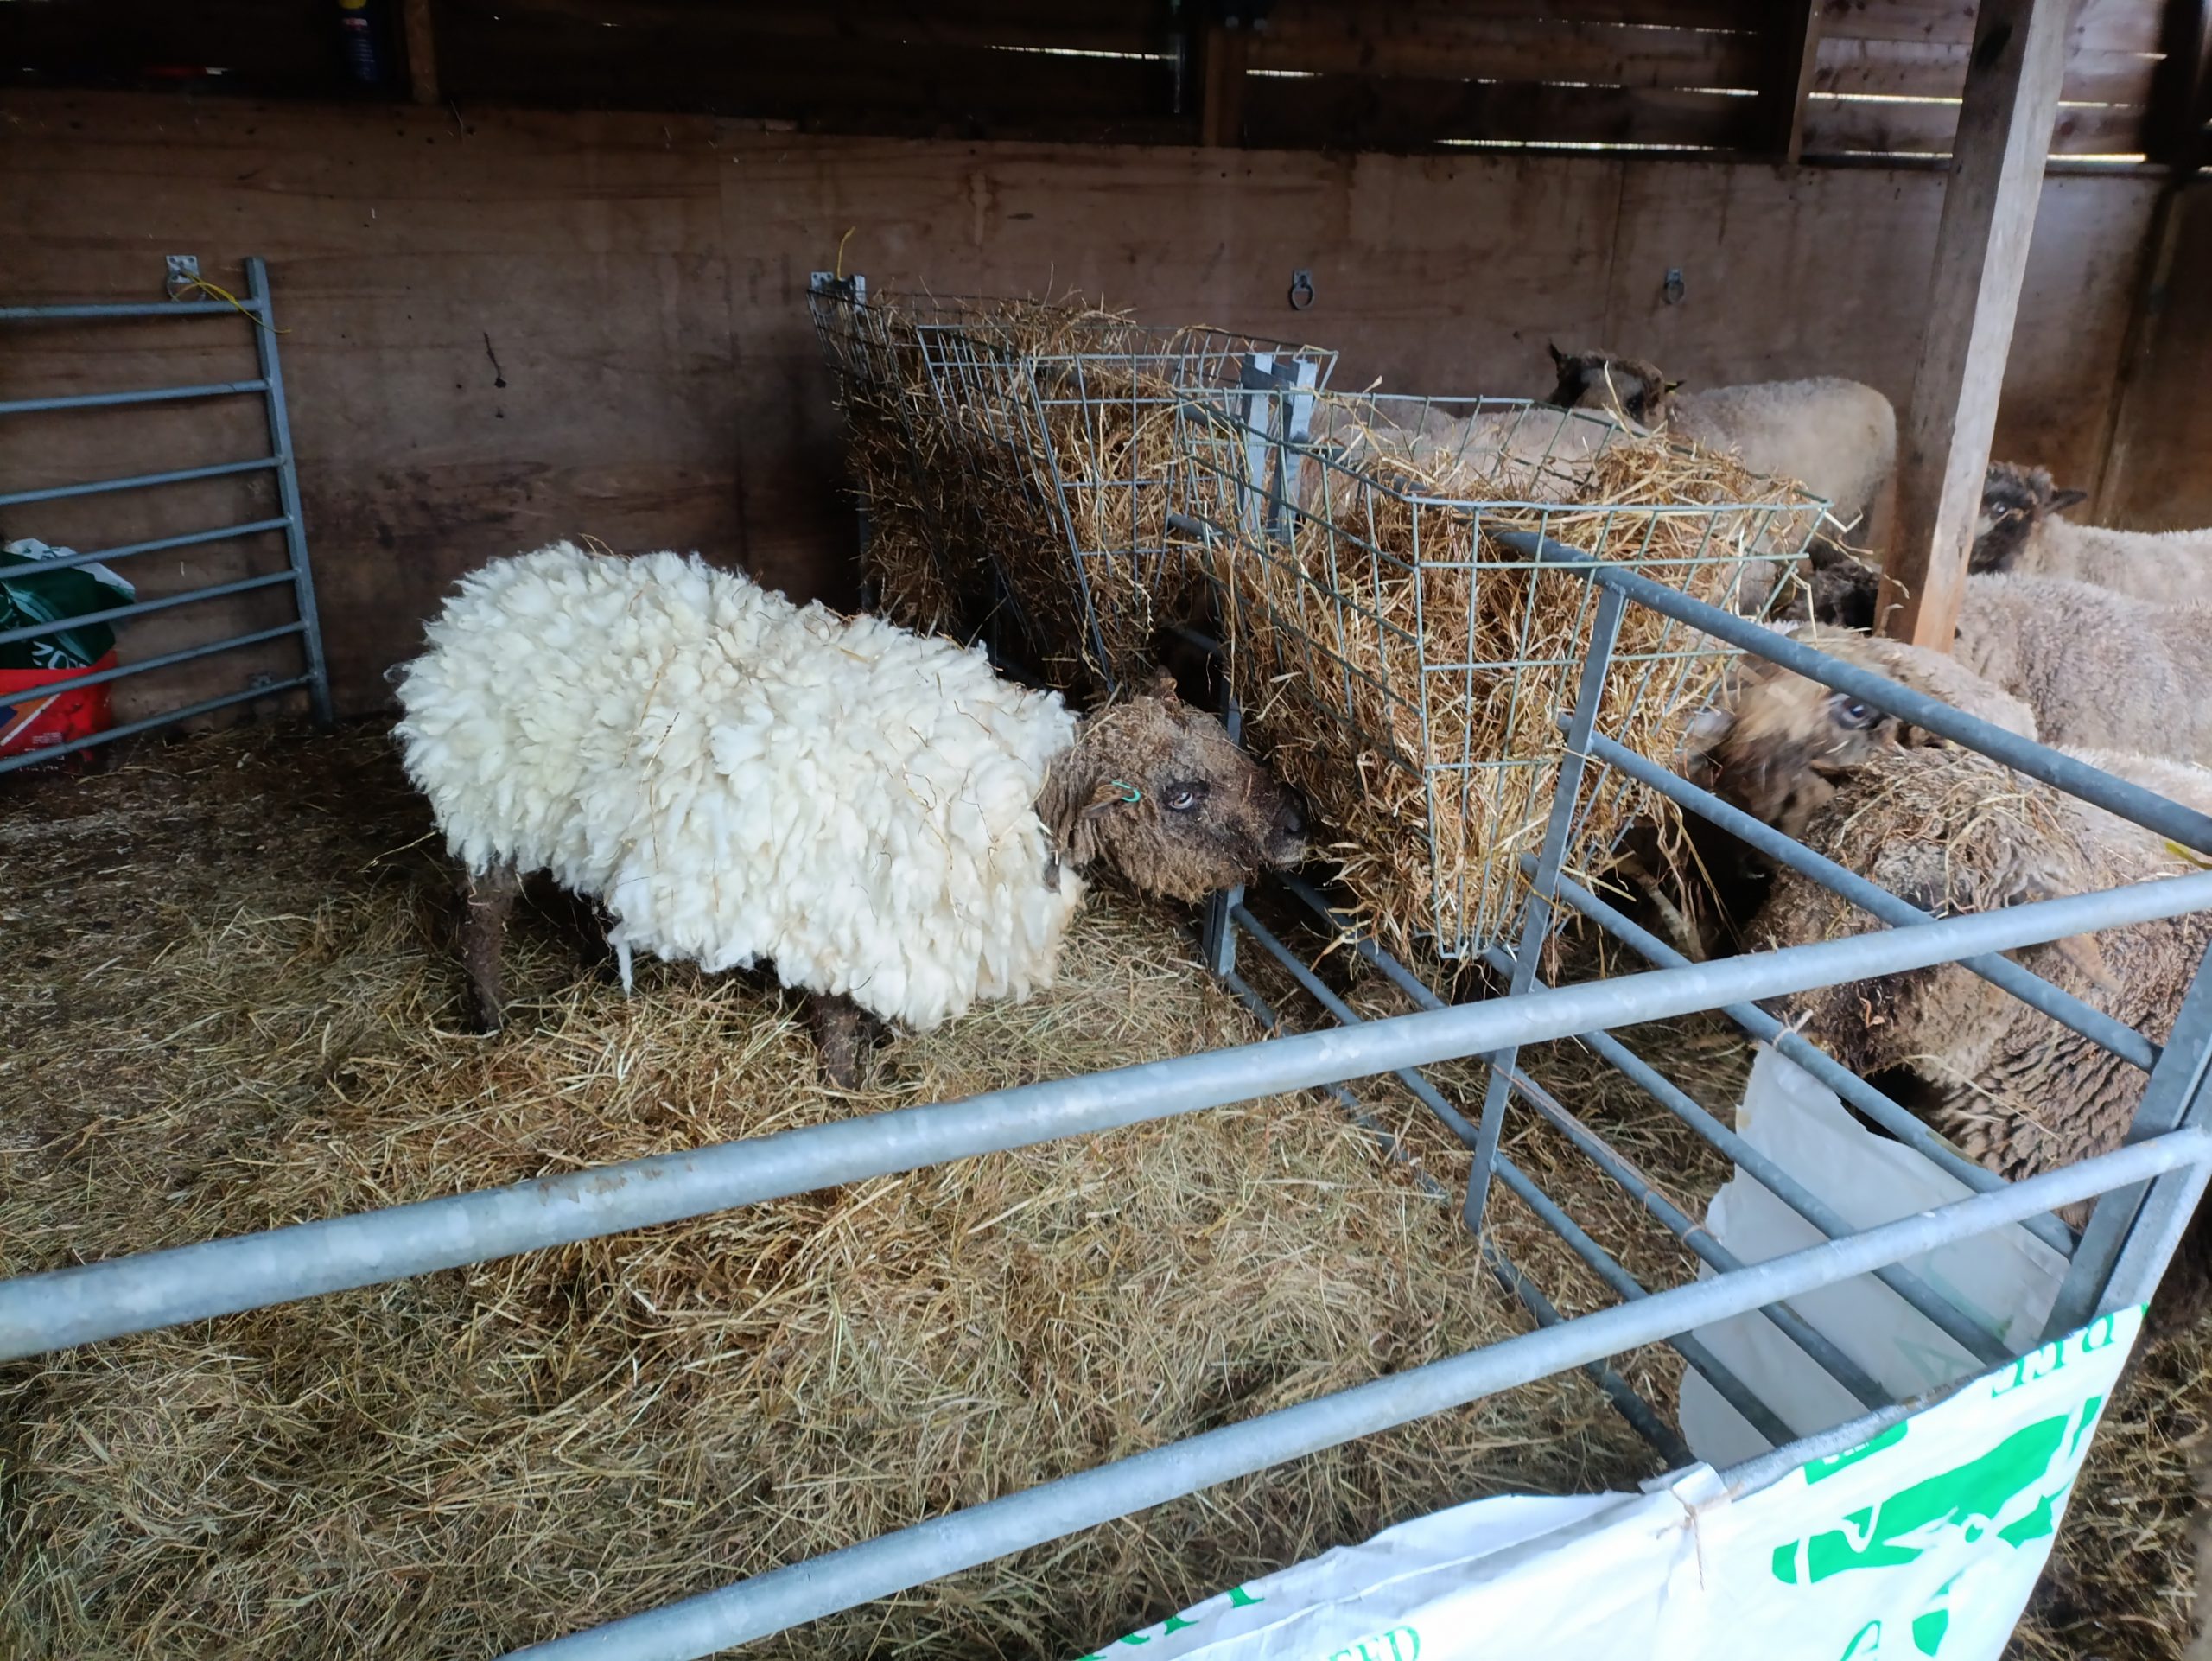
I decided to try her on some haylage.  Haylage is partially fermented hay and is very nutritious and tasty.  Sheep go mad for it, we’d be tempted to buy it in every winter if it weren’t for the cost of it and the fact that the sheep would never touch normal hay again.  In the past we’ve mixed it in with hay but they carefully picked their way through the hay to find the haylage.  The hay was left untouched and went to waste.

The only way to get some haylage into Sky without causing a stampede would be to pen her up away from the others.  But I wondered how sensible this would be.  Once you start running around after elderly sheep you have to wonder whether perhaps it’s time to say goodbye.  After a cup of tea and a ponder I decided to go with the hayalge plan and see if I could pull her through to spring.  It wouldn’t be long until the grass came through and the little darlings would be off grazing again at which point even the most scrummy haylage would become a distant memory.

scoffing haylage

So, I whizzed off to our local agricultural store and came back with a couple of bags.

I thought I’d help Sky get started on her new rations by chopping up a handful and giving it to her in a bucket along with some chopped up apple and carrot for good measure.  She liked this and finished the lot.  Feeling optimistic I sprinkled some loose haylage on the ground and she ate that too.

Great I thought, things were looking up!

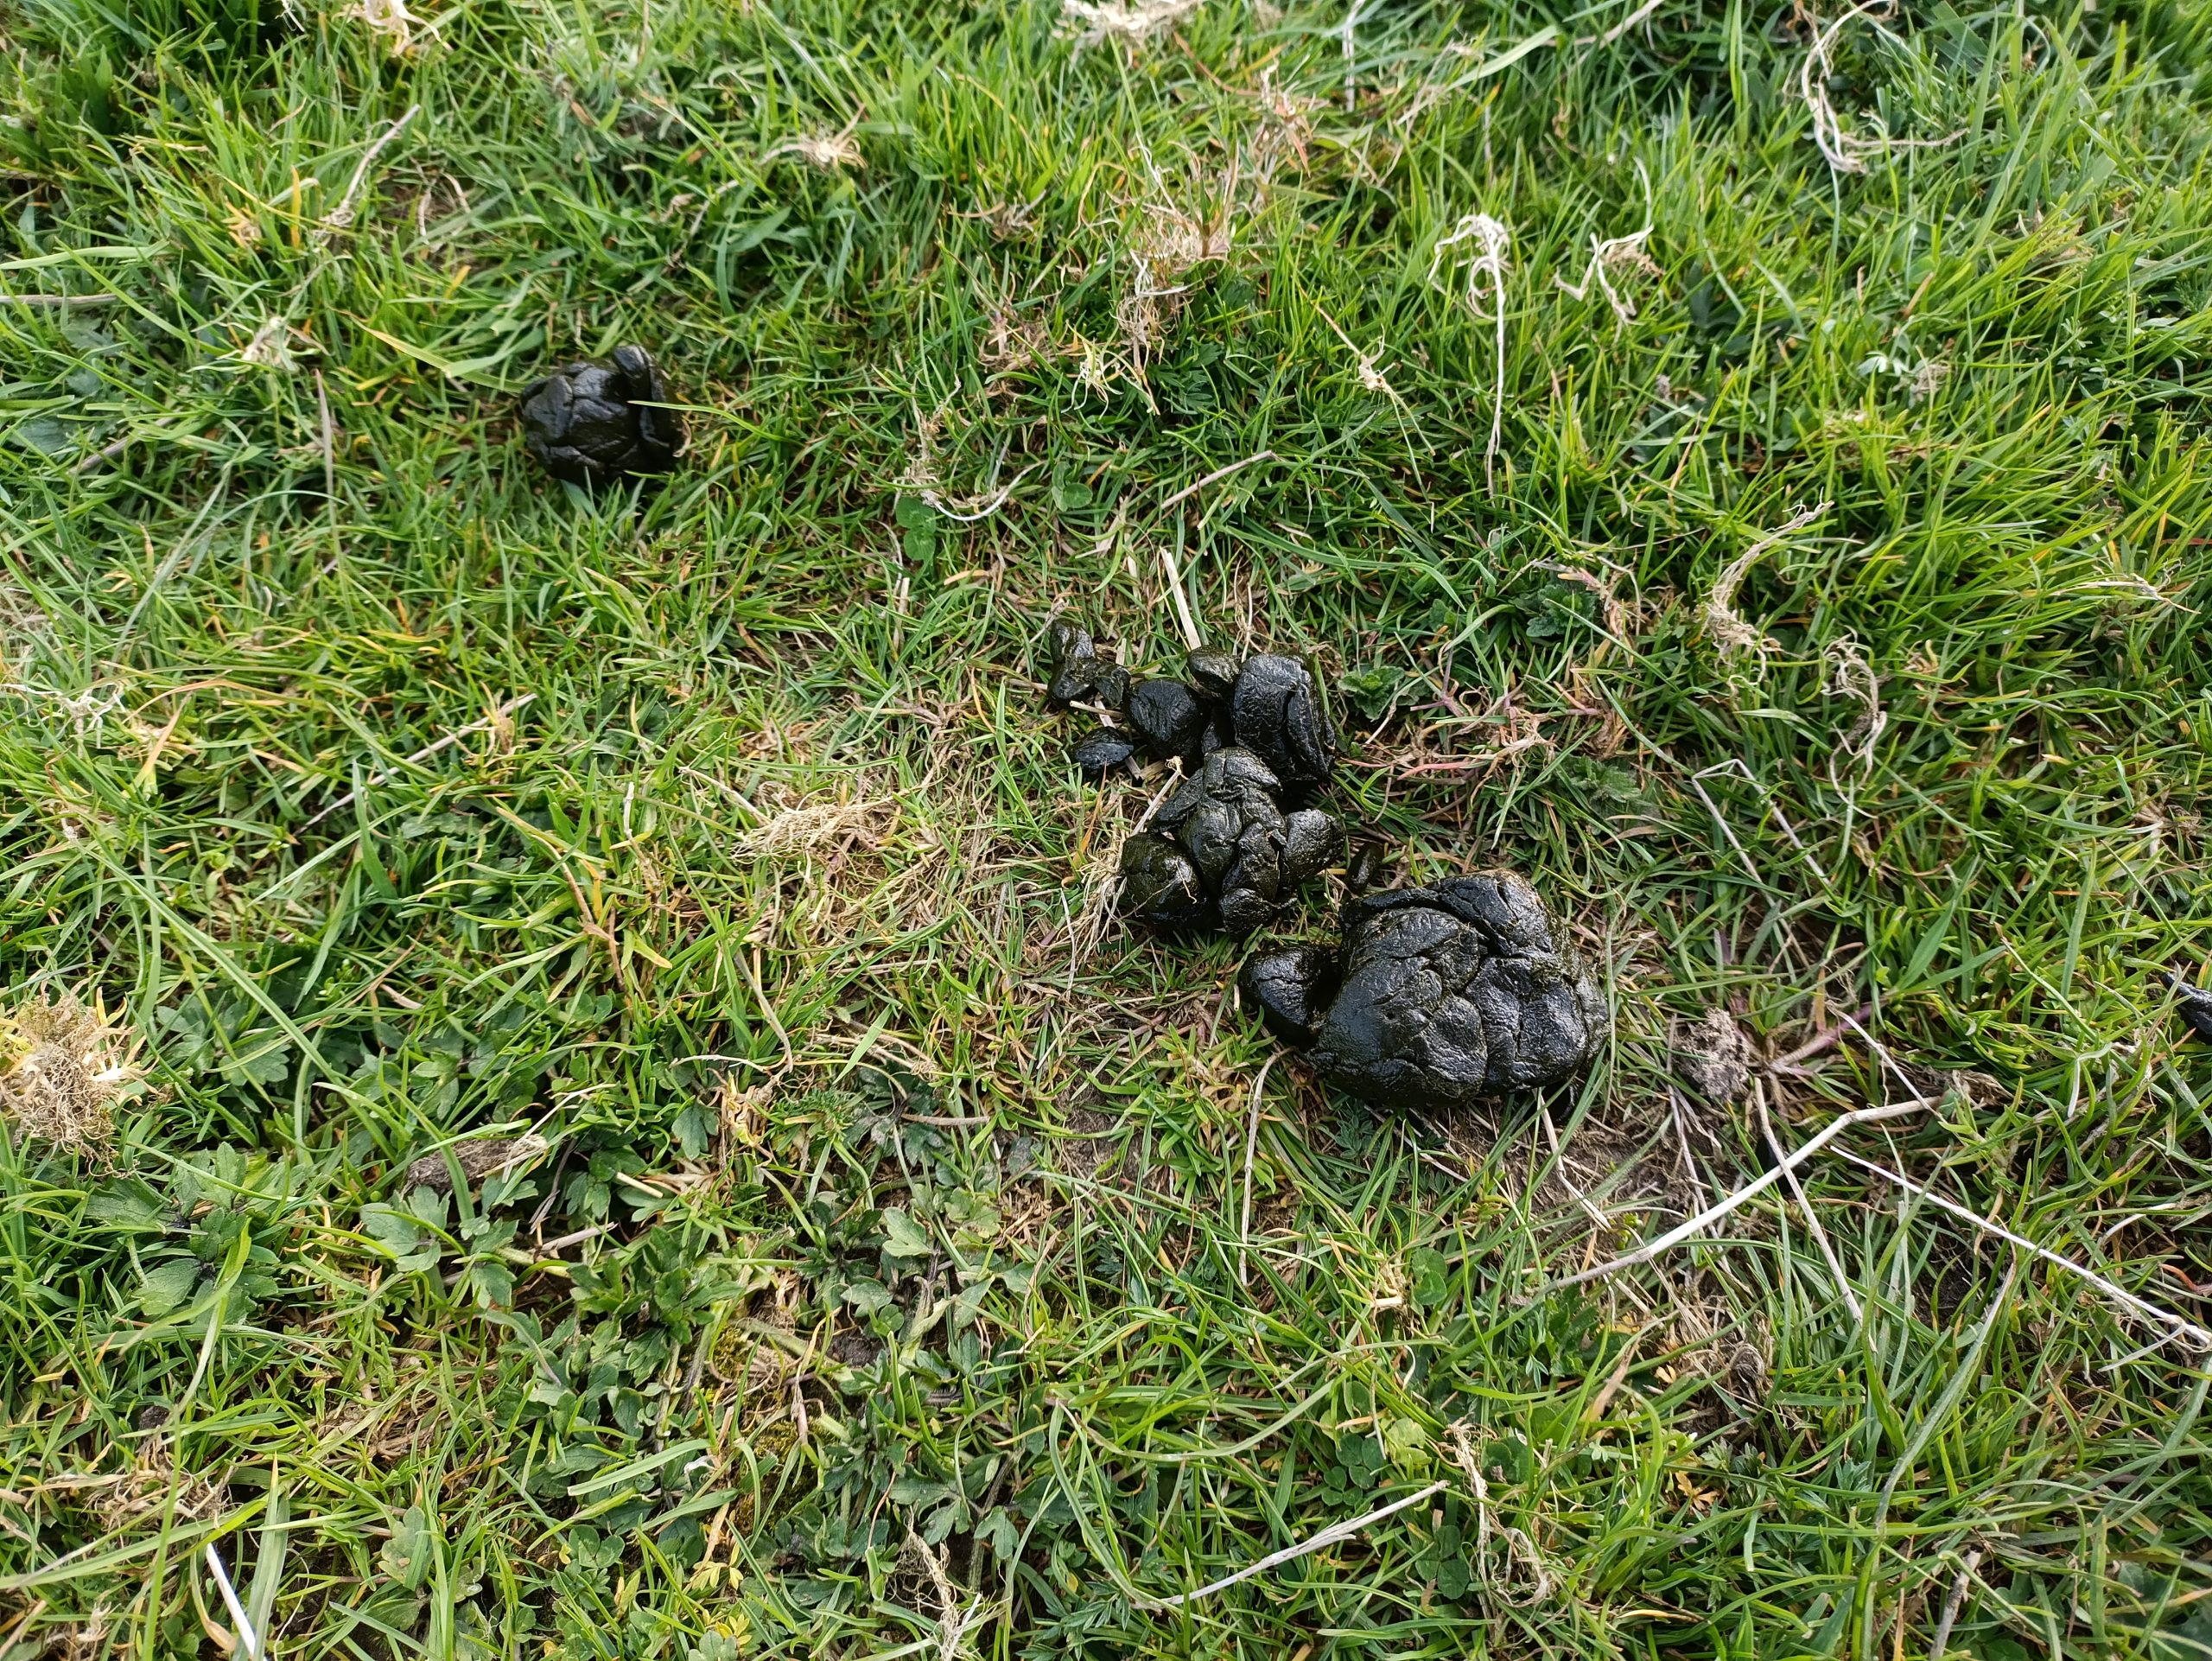
However, as is often the way in life, where there’s an up there’s a down.  The next day calamity struck, I went out first thing to walk the dogs and give the sheep their morning nuts.  Sky who is normally first in the queue was nowhere to be seen.  With a sinking feeling I ran into the shed and heard a small bleat.  There was Sky, lying on the ground, cast.  I noticed she was in a bit of a dip and had rolled onto her side and got stuck.  Sheep are prone to getting stuck and need help getting up.  But with the cold weather my worry was that she’d been there a while and got hypothermia as well as all the other problems that come about with being cast; build up of gas in the rumen and circulatory problems.

Sky enjoying some lick bucket

I gently slid my arms under her and got her half upright.  She was too weak to stand so I lay her semi propped up on my coat and built a little hurdle pen around her to keep the other sheep at bay.  I stayed with her for a while, gently rubbing her legs to get her circulation going.  Then I ran back to the house to get Adrian who was in the kitchen making breakfast.  While he fed the dogs I scooted around grabbing blankets and coats, a fan heater, extension lead and a dog bed.   Once back in the shed with all the blankets etc we shifted Sky onto the dog bed.  Then we made a little tent around her with the blankets and jackets and set up the fan heater to blow warm air into the little tent.  Poor Sky was very lethargic, she almost certainly had hypothermia.  Once we had the improvised heating system set up and Sky was looking settled, I stayed by her side while Adrian went back to the house to bring me out a bowl of porridge and a cup of tea as I was starting to feel the cold too.

After a while there was movement under the tent, Sky was getting to her feet, yippee!!!  She managed it first time and didn’t topple over which was a miracle.  She even had a little shake.  Phew I thought, she’s going to make it.  But it was a bitterly cold day and I started to ponder whether I could whizz her up a woolly jacket on my sewing machine to keep her warm during her convalescence.

While I was designing woolly jackets in my head Adrian helped me build a larger pen for Sky.  We thought it would be wise to keep her separated from the other sheep for a couple of days to make she wasn’t jostled or biffed in her fragile state.  Sheep aren’t very patient with weaker flock members.  With the pen built, Adrian went to work and I scooted around the house in search of blankets to repurpose.

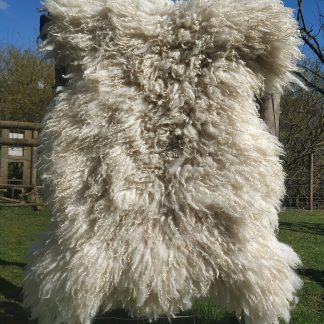
An hour or so later I emerged with a made to measure sheep jacket.  I’d found a felted fleece rug in the cupboard and decided to use that instead of a blanket because it would be warmer and would look cute too.

With Sky warmed up and snug as a bug in her new jacket, her appetite returned and she ate some haylage and soaked grass pellets.  Great we thought, she’s turning a corner.

Sky on the hill

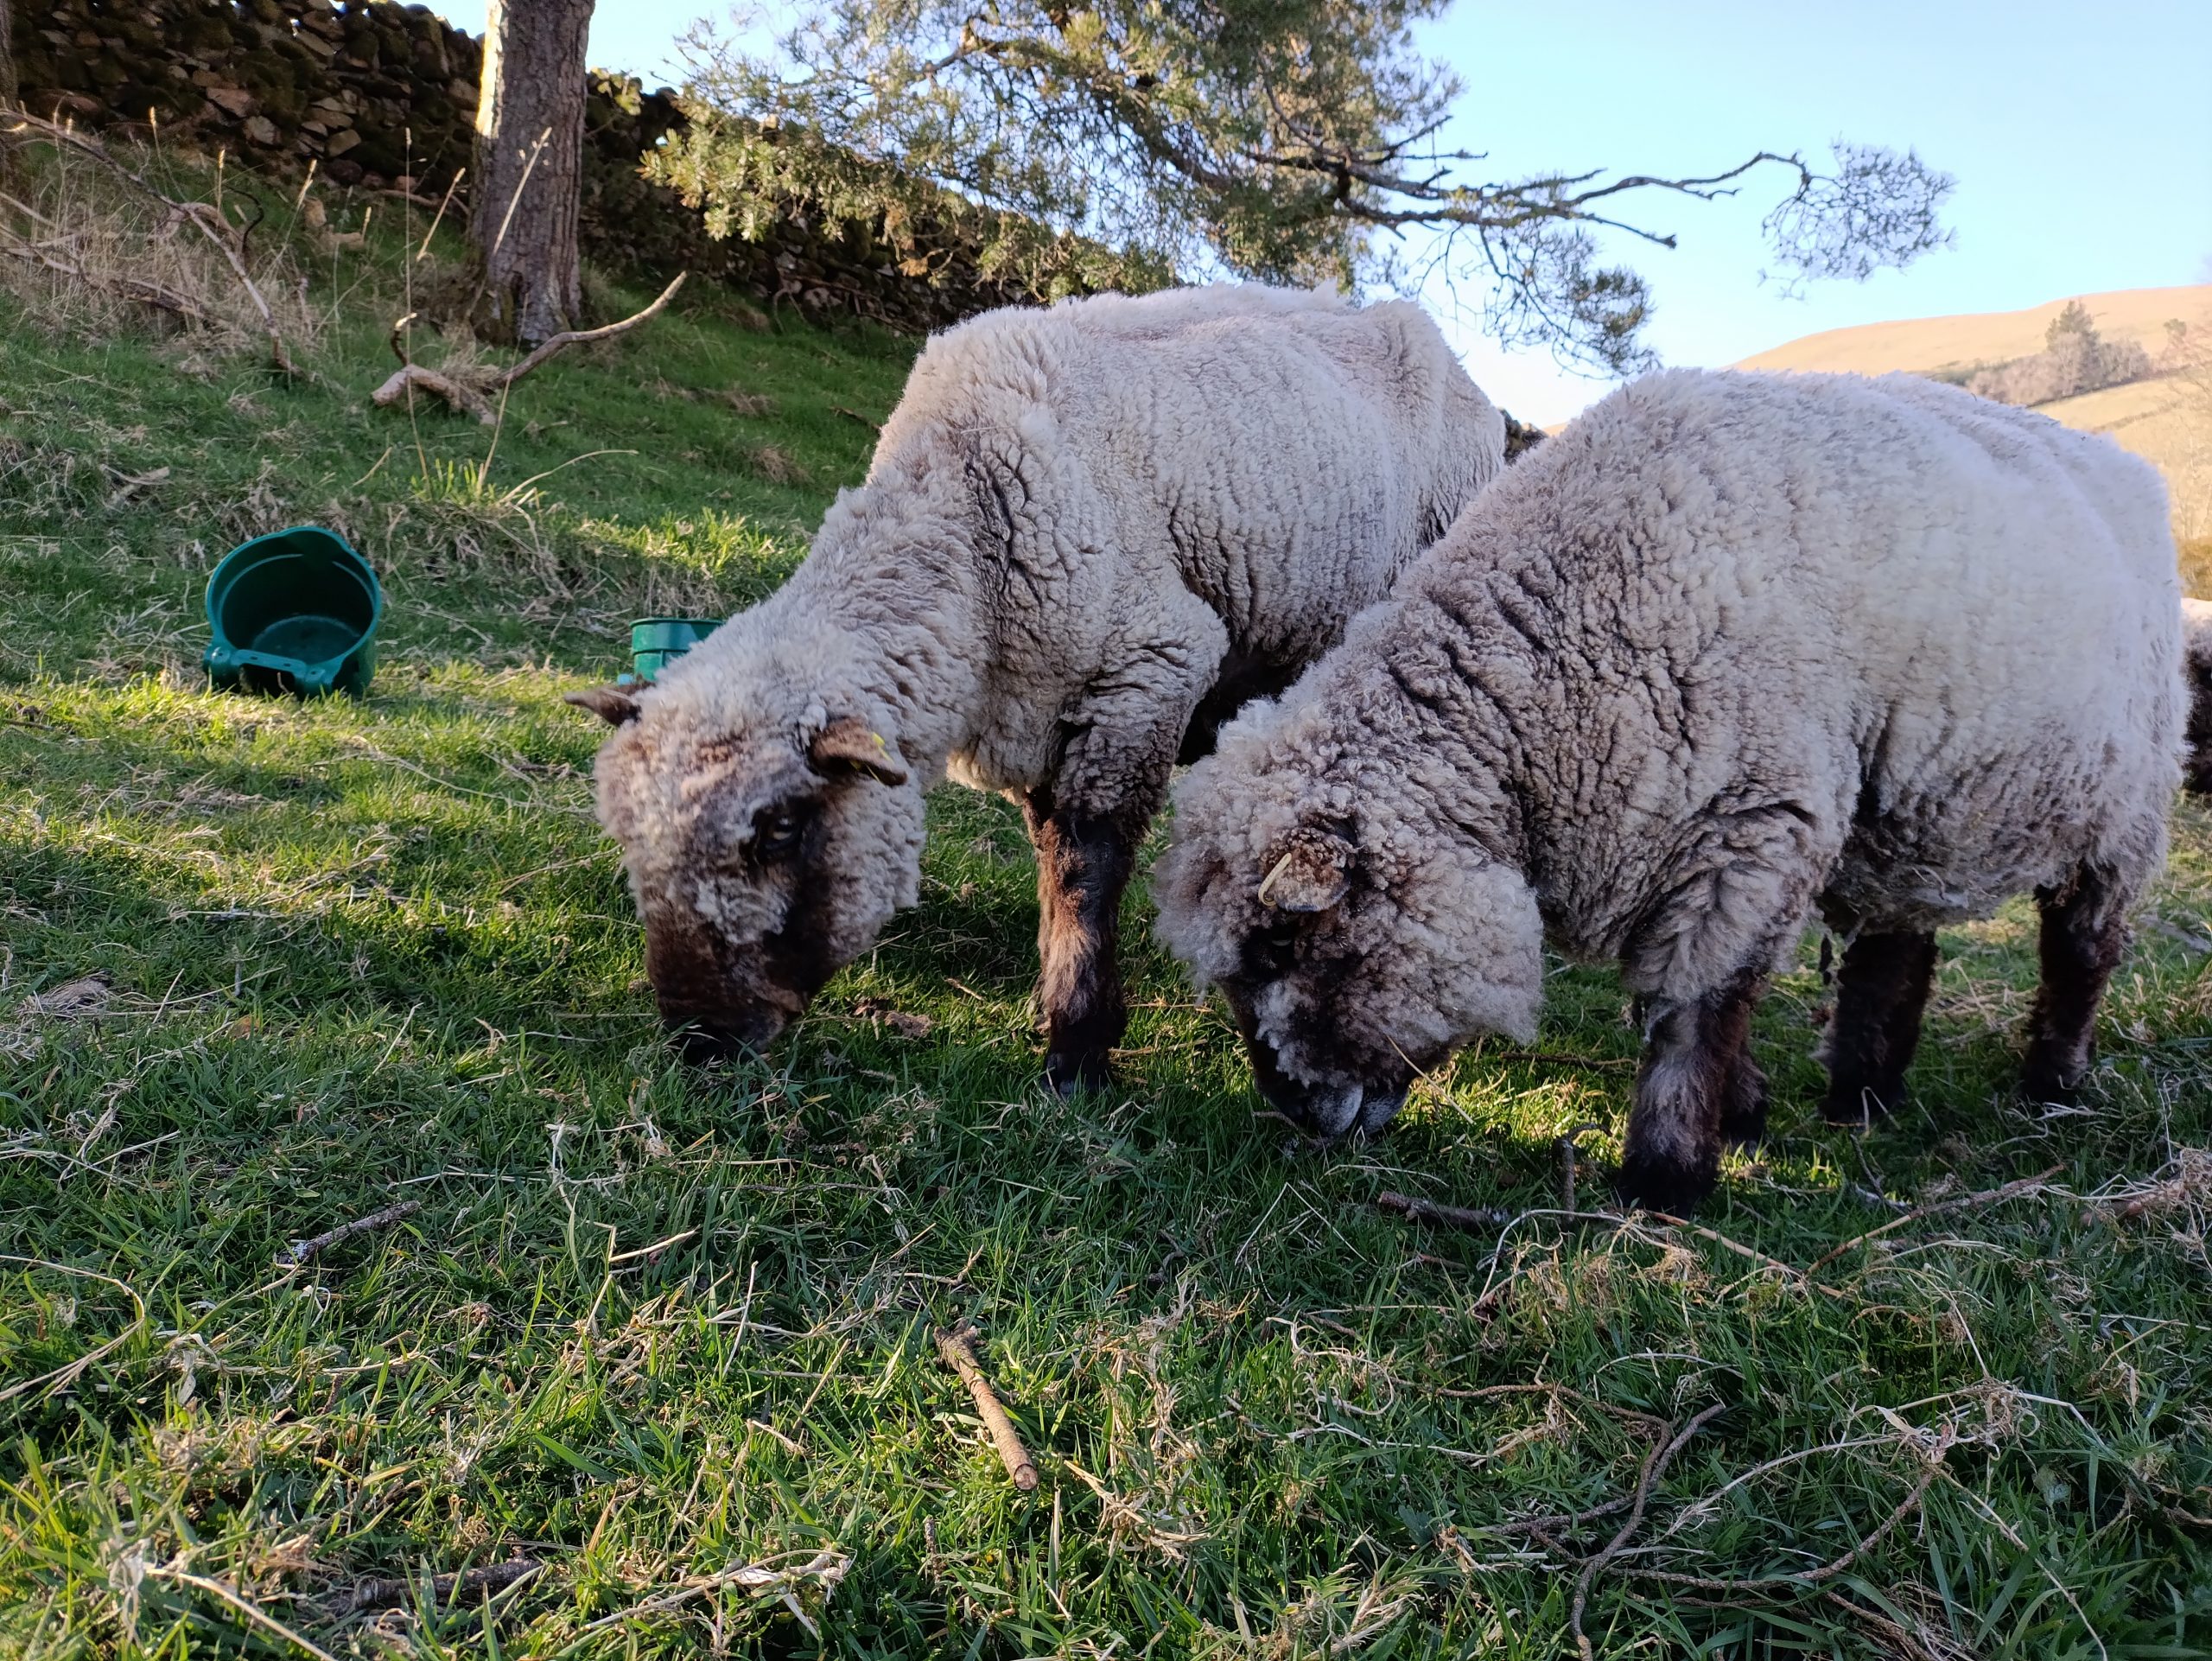
However, the situation wasn’t ideal.  Sheep can get very distressed left on their own so I put my life on hold and set up a vigil spending the rest of the day in the shed.  To be honest I didn’t mind at all, I love spending time with the sheep and I had a lovely afternoon mooching between the shed and the orchard watching the teddy bears going about their business, listening to the melodic sound of cudding.

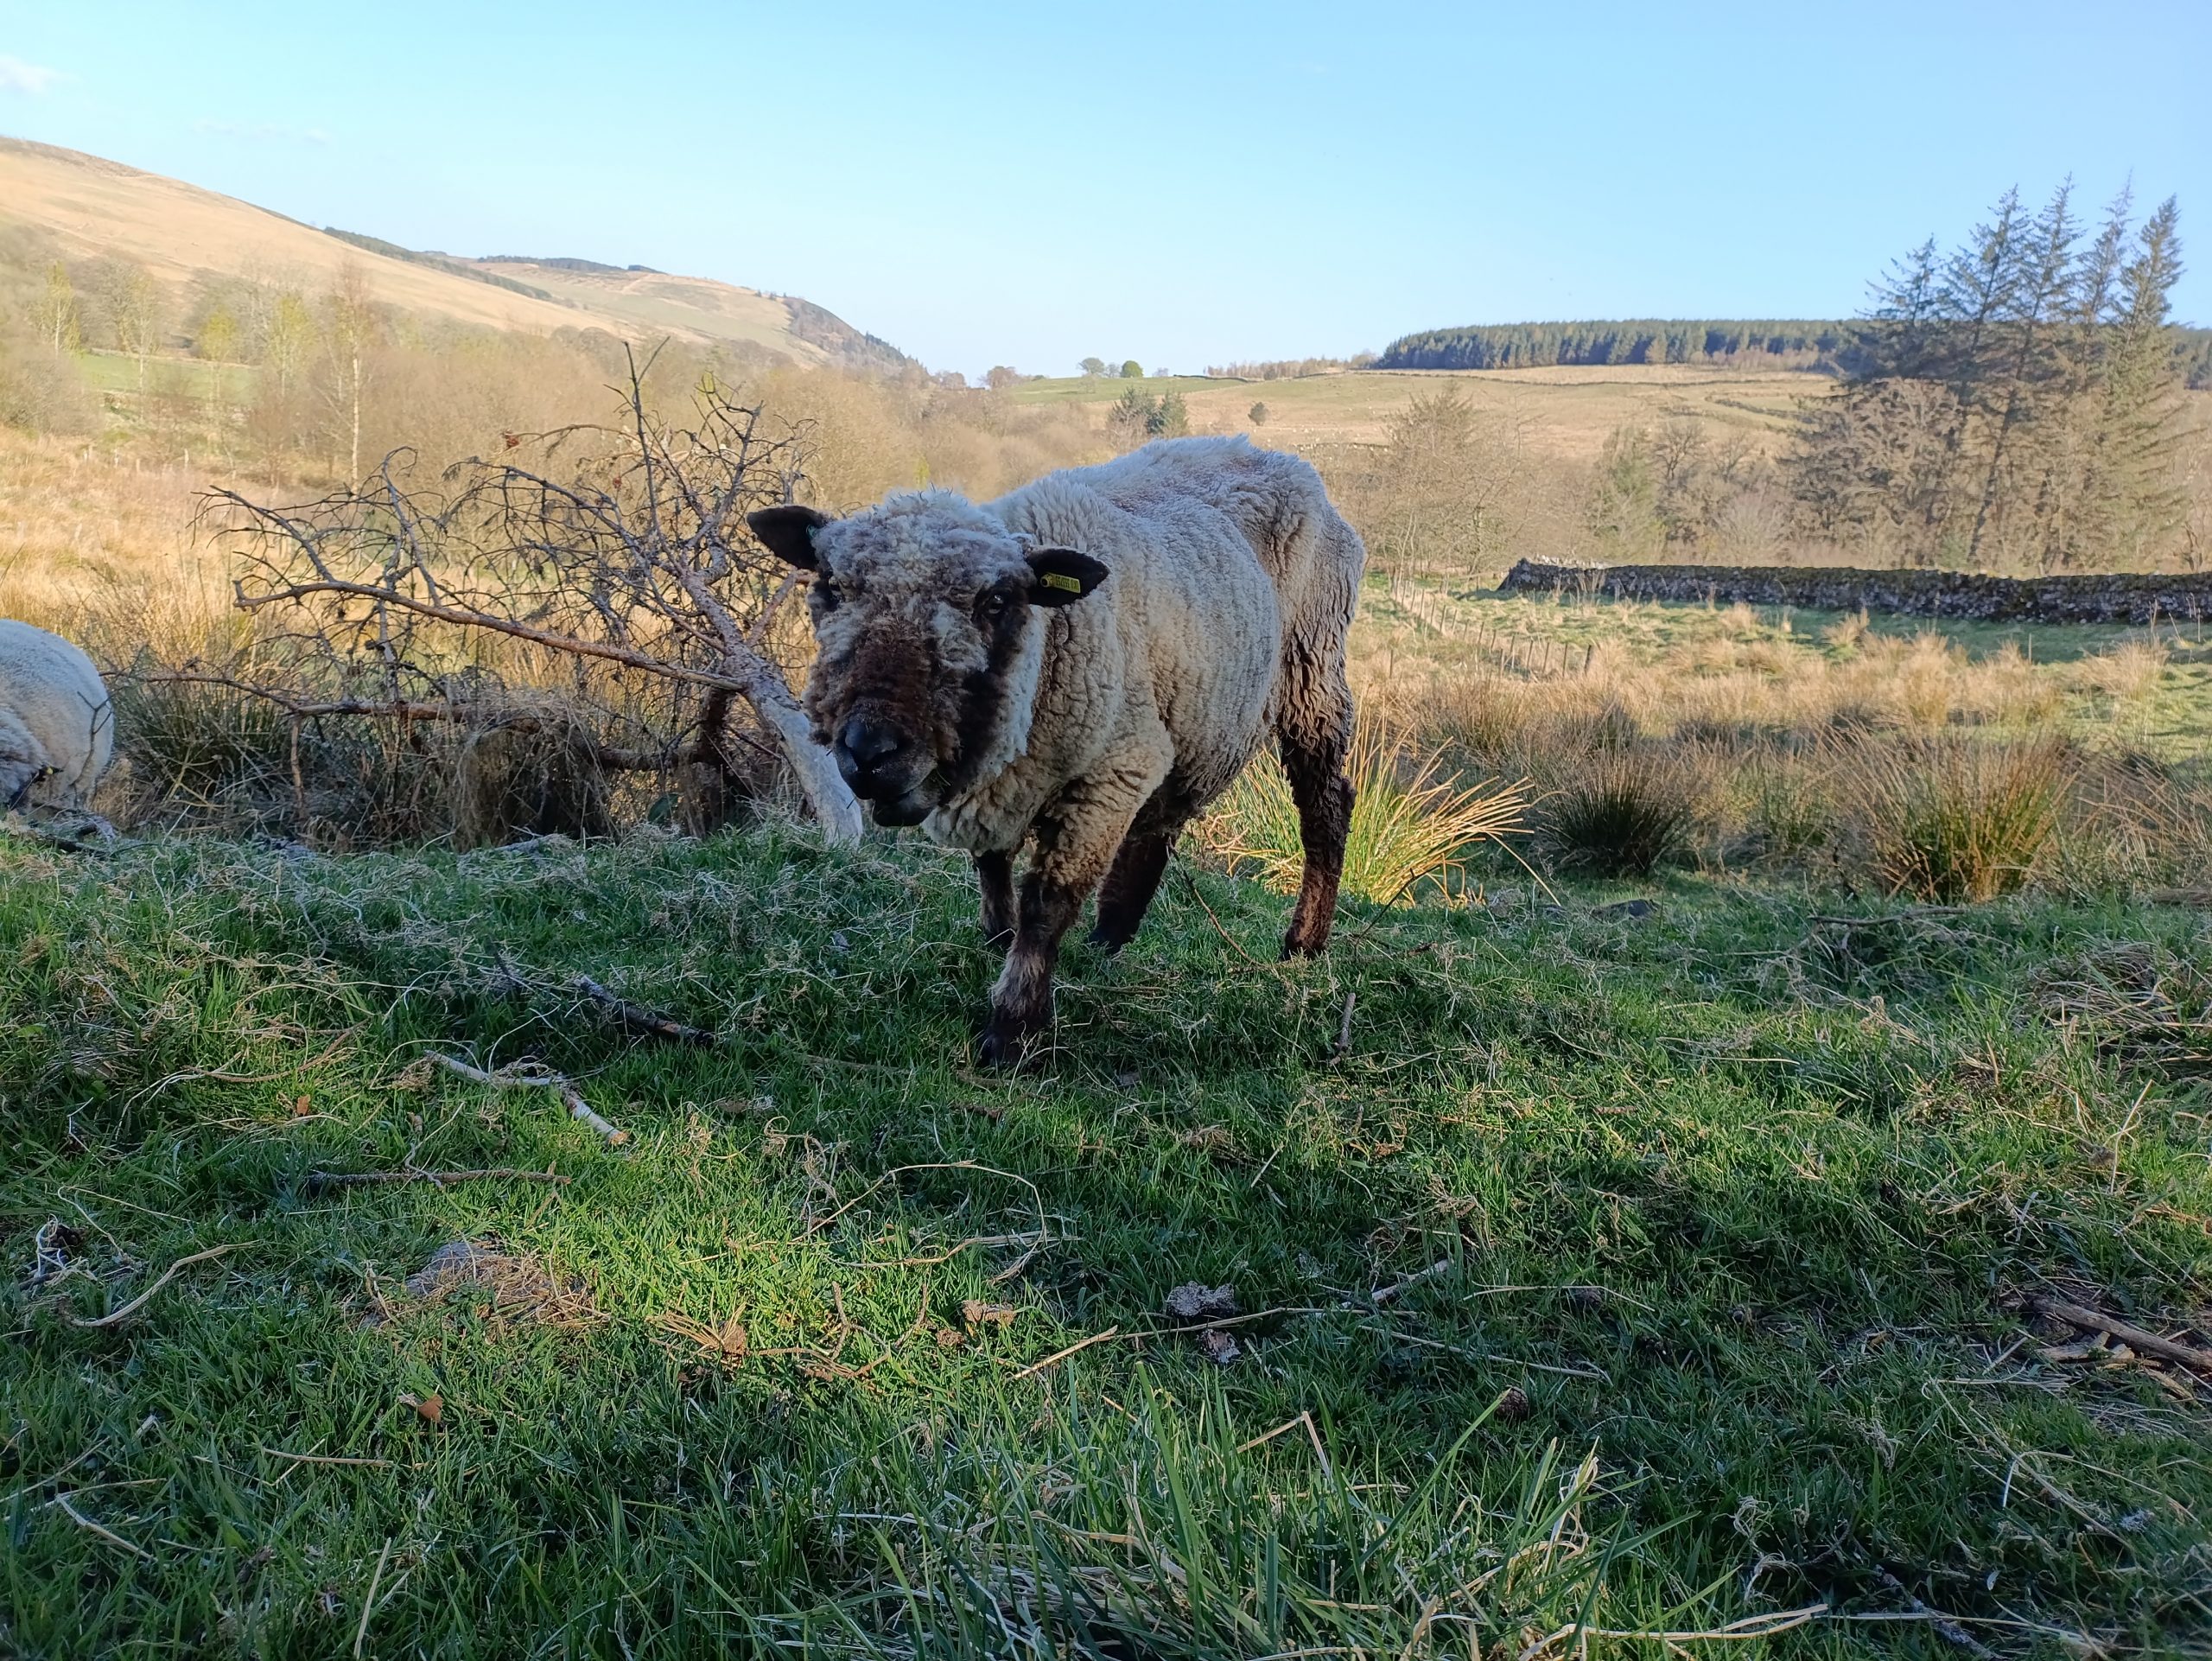
The following day there was a bit of a thaw and the sheep trundled up into the fields leaving Sky looking forlorn in her pen.  Without the other sheep nearby she didn’t feel like eating, even with me there for company.  So I decided to take her on a little adventure; a walk around the garden.  The lawn has never been grazed so while there’s not much grass with it being winter, there are a few juicy patches to be found.  As soon as we got into the garden Sky didn’t need any encouragement, she perked up and had a lovely time trundling around tucking into the lawn.

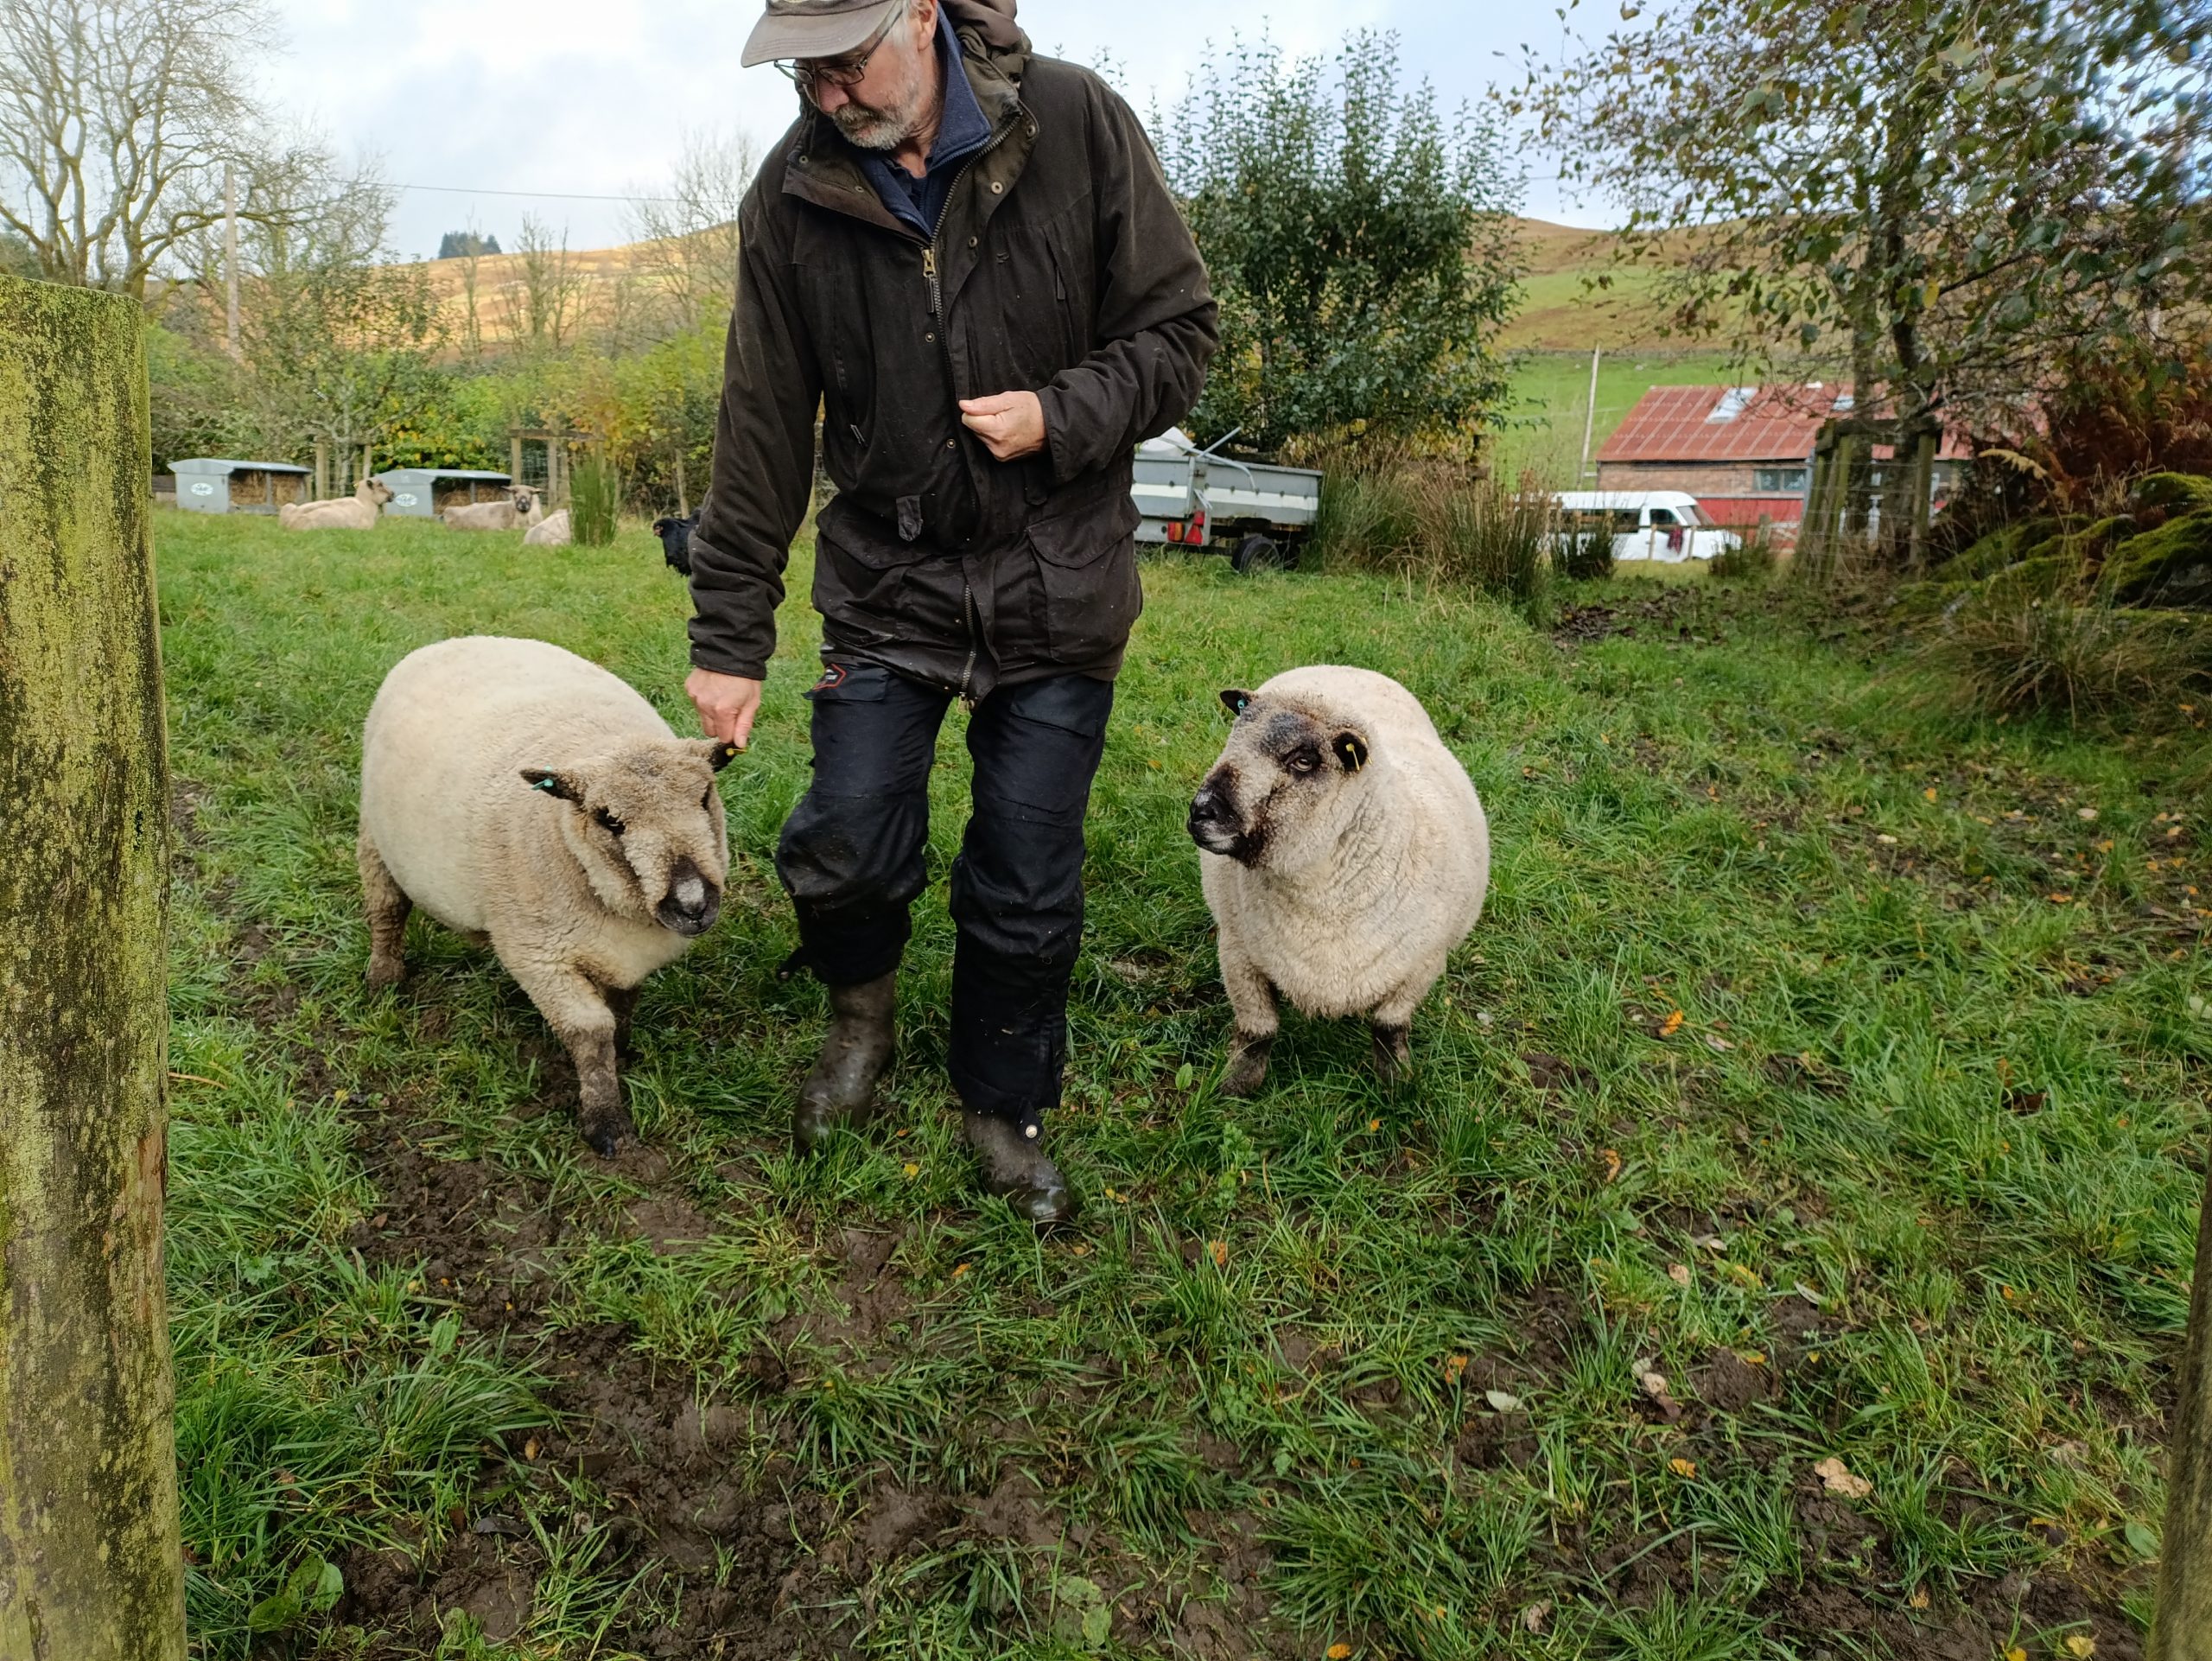
The next day, the sun came out and more snow melted so I decided to give Sky some more exercise.  I led her up the hill where the other sheep were.  She had a little stumble en route and needed help getting to her feet but she made it.  I reunited her with the flock but she peeled off and didn’t seem that interested in eating or mooching about.  I sat on a grassy knoll for a while with Elliot the dog by my side watching her.  We stayed for an hour but with Sky not seeming that interested I took her back down again.  I didn’t want to leave her on the hill on her own in case she got biffed or took a tumble.

We will continue to look after Sky for the next few days, we are hoping she’ll regain her strength and we’ll be able to reunite her with the flock again but only time will tell.


Posted on

The Salt Lick Challenge

Smallholding life presents a continuous supply of small challenges, each unique many requiring a bit of thought. Much like life really. One such challenge was the salt lick. In the wild, many animals lick soil to get salt. For sheep, we try to make things a little easier by installing a salt lick. This comprises a solid block of salt and minerals in a cube around 15cm high with a hole in it. The idea is that the hole slides over a peg and keeps it in position.

Simple, you’d think.

My first installation was a small wooden platform with a piece of broom handle fitted through the middle. The bottom went into the ground and the salt lick sat on the platform. For extra strength, it was attached to a column in the sheep’s main shed. This lasted a few hours before it ended up horizontal.

So, extra wood and screws were added to fix it more firmly to said column. This lasted a bit longer, well, for a few months anyway. Then, it too was found in pieces on the ground.

It’s not that sheep are particularly voracious lickers. Indeed, they are quite dainty when it comes to getting their salt. The problem is that they like to scratch themselves. And any old structure will do, be it sheep hurdles, gate posts, gates, feeders – you name it. The small square platform which supported the salt block was ideal. A nice wooden corner/edge about thigh height – perfect. So, they’d get their salt and then finish off with a scratch. The wood just cracked under the pressure.

the right way up

I pondered this for a while, then came up with a new idea. There were a couple of old steel buckets lying around that had rusty holes all over them. Upside down, a bucket would be quite stable. It would also be round, so no perfect little scratch points. It just needed to be heavier.

So, I drilled a hole in the bottom, thrust the peg through and filled it with concrete. I left a small amount of the peg proud at the bottom; this would go into the ground to provide extra stability.

All good so far.

Next stop was to put it somewhere. No point in putting it outside, the rain would soon wash the salt away. So, back to the sheep shed it went and, aside from transporting a now very heavy bucket, installation proved quite straightforward. This is unusual in smallholding tasks (there’s usually some sort of complication like a large rock in the way) and I savoured the moment.

Next was to round up some sheep and get their feedback. But they were busy chewing the cud a good distance away, at least 10m or so, and the sun was shining and they looked content, so I headed off to find the next job on miy list and left them too it.

happy sheep

Nicole, slightly more determined than me (it’s quite possible she may have mentioned the need for the sheep lick stand to be repaired once or twice) succeeded where I had failed and introduced the sheep to their upgraded salt supply. By all accounts, they were most impressed, but with one small complaint.

The salt was resting on galvanised steel, effectively steel with a zinc coating. The worry was that zinc could react with the salt and cause zinc poisoning (which, as it turns out, would not happen). Anyhow, I created a wooden barrier just to be on the safe side (round, not square).

And it’s still standing…


Posted on

Catching up on sheep maintenance

Fitting in sheep maintenance can be quite tricky when running a smallholding.  Keeping on top of hoof trims, dagging and whatnot in between our day jobs and life in general can sometimes be a challenge.  So we try to keep Saturdays free for sheep jobs and we keep a list stuck on the fridge telling us which of the little darlings is next due a haircut and a pedicure.

Sometimes a spanner flies into the works.  Last month Storm Amy hit so we couldn’t do any outdoor work for the day we’d planned.  Then Adrian and I caught covid and we were wiped out for a couple of weeks.  Then I went south to see my mum on a long over due visit.  Suddenly the jobs were piling up so Adrian booked a day’s ‘holiday’ from work, and I cleared space in my diary so we could catch up on all those jobs that were looming over us.

selfie with Selene

We especially chose today for our ‘catching up day’ because the forecast had said it was going to be sunny.  Unfortunately the sun decided to hide behind some big rain clouds as we set off to find our sheep.  Great we thought, there’s nothing quite like doing hooves and bottoms in the soaking wet.

We had ten sheep to do according to our list and first up was Selene the flock leader.  Luckily she was already hanging around the pen so we called her in and posed for a wee selfie.  Over the years we’ve developed a routine for doing our sheep.  Adrian holds them in position and I do the snipping and trimming.  First I trim the wool from around their eyes, then I check their hooves and trim any overgrown bits, and lastly I trim the wool and any dags from around their bottoms.

a cosy hay base

After working on Selene the pen had got all muddy and we were sliding around.  It was extremely tempting to scoot back indoors for a cup of tea in the warm kitchen but somehow we resisted.  Instead Adrian headed off to the shed and came back with a dumpy bag full of last year’s hay.  This made the perfect base for the pen and we were able to crack on and do some more sheep.

Yssi
Yssi’s backside trimmed and and sprayed with Protego

We did three more sheep in the drizzle and then miraculously the sun came out which made things much easier.  We paid special attention to Yssi who has a bottom issue.  Yssi has an incredible fleece and a particularly woolly bottom.  She’s also prone to getting urine stains at the base of her tail.  This causes a permanent damp patch which can get infected and attract flies and maggots.  Because Yssi’s had flystrike in the past we try and trim her bottom weekly during the summer as a preventative measure.   After trimming her up I give her a quick spray with “Protego powder spray” which helps to dry things up and also prevents flies.

bringing in Yaar (on the left)
tick safely removed
trimming the wool around Yaar’s eyes

Next we worked on Yaar, he’s our big beautiful wether (castrated tup) with a very friendly nature.  Adrian had no trouble at all asking him to follow him into the pen.  As I was trimming around his eyes I spotted a tick on his eyelid and sorted that out with my trusty ‘tom tick remover’.

After a couple of hours we finished our ten sheep and went indoors for a welcome cuppa.  We both had a warm glow and felt very pleased we’d caught up on our sheep maintenance.


Posted on

Vera and her photosensitivity

A few years ago, one of our sheep (the lovely Vera) developed an allergy to sunlight.  At first we weren’t sure what was causing her skin flare ups, but after careful monitoring and a couple of vet visits it transpired that she had become photosensitive.

Angelica seed head

The most likely cause of photosensitivity – in Vera’s case at least – was probably a plant she had eaten.  The three main phototoxic plants in our part of the world are St John’s Wort, Bog Asphodel, or one of the umbelliferous plants containing “furanocoumarins” such as  Hogweed or Angelica.

As we don’t have St John’s Wort or Bog Asphodel we thought the most likely culprit was Angelica.  We have plenty of it on our pastures, it grows in damp shade which we have plenty of as well.  Similar-looking to Cow Parsely, Angelica is an elegant plant with a long tap root and clouds of tiny white flowers atop a tall stem.

a young Angelica plant

So I came up with a plan to dig it out.  After a scoot around I noticed it grew in clumps in three of our fields, all very localised.  I estimated it would probably take me a week of digging for a couple of hours a day.

Unfortunately, as with many great plans, the reality turned out to be a little different.  As I started digging I discovered I’d wildly underestimated the amount of Angelica we had.  Not only that, Angelica has an enormous tap root.  Digging out each plant was a major operation and just removing one plant took absolutely ages.  To boot, I had to remove the entire root system and take care not to leave any fragments in the soil – pretty much impossible given the size of it.  Angelica is one of those clever plants which can regenerate from even the teeniest piece of root, rather like Dandelion or Ground Elder.

After two days of digging and some colourful language I didn’t know I knew, I admitted defeat.  Slightly miffed because I’m not one to give up easily, I trudged back to the house with my spade.  A thought occurred to me as I walked across the fields, perhaps there was no point in removing the Angelica.  I wasn’t 100% sure, but I had a feeling that once you developed photosensitivity you had it for life.  I put that thought on the backburner.  In hindsight I should have pursued this further but isn’t hindsight a wonderful thing?   Once back at the house I put the kettle on at the sound of which Adrian popped out of his study and we had a chat.  We didn’t have a ‘Plan B’ so we decided all we could do was monitor Vera and see if she improved once the summer fizzled out.  Thankfully this is exactly what happened – as autumn blew in, Vera’s “itchies” became a distant memory.

But, the following summer, round about the middle of May, Vera’s “itchies” returned.  She had good days and not so good days depending on how sunny it was.  On cloudy days she trundled around grazing with the flock.  But on sunny days she hid in one of the field shelters we have dotted around.  We took to giving her daily check-ups and applied udder-cream to her un-woolled parts, mainly the backs of her legs, ears and bottom which she seemed to enjoy.  If she was especially itchy we gave her a steroid.  In June when it came round to shearing we decided not to have her done with the rest of the flock.  Instead I carefully removed her fleece myself using hand-shears so I could leave a covering of wool on her to protect her from the sun.   We also took into account her mood.  Vera’s a placid sheep and isn’t phased by much, even on bad days she remained in good spirits.  She took to “baa’ing” if she spotted us coming into the field with her pot of udder cream as if to say ‘Cooeee! I’m over here!’  But all the while in the backs of our minds we knew there might be a day when we’d have to make a difficult decision.  Thankfully that never happened, perhaps because the summers here in SW Scotland aren’t too hot and are relatively short, so we carried on taking care of Vera in this manner summer after summer.

a warm sunny spring

This year however something made us stop and think.  We had the hottest spring on record; six weeks of unbroken sunshine and soaring temperatures.  But strangely, Vera was absolutely fine, trundling around with the flock, no hiding away in shelters and no ‘itchies’.  We had always assumed that Vera was permanently photo-sensitive, end of story.  But now it occurred to us that perhaps she was only photosensitive while she had access to Angelica.

sheep netting

I promptly went down a google rabbit hole where I discovered that photosensitivity isn’t necessarily permanent.  In most cases it is only temporary and resolves once the offending plant is removed.  Inspired, I whizzed over to the fields to see if there was any Angelica growing.  It was mid-April and I was pretty sure it didn’t get going until May.  I inspected the damp areas it usually grew in and sure enough there were only a few young plants starting to show through.  What with the abundant grass everywhere there was a good chance Vera hadn’t been down to the damp areas and scoffed any naughty plants yet.  I didn’t want to get my hopes up but it was looking like her photosensitivity might not be as permanent as we’d thought.

But what to do about the Angelica?  Attempting to dig it out again would be depressingly reminiscent of Groundhog Day.  There were clumps of it in three of our fields where otherwise there’s excellent grazing.  We couldn’t  just shut the gates and deny our sheep all that pasture.  I thought about cracking open some Glyphosate but I’m not keen on chemicals, plus Angelica likes to grow in soggy soil and I didn’t like the idea of spraying near water.  I also reckoned Angelica would need more than one squirt as it’s a pretty vigorous plant.  So I had a cup of tea which is always helpful at times like this.  Fortunately a few minutes into my cuppa inspiration hit, I would put up some temporary fencing.  Sheep netting in other words!

After rummaging in the shed getting covered in cobwebs I finally located some rolls of sheep netting.  After a couple of mornings’ work putting netting around the offending plants it was time time to say ‘job done’!

We are now into June and so far Vera hasn’t had any ‘itchies’.  We don’t want to count our chickens, but we are quietly hopeful that Vera might have an easier time of it this summer.


Posted on

Probiotics for Witchy

fresh spring grass

Our sheep love nothing better than the springtime when they come off hay and move onto fresh, juicy grass.  Perhaps it’s the excitement of being back on grass after months of hay, or perhaps its their digestive systems re-adjusting or both, but all that fresh forage means some of our teddy bears get messy bottoms at this time of the year.

Thankfully the messy bottom situation only lasts a couple of weeks until the little darlings get used to grass again.  However, one of our teddies, Witchy, gets a messy bottom all through the spring and summer.  She’s been like this ever since she was a lamb and regularly trimming the wool around her backside is one my summer jobs.  A messy bottom is a magnet for flies, particularly the blowfly which can cause flystrike, a potentially deadly situation for our woolly friends.

Although Witchy is a perky little sheep with the neatest bikini line in the flock, we do worry that with her scouring she might not be absorbing nutrients as well as she should be.  Every so often we check her inner eyelids for signs of anemia and we frequently condition-score her to make sure she’s not under weight.

We’ve often wondered why Witchy is so prone to scours.  When she was a lamb we gave her antibiotics to save her life so it could be her gut microbiome never fully recovered.  Over the years we’ve given Witchy various probiotic powders as well as kaolin powder.  But nothing has made any difference.

Then, a couple of years ago I was googling ‘sheep gut health’ and I found an interesting article about something called ‘cud transfaunation’.  This is where you take a wodge of cud from a healthy sheep (along with zillions of healthy gut bacteria), and pop it into the mouth of your poorly sheep (or in this case Witchy).  The idea being that the healthy bacteria recolonise in the gut of the recipient sheep.  I couldn’t wait to try this, you can read about it here.  Unfortunately though, my efforts didn’t pay off, when spring came round, Witchy’s bottom was back to her default setting.

Witchy enjoying her alfalfa-beet supplement

Last year, I decided to put Witchy on alfalfa-beet supplements (the same as her OAP friends get).  She’s not quite an OAP yet, but I thought that as she entered the autumn of her life she would benefit from some extra nutrition.  The result being Witchy has been in ‘the green bucket club’ for just over a year now and has done very well on it.

Witchy much too thin

This spring however she came out of winter looking quite skinny despite her daily buckets.  As the grass was coming through we monitored her for a few weeks hoping she’d put on weight naturally, but she didn’t.  We upped her bucket rations and added in chopped up apples and carrots which she gobbled up happily.  But although perky, she still didn’t put on any weight.  We were flummoxed.  There had to be something else going on.  The three things which sprang to mind were:  Johne’s disease, worms and fluke.  We parked the Johne’s thought temporarily and pondered worms and fluke.  Older sheep shouldn’t need regular worming (as long as they’re not in-lamb), they build natural resistance to worms as they age.  But with Witchy not being the thriftiest of sheep there was a chance she’d contracted worms over the winter.  Fluke was a possibility too as unfortunately sheep don’t build resistance to fluke ever.

I called the vet to double check and they agreed that worming and fluking her would be a good idea.  A few minutes later I was in the car whizzing off to the vet’s to collect the various potions.

As soon as I got home I kidnapped Adrian for half an hour.  I wanted Adrian to hold Witchy steady while I gave her her meds.  I didn’t want to spill any of her precious medicine because I only had the exact doses and no more.  Miraculously we got everything down her with zero spillages, hooray!

Wtichy (left) grazing with new sense of purpose

Wormers are fast acting and sure enough the following day Witchy was looking brighter.  She spent the day busily grazing with a new sense of purpose.  Within a few days she had already started to fill out a little bit.

Inspired by Witchy I also had a new sense of purpose, I decided to revisit ‘sheep gut health’.  Truth be told I wasn’t keen on the idea of having to worm her regularly.  Pouring meds down her throat wasn’t getting to the root of the problem, I decided this was going to be the year I would sort out her digestive issue once and for all.

My plan was to rope in the vet to help me do another cud transfaunation.  I had a niggling feeling I hadn’t got enough cud from my doner sheep the last time I tried it, probably owing to the risk of losing fingers in the process.  But when I presented my idea to the vet she suggested an easier option; ‘Yakult’.  Apparently calves do well on it so there was a good chance it would work for sheep.  I was pretty sure I’d already tried Witchy on Yakult and it hadn’t made any difference.  But I thought I might as well give it another go.  I wondered how much I should buy so before leaving for the shops so I quickly googled ‘how long should I take Yakult for?’.  And bingo!!  This mini google while I was half way out the door turned out to be one of those eureka moments …

What I discovered was that you should take probiotics for a good few weeks, not just the once, especially if you have a microbiome imbalance that needs correcting. This was a light bulb moment for me because in the past I’d only ever given Witchy just the one dose of probiotics.  But (and this now makes perfect sense to me) you have to give the healthy gut bacteria time to recolonise which obviously takes a few weeks of regular dosing.

Armed with this new knowledge I bought a couple of week’s worth of Yakult and then had a little fridge re-shuffle to make room for it.

Witchy’s miracle poo

Witchy has been on Yakult now for a couple weeks and is doing amazingly well.  She has a 65 ml bottle every day.  After only a few days I witnessed a miracle, Witchy popped out a perfectly formed specimen made up of little pellets, hooray!

Witchy is continuing to blossom and her bottom is now always perfectly clean (which we still can’t quite believe).  But most unexpectedly of all, she seems to have a new air about her, she’s much calmer and will happily stand and daydream while we give her gentle back scratches.  In the past she was always on the skittish side.  This is no longer the case at all.  Her whole demeanour has shifted to one of a more relaxed and mellow sheep.  I believe there’s a lot of truth in what they say about a healthy gut microbiome positively affecting your mood because Witchy is testament to that.


Posted on

Nutritional boost for our elderly sheep – an update

Last April we noticed some of our elderly sheep (the 12 year olds) had come out of winter looking a bit slimmer than we liked.  So after a bit of research we came up with a plan – daily buckets containing a mixture of soaked alfalfa-beet and meadow grass pellets.

This is our first experience with looking after elderly sheep so we didn’t know if the supplement would make much of a difference nor how long it would take before we would see results.

Sparkle (left) much more roly poly than last spring

We needn’t have worried, within about six weeks our three skinny girls began to blossom and put on condition.  We were thrilled with the results, especially with Sparkle whose natural body shape has always been on the roly poly side.

All through the spring we continued giving the girls their daily rations.  In fact we ended up adding three more ladies to the ‘green bucket club’.

Contrary to what people think, sheep are really intelligent.  At first the whole flock would come running over at the sight of me and my buckets.  But within a couple of weeks this dwindled down to just the odd cheeky teddy bear trying her luck.  This made life a lot easier.  Soon the flock learned who got a bucket and who didn’t and the only barging that went on was between the six elderly ladies themselves thinking their neighbour’s bucket was tastier than their own.

We meant to wean the girls off their buckets by mid-summer or once they’d gained condition, but somehow, not sure how it happened truth be told, we carried on giving them their buckets all through the summer into the autumn, and then into the winter.

Now we’re into April again and the six girls have come through winter with barely any loss of condition, hooray!

Star looking well again 🙂

On a side note, we are extra pleased we’ve found this supplement because we had a poorly sheep last week.  Star, is one of ‘the oldies’ but has always been a robust sheep and not yet a member of the ‘green bucket club’.  She had separated herself off from the flock (not a good sign), and was standing in the shed with her head down (definitely not a good sign).  We rang the vet for advice but in the meanwhile we gave her some soaked alfa-beet with chopped carrot to spark up her appetite.  Three days later and she is back with the flock happy as Larry.  We’re not sure what was wrong with Star, nor if she would have made a recovery without the supplement but it’s a comfort to know the sheep enjoy it even when they’re not feeling very well and have little appetite.


Posted on

Moving our muck heap

Running a smallholding seems to involve a lot of muck shovelling.  Especially during the winter when the little darlings spend much of their time mooching around the shed, the paddock and the hay feeders.

cleaning up the paddock
shed clean and tidy

With the increase in hoof-fall, these areas soon become very mucky.  So, every afternoon I pull on my gloves, my wellies and my dungarees, get my bucket and rake and have a good clean up.  I collect the dung from the shed and the area around the feeders.  Then I scoop up any large deposits left around the paddock.  Finally, I scatter bedding down around the shed and the feeders.

This is all quite labour intensive, but I do it willingly because there are loads of positives.

Obviously, there’s the welfare factor in keeping the sheep areas clean.  The sheep don’t enjoy trudging through muck any more than we do.  But over the years we’ve found that (in particular) keeping the area around the hay feeders clean has resulted in our teddy bears having hardly any foot rot.  No more limping and no Alamycin jabs, hooray!  When we started out as smallholders we often had foot problems during the winter.  We thought that was just how it was with sheep, but we can really see the difference now.

our lovely muck heap

The other positive is that garden is happy.  We have a large heap of manure in the corner of the garden absolutely bursting full of worms.  The roses and veggies can’t get enough of it and it’s really satisfying knowing we can feed the garden ‘for free’.

Last year however the badgers got lucky and found the muck heap.  For the last few months they’ve been making regular nightly visits to the ‘worm buffet’ and having a lovely time, scattering manure in all directions.  On several occasions on the morning dog walk we’ve even spotted a badger curled up in the shed next to the heap snatching forty winks after late night shenanigans.

In the autumn we decided enough was enough and we made the painful decision to move the heap.  We were fed up with cleaning up after the badgers.  Furthermore, they were decimating our precious compost worms.  Given the size of the heap and that we had more than enough for our own uses we decided to create a communal heap half a mile down the track which our neighbours could use too.

muck heap on the move

So we hitched up the trailer and made several journeys back and forth from the old heap to the new.  But no matter how many trips we made the original heap still seemed enormous.

Next, Adrian set up two large compost bins next to the veggie patch.  Several trailer loads later we’d filled the bins but still the pile of manure loomed.

Not to be deterred, we mulched the polytunnel and the veggie patch which took another couple of weekends and several more trailer loads.

roses mulched

Last weekend we rolled up our sleeves and mulched along the track where we have 30 hungry roses.  We piled it on thick, not just to keep the roses happy, but to smother the grass and weeds growing up around them.

muck heap looking a bit smaller

At long last and about six months after starting this mammoth task, we’ve made a dent in the heap.  It’s about half as big as it was originally, but the best news is that with all the disruption, the badgers have decided to go and party elsewhere!


Posted on

It’s hay time again!

Now we’re a month into winter we’ve moved the little darlings onto hay again.  Although there’s still grass on the hills and the flock trundle round grazing, the grass lacks nutritional content and isn’t sweet and tasty like it is in the summer.

For the last few winters we’ve been really lucky getting in small square bales of hay which are perfect for smallholdings.  They’re easy to store and carry around, much more so than the huge round bales that large farms use.  The huge round bales are only moveable by tractor and we don’t have a tractor.  (Well, we used to have one and it was useful when we had cows, but since we sold the cows we stopped using the tractor so we sold it).

filling dumpy bags with hay from big bales

This year however we hit a problem.  At the beginning of October, feeling very organised I pinged an email to our suppliers to arrange our first load of bales for November.  Only to be told that they’re no longer doing small bales, yikes!

I clicked into action.  There aren’t many smallholdings around here and not much call for small bales, but there are plenty of horses and horse owners like small bales too.  I phoned my friend who keeps a horse in the next village.  She gave me a number for her hay chap, but sadly his hay was all tied up and he didn’t have enough for us.  Next, I jumped in the car and whizzed over to our local agricultural store.  They’re a great mine of information and I was sure they’d know someone who did small bales.  Sure enough I came away with a phone number of a chap who was setting up a hay operation and potentially did small bales.  Unfortunately, it turned out he wasn’t going to be ready until next winter, darn!  I made several more phone calls – but no joy.  Finally, scraping the barrel I did some facebook searches and found a supplier in Cumbria who looked hopeful, they had a barn-full of soft meadow hay, perfect for sheep – until I calculated how much in fuel it would cost for me to go and collect, eek!  Time was running out and I needed to get something fixed up soon.

topping up feeders

In moments like this a cup of tea is always helpful.  Sure enough, halfway through my cuppa an idea started to form.  As things were looking, it was either big round bales or no bales at all.  Handling big bales is pretty much impossible without a tractor, however, I wondered if there was a way we could roll them into our shed if we got them delivered right next to the shed entrance.  It would only be a few feet and the shed was slightly downhill.  The only fly in the ointment was that the bales would need to be stored on pallets to keep them off the ground.  I wondered if we would manage to get them onto the pallets or whether that would be a step too far.  I ran my idea by Adrian and he said we should go for it, basically, we had little choice.

So I ordered three big bales and they arrived on a drizzly day.  What with Adrian stuck at his desk doing his day job we wouldn’t be able to move them until later in the evening, so I rummaged about in the shed to find a tarp big enough to cover them and somehow managed to drape it over the bales to keep the rain off.

Later that evening we rolled up our sleeves and with a bit of pushing, shoving and the odd naughty word, by a minor miracle, we got our three bales into the shed, yay!

Now the only thing left to do would be to decant the hay from the big bales into user-friendly portions to allow me to transport them to the paddock where the feeders are set up.

Back in September, Adrian built a nifty little shed in the paddock, just big enough to store a week’s worth of hay.  Having a few bales stored near the feeders makes life so much easier when it comes to topping up the feeders (which I do daily).

dumpy bags in hay store

I was so excited to use the new hay store this winter, and Adrian had even sized it up to accommodate exactly one week’s worth of small square bales.

Needless to say I was slightly concerned the new shed would take a week’s worth of hay in dumpy bags.

But I didn’t have to worry about that until a few days ago because during November I was still using the remainder of last winter’s small square bales and life was easy.  Then the time came to move over to the big bales.  To be honest despite my trepidation about storage, I couldn’t wait to rip open the netting on the first bale, last winter’s hay being a year old was a bit average, some of the bales were stale and I had to discard a couple which had got wet.  I couldn’t wait to get stuck into the new hay, there’s nothing like opening a fresh bale of hay, it smells amazing!

sheep tucking in


After a shaky start at the beginning of the winter wondering how we were going to manage, it seems things are working out fine with the big bales.  And the sheep are pretty happy with the situation too.


Posted on

Where to put the hay

hay storage

Our sheep tend to spend much of the winter close to the hay feeders. While the fields remain open, the comfort of the shed and close proximity of food is too much of a draw.

Main deliveries of hay are stored in a large shed, but we keep a few bales near the feeders to make things easy for ourselves at top-up time. Up till now, these have been stored in a hurdled off corner of the shed. While this generally worked fine, it did mean carrying bales through a melange of sheep and a somewhat fraught effort to stack them. Fraught because once the hurdles were opened, some sheep saw this as an opportunity, particularly Yaar.

So this year, we decided to conjure up a better option, a hay storage facility both closer to where we park the trailer and closer to the feeders. Hay Bay 2 was born (Hay Bay 1 was added to our field shelter some years back, but since then we’ve moved the feeders closer to the house).

Now, I work full time so time was at a premium. Also, autumn was creeping in so the light evenings of summer were receding quickly. So, guess what I spent my weekends and holidays doing?

hay bay foundations complete
hay bay 2 – foundations complete

First was to lay a flat foundation, lifted from the ground to avoid damp. This involved much digging and levelling and siting of bricks. Smallholding seems to involve a lot of digging, measuring and moving stuff around, so I was no stranger to this.

Second was to build a raised floor. This comprised a pallette sawn to size with some planks added to fill the gaps.

hay bay 2 - framework
hay bay 2 – framework

Third was to build the framework. The shed needed to be sturdy (which eliminated all shop bought options at a stroke), the right size (ditto) and able to keep water from leeching through the walls (easier said than done). Of course, despite carefully crafted spreadsheets with macros to help me buy the right wood at the right length, I ended up short on the 4×2. Fortunately, I had some offcuts from earlier wood based projects lurking in the shed. Just enough and no more.

The second problem was that I changed the design at this stage. Originally, the idea was to have the roof level with the gap in the shed wall. But I decided, based on my experience of hay bay 1 (which leaked and so needed to be re-roofed), to integrated the roof with the shed. This meant I had to buy more wood after all.

The third problem was that my power saw decided that it had had enough, so I get a new one of those. Should have been easy, but the courier (DX) had yet to deliver any of the previous deliveries on the allocated day. I wondered what the excuse would be this time and, lo and behold, having claimed ‘no access’ more than once, this time the van suffered a ‘breakdown’. Hmm.

Nevertheless, it finally arrived and work continued.

hay bay 2 - build underway
hay bay 2 – build underway

A key part of this design was not to have a support column in the middle of the doors. Also, having learned from previous experience, I made the doors narrower. Wood’s tendency to settle and move can be a right pain when all of a sudden, that carefully aligned bolt is no longer aligned. Two very sturdy columns were put in place to support the doors along with large hinges.The doors themselves have four cross beams and plenty of screws so as to minimise any shape changing.

This was a satisfying part of the build, a series of straight cuts so no continually adjusting the saw. It wasn’t long before the walls were up. The doors took some careful measuring as, given soft wood’s propensity to warp, they ended up not exactly the size in the plan. But I was ready for that, so all went surprisingly smoothly.

After that, I lined the inside with a second ‘wall’ to keep the hay off the damp outer wall and added the roof. The only thing missing from the photos is the feeders which will be one or two metres from this new shed. A small step in making our lives easier.

hay bay 2 - complete
hay bay 2 – complete
Posted on

Hooves and bottoms – again

Every week, (weather depending) I arm myself with my ‘sheep bits and bobs kit’ and set off for a morning of hoof and bottom trimming.   In other words, I gather in a small number of sheep and spend a lovely morning with our teddy bears doing their health checks.  This includes checking and trimming their hooves, checking their bottoms and trimming their bikini lines, and if they’re woolled up I’ll trim the wool around their eyes too so they can see better.

sheep maintenance kit
sheep bits and bobs kit

We have nineteen sheep and doing the whole flock in one go is quite a lot for me on my own, so I do three or four each week.  This means each sheep gets a health check and mini hair cut roughly every six weeks.

My ‘sheep bits and bobs kit’ is one of the most useful things I own.  It contains:

Engemycin spray (aka blue hoof spray – great for mini foot infections)

Protego herbal powder spray (my favourite product of all time, I use this for minor skin wounds, it’s very effective and smells divine.  Yogi, Yssi and Ynca are all prone to getting urine stains on their bottoms so I’ll trim up the stained wool and follow up with a cloud of powder spray to prevent infection and keep their bottoms fresh)

Burgon and Ball hoof trimmers

Fiskars sewing scissors  (I find normal sewing scissors easier than full on shearing shears for doing mini trims)

Fiskars scissor sharpeners

Battles maggot oil (just in case)

‘Tom Tick’ (for removing pesky ticks)

Self-stick bandages, cotton wool and Styptic powder (in case of accidents)

Nitrile gloves

Rope halter (in case I need to secure one of the teddies)

Bribes (sheep nuts and / or chopped apples, carrots, turnips depending on what season it is)

sheep maintenance
parked up next to wee pen

I pop my bucket of things on the quad bike, secure with bungees and zoom off to look for the flock.  I have various hurdle pens dotted about over our pasture.  This means wherever the flock happens to be there’ll hopefully be a pen nearby.

Once parked up I’ll check my list to see whose turn it is, then I’ll walk over to the flock and bring in my first teddy bear.

Once I’ve got my sheep in the pen I’ll give her a piece of apple or a few sheep nuts, then a ‘tickly pickly rubbadubdub’, (some lovely scratches and head rubs).  This is important as I like the sheep to associate the pen as a pleasant experience.

sheep maintenance
bottom trimming

Then I get to work.  I put a handful of chopped apples / nuts etc in a bucket and place this in one corner.  This part is very important as I want to keep my sheep fully occupied while working on her hooves.  Where I place the sheep and myself is super important as I want to make sure her body weight is fully supported by the hurdle and me at all times.  This way when she’s balancing on three legs she’ll feel secure and and not want to run off in a panic.

When I’ve done the hooves I’ll top up the bribery bucket and start on the bottom.  If I’m working on a skittish sheep I’ll halter her up.  Sheep instinctively move forwards when their bottoms are touched which isn’t ideal when I’m trying to snip off dags and peer through wool for maggots.

sheep cuddles
sheep cuddles

Bottom done, I’ll remove the treats bucket and get to work on the face.  Some of our flock don’t need a face trim but most of them do.  Ryelands generally have the full on teddy bear look so appreciate a wee trim up around their eyes so they can see properly.

livestock guardian dogs
heading back after a good mornings work

Each sheep takes around half an hour, so after doing four or so sheep I’m pretty sore from all the shuffling around.  I’ll load up my things, call the dogs over and head back to the house for a welcome cup of tea.