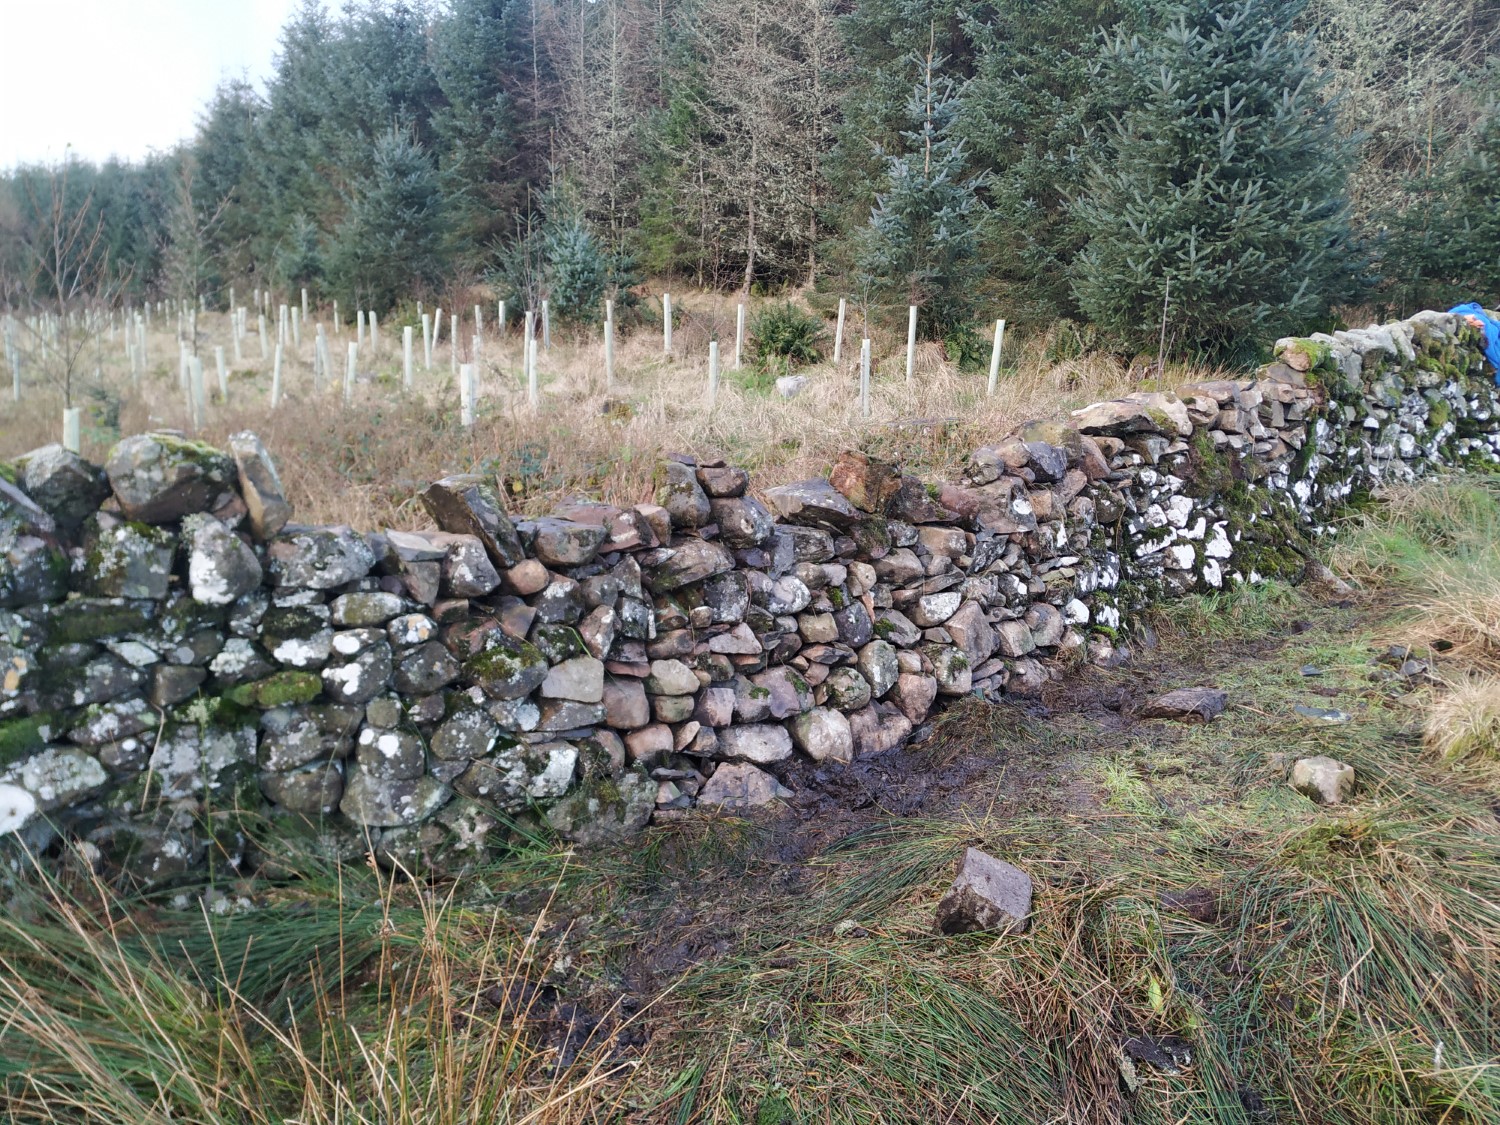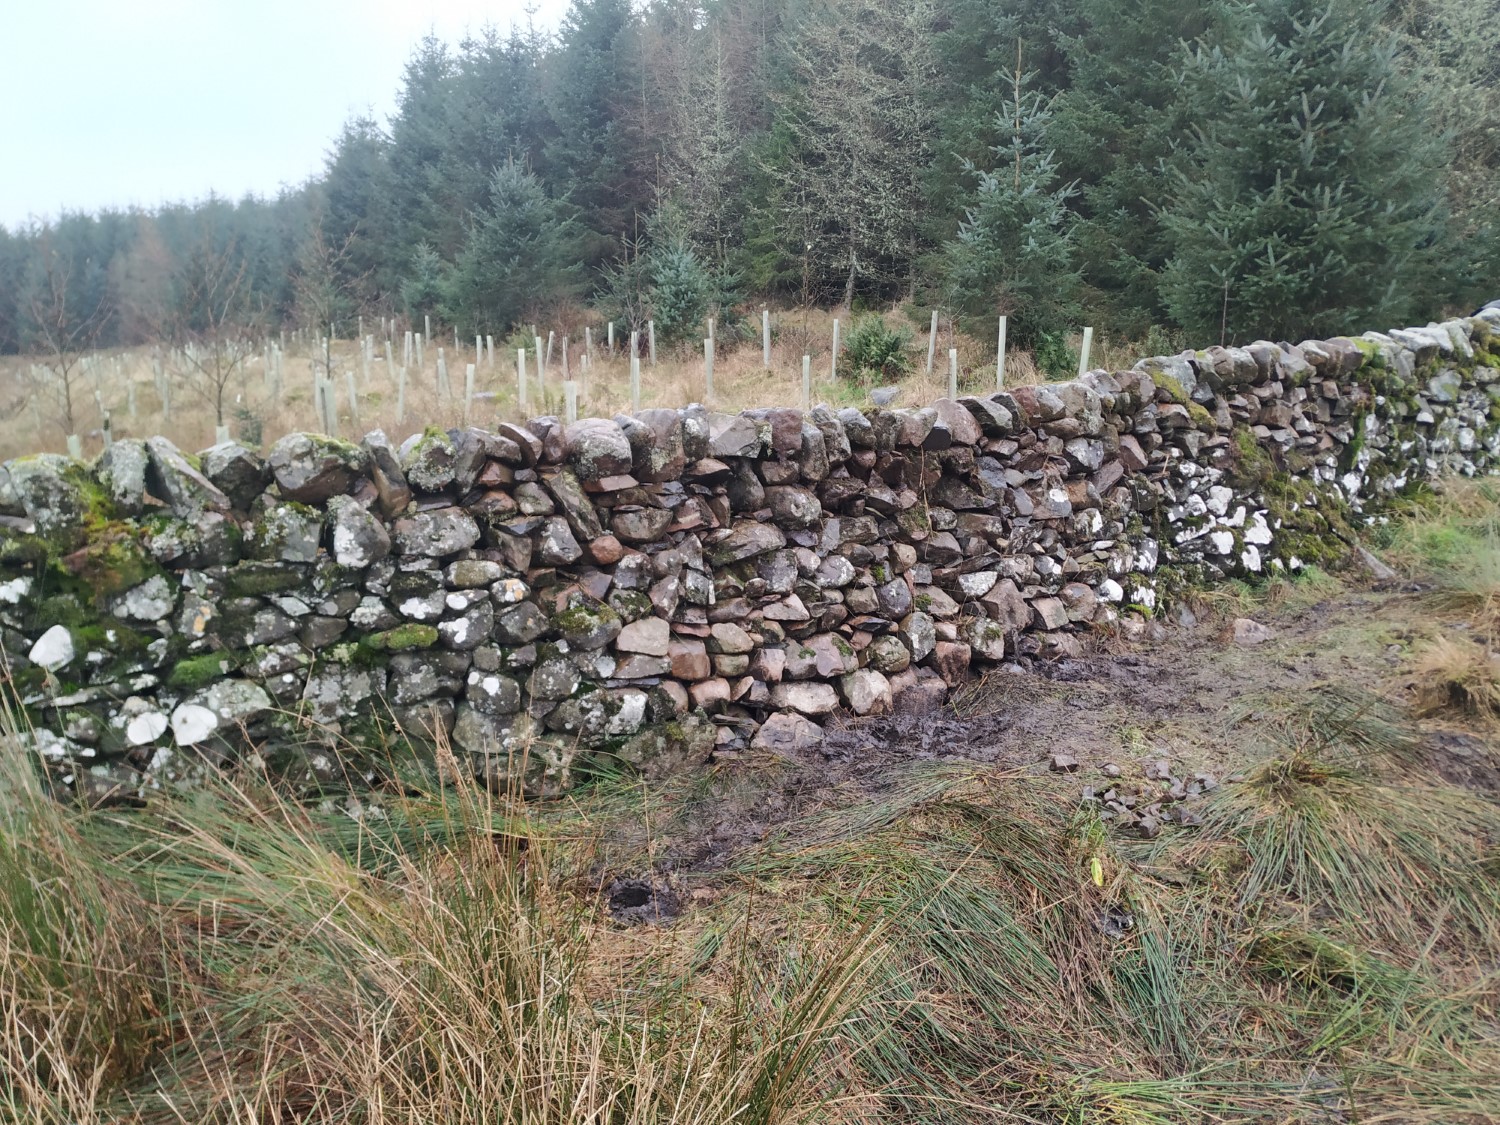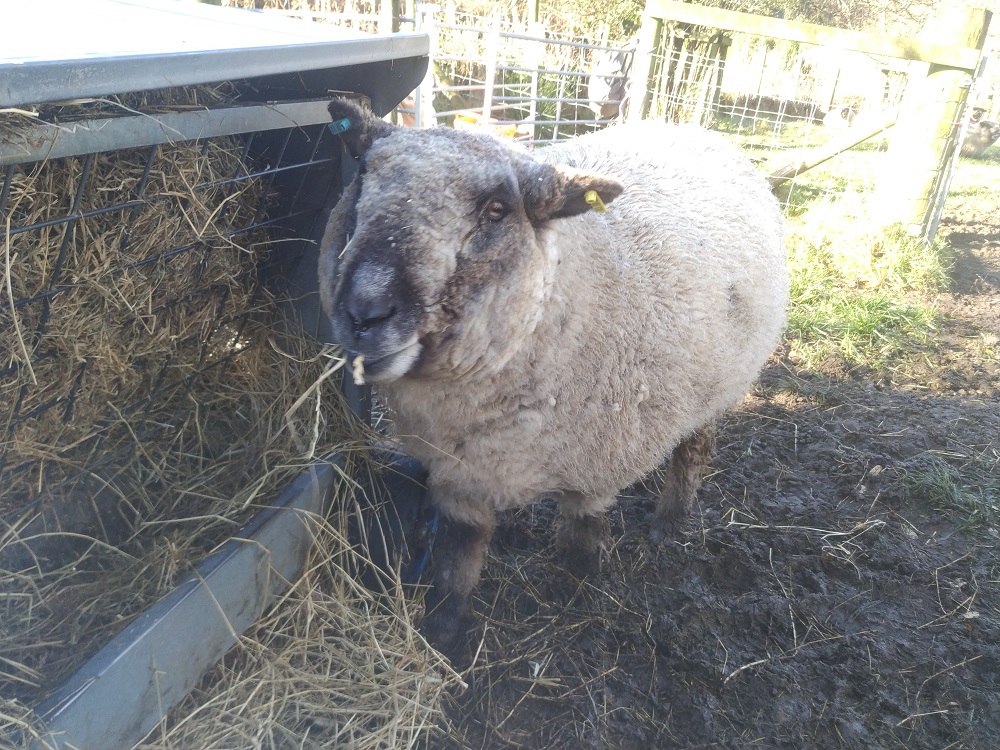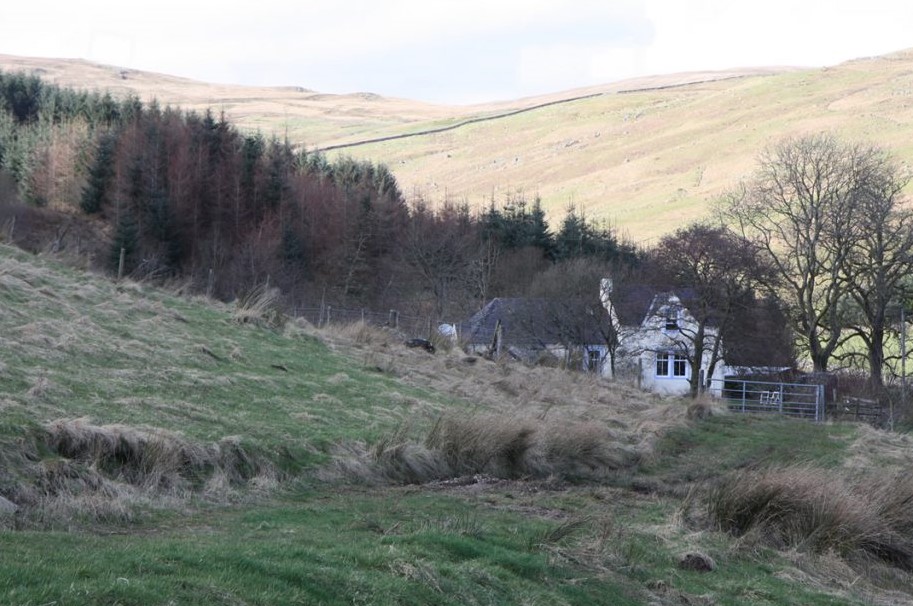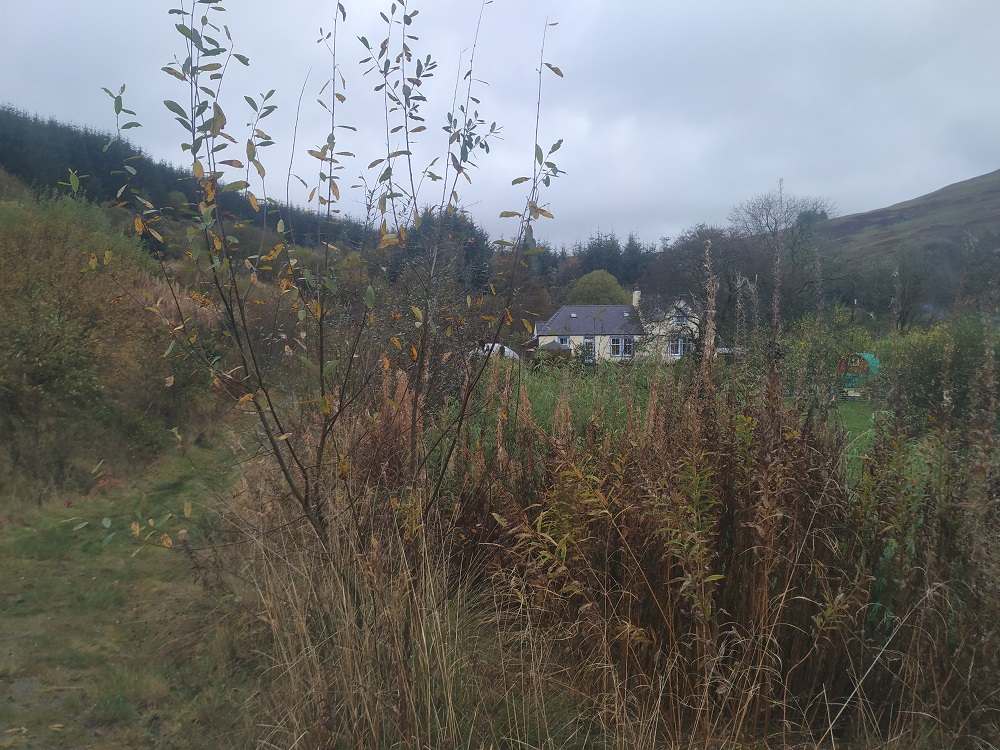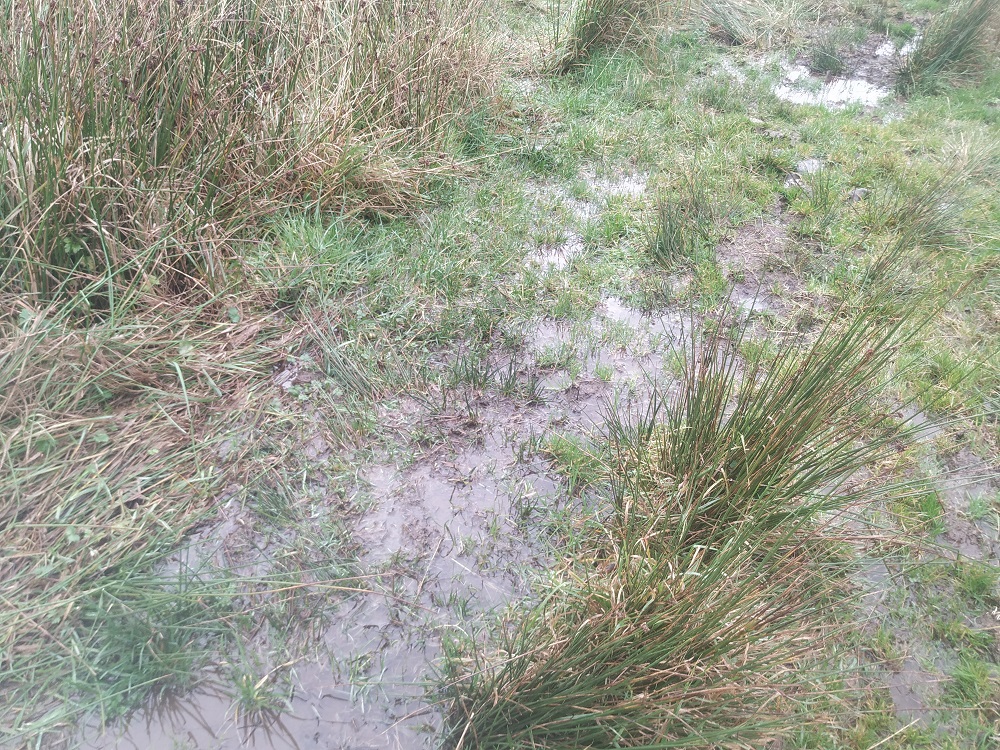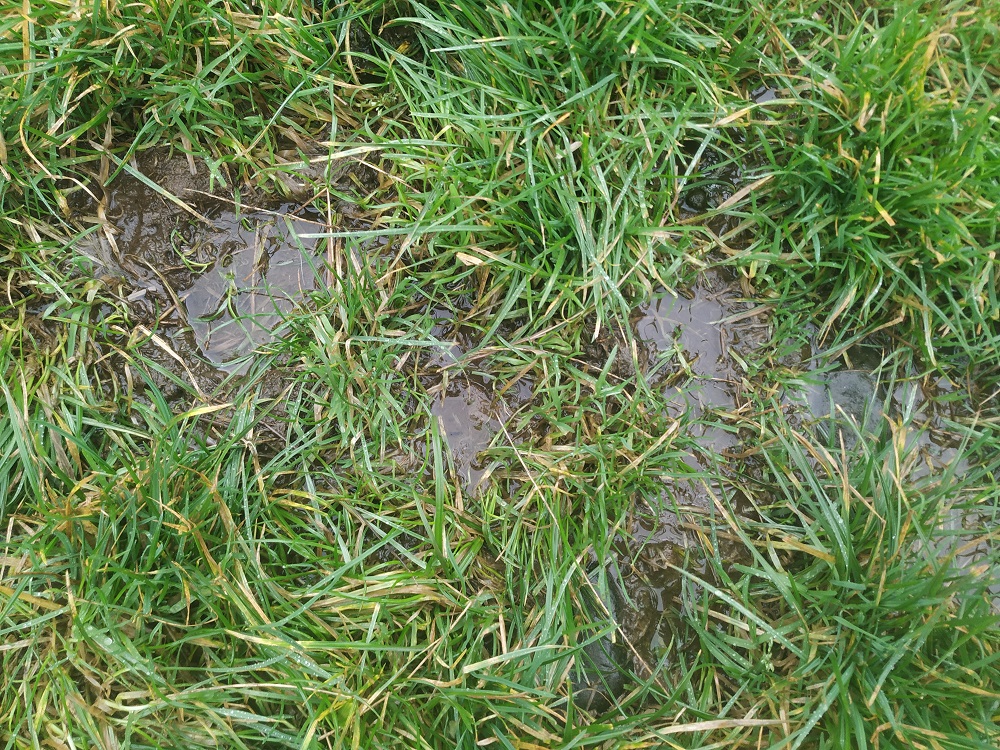
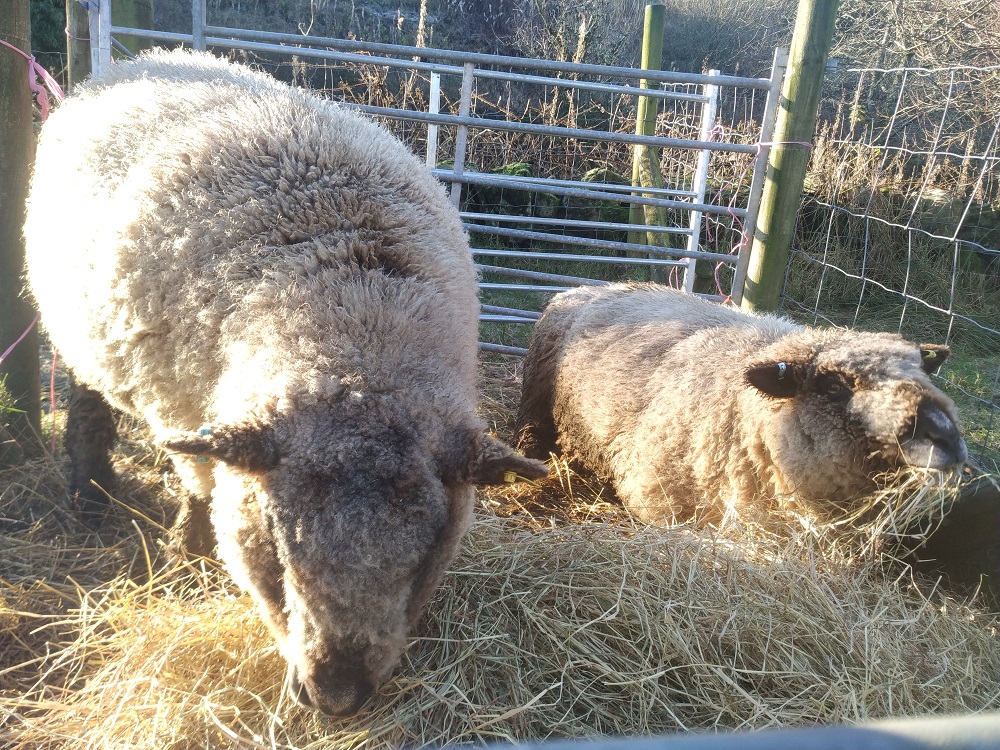
Up until recently we’ve had week upon week of rain, followed by … yet more rain. On a farm or smallholding, where there’s rain there’s mud, particularly where livestock likes to congregate. All through the autumn mud has featured heavily around the hay feeders, entrances to gates and along our woolly friends’ favourite paths. (Did you know sheep create little paths to get from A to B)?
Trudging through mud is no fun, not for us in our wellies, but even less so for the sheep who don’t have the luxury of boots. Not surprisingly they’ve been spending much of their time in the shed cudding and peering out into the gloom.
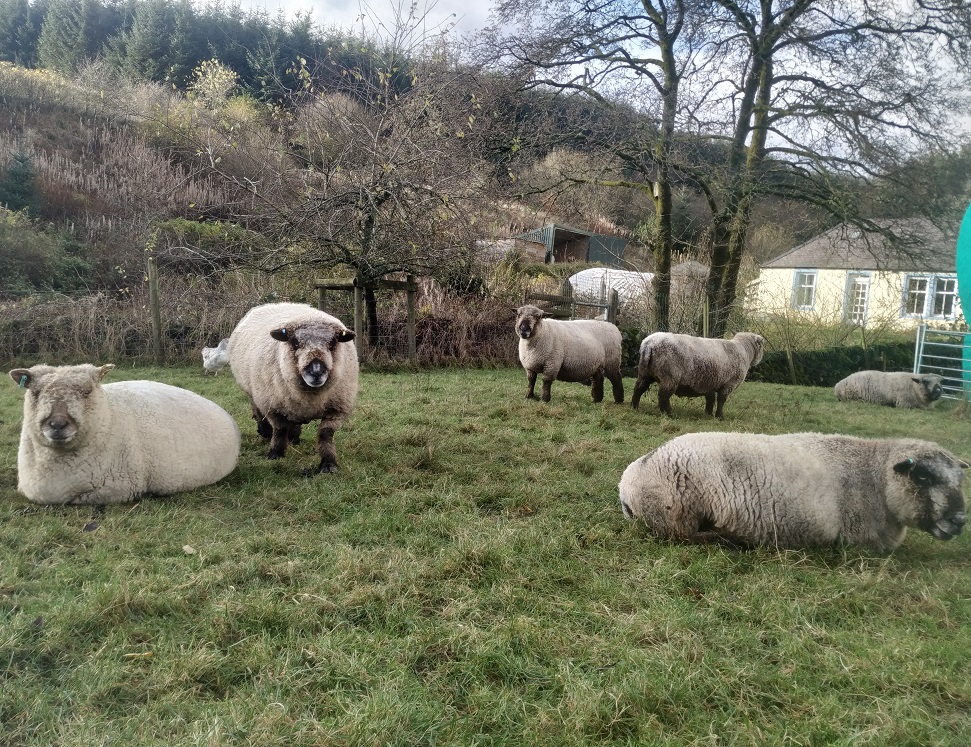
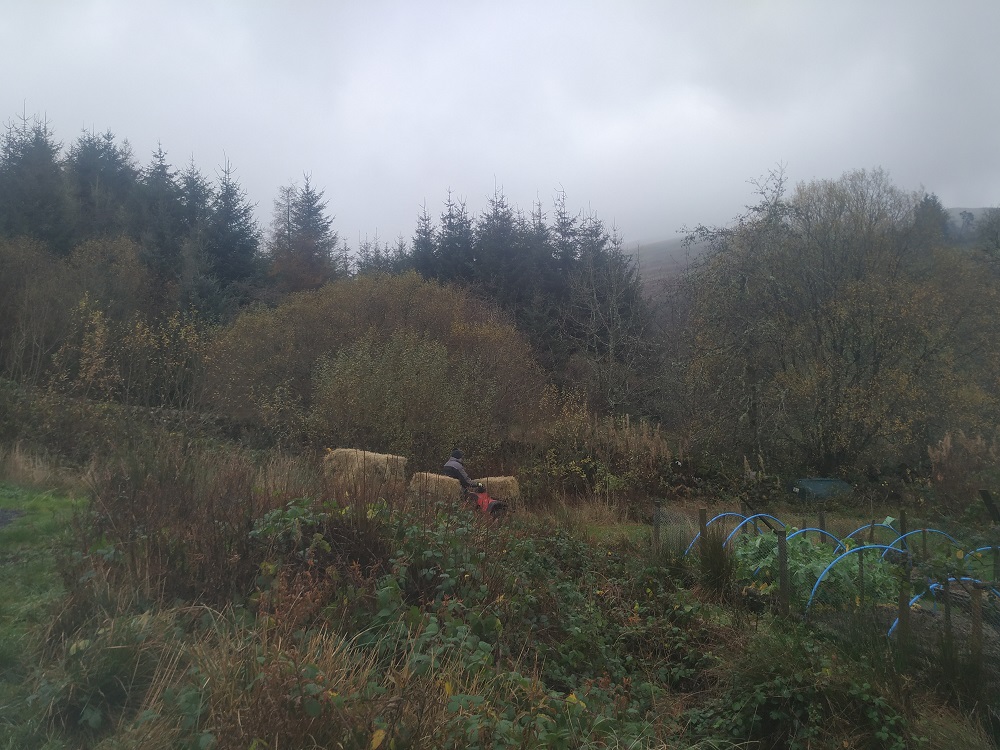
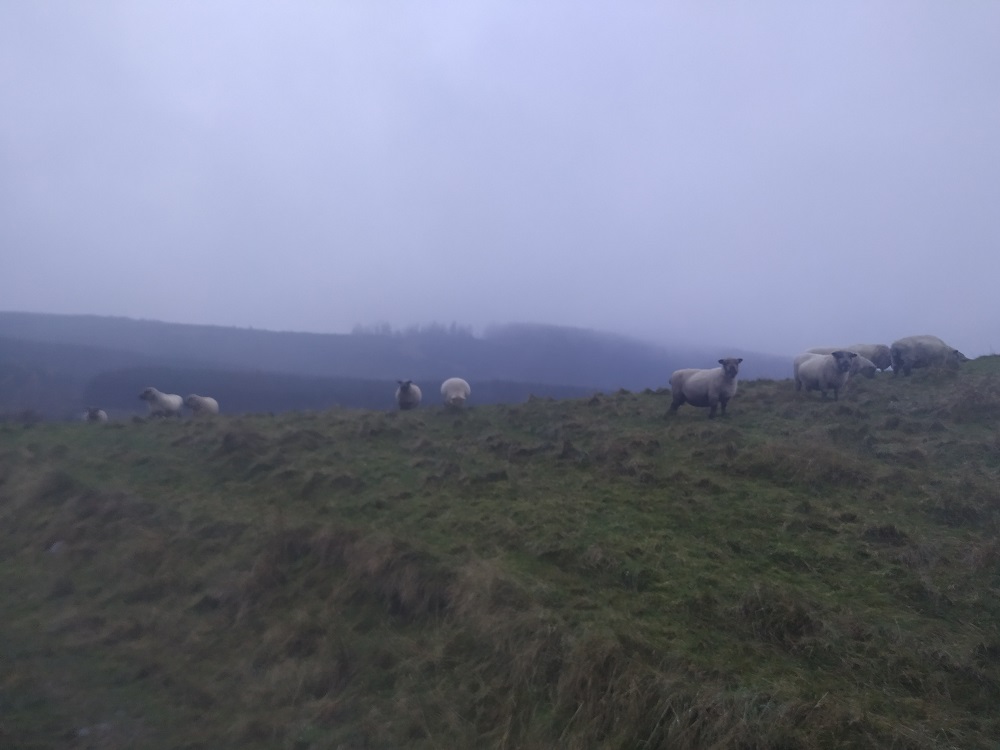
Last week the rain gave way to frost and we’ve all breathed a sigh of relief. The sheep are happy sunbathing on the hill again and we’re no longer slipping and sliding about. Nor are we getting in a tangle with items of clothing dangling from chairs and draped over the aga in various stages of drying off.
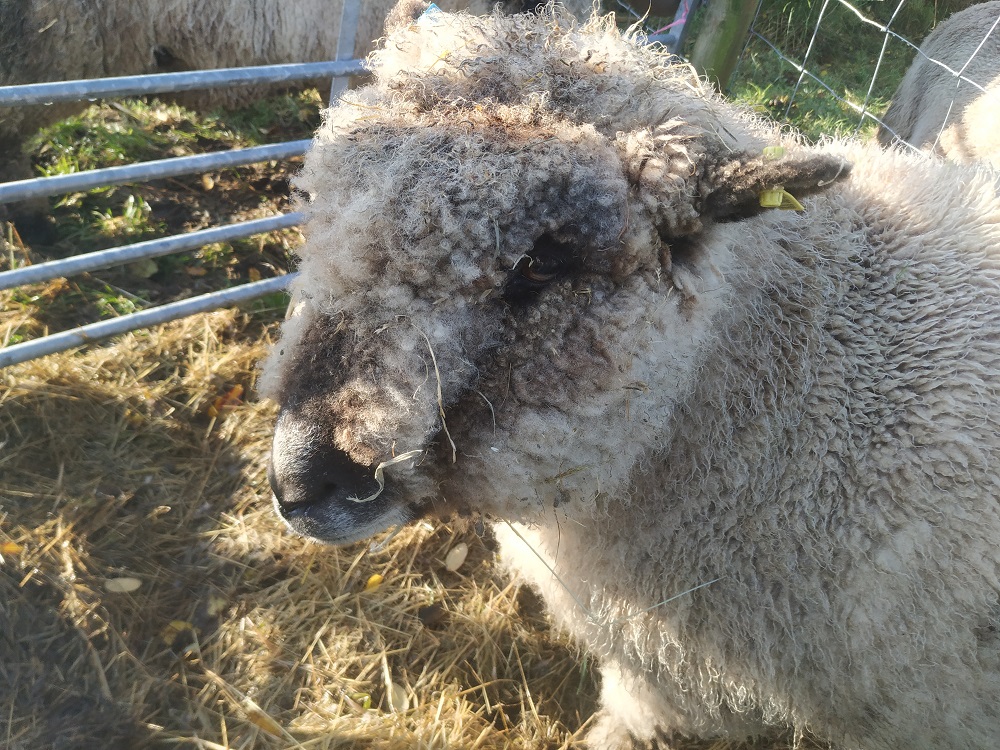
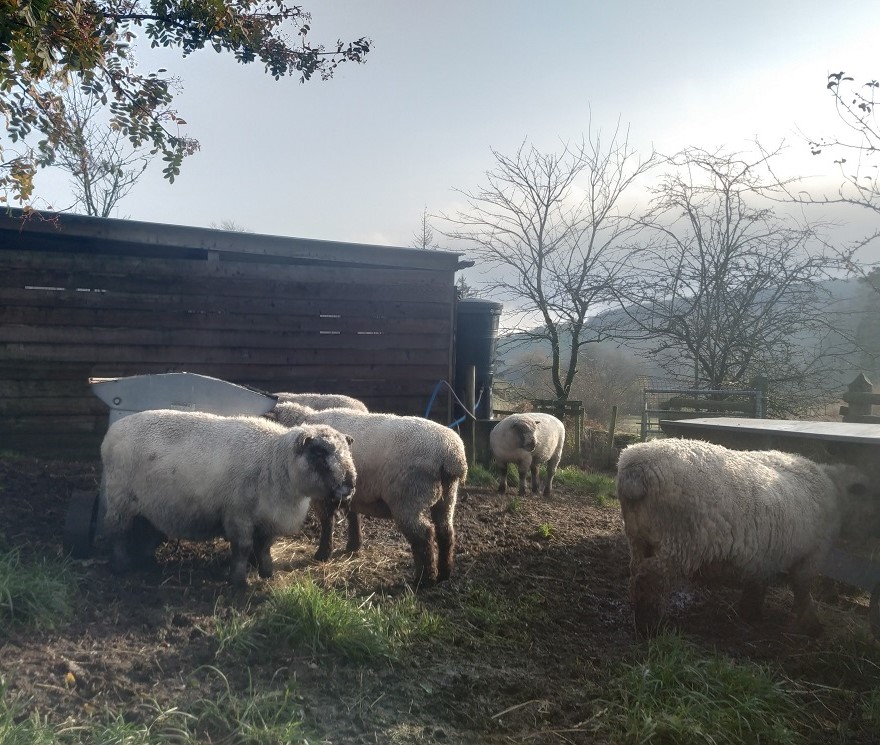
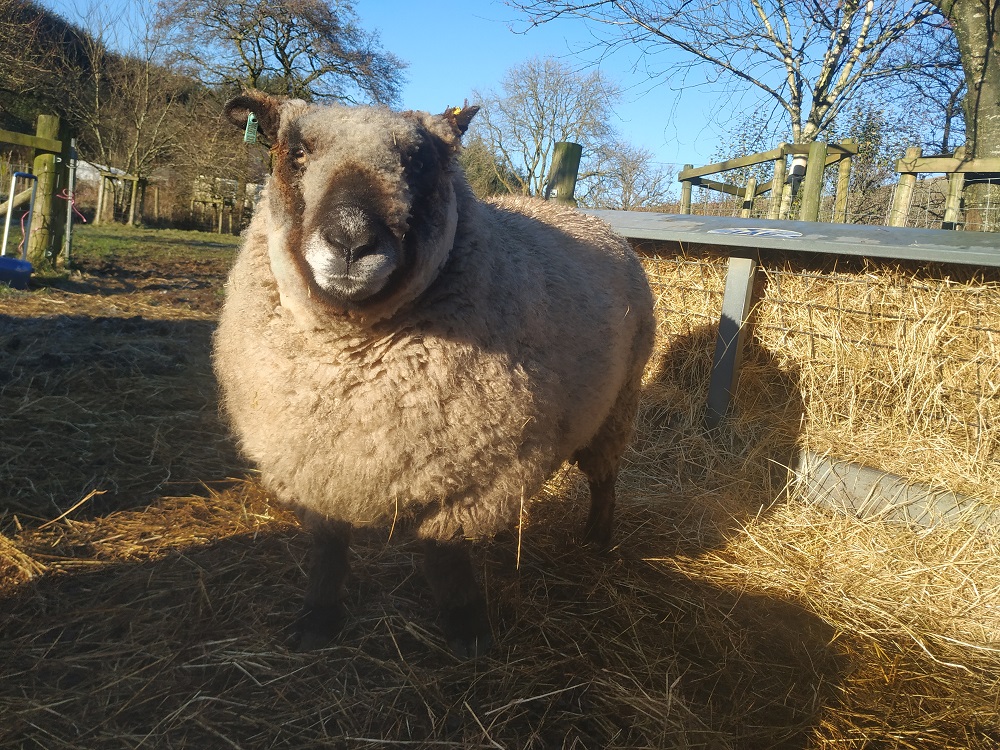
But then, as a reminder that resting on laurels isn’t something you can do in this farming life, we’ve had a sudden spate of lame sheep. Undoubtedly caused by the wet pastures which softens hooves, bacteria lurking in the soil enters the sensitive internal structures under the soles and causes an abscess. The signs are easy to spot, a sheep with a foot infection will limp and have an unhappy demeanour about her. If not treated straight away she will have trouble standing and will resort to grazing whilst resting on her front knees.
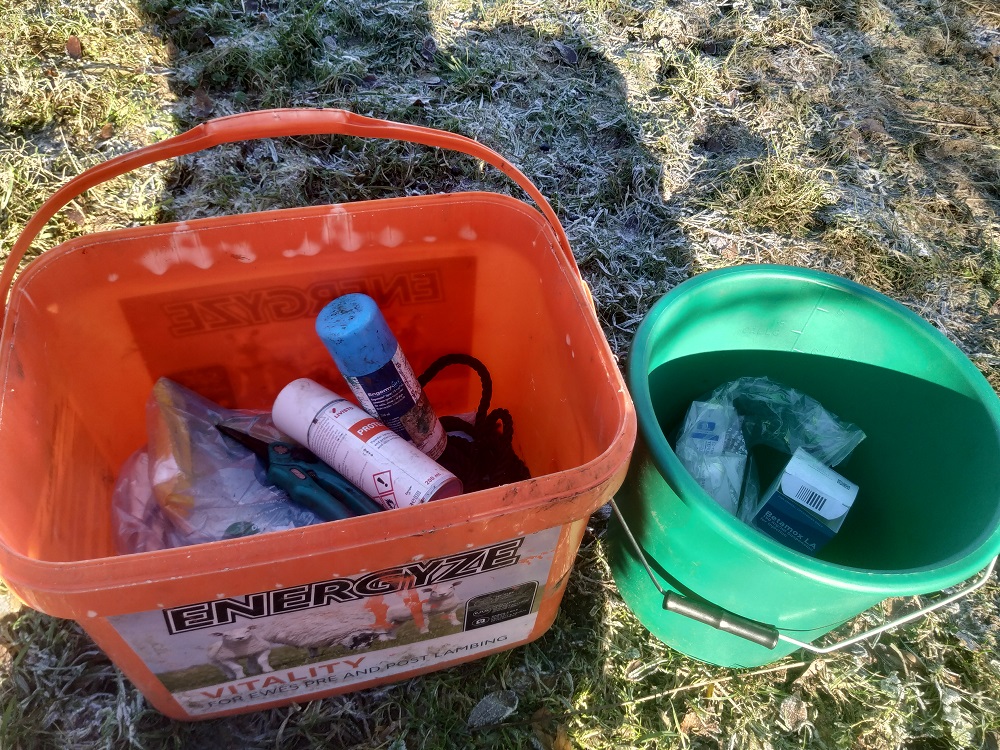
With Violet, Ynca, Yssi and Shelby all limping this week, I’ve been out every other day with my first aid kit. I like keeping our sheep’s hooves in good nick so I have a little bag (a bucket actually) specifically for looking after hooves.
When treating a lame sheep, the first thing I do is see how the sheep is walking and work out which hoof is the one I need to look at. Then I’ll bring the sheep into a pen and start by checking the hoof for little stones or anything else which might be causing the sheep to limp. Then I’ll clean the hoof up and scrape away any mud. Next, I’ll cradle the foot in my hand for a moment or so to check for temperature. A foot infection will cause a little heat and this is quite discernible, especially if you compare the infected hoof with a non-infected hoof.
If I suspect there’s an infection I’ll spray the hoof with anti-bac spray, especially the interdigital space (the gap between the toes). Then, I’ll give the sheep an antibiotic injection, I like using Betamox LA for feet as it gets to work quite quickly.
Violet, Ynca and Shelby are all fine now, it’s just Yssi who is still limping. I’ll be going out again later today to check up on her and give her another wee “jag” if necessary. Betamox is given every two days until the infection clears so fingers crossed Yssi will be feeling better soon.