Most of the stories on this blog relate to the stuff we do outdoors. However, we have slowly been doing work inside the house too. Carpets have been replaced with wooden floors, bathrooms relocated, rooms decorated and so on. At the moment, the kitchen is getting a facelift with new worktops and all the units will be painted (once we can get some paint).
Our pantry is what used to be the main bathroom. It was gutted, the concrete floor taken up and a new floor relaid. Some kitchen units, a sink, a wine fridge, a beer fridge, a chest freezer and an overhead clothes hanger were all installed. What I never got around to was adding some shelves.
 COVID suddenly made this an issue. We were putting our shopping into a sort of quarantine which basically meant it was left on the floor. It started to get on our nerves. I sourced some wood and shelf brackets and got to work.
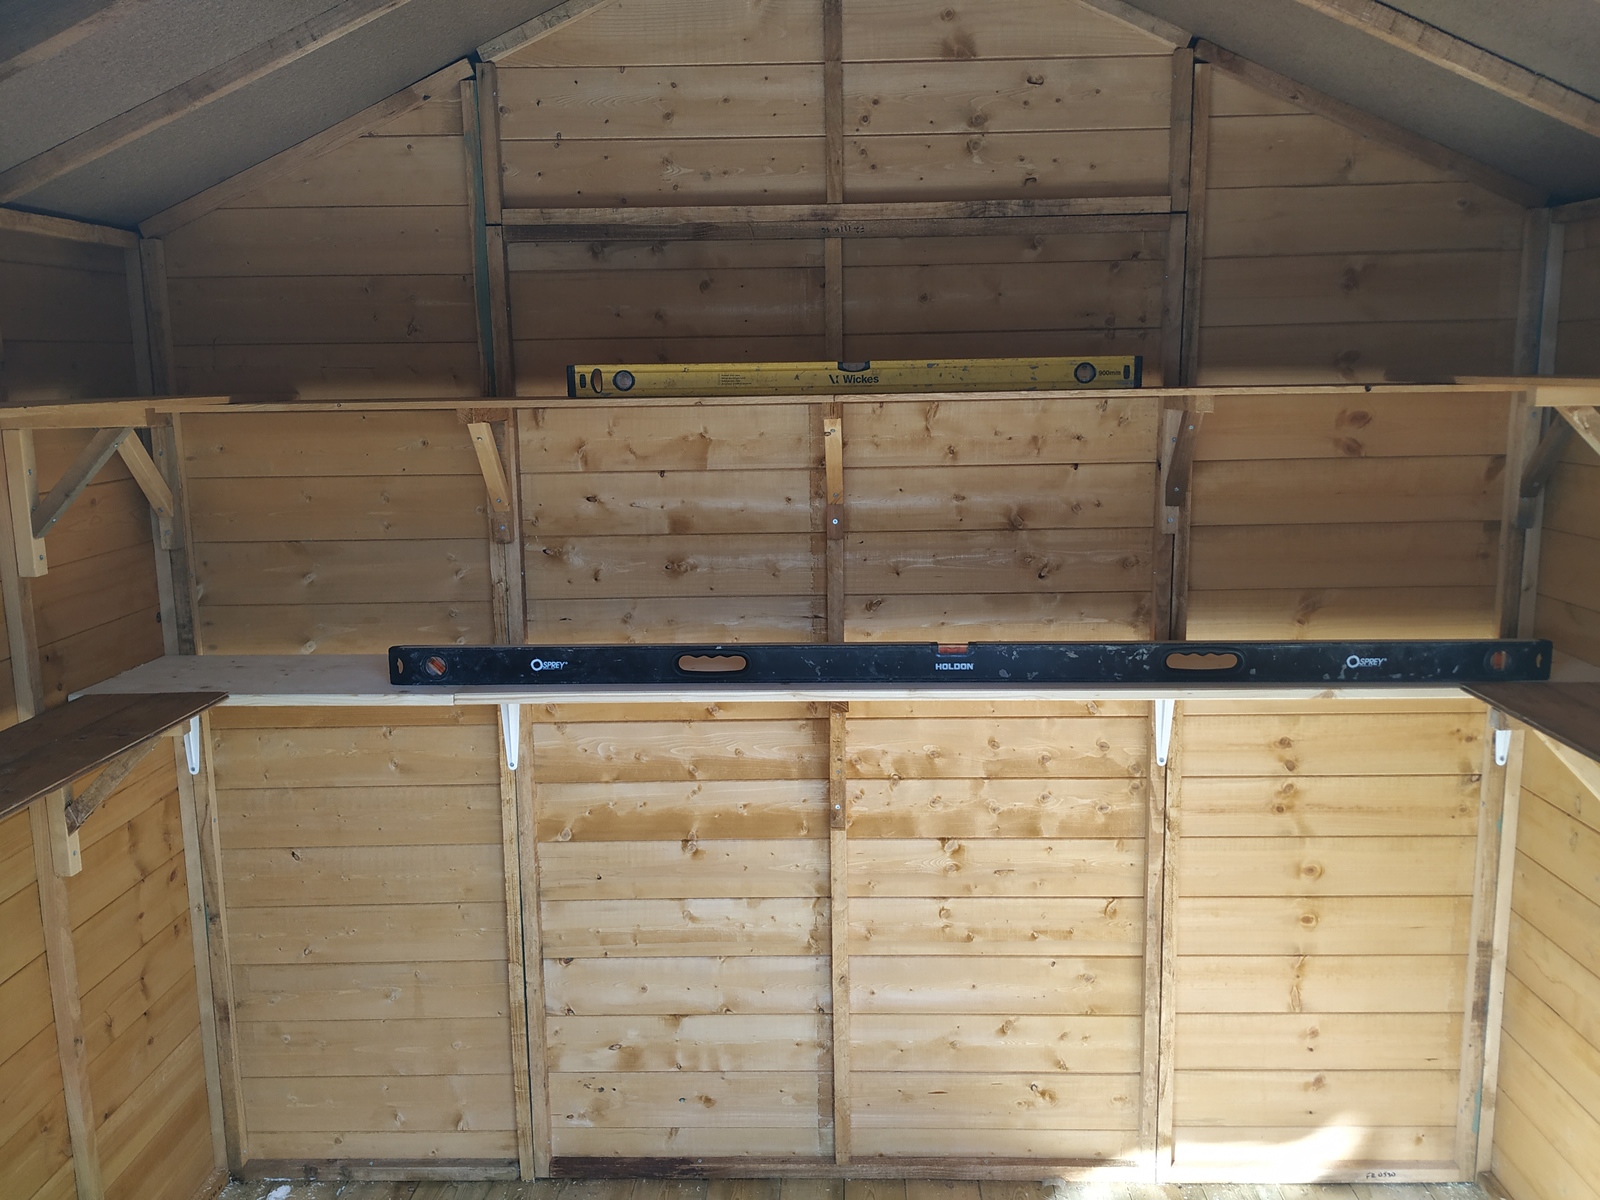
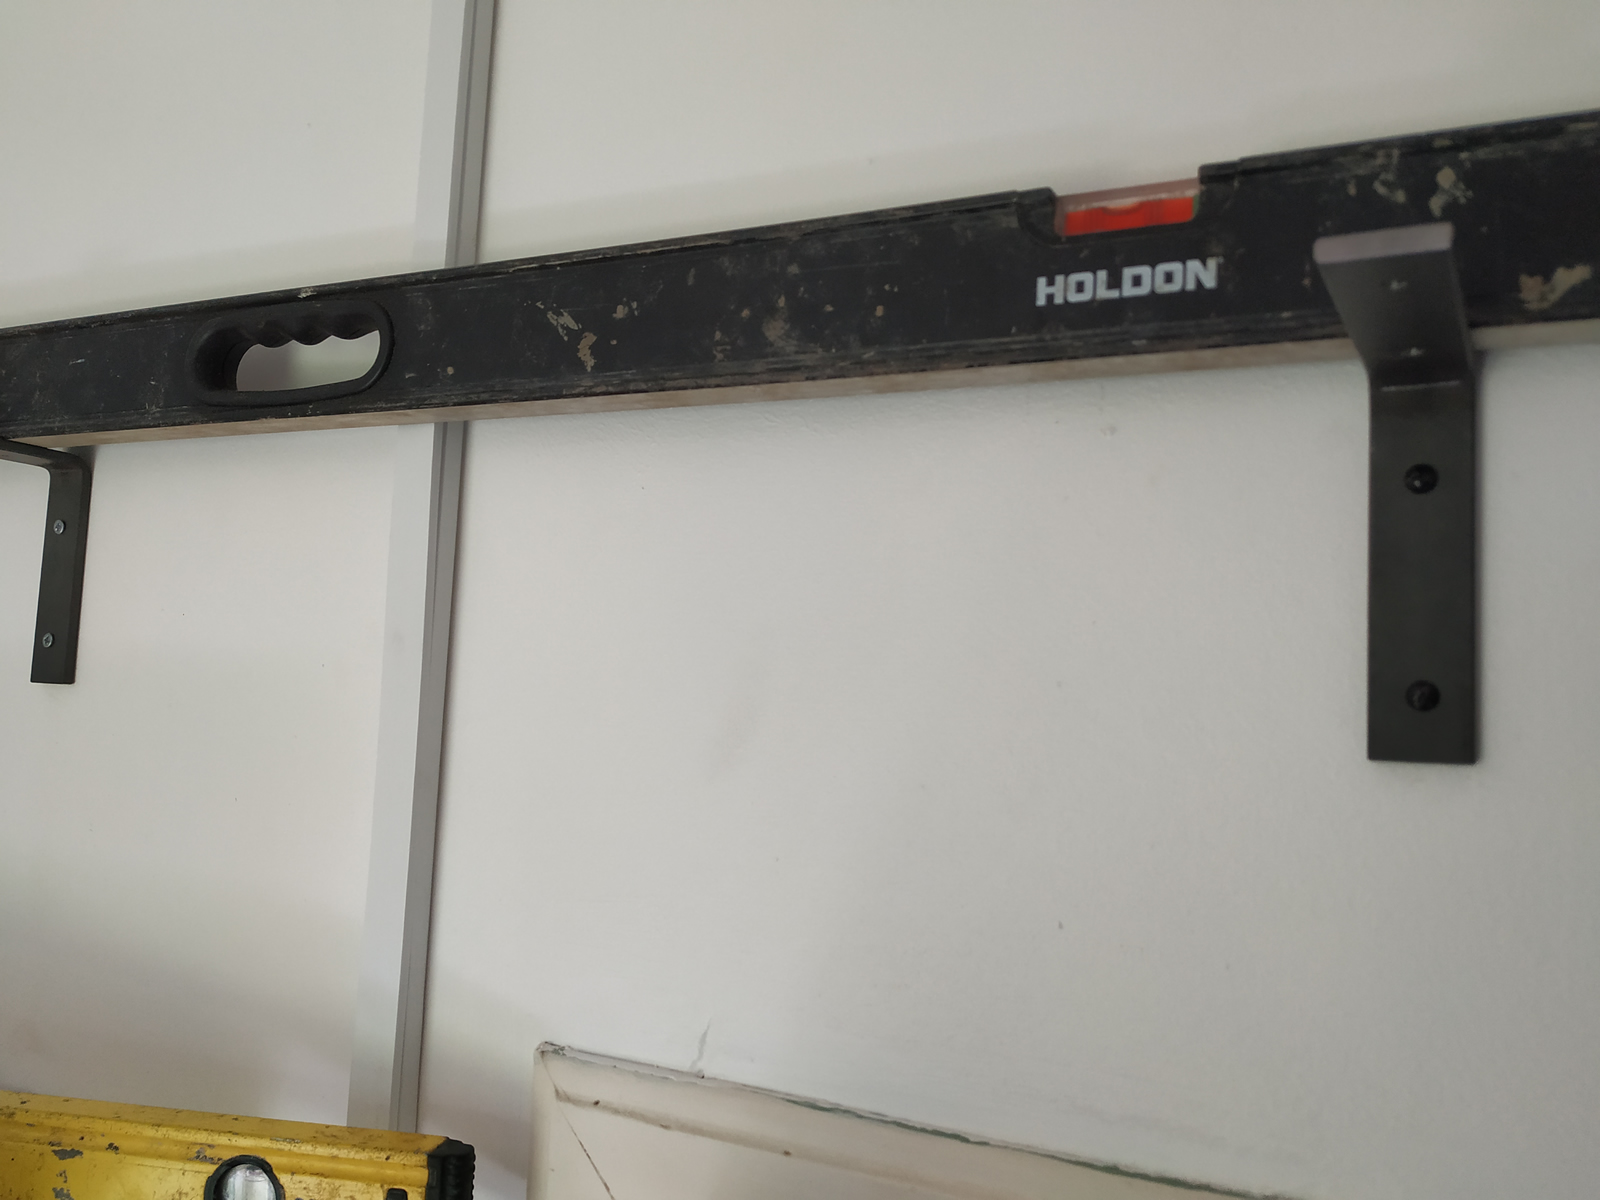
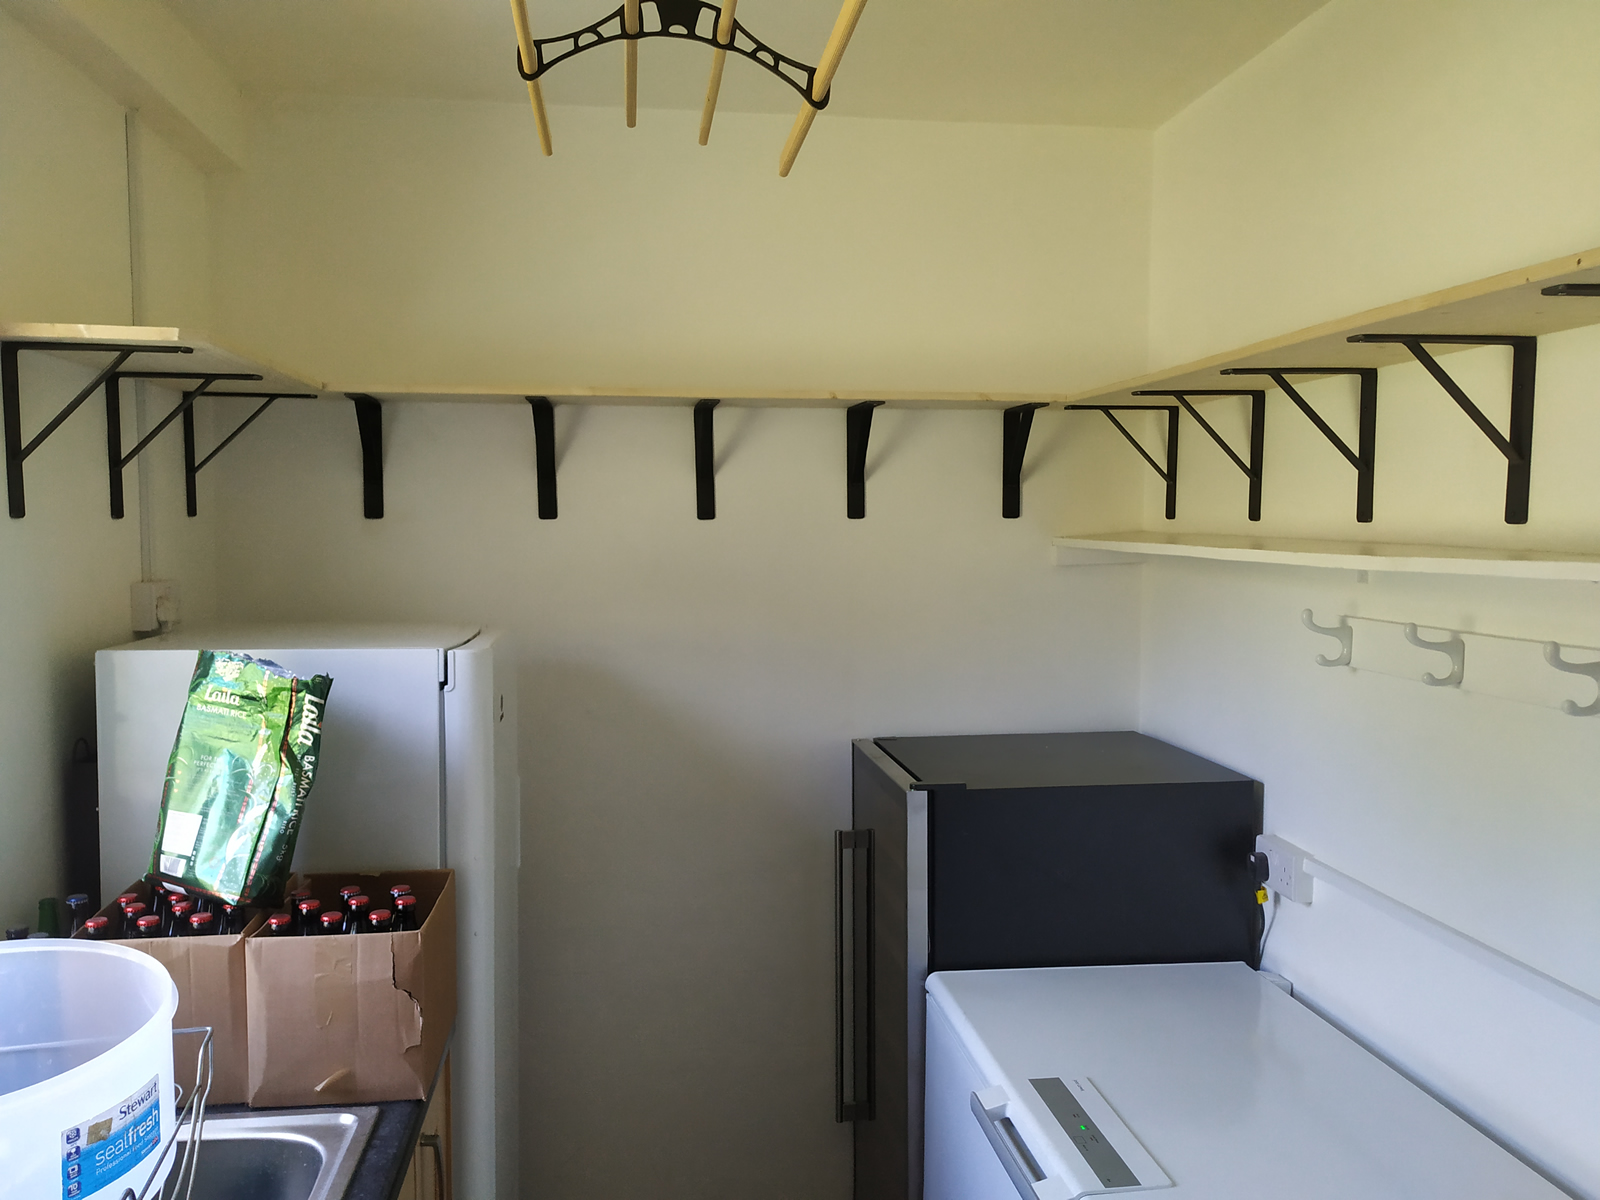
We’d be storing heavy stuff on these shelves so I got heavy duty shelf brackets and used plenty of them. There’s nothing worse than a sagging shelf.
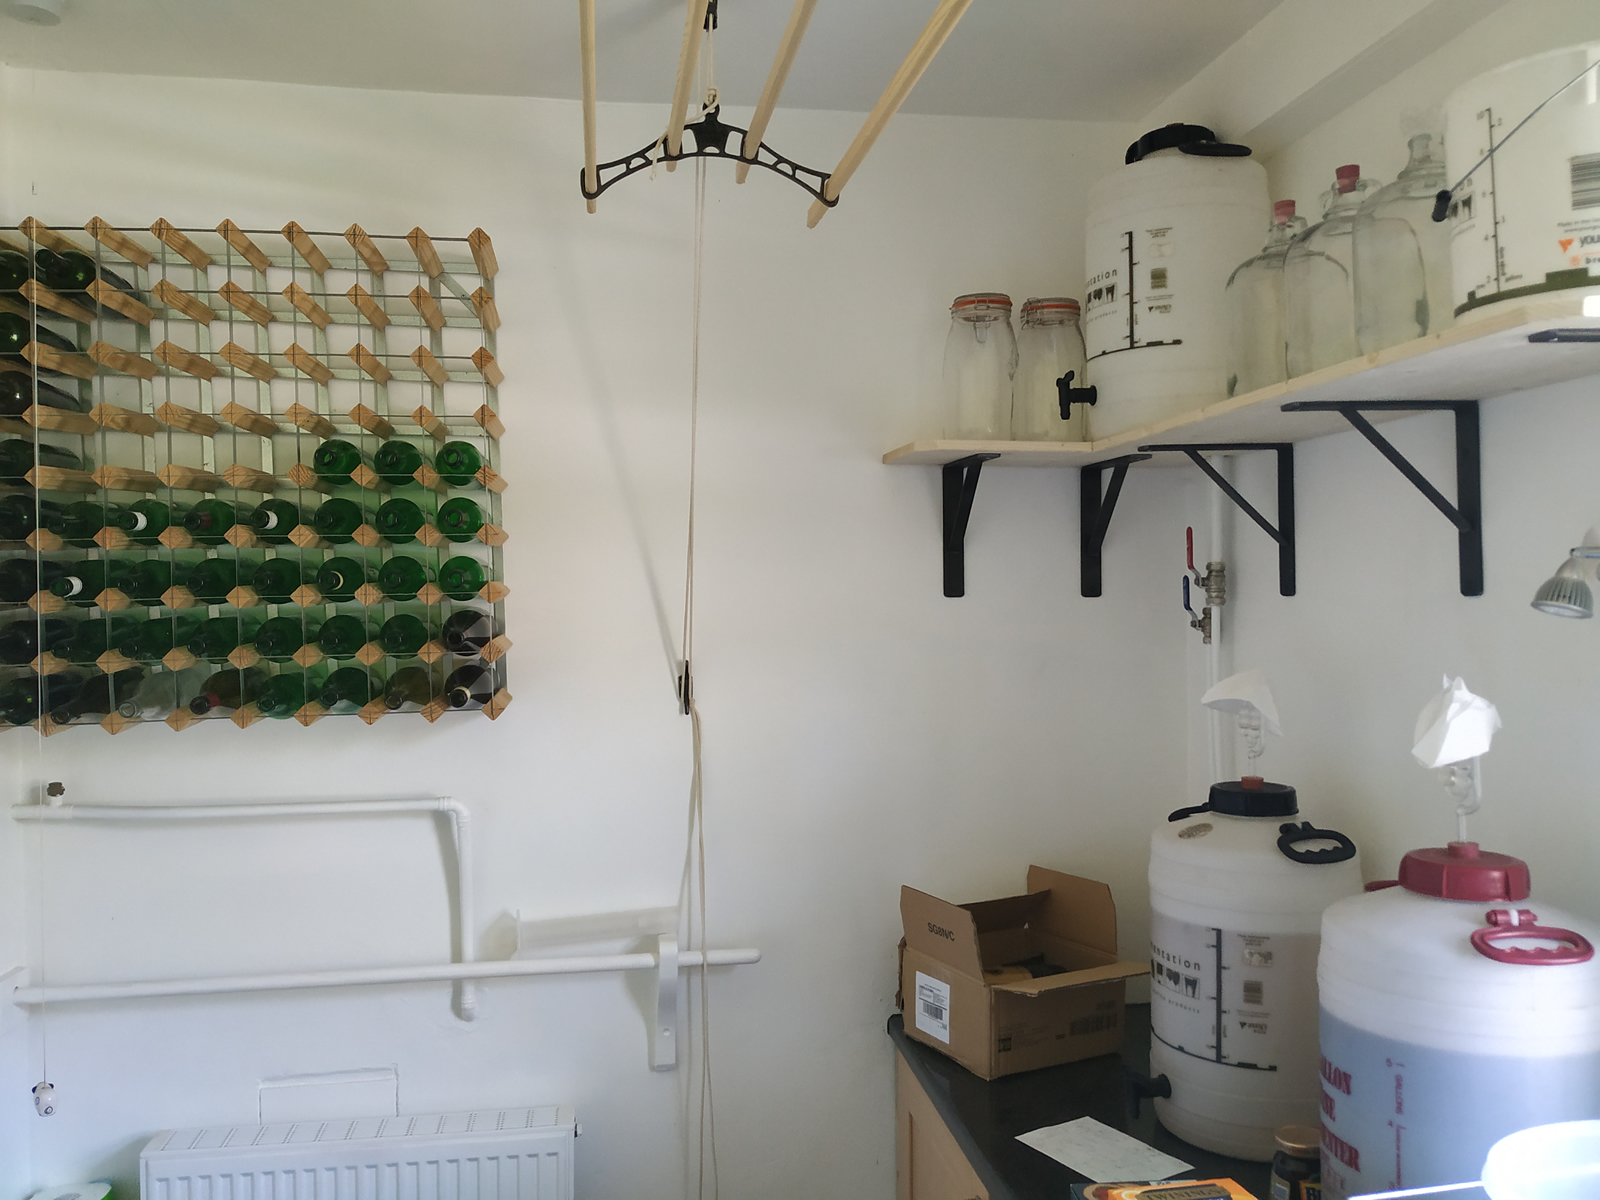 I also installed a large wine rack for storing the empty bottles. We brew most of our own wine and beer and having somewhere to keep the empty bottles is essential. They soon stack up.
Having built one shelf, it soon became apparent that a second shelf would be most useful.
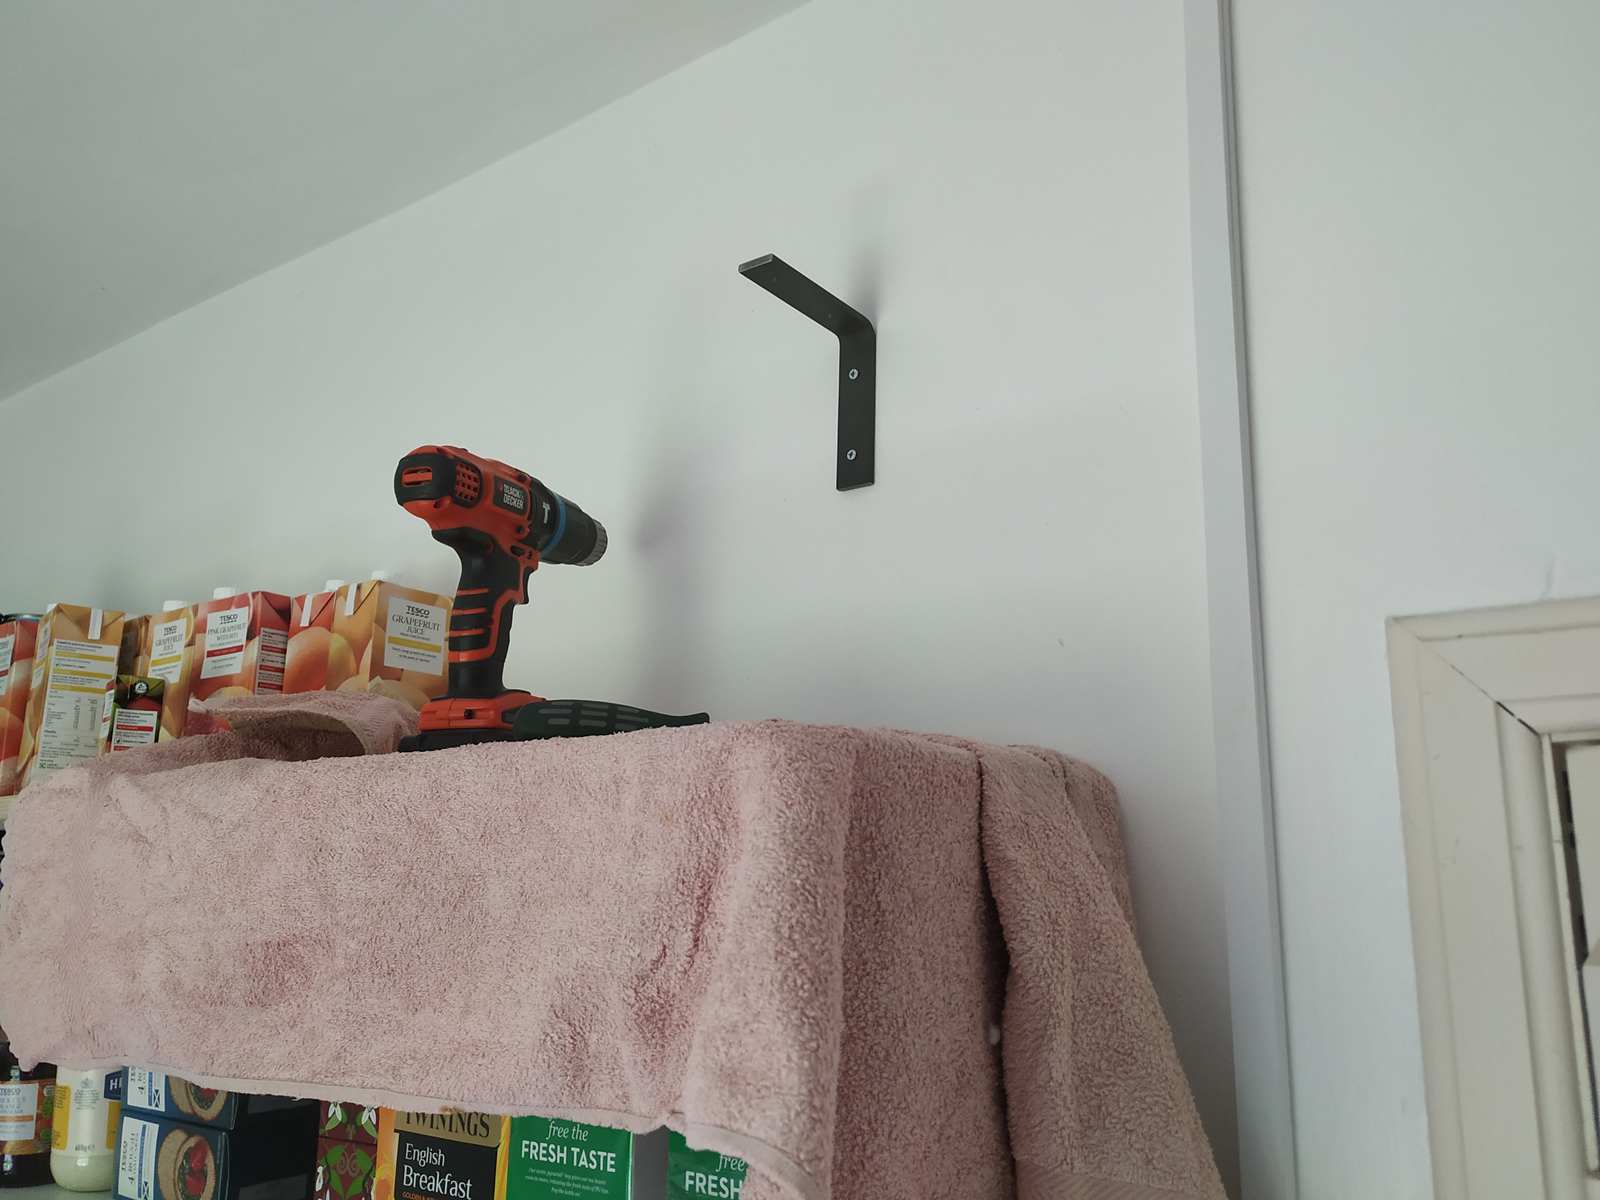 More wood and shelf brackets were duly purchased. I had been worried that the first set would be in the way, but actually they proved quite useful for putting tools on.
It didn’t take too long before the second shelf was in place. Being so high up, there won’t be anything heavy going up there so I could use less shelf brackets.
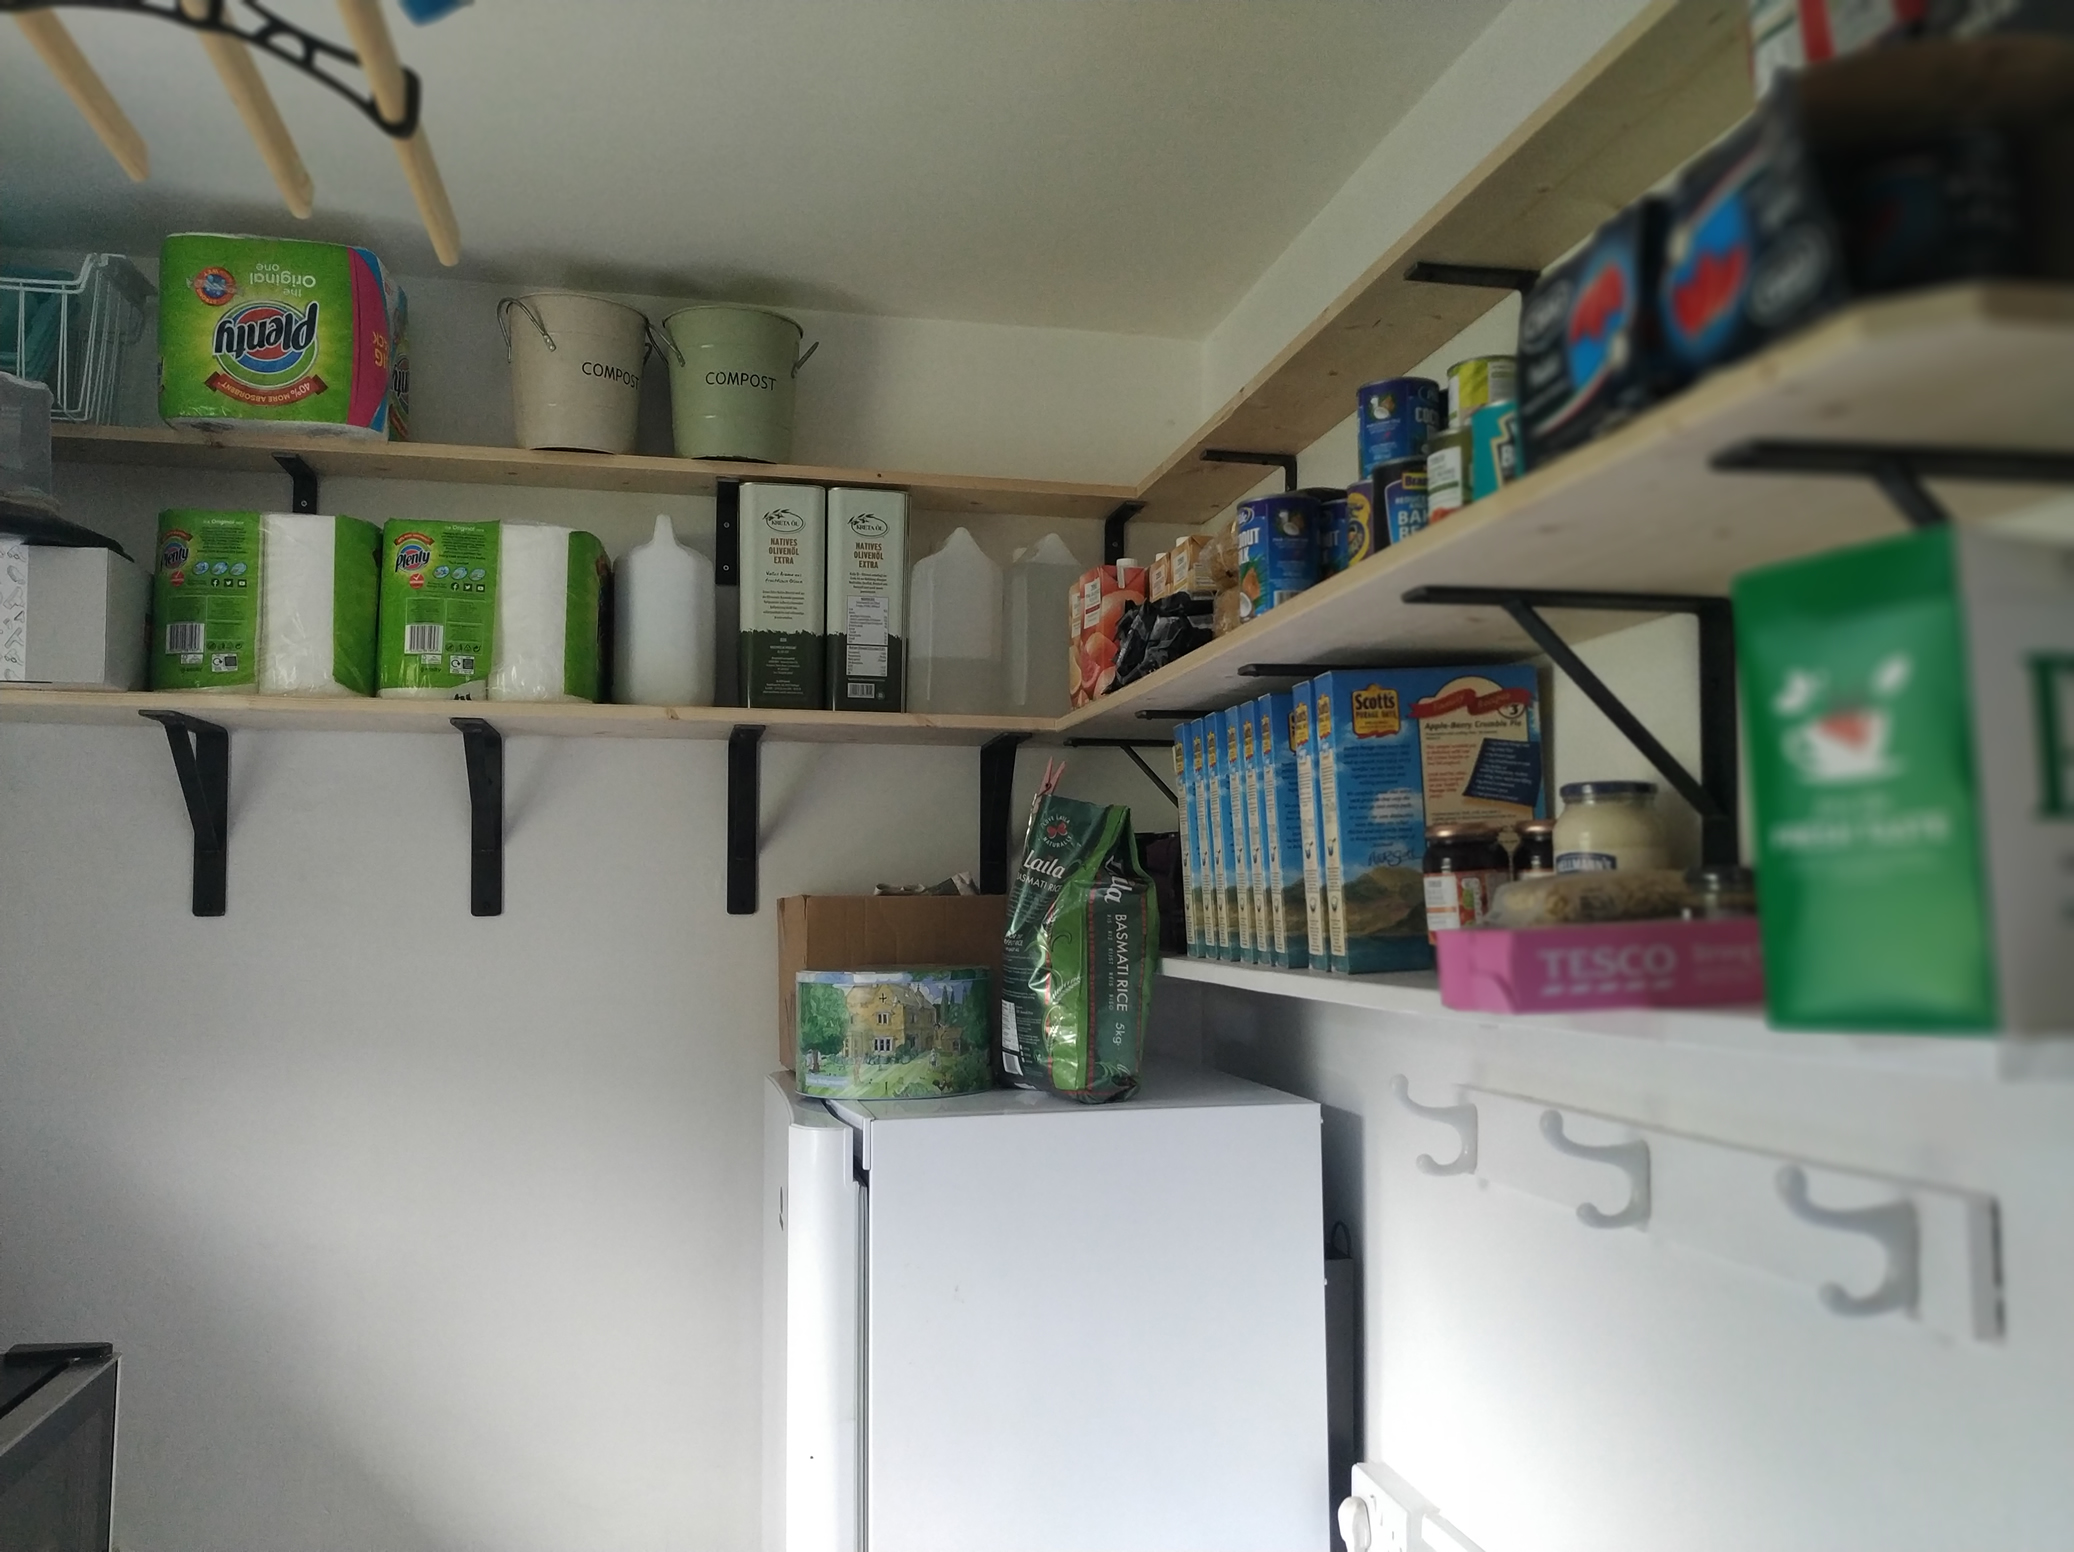 We are please we now have somewhere to store our food properly. Living about an hour from the nearest supermarket, we tend to buy a month’s shopping in one go, so storage space is essential. Mind you, COVID has changed our shopping habits a bit, not by choice.